I made an easy DIY book pumpkin this year. It’s been on my “want to try list” for the longest time. It was easy and cost nothing. Use an old book to make a pumpkin in under 2 hours, including the painting!
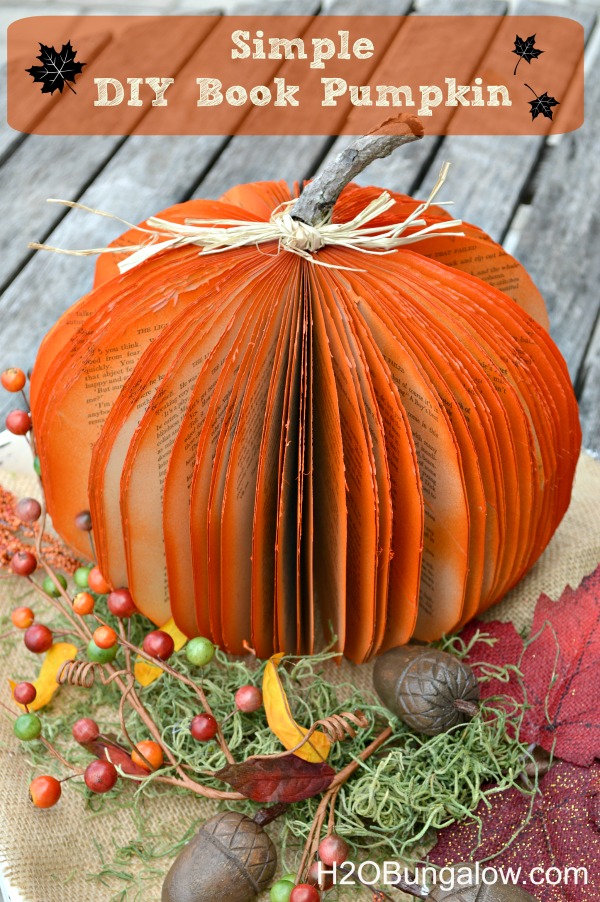
I have a thing for creative pumpkins…
As much as I’ve wanted to try one of these I’ve been torn… pun intended 🙂 on cutting up a book. I mean, they are books right? In our family books are sacred for goodness sakes!
We are readers. Book readers, Kindle readers, you name it readers…
So, for a few years I only thought about making a crafty DIY book pumpkin. I just couldn’t get over the guilt.
This post contains affiliate links, as an Amazon affiliate I earn a fee from qualifying purchases at no additional cost to you. Thank you for supporting H2OBungalow!
How to make a DIY Book Pumpkin
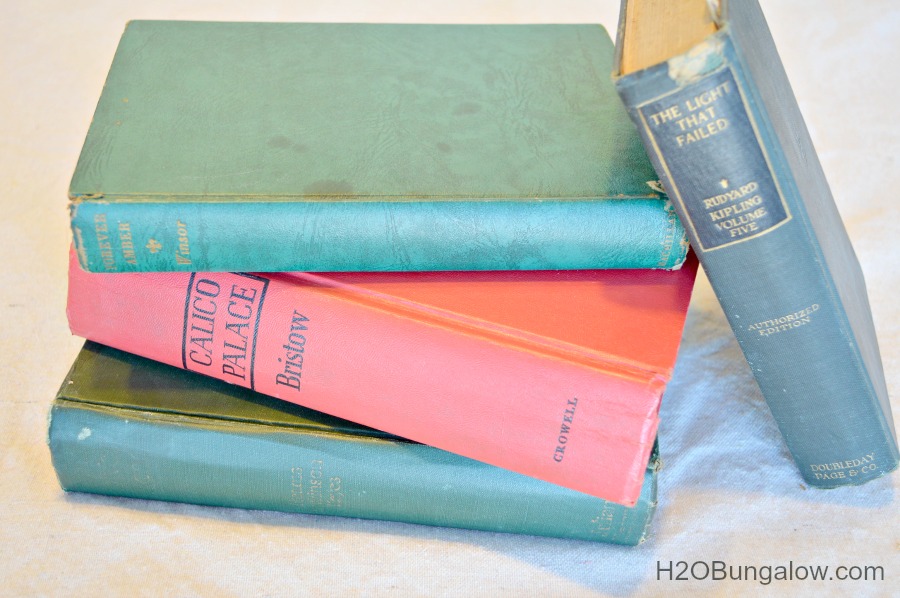
I got over my guilt of cutting up a book when I discovered one of them falling apart with chunks of pages missing! At that moment, I dropped everything else I was doing and went for my scissors and hot glue gun!
Seriously, I’d waited forever to do this, right?
In a few easy steps you can make a DIY book pumpkin too.
Supplies needed to make a book pumpkin:
- Old Book – garage sales and thrift stores are great for this!
- Spray Paint – Be sure to use flat paint!
- Scissors
- Hot glue gun and glue – this one is my go to for everything
- Twig from a tree
- Raffia ribbon
Step 1. Remove the book cover.
Start with a small section of pages and cut along the top and bottom to make a pumpkin shape. See the center picture below.
Step 2. Fold the spine in half and hot glue the ends together.
Your book pumpkin will stand up now. Trim any pages that don’t have enough of a pumpkin shape.

Step 3. Put a dab of glue in between each page to help keep the pages separated. This is the most time-consuming part!
It’s worth the time!
Step 4. Spray paint the paper book pumpkin.
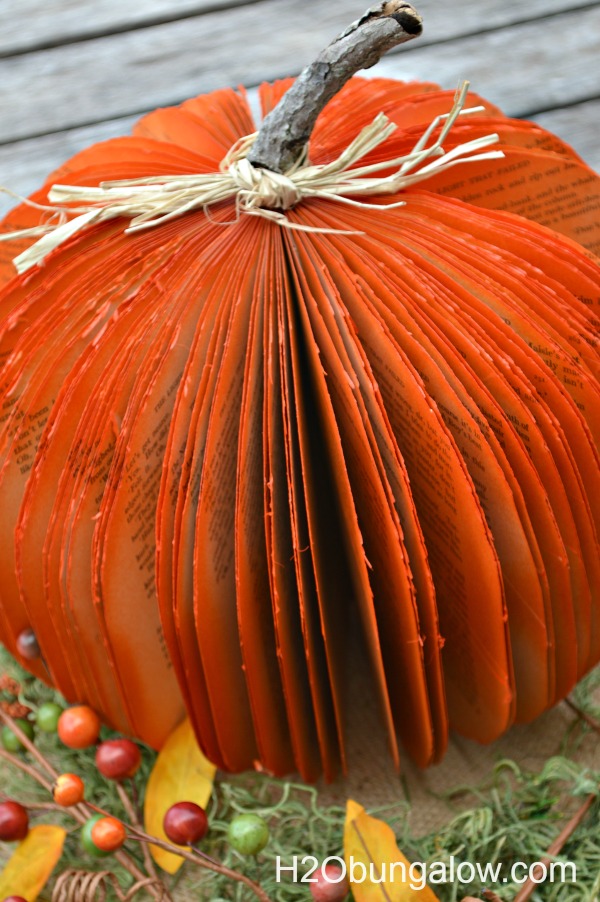
Step 5. Make the stem. Hot glue a twig onto the top for a stem. I thought my DIY book pumpkin was still a little plain and tied a few pieces of raffia around the base.
Place the paper book pumpkin on a chalk painted tray and add some burlap and a few colorful seasonal fillers.
The bright orange and fall colors really perk up my little entry table by our front door.
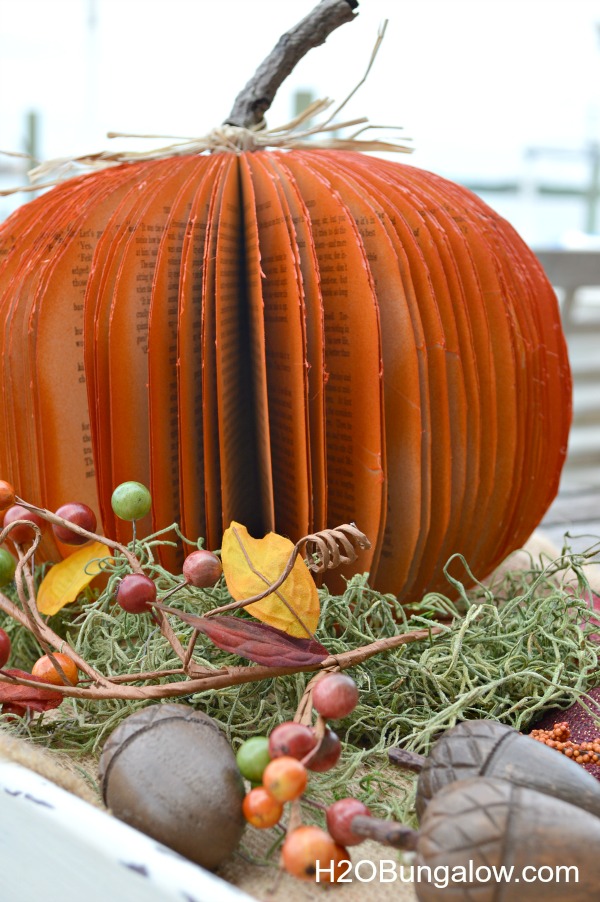
…and this is about the easiest paper craft I’ve tried yet. I’d love to have a wine & pumpkin night with my girlfriends. I can see jazzing these up with all kinds of glittery, flashy, colorful, feathery funky, junky and fun items!
Pin this now and share with your friends on Facebook!
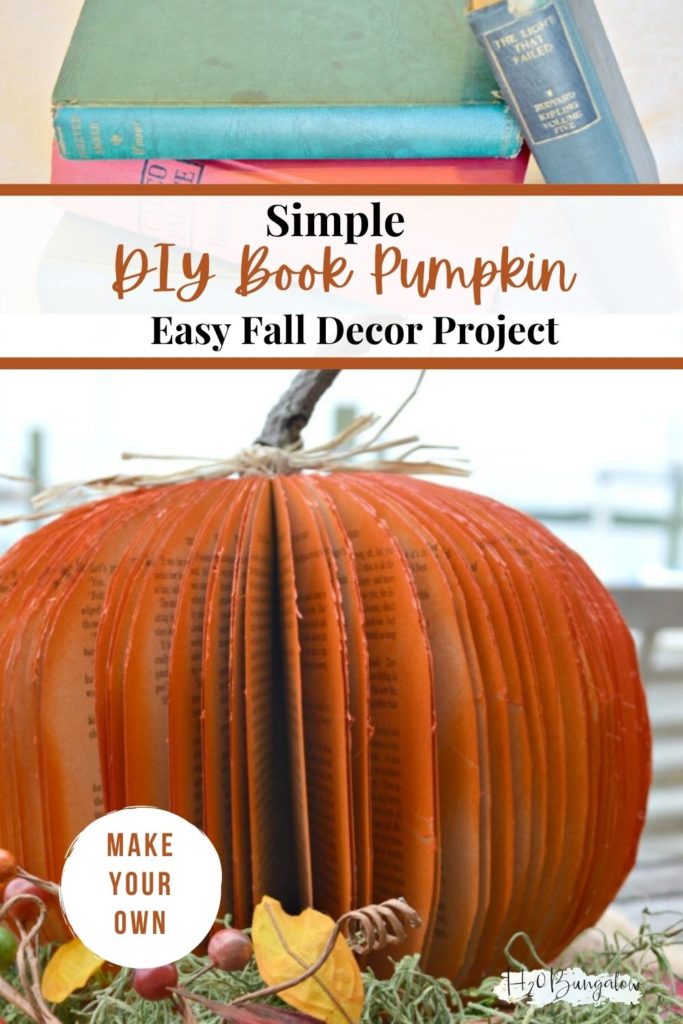
That’s it. So simple, so quick and guilt free! Would you, could you..make a craft with a book? Would you feel more comfortable if it were falling apart before cutting it?
Where would you display your DIY book pumpkin?

Sarah Allen says
HI Wendy, would love to make one of these for the Children’s Department at the library!!! If I succeed I’ll definitely post a picture. My question is what did you use to cut the pages? That’s the only step I’m nervous about. Thanks!!
Wendi says
Hi Sarah, I used plain old scissors to cut the paper pumpkin. I just cut a group of pages at a time. Have fun with the project and I hope you make one! It would look darling in a library 🙂
Jodie says
Love this! hope to see you at this week’s Reader Tip Tuesday
Wendi says
Hi Jodie and thank you! This was a fun project to do and I had plenty of old books that were good for home decor projects. Thanks so much for your visit!
Nancy J. Hill says
Wendi,
In one of the pictures of the Book Pumpkin, there was one with it that looked like paper plates that had been accordion-pleated and stacked, leaving some space between and tapering the top and lower layers to create a rounder shape. I couldn’t find a tutorial for that item. Hope you understand what I’m talking about.
I love your Book Pumpkin and like some of your other viewers have seen a similar idea using old Readers Digest magazines for trees and/or angels. You do such a wonderful job and the number of ideas you share is mind boggleing!
Wendi says
Hi Nancy! It’s been a while since I made that project. I just looked at it again and for the paper plate pumpkin idea and couldn’t find it. I’m pretty sure it wasn’t one of my projects, it may have been a link or in a round-up I did. So sorry I can’t find you that tutorial! I have over 500 projects on the blog and sometimes it’s hard to remember all of them. Did you do a search on Pinterest for one? I’d bet you could find it there. Thanks so much for your visit and good luck on your search!
Phyllis says
Wendi,
I would love to make your book pumpkin, but I am wondering about the painting part. Would you explain how you got that look without messing it up?
Wendi says
Hi Phyllis, I painted the pumpkin with spray paint which worked really well. That way I was able to get the amount of paint I wanted in each area. I sat it on a drop cloth on the ground, set up and just sprayed the pages. I hope that helps!
divya says
Your talent makes me sin! Covet, covet, covet!!!! But I will try to be happy for you. Happy that God has gifted you so! Your place really is beautiful. Thank you for sharing and inspiring!
Wendi says
Hi Divya and thank you so much! We’ve worked hard at fixing up the house and I appreciate your compliment. I love that I can share and inspire others to create as well when I share my projects. Thank so much for your visit and lovely comment!
Jane says
I am looking for suggestions of how to spray paint so that I just color the outside edge of the pumpkin.
Wendi says
Hi Jane. I’d suggest directing the spray paint over the edge so that’s the only area that gets covered. I’m sure it will turn out beautifully! Thanks so much for your visit & have fun with your project!
Mary-the boondocks blog says
Wendi this is so pretty and it makes quite an impact. We don’t have many fall decorations here because well we don’t have much fall. But this would be a perfect craft to make. I may try it and if I do I will be linking back to you as inspiration.
Wendi says
Hi Mary! This project is so your style! Take something and give it a new use:) I hope you do make one & thanks so much for lining back if you do!! Hope your fall is rounding out well…, it’s still hot as can be here. I’m thinking of just turning down the ac to make it feel like fall!
wanda j says
I’m sorry I just don’t understand where to put the glue. Is is in the middle of page, back at the spine in between or just where for sure. Can you do a photos of exactly where and how to put the glue to keep pages apart.
If I remember form days gone by they made Christmas trees like this too. Maybe sioe other things I was small child and don;t remember for sure. Thanks for the help.
Wendi says
Hi Wanda. Put a dab of hotglue close to the spine. It helps keep the pages spaced evenly. I’ll have to look in my archives to see if I have a photo of where to put the glue. Let me know if you have any other questions and have fun with your project! Yes, they did make trees like this too 🙂
Chelsea @ The Johnsons Plus Dog says
Just a friendly note to let you know that this project was featured today on my post of 20 Pumpkin Crafts. Hope you’ll swing by and check out all of the Halloween inspiration.
thejohnsonsplusdog.com/2015/10/13/fall-favorites-20-pumpkin-crafts/
Wendi says
Thanks so much for including my paper book pumpkin! Your round up is super, I loved them all!
Antonella | White House Crafts says
This is adorable! I love the colour of the pumpkin.
If you’d like, I would love for you to share this project over at my blog whitehousecrafts.net
Have a great day!
Antonella
Wendi says
Hi Antonella. Thank you so much for the invite. I will do my best to make it over. Have a fun week & thanks for your visit!
carrie says
Hi Wendi!
I bought an old book at the thrift store to do this… I’m just curious about how many pages you used for your pumpkin?
Thanks!
Carrie
Wendi says
Hi Carrie, I used the entire book I had. If you look at the pictures in my post it will give you an idea of how thick he book was I used. I think you could probably use as many pages as you like. Thanks for your visit and please share your project on my H2OBungalow Facebook page!
Jamie says
That is beautiful!!! What a great way to reuse old books. I know how many we have laying around that need to be something new…now I have an idea – thanks! 🙂
Wendi says
Jmie, Now you can enjoy making pumpkins with them. Thanks so much for your visit!
Donna Marie says
I’m going to try it with some Reader’s Digest magazines. Will tell you how it went if and when I get them done!!!
Wendi says
Donna, That is the perfect use for old Readers Digest magazines! Smart thinking!! Please share a picture on my H2OBungalow Facebook page when you do make them:) Thanks so much for your visit and have fun on your project.
Cyndee says
Wendi, I love this. I get old books from our local library when they have a book sale. Books I know that I’ll never read anyway, so I wouldn’t feel too guilty of tearing up a book to do this wonderful project. Thank you for sharing on Idea Box. Please come back next week!
Wendi says
Hi Cyndee, I’m glad you liked my pumpkin! I should find my old ones from the library sale too. Good ides:) Thank so much for your visit!
Rose Garden Malevik says
woow. that is a great job 🙂
You are welcome to join my
SATURDAY SHOW OFF
Hugs from Håkan in Sweden
Wendi says
Thank you so much for the nice invitation. Have a great week and thank you for your nice note and visit!