I’m going to share with you how to update old built ins in a weekend. I just finished my built in cabinets makeover and all I can say is WOW! You can give old built in shelves a new look by changing cabinet doors and adding mini barn door hardware for cabinets. A fresh coat of paint completed the new look!
The best part is I spent less than $130 for this update in my office! You can give almost any outdated wood built in cabinets or built in bookshelves a fresh new look the same way!
Looking to makeover your kitchen island? Check out How To Makeover A Kitchen Island on a Budget
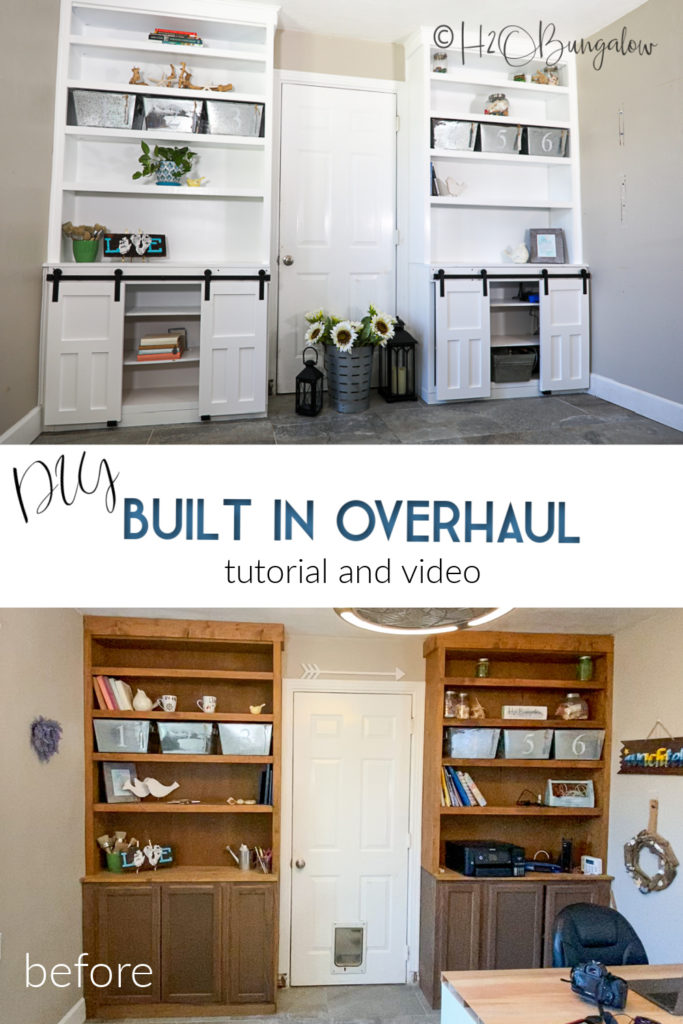
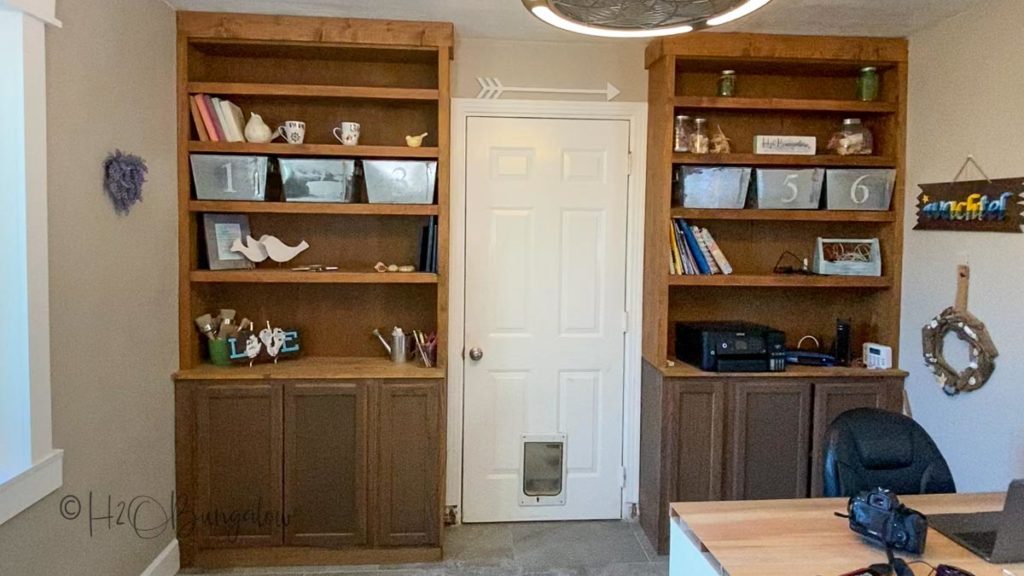
I shared How To Build Built In Bookcases a few years ago when I added these shelves to my office. I built these using upper kitchen cabinets as the bases. It was an awesome project and an easy way to add shelves to a room.
Unfortunately, I never liked the dark stained wood. If you’ve been following me for a while, you know I’ve been renovating our Vermont vacation rentals for the last 3 years so getting to another project in my own home hasn’t been on the priority list.
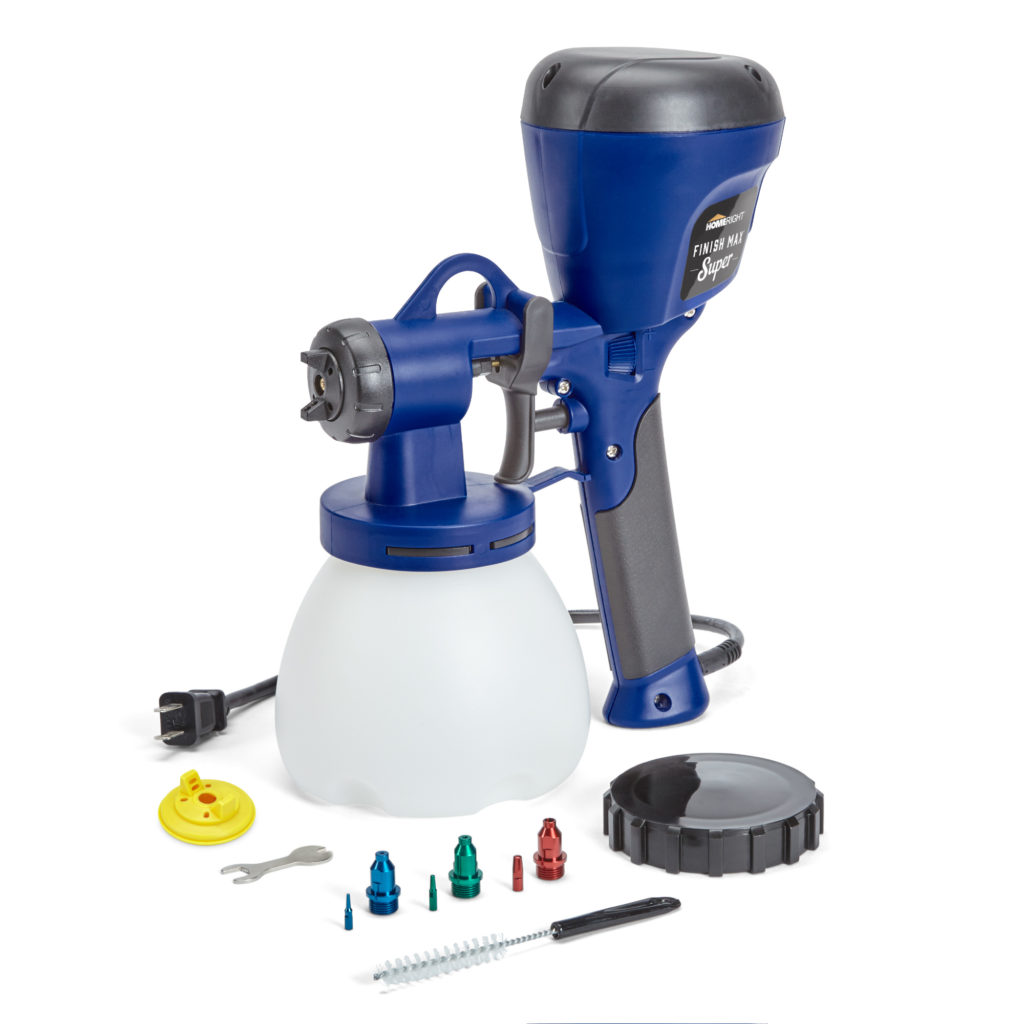
Until a few weeks ago when I had to come up with a new DIY project to use my Super Finish Max paint sprayer. Yes, I finally committed to my built ins cabinet makeover!
How to Update Old Built Ins, Bookcase, Shelves or Cabinets
Sending out a big thank you to HomeRight for sponsoring this post! I also use affiliate links, as an Amazon affiliate I earn a fee from qualifying purchases at no additional cost to you. Thank you for supporting H2OBungalow!
Supplies needed to update built ins with paint
- Super Finish Max paint sprayer
- Extra Super Finish Max paint containers , 2 for paint 1 for water
- White latex paint
- Latex primer, tinted grey
- Painter’s rags
- Painter’s tape
- Masking paper
- Dropcloths
- Simple Green
- Respirator – The one I used indoor in the video did not give enough protection! It was all all I could find at the time.
- UV Protection Safety Glasses
- Hearing Protection
Supplies and tools needed to update built in shelves and cabinets with new door style
- Mini barn door hardware – this is what I used
- Edge banding 7/8″ white birch
- 1/2″ plywood
- Wood glue
- Drill
- Miter Saw
- Table Saw or circular or jigsaw
- Brad Nailer
- Tape measure
- Kreg Multi Mark tool
- UV Protection Safety Glasses
- Hearing Protection
Watch my video on how to update old built ins to see steps in detail, get handy tips and hacks on painting and building simple shaker doors!
Step 1. Prep the built in cabinets or bookshelves for painting.
Remove all of the door, hardware, shelves and shelf clips and put aside. Wipe all the wood thoroughly with a clean painter’s rag and simple green.
Step 2. Paint the shelves and cabinets with a HomeRight Super Finish Max
I diluted my primer with water until I had the consistency of medium runny pancake batter and applied two coats using my Super Finish Max paint sprayer. Allow each one to dry fully, at least 30 minute to 3 hours between coats and before painting the top coat.
I used white latex paint for the topcoat and diluted it to the same consistency. Allowing the paint to dry to the touch between coats.
Tip: Add part of the water into the paint container before adding your paint. It mixes better and the paint doesn’t stick to the bottom of the container.
Step 3. Build shaker cabinet doors
The best way to update old built ins is to change the door style of the cabinets. I tossed the old doors and built new shaker style doors out of 1/2″ plywood and added edge banding around the outside. I made all four doors for less than $40!
My new shaker doors are 13 7/8 x 27 3/4″. I built two doors for each built in shelf and used mini barn door hardware to hang them. I left the center open. The doors were designed to be wide enough to cover the frames of the cabinet bases so no one could tell they are actually kitchen cabinet uppers put together.
Update old built ins with shaker cabinet doors.
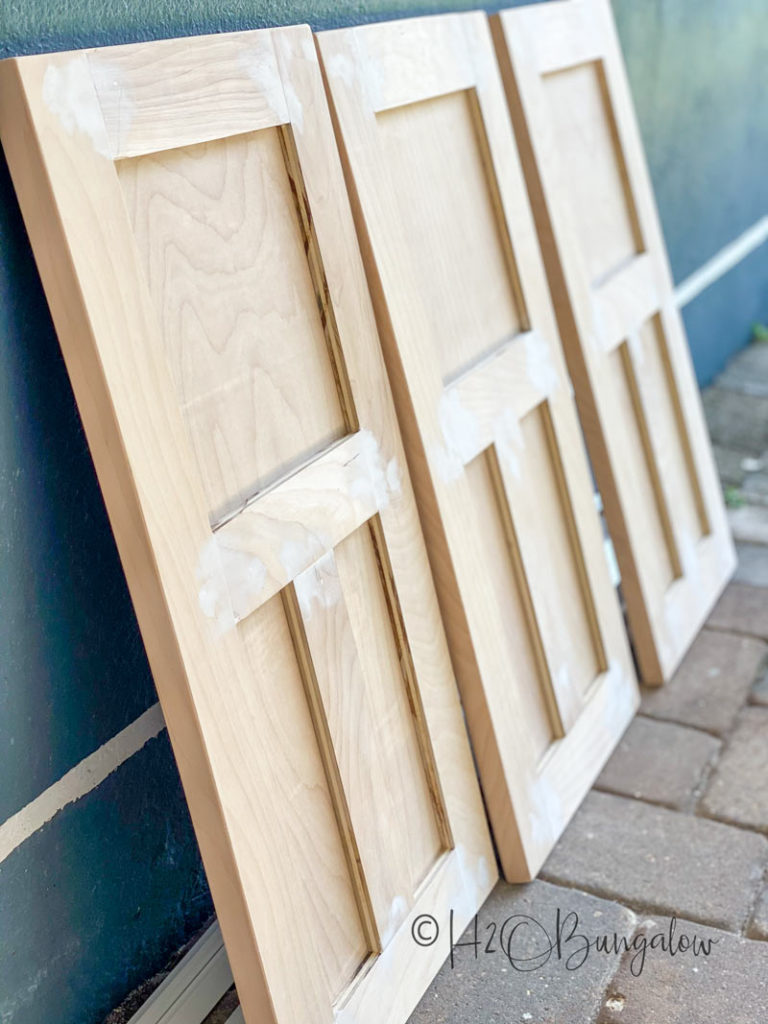
I ripped four door backs at 13 7/8 x 27 3/4″ out of a 1/2″ sheet of plywood.
Next, I ripped 2 1/2″ strips at 8 feet from the plywood. Last, I cut the shaker door trim out of the 2 1/2″ strips.
Per door:
- 2 @ 27 3/4″
- 3 @ 8 3/4″
- 1 @ 11 1/4″
Sand the rough edges, use wood glue and 3/4″ brad nails to assemble the doors. Fill in gaps with wood filler as needed.
The rough outer edges were covered up with with 7/8″ edged banding. I sanded everything with a high grit paper.
Step 4. Paint cabinet doors, shelves and trim
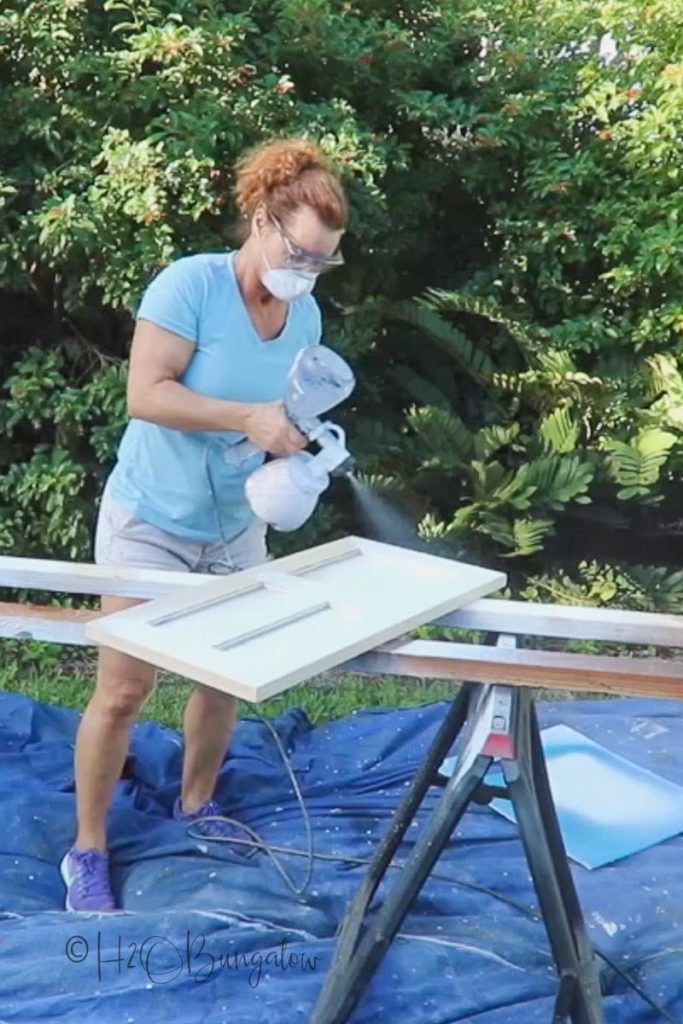
Wipe any sawdust off and follow with a tack cloth to remove particles before painting. Again, I used my Super Finish Max paint sprayer on the doors, shelves and trim.
Step 5. Caulk around the built ins
The challenge of updating built ins in an old house is uneven walls. The new white color showed all the gaps around the built in bookshelves and cabinets. While the paint was drying on my doors I attached new trim to cover the gaps at the ceilings and walls. Followed by white latex caulk to fill gaps.
Step 6. Attach barn door hardware to update built in cabinets.
The last step in updating old built ins is to attach the mini barn door hardware to the new doors and the base. I attached 1 x 4″ as a header just under the counter, using 2 1/2″ wood screws to secure it.
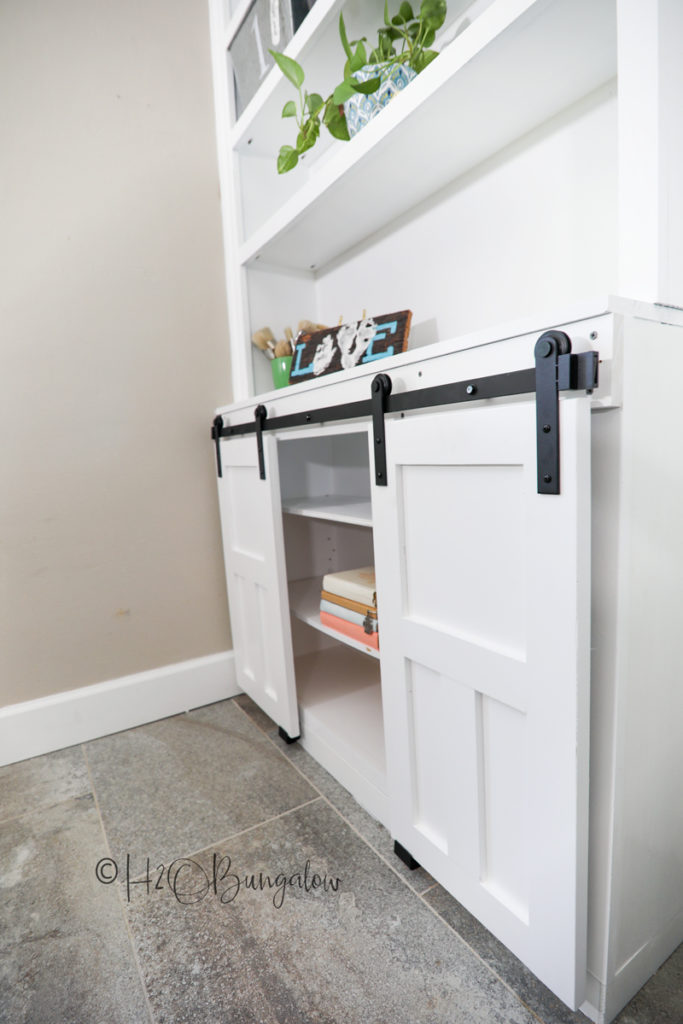
The rest was pretty simple, I followed the directions that came with the barn door hardware to attach the slides onto the doors, the bumpers at the end and the door stops at the bottom of the cabinet.
See my Building A Barn Door Tutorial for Beginners to see step by step instructions on adding hardware.
Pin this now and share with your friends on Facebook!
Pin my how to update old built ins and share it with your friends on facebook.

Can you believe the difference?
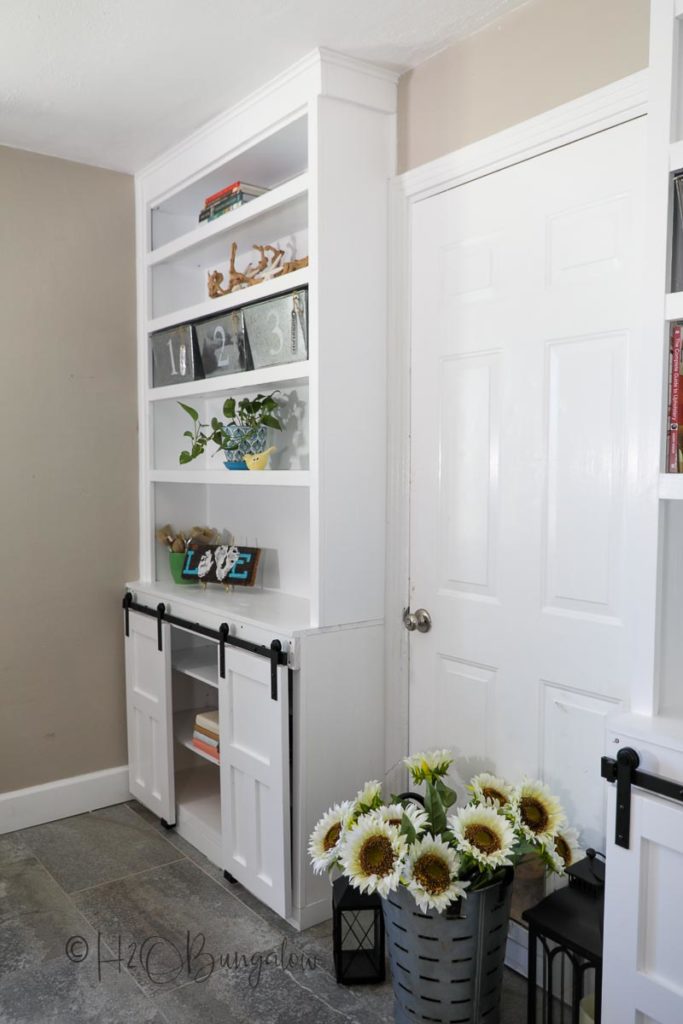
This was the easiest way to get a built ins cabinet makeover and update my old built in shelves or cabinets to give them a modern, fresh look!
Visit HomeRight’s web page for even more paint sprayer tips, products and DIY projects?
Over the past 6 or 7 years, I’ve done countless projects with my HomeRight paint sprayers. From painting the entire outside of my home, to crafts to furniture painting projects I’ve consistently had smooth finishes in a lot less time than it takes for Take a peek at all of the different DIY home projects I’ve made with my HomeRight products.
