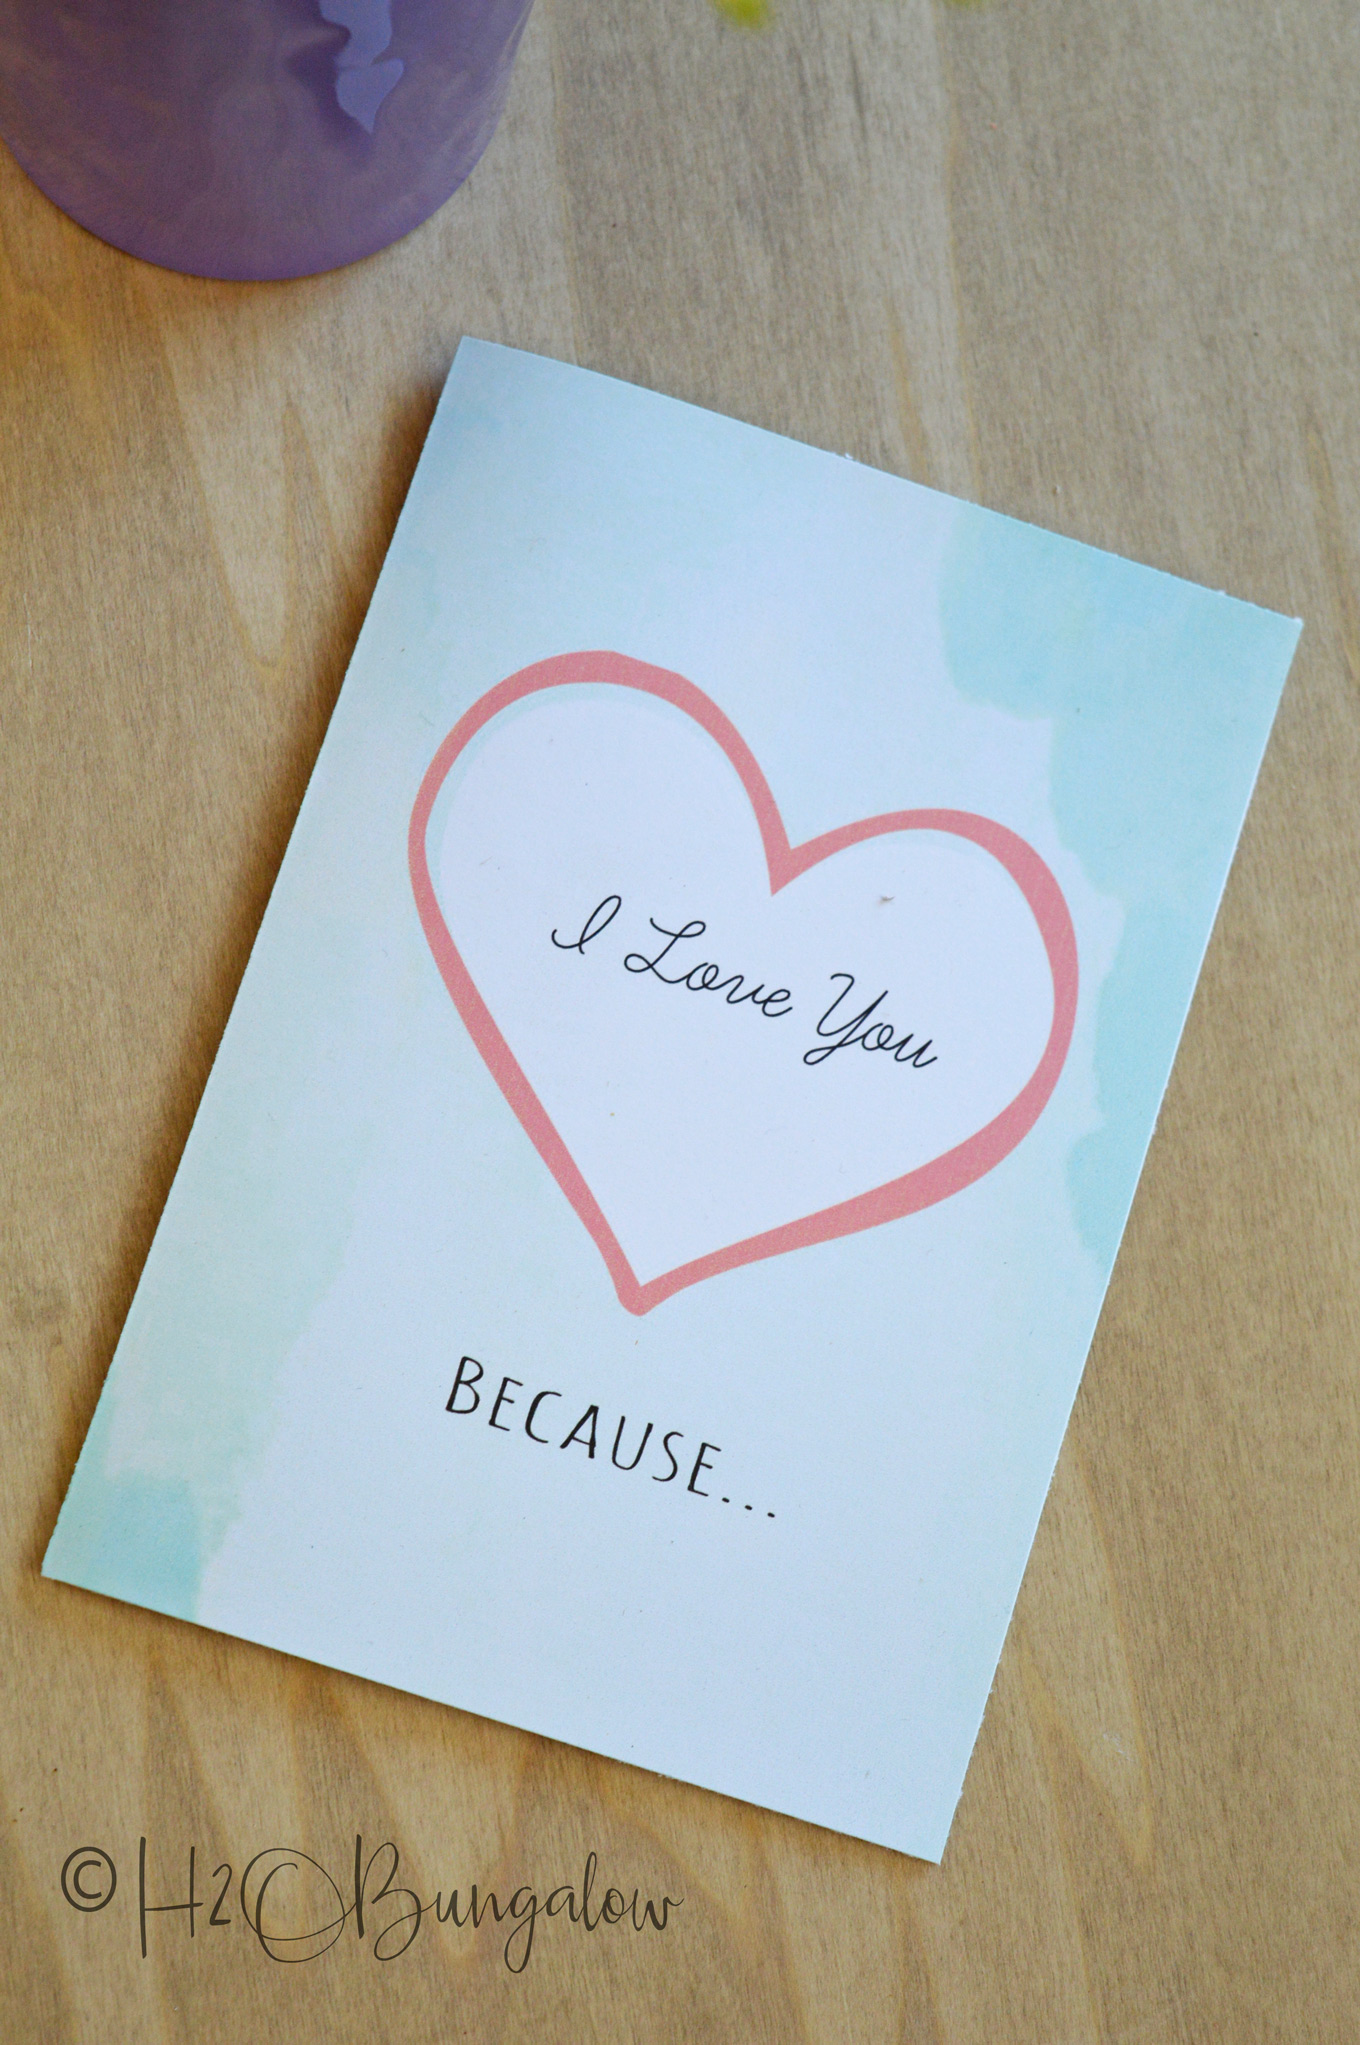
Today, I’m going to show you how to make a Valentine’s Day card that’s meaningful. I cherish handmade over store bought gifts and cards. It’s easy to personalize this cute little card when you list the things about the person you love on the inside. I put together a simple tutorial and downloadable file you can use to make a Valentine’s Day card like this one.
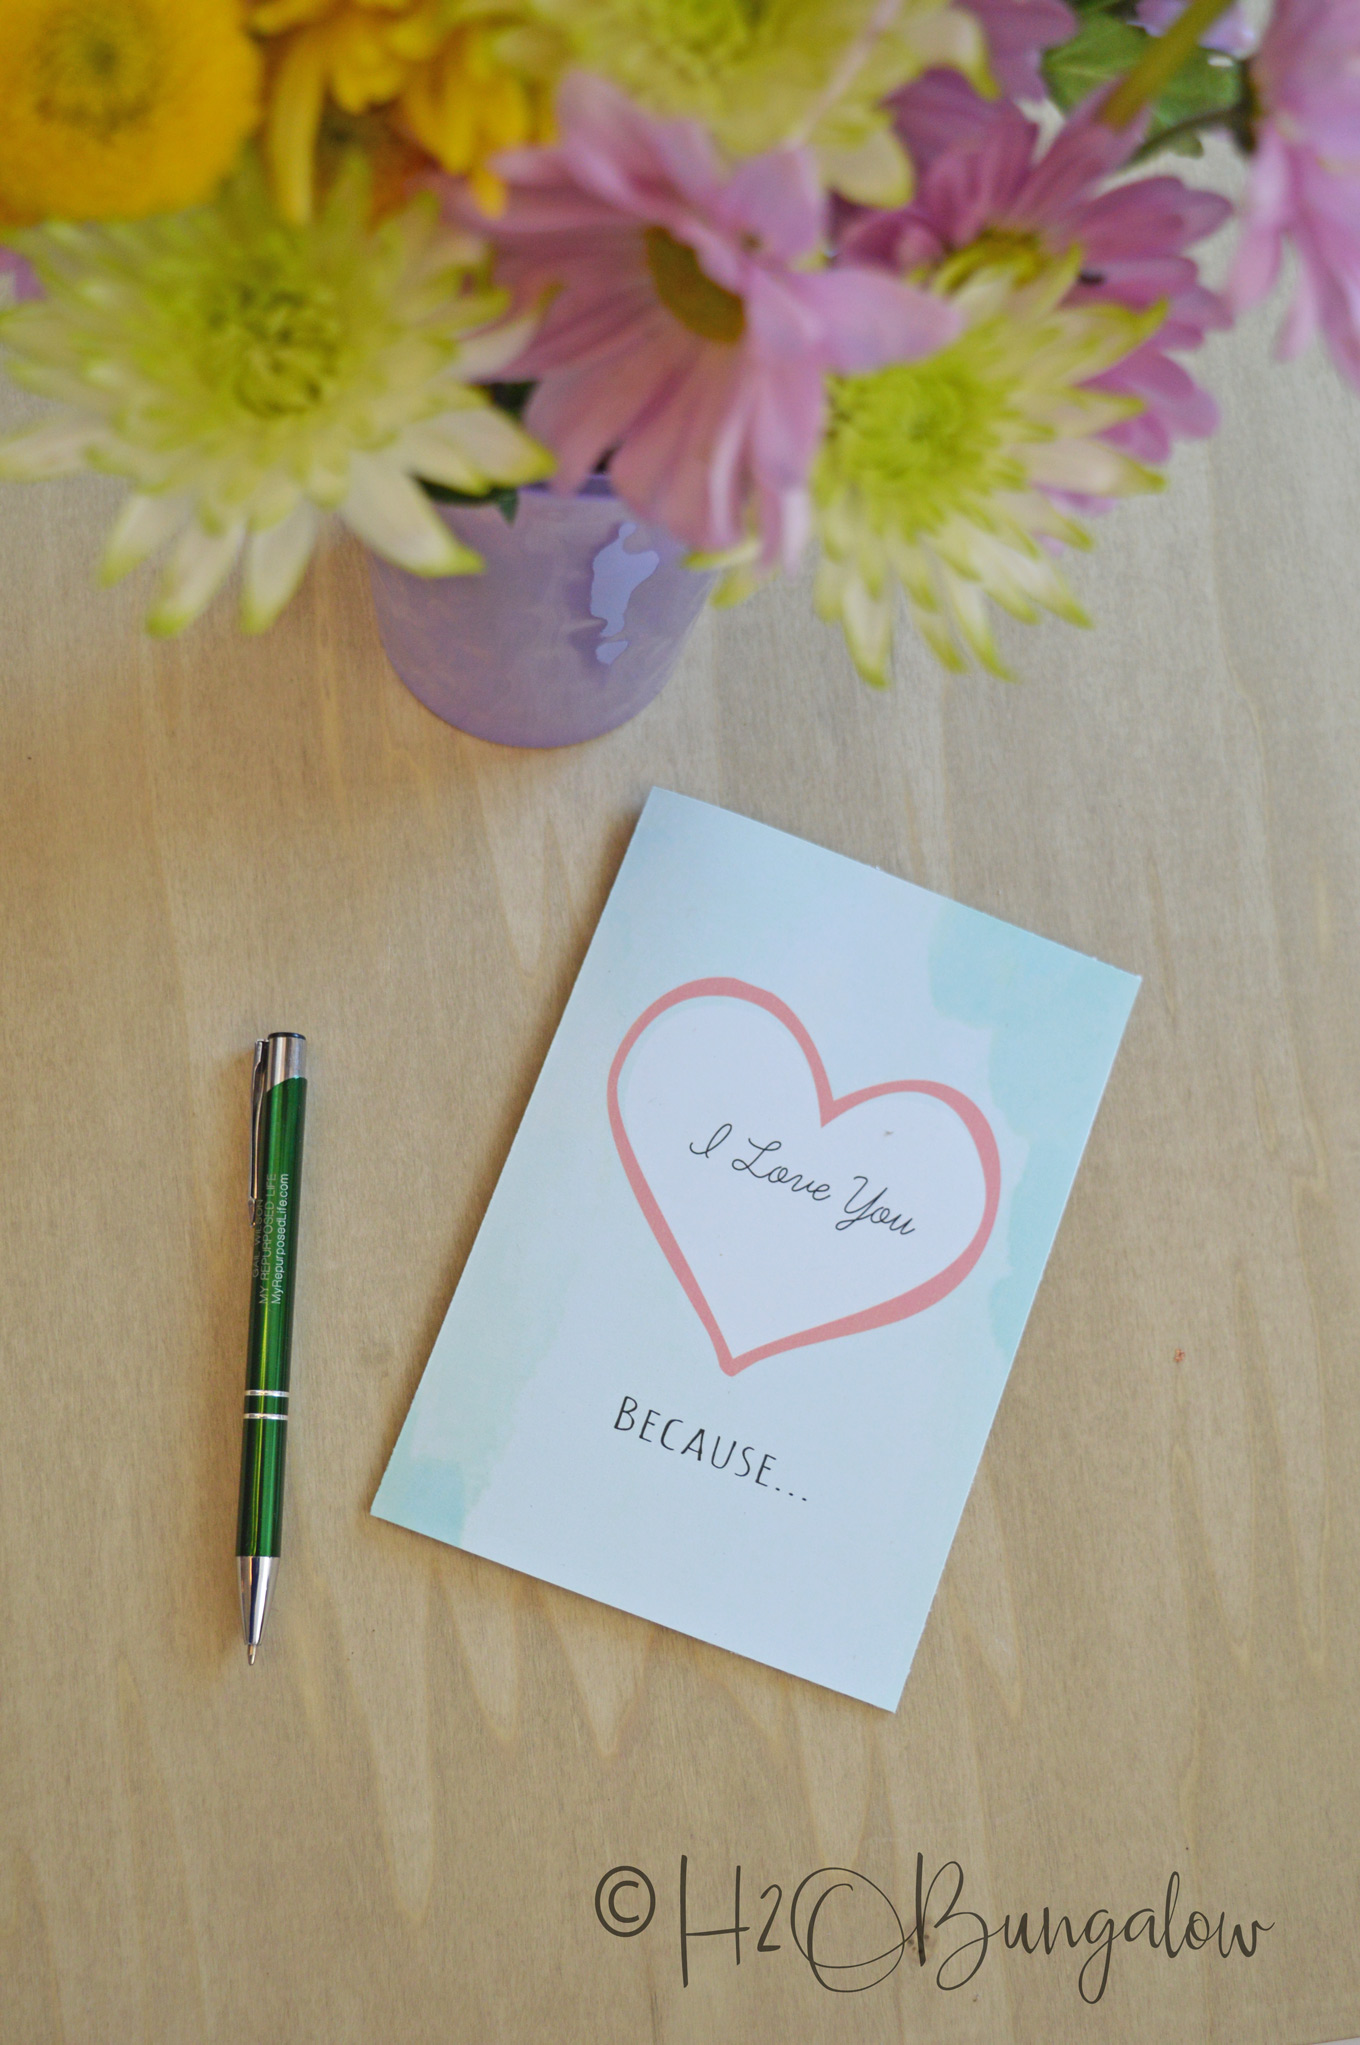
My little project started when I stopped by the greeting card section in the store this week and was blown away at the price. Eight dollars for a Valentine’s Day card? Seriously? No thanks. Besides, none of the cards were a good fit. I’d rather make a Valentine’s Day card and personalize it with something meaningful and then take the eight dollars and buy DH a quality chocolate bar. In our family my husband is the chocolate lover 🙂
How to Make a Valentine’s Day Card That’s Meaningful
I use affiliate links to help you find the supplies I used. You can read my full disclosure policy here
Supplies needed to make a Valentine’s Day card.
- 8 1/2 x 11″ quality card stock paper. I used 60 LB slightly textured paper, but I think this 80 LB would be better
- paper cutter, I use this one
- printer
- ruler
- scissors
Step one: Download Valentine’s card files and save them to your computer. Be sure to download and save both the front and back files!
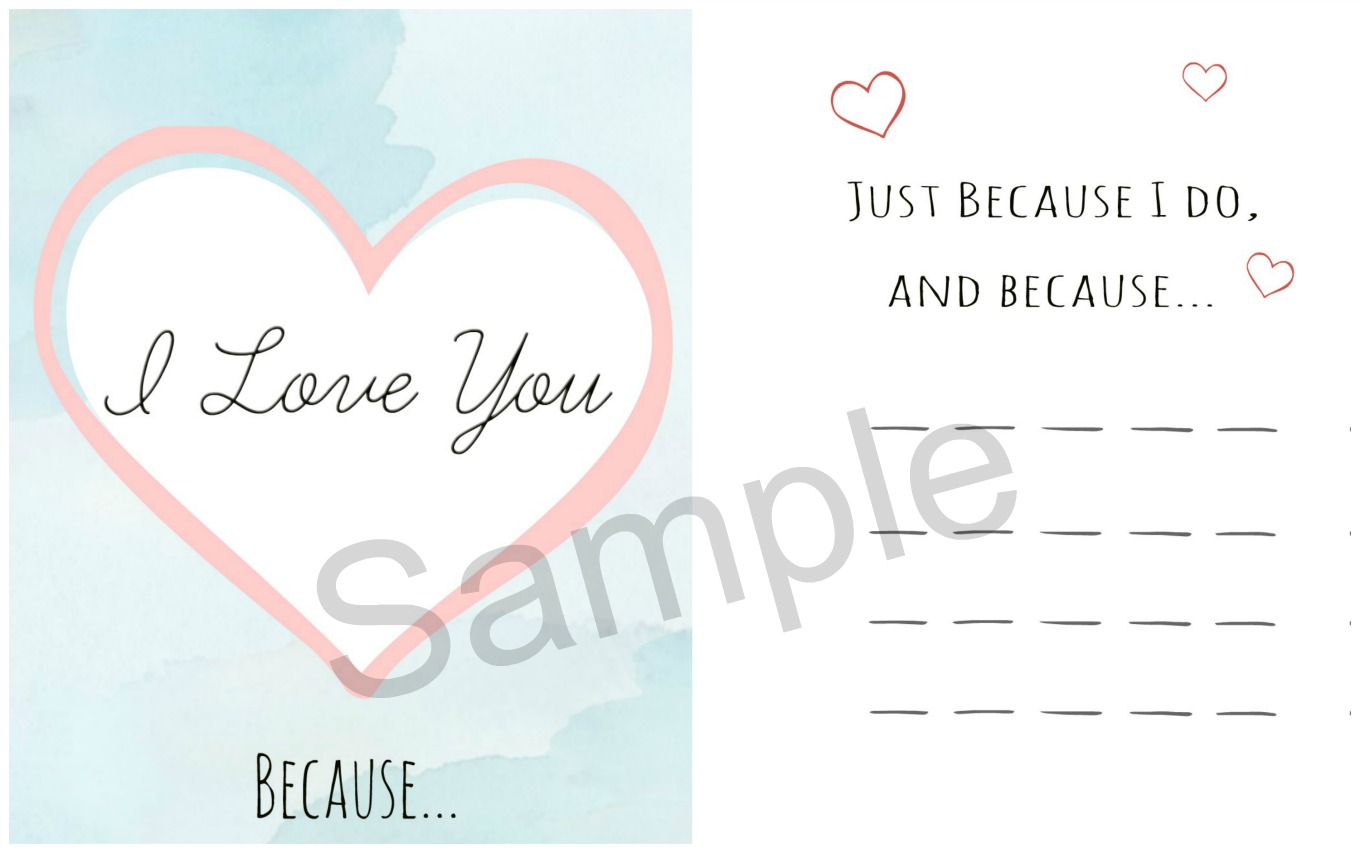
My readers always have free access to the printables I create. Remember friends, by downloading any of my files, you agree to only use them for personal use.
Enter your email address to get my files. If you’re already a subscriber, don’t worry you won’t get two emails!
Step Two: Choose a card stock. I think half the project is using good quality paper, choose at least a 60 lb paper for your handmade Valentine’s card.
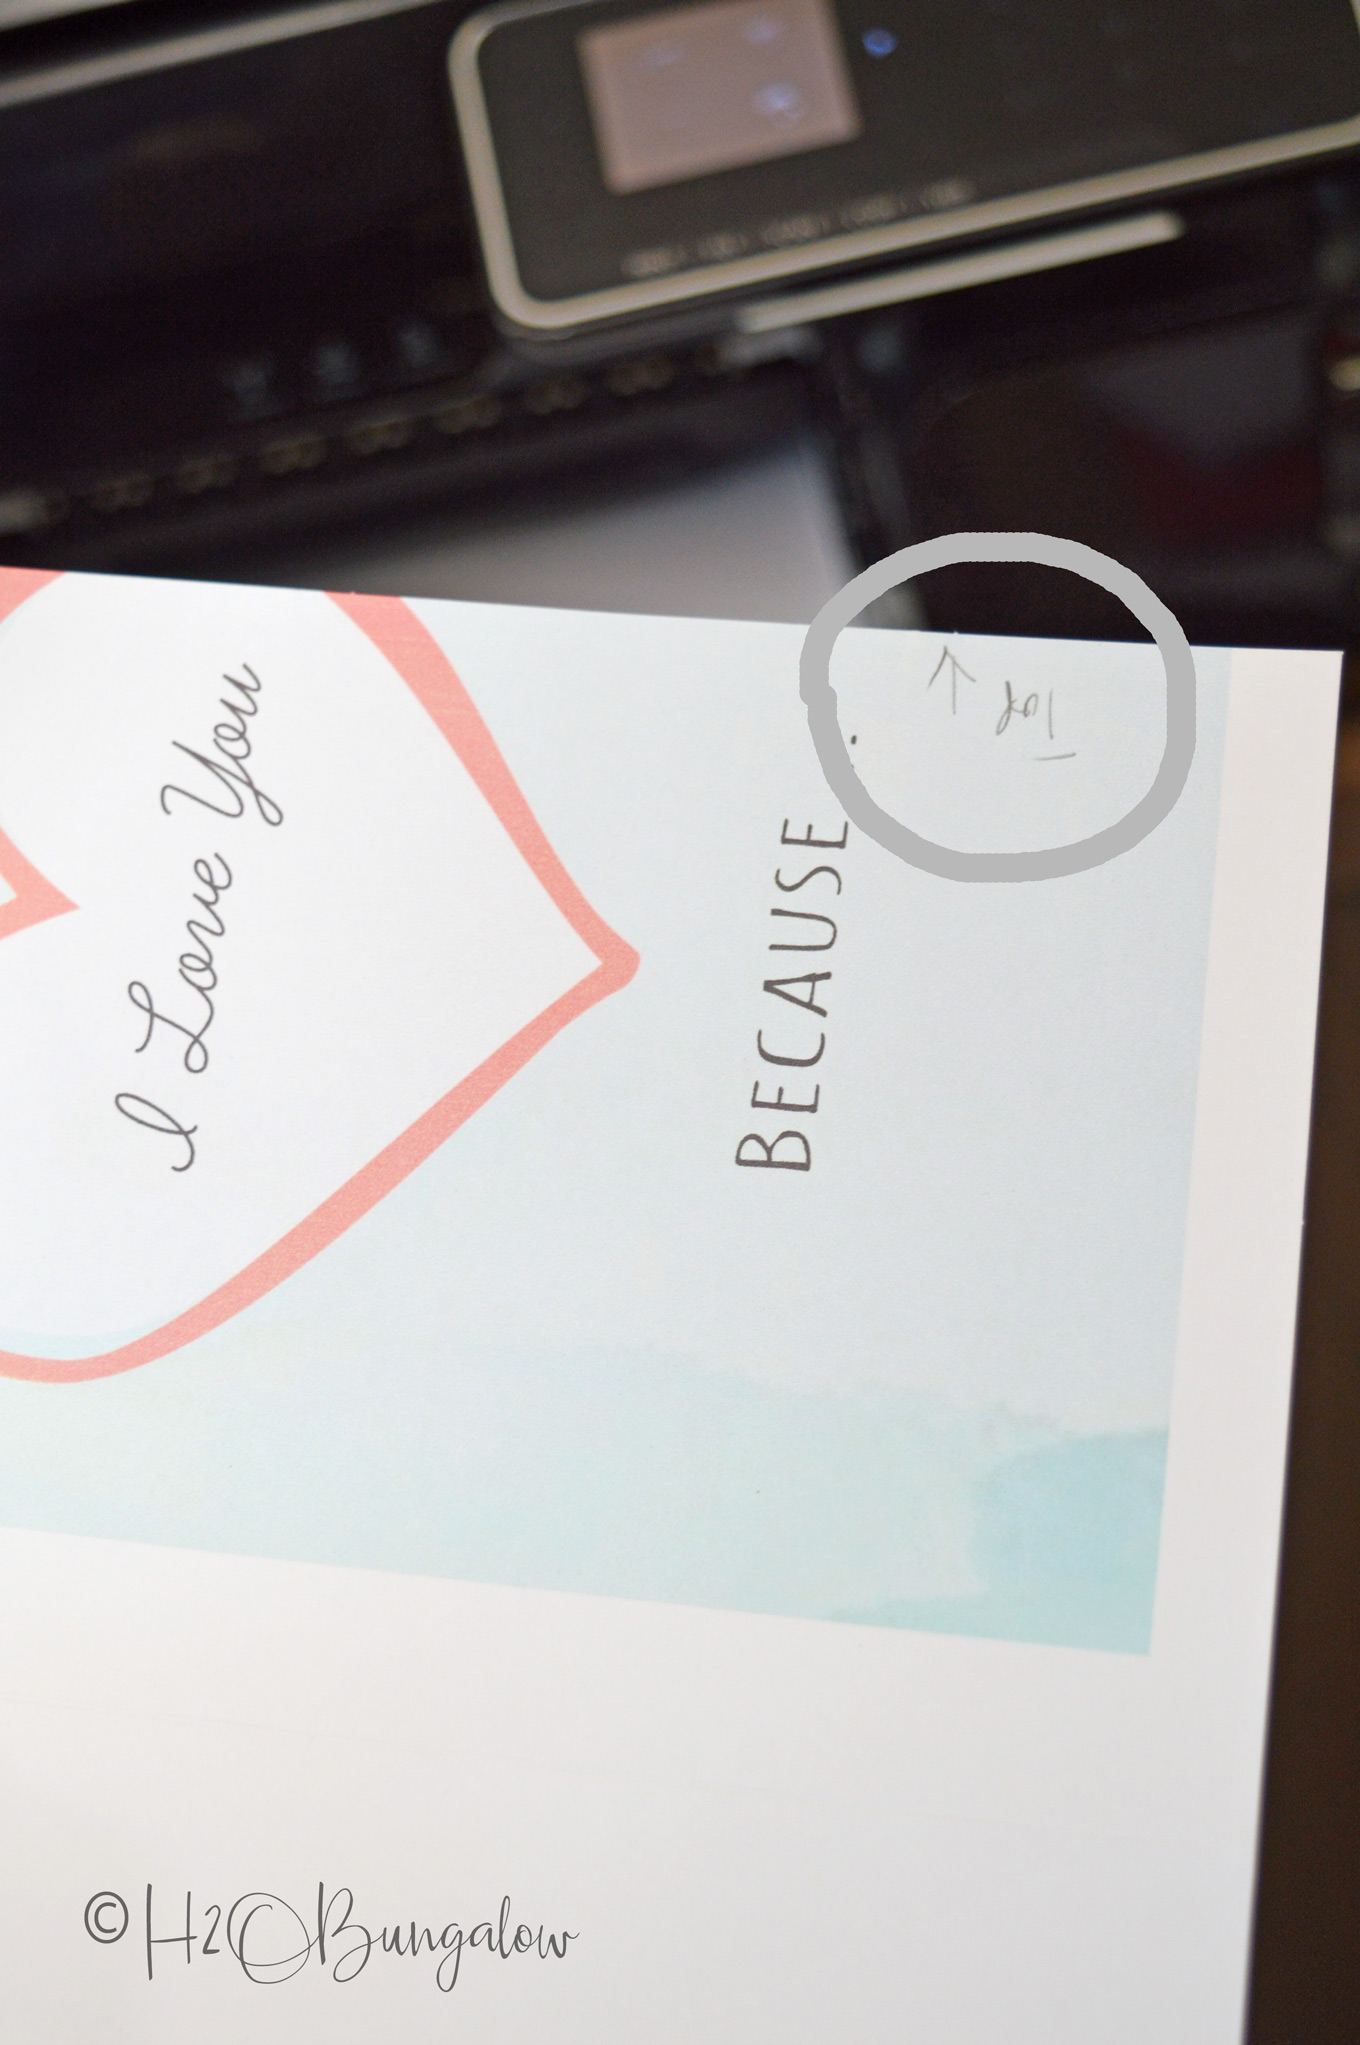
Step Three. Print both sides of the card. You may need to print a test card or two so you know how your printer feeds and prints. I printed the top of my card, made a mark on it and ran it through the printer again while printing the inside file. Be sure to set your printer to best quality print and for heavy or card stock paper when you’re ready to print your Valentine’s Day card.
Step Four: Score the center and fold. Hold a ruler where the Valentine’s card will fold in half on the front of the card and run the tip of a pair of scissors along the ruler to score the card.
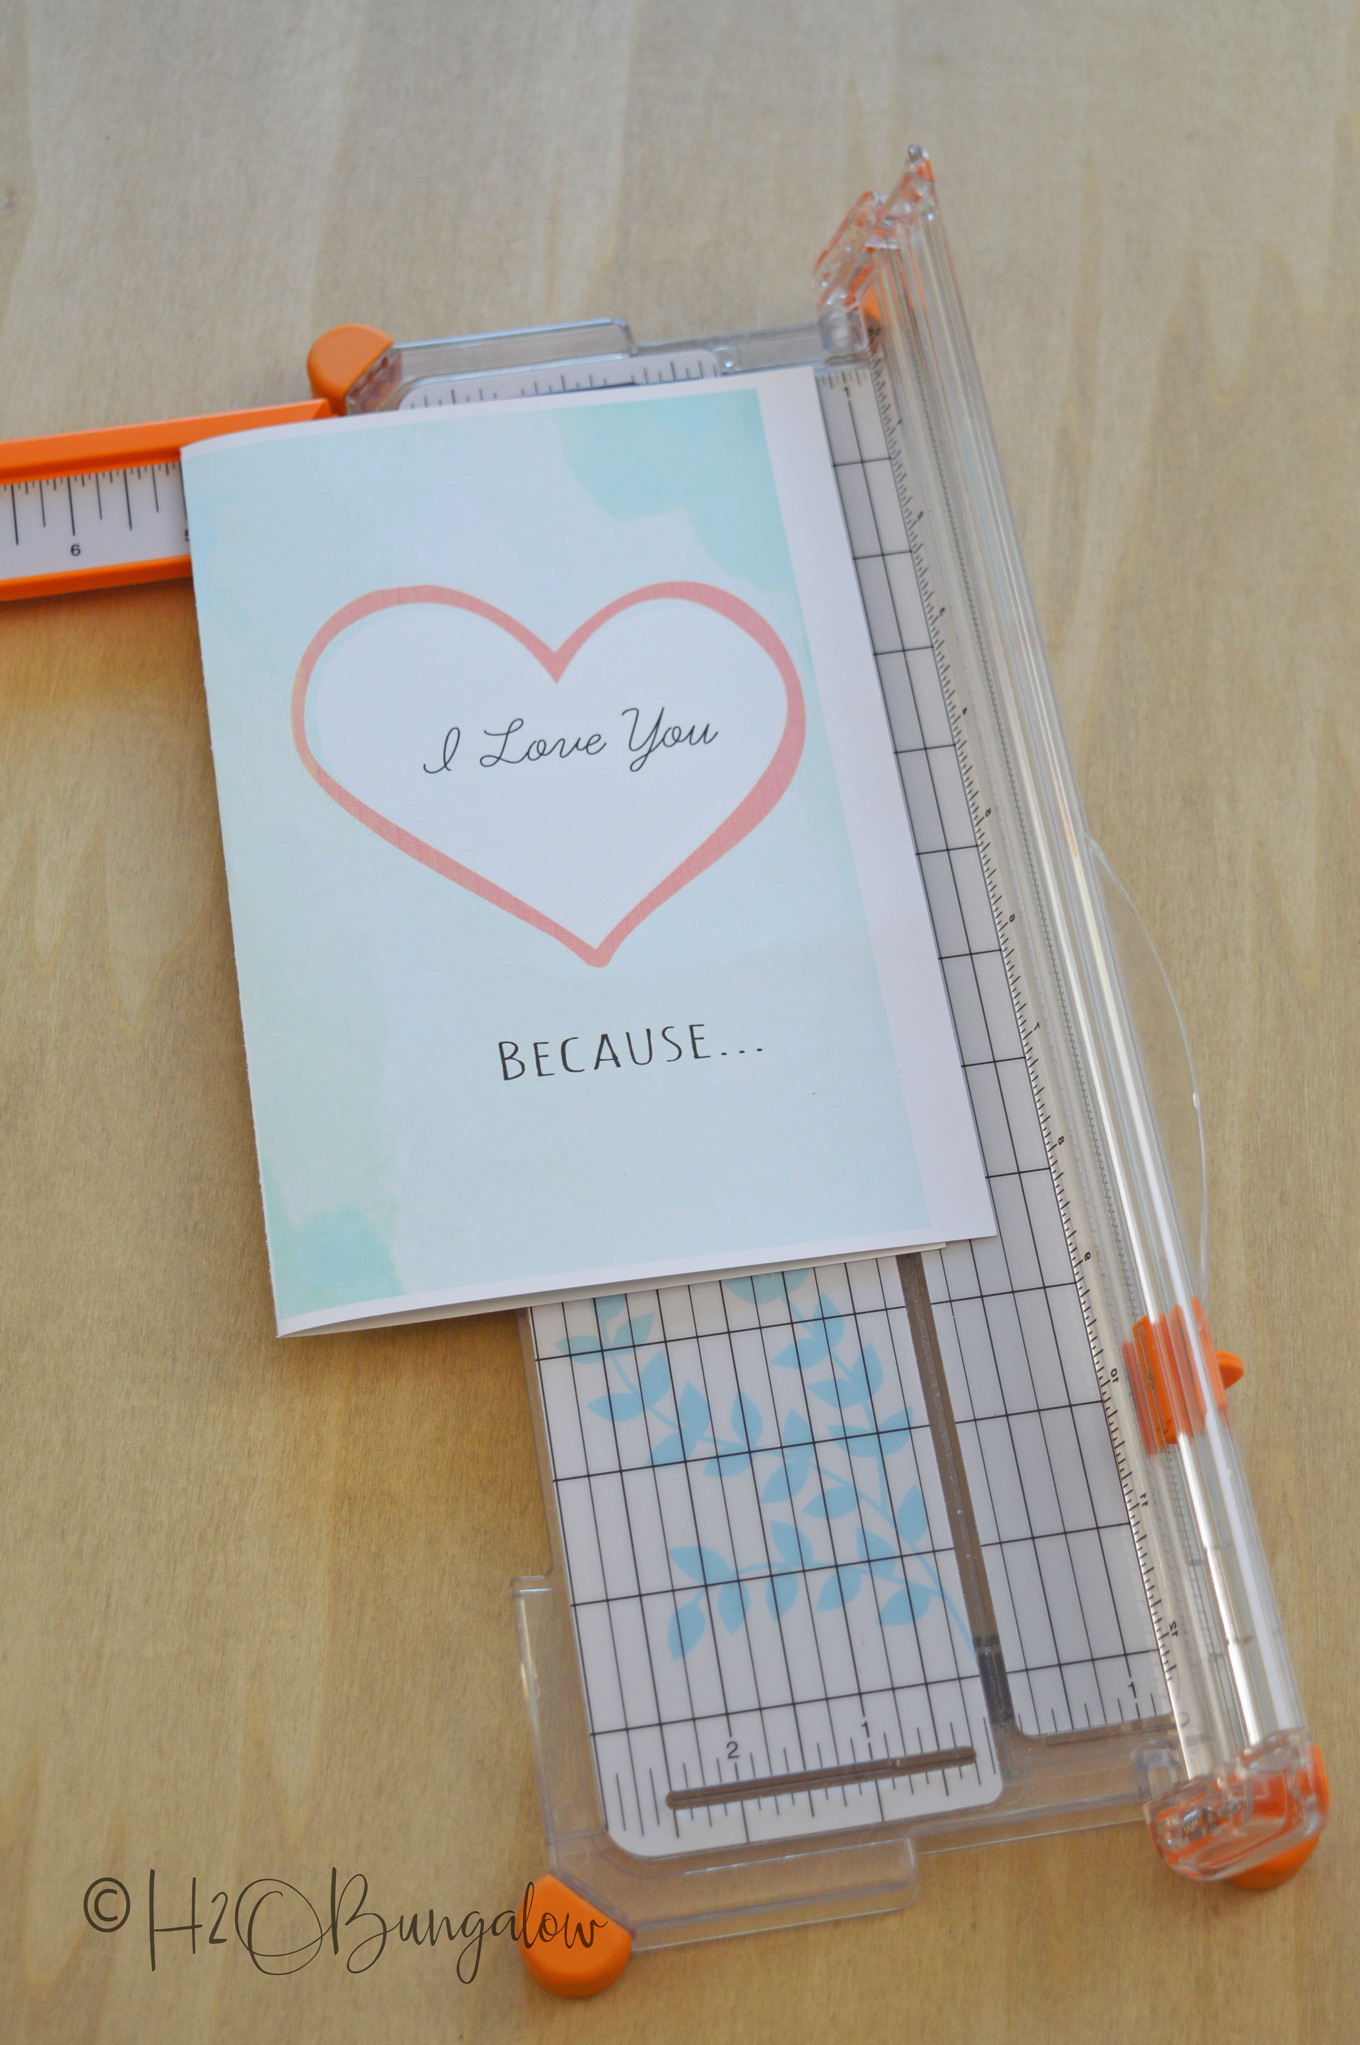
Step Five: Trim the Valentine’s Day card. You’re almost there! With your pretty handmade Valentine’s Day card folded, line up the card on the paper cutter and trim the two outside edges at the same time. Press the cutter firmly when cutting. Next, open the card and trim the top and bottom edges.
Step Six: Fill the inside of the card with meaningful thoughts of why that person is special to you. Have fun thinking about you’ll put in your handmade Valentine’s Day card. Make it special and real.
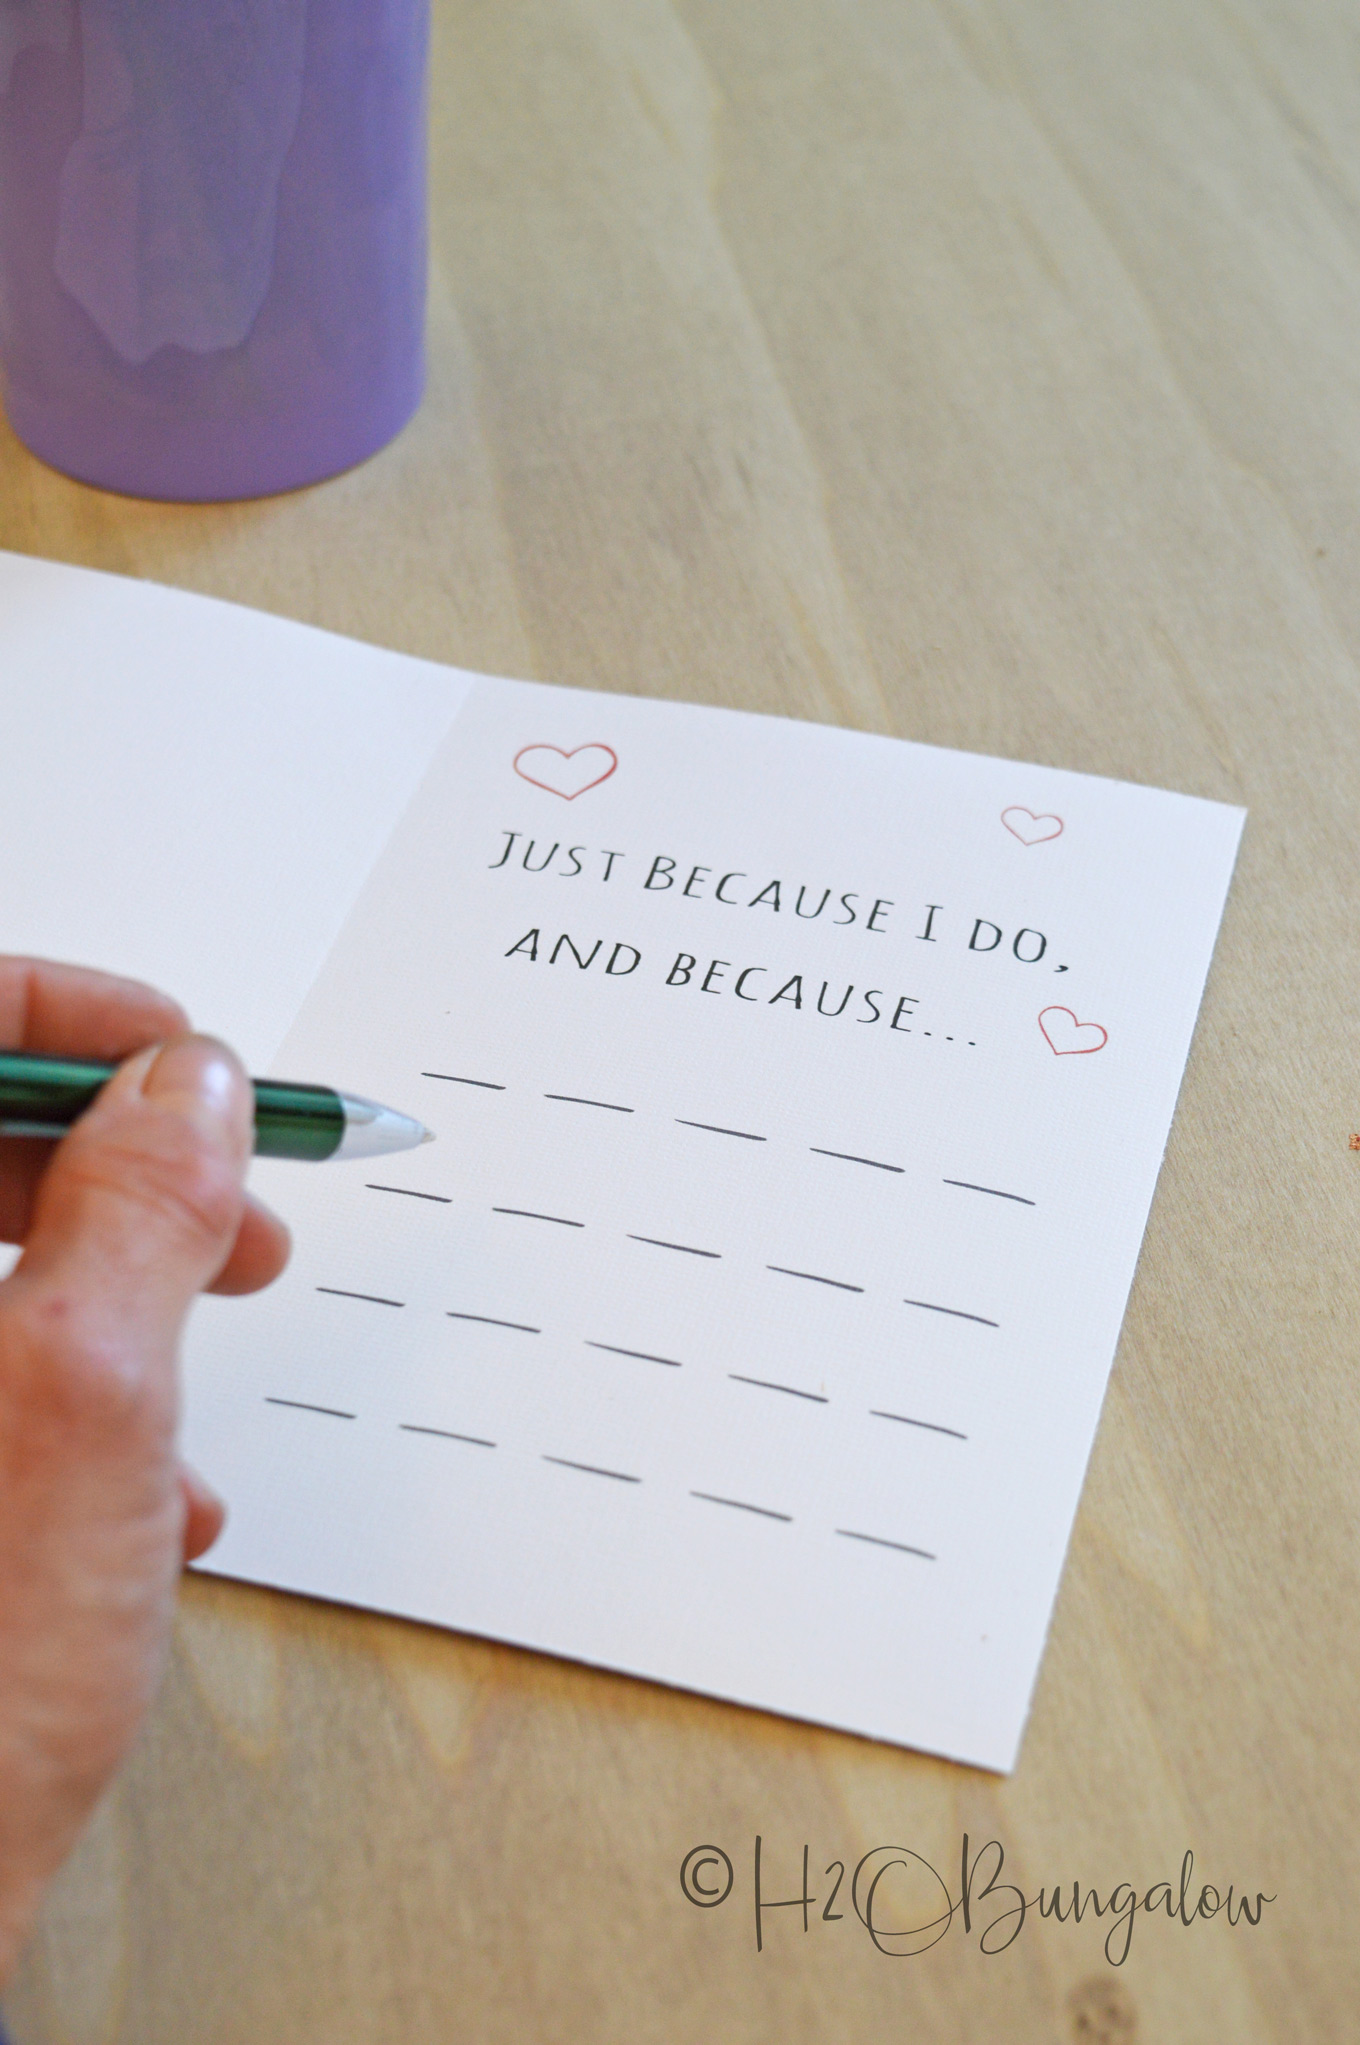
A card’s just a card until you make it personal and meaningful. Then it becomes a keepsake, especially when it’s handmade.
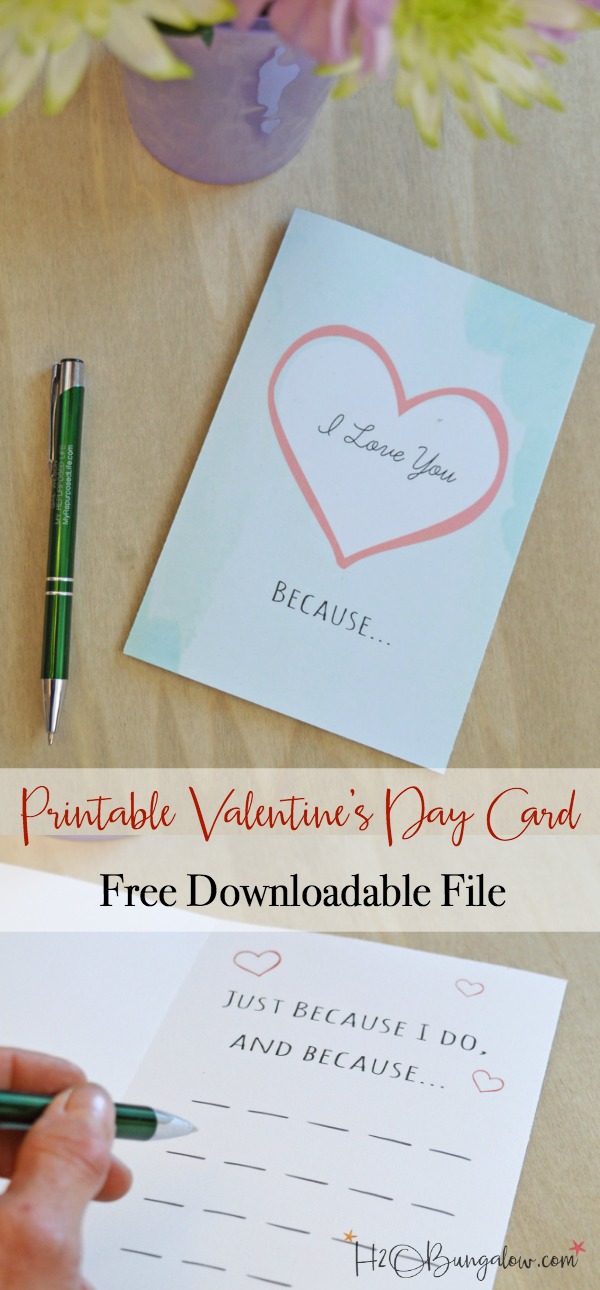
Love my card? Please pin it and share it on Facebook!
You may also like some of my other favorite Valentine’s Day-themed projects.
Valentines Word Message Blocks
Hand and Footprint Valentines Ideas
I don’t consider myself very crafty, but if I can figure out how to make a Valentine’s Day card, you guys can too. In fact, I’ll bet a lot of you would do one better and make this Valentine’s Day card and then maybe add some extra little personal touch or embellishment.
Would you?… add more embellishment on this Valentine’s Day card? Perhaps some glitter or foil heats? Or are you a minimalist and like it the way it is? Let me know in the comments below!

Erlene says
It’s amazing how much cards cost nowadays. This card is great because you can personalize it. Thanks for sharing on MM. Pinned.
Wendi says
Hi Erlene, and thank you! Every year I say I’m going to make a card, I’m happy I actually did it this year. I think they are so much more personal and yes they’ve gotten so expensive!