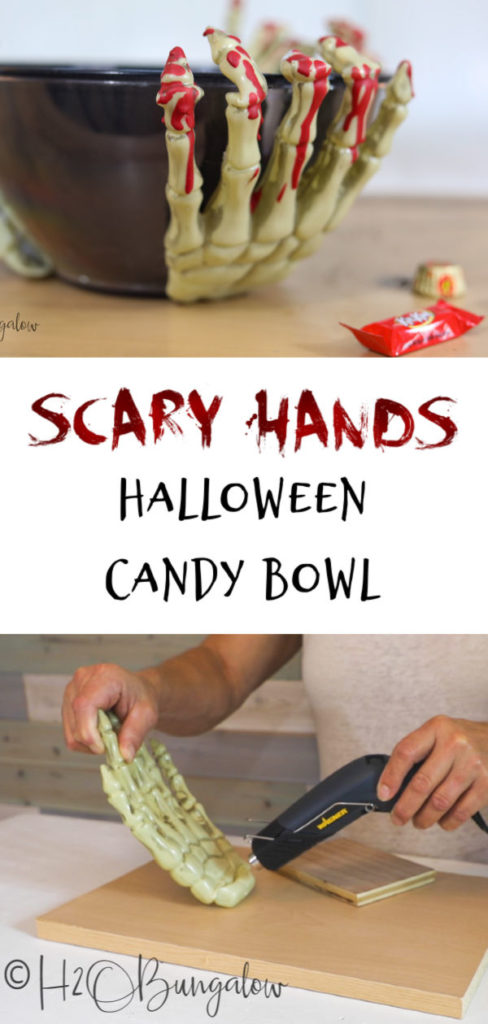
I made a spooky DIY Halloween candy bowl from a few dollar store supplies for today’s project. Halloween parties and trick or treating are even more fun when you have a DIY scary serving bowl to hold candy for the little goblins and princesses who come to your door. Best of all, you can make this Halloween bowl in a few hours with a few dollar store finds.
To make my home especially attractive to the little trick or treaters we get, I’m pulling out all my Halloween decor this year. I’ve made a few more different DIY drilled pumpkins for the walkway. It will be so much fun to open the door with my new creepy Halloween candy bowl!
I know what you’re thinking, this is way off on what I usually create.
Yes, it is.
This post is sponsored by Wagner. This post also contains affiliate links and I will be compensated if you make a purchase after clicking on my links. Thanks so much for supporting the brands that keep H2OBungalow !
I accepted a challenge to come up with a Halloween themed project using the new Wagner HT400 Heat Gun. I used both of the two heat settings, 450° and 680° for my skeleton hands candy dish. There are lots of uses for this heat gun. After reading about it and the reviews on Amazon, I see it’s a favorite tool for embossers as well as shrink wrapping, light soldering and lots more.
How to Make a Spooky Halloween Candy Bowl
Supplies used to make a spooky DIY Halloween Candy Bowl like mine. Most were found at the dollar store making this an inexpensive Halloween decoration!
- Wagner HT400 Heat Gun
- Clear bowls – 2. The bowls should be a few inches shorter than the skeleton hands so they can bend over and hold the edges.
- Black spray paint for plastic.
- Plastic skeleton hands – 3
- Red Crayon
- Clamp
- Hot glue and glue gun
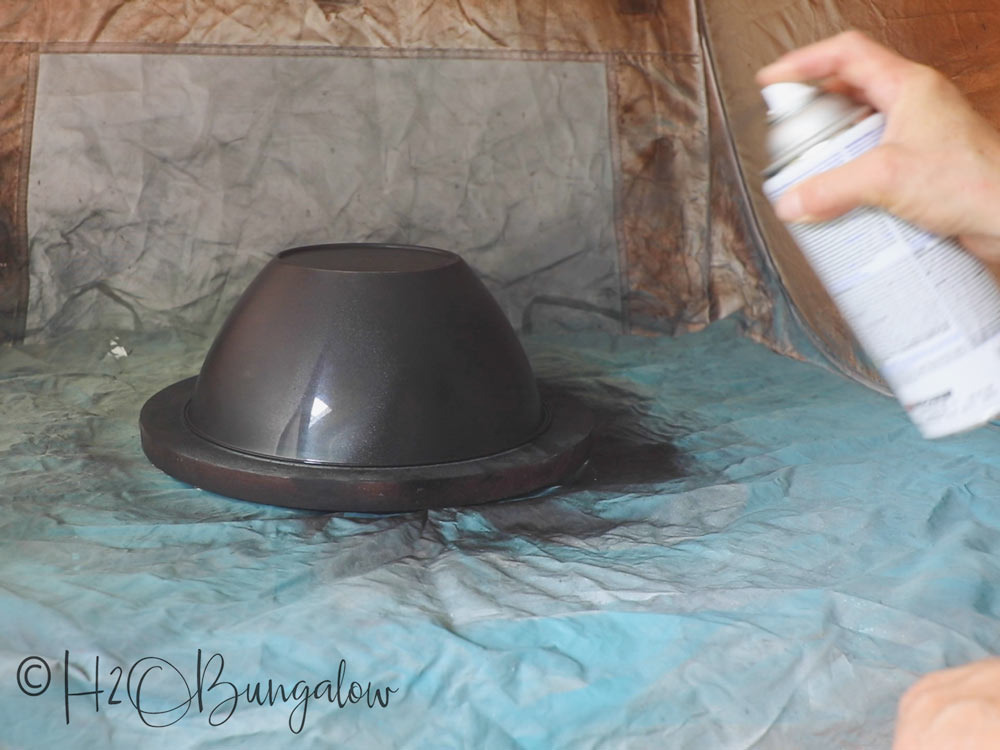
Step 1. Paint the candy dish black.
If you don’t have a black candy bowl, you can make one by painting the outside of one bowl. Set aside to dry when done.
Next, place painted black bowl into the clear bowl. Using two bowls like this prevents the painted surface from getting scratched and keeps the painted surface away from candy or other goodies.
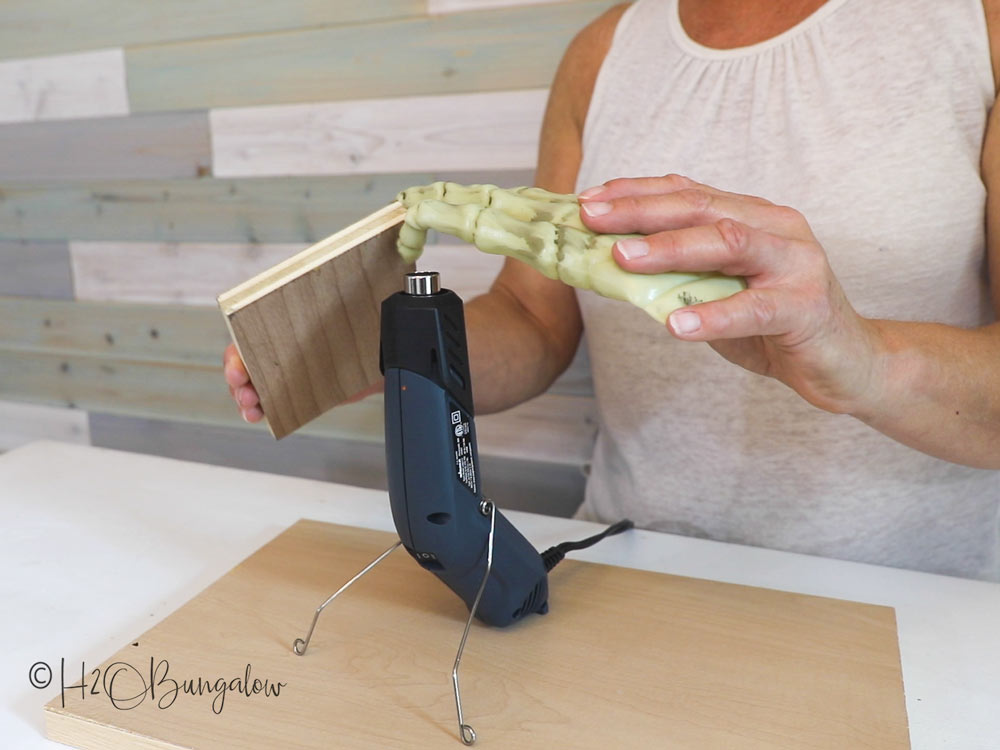
Step 2. Mold plastic skeleton hands with the heat gun.
You’ll see how I shaped my skeleton hands in the video, it’s pretty simple.
Use the Wagner HT400 heat gun to mold the skeleton hands. First flatten the bottom of the palm. This is where it will attach to the bottom of the candy bowl.
Next, hold the hands so the flattened palm aligns with the base of the bowl. Mark where the fingers touch the top rim of the bowl. This is where you’ll melt and form the fingers to curve over the edge of the candy dish.
Step 3. Add fake blood by melting a crayon onto the hands.
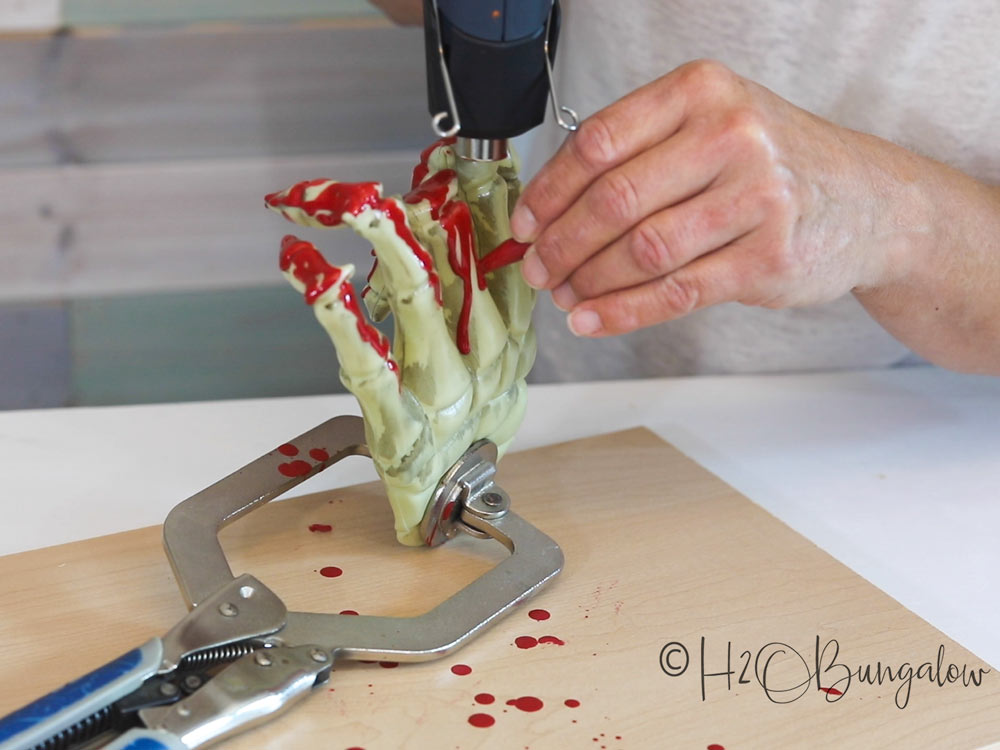
Take the paper off a red crayon. Next, using the low setting on the heat gun, melt the wax above the hands and let it drip over the skeleton hands.
Step 4. Glue hands onto outside of plastic bowl.
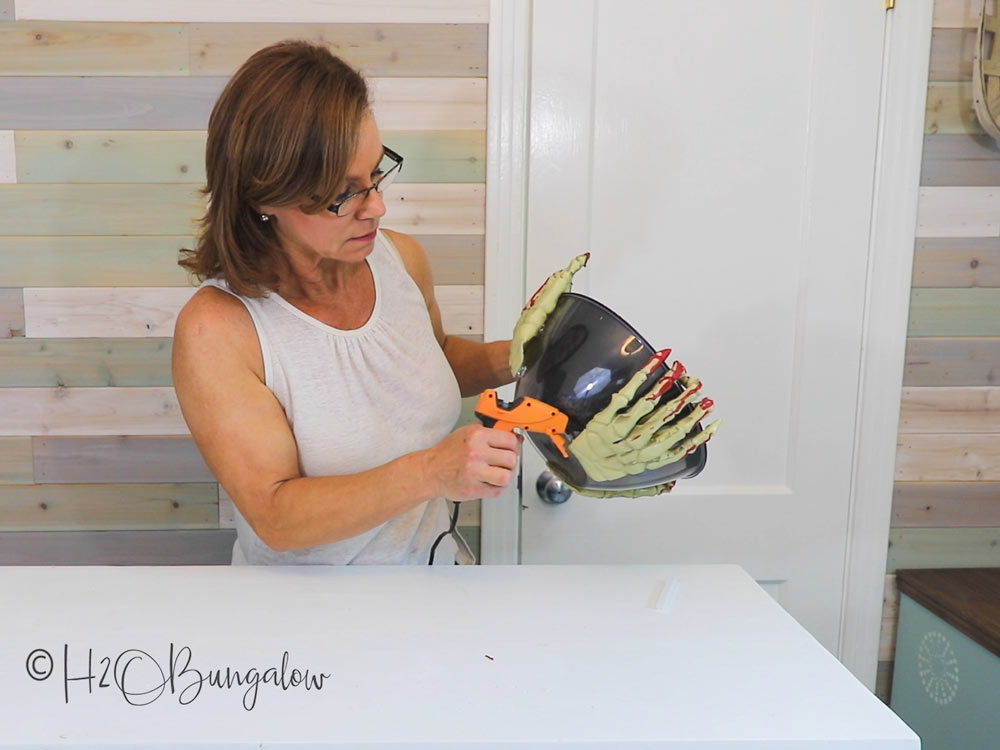
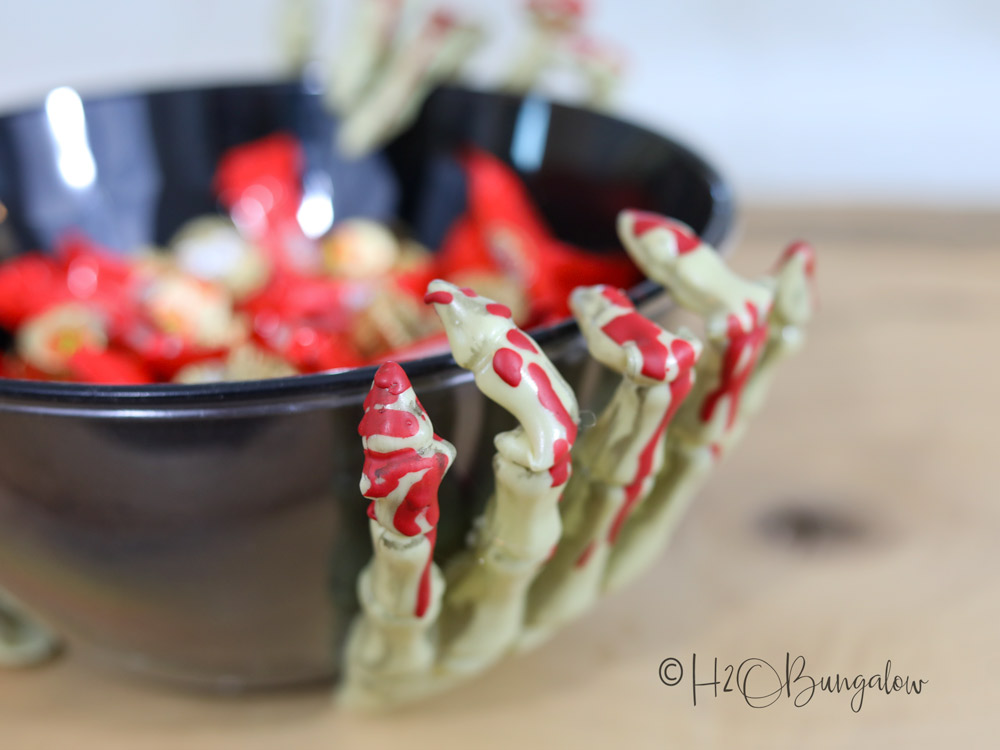
Hook the bent fingers over the top edge of the candy dish and use hot glue to attach the skeleton hands.
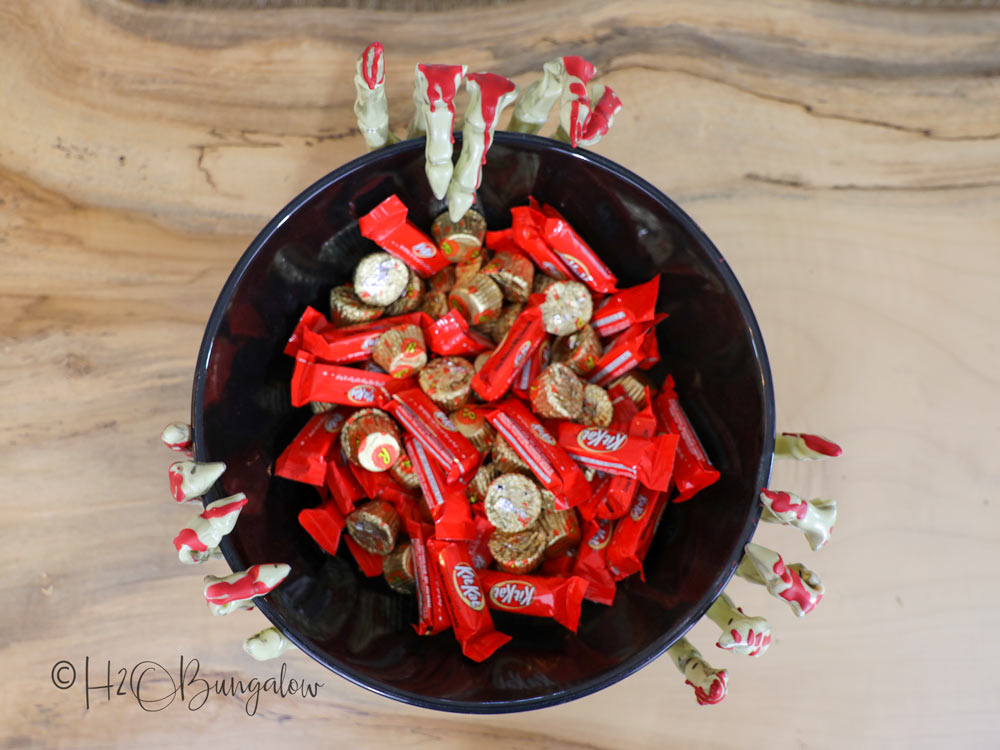
Step 5. Fill your DIY scary DIY Halloween candy bowl and enjoy!
Imaging how much fun it would be to open the door and serve trick or treaters with a spooky candy bowl like this one!
Don’t you love this budget friendly DIY Halloween bowl? I think it would be great at a party with chips in it too!
Pin this for later and share with your friends on Facebook!
Spooky DIY Halloween Candy Bowl
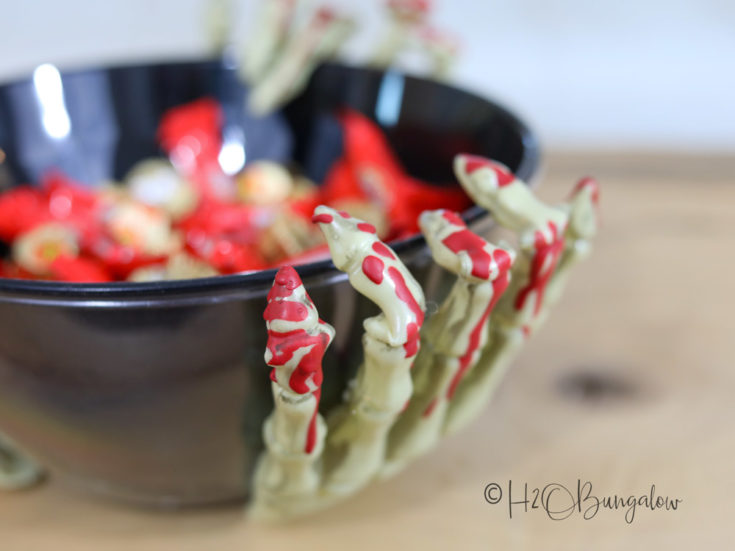
Great your trick or treaters with a spooky DIY Halloween candy bowl or serve up a scary serving dish filled with chips or food at your next party!
Materials
- Clear bowls - 2. The bowls should be a few inches shorter than the skeleton hands so they can bend over and hold the edges.
- Black spray paint for plastic.
- Plastic skeleton hands - 3
- Red Crayon
Tools
- Wagner HT400 Heat Gun
- Clamp
- Hot glue and glue gun
Instructions
- Paint the outside of one bowl. Set aside to dry when done.
- Next, place painted black bowl into the clear bowl. Using two bowls like this prevents the painted surface from getting scratched and keeps the painted surface away from candy or other goodies.
- Use the Wagner HT400 heat gun to mold the skeleton hands. First flatten the bottom of the palm. This is where it will attach to the bottom of the candy bowl.
- Next, hold the hands so the flattened palm aligns with the base of the bowl. Mark where the fingers touch the top rim of the bowl. This is where you'll melt and form the fingers to curve over the edge of the candy dish.
- Take the paper off a red crayon. Next, using the low setting on the heat gun, melt the wax above the hands and let it drip over the skeleton hands.
- Hook the bent fingers over the top edge of the candy dish and use hot glue to attach the skeleton hands.
- Fill your DIY scary DIY Halloween candy bowl and enjoy!

Michelle says
This is such a great idea! I’ve seen bowls similar to this in the store and they’re expensive! This is so much better.
Wendi Wachtel says
Thanks so much Michelle!
The spooky hands candy bowl was easy and inexpensive to make, that’s always a win-win! I’m so glad you like it! Thanks so much for your visit and note.