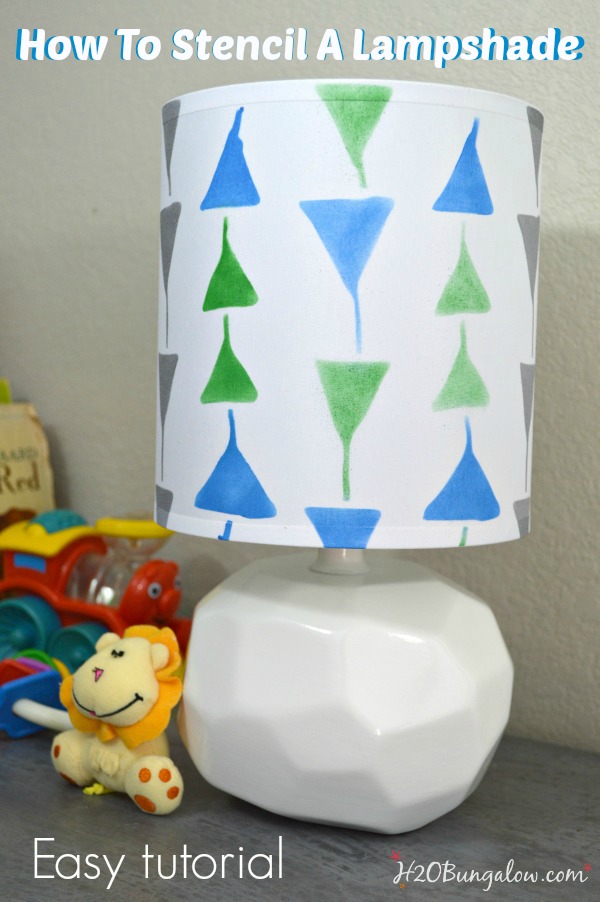
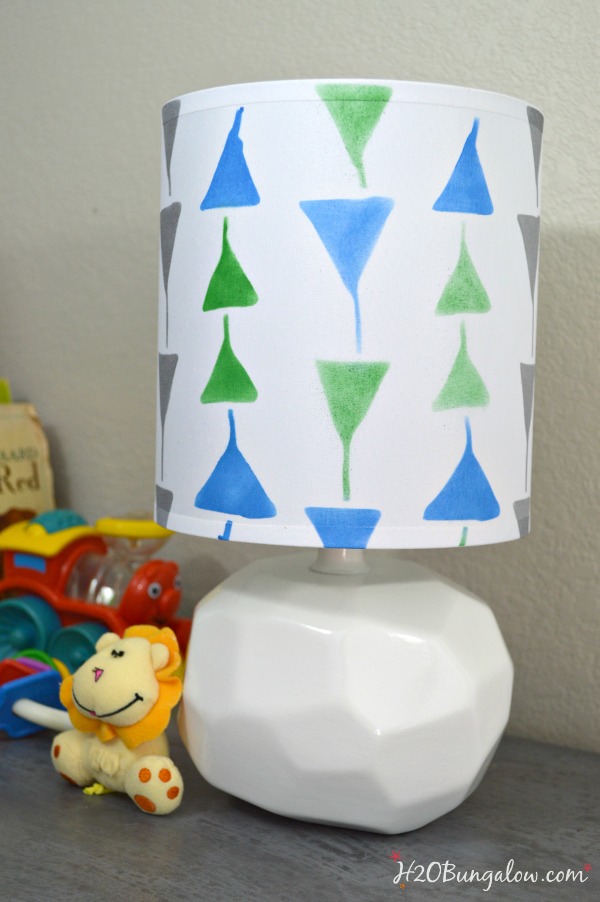
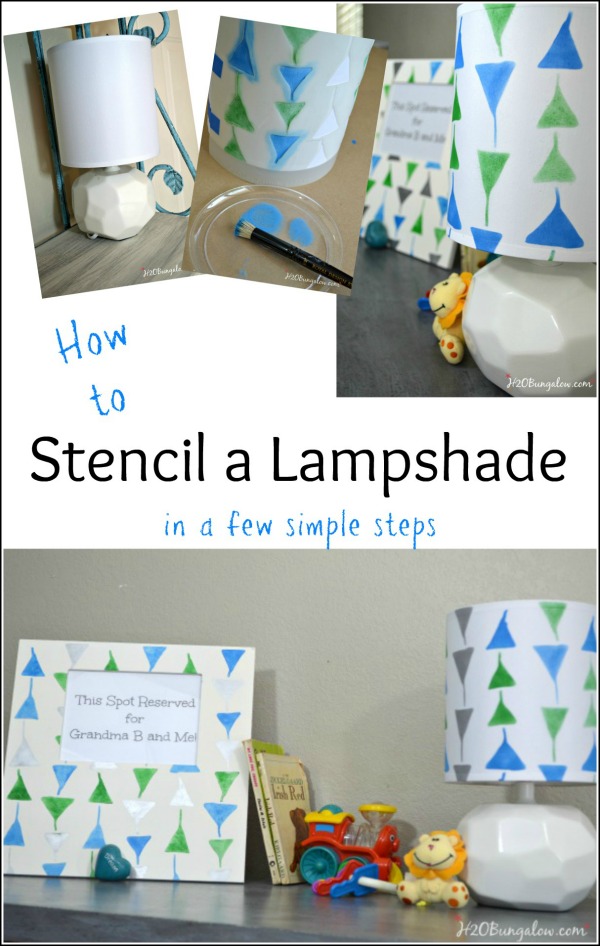
I’m sharing how to stencil a lampshade today. Lamps are expensive, especially good quality ones. Most of the time I think of swapping out a lampshade for a different color or shape and call it a day. Sometimes, it’s not enough. One of the easiest ways to update a lamp is by adding a little color or interest to the lampshade.
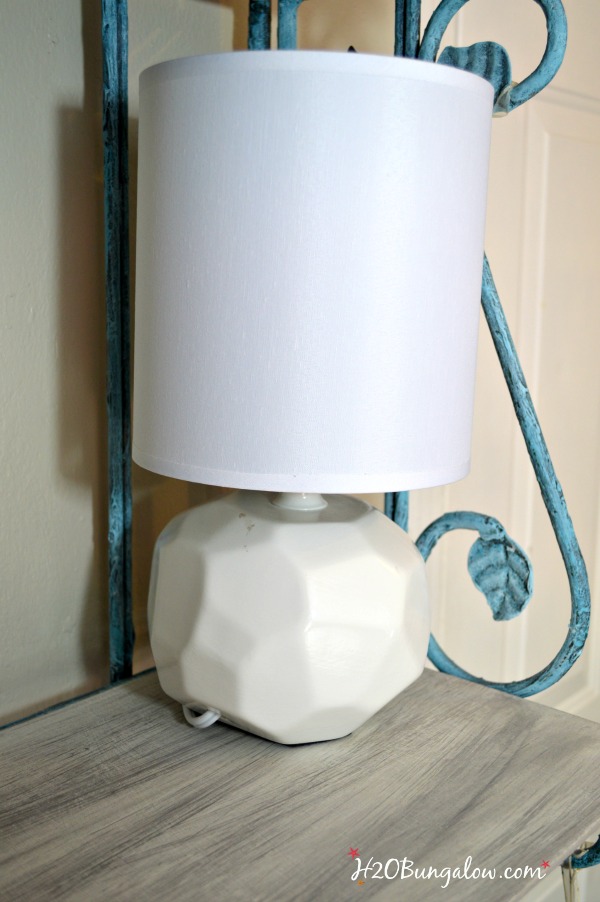
I found this cute little lamp at Walmart. I love the shape and have plans for it on another project. It was just the right size for sharing my tutorial on how to stencil a lampshade today, so I figured I’d make good use of it before I take it apart… Do I have you curious? I’ll share this lamp again when I attempt my big idea, and hopefully it works. I’m off track, let’s get back to stenciling a lampshade!
Here’s a good tip on selecting a lampshade to stencil. If you plan to use a big design on a full sheet like I used, you will want to find a barrel style lampshade where both the top and bottom are the same size. If you plan to use random stenciled elements, any shape of lampshade will work.
Supplies needed to stencil a lampshade like this one
Lampshade
Stencil, I used Royal Design Studio’s Triangulations Furniture Stencil for this project
Stencil brushes
Paint or stencil cremes. I used blue, green and silver
Painters tape
Paper towel and plate
Simple steps to stencil a lampshade
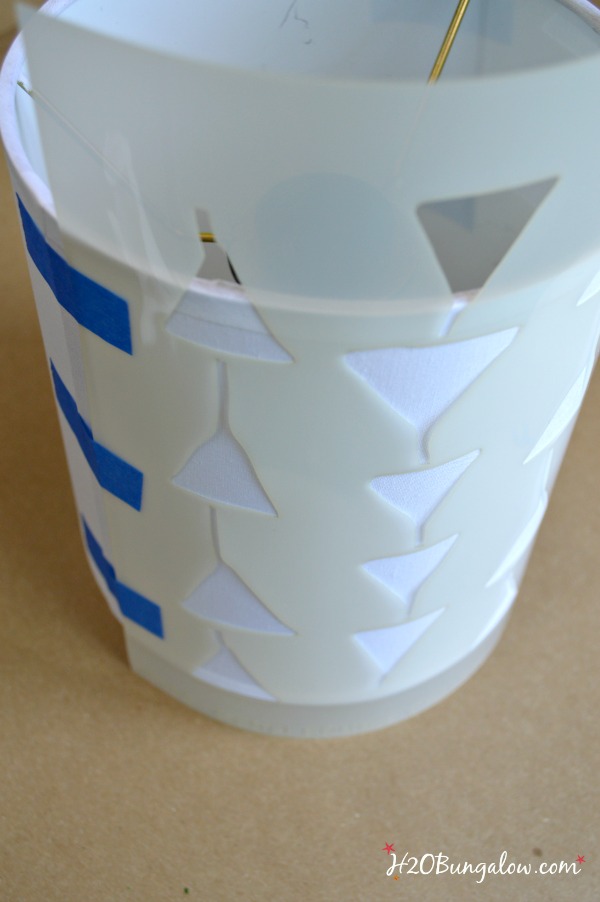
Position the stencil in place on the lampshade and secure it in place with painters tape.
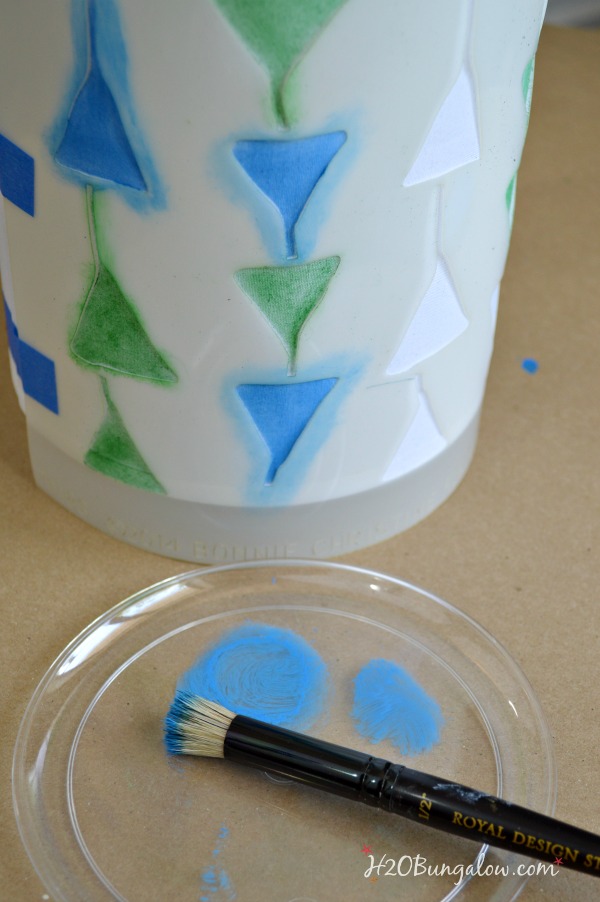
Apply the first color in a pattern or have fun with stenciling the color in a random order. Use the driest stencil brush possible when applying the stencil paint. Dip only the tip of a stencil brush in the paint, tamp off the excess onto a paper towel to get the right amount of paint onto your stencil brush. Lampshade material is usually thin and somewhat delicate, so be sure not to press too hard onto the lampshade so it doesn’t crease.
Apply the second color and then the silver.
Carefully remove the stencil from the lampshade. Wash with warm water if needed to remove any paint residue before reapplying to the next section of the lampshade. Place the stencil over the last stenciled strip to line up the stencil pattern and secure with the painters tape. Stencil in the colors.
Allow the lampshade to completely dry before putting it back onto the lamp base. All you have left to do is to stand back and enjoy your new stylized lampshade! We are talking easy, friends:)
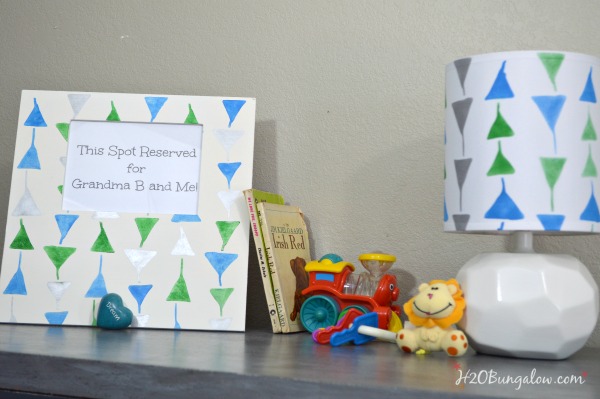
I loved this stencil pattern so much, I couldn’t resist using it on a little picture frame too.
One of my dear blogging friends, Marie from Interior Frugalista, had her first grandchild a few months ago. I loved the sweet blue and green colors her daughter choose for the nursery. Of course Marie made several beautiful furniture pieces for his nursery. With these nursery colors in mind, I made the photo frame for a special picture of Grandma B and little Westin together. I hope the colors match and I’m shipping this off to Canada shortly:)
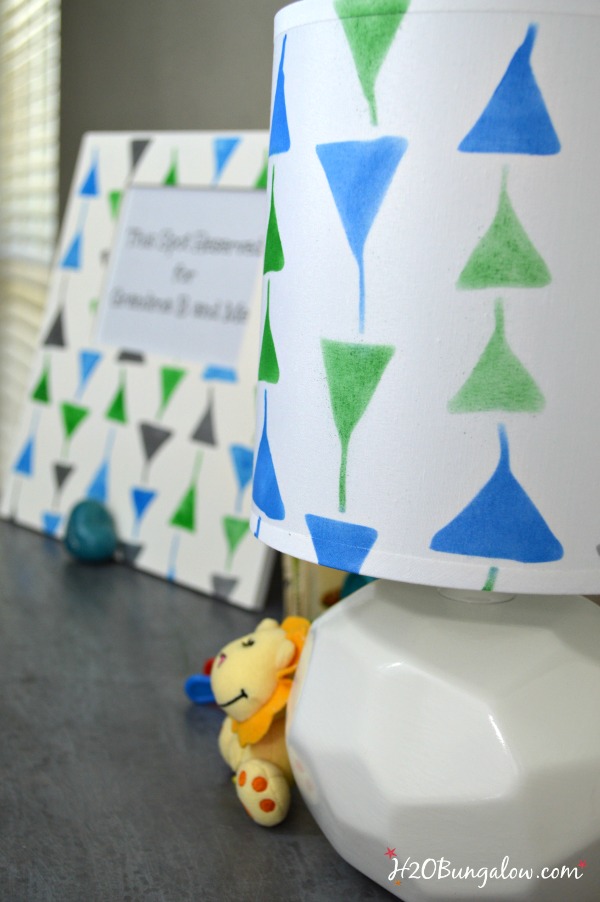
A little imagination goes a long way when you stencil a lampshade. This is a budget friendly way to add color, style, update a plain lamp or make a room feel coordinated.
Now that I’ve shared how to stencil a lampshade, is your mind filling with colorful ideas? Mine was as soon as I finished this lampshade I was scouting my house for more lamps to redo!
Don’t miss a single creative idea I share!
Love my posts? Click here to get my posts sent to your mailbox or follow me here on Bloglovin.
Following H2OBungalow on Facebook? It’s one of my favorite places and I share lots of extra projects, inspiration for the home and content I don’t share anywhere else.
Love Instagram? Me Too! Follow H2OBungalow on Instagram and see my projects in process and lots more.

Pam@over50feeling40 says
So cute…thanks for sharing your creativity with the Thursday Blog Hop!
Wendi says
Thanks Pam. It was an easy way to add color to a plain lamp!
Sarah says
What a great idea! I would have never thought of doing that – but this could be done with endless options!!!
Thanks for sharing!
Sarah 🙂
Wendi says
Yes! There are so many ways and styles you could use a stencil to update a lampshade. I should warn you, you’ll never look at a plain lampshade the same again! LOL Thank for your visit and comment!
Falon at A Disney Mom Blog says
This is a great idea! I can never seem to find lampshades with patterns I like so this is the perfect solution. Thanks for sharing!
Wendi says
You’re welcome! I had the same challenge too. I couldn’t find a pretty lampshade that had colors or a pattern I wanted. When I did, the price was not what I wanted.Thanks so much for your visit and comment:)
Mary-In the boondocks says
Wendi and Marie, you guys are too cute! Such a wonderful friendship! Now you make me want to become a grandma too! 😉
Wendi says
Thank you so much Mary:) The blogging friendships I’ve made have been wonderful, even if we’ve never met. You’ll love the grandparent stage. It’s having all the fun of little ones without the work!
Marie@The Interior Frugalista says
You just made my day girlfriend!!! I was following your post and admiring the lampshade stencil and the pretty picture frame. When I read the text inside the frame I thought, “hey, wait a minute, I go by Grandma B”. You are the best! I have the perfect picture of my cutie pie Westin and I to put inside the frame. Can’t wait to show my daughter and add it to the bookcase in his nursery. I promise to take a picture and send it to you! In the meantime, I have a Canada Post delivery person to track down. LOL
Wendi says
Hi! I’m so behind from Haven:) I’m so glad you liked this! I wish I could have seen your face as you were reading the post.. how funny! Of course I want to see a picture of you and Westin in the frame! Hugs!
TwoPlusCute says
Cute idea, I will pin it in my pinterst board for toddler room and nurseries. 🙂
Wendi says
Glad you like the stencil idea. It’s an easy was to add color and style to a baby’s room:)