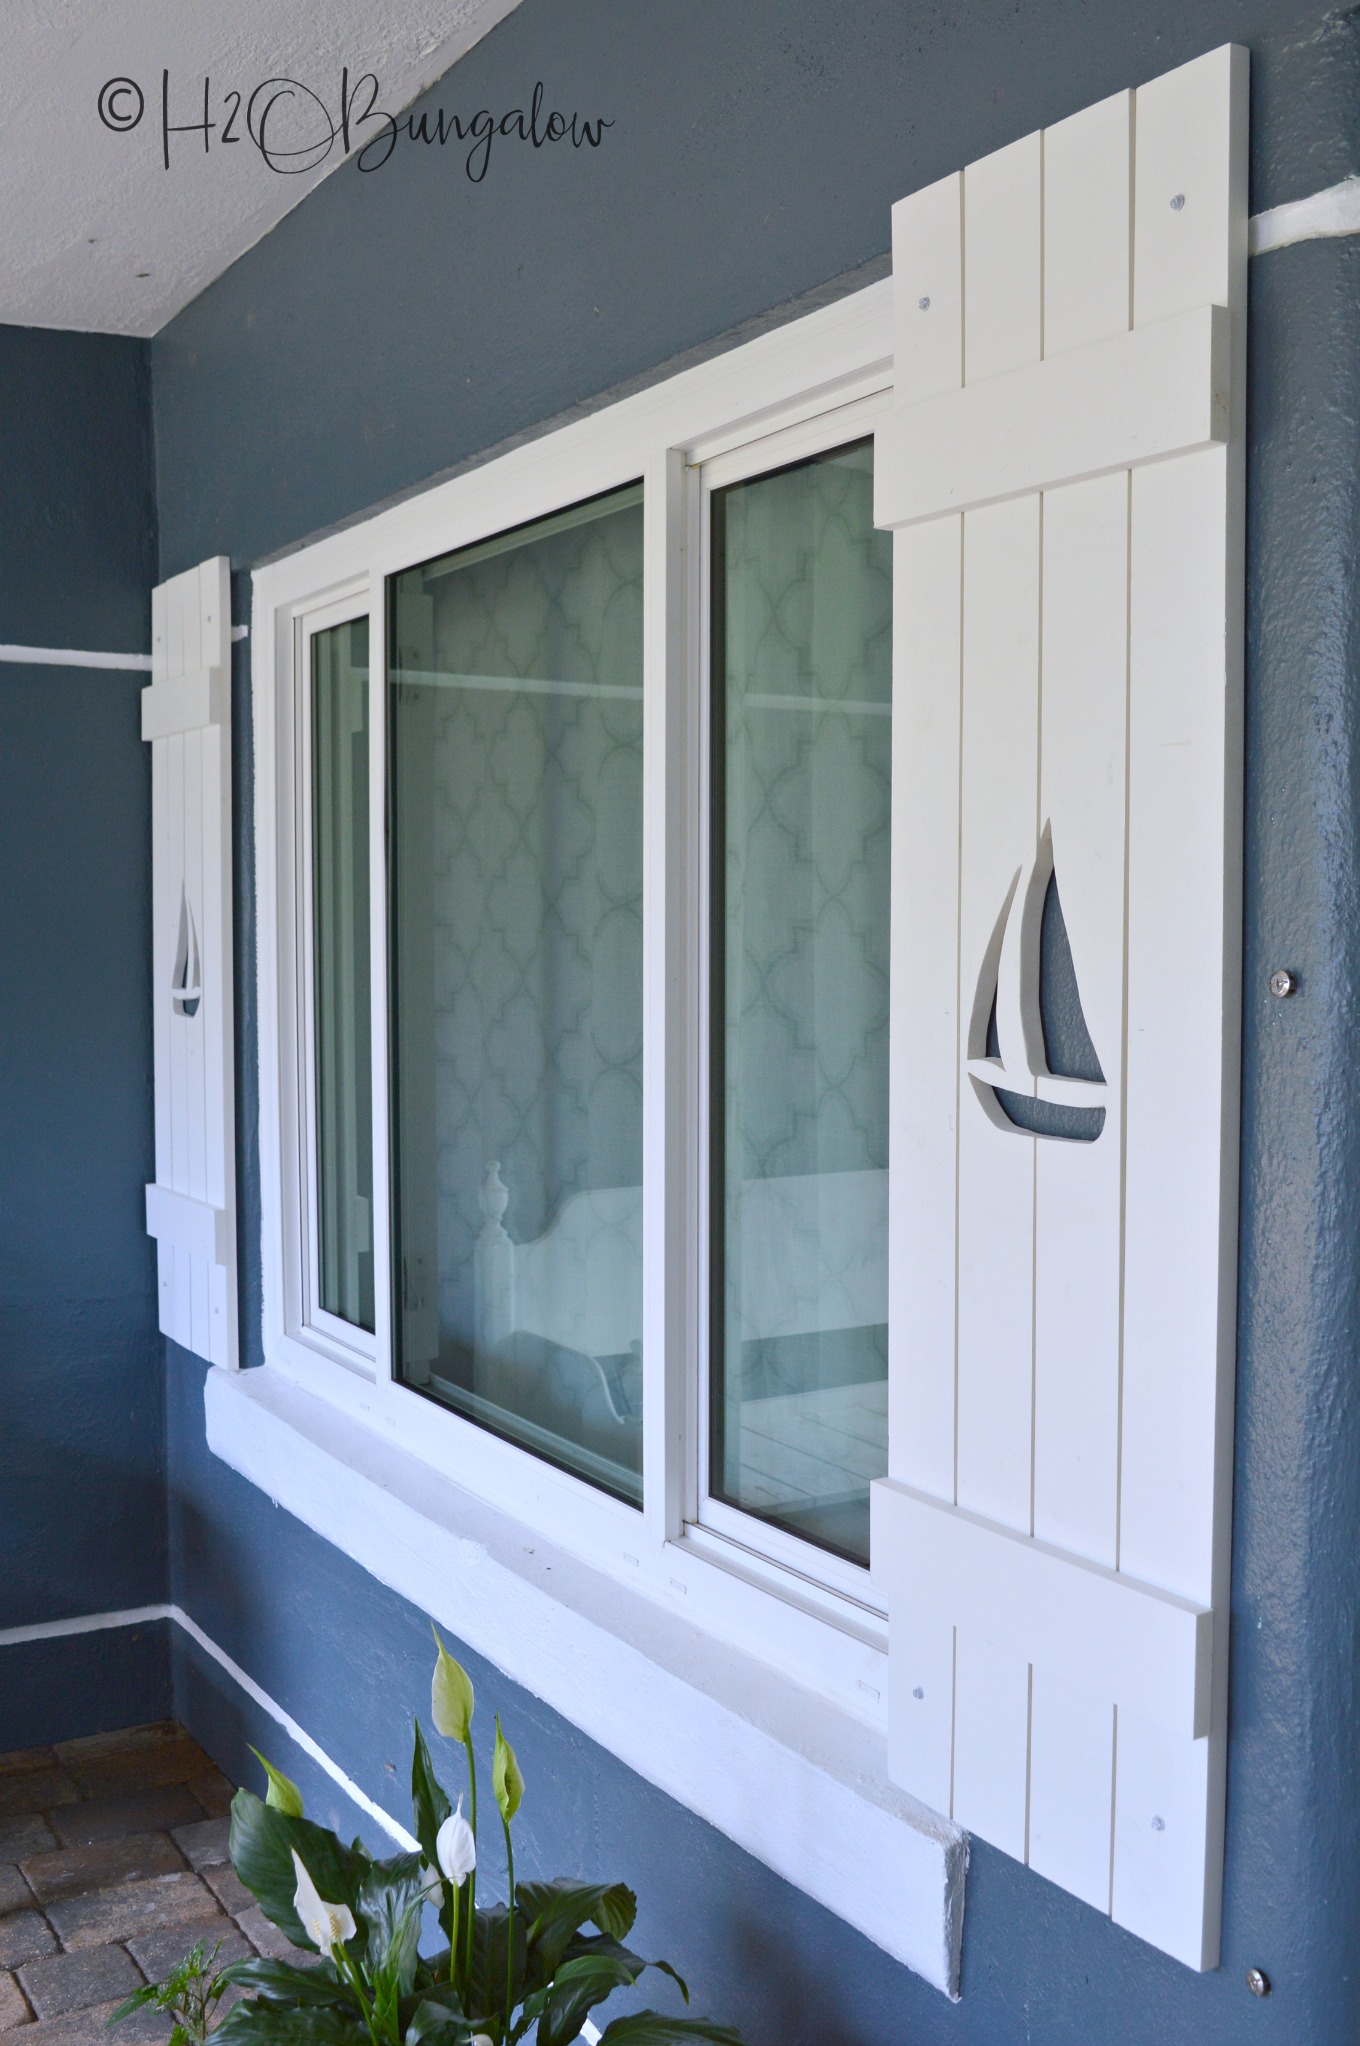
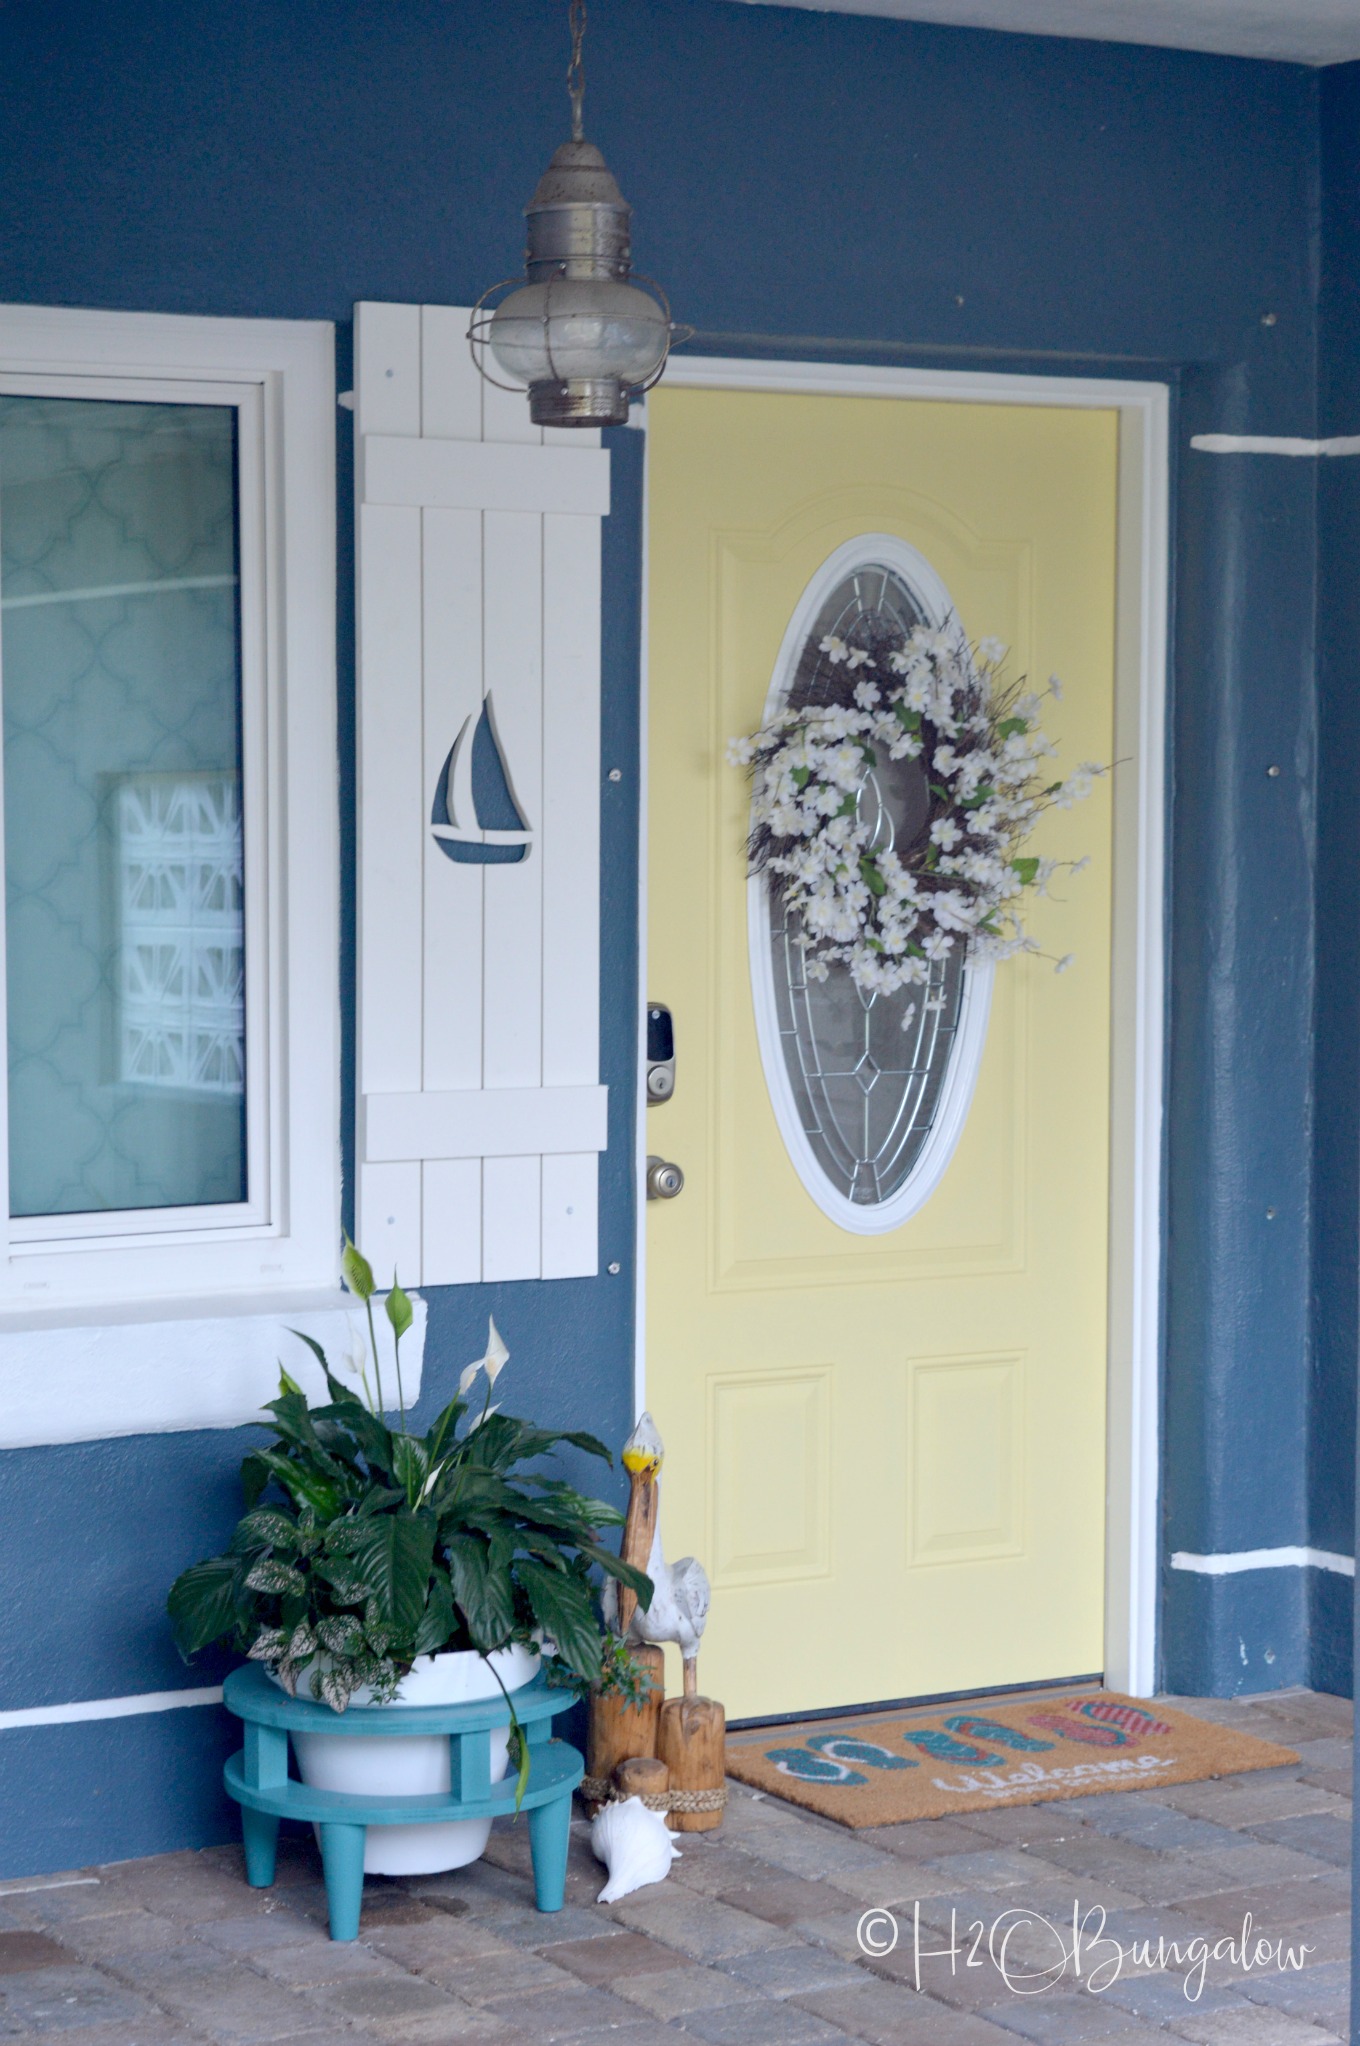
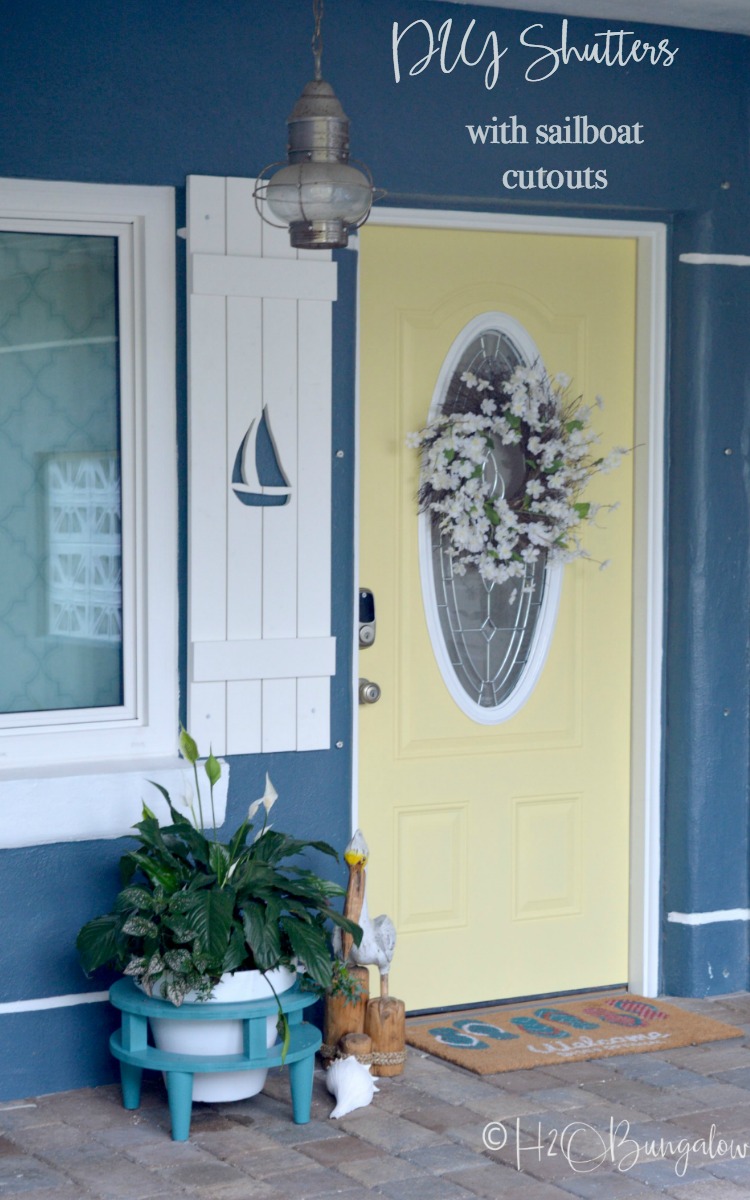
Today, I’ve got a video and a tutorial to show you how to make DIY shutters with sailboat cutouts. I made my sailboat cutout shutters with PVC because they will last for years and I don’t need to paint them. Besides being crazy durable they are also lightweight and easy to install. Even more, these easy to make, outdoor decorative shutters are perfect for a beach bungalow or cottage style home. I choose colonial board and batten style shutters because they are perfect for this style of DIY shutter cutouts. I share my own sailboat shutter cutout design below that you can download and tips on how to make a shutter cutout if you want another design.
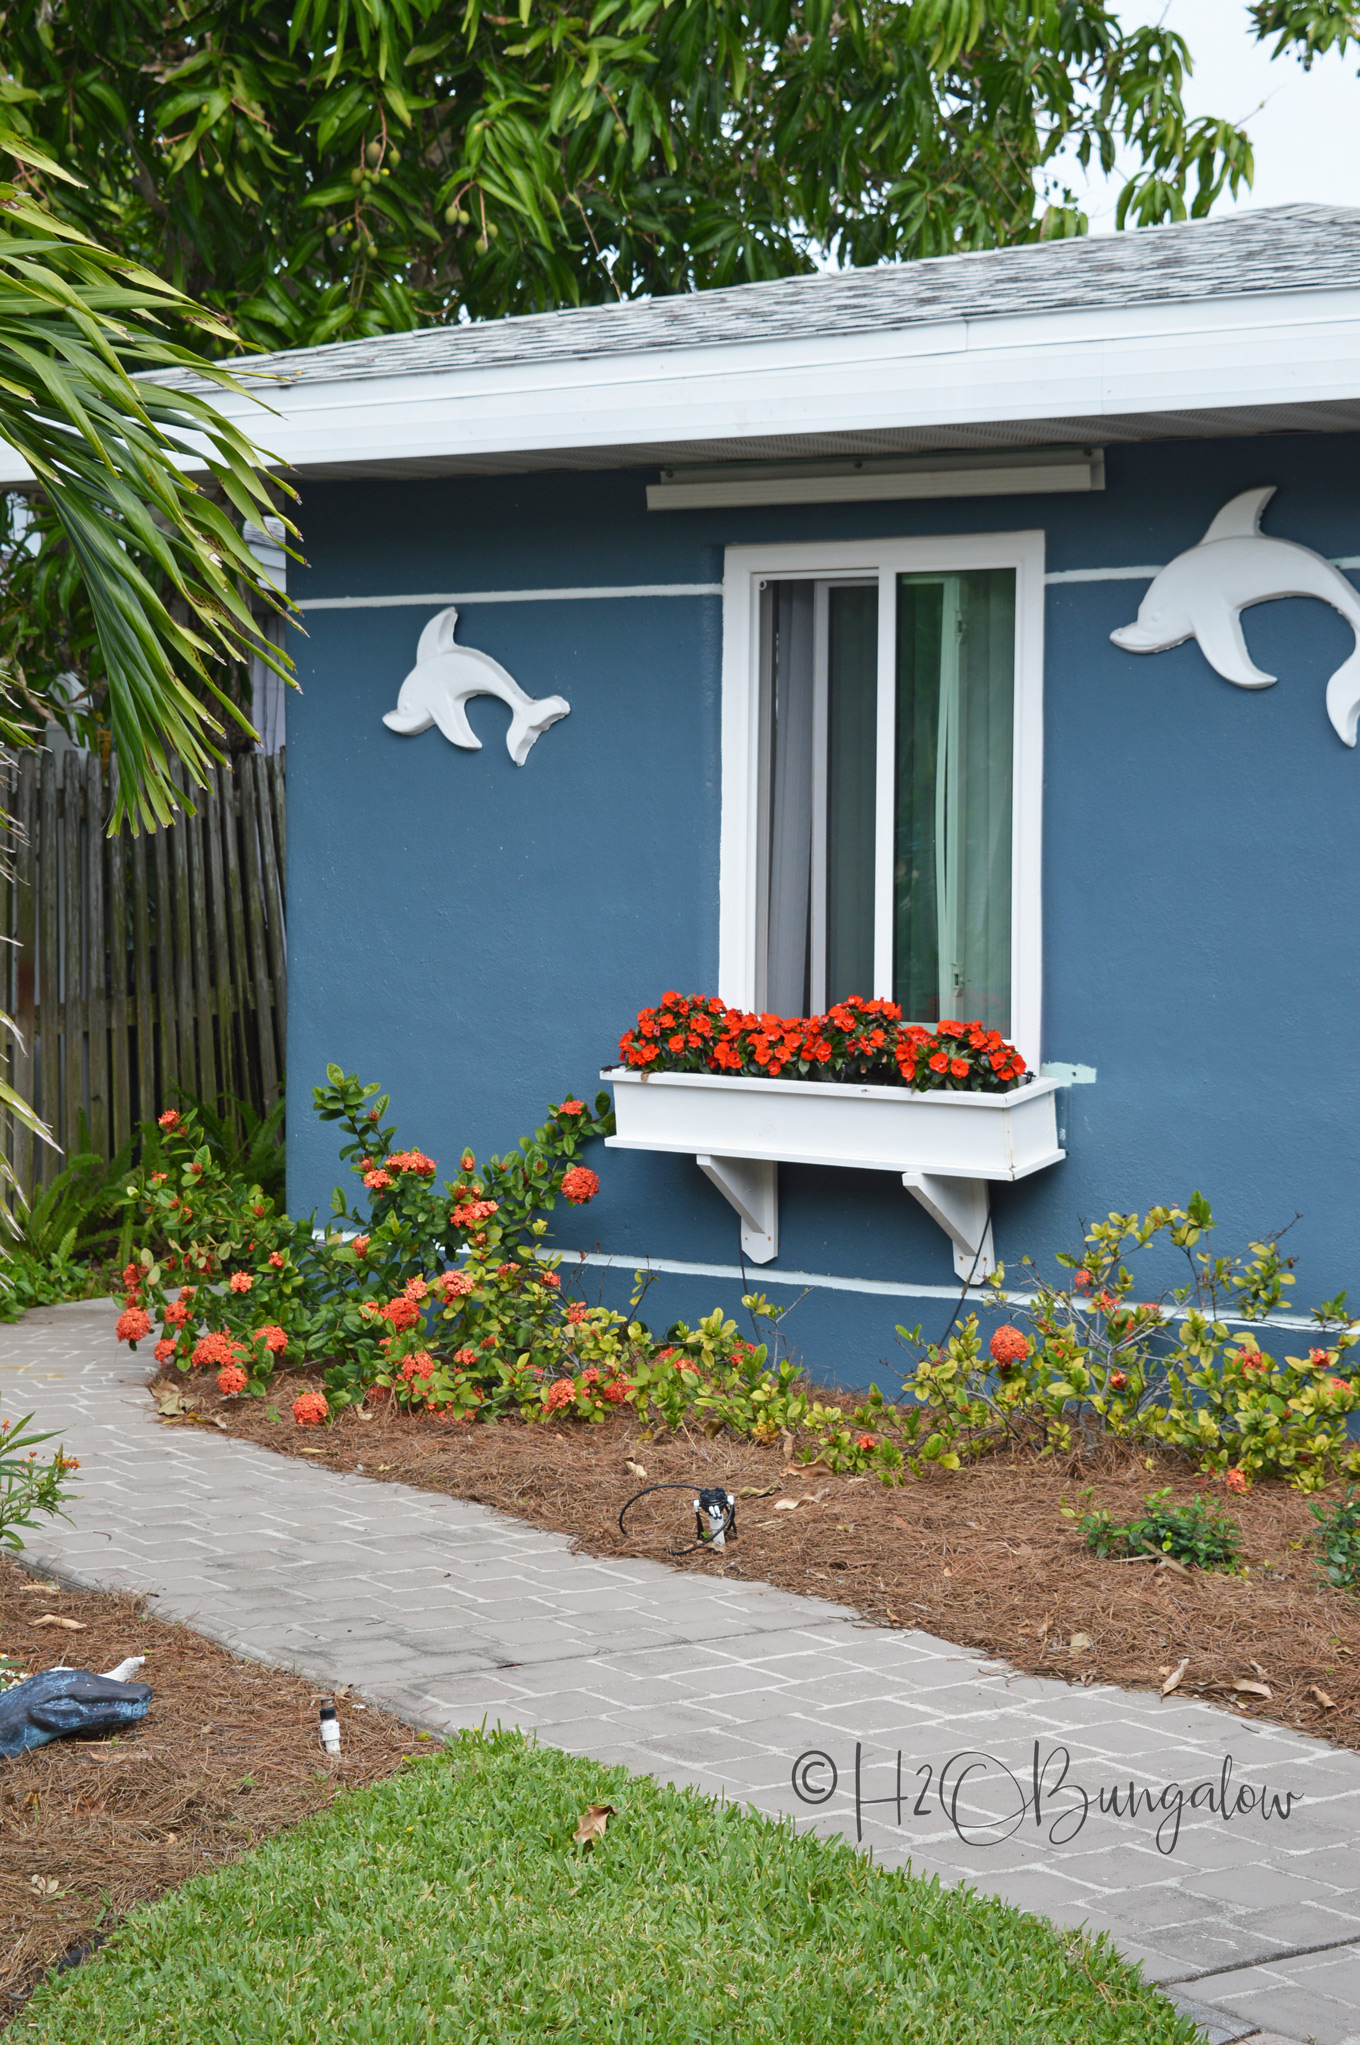
While I liked the concrete dolphins our home came with, I didn’t love them. Even after adding the DIY Flower Box, I thought the house needed more of something to make it cozy.
Funny thing is, I hadn’t noticed that I never finished painting around this window or removing the old hurricane shutter hardware until I was ready to install my DIY sailboat cutout shutters! Anyhoo, Ive been eyeing coastal shutters with sailboat cutouts for the longest time. But at $350+ per set of shutters it wasn’t gonna happen anytime soon!
You can make sailboat cutout shutters for about $60 a pair my friends! I made a quick video on how to make DIY shutters with sailboat cutouts so you can see how easy this project was to make. There’s also a full tutorial below with lots of additional tips and information.
How to Make DIY Shutters With Sailboat Cutouts
I use affiliate links to help you find the supplies I used. You can read my full disclosure policy here.
Supplies needed to make decorative shutters with sailboat cutouts
- PVC boards – 3 1/2″ x 3/4″ (these boards are true sizes) You can find them at your local Home Depot.
- 1 1/4″ exterior deck screws
- Miter Saw
- Jigsaw
- Sand paper 80 grit and 120 grit
- graphite paper
- protective eyewear – I’ve been using chunky cheap ones, but love these cool ones! These protective glasses are also well rated and work over prescription eyewear! I just ordered them!
- face mask
My subscribers always get my templates and other freebies! It’s free, enter your email here and you’ll be redirected to a page where you can download my sailboat graphic to use on your own shutter project.
Step one: Measure your window and design your shutters size. You’ll see the diagram of mine below. I had to make mine a bit narrow because of hurricane shutter hardware that surrounds our front door.
Step two: Cut the shutter boards to length. I used my miter saw but a circular saw or even a jigsaw would work since these are simple short cuts.
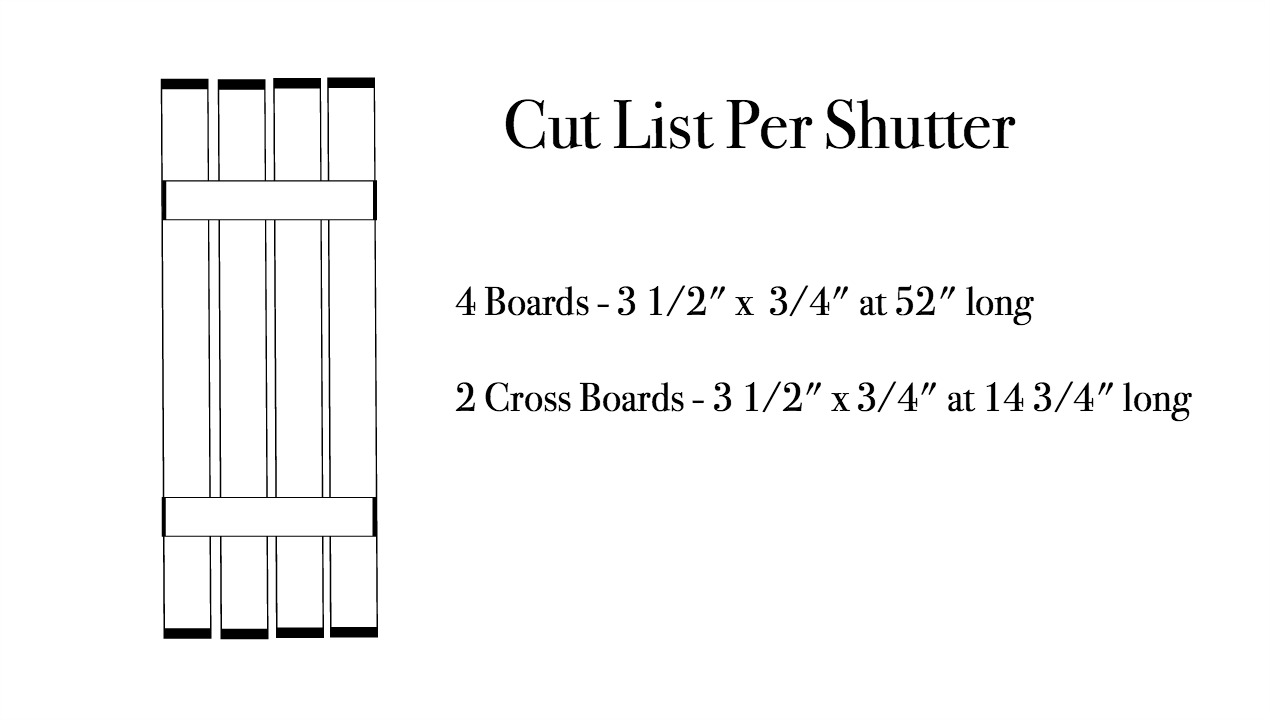
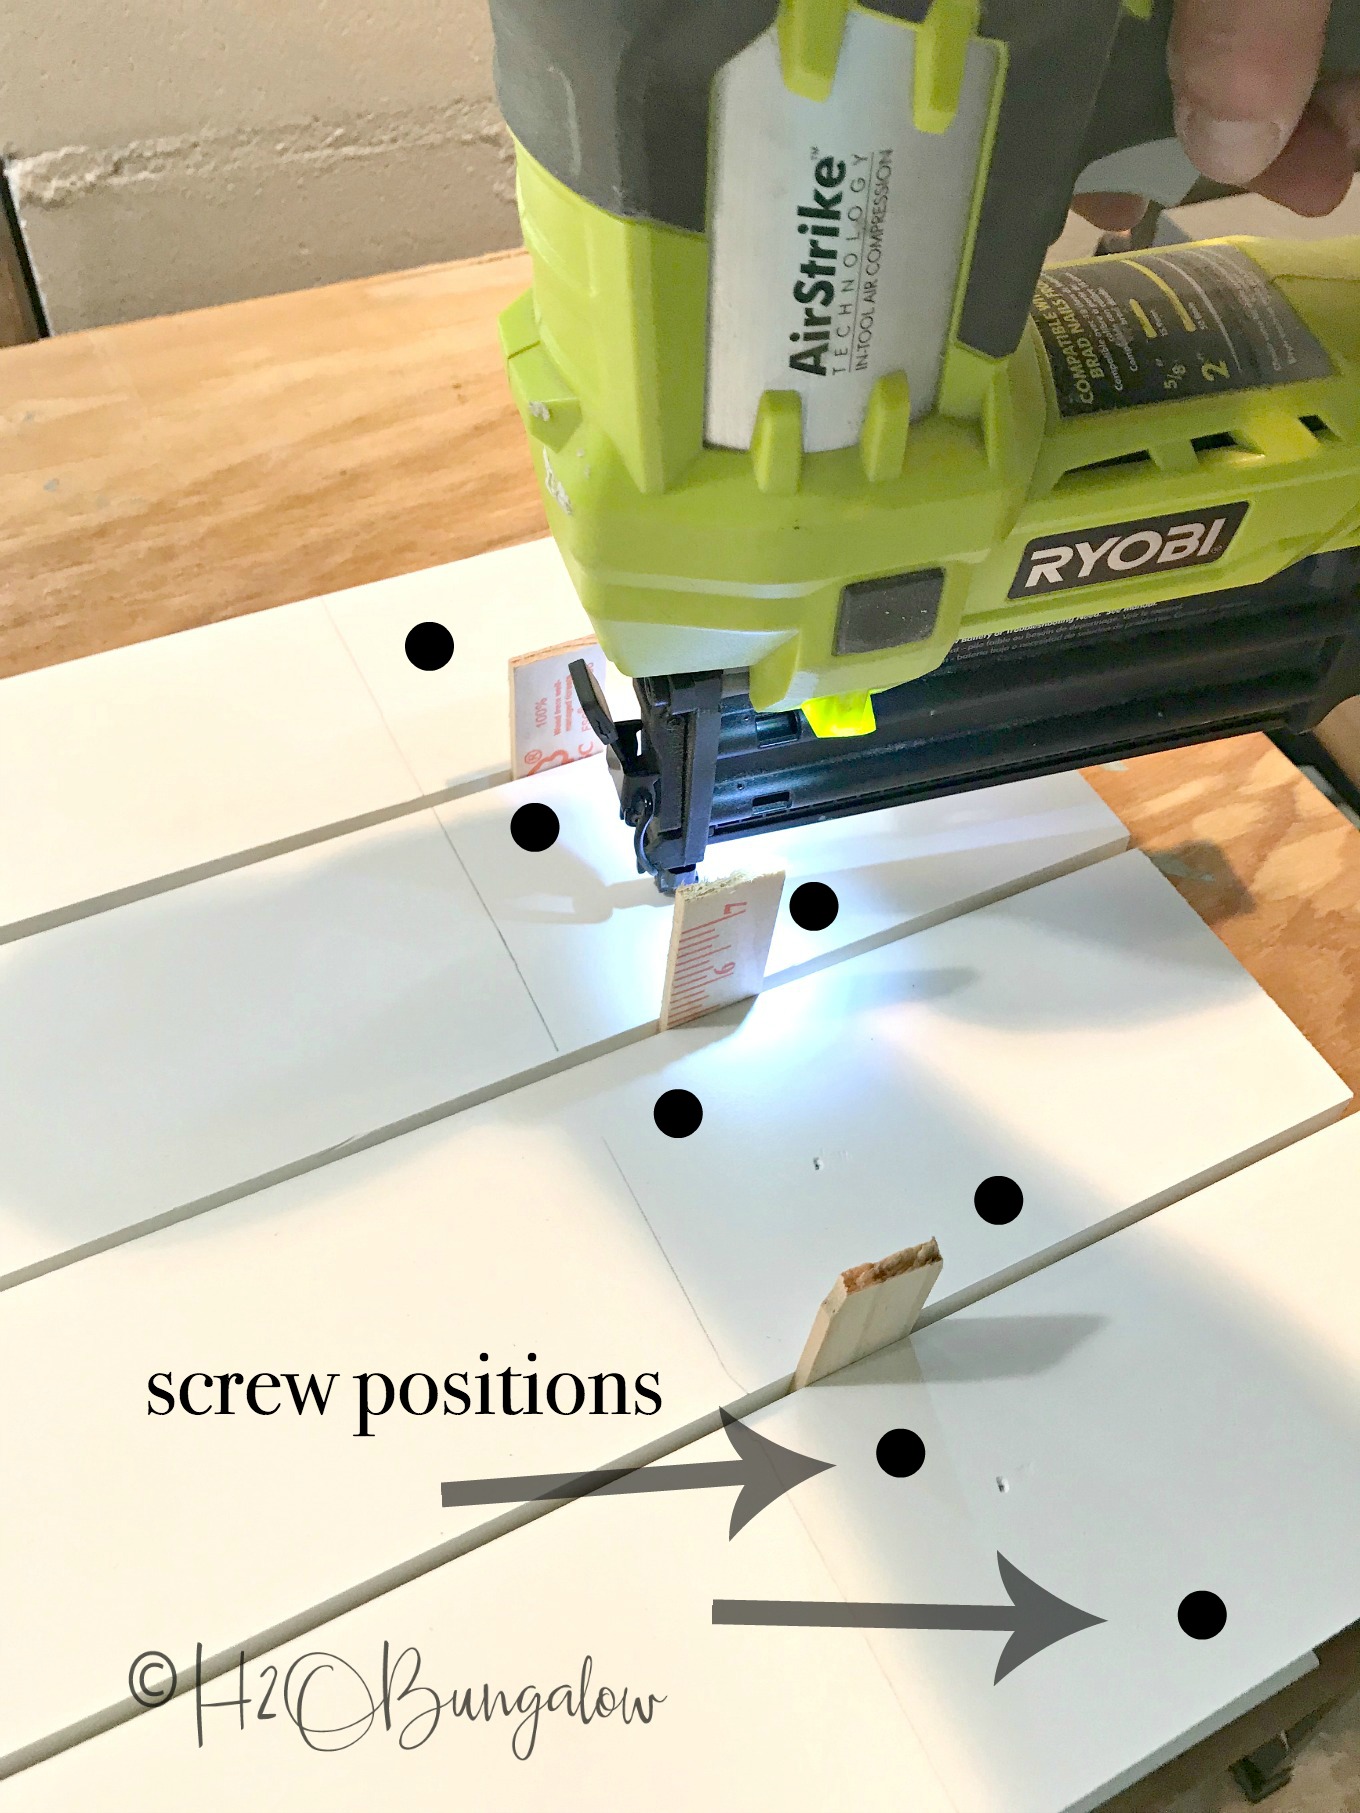
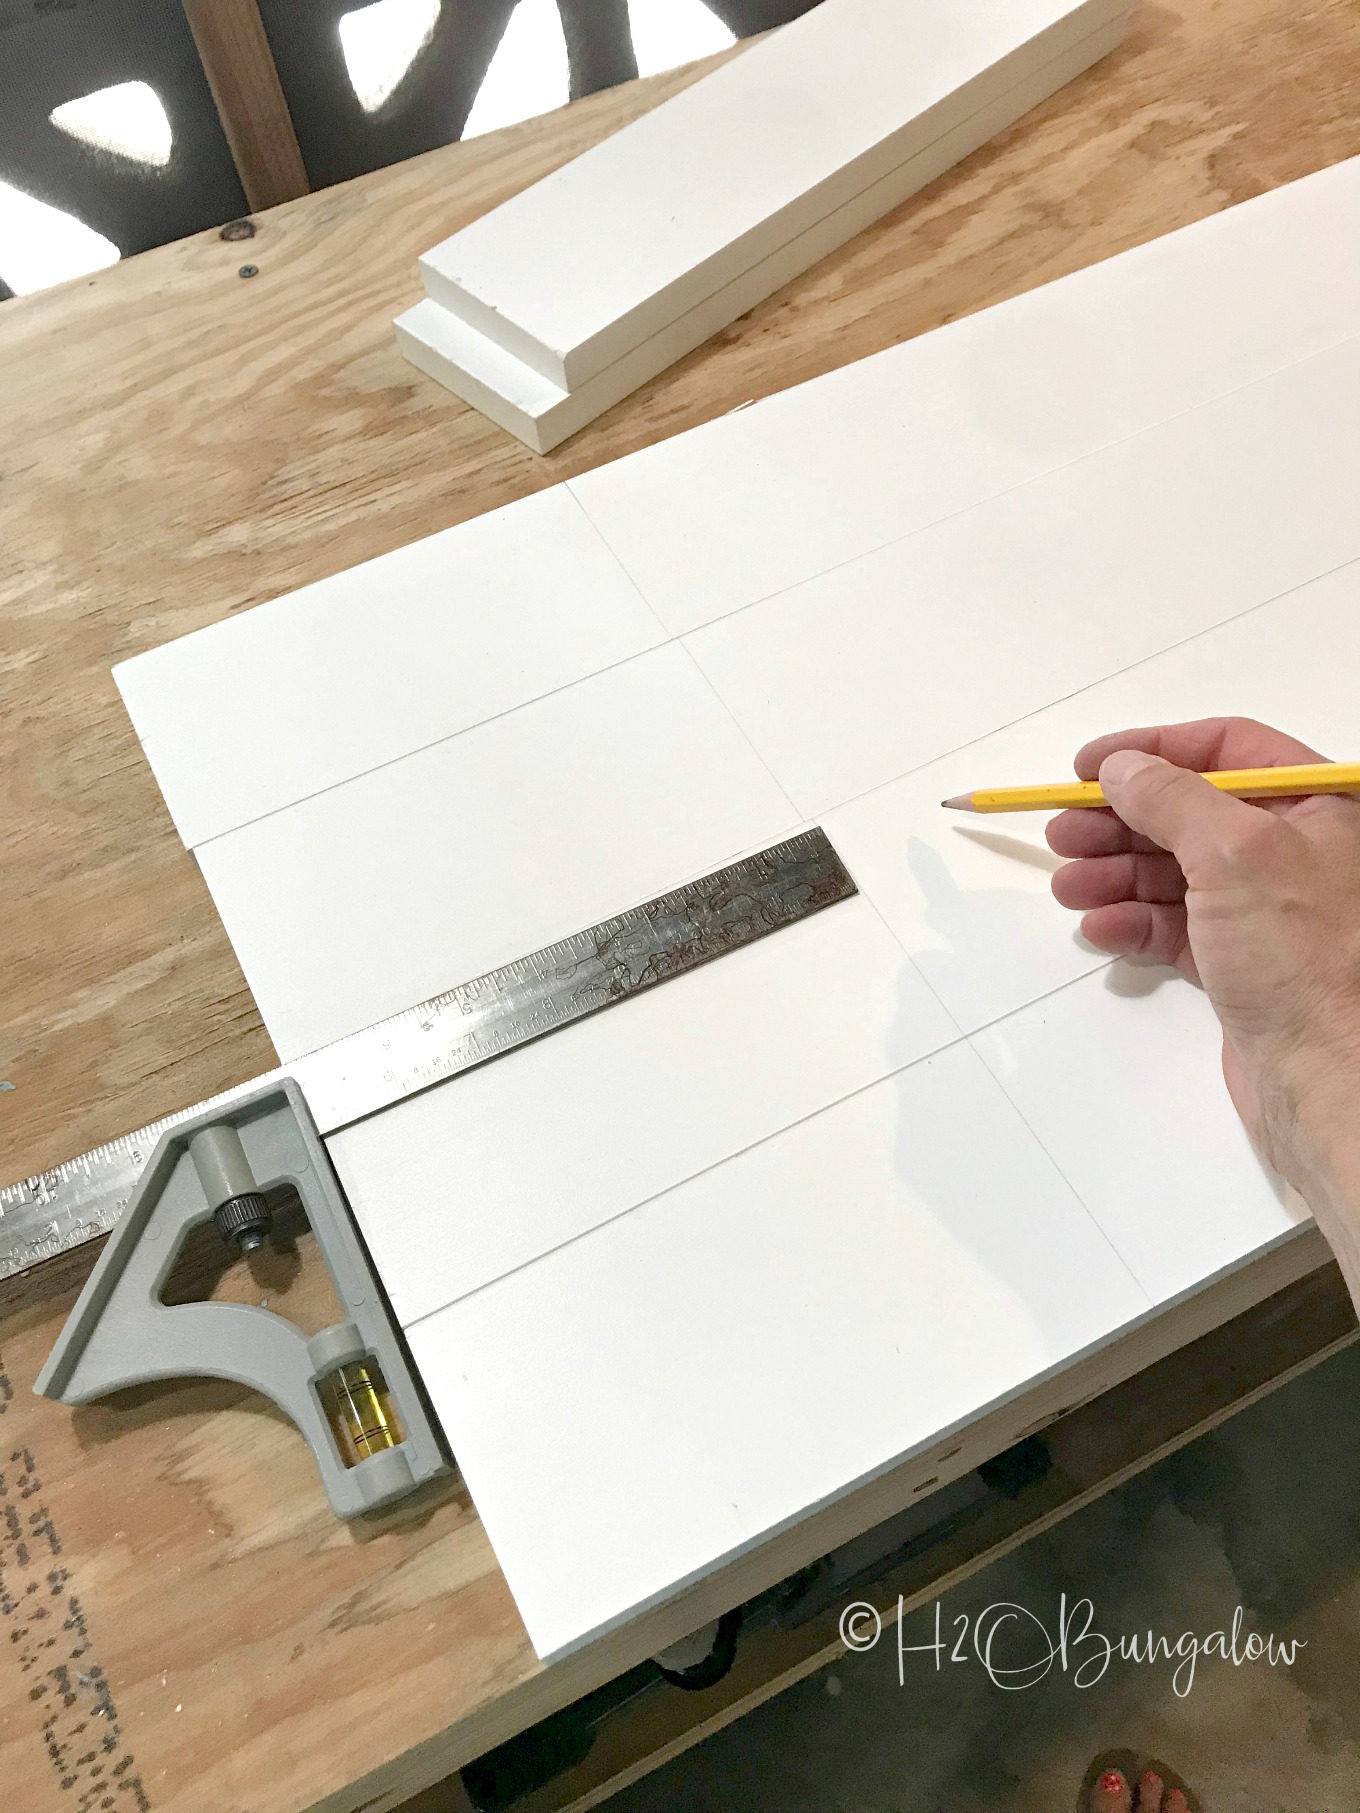
Step Three: Assemble the DIY shutters like the photo above. Lay them on a flat surface to put them together. The cross bars will be underneath the slats so the back is facing up towards you. Measure 7″ from the bottom and draw a line. Do the same for the other end. Line up the cross bar on the inside of the line, above for the bottom of the shutter and below the line for the top.
I used paint stick pieces as spacers. You can either clamp everything in place or tack it with a brad nailer. I used my brad nailer to hold my pieces in place. Next, attach the crossbars with 1 1/4″ deck screws. I added dots in the photo where I placed my screws.
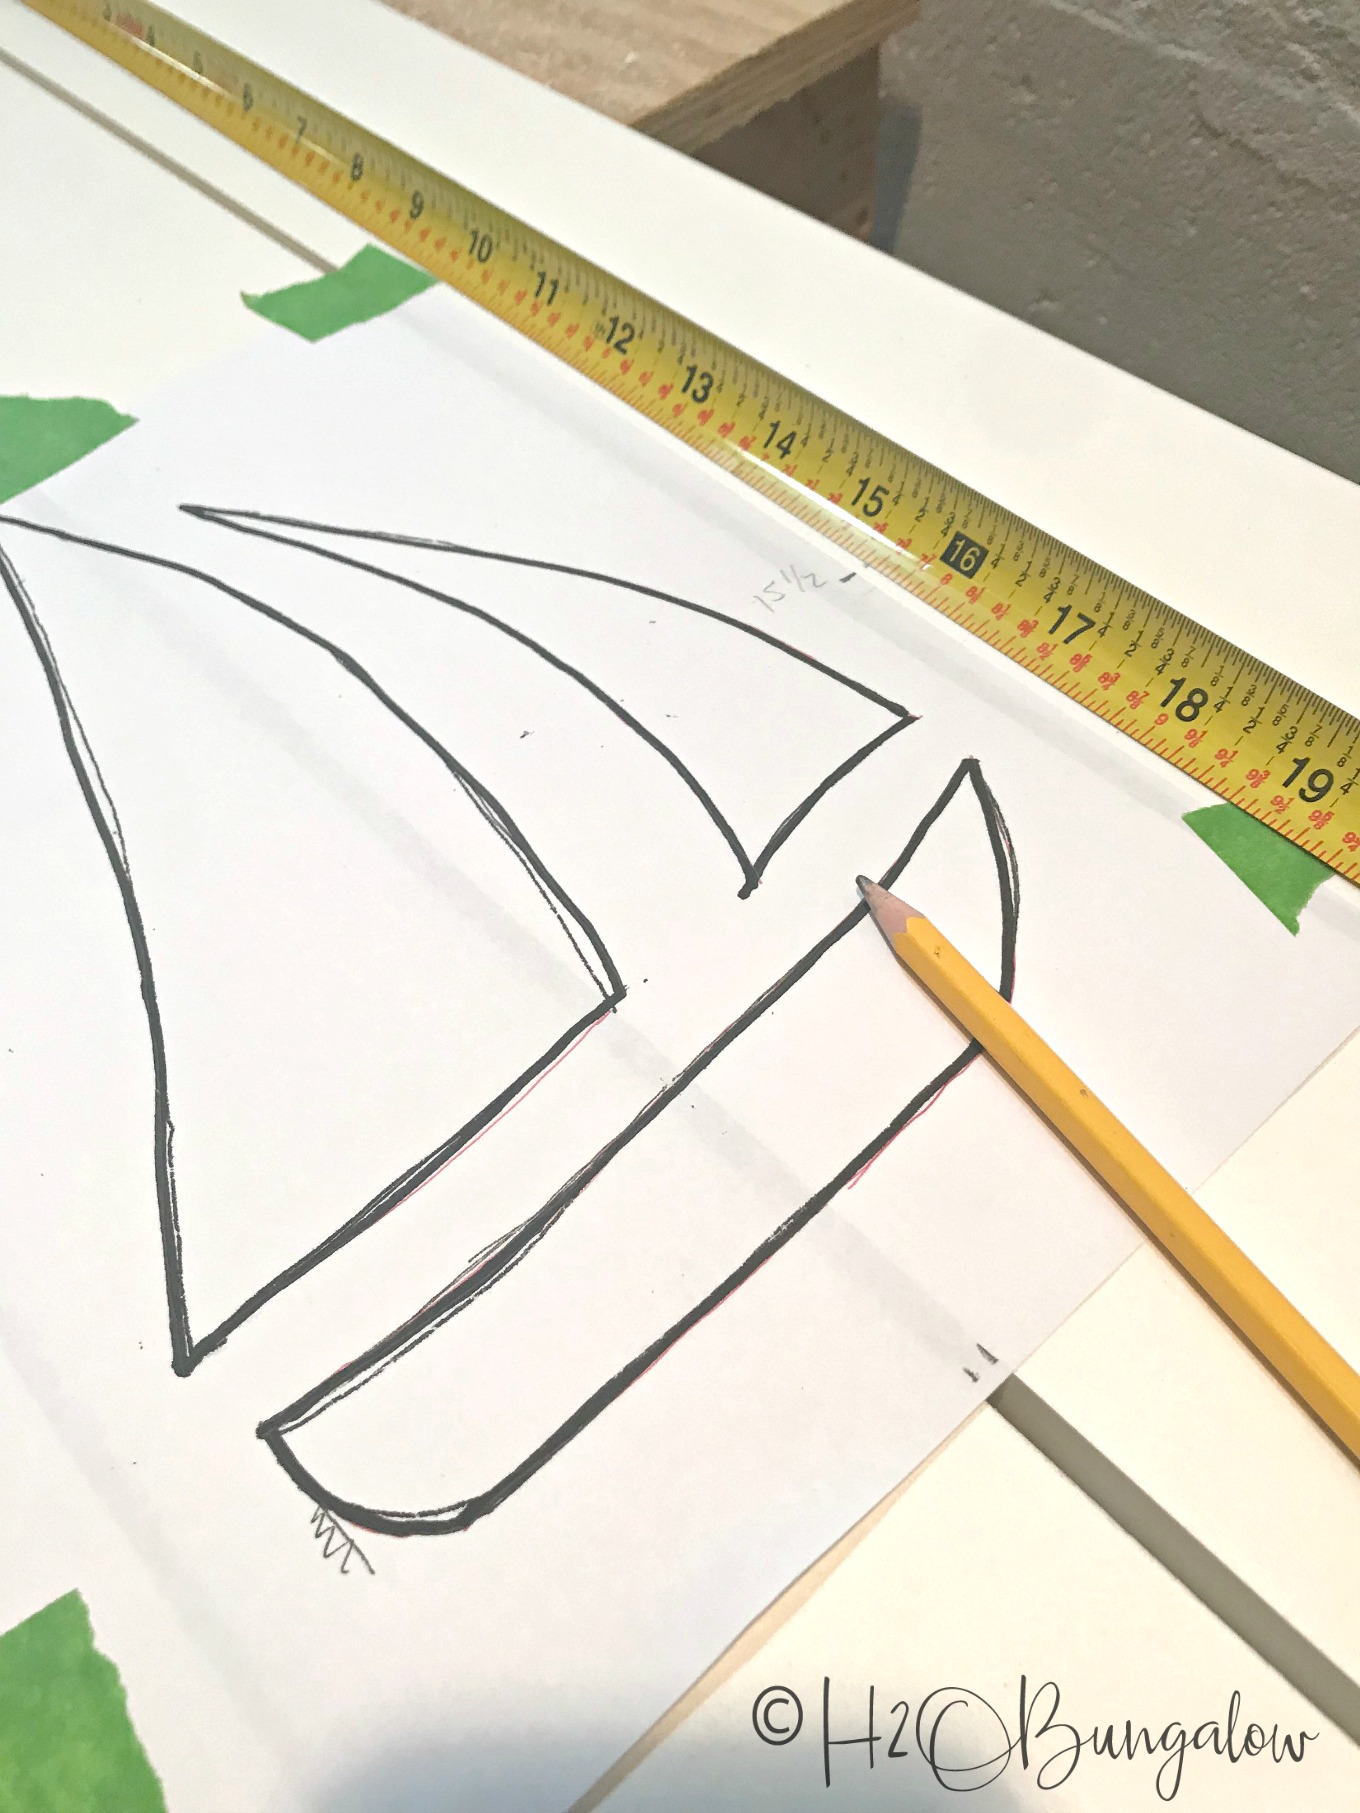
Step Four: Design shutter cutout. Feel free to use my sailboat cutout which you can find by the supply list above. If you’re planning on using another type of cutout, draw a design to cutout no wider than two of the shutter boards. Be sure your design leaves enough space to maintain the shutter boards after it’s cut out. In other words, don’t choose a design that will cut all the way through any one of the vertical boards.
Step Five: Trace the design onto your shutters. To place the design at exactly the same place on each shutter, mark each shutter 15 1/2 inches from the bottom of the top crossbar on the outside board. Use the marks to line up the lines on the sailboat diagram. I also placed marks for the spaces between the boards at the top and bottom, line these up as well. Tape the design in place at the top. Slide graphite paper underneath and trace the design onto the shutters. NOTE- be sure to turn the sailboat design over for each set. In other words, the left and the right sailboat cutouts will face each other. If you are making your own shutter cutout design, be sure your design stays within two boards and doesn’t cut all the way through any boards.
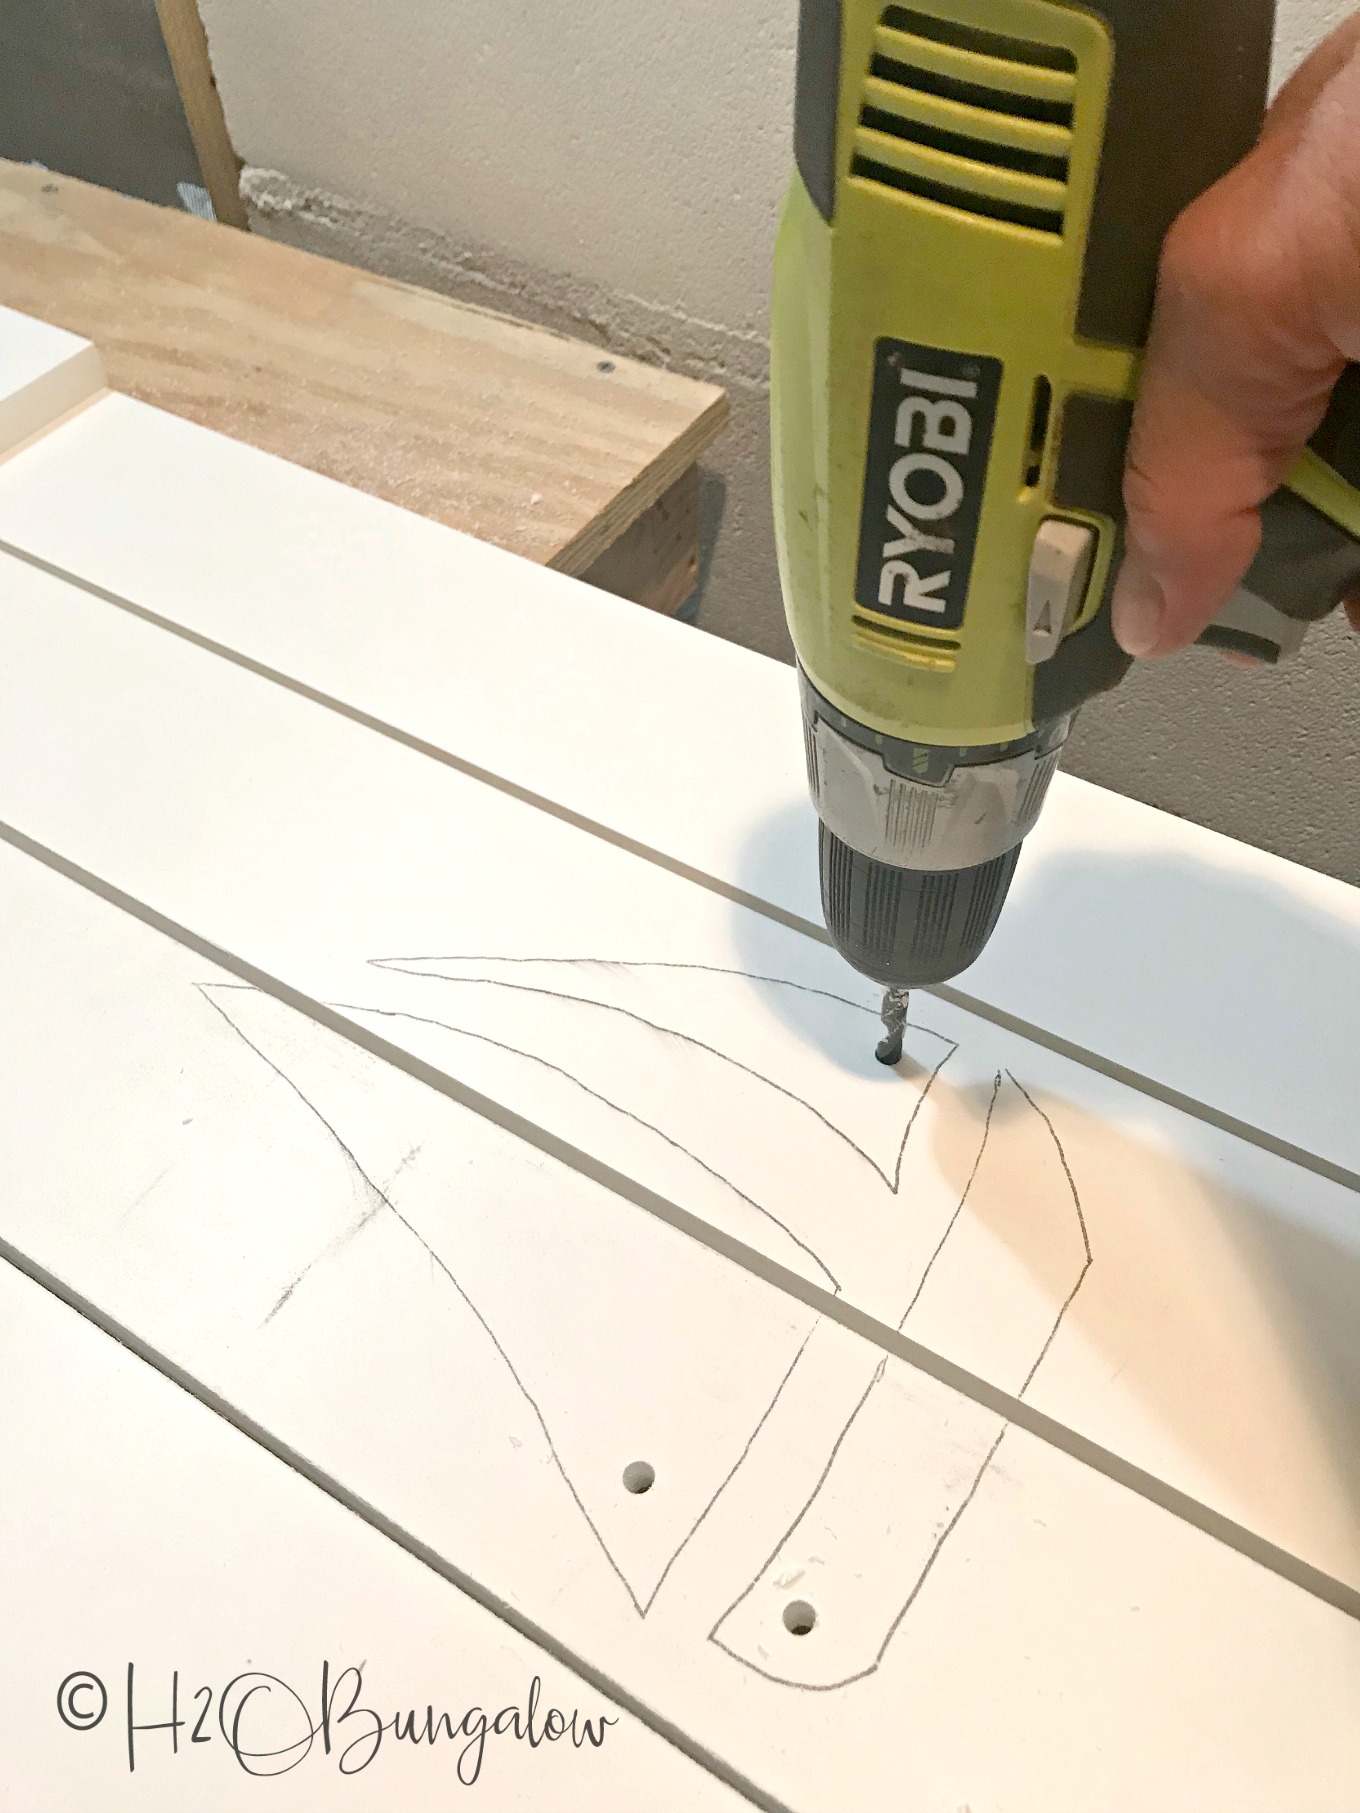
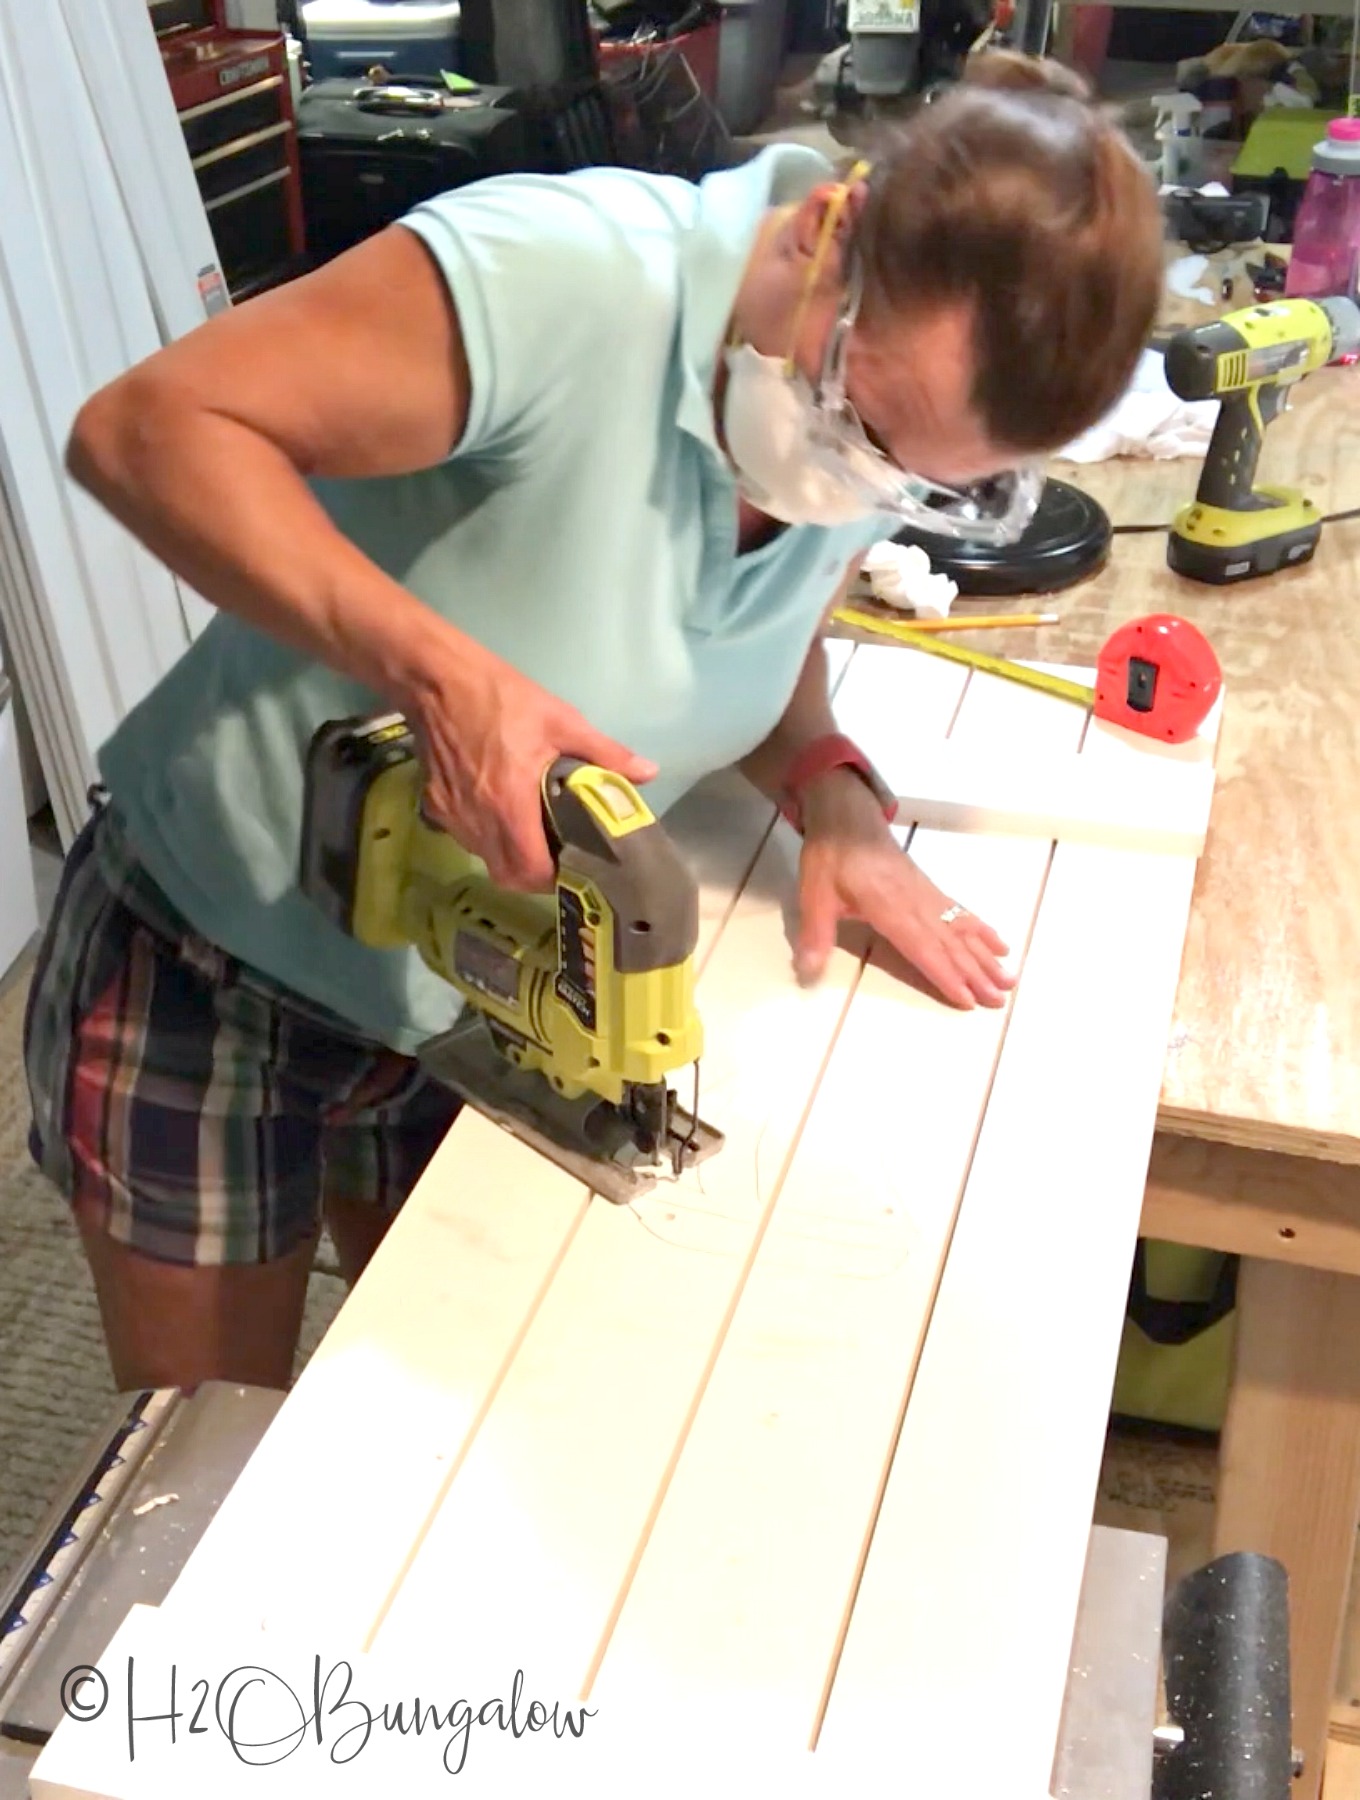
Step Six: Cut out the sailboats. Don’t forget your safety gear! Drill pilot holes into the center of the sailboat design where I did. I suspended my pvc shutters between my workbench and the end of my table saw to make it easy to work on while cutting out my design.
If you’re using a Ryobi Jigsaw, set it to precision cut and begin cutting out your sailboat design. Take your time and follow the line. Sorry for the blurry picture, I cropped it out of the video and the lighting isn’t done in my new workshop (which isn’t done yet either and is still a mess!).
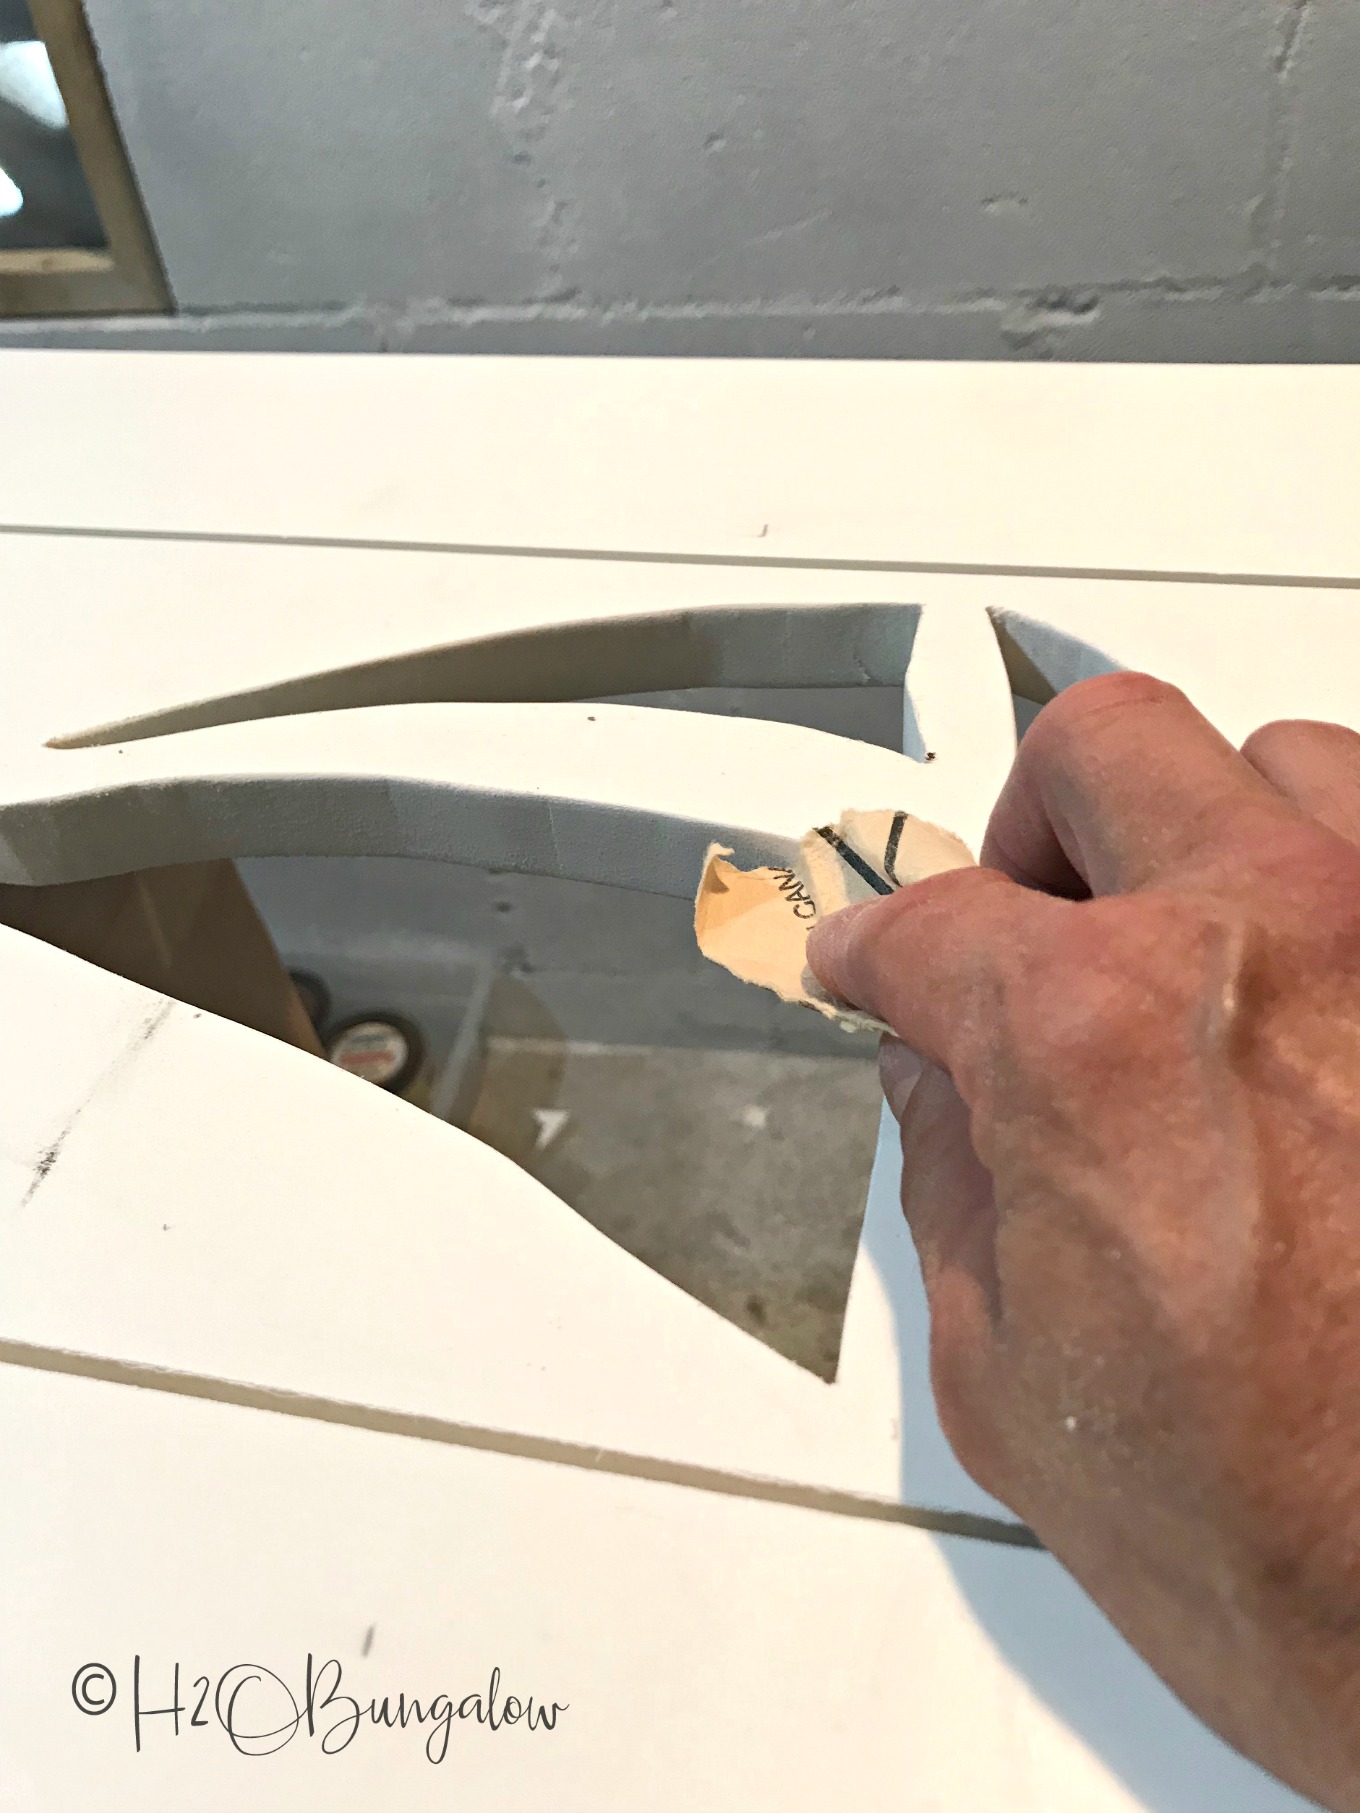
Step Seven: Sand the edges of the sailboat cutout. Start with the low grit and then use the higher grit to take the sharp edges off the cutout design.
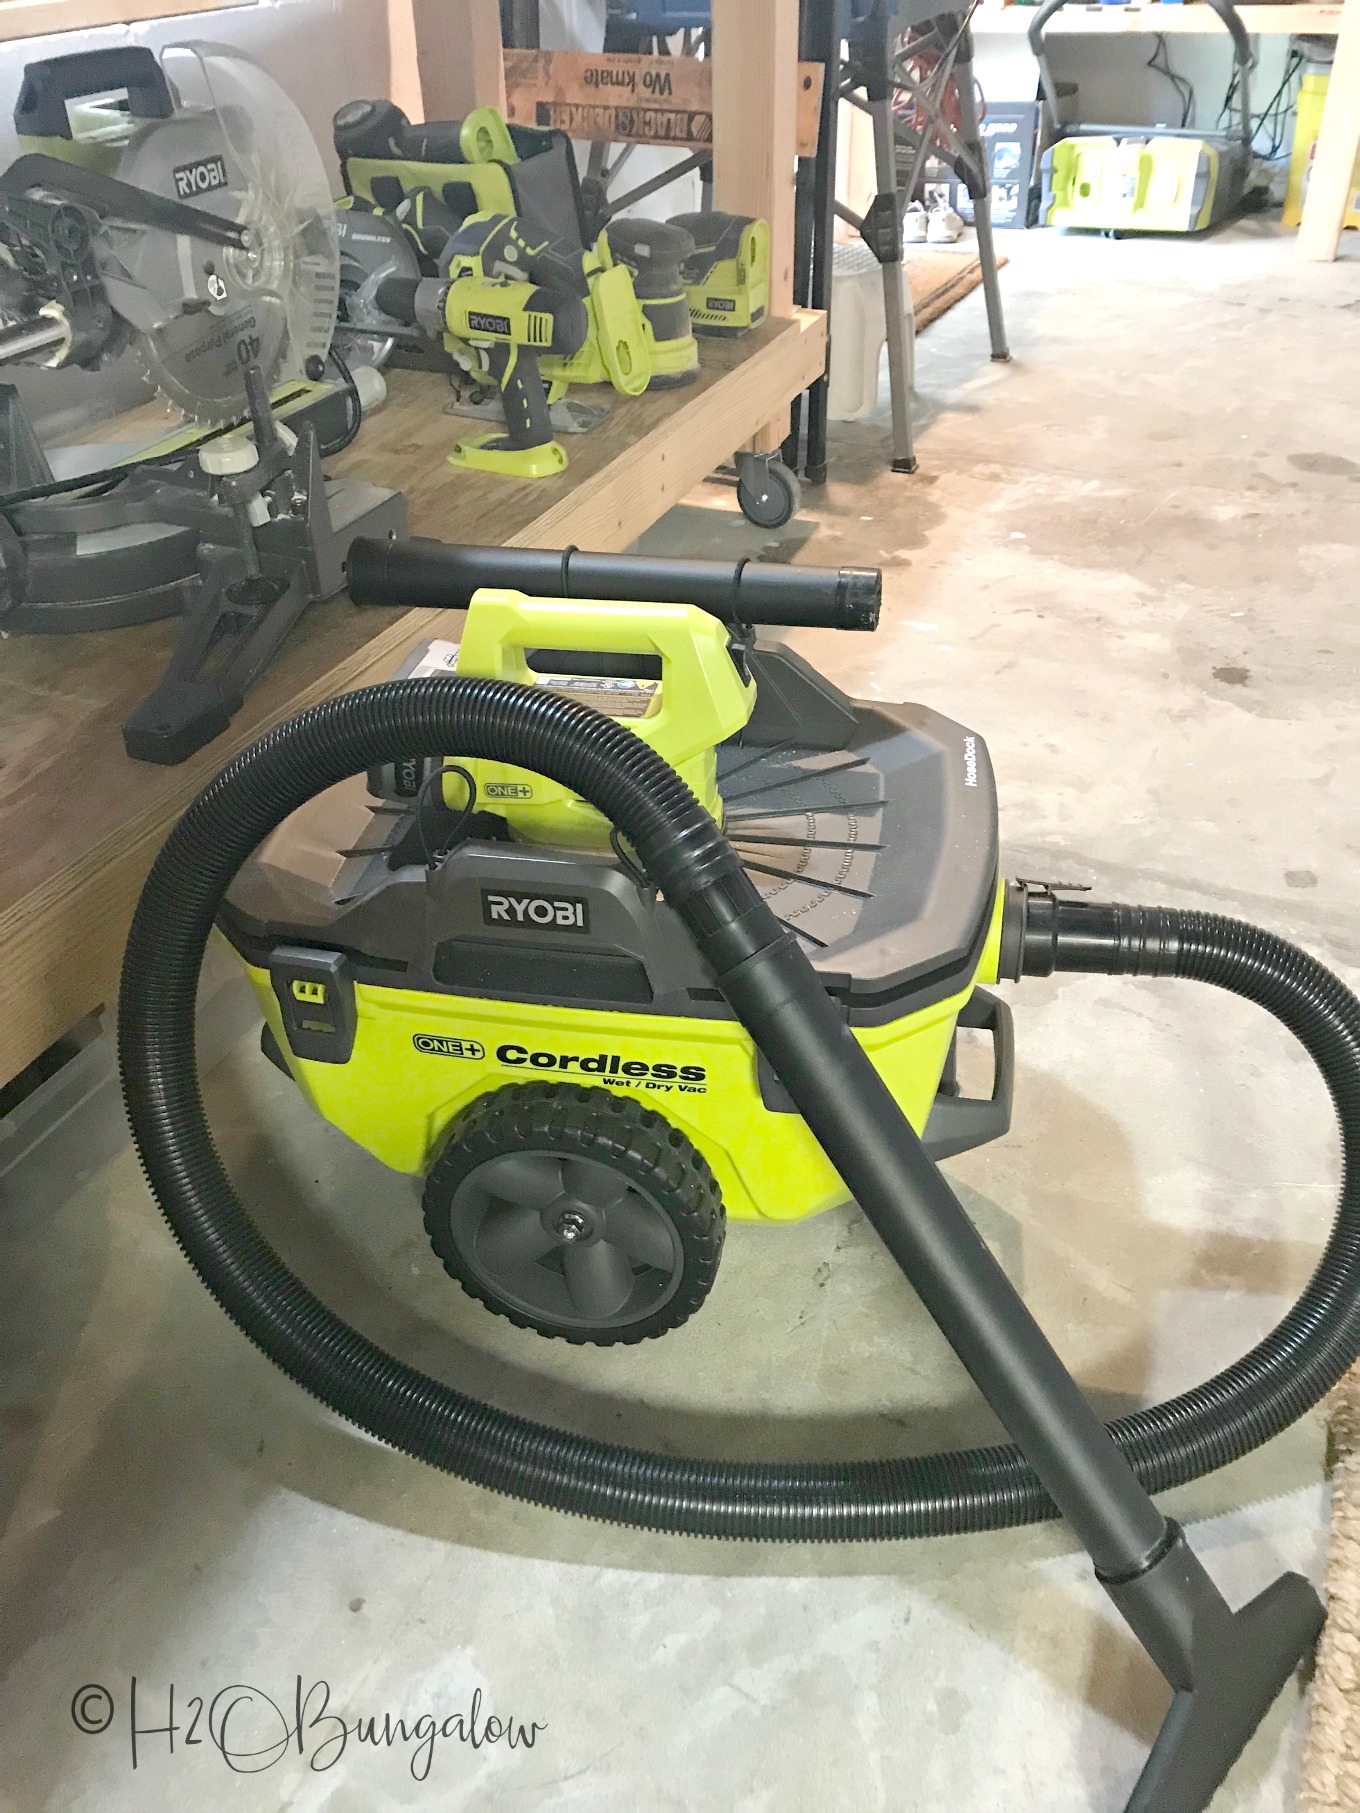
Lastly, don’t forget to vacuum up the pvc scraps and sawdust. Since it’s plastic it won’t degrade like regular sawdust! Yes- I’m loving my new Ryobi One + Cordless Wet Dry Vac! What’s not to love? It works on the same batteries as my power tools!
How to Install PVC Sailboat Cutout Shutters on Stucco
Our home is stucco over cinder block. Here’s how I installed my DIY shutters with sailboat cutouts securely.
Mark and drill pilot holes on all four corners 1 3/4″ from the top and 3 3/4″ in from the side. Hold the shutter in place and use a torpedo level on one of the cross bars to adjust the shutter until it’s level. Have another person drill or mark through the top two pilot holes. Secure the top of the sailboat shutters with bolts.
Next, drill pilot holes into the cinderblocks through the existing lower shutter pilot holes and secure with bolts. I used Tapcon bolts for masonry.
I’d love it f you pinned my DIY sailboat cutout shutters for later and shared them on Facebook!
DIY shutters with sailboat cutouts are really easy to make and install guys! These cute pvc shutters added lots of personality to the front of my house and gave it a better bungalow look too. Plus, I saved a ton of cash over buying pre-made ones!
Don’t you love shutters on a house for a cozy look? What cutout shape would you use? Share with me below in the comment section!

Lynn says
I love these. Thank you for the straightforward instructions. I am torn between using palm trees or pineapples. DECISIONS!! My house is a vibrant blue and the white shutters will really stand out. Time to stop talking about it and just get it done. Thanks for the encouragement from your blog.
Wendi says
Hi Lynn and thank you so much! i’m glad my shutter tutorial was helpful. I’d hav a hard time choosing between the two, pineapples or palm trees too. The good thing is either works well for the shutters. I love how much better our home looks with the shutters and am sure your place will too. Plus, making them is SO much cheaper than buying premade! Good luck and have fun with your shutter project!
Judi Johnson says
I have never heard of PVC Boards. Do you get them only at Home Depot. I live in New Mexico and our house has no shade. Would they hold up in extreme heat and sun?
Wendi says
Hi Judi,
Yes, Home Depot has pvc boards and probably Lowes too. You’ll find them in the lumber section where they sell the graded lumber and quality plank boards. Yes, they will hold up well in extreme heat and sun. I live on the Florida coastal and we have the same challenge. The heat and humidity are too hard on wood for outdoor. Another benefit of using pvc is it’s light weight and you won’t need to paint it if you don’t want to. I hope you make them for your house! Please share a picture if you do on my H2OBungalow Facebook page. We have a Wednesday share day and we all love seeing what each other has made! Thanks so much for your visit and very good question.
Ann says
These shutters look so amazing on your home. Great post. I’d like to invite you to share with us at Wall to Wall DIY Wednesday, which runs thru Saturdays.
Wendi says
Hi Ann and thank you so much! I’m glad you like my shutter project. I love them too, even more that I saved so much money on making my own. Thanks for your visit and sweet invitation! I’ll try to stop in 🙂
Erlene says
I love your custom shutters. Definitely gives off the summer coastal vibes and dresses up the window.
Wendi says
Hi Erlene, and thank you! I’m so happy to finally get this project done. It’s been on my want to do list for the longest time. Now that they are finished, I’m wondering why it took me so long to tackle them? LOL! Thanks so much for your visit and very kind note…hope your summer has been great so far.
Emily says
These are amazing, Wendi! And they add the perfect touch to your coastal cottage 🙂 Thank you for sharing at Merry Monday – I’m going to be featuring your DIY shutters at next week’s party. Hope you can stop by and link up again!
Wendi says
Hi Emily and thank you! I’m in love with how beautifully they turned out. Especially for the cost! Thanks also, for featuring my project!
Geri Ann says
They are soooooo pretty!!!! They look great on the house. The white against the blue makes it look so fresh.
Wendi says
Hi Geri Ann and thank you! I loved this idea and knew they’d add a lot of character to the house. It’s been such a struggle finding ways to make this old house look better from the outside. Short of redoing the facade, there’s only so much I can do with a 19050’s block home! I appreciate your note and visit. Have a wonderful Fourth of July week!
Kath says
These are gorgeous!!
Wendi says
Hi Kath and thank you! I’ve wanted to add these to the front of my house for a fe years and just hadn’t gotten around to it. I’m thrilled I finally did. Thanks you so much for your visit and note! I love when I get feedback from viewers, it makes my day!