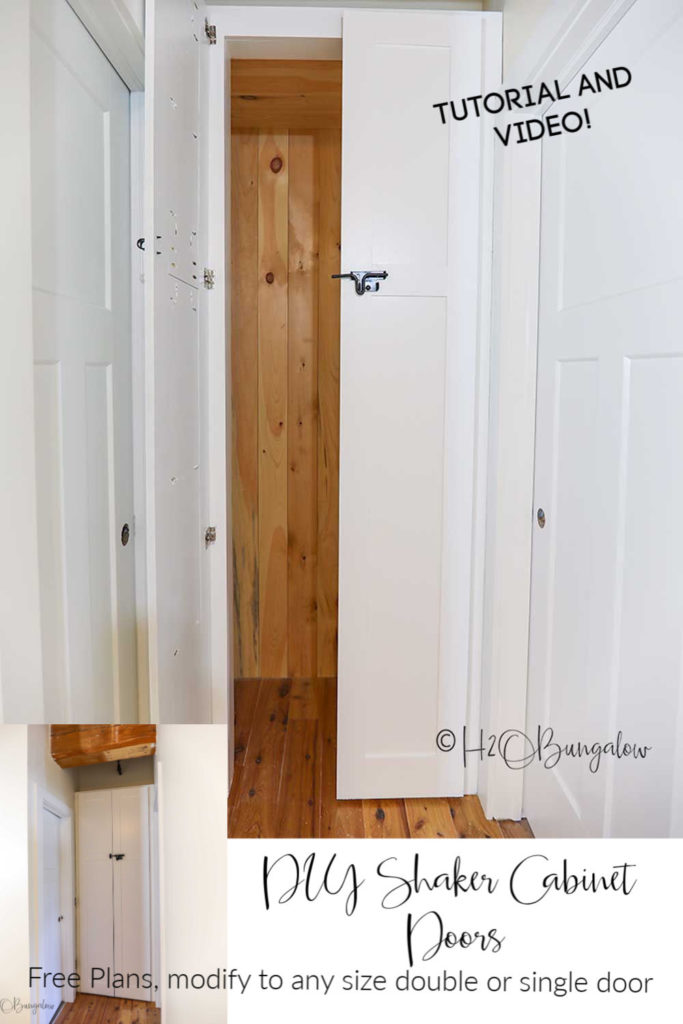
Hey friends! I finally have something from the new project house, the Mill Place in VT to share. I’m going to show you how to make shaker cabinet doors today! I just finished a fun collaboration project with Scott from Saws on Skates. We co-built these easy DIY shaker doors for my new hall storage closet. Below, you’ll find a tutorial on how to make shaker cabinet doors to fit any size door, tips on how to build raised panel cabinet doors and a video that Scott and I made to show how easy it is to build your own cabinet doors and save a bundle!
Don’t miss my free plans and tutorial for Building a Barn Door, barn doors are just as easy to make as shaker doors! Don’t miss my hollow core door makeover!
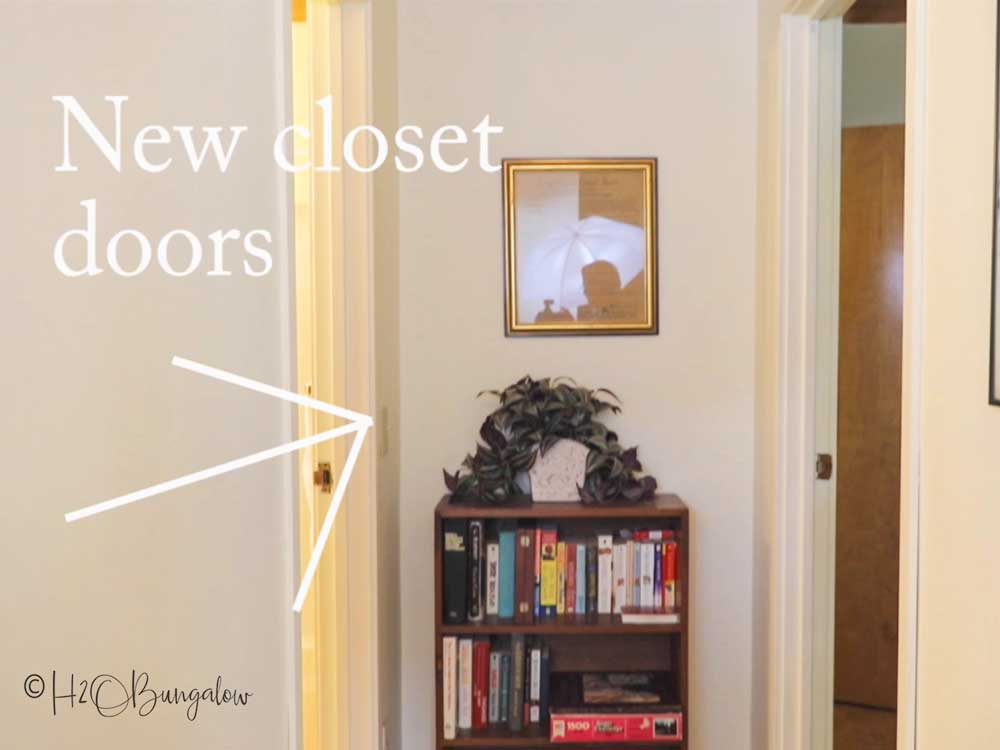
A few months ago I shared that I was removing the wall at the end of our hallway to create a storage closet for the housekeeping team in our newest vacation rental.
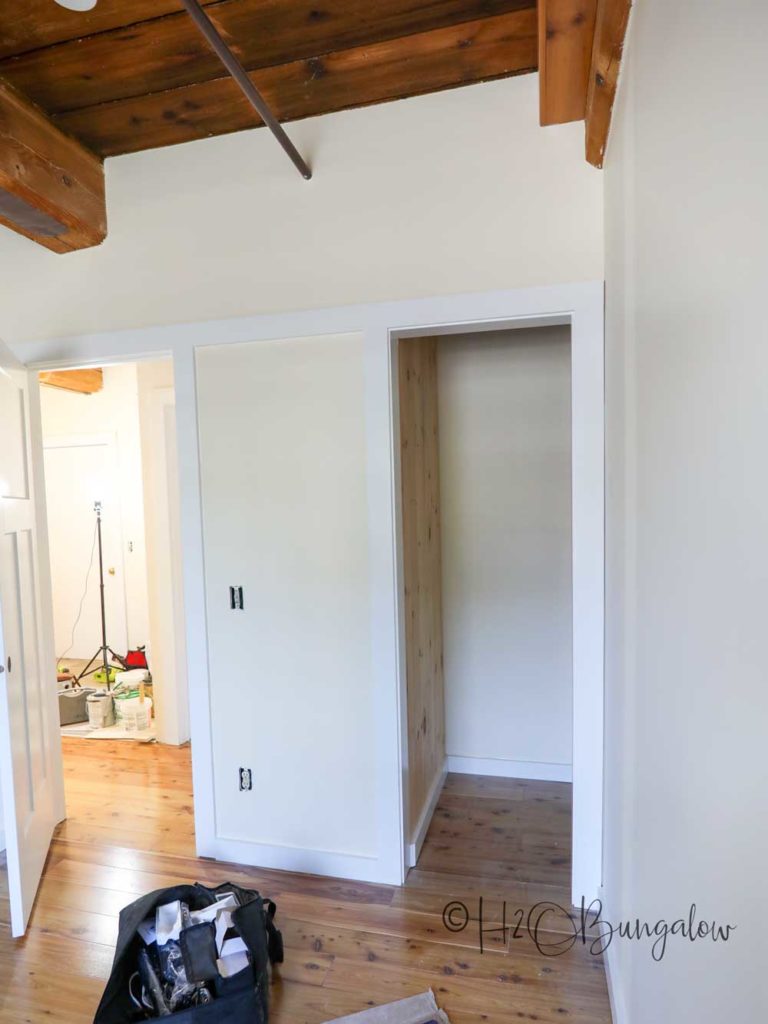
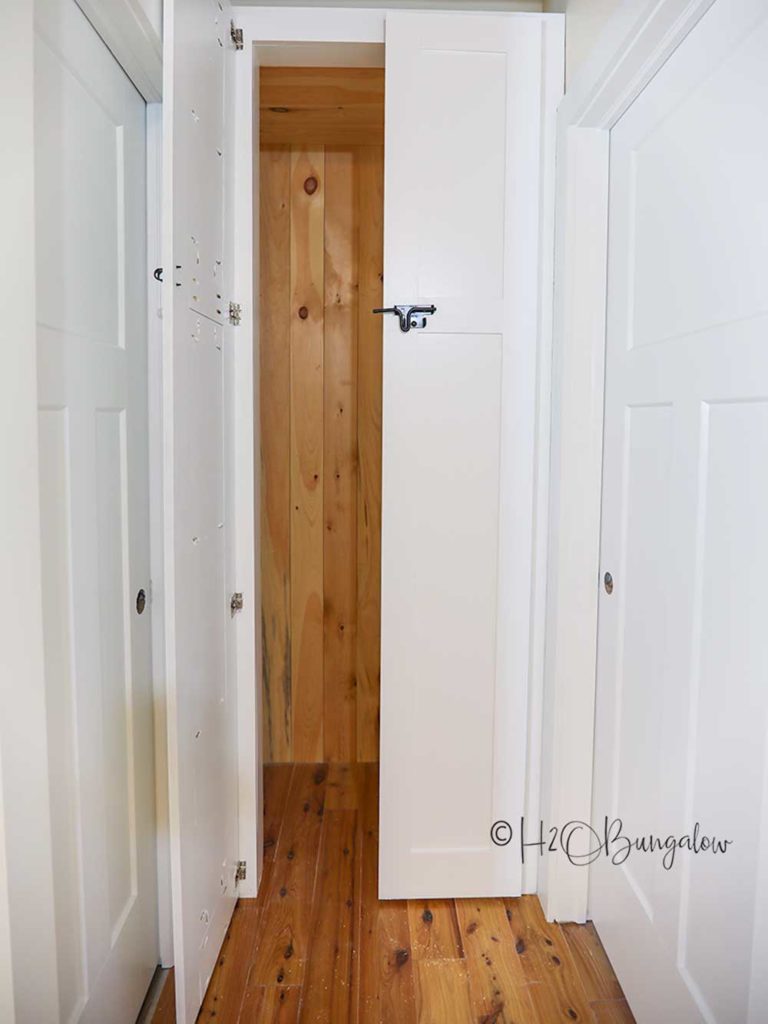
I planned on taking some space from the oversized bedroom closet on the other side of that wall. Below is what it looked like after we built the divider wall. We did it out 3/4″ tongue and groove wood.
We’d just swapped all of the falling apart hollow core doors for gorgeous craftsman style doors in the condo. I knew it would be pretty easy to build a set of custom shaker style DIY doors for this storage closet that complimented the other doors.
Scott has done some pretty nice door projects in his own home, so I asked him to help me with mine.
How to Make Shaker Cabinet Doors Without a Router
Supplies needed to make tall shaker cabinet doors like mine.
- 1″ x 4″ boards for the rails and stiles
- 1″ x 6″ board for the bottom rail
- 1-4′ x 8′ sheet sanded plywood for the door panels. I used birch.
- Kreg K-4 Pocket Hole Jig
- Kreg Conceled Hinge Jig and Bit
- Kreg Face Clamps -you’ll need 2
- Concealed hinges for full overlay doors – be sure to get full overlay hinges for this project
- 1 1/4″ pocket screws, coarse
- 1″ pocket screws, coarse
- pocket hole plugs – optional
- Locking hardware – this is what I used
- Magnetic door catches – optional but a good idea
- Wood glue
- Level
- Table saw
- Drill
Because seeing is sometimes easier that reading about a project alone, I made a video to show you how to make shaker cabinet doors like we did.
Get the free plans to make shaker cabinet doors on Saw’s on Skates post How to Make a Door with Pocket Holes.
My shaker cabinet doors are for a non-standard door opening. My inside door measurement is 29 1/4″ x 92 1/4″. Each finished cabinet door is 15-13/16″ x 93-1/8″. They are mounted on the outside of the door frame as overlay cabinet doors. I used full overlay soft close cabinet hinges for this project.
This needed to be a fast and easy project. Old houses come with wonky and uneven floor to ceiling heights. I choose overlay cabinet doors because they rest on the outside of the frame and are much easier and more forgiving to build. Another door overlay project I’ve built is this DIY Media Console with Free Plans. I wish I’d used the same overlay hinges for that project, it would have been so much faster and easier!
You can make these doors and install them as full inset doors too. Make sure you order the correct cabinet hardware, full inset soft close hinges like these if you choose this door style.
The top panel of each of my doors measure 8-3/4″ x 24-11/16″ and the bottom panel measures 8-3/4″ x 55-15/16″. The rails were made of 1″ x 4″ and 1″ x 6″.
If your doorway is a different size, I’ll share how to make shaker cabinet doors to fit any size door or opening below.
How to make shaker cabinet doors without special tools in any size.
1. Determine your door width and height.
Measure the door opening and include as much of the door trim as you’d like the door to overlap onto. For a set of double doors, subtract 1/4″ and divide that number in two to get each shaker door width. The 1/4″ is the gap between the doors when they are hung.
Next, determine your door length. Measure the height of the door opening including the door trim at the top you’d like to cover and subtract 1/4″ for clearance at the bottom to open the closet door. If you have thick carpet, adjust that number as needed.
2. Next, you’ll determine the panel width and height for the shaker doors.
You’ll use 1 x 4 (actual 3/4 x 3 1/2) for the stiles (sides) and for the top two rails (horizontal pieces), and 1 x 6 (actual 3/4 x 5 1/2) for only the bottom rail.
To get the width of each panel subtract 7″, which is the width of the two stiles that will run lengthwise on each shaker door.
To get the height of the panels, first determine how many rails you want on your door and how far apart or high you’d like them on the door. For example, I used 3 rails, the top, bottom and one in the middle for my almost 8′ doors. Subtract 3 1/2″ for the top and each middle rail and 5 1/2″ for the bottom rail when you’re planning each panel height of your shaker doors.
Follow the instructions below for the rest of the building process.
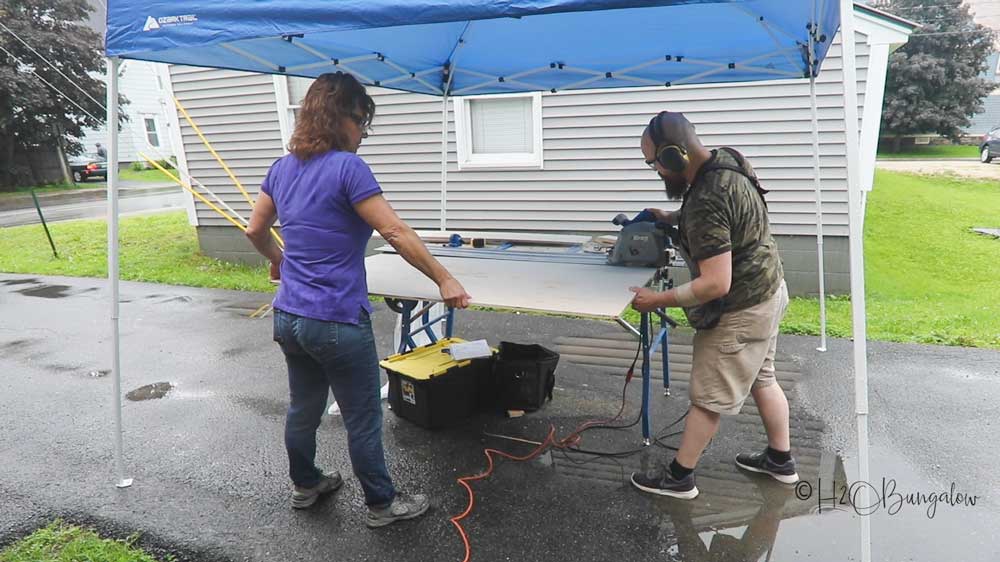
You never know what VT weather will be and it was all over the place during our two days of building! We worked in the rain, cold and the humid heat. I had to give up on getting pretty process shots, so excuse the junk in the background and wet frizzy hair!
Steps to Build Shaker Door
Step 1. Cut the door panels, rails and stiles.
Again, if you want to use Scott’s plans to make a set of large shaker cabinet doors like mine you can find them in his post on how to Make a Door With Pocket Holes.
We cut the panel widths for each door first and then the height. That way we knew the panels of each door were exactly the same width.
Step 2. Make Pocket Holes
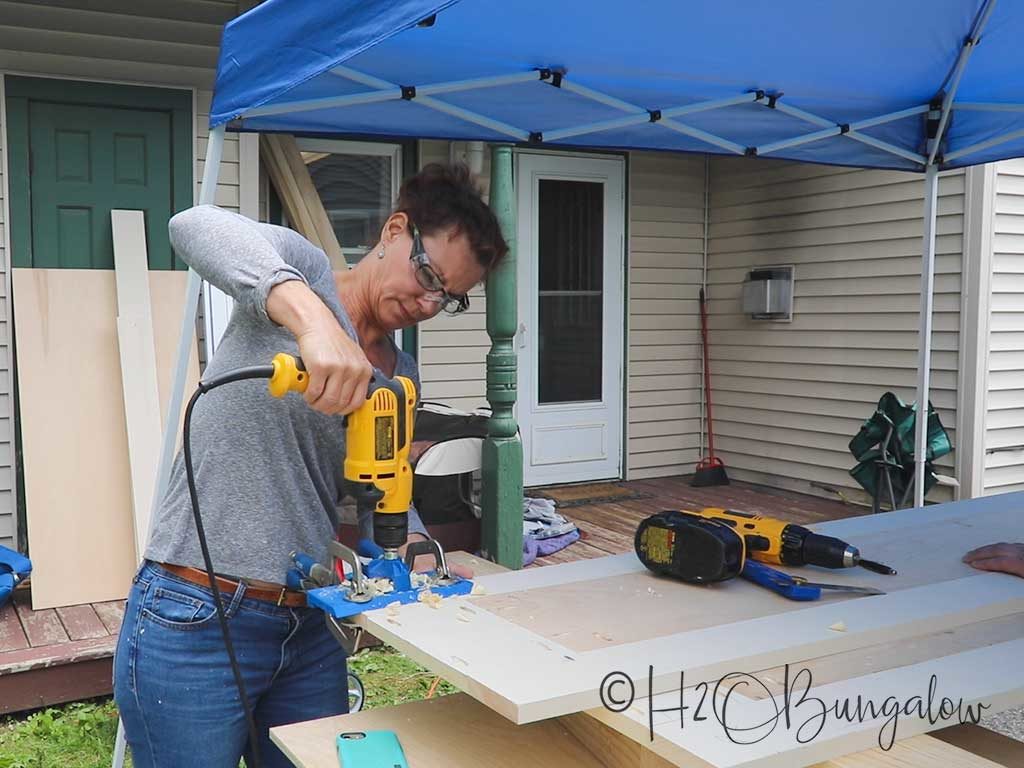
Set your Kreg Jig for 1/2″ material and make pocket holes on the panels first. Because my doors were so long we made four pocket holes set at 3/4″ setting along each of the long panels and two at each end at the corners.
Set the Kreg Jig to 3/4″ material and make two pocket holes at each end of all rails to attach to a stile.
Step 3. Assemble the Shaker Doors
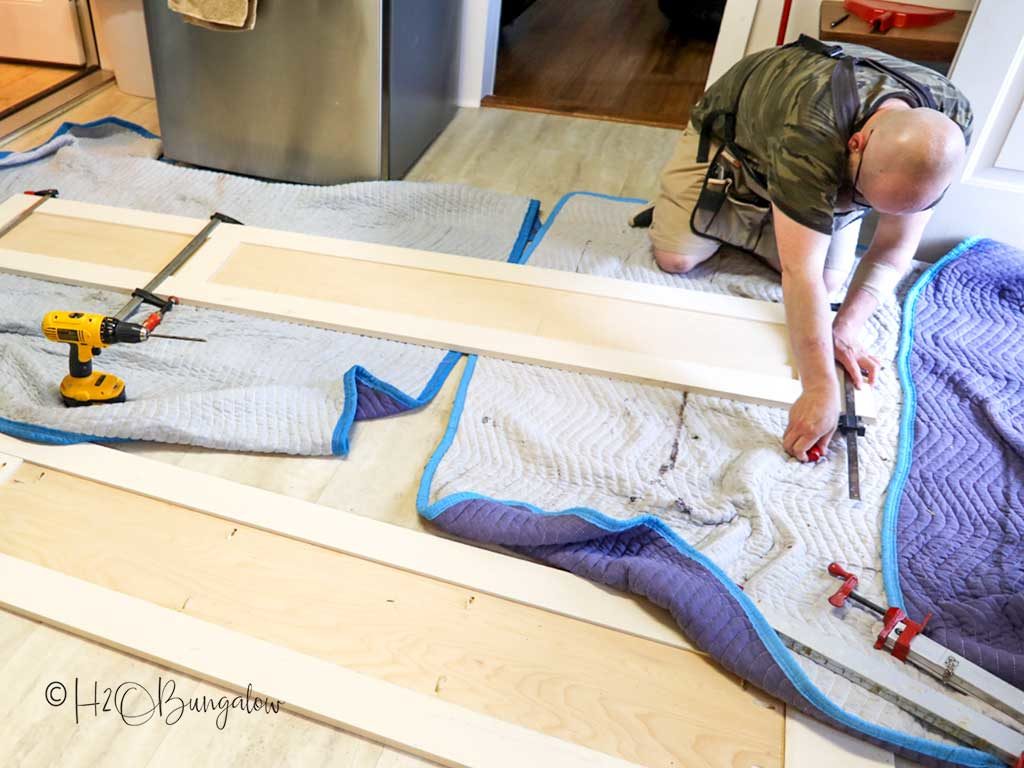
Clamp the doors together at the rails. Position the panels to be flush at the back of the cabinet door which will leave a nice 1/4″ reveal on the front. Line the top of the door rails and stile to be flush so any cutting discrepancies (if any) show on the bottom of the door. Our panel height was slightly off and you’ll see in the video where we shaved the bottom of the doors to make both doors even.
Next, assemble the cabinet doors. Begin with the rails and 1 1/4″ pocket screws, next use 1″ pocket screws on all of the panels. It helps to have two people for this step. One of us watched to make sure the panel didn’t move out of place while the other attached the pocket screws.
If you plan on using plugs to fill in the pocket screw holes at this time do this now. I didn’t because my door is just a maintenance and supply cabinet.
Step 4. Cut hinge recesses
Decide which will be the right and left shaker door before adding the hinge recesses. When placed side by side you want the best and straightest fit. If there is any bowing or space between doors, swap out the two sides so the imperfection is on the outside.
Lay the doors together and mark where the hinges will be placed. We put a hinge at each rail and one in the middle of the stile on the long panel. Mark the center of where you want your hinge. The Kreg Jig will line up at that mark.
To use the Kreg Jig, adjust the set-back of the hinge at the grey dial on the top of the jig per the hinge instructions. Line the center mark you made on the door with the center of the jig, clamp it in place with two Kreg Face Clamps. Use the Forstner bit first, next a 1/16″ drill bit to make the pilot holes on each side. You’ll see this in the video.
Step 5. Paint doors
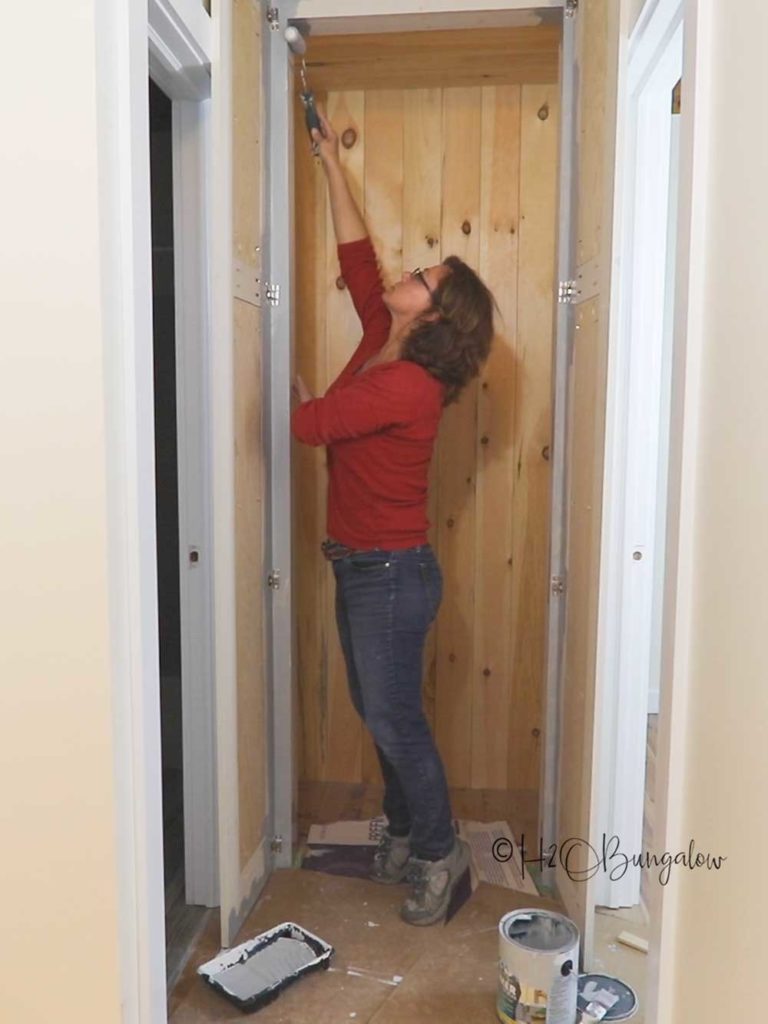
This is where the video is different. I painted mine after I hung them. It was raining cats and dogs when we were working and I couldn’t paint them. We had 2 days to finish this project since Scott traveled in to help me in Ludlow.
I used two coats of primer and two coats of white satin or semi-gloss paint on my shaker doors. It was rolled on with a 6″ foam paint roller. If I’d painted it first, I would absolutely have used my Super Finish Max Paint Sprayer on these for a quick and perfect finish.
Step 6. Add hinges and hang door
Add the hinges to the door. They fit perfectly in the recess and the the pilot holes will line up for the hinge screws.
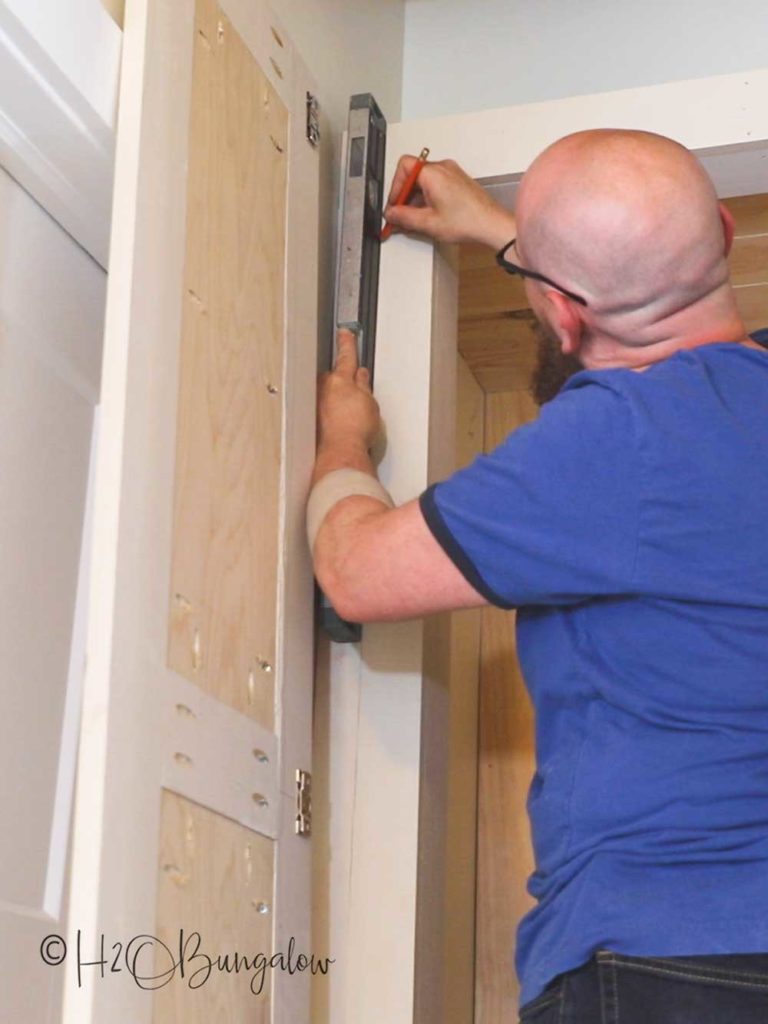
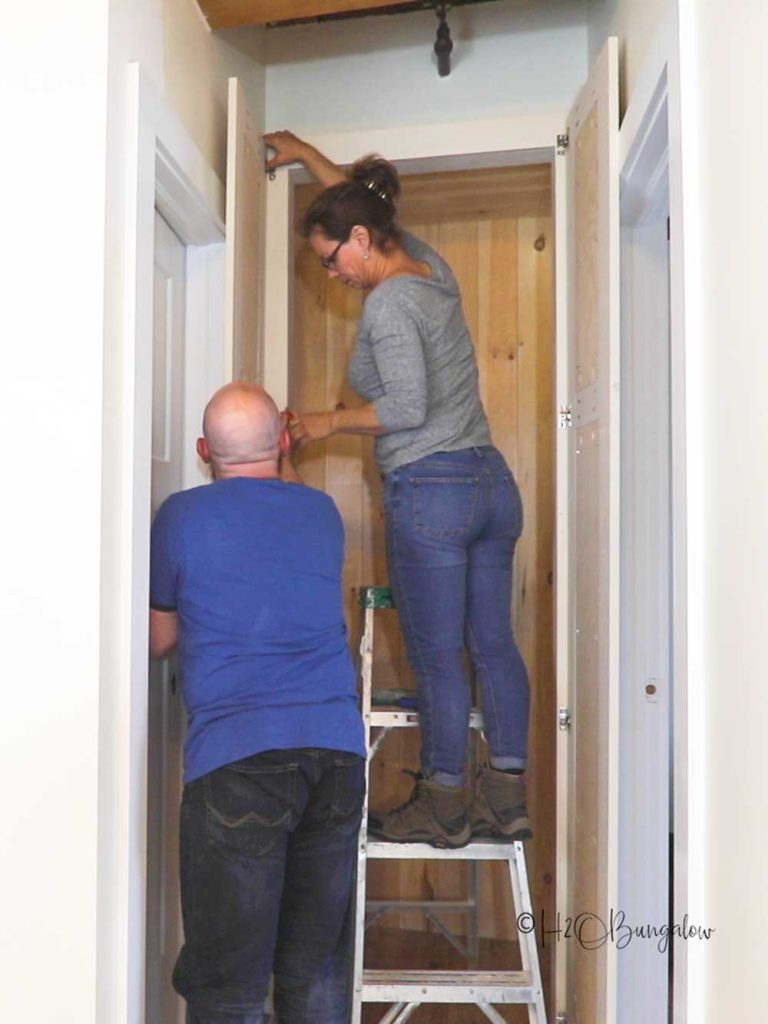
I’ll share pictures of the next few steps because it made hanging the hinged doors very easy. The video shows this well. It’s a two person job. Use a level to mark a line where the outside edge of the door will be.
Next, hold the door in place so the outer edge is aligned with your pencil line. Open the hinge and mark the screw locations of each hinge on the door frame.
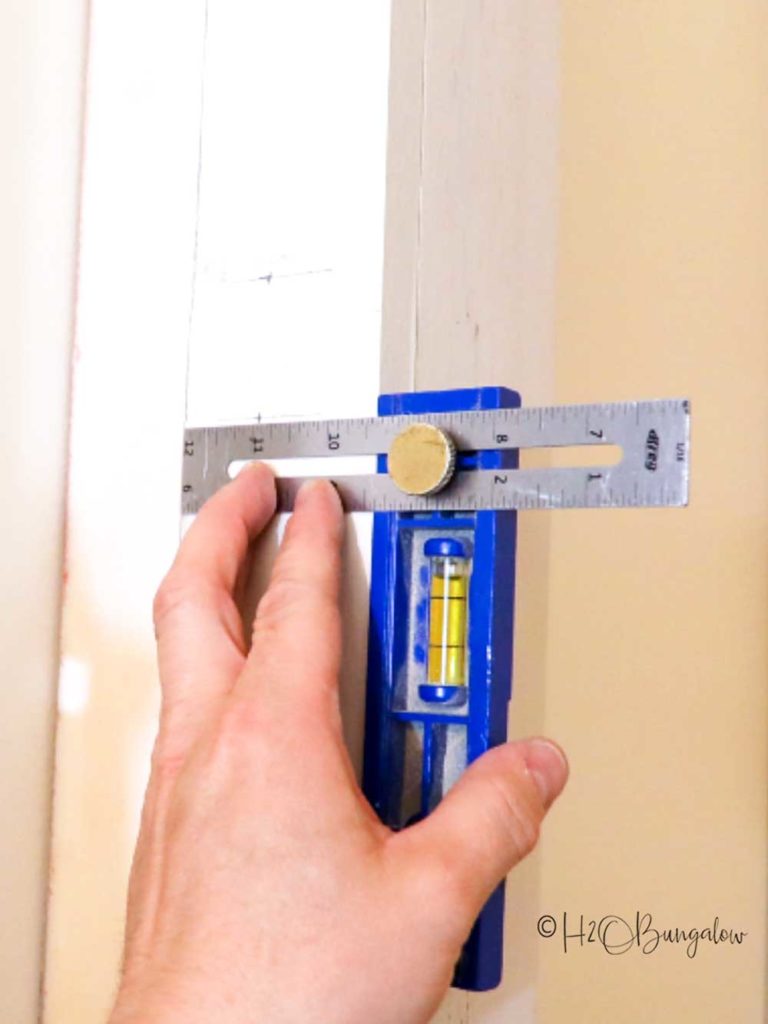
We used a Kreg Multi-Mark tool to mark the exact distance from the outside edge (pencil line) to the pilot hole locations. Last, drill pilot holes. It’s an easy process.
Our doors hung perfectly! I was thrilled we didn’t need to make any adjustments on the hinges. If necessary, you can adjust the hinges up/down or in/out on the adjustment screw in the hinge.
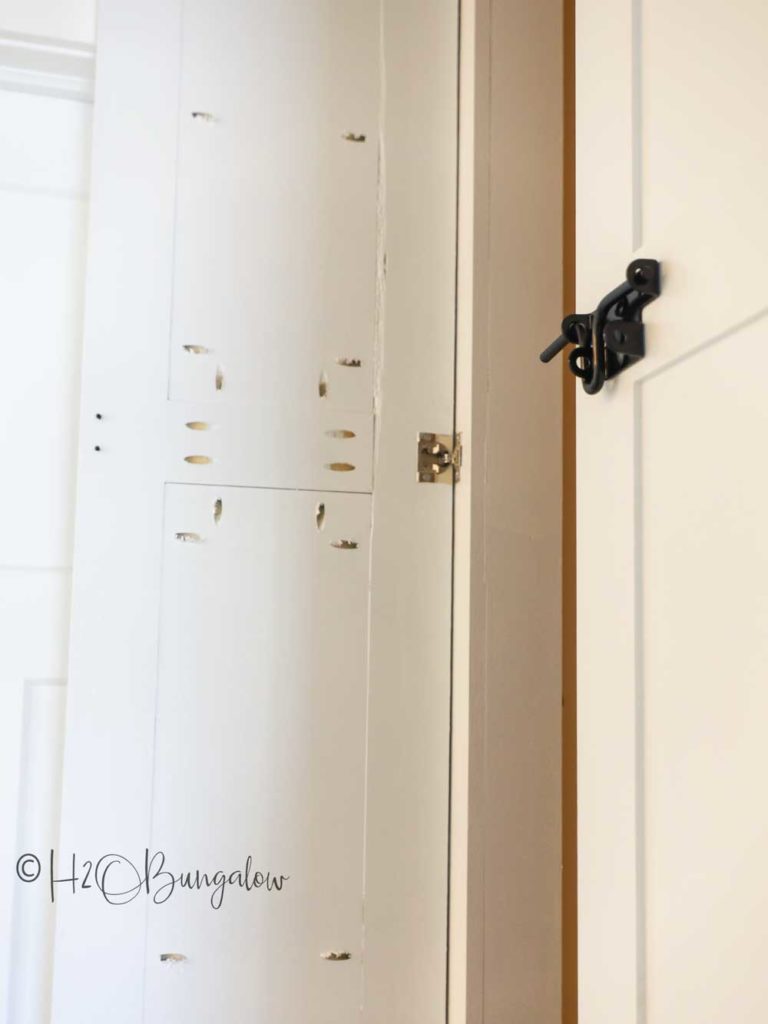
The pocket holes don’t look so good here, but you can use plugs alike I mentioned earlier.
Step 7. Add hardware
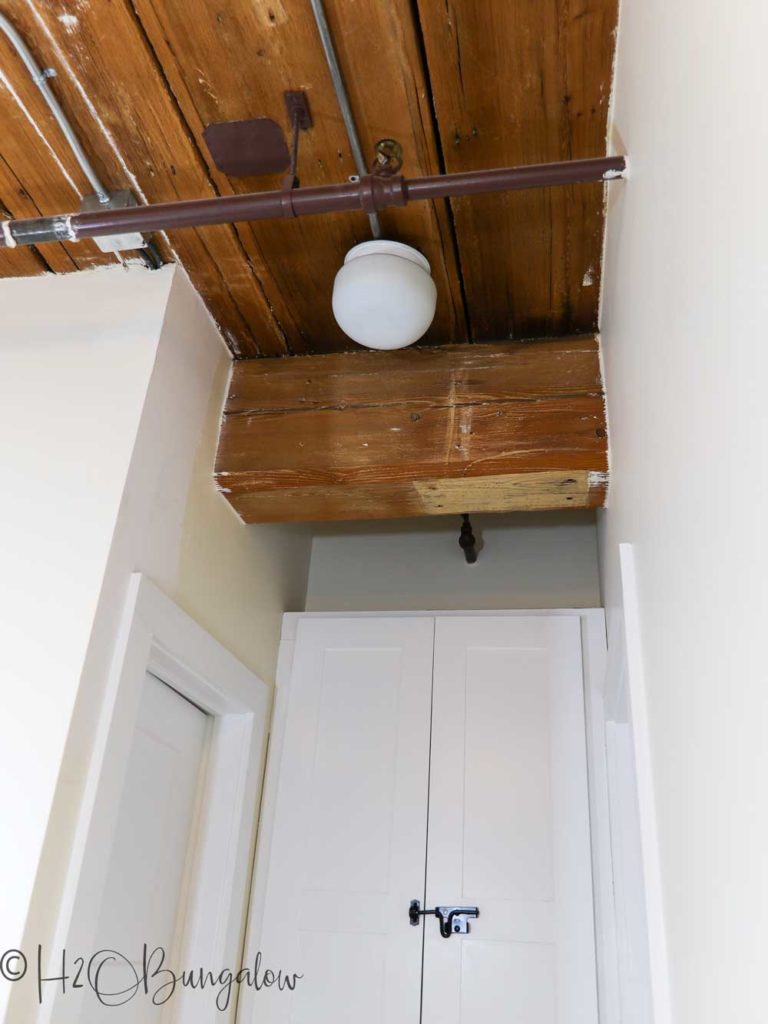
Add the slide bolt lock to a rail on the door. Locating it on a rail will give your door more stability. I didn’t yet, but will install these magnetic door catches at the top inside of each shaker door to give the closure more stability.
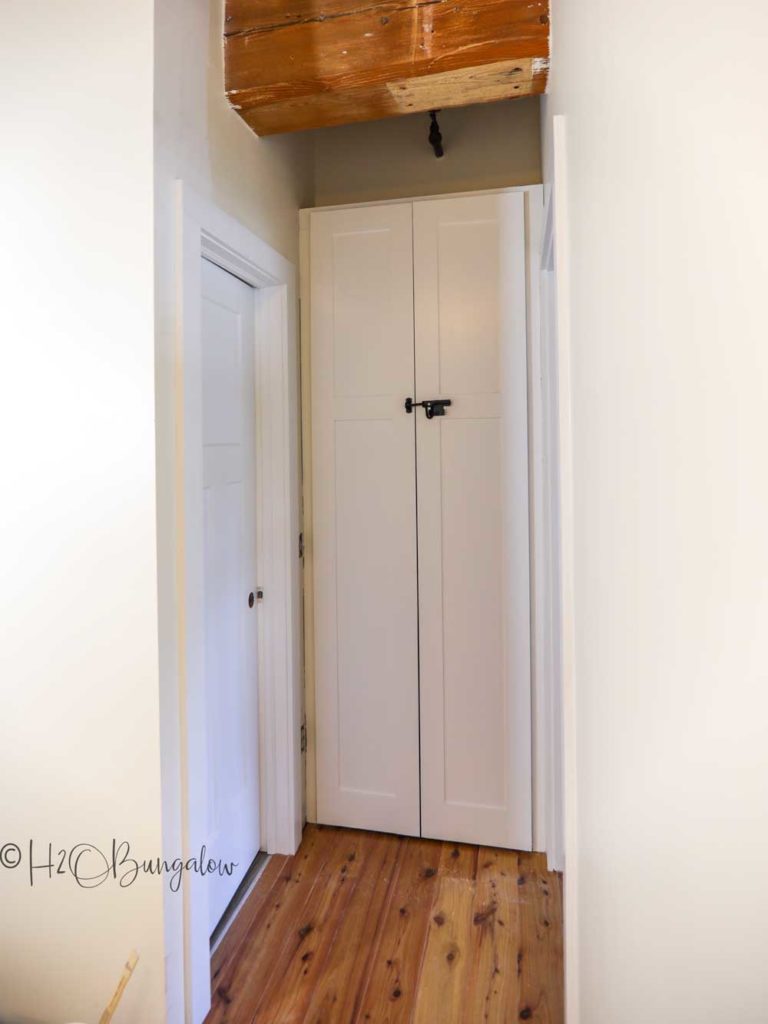
My tall shaker cabinet doors are perfect in the hall! Notice we made the bottom panel tall to compliment the craftsman style doors.
I still need to build the interior shelves. It’s on the “to do” list along with everything else to get this place finished by winter ski season for guests.
Don’t you love that floor? It’s a knotty cypress and will last for years!
Building your own shaker cabinet doors in any size is easy and a lot less expensive that purchasing ready made or custom ones.
I’d appreciate it if you pinned how to make shaker cabinet doors for later and share with your friends on Facebook!

How to Make Shaker Cabinet Doors
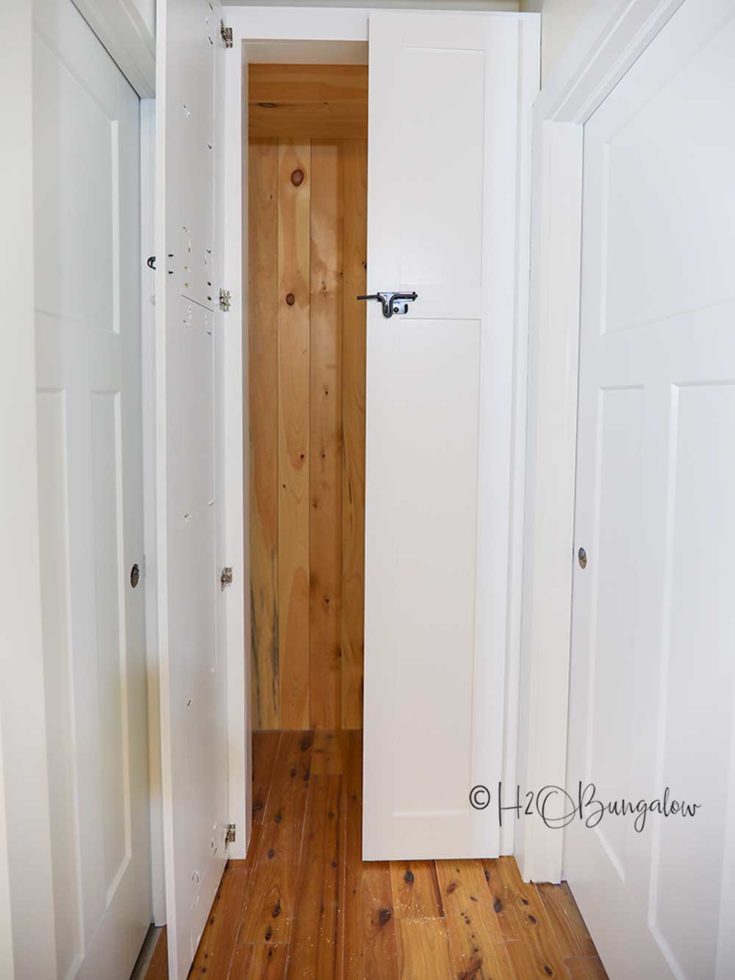
How to make shaker cabinet doors in any size. They are easy to modify for cabinet doors small, large double or single hung.
Materials
- Free plans to make shaker cabinet doors
- 1" x 4" boards for the rails and stiles
- 1" x 6" board for the bottom rail
- 1-4' x 8' sheet sanded plywood for the door panels. I used birch.
- Concealed hinges for full overlay doors
- 1 1/4" pocket screws, coarse
- 1" pocket screws, coarse
- pocket hole plugs
- Locking hardware
- Magnetic door catches
- Wood glue
Tools
- Kreg K-4 Pocket Hole Jig
- Kreg Conceled Hinge Jig and Bit
- Kreg Face Clamps
- Level
- Table saw
- Drill
Instructions
- Measure the door opening and include as much of the door trim as you'd like the door to overlap onto. For a set of double doors, subtract 1/4" and divide that number in two to get each shaker door width. The 1/4" is the gap between the doors when they are hung.
- Next, determine your door length. Measure the height of the door opening including the door trim at the top you'd like to cover and subtract 1/4" for clearance at the bottom to open the closet door. If you have thick carpet, adjust that number as needed.
- Determine the panel width and height for the shaker doors.
- To get the width of each panel subtract 7", which is the width of the two stiles that will run lengthwise on each shaker door.
- To get the height of the panels, first determine how many rails you want on your door and how far apart or high you'd like them on the door. Subtract 3 1/2" for the top and each middle rail and 5 1/2" for the bottom rail when you're planning each panel height of your shaker doors.
- Cut the panel widths for each door first and then the height.
- Set your Kreg Jig for 1/2" material and make pocket holes on the panels first.
- Set the Kreg Jig to 3/4" material and make two pocket holes at each end of all rails to attach to a stile.
- Clamp the doors together at the rails. Position the panels to be flush at the back of the cabinet door which will leave a nice 1/4" reveal on the front. Line the top of the door rails and stile to be flush so any cutting discrepancies (if any) show on the bottom of the door.
- Next, assemble the cabinet doors. Begin with the rails and 1 1/4" pocket screws, next use 1" pocket screws on all of the panels. It helps to have two people for this step. If you plan on using plugs to fill in the pocket screw holes at this time do this now.
- Decide which will be the right and left shaker door before adding the hinge recesses. When placed side by side you want the best and straightest fit. If there is any bowing or space between doors, swap out the two sides so the imperfection is on the outside.
- Lay the doors together and mark where the hinges will be placed. We put a hinge at each rail and one in the middle of the stile on the long panel. Mark the center of where you want your hinge. The Kreg Jig will line up at that mark.
- Paint doors.
- Add the hinges to the door.
- Next, hold the door in place so the outer edge is aligned with your pencil line. Open the hinge and mark the screw locations of each hinge on the door frame.
- Drill pilot holes for hinges, install, and hang doors.
- Add the slide bolt lock to a rail on the door.
- Add magnetic catches if are using them and you're done!


Jessica Welling says
These are amazing Wendi! It was so fun to meet you last week!
Wendi Wachtel says
Hi Jessica!
Thank you so much! I’m very happy with how they turned out. They complimented the craftsman doors and I love the height. Now all I have to do is finish the rest of this place by winter and all will be well!
Kirstin Troyer says
Those turned out great. I can definitely see how it’s more cost effective to build your own especially if you have a non standard door size..custom doors are expensive.
Wendi Wachtel says
Hi Kirstin!
Thanks so much! I love how this cabinet door turned out! It was a big bonus that it was easy and budget friendly too! It’s a good solution to a custom door size. Thanks so much for your visit and note!