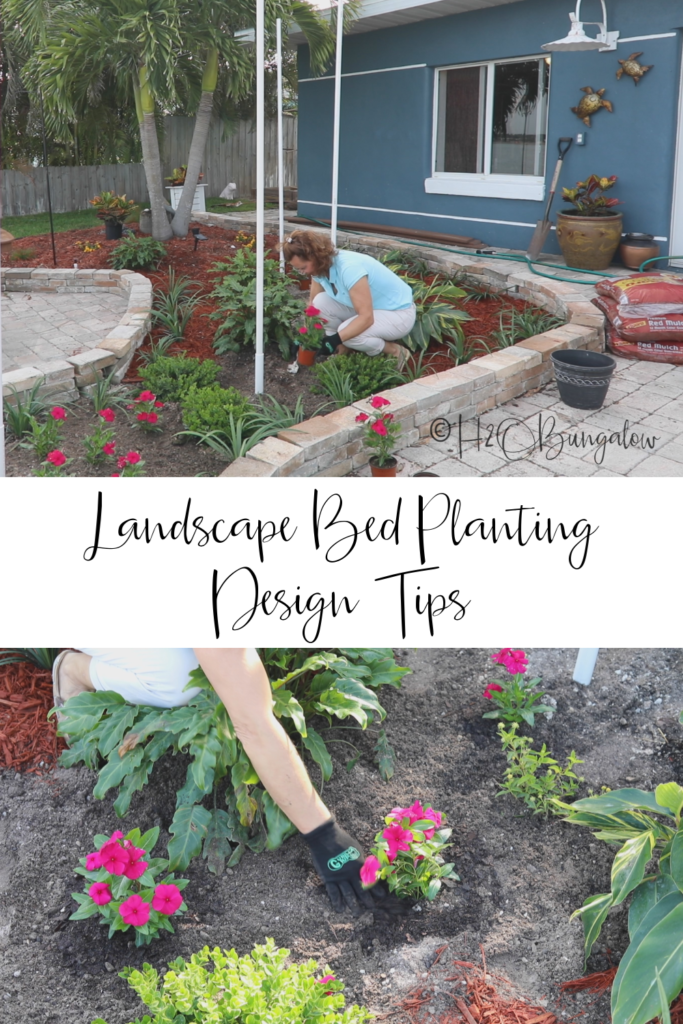
Hi Friends! It’s week 3 of the Outdoor Overhaul! I’m a bit tired, I have more sore muscles than I thought I could have but am really excited to share the progress I’ve made. The main focus of last week’s update was building my patio landscaping beds. This week’s work was all about planting the patio landscaping beds to create the cozy areas my backyard sorely lacked.
Sending out a big thank you to Ryobi for sponsoring this post and month long competition. I use affiliate links in my articles to shop. We receive (at no cost to you) a small commission if you make a purchase. Thank you!
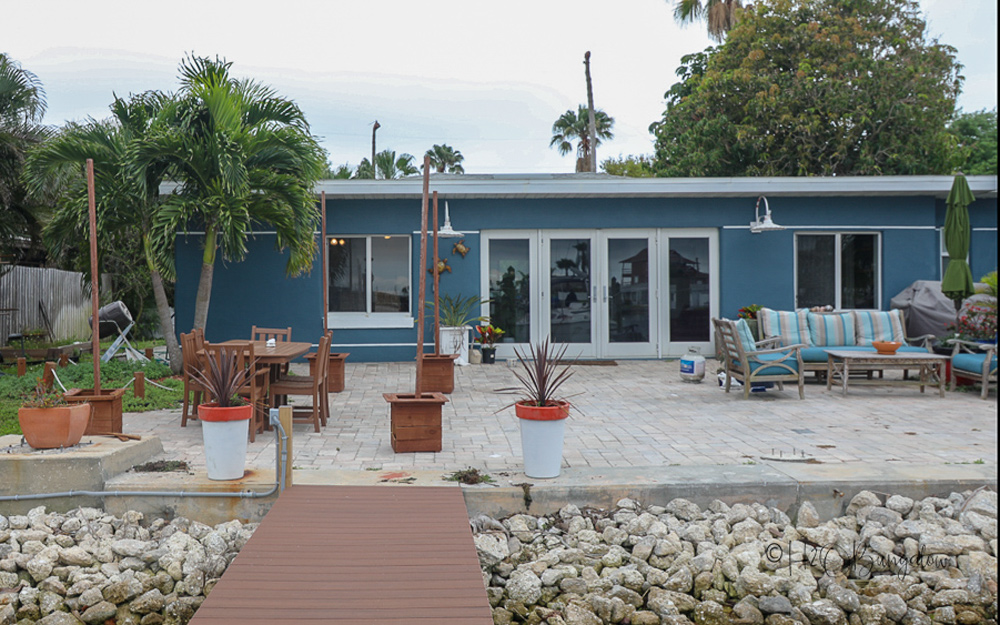
I managed to get a few more things done this week too which you’ll see in this weeks video update. You’ll get an eye-full of how much I’ve accomplished this since I added a few pictures of what my yard looked like a few weeks ago before I started this makeover.
How to use patio landscaping beds to fix outdoor layout challenges
Like I mentioned in the Outdoor Overhaul introduction, our backyard has always been a challenge. The patio area is huge, wide open and always feels bare, even when it’s not.
It’s never felt cozy.
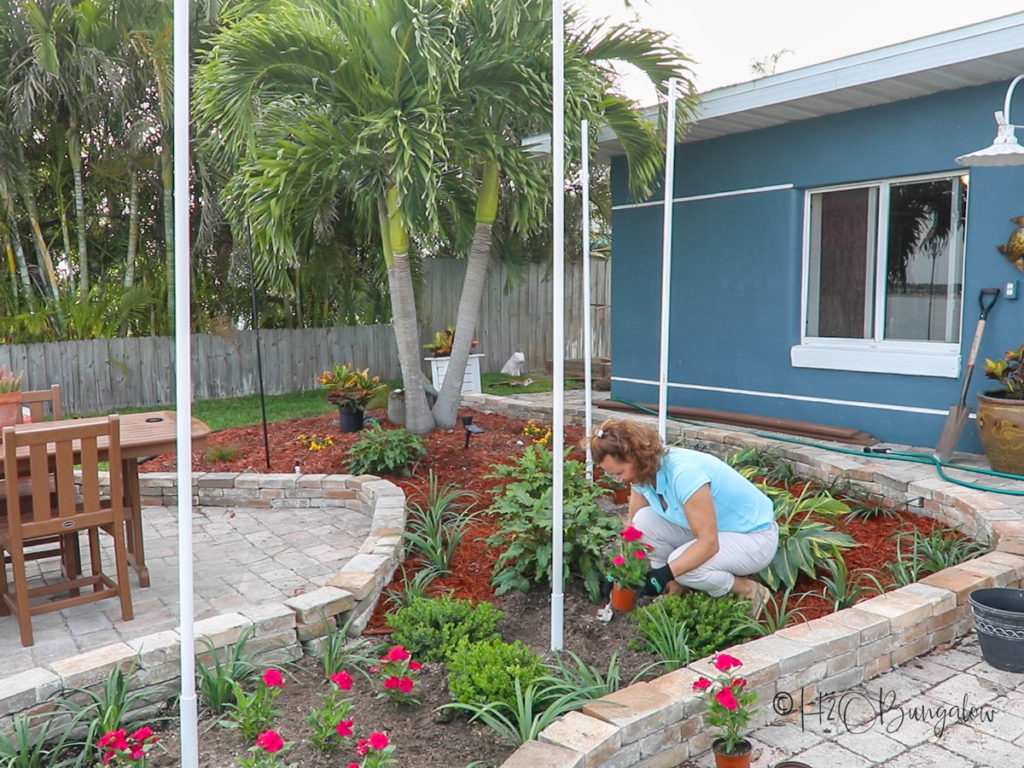
My big plan was to use landscaping beds to define our different outdoor areas that we use. Our new landscape beds will now break up an outdoor dining area and a seating area into separate areas in our backyard.
I had a vision of an intimate courtyard surrounding our dining table with lush green foliage in layers. Across the patio, I planned to add a complimentary landscape bed near the sofa and seating area.
So, How’d I do? I think I pulled it off! I’m very happy with the shape and sizes of my new patio landscaping. But I’d forgot how much work building a new planting bed can be!
Planting Tips for Landscaping Beds on Patios
Once the beds were built, it was time to think about what to fill them with. Last week, we had a lot of fun on my H2OBungalow Facebook page when I asked for recommendations and planting ideas. There was no shortage of really good ideas, thank you friends! I considered all of them. I brought a long list with me to the nursery and asked for their help to narrow down which plants were best suited for our area and my needs.
Prepare the soil for planting
Our soil isn’t really soil. Since we live on a barrier island, it’s mostly sand and shells. I needed to give my plants a good start by preparing the soil before planting.
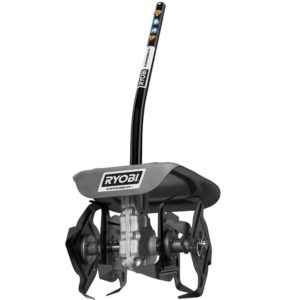
I worked plenty of organic garden soil matter into the ground with my Ryobi 40 Volt String Trimmer with Multi-Attachment Tool and the Cultivator Attachment when I first built the beds.
That cultivator attachment was a huge time and back saver! The ground was packed rock hard underneath where we pulled up the pavers. I honestly don’t know what I would have broken up that ground without it.
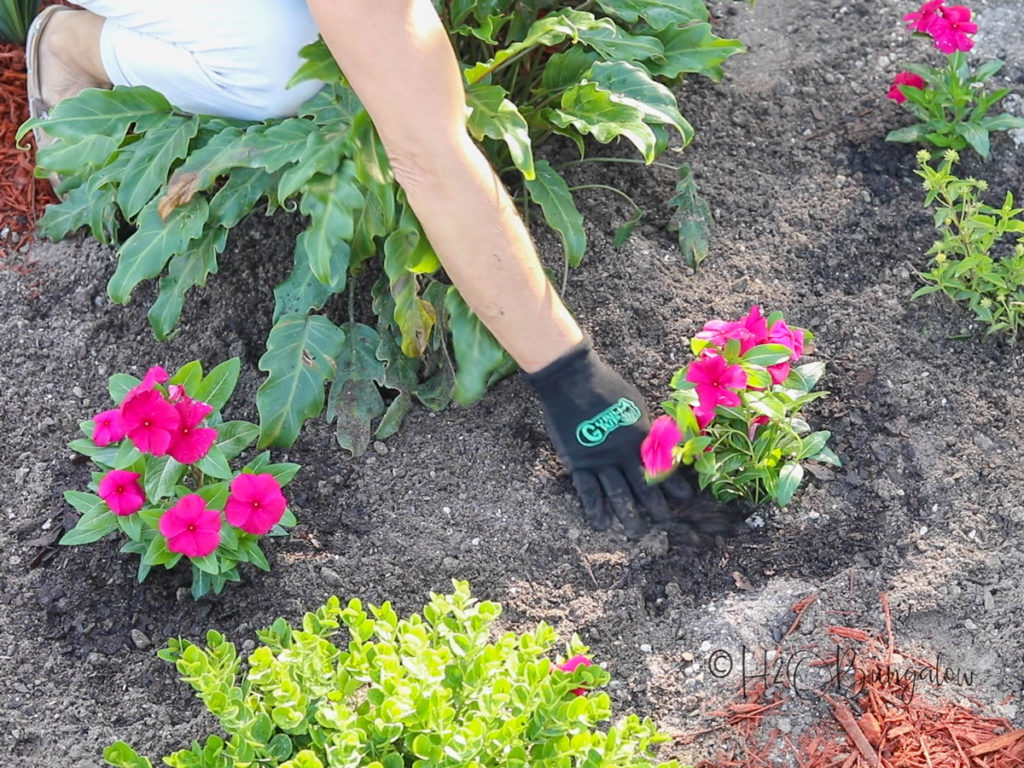
Because the soil was so lacking I worked even more organic matter into each planting hole soil. Each hole was dug about twice as wide and twice as deep as the plant root ball. I also tossed in a little of my favorite organic plant food to help my new plants get off to a good start.
What to plant in patio beds
With the help of my Facebook friends and the garden center, I picked plants that worked together to create my cozy spaces. Because our patio and new landscape beds are all large, I used only a few plant types to keep them from looking too busy.
I also don’t want a lot of maintenance!
Things to consider when planting new landscaping beds are how much sun or shade does a plant require, how large will it grow, how much maintenance is needed and will the plant spread. I wanted my plants to stay lower than 3-4 feet so our view of the water from the house wasn’t blocked.
Another thing to consider is the color of the plants for the landscaping beds. I chose colors that would compliment the dark blue of my house.
I knew wanted lots of green in my gardens. I choose tropical, easy to care for plants and planted them in odd numbered clusters of three. Just like decorating in your home, it’s good to use uneven numbers. I planted everything close enough that they would touch when grown. I created layers by planting the shorter Xanadu plants up front and slightly taller Ginger plants behind them. I may need to trim the ginger back if it gets too high, but that should be the bulk of my maintenance.
plants I choose for my tropical landscape beds
- Xanadu
- Variegated Ginger
- Emerald Carpet
- Vincas
I wanted both beds to be similar with the same plants but not have the exact layout. Because
Watering patio landscaping
We didn’t have sprinklers or grass in our backyard when I first started the Hangout Challenge! I had our sprinkler system extended into the back yard and sod put in around the edges of our patio. I’ll install drip irrigation from the sprinkler heads like I did in my front yard flower beds.
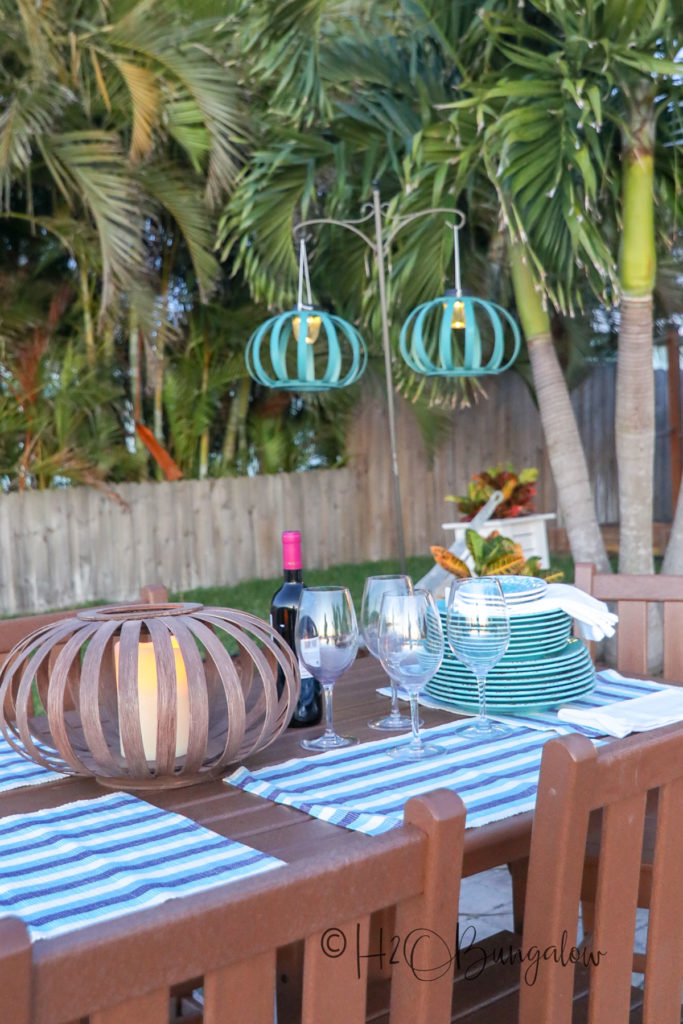
Another big accomplishment this week was finishing the DIY Solar Hanging Lanterns for the new dining area.
Skip the extension cord!
I used my Ryobi Portable Inverter and an 18Volt battery for my glue gun.
It fits all Ryobi One+ 18V batteries and has 150 watts of continuous output. With 2 USB posts and 1 120V outlet it’s perfect for laptops, cell phones and more!
Like I mentioned in the video, my 40V Jet Fan Blower has been getting almost daily use.
It’s gas like power in a 40V tool! I’m loving that it puts out 125 MPH, that’s 500 CFM! I love the turbo boost button for extra stubborn cleaning!
I can’t believe how much we all got done this past week! If you haven’t seen what the other bloggers who are doing this challenge with me are accomplishing in their hangout spots, take a look!
Next week we’re giving away a 40Volt Smart Trek Mower!
There are two way’s to win Friends!
Share your own makeover
You can share a before and after picture of your own hangout makeover on Instagram and tag . @ryobitoolsusa @thriftdiving @h2obungalow @myrepurposedlife @the.handymans.daughter #RYOBIOutdoorOverhaul #hangoutchallenge
Vote for your favorite blogger makeover
Week 4 Giveaway is Vote for your favorite Blogger’s Outdoor Overhaul! We’ll share our big reveals next Friday!
40V Smart Trek Mower. Contestants must share the logo of one of the 4 bloggers whose Overhaul they liked most on Instagram and tag @ryobitoolsusa @thriftdiving @h2obungalow @myrepurposedlife @the.handymans.daughter #hangoutchallenge
RYOBI SWEEPSTAKES CONDITIONS
IN ORDER TO PARTICIPATE IN THE 2019 OUTDOOR OVERHAUL 2.0 HANGOUT CHALLENGE SWEEPSTAKES, YOU MUST BE 18 OR OLDER AND LIVE IN THE U.S. A BEFORE AND AFTER PICTURE OF YOUR OUTDOOR MAKEOVER MUST BE SUBMITTED TO INSTAGRAM BEFORE FRIDAY 5/3 AT 12:00AM, AND MUST TAG THE APPROPRIATE HANDLES. @ryobitoolsusa @thriftdiving @h2obungalow @myrepurposedlife @the.handymans.daughter #RYOBIOutdoorOverhaul #hangoutchallenge
Link to Official Sweepstakes Rules (GRAND PRIZE)
https://docs.google.com/document/d/1ti3WXiFgnigYjO0padhmYHHuEQsoszncUqjwztNuQYY/edit?usp=sharing
IN ORDER TO PARTICIPATE IN THE 2019 OUTDOOR OVERHAUL 2.0 WEEKLY GIVEAWAY SWEEPSTAKES, YOU MUST BE 18 OR OLDER AND LIVE IN THE U.S. WHEN SHARING YOUR POST TO WIN YOU MUST TAG @ryobitoolsusa @thriftdiving @h2obungalow @myrepurposedlife @the.handymans.daughter #RYOBIOutdoorOverhaul #hangoutchallenge
Link to Weekly Giveaway Rules (Tool Giveaways)
https://docs.google.com/document/d/1dNiSVKI6YaUZ9c2uI4iQkT4ryUmnUC9_FxObHQ6T8WY/edit?usp=sharing

gail says
Wendi,
Wow! You’ve worked so hard and it’s looking so great! I’m lucky, because I’ve seen your space in real life, so it’s easy for me to know where the changes are taking place. 😉
I can’t wait to see it all come together.
gail
Wendi says
Hi Gail and thank you! Yes…it’s ben a lot of work! I’m excited though and love how everything has come together. I can’t wait for the big reveal to share it all!