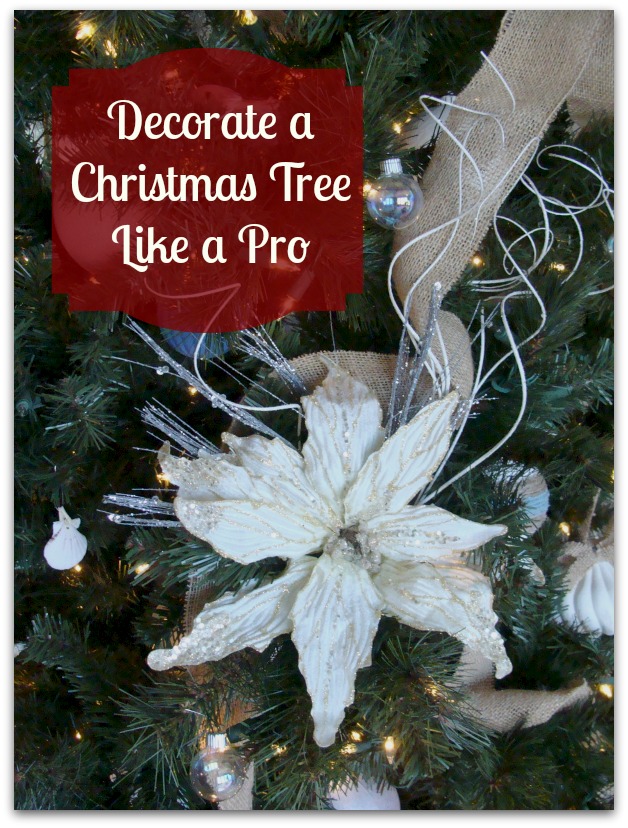
Does the Christmas trees in the department store, the mall or your favorite boutique dazzle you and make you wish you could get “the” look? I took a class on Christmas tree decorating a few years ago and thought it would be fun to share what I learned. Today we’ll cover how to decorate a Christmas tree like a pro.
The basics of tree decorating are not style specific. Our tree used to be traditional and had lots of red velvets and gold. This year it’s coastal elegant. You don’t need to buy new things, just get creative with what you have. I’m leaving my photos extra-large for this post so you’ll be able to see little details.
Begin by hanging your lights. Next, pour a glass of your favorite wine or spiced eggnog. Now you’re ready to decorate a christmas tree like a pro! Unpack all of your ornaments and lay them out by size. Largest to the smallest in separate piles.
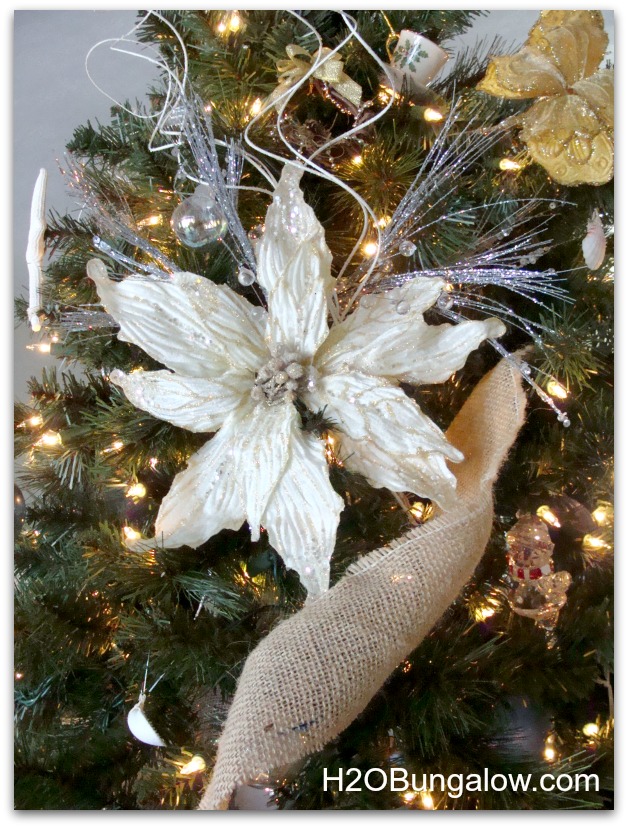
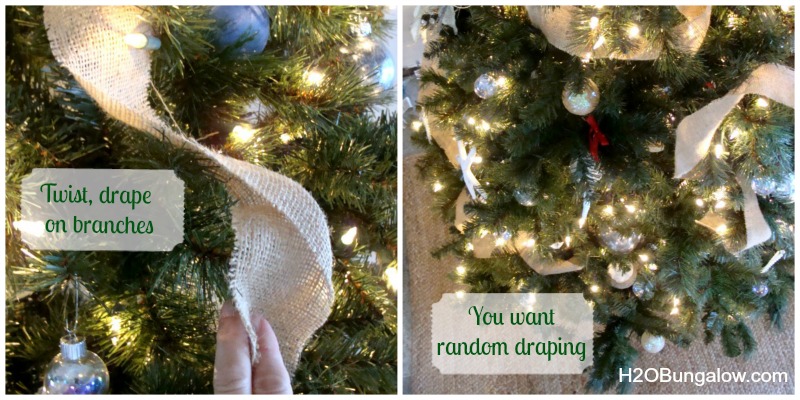
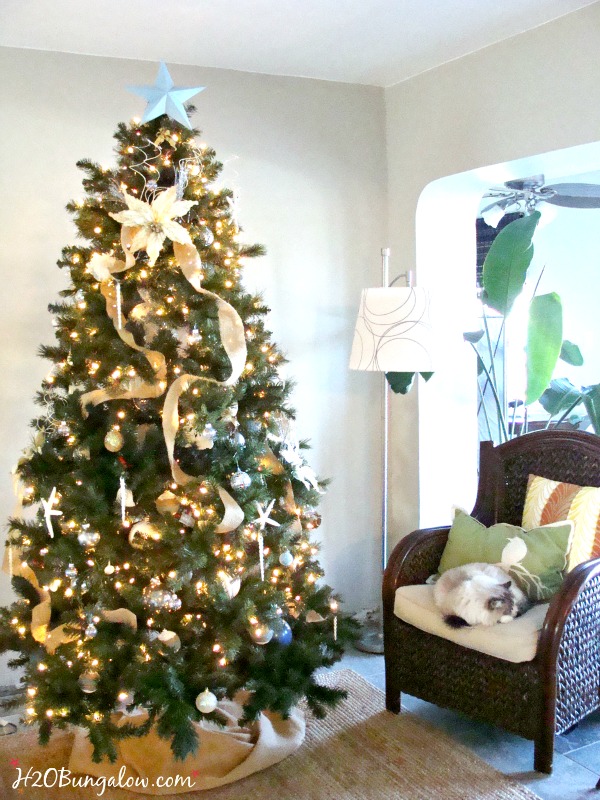
Focal Points – Your biggest items go on first. I used 5 white poinsettia as my focal points. I cut the flower heads off of some beautiful white ones I already had. Use uneven numbers like 3 or 5 and place some high and some lower on the tree. Next, You’ll add a ribbon. Twist it and drape it from your focal point down and around your tree. You want a random drape and not matchy -matchy. I cut burlap strips as my ribbon. The wired edged type works the best.
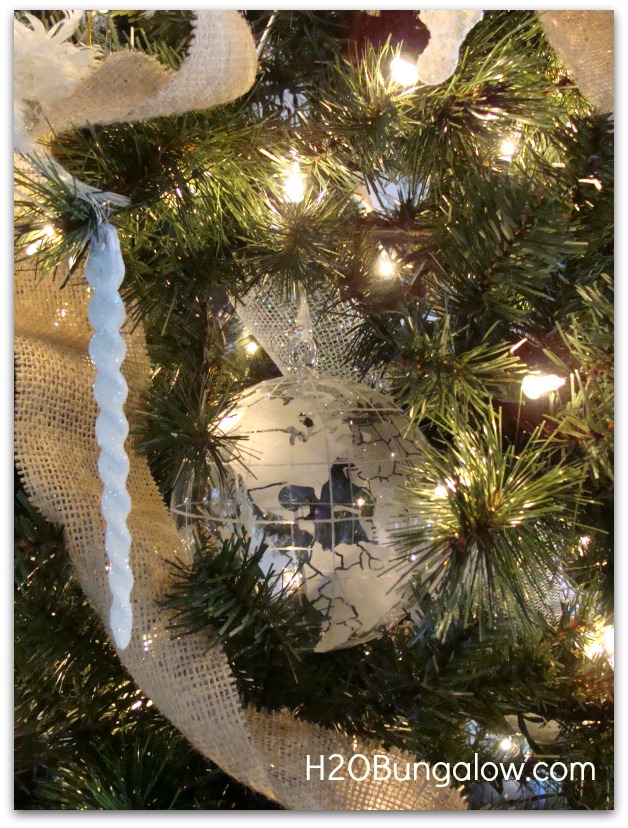
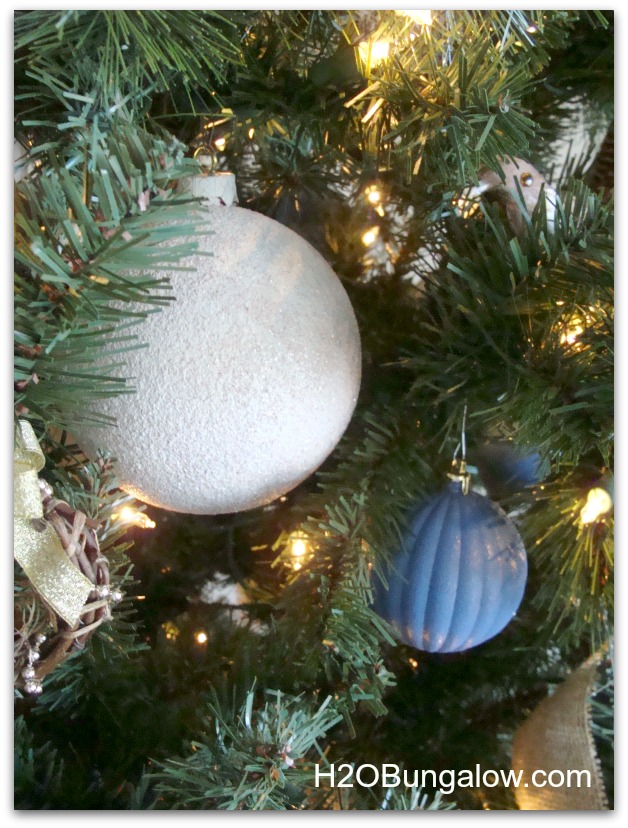
Core Ornaments – Starting with large ornaments, place them deep inside of the tree branches. You should only be able to see a part of the ornament. Put your favorite or special ones front and center at eye level so they’ll be seen easily.
Medium balls are placed in the middle area but not on branch tips. Mix up shapes and sizes.
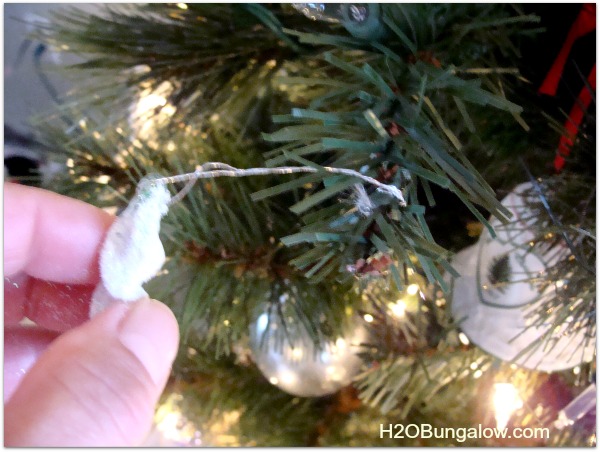
Accent ornaments – Smaller ornaments are hung next. Pick spots where they will stand out near the end of the branches. Last place the smallest and any long drapy ones (like icicles) on the tips of the branches. When you decorate a christmas tree like a pro you don’t want hooks and strings easily visible. Wind your ornament string around the branch so the ornament looks suspended from the branch tip.
Build Layers on your Focal Point – Your last step is to build some layers of detail into your focal point. I added some silver picks, and white twisty glittered sticks. Just tuck them in behind. Tweak or bend to get a nice display.
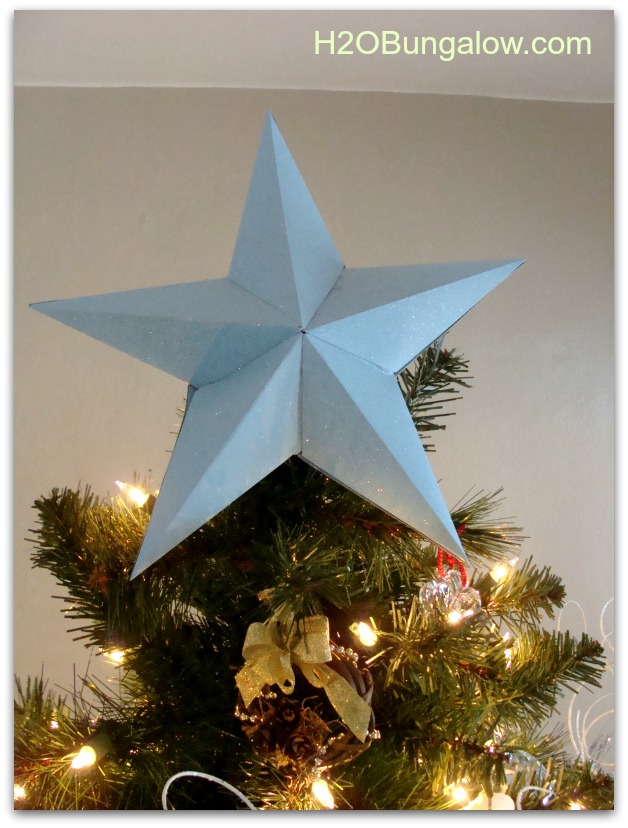
Technically, in professional tree decorating the topper is assembled first. I didn’t build the large display on the top this year and opted for a simple star. It’s our family tradition to put it on last. I’ll leave that completely up to you 🙂
That’s it. You’ve just learned how to decorate a Christmas tree like a pro. I think the biggest takeaway from this is layers, lots of layers. Keep in mind, a Christmas tree, or a tree makeover doesn’t need to cost a lot to look fabulous. I completely changed my tree style by using plenty of white, blue, vintage glass and added a few coastal elements like starfish.
Except for special family ornaments, my tree is decorated with re-cycled and up-cycled ornaments because of our commitment to being green. Most of my ornaments started out shiny or glittered in traditional red, green and gold. I spray painted some blue, painted most white with American Paint Company chalk paint. I sprayed or rolled different types of glitters on several of the balls. My star? I made it out of blue poster board and gave it a coat of spray glitter. It’s gorgeous! I wouldn’t change anything on my tree this year and it easily stands up to a boutique tree.
Dexter loves our Christmas tree so much that he spends hours each day napping by it 😉
I love this time of the year, I love the decorations and decorating, especially the Christmas tree. This was a fun post to write and I enjoyed sharing how to decorate a Christmas tree like a pro. I hope you’ve found my professional tree decorating tips helpful. Adapt what works for you. No matter what your personal style of Christmas tree decorating may be, all trees are beautiful. In the end it doesn’t really matter what’s on your tree, just what’s in your heart.
Whats your tree top look like? Do you have a family tradition that goes along with it?
Don’t miss a single creative idea I share! Click here to get my posts sent to your mailbox or follow here on Bloglovin. Either way, keep in touch!
You may see me linked up to some fabulous link ups which you can see here.

Lori says
Beautiful! Thank you for all the great tips! Very helpful! Merry Christmas!
Wendi says
Thank you so much Lori. I’m glad you liked my tree decorating tips. When I took the class I felt like a lightbulb went off on how simple it was, yet it makes such a big difference. Merry Christmas to you too!
Marie@InteriorFrugalista says
Excellent tips Wendi and I love your embellished poinsettia focal points – very pretty! Our cat has decided the tree skirt is a perfect blanket and sleeps under the tree for hours. Thankfully he hasn’t decided the tree would make a perfect play thing but our new kitten downstairs is another story (hence the reason he’s downstairs)!
Wendi says
Thank you Marie! The poinsettias were from my daughters wedding a few years ago. I love that I can still use them. Our cats love the tree too. I’m happy they aren’t climbing in it this year:) Thanks for visting & Merry Christmas!