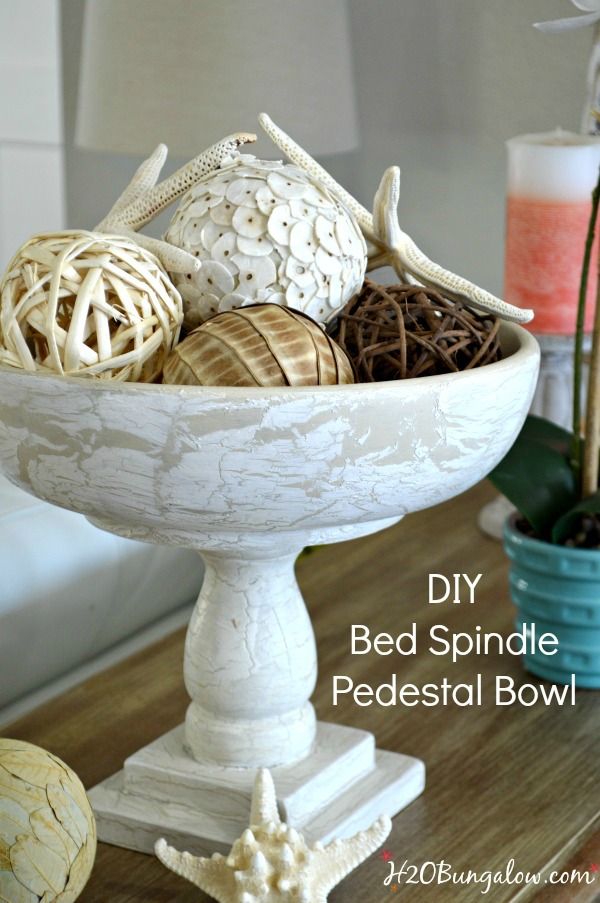
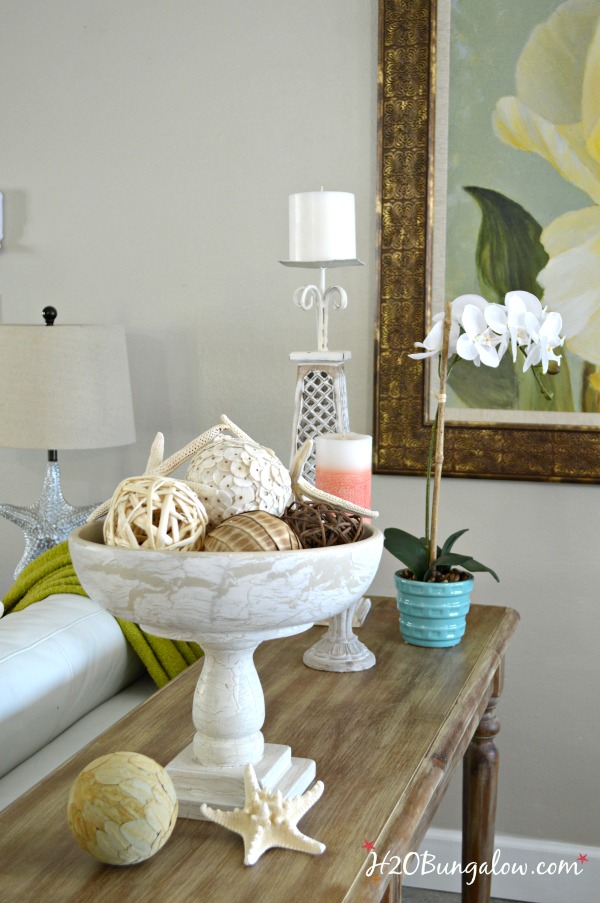
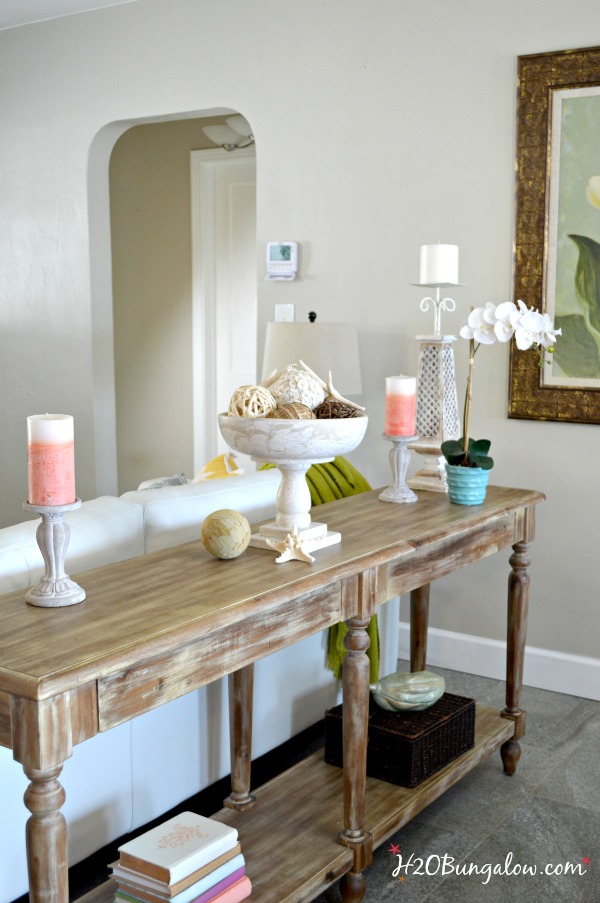
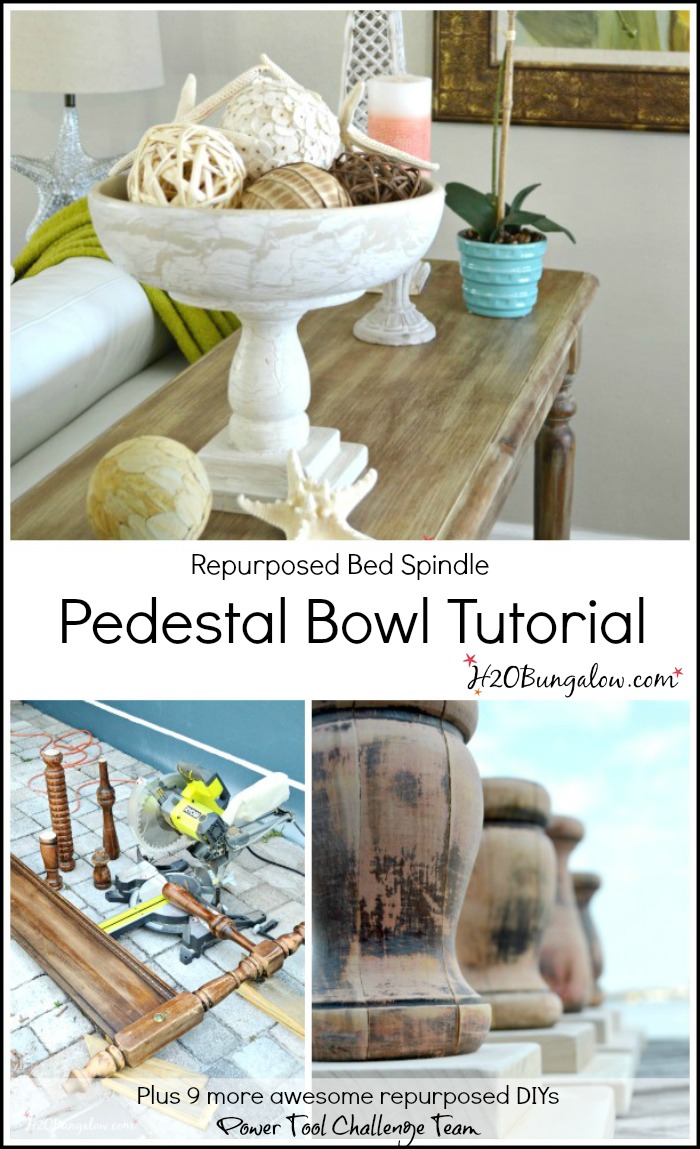
I made my DIY bed spindle pedestal bowl because I love drama. Not like in girl stuff from old school days, but drama as in home decor. I gravitate towards items that ad character and style and a big presence. Because I live in a small space I can’t have too many big items, but I can have pieces with big personality like my DIY bed spindle pedestal bowl.
Can you believe I made today’s project from an old bed?
Welcome to another edition of the Power Tool Challenge Team. Our theme this month is Re-purpose.
Our monthly themed challenges are meant to inspire our friends and readers to try new things, push a little out of their comfort zone and maybe, just maybe… pick up a new power tool and try out a DIY a project 🙂
DIY bed spindle pedestal bowl tutorial
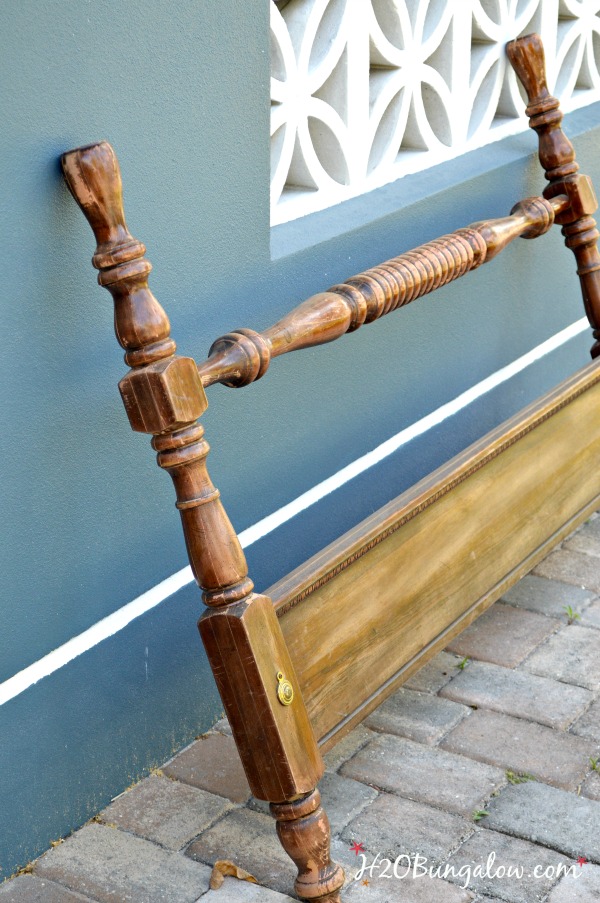
I found this fabulous king size foot-board at our local Habitat for Humanity Restore. At the time, I had no idea what I’d do with it.
What I did know was there was a whole lot of opportunity in that piece:)
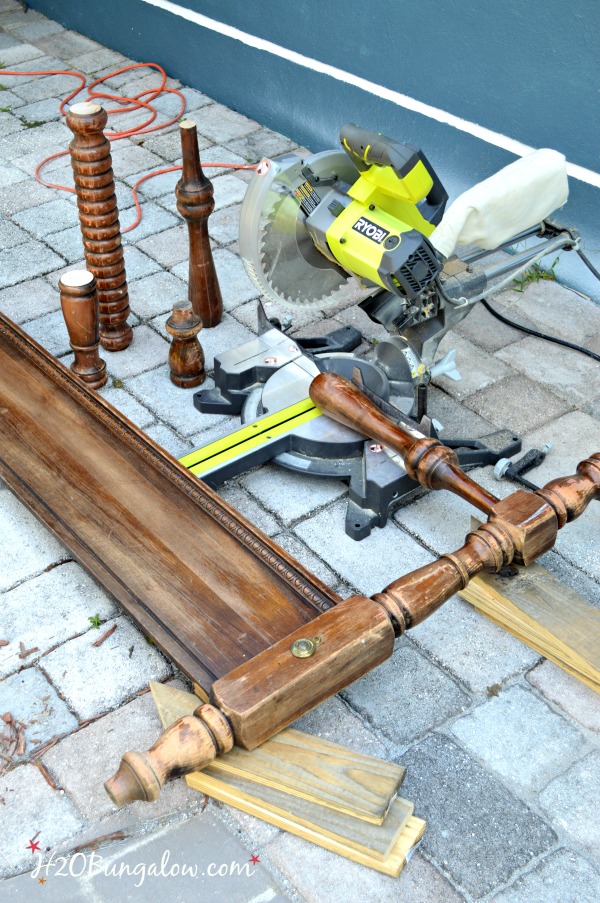
Cutting up the bed frame was simple. I placed it on the ground, propped up the edges with a few 1 x 3’s so it would lay flat and used my favorite Ryobi compound miter saw. I turned and slid it from place to place as I systematically took this huge foot-board apart. It was cumbersome, but not hard.
I saved that big piece of wood too, it will make an awesome something someday!
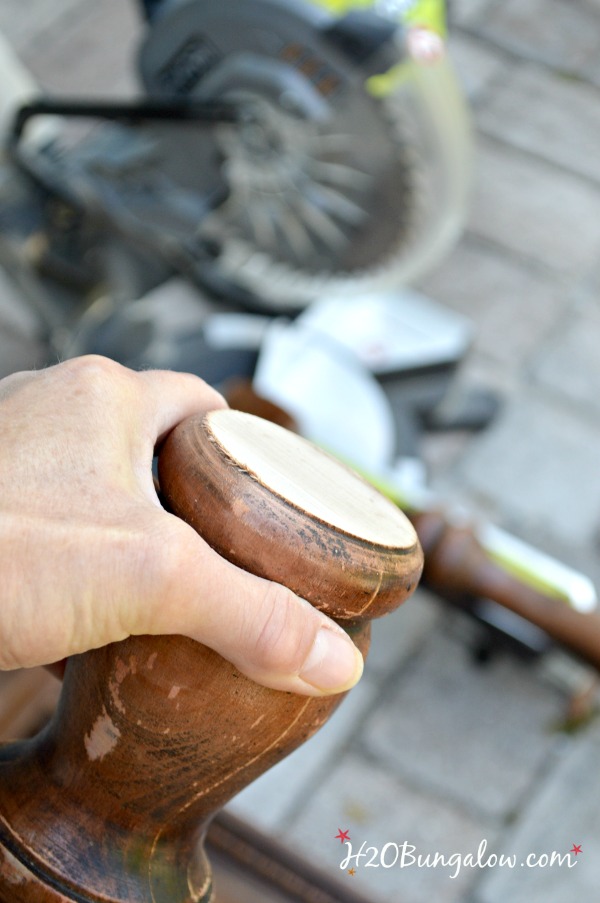
I thought of using another saw type, but the compound miter saw made fabulous straight and clean cuts. That meant it needed less sanding.
Less work is always better, right?
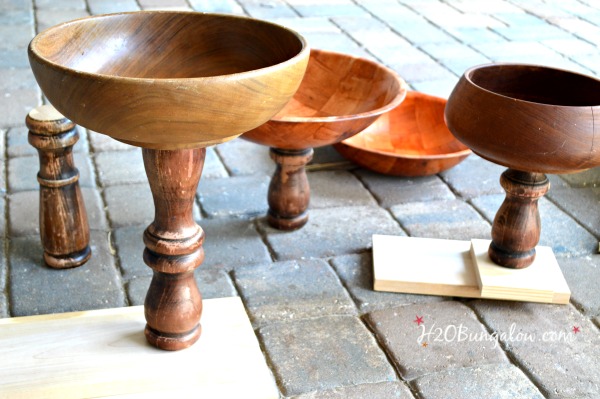
I’d already collected a bunch of wood bowls at the thrift store.
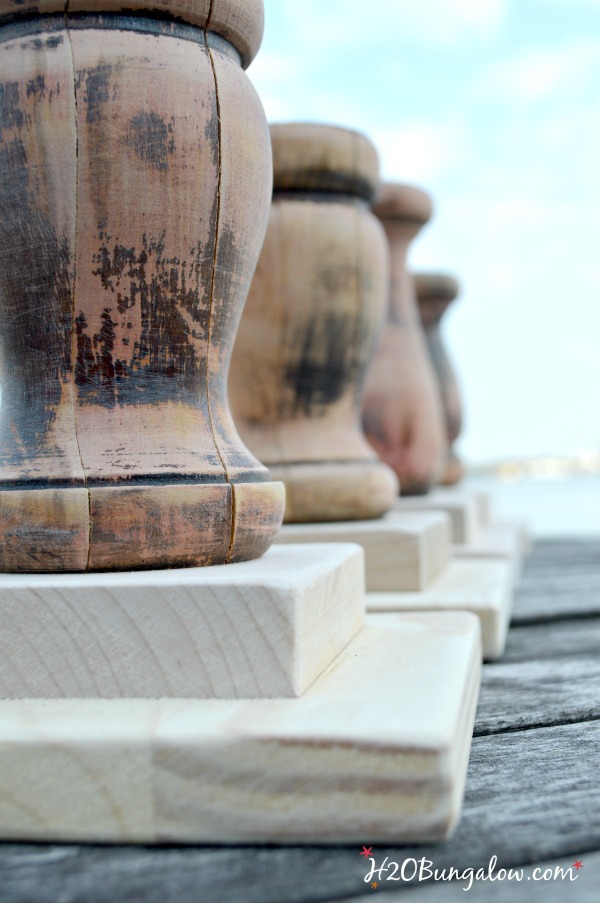
I planned on using layers of scrap wood cut in squares for the bases. If you’re designing your own DIY bed spindle pedestal bowls, make sure the base is wide enough to keep the bowl stable. At first I wanted tall pedestal bowls, but then realized they wouldn’t be very stable without huge bases.
Plus, unless you have a large space, the size vs. scale of a table to place it on doesn’t work well.
I cut a bunch of squares for the bases. My Ryobi Airstrike Brad Nailer worked perfect to attach the first base block to each spindle. I glued the next block in place and when it was dry, added a few brad nails from the bottom.
Sanding everything took off the sharp and the pointy corners.
I used my brad nailer to attach the wood bowl on top of the pedestal on this bowl below. Depending on the shape of the bowl, it can be attached with brad nails, glue and or a small wood screw. All the pieces of this wood pedestal bowl could easily be glued together too.
Before I painted it, I ran a bead of painters caulk around all the joints. I was already loving it at this point, and wanted it to turn out perfect.
Caulk makes a huge difference in the finished look, just like it did with my DIY baseboards that you can see in this picture:)
The last step was to add a finish. I thought my new pedestal bowl needed some pizzazz, so I used cheap glue to make a crackle finish with two layers of paint and a coat of wax.
Do you love it? I do!
The best compliment you can give me is to share my work on Pinterest or Facebook!
This DIY bed spindle pedestal bowl is a simple re-purpose project. Like I mentioned earlier, you could easily do this project with wood glue and wood bowl and find the rest of the pieces at Home Depot. I spent about $3 on my pretty home decor piece. I know I’ll use it year round in lots of ways. The other bowls will make their way down to my shop.
Ready for more DIY power tool inspiration?
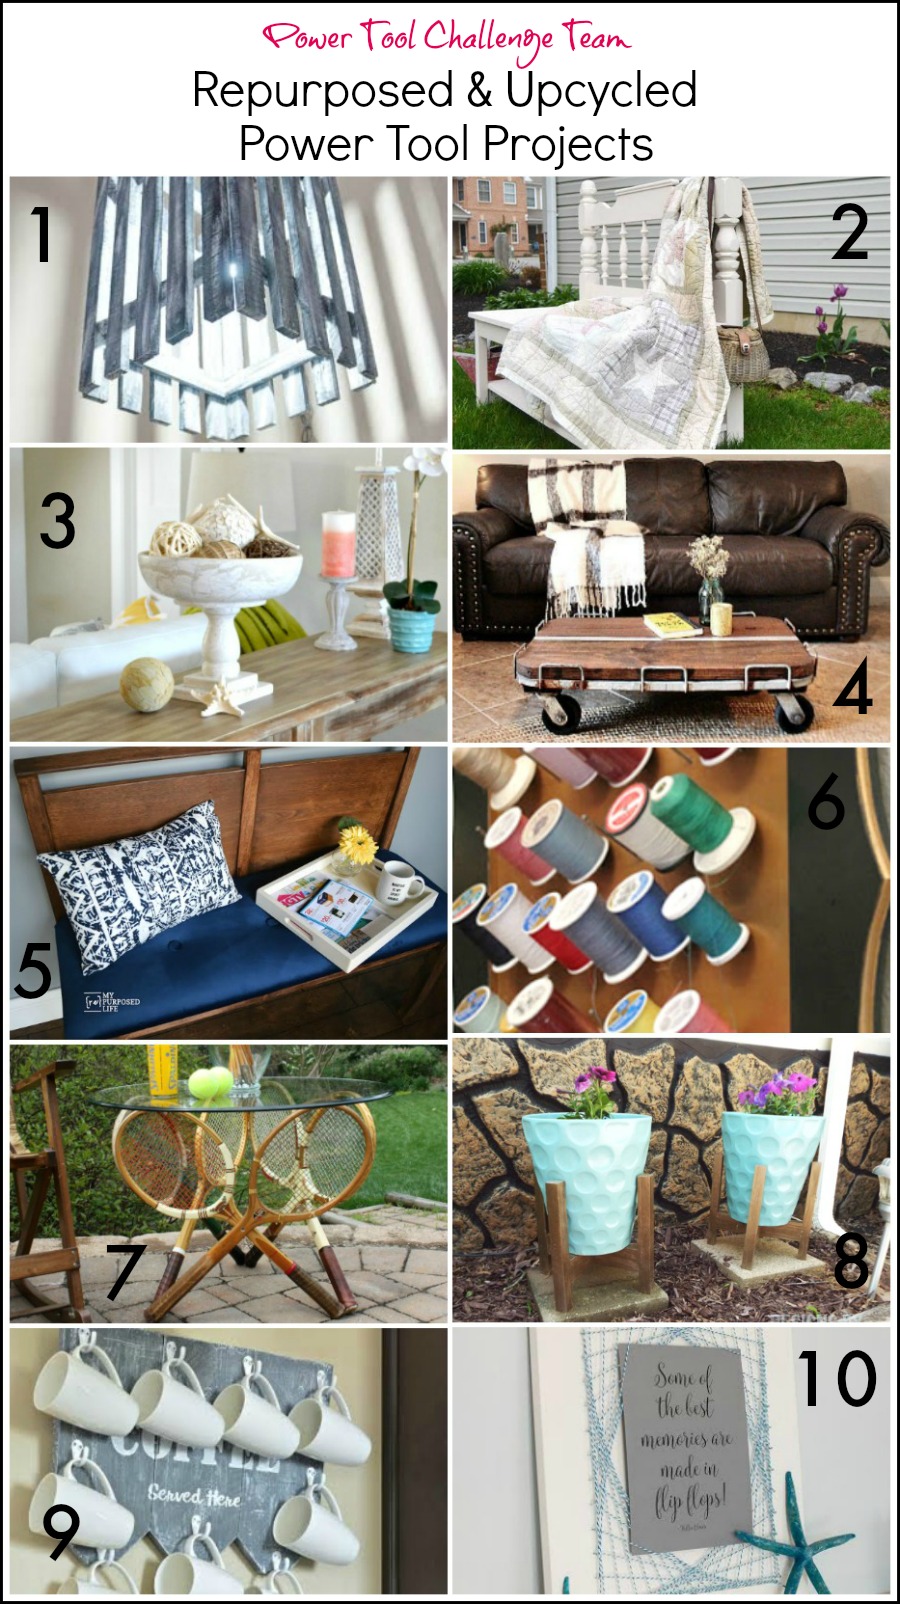
Take a look at what my other creative team members came up with for this month’s theme!
1 Hanging Picket Pendant Light by Designed Decor
2 Garden Bench by Create and Babble
3 Bed Spindle Pedestal Bowl by H2OBungalow
4 Industrial Cart Coffee Table by Refresh Restyle
5 Mid Century Headboard Bench by My Repurpose Life
6 Framed Wall Spool Rack Upcycle by Kim Six
7 Vintage Tennis Racket Table by Virginia Sweet Pea
8 Recycled Wood Plant Stands by Designs Bt Studio C
9 Rustic Coffee Mug Holder by Interior Frugalista
10 Repurposed Cabinet Door String Art by Domestically Speaking
You’ll find my project linked up to these fabulous parties!
Love a good dose of DIY home decor, home improvement, the challenge of woodworking and creative ways to make your home look fabulous?
Me too!
I’d love to share mine with you. Click here to sign up for my post emails and I’ll send a quick note when I have a new project to share.
Disclosure: I may have been compensated, given product or tools that I used in this DIY post. All opinions that I share are always 100% my own. I use affiliate links in my posts. If you should make a purchase I will receive an itty bitty commission at no cost to you. Thank you in advance for supporting my blog and two fur-ball cats who believe they are privileged.

FLORENCE @ VintageSouthernPicks says
Clever use & I pinned! Thought you were going to show another bench, and they’re nice, but I like this different use!
Wendi says
Hi Florence thank you! It was fun putting coming up with a new way to use a bed frame. Especially since it was a unique way of upcycling the parts. Again..thanks for your sweet note and visit!
Tammy says
I love this project! Will you share the size of your bowl and spindle?
Wendi says
Hi Tammy, The bowl is 11″ from the table to the top of the bowl and its a spindle is about 5-6″ tall not including the base pieces. I hope that helps! Thanks so much for your visit!
Laurie Duaz says
As always, easy to follow and gorgeous results!!
Wendi says
Hi Laurie! Thank you! This is probably one of my favorite projects ever. I’m using the rest of the bed headboard in a project next week. I’m pretty excited about what I’m making…I know it’s something you could do too:) Thanks so much for stopping by!