Today I’m sharing how to make a DIY moon gate arch for wedding or garden decor. Moon gates, also known as a moongate arch or even moon arch have become very popular as backgrounds at altars for weddings. I’ll share how you can make a wedding moon gate arch for less than $50 over a weekend with my free wedding arch plans and video tutorial.

It’s funny how life works, right?
I was recently introduced to the owners of a trendy local event company but a fellow blogger who happens to live across the country. They’d just opened The West Events in my own home town, Madeira Beach! We got to talking and the topic of a DIY moon gate arch came up. Sure, I can build that…but I need an extra set of hands and a place to build it.
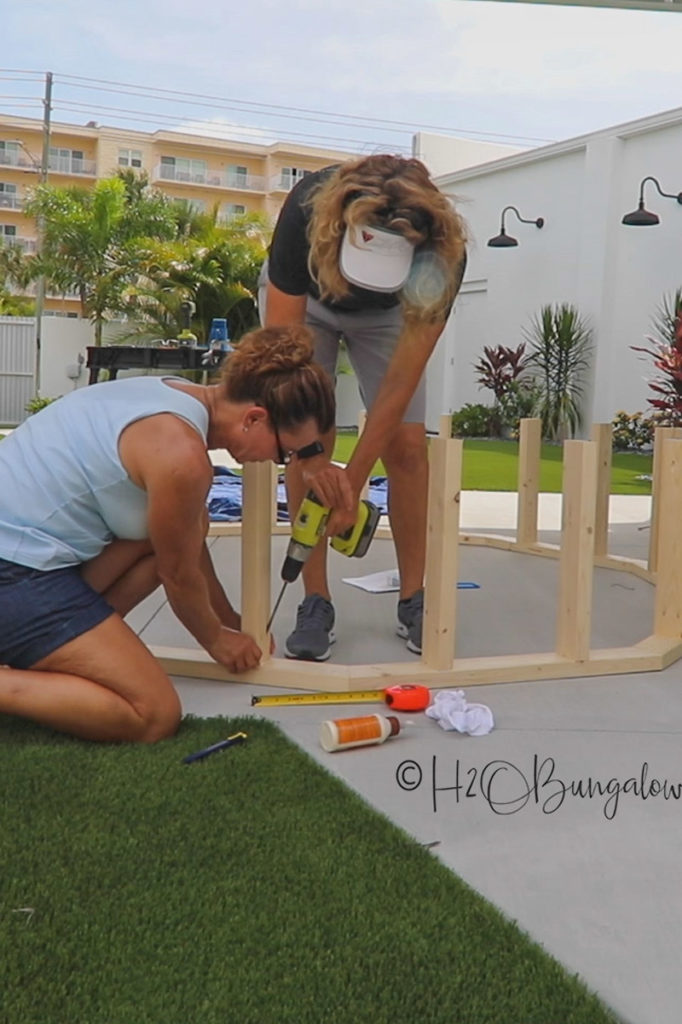
Building a moon gate arch is much easier with two people!
Easy peasy! Michele and Laurie volunteered their amazing space to work in and Michele jumped right in and volunteered to help build the wedding arch.
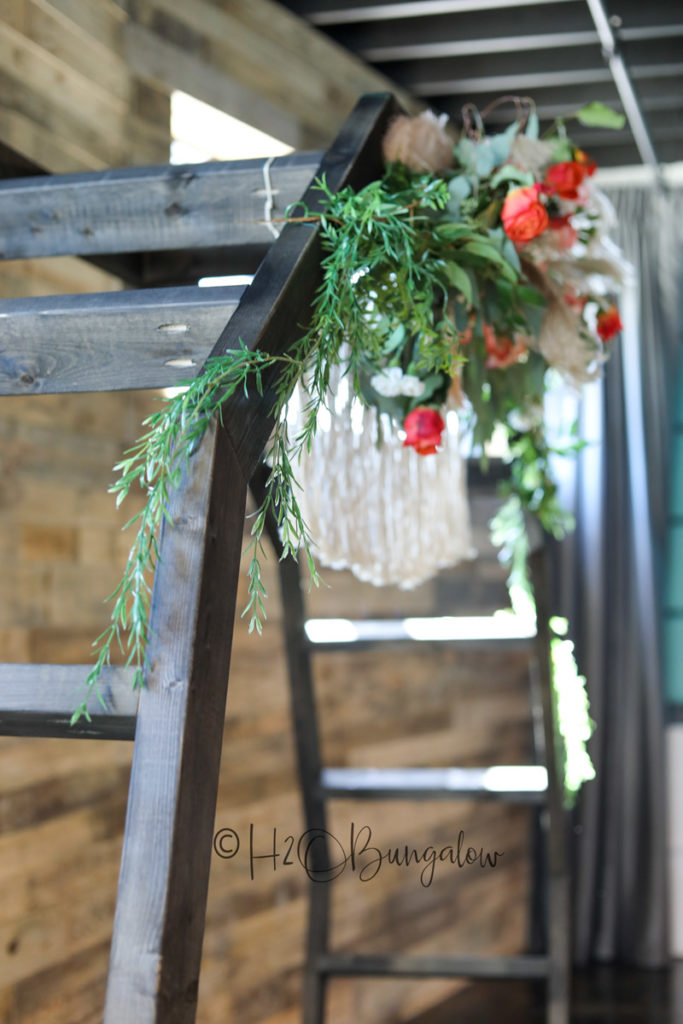
Let me throw in a little twist to make it more interesting…a blogger/Youtube person is not the same as a professional who is used to being on camera. Watch my video below to see me introduce Michele. You’ll understand why I may have felt a bit (lot) of pressure for the filming of this video.
On the flip side, I’m more than comfortable with power tools and a good DIY build!
DIY Moon Gate Arch For Wedding or Garden
Sending out a big thank you to HomeRight for sponsoring this post. This post also contains affiliate links, as an Amazon affiliate I earn a fee from qualifying purchases. Thank you for supporting the brands that keep H2OBungalow going!
Supplies needed to make a moon gate arch
- 2 x 4’s
- Miter saw
- Drill
- Circular saw
- Kreg Jig
- 2 ½” pocket screws
- Measuring tape
Download my plans here
Supplies to finish the DIY moon gate arch
- Super Finish Max paint sprayer
- Extra paint sprayer container
- Water based stain, 2 cans
- Drop cloths
- Safety gear, eye protection, respirator/face mask
If you watch my video on how to make a DIY moon gate arch, your own project will be much easier to build.
Step 1. Cut outer frame and center support pieces.
Always start square with a square end before measuring and cutting each piece.
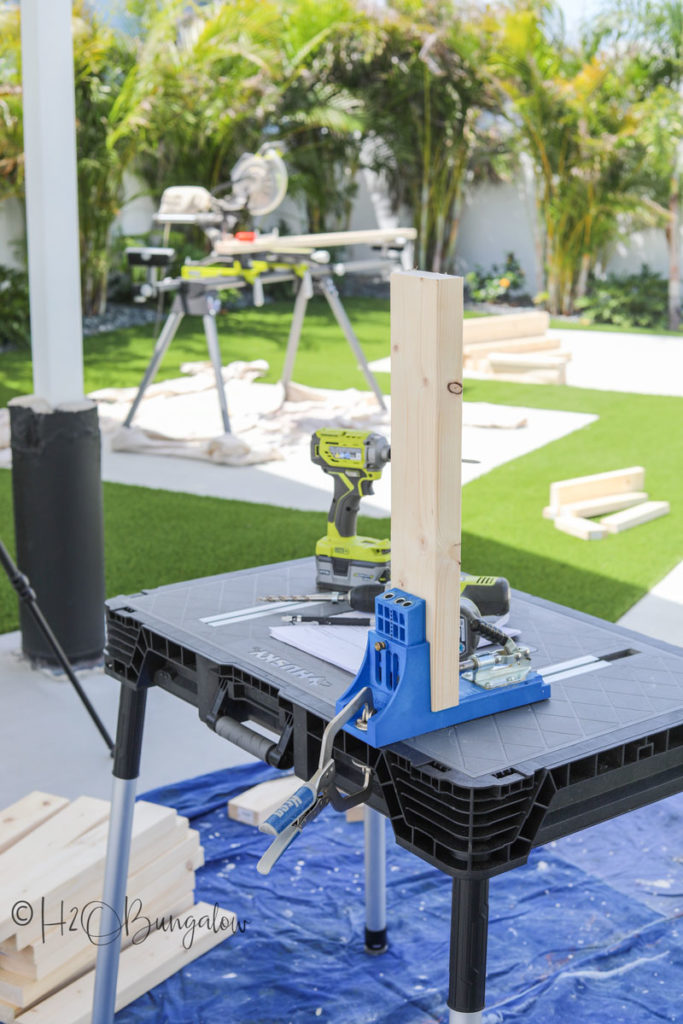
Step 2. Add pocket holes to the moon gate arch frame and center supports.
Mark the location of each pocket hole first. Set the Kreg Jig and add pocket holes to the center supports and frame pieces.
Step 3. Assemble the two outer frames.
Use wood glue and assemble both outer frames on a flat surface. It helps to have an extra set of hands to line up the pieces.

Step 4. Connect the two frame sides with the center supports.
Measure and mark where the center supports will go, attach them to the moon arch with wood glue and pocket screws.
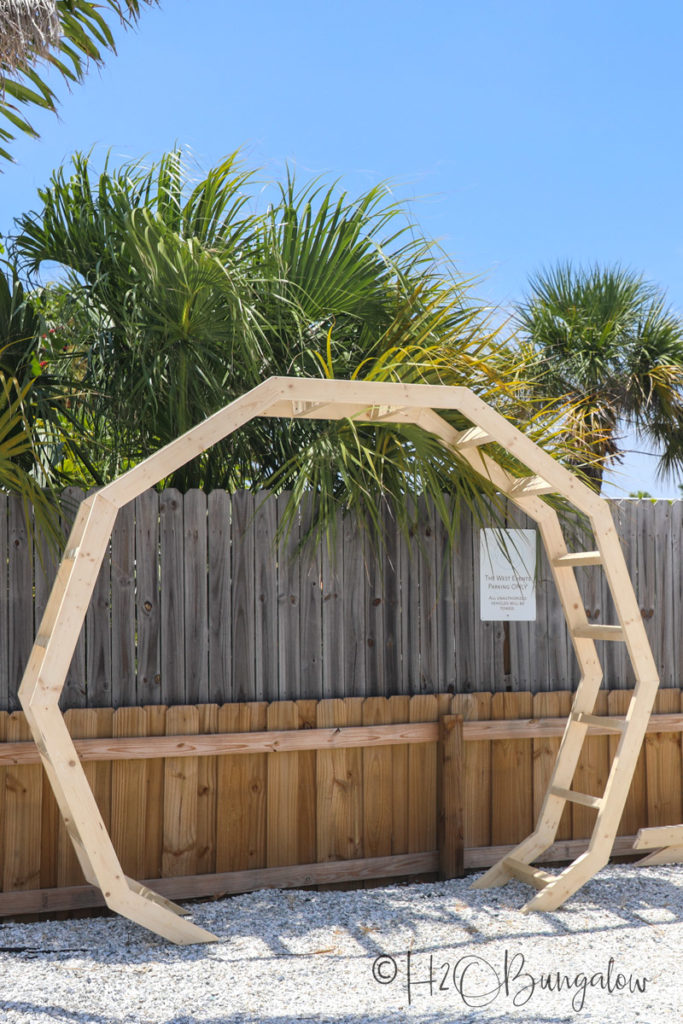
Step 5. Cut the legs
The last step is to cut the legs so the moon arch will stand. The easiest way to cut the four legs was to take a long 2×4 board, lay it across both sides so it crosses the inside tip of the frame. Mark a cut line and cut it with a circular saw.
Step 6. Spray on the stain finish.
We set-up outside on large tarps in the parking lot to spray the finish on the moon gate arch. Plan to use two cans of water based stain to spray the arch. As I mentioned in the video, a large project like this turns out better when the finish is sprayed on.
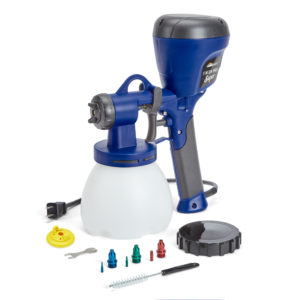
I used my Super Finish Max paint sprayer with the green tip and black spray cap for this project. We prefilled two paint containers with stain to save time and keep the painting process moving quickly. You can learn more about the Super Finish Max on HomeRight’s website.
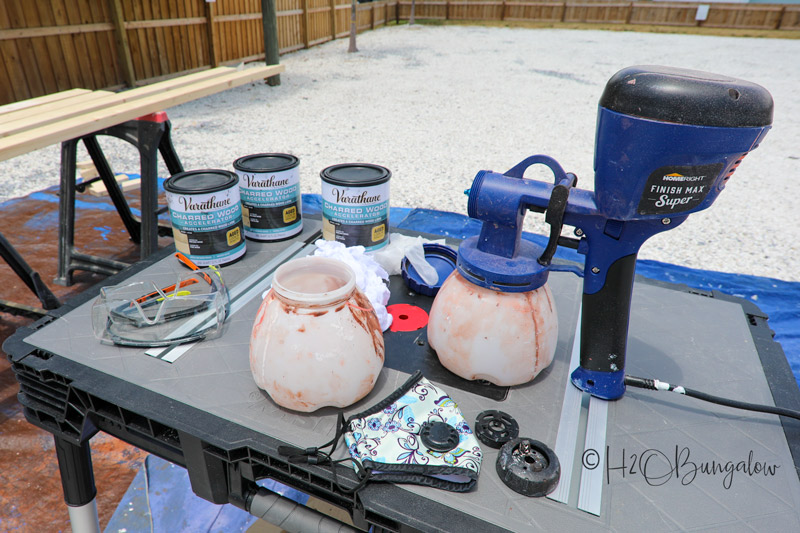
Next, we set the nozzle to vertical spray, adjusted the paint flow and did a test spray before starting to paint the moon arch.
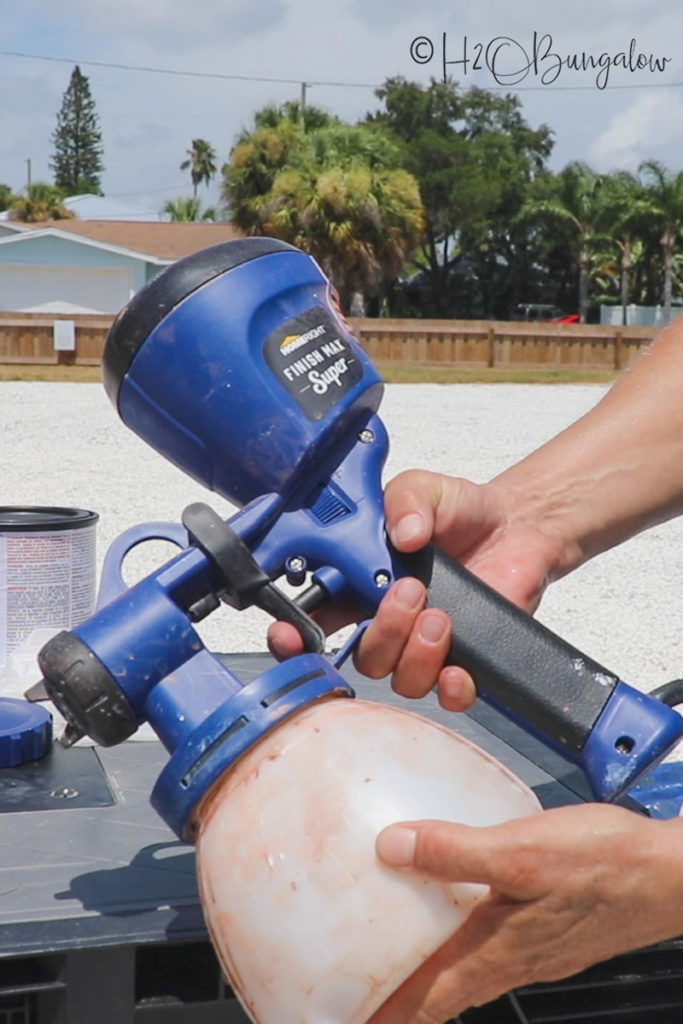
Three tips for spraying a finish on a DIY moon gate arch.
- Hold the Super Finish Max paint sprayer at a slight angle and keep it about 10-12” away from your surface.
- Hold the paint sprayer steady in your arm and walking with it as you paint, instead of flipping your wrist.
- Apply the stain in one long motion from end to end without stopping. Start with the large pieces, then get the smaller details like the center supports last. Use a long sweeping motion up one side and down the other.
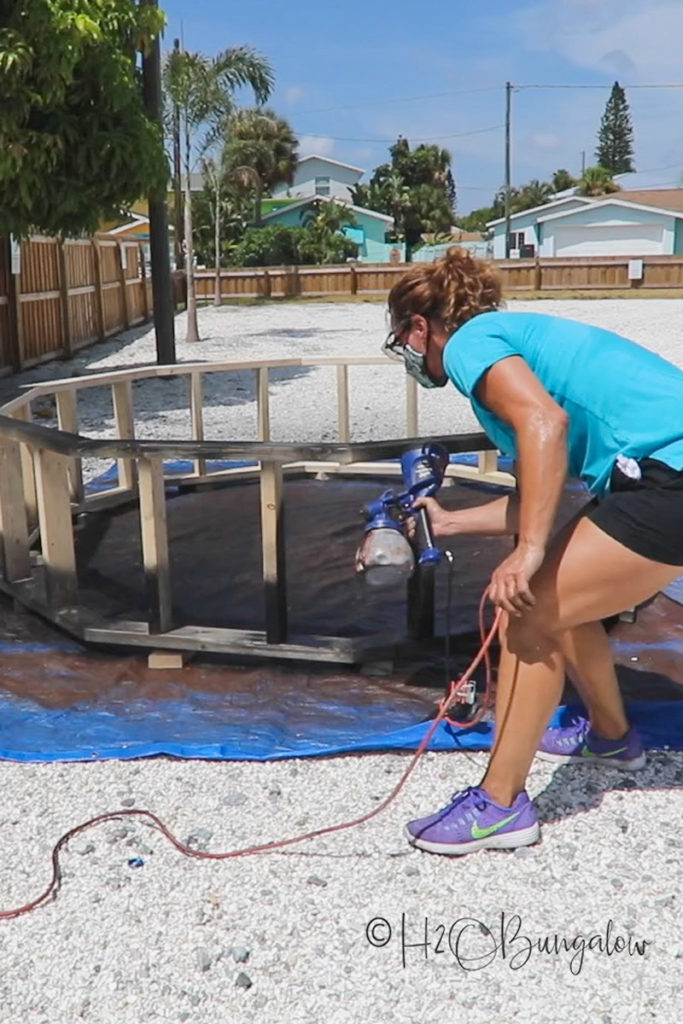
Last, we set the DIY moon arch aside for a few days to let the stain dry.
Pin my DIY moongate wedding arch project now and share with your friends on Facebook!
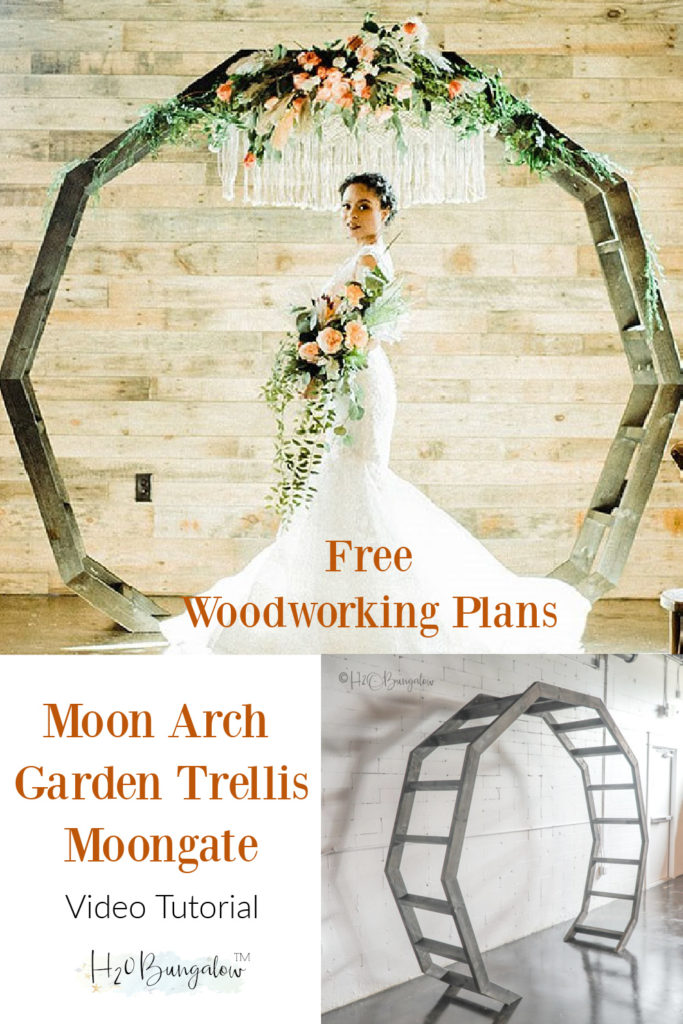
Now comes the fun part.

I got to see my DIY moongate wedding arch in action!
The West Events set up an entire staged photo shoot with the moon gate arch! I’m talking models, professional photographer, a real cake, even an artist to paint the wedding couple…everything!
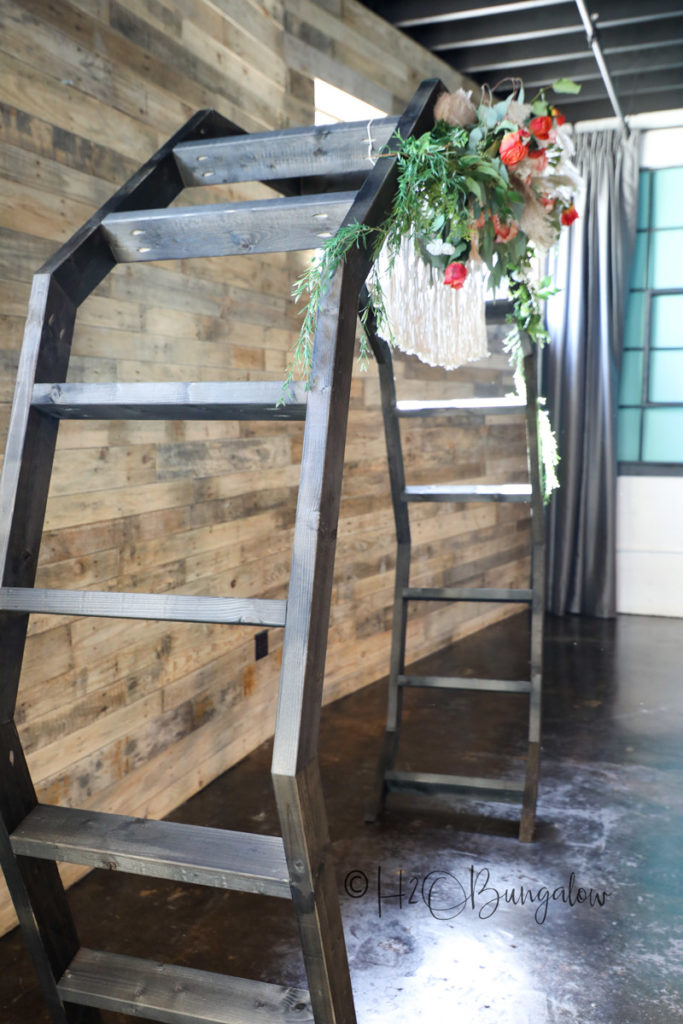
A little disclaimer here… all of the staged photos are not my work. I’ll add credits to the awesome photographer!
How magical is this picture?

…or this one?

How special is it that the DIY moongate arch I helped build will play a small part in a happy beginning for many couples?

Why not make a DIY moon gate arch part of a backyard wedding and then move it to the garden as a trellis to enjoy as a keepsake?
Sending out a big thank you to HomeRight for sponsoring this DIY moon gate arch project!
Want to see what else you can create with HomeRight paint sprayers? Take a peek at all of the different DIY home projects I’ve made with my HomeRight products.

Terry Wilson says
how do you get the moon arch plans, I subscribe! could not find the link to download.
Wendi Wachtel says
Hi Terry!
That’s odd. I don’t see your name in the subscribed list. Use this URL and resubscribe, https://artisanal-speaker-1726.ck.page/87fbefc585. It won’t give you two mails if you’re already subscribed. You will get a confirmation email with a colored button to confirm. When you do, you’ll automatically be brought to a page to download the pdf. It’s a great project. have fun with it!