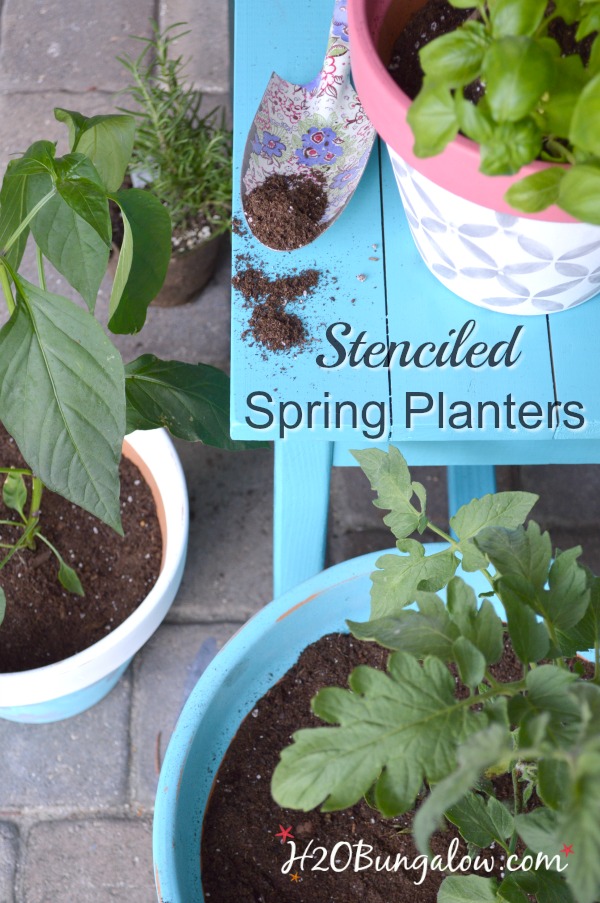
Is it spring where you are yet? It is here. I’m thankful we live in warm & mostly sunny Fl, especially as I’m watching the news and see huge snowstorms happening in the north today. Even if it doesn’t feel like spring where you are, you can add spring colors with a simple DIY like today’s project. My easy stenciled flower pots are a simple way to add spring color inside or outdoors.
Planting spring flower or vegetables in pots has become kind of an annual tradition for me.
Not because I’m so good at planting…but at least I can make pretty planters;)
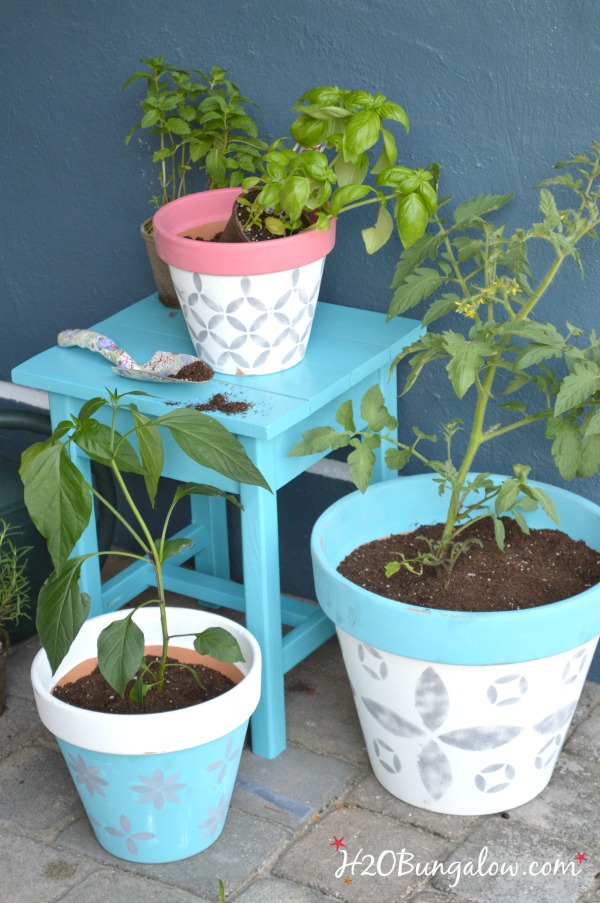
These easy stenciled flower post are so simple to make, you can probably see how I made them just from looking at the photos.
Almost every year I try to plant a few edibles, usually in pots since we don’t have an official garden spot yet.
Like I mentioned earlier, it’s kind of a tradition.
Except for my butterfly garden I’m not very good at gardening.
…But, a tradition is a tradition.
Each year not long after spring arrives, I take my time picking out my vegetable plants. Taking great care to choose the healthiest ones can find. Certain that year will be the year I succeed in growing potted veggies that we can eat. It doesn’t take long for most of them to keel over and quit.
Last year the one plant that just wouldn’t die was a jalapeno plant. That was one tough little plant 🙂
Even if I can’t grow veggies so well I figure I can have pretty pots.
Make easy stenciled flower pots
Supplies for easy stenciled terra cotta flower pots. My list has affiliate links so you can find the products I used.
- Terra cotta pots
- outdoor paint I used Patio Paints which hold up well for outdoor.
- Clear Sealer I like Dura Clear or Ultra Matte Varnish, both are linked
- 250 grit sandpaper
- Modern style or geometric stencil
- stencil brush
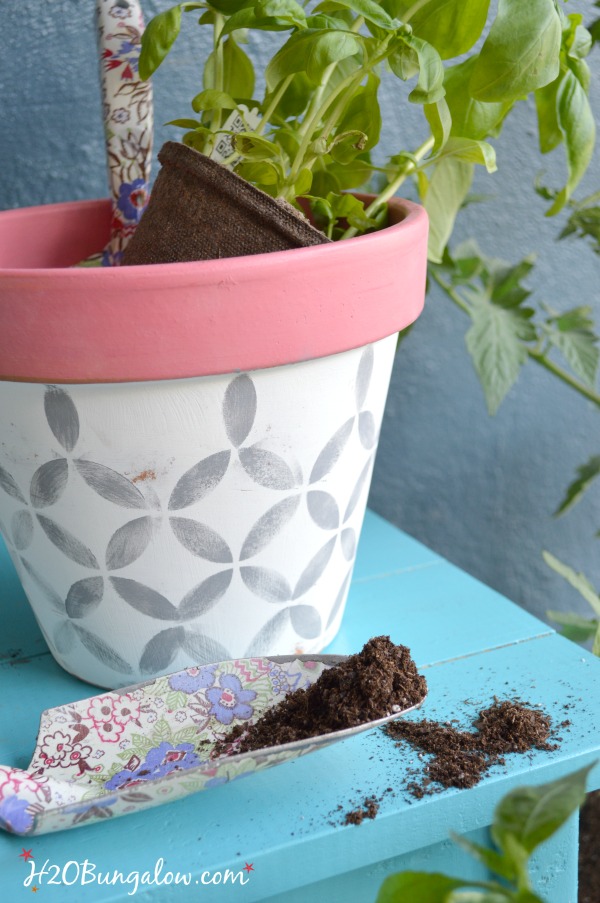
Paint the rims of the planter with a vibrant color and the bases another color. I like to paint the top of the inside rim of the terra cotta pots too.
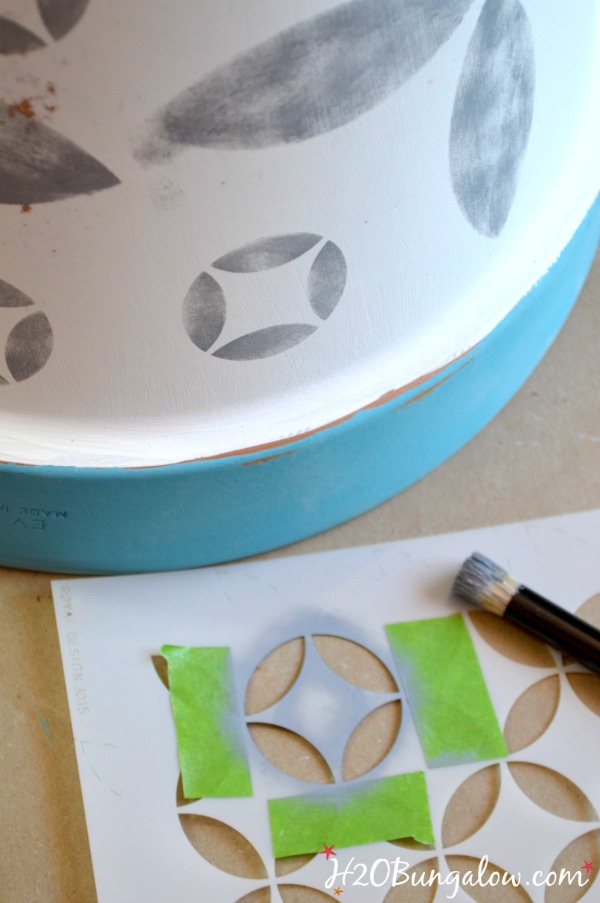
Stencil geometric patterns or use parts of a stencil to make complimentary shapes on the three terra cotta pot bases. Here’s a neat trick for stenciling, if you want to use just one area of a stencil, tape off the area around it to prevent paint going into areas you don’t want them to go.
You’ll find good tips for stenciling on another spring project I love, my Large Blooming Tryptic.
Next, you’ll distress a little with sandpaper and seal the paint when it dries with a clear sealer.
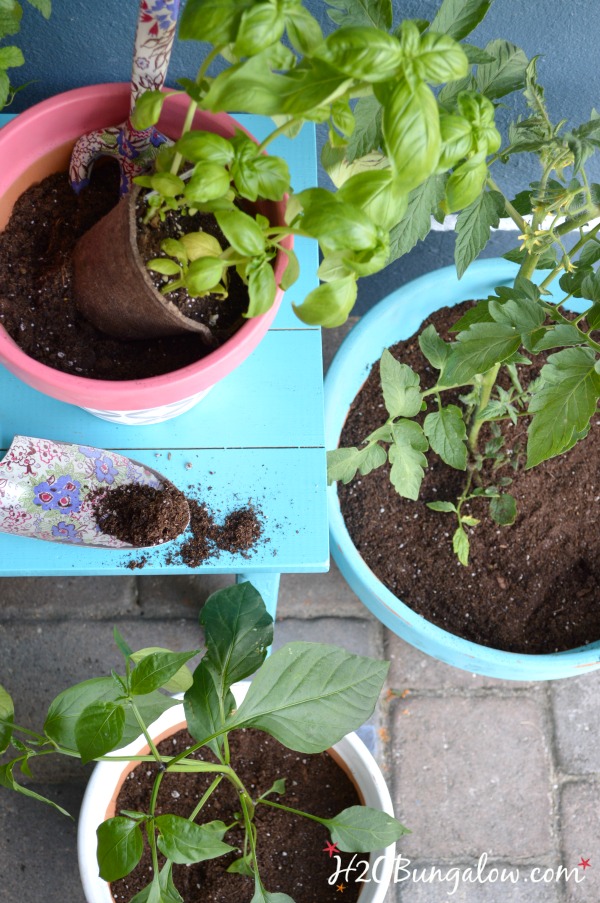
Let your new painted pots for your container garden sit for a day or so to let the paint cure, then fill with your favorite flowers, herbs or or veggies.
Place in a bright spot or arrange on a tables like my colorful turquoise DIY Patio tables.
Your painted stenciled flower pots will look fabulous, especially if you happen to be good at container gardening or growing flowers or vegetables in pots.
Fess up. Are you and ace at container gardening or is your thumb a shade of black like mine? Let’s talk about it in the comments below!

Linda at Mixed Kreations says
What fun colors! Bright and cheery. This is something that I keep telling myself I need to do, but just haven’t gotten around to it. This was the first year that I tried to grow a variety of lettuce in pots. Had high hopes of having fresh salad for the picking. Well that didn’t work out. But I still have my jalapeno plants. They are tough.
Wendi says
Oh my gosh my lettuce didn’t like the heat either! The peppers seem to be happy no matter what but my lettuce bolted as soon as it got too hot. You know I’m loving these colors and they work inside or out which makes it fun to move the planters around. Thanks so much for your visit!
Beverly says
Your stenciled flower pots are so adorable. Love them.
Have a great weekend,
Bev
Wendi says
Hi Beverly and thank you so much! The bright colors are perfect for spring. Thanks so much for your visit and sweet compliment!
Lindsay @ The DIY Mommy says
I love how simple these are to make but what a great transformation. Too Cute!!
Wendi says
Hi Lindsay! Simple is king!…or should I say Queen, LOL. I agree totally, a little paint goes a long way in adding spring cheer and color. Thanks so much for your visit and sweet comment!
Ashleigh says
I hear ya! We started attempting to grow veggies last year, and the only things that made it were the herbs. Your pots came out pretty! So bright and perfect for Spring/Summer
I’d love it if you shared this at my weekly link party!
twentysomethinginthe2010s.com/peace-love-linkup-003/
Wendi says
Hi Asleigh 🙂 Thanks so much for your visit & invitation. I try to visit as many parties a week as I can. Have a fabuous weekend!
Jenny @ Refresh Living says
Your pots are adorable, even if your plants might not survive in them. 😉 I have a stash of terracotta pots from garage sales just waiting to be painted. They’re still waiting, but now I might need to stencil them!
Wendi says
Lucky you to have bargain planting pots, Jenny! Stenciling the plantesr was a fresh & easy way to give them a spring look. I’d love to see yours when you stencil them!
Celeste | The Whole Serving says
What a beautiful and creative way to add color to a garden.
Thanks for sharing, I’m going to get painting.
Wendi says
Hi Celeste and thank you! I’m all about easy, especially when I’m already challenged with keeping my plants alive! Thanks so much for your visit:)
Alyssa Levicky says
Hi Gail, I am stopping over from Live Laugh Rowe’s Linky Party. I absolutley love your flower pots and I had to make sure I shared!
Alyssa
levickylanding.com
Wendi says
Welcome Alyssa! So happy you stopped over to see my flower pots & thank you for sharing them!
gail says
I love your easy stenciled flower pots Wendi. They are so sweet. Isn’t it fun playing in the dirt? lol
I saw some container gardening ideas on the news this morning. Those things are so expensive! I should DIY it.
pinned!
gail
Wendi says
Hi Gail, I love having pretty planters, and you’re right, it’s fun. I’m making a huge effort this year to keep my plants happy & healthy, – AKA alive. LOL Thanks for your visit:)
Marie, The Interior Frugalista says
Your stencilled flower pots are so pretty, Wendi! I so hear you about starting off with loads of hope only to have the plants drooping in no time. Last year, like your jalapeños I was so excited to finally have success growing something edible. One afternoon I plucked a pepper off the stem to have a taste. Imagine a 50+ year old grandma running around her back yard squealing like a hurt animal upon realizing I grew GHOST peppers!
Wendi says
Marie! OMG! My son would think you are awesome! He proudly shared his story of how painful it was to eat a small piece of a ghost pepper! LOL You gave me my laugh for the morning my friend! We are definately alike! Have good weekend my friend!
Marie, The Interior Frugalista says
Seriously, I thought that pepper was going to do me in. I almost slurped the water from the base of our water wall. Guess what edible I’m not planting this year. LOL Have a great weekend yourself friend!
TwoPlusCute says
Very pretty and I like how they coordinate but don’t match exactly.
As for spring, we are under snow in Mass – as per usual, lol. 😀
Wendi says
Oh my! I know all of you up north are ready for spring and to see the buds popping out on the trees and daffodils growing. Do you have daffodils in gardens where you are? I loved that part of spring when I was growing up in the north. Like I mentioned – maybe adding a few spring colored pots would bring on a little spring cheer 🙂 Have a good weekend!
TwoPlusCute says
Daffodils and hyacinths have bloomed, even with this cold.
Pretty pots like the ones you made will certainly add more spring cheer. 🙂
Wendi says
I LOVE that part of the northern spring. Enjoy every minute of it!