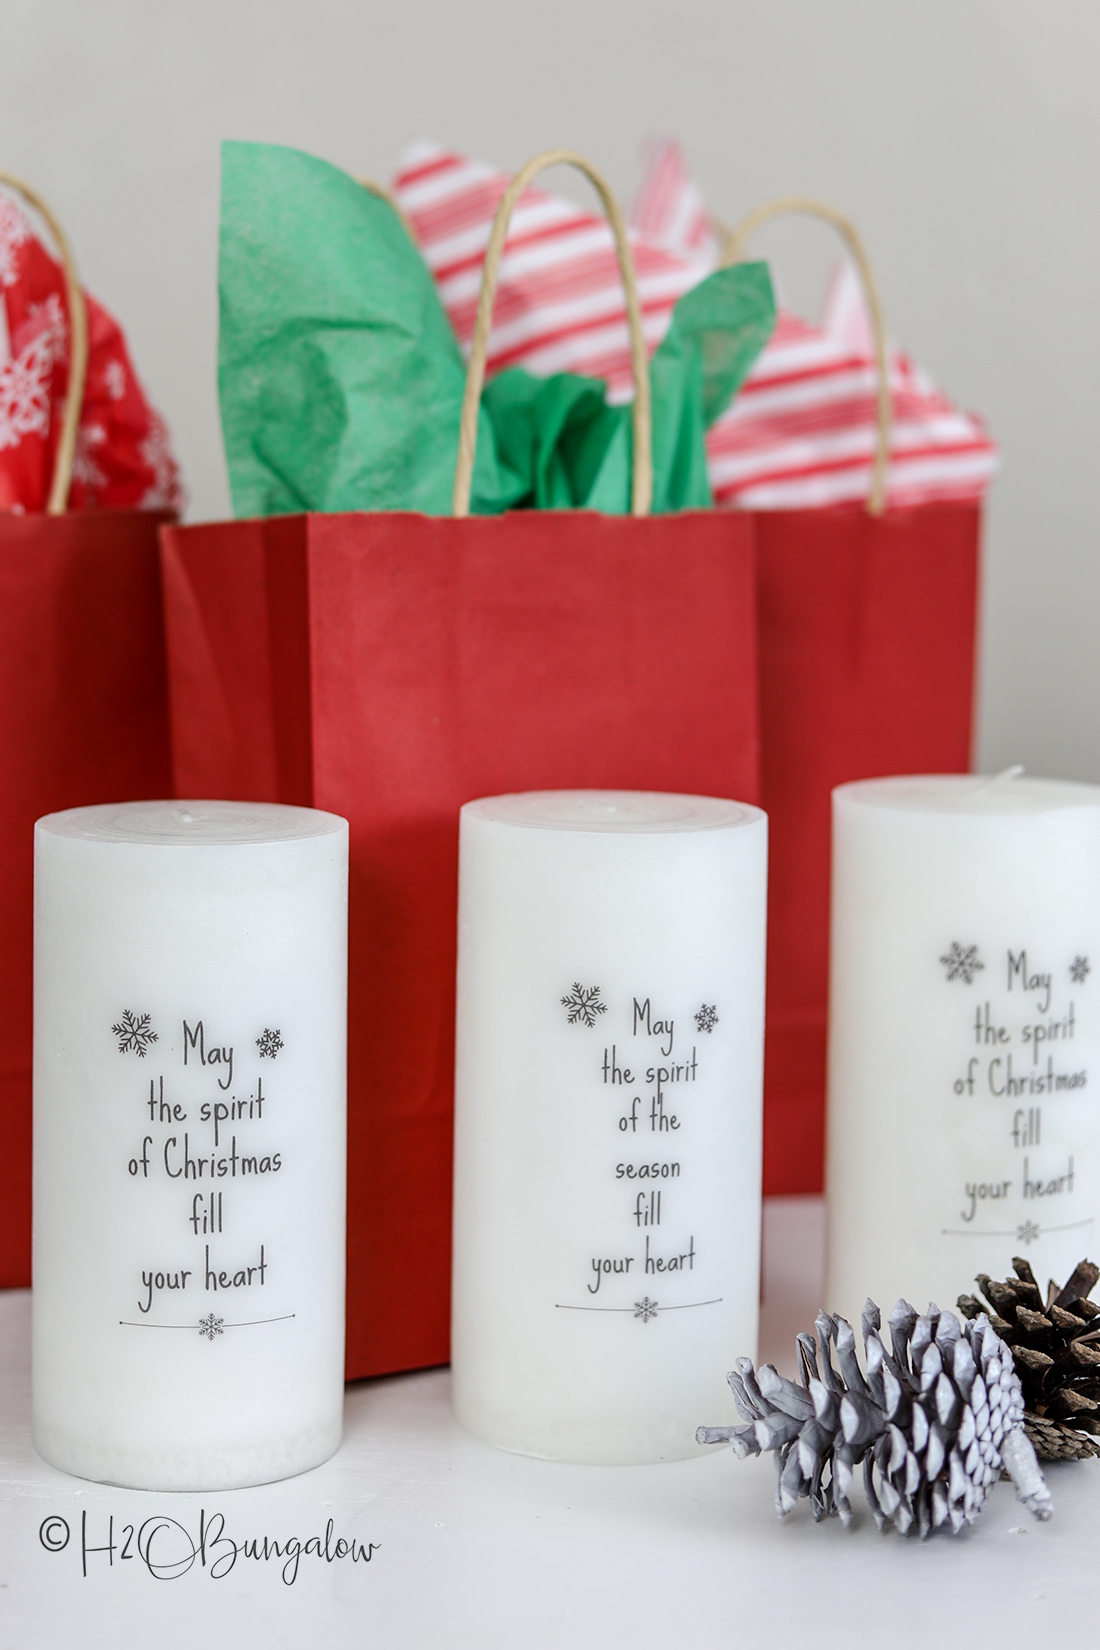
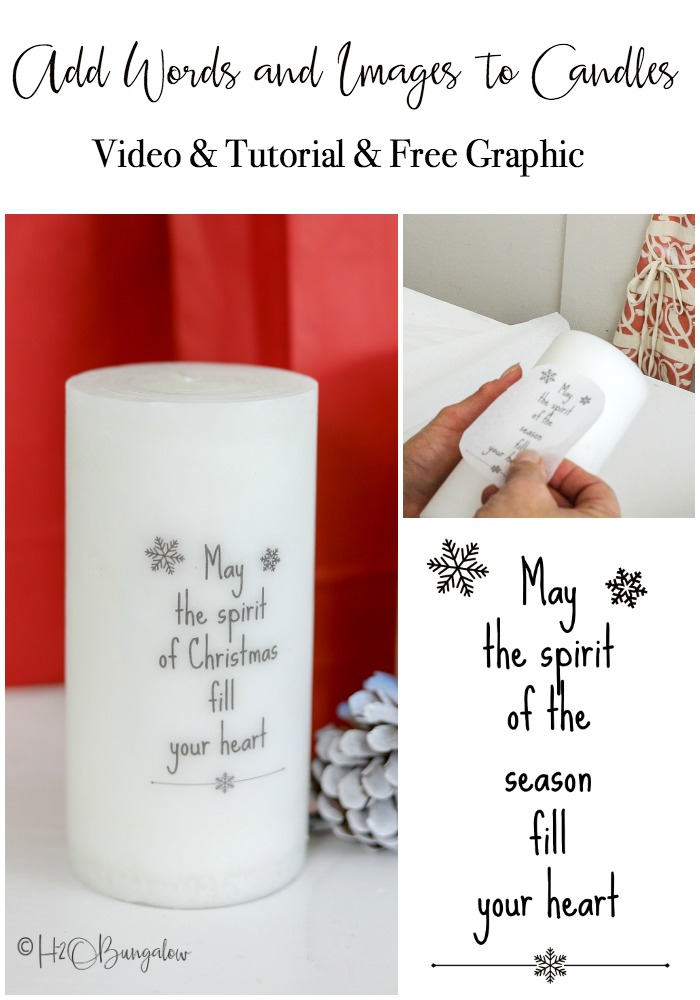
Today I’m going to show you how to add words to candles. Add a favorite sentiment or a graphic to a candle to make a personalized piece of home decor or a thoughtful gift. This is a detailed step by step tutorial on the process of printing custom words on candles so you can easily follow along.
You may also like the How to Add Images to Candles with a Heat Gun post I did a while back. Or if you like a colorful version, I shared How to Add Fern Images to Candles too. They both have free graphics you can download.
This post is sponsored by HomeRight and their Dual Temperature Heat Gun. I also use affiliate links in my post. You can read my full disclosure policy here. Thanks so much for supporting the brands that help keep H2OBungalow going!
How to Add Words to Candles
Supplies needed to add words to candles
- White pillar candle 6-8″ tall
- HomeRight Dual Temperature Heat Gun
- White tissue paper, the kind they use for gift wrap
- Painters tape
- Plain copy paper, 8 1/2 x 11
- Printer
- Scissors
- Ruler
- Wax paper
Don’t let the steps intimidate you! I made a quick video so you could see how easy it was to print and add words to candles using this technique.
You’ll use these same steps to add words or images to any white plain candle.
Step one: Print a test graphic.
Make and print your graphic or download my graphic. If you don’t know which side of the paper your printer prints on, print a test. My printer picks up the paper from the tray and prints on the bottom side, so I’ll load my paper into my printer tray with the tissue paper facing down.
Print a test graphic with the printer set on portrait, 2 images per page and the size at 10%. This will give you two images per sheet when using my graphic.
Step two: Mount tissue paper to the copy paper.
Cut a rectangular piece of tissue paper out with at least a one inch margin around your words image. With the shiny side of the tissue paper down, attach it to the copy paper with painters tape.
Step three: Print graphic onto tissue paper.
Using the same settings as the test print, print your words graphic for the candle.
Step four: Trim the words graphic.
Trim the graphic with rounded corners around the graphic. Leave a half to three-quarters inch margin.
Step five: Add words graphic to the candle.
Position the graphic onto your candle. Take a piece of wax paper large enough to go around the candle and with enough excess to fold over and hold in your hand. Turn on the heat gun to low setting, hold about 8″ from the candle and wave it back and forth over the graphic. When the wax paper becomes bright, the image has fused into the candle.
Step six: Remove wax paper.
Before the wax on the candle cools, gently pull the wax paper off the candle.
Adding words to candles turns a plain old candle into something personalized and special. Personalized candles make great gifts! Add a seasonal greeting like I did for Christmas or try a personalized gift with an anniversary or wedding date. There are so many ways to decorate a candle using this technique!
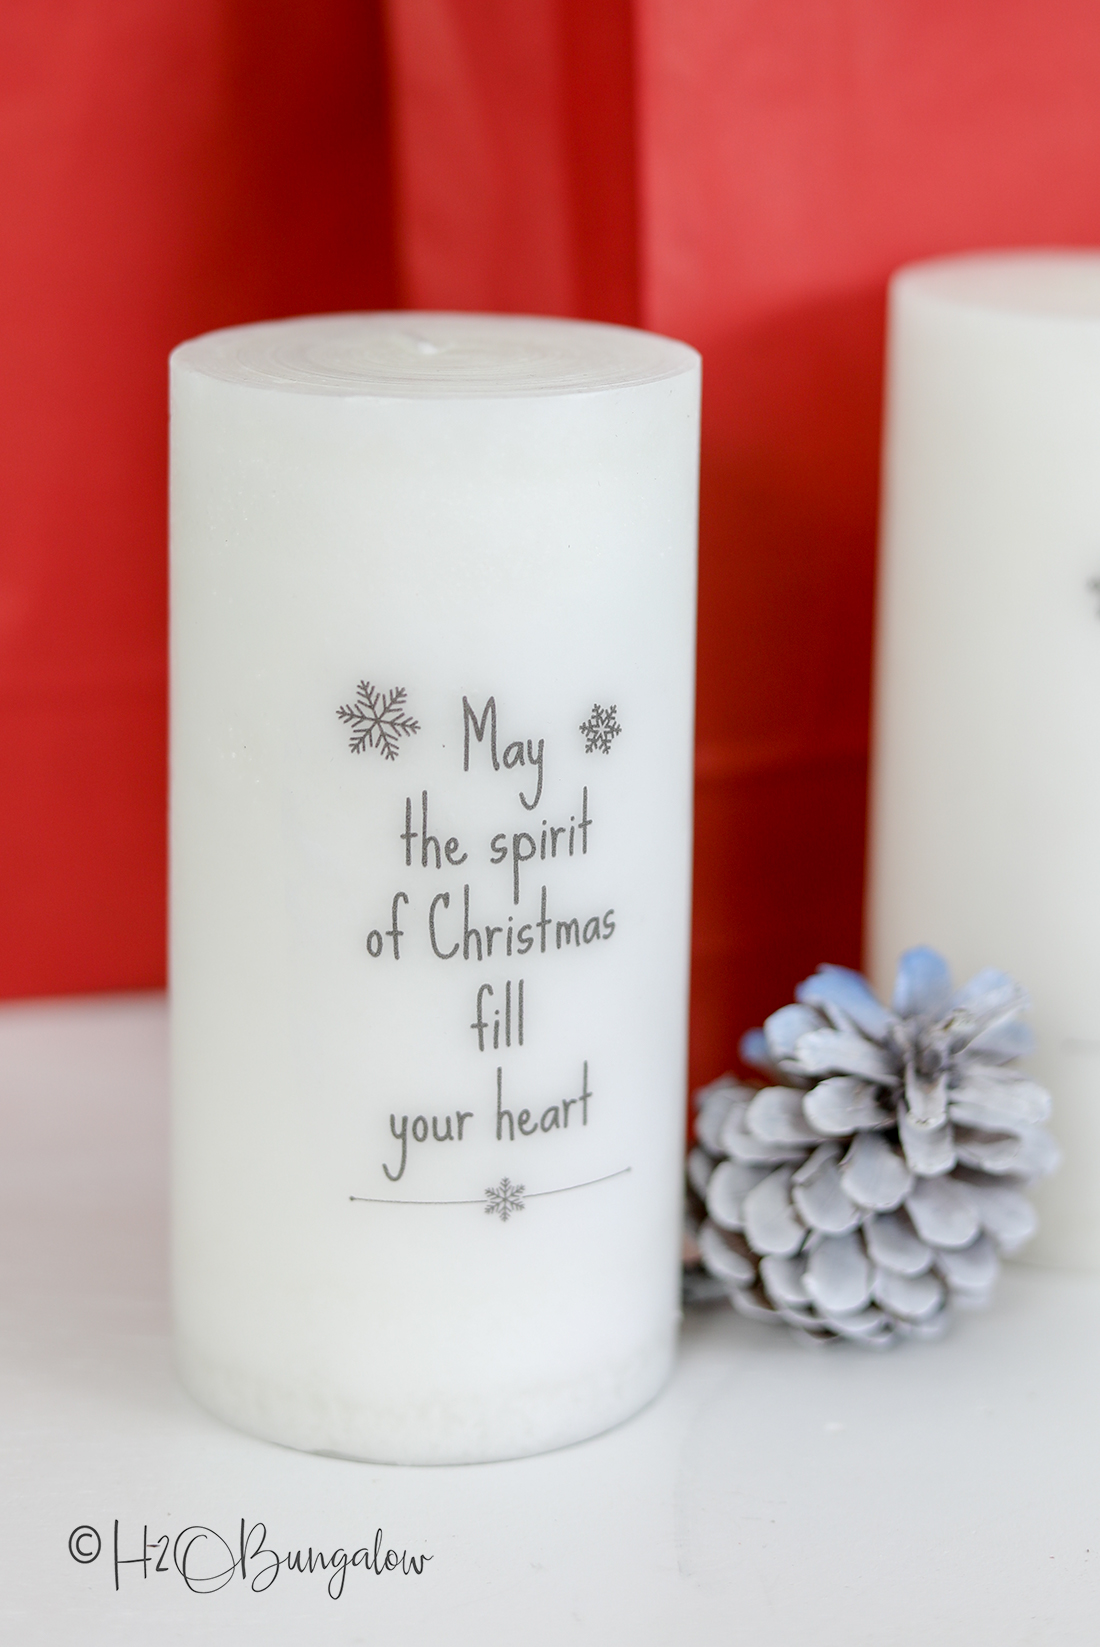
Download the free graphic files below!
Pin it and share my How to Add Images to Candles project with your friends and on Facebook!
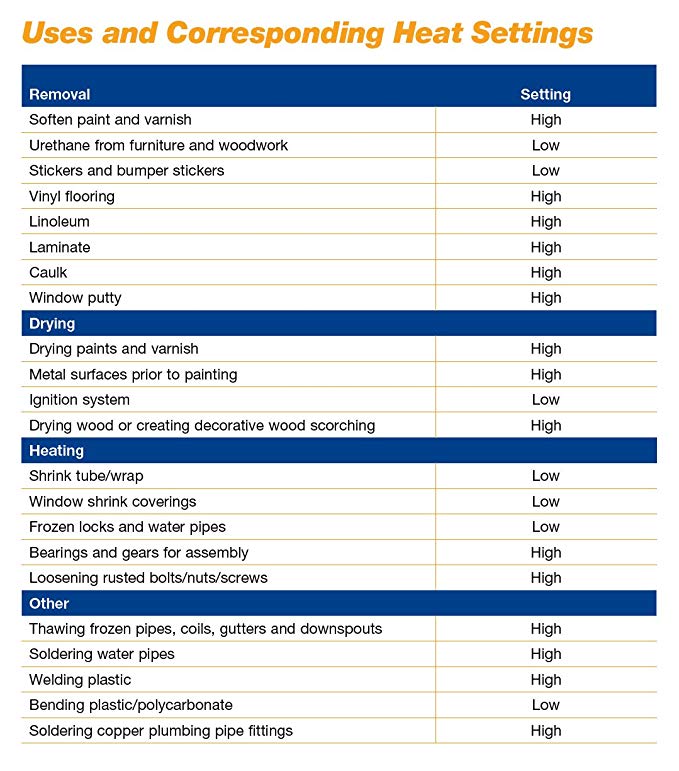
I made this project with my favorite HomeRight Dual Temperature Heat Gun. Heat guns can be used for paint removal, bending plastic !

Below is a handy chart of the practical uses for the HomeRight Dual Temperature Heat Gun. Check out HomeRight’s pages of DIY projects they’ve shared using the HomeRight Dual Temp Heat Gun. You’ll find pages and pages of DIY and crafty inspiration.
Has my project inspired you to create a custom candle using words or a graphic? What words or images would you use? Share your ideas below my friends!

Renee says
What type of printer did you use for this project?
Wendi Wachtel says
Hi Renee!
That’s a good question. I think we had a laser printer when I shared this tutorial. I hope that helps!
Cherryl Ehlenburg says
Great idea! I think I’m done with DIY for this Christmas, but I pinned it for next year. There are still a few days left, so you never know, I may still get it done!
Wendi says
Hi Cherryl and thank you! Congrats to you for being done with your holiday prep! I’m so glad you saved my idea for next year or even another holiday! Happy Holidays!
Gail M Griffin says
That’s amazing and so simple! What a great idea and perfect not just for Christmas but throughout the year!
Wendi says
Hi Gail and thank you so much! I love this idea for a special gift. Handmade gifts are always my favorite. Happy Holidays and thanks so much for your sweet note!
Erlene says
I’ve never tried this technique. I love that it can easily be customized and I’ll have to try it. Thanks for sharing on MM.
Wendi says
Hi Erlene and thank you! This is one of my favorite gift ideas. It’s easy and inexpensive to make! Thanks so much for hosting all year and Happy Holidays!
Liberty says
Nice! You’ve given me another idea…. we’ll see if I find time to try it!
Wendi says
Hi Liberty! Thank you! You’ll love doing this project and it’s so easy too. I so get the time thing too, sometimes I wish I had two of me to get everything done. Thanks so much for your visit and note!