I’ll show you how to bleach wood using simple products from your home. Seriously, DIY bleached wood furniture is probably one of the easiest ways to lighten dark or stained wood!
Did I mention that bleaching wood furniture is also a great way to update an old furniture piece too?

How to Bleach Wood Furniture
Supplies needed to DIY bleach wood or wood furniture:
- Household bleach
- Chip brush – I buy these by the case, super deal!
- Random orbital sander
- 150 grit sandpaper
- Drop cloth
- If you need to remove paint or varnish Paint and varnish stripper – this is THE best
- water
- Safety goggles – my fav, fits over prescription glasses
- Flat Sealer – the best!
This is how I lighten stained wood with bleach. Keep in mind it works best on solid wood. I wouldn’t try this on veneer because soaking in bleach and water will make the veneer lift.
Step 1. Remove paint or varnish from wood.
First, you’ll need to remove paint or varnish off the wood before bleaching.
I always use Citristrip to strip for this step. It doesn’t smell bad and works great. Since my table had drop leaves I was careful to remove the heavy varnish from the underside and around small details also.
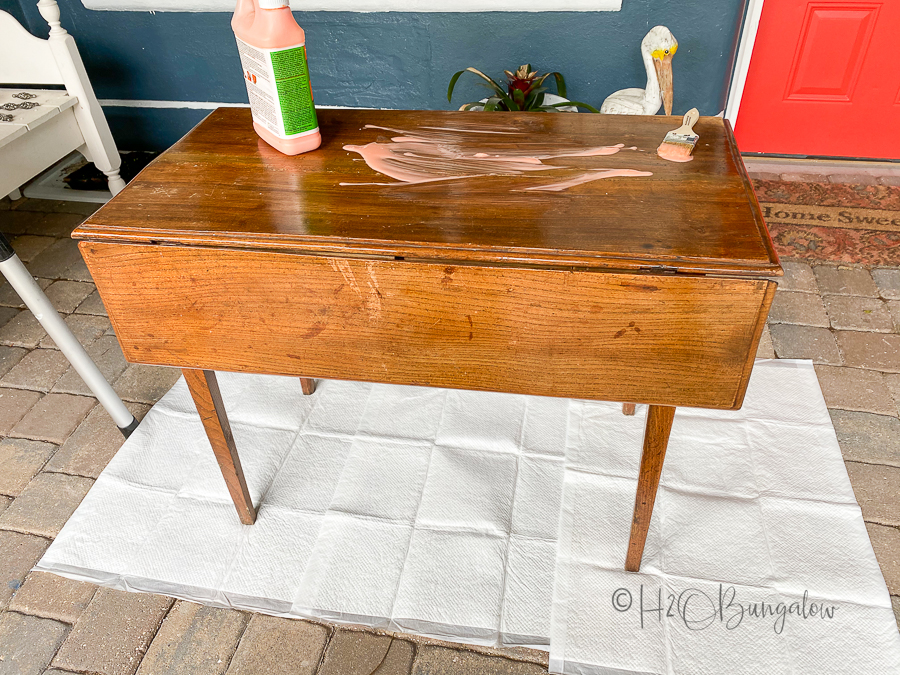
Step 2. Prepare wood or furniture piece to bleach.
Remove any remaining stripper residue with mineral spirits and steel wool pads.
Sand as needed. Sanding will also help remove the last bit of finish off on spots you may have missed. I started with a random orbital sander and 150 grit sand paper on the flat surfaces. Next, I used a sanding sponge to get into the routered edges to be sure those areas also had the wood exposed completely.
Step 3. Apply household bleach to wood.
Pour bleach into a small container and use a chip brush to generously apply bleach to all areas of the wood piece. Apply it evenly and don’t let any areas pool.
I tried spraying the bleach onto the wood but it didn’t work as well as using a small container and chip brush.
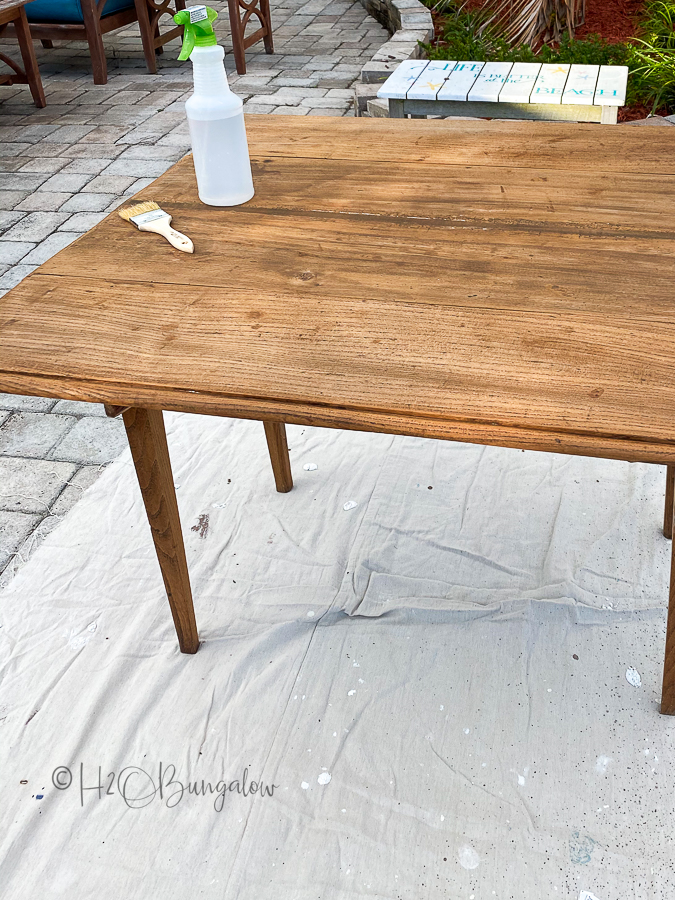
Pull out drawers and apply the bleach to them separately. make sure to get the legs and underside of furniture if they will be visible too.
Place the wood in the sun and allow it to sit all day.
That’s almost all there is when it comes to how to bleach wood. You’ll repeat the process as many times as you’d like. Bleaching the wood until the color has lifted and there’s a gorgeous silvery gray wood color.
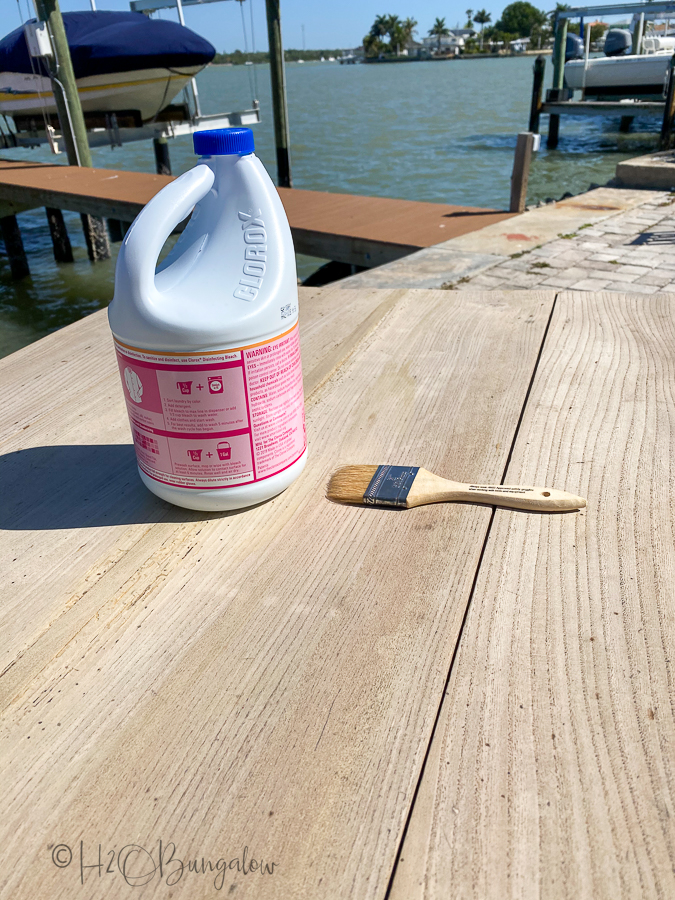
I carried my table in every night and placed it back out, applied more bleach and let it sit in the sun every morning for about a week.
Step 4. Rinse bleached wood with water.
Once I was happy with the bleached silvery gray color of the wood, it was time to rinse the wood. When bleach evaporates it leaves little crystals behind. Do not use anything other than water! I read a post elsewhere that mentioned using vinegar.
Never ever use vinegar over bleach or with bleach! It creates a toxic gas.
Rinse the bleached wood with a spray nozzle and garden hose. You’ll probably see lots of greyish residue wash off. That’s good. Keep rinsing until the water runs clear. Use a towel to wipe the excess water off the bleached wood and allow it to sit in the sun until it’s dry.
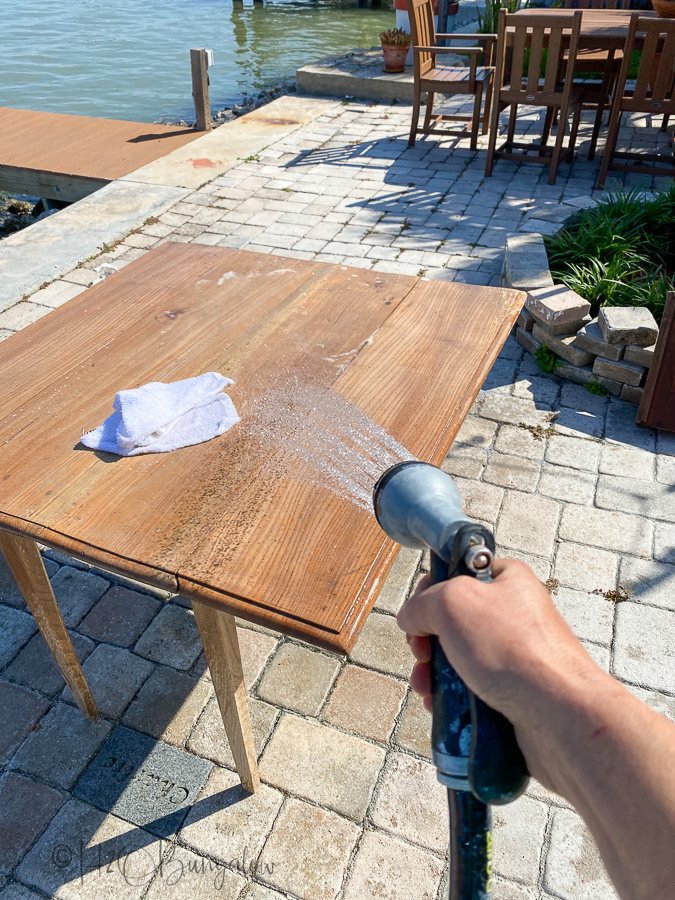
I let my bleached wood table sit in the sun for 2 days to be sure it was completely dry before sealing.
Step 5. Seal the wood with mat sealer.
What is the best finish for bleached wood? Depending on how you’d like the finished piece to look, you can seal bleached wood with clear paste wax like I did on my Wood Wax Finish Dresser Makeover or use an ultra mat sealer.
I only used the mat sealer on this table. I applied it with a 4″ foam roller and got the nooks, inside corners and crevices with a quality brush. It darkens a bit when it’s wet but dries a lot lighter.
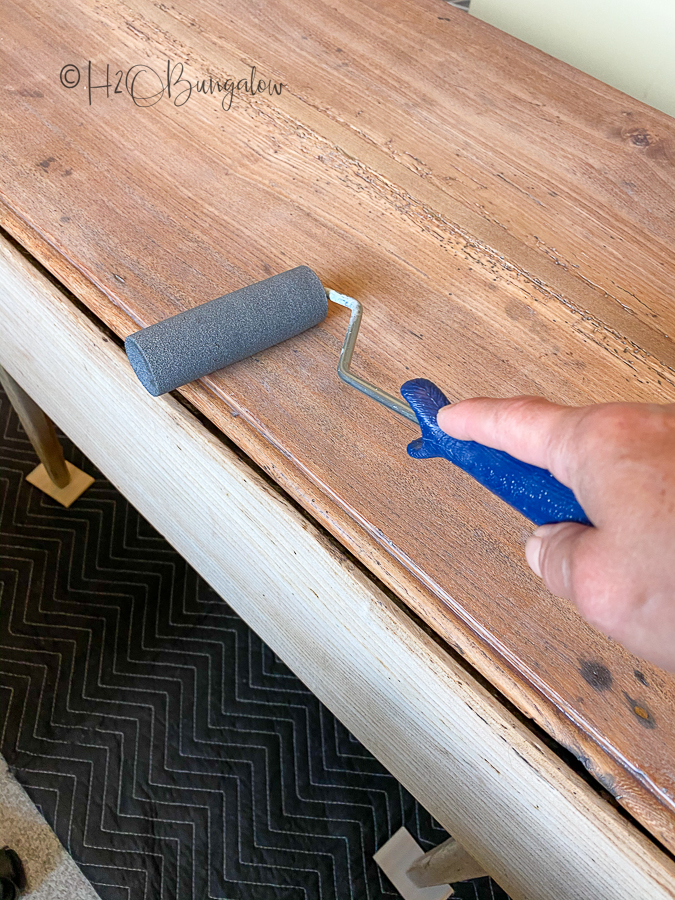
Seal the bleached wood with as many coats of mat sealer as you’d like. I only used two. The raw wood absorbs the first coat like a sponge, the second not so much.
Clear wax will give a slight shine when it’s buffed but the mat sealer is almost invisible. It has no shine but protects the wood better than wax alone. It’s OK to seal the wood before waxing if you want the look of waxed wood and have it protected at the same time.
I’d definitely use both on table and dresser tops.
I made a cowhide drawer pull instead of putting the original hardware back on. I show how in my Wood Finish Wax Dresser project.
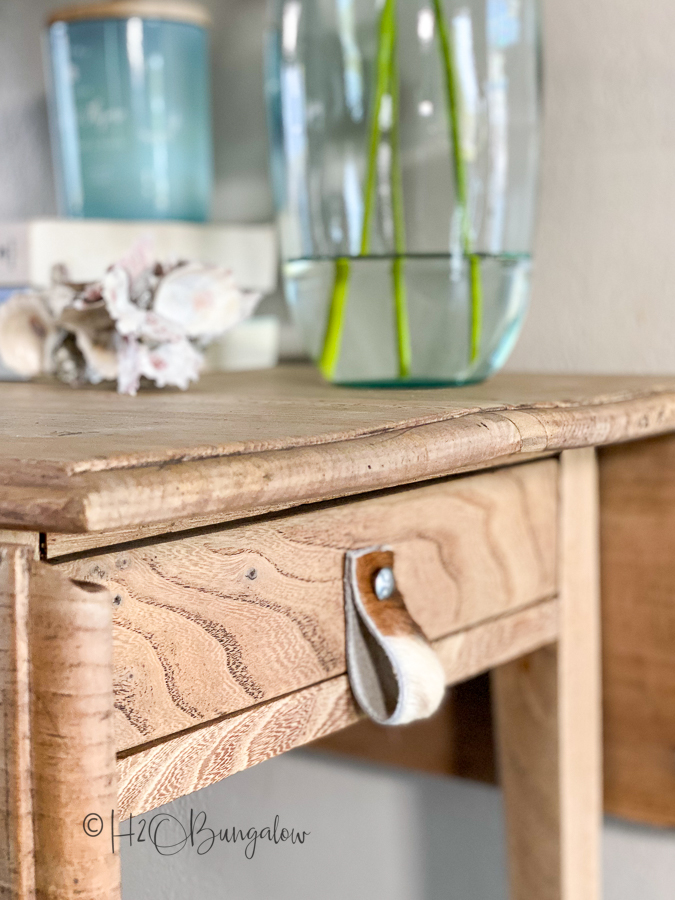
It adds a modern vibe which looks great on a vintage piece.
Way back when people used to repair furniture instead of tossing it like today, they used whatever scrap wood they had. You can see a big repair down the center and even old wood worm or termite damage in the wood. It was filled in but when I washed the wood the old filler fell out.
So I left it alone.
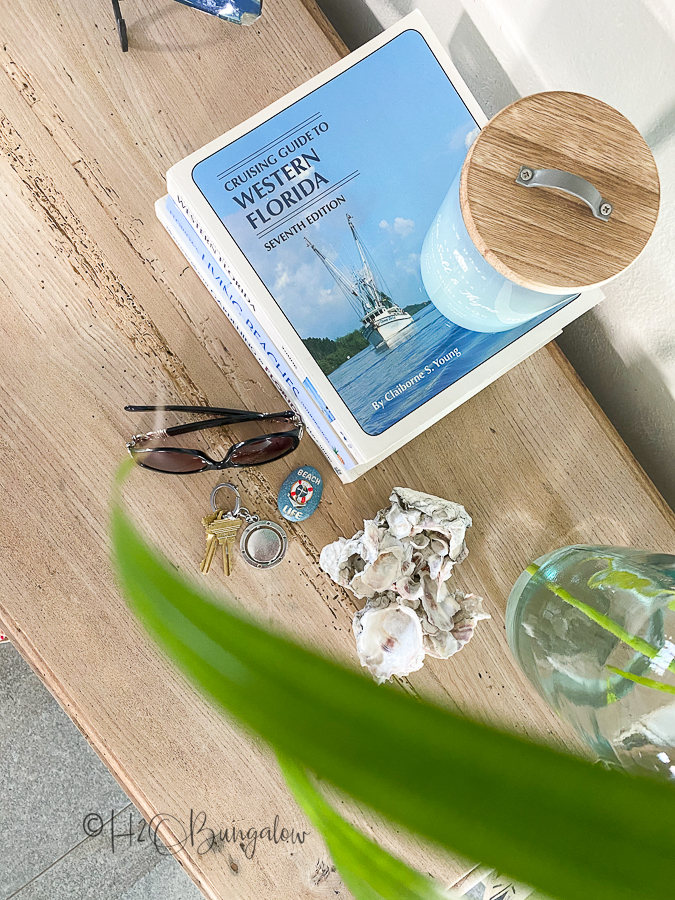
I like the way it looks with lots of character. You can’t find a store bought piece like this!
…or for the money!
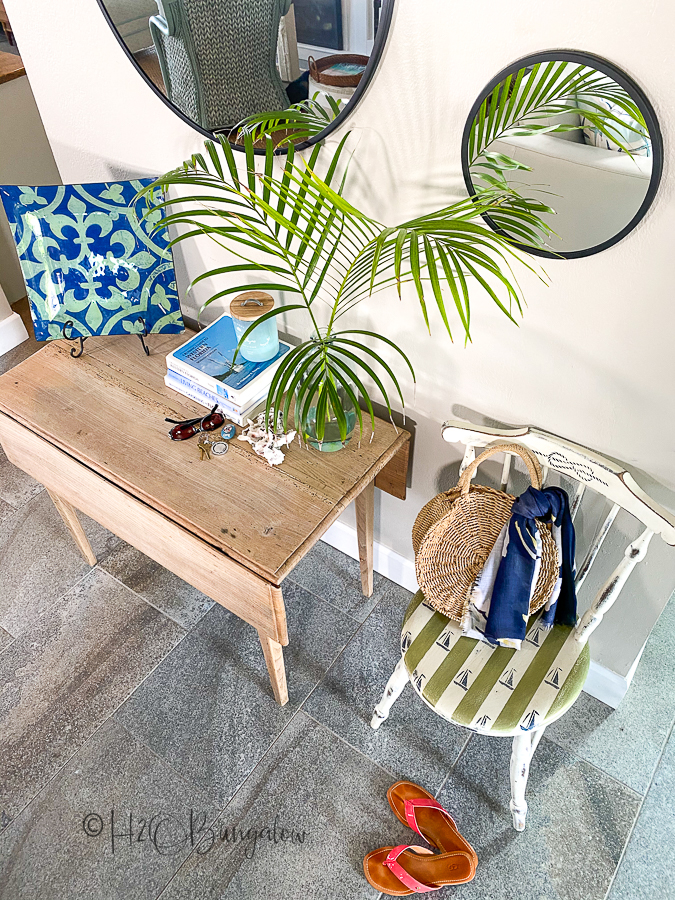
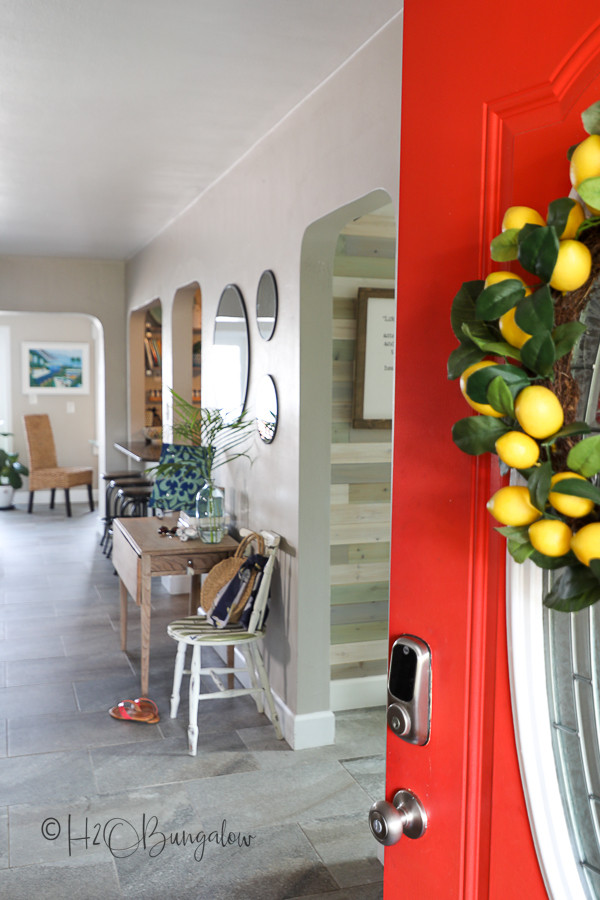
We use this table as our entry table. A place to drop mail, keys and purses.
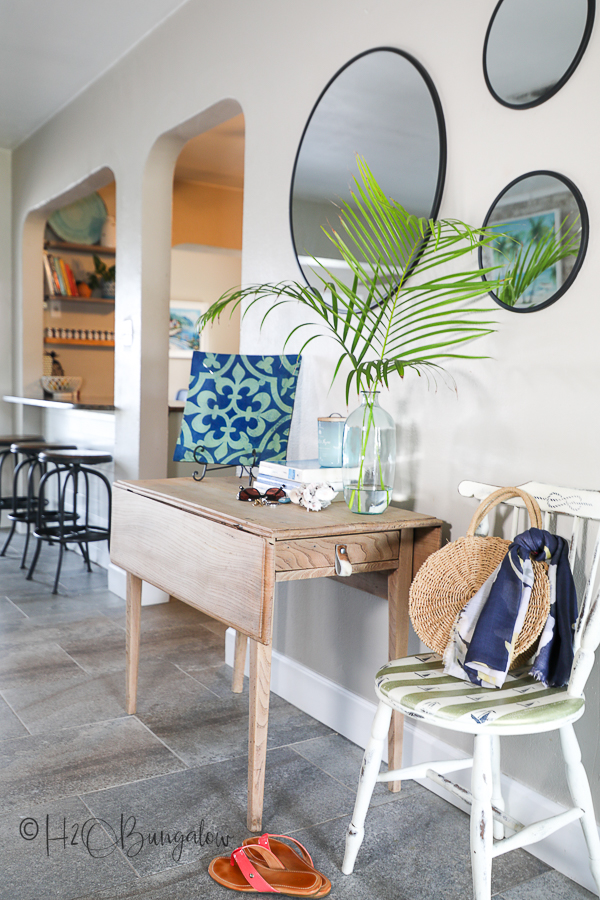
It looks so much better!
Pin how to bleach wood for later and share with your friends on FaceBook

Now that I’ve shown you how to bleach wood furniture are you ready to try on a piece you have too?
