A DIY picture rail is the best way to hang pictures without using nails or making holes in walls.
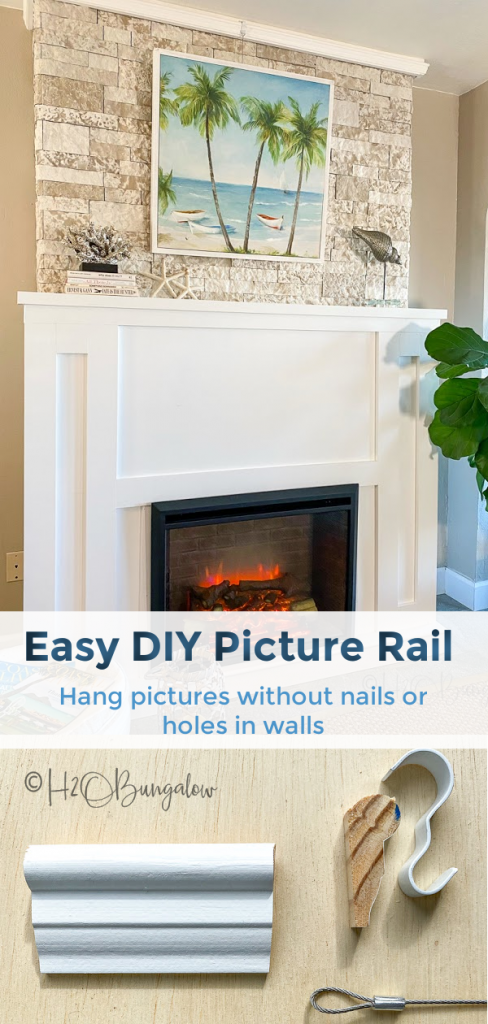
I just installed my own picture rails in two areas of my home, across the planked wood wall in my office and also on our faux stone fireplace chimney.
Both of these areas were a challenge when it came to hanging pictures or art. Now I can hang and even change them around without worrying about making nail or screw holes in the drywall and stone!
Best of all, you can make a picture rail that fits into any decor style.
Pin this now to save for later!
If you’ve also been looking for ways to hang outside art without using nails you’ll love this project How To Hang Outdoor Wall Decor Without Nails
Picture rails have been around since the early 1900s as a way to hang pictures on moveable hooks without the need for making holes in walls. Traditionally, they were placed part of the way or high up at the ceiling moulding base.
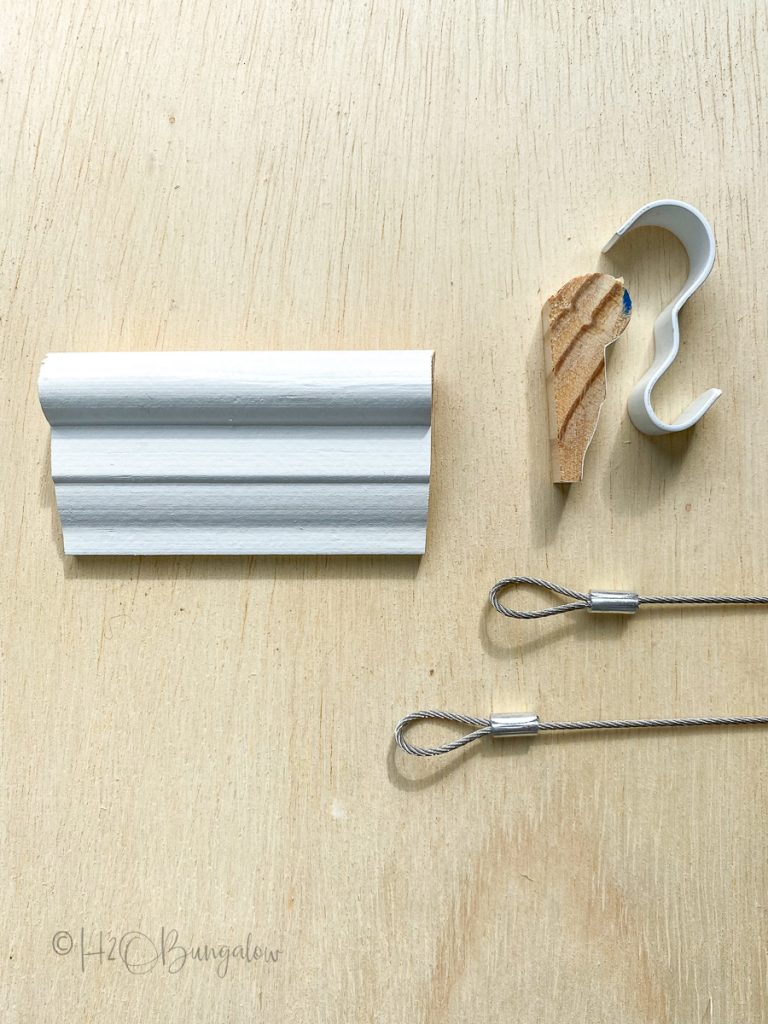
The moulding is flat on one side where it attaches to the wall and has a curved round top where a hook holds a wire or other something similar to hang wall decor from. It’s sold by the foot in unfinished pine, mine was $1.67 a linear foot.
How To Make A DIY Picture Rail
This post contains affiliate links, as an Amazon affiliate I earn a fee from qualifying purchases at no additional cost to you. Thank you for supporting H2OBungalow!
Supplies needed to make and hang a picture rail:
- Picture rail moulding
- Paint
- Miter saw
- Nail gun
- Kreg Multi-tool optional but a huge help!
- Drill
- Picture rail hangers
- Picture rail wire with hooks – This is what I used. See below for more ideas.
Step 1. Measure and cut the picture rail moulding to the size of the wall.
The picture rail moulding I used is made of wood and sold by the foot. I found mine at Home Depot. When searching for it, be sure to spell the name correctly, picture rail moulding. Otherwise it won’t come up in your search.
Flat walls are easy. Measure the space and cut the rail to fit from corner to corner. Since I only added the picture rail on one wall I had straight cuts at the end.
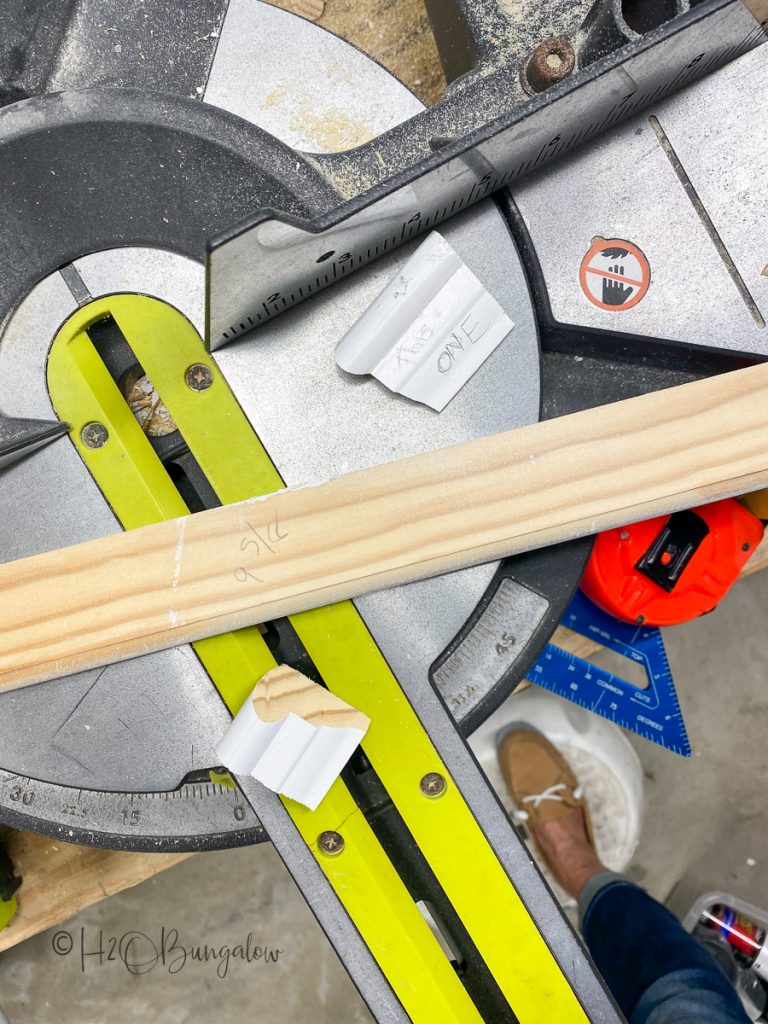
If you need to join two pieces of rail moulding together along a wall, splice them together by cutting each piece on a 45° angle. Just like you’d do when connecting two baseboard pieces.
Since I framed all around the fireplace chimney, my cuts were at a 45° angle at each corner and flat where the pieces connected at the wall.
Step 2. Paint or finish the rail moulding.
I painted mine the same color as the trim in our house.
Step 3. Attach moulding to the wall.
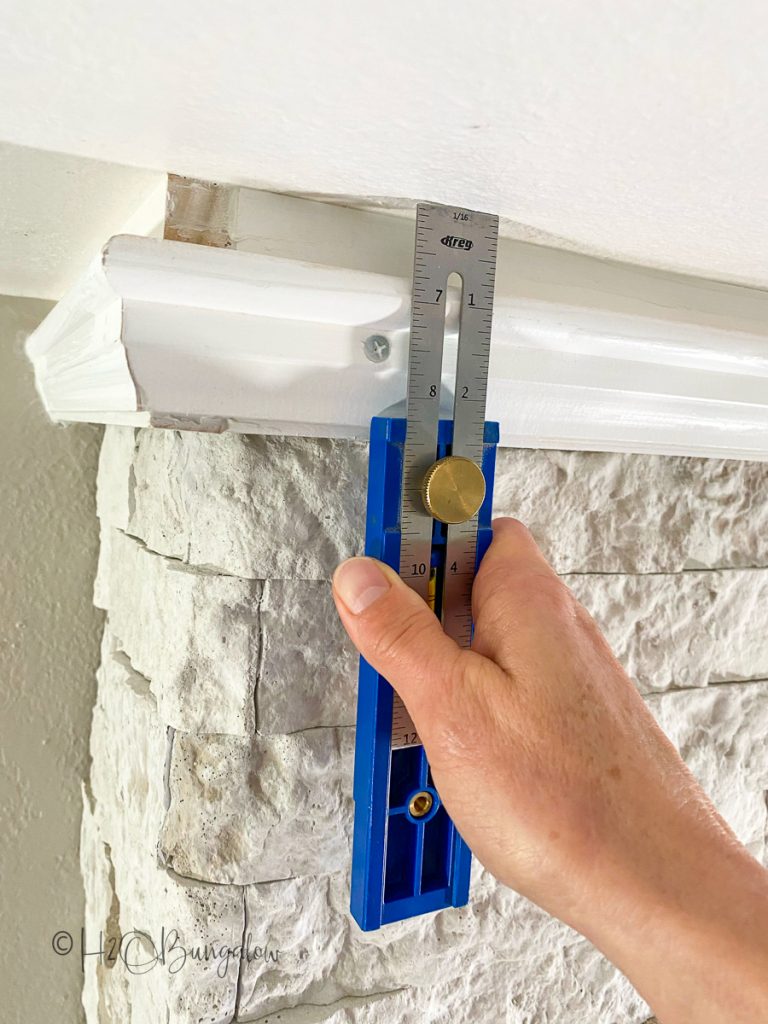
Attach the moulding to the wall so the bottom of the rail moulding is at least 2″ from the ceiling. This allows enough space for the rail hooks to slide on and off.
I used a Kreg Multi-tool to position the moulding straight across the wall and an even distance from the ceiling. Set the tool at a 2 1/4″ depth, hold the top to the ceiling and let the bottom of the moulding touch the base of the Kreg tool.
While holding the the moulding in place, secure it with a brad nails.
You’ll use different methods to attach the picture rails depending on the surface you’re attaching the picture rail to.
Sheetrock or wood wall.
Use a nail gun with 2″ brad nails to attach it to the wall. Since my wall has a wood overlay with wood trim at the top I attached it directly adding a 2″ brad nail about every 12″.
If you’re planning on hanging heavy objects like a mirror, you’ll want to secure the the picture rail with additional screws into the studs in the wall like I did for our fireplace.
How to add a picture rail to a stone or brick surface.
Brick, stone or faux stone isn’t the best surface to add a picture rail directly onto. I used a 1 x 3″ board as a base, securing it to the wood frame under the stone on the fireplace chimney with 2″ wood screws.
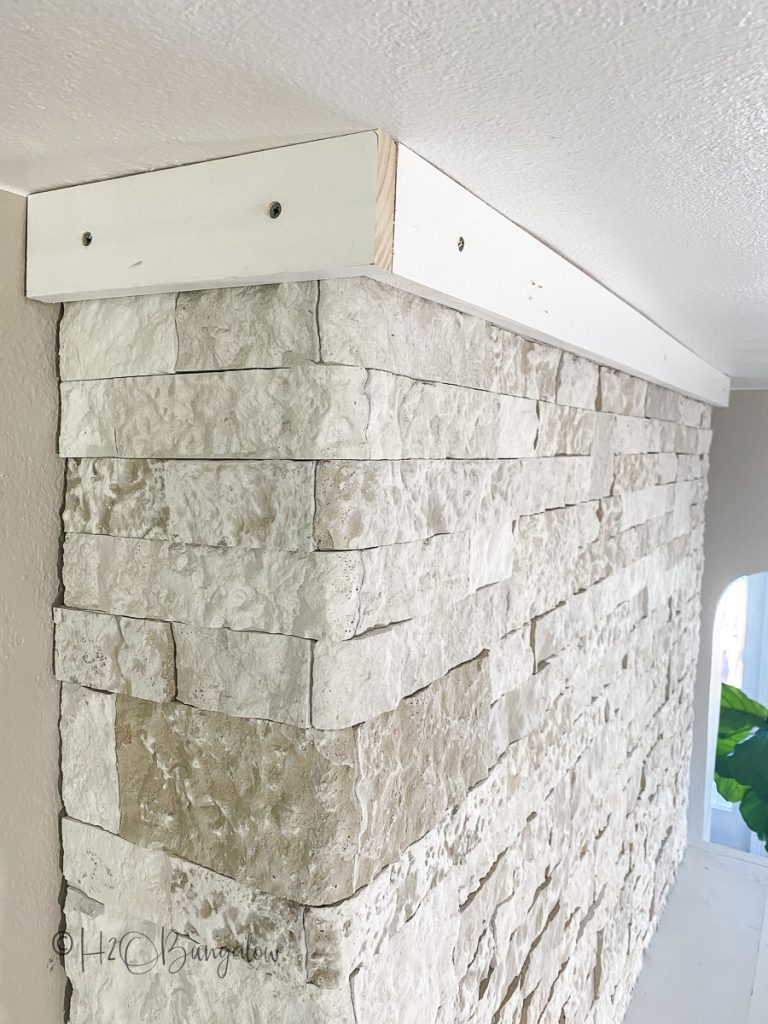
Here’s how.
Make pilot holes in the 1 x 3″ board. Mark the hole positions onto the stone by holding the header board so it’s flush with the ceiling. Use a 1/16″ drill bit through the pilot hole to make a mark on the surface below.
Remove the 1 x 3 header. Use a 5/32″ masonry bit to create a pilot hole into the stone going all the way through to the wood frame beneath.
Use a countersink drill bit on the 1 x 3 so the screw can be covered over with wood filler. Last, attach the board to the stone at the ceiling with 2″ wood screws.
Position the DIY picture rail moulding onto the secured board at least 2″ from the ceiling with a Kreg Multi-tool and secure it with a few 3/4″ brad nails.
Since the fireplace may hold heavier art, I added a few 1 1/4″ wood screws along the rail. Drill pilot holes for the screws, use a countersink bit so you can fill in the screw holes with wood filler.
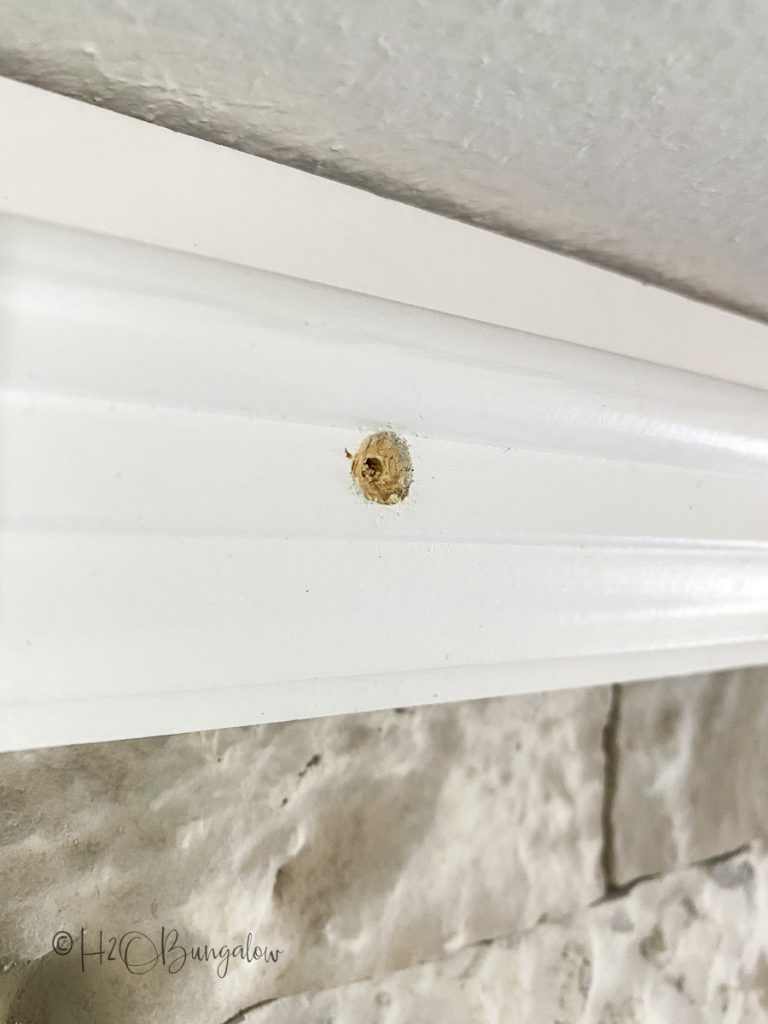
Step 3. Fill nail and screw holes and touch up with paint.
Use wood filler on the nail holes, screw holes and rail joints. Touch up the paint in these areas.
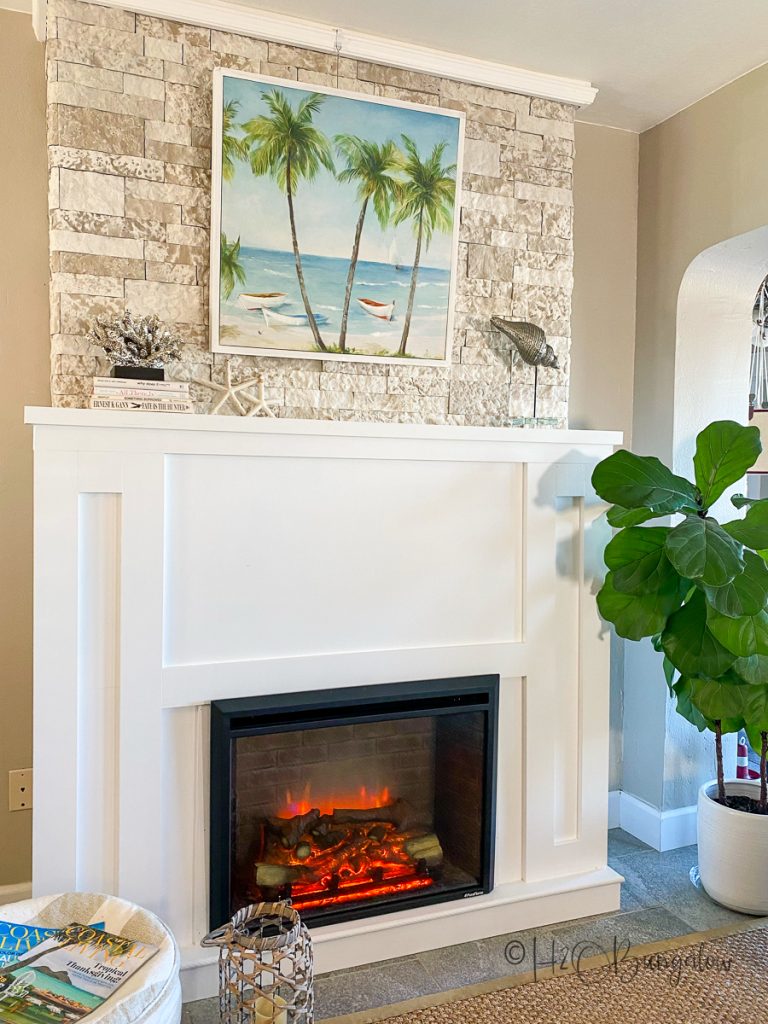
How to Hang Pictures on a DIY Picture Rail
I did a lot of research on the best ways to hang pictures on a picture rail. There are several choices:
Ready made picture rail wires.
Premade wire hangers come in wire or are clear. These have the loop already in place to put over the hook on the rail and many come with some type of connector to attach to the back of your artwork.
If you’re planning on purchasing ready-made picture rail hanging wire be sure to choose the right thickness that’s rated for the weight of what you’re planning to hang.
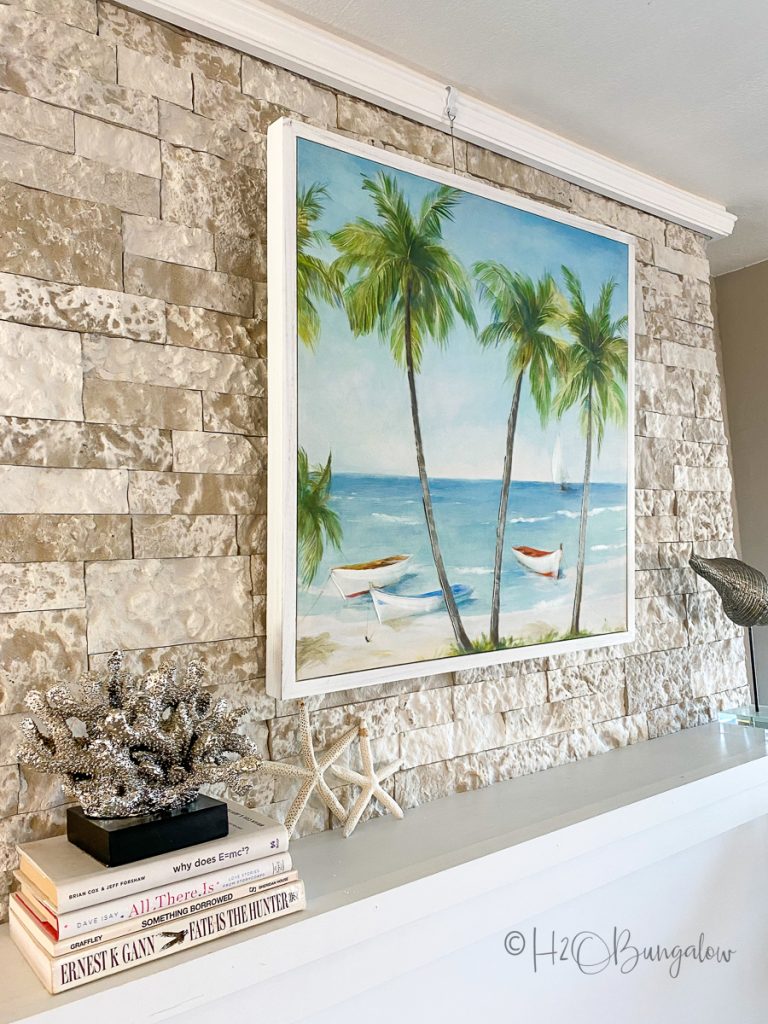
You can make DIY picture rail hangers too.
- Use heavy gauge wire and make your own by twisting a loop at one end and attaching it to the hangers on the back of the frame you’re hanging.
- Use ribbon to hang from the hook and tie onto the back of the picture
- Purchase clear plastic or wire and the connectors to assemble your own.
Purchase a kit with everything included.
There are kits that include everything you need. This picture rail kit has everything included, even a metal rail.
This is the wall in my office. Now that the picture rail is up, I’ll have to come up with an idea for a gallery wall in here.
Save and Pin my DIY Picture Rail and share with your friends on Facebook!

I’m loving that I can pictures without putting holes in my walls! My biggest challenge is coming up with a design I like! Where would ypu add a DIY picture rail in ypur home?

Ellie LaJuett says
Wow, great idea!
Wendi Wachtel says
Hi Ellie!!
So glad you liked my picture rail! Being able to hang pictures after having that fireplace for a few years is a treat. I leaned everything against the wall before. I should have done this a long time ago. I hope all is well with you and your family! Thanks so much for your note!