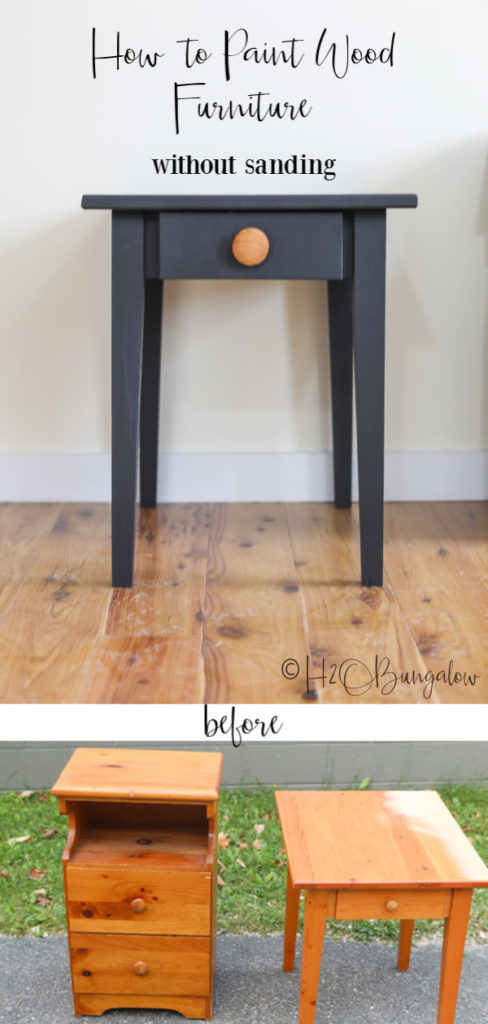
Today, I’ll show you how to paint wood furniture without sanding. Contrary to popular belief, not all furniture needs to be sanded before painting. If you’re spending your time and money on a DIY furniture painting project, you want it to looks its best. So, I’ll also share tips on how to prepare furniture for painting and more useful tips on painting furniture that will help your project turn out amazing!
I think there’s no better way to get a fresh look in a room than updating a piece of furniture with paint. Some of my other popular furniture painting guides that you may like are How to Prepare Furniture for Painting and How to Paint a Dresser, a Beginners Guide.
Creating a beautiful finish on a piece of furniture is easy when you have a few skills under your belt.
Sending out a big thank you to HomeRight for sponsoring this post. Of course, all creativeness and opinions are my own. You guys know I only share products I use myself and believe in. This post also contains affiliate links and I will be compensated if you make a purchase after clicking on my links. Thank you for supporting the brands that keep H2OBungalow going!
How to Paint Wood Furniture Without Sanding
Materials needed:
- HomeRight Super Finish Max paint sprayer
- Wagner Spray Shelter – I didn’t use mine but wish I did on this project!
- Simple Green all purpose cleaner
- Drop cloth to cover the ground
- Thin plastic for taping furniture – the most economical
- Paint
- Painter’s tape – I use the 1″ for most furniture painting project
- Blocks of wood or these PaintingPyramids
- Cotton Painter’s rags
- Safety goggles– these are great when wearing prescription glasses
- Face mask – This is my new favorite
Even though you’re planning on painting wood furniture without sanding, there are still a few things that need to be done before applying paint. The main purpose of sanding before painting is to level a blemished surface or to roughen up the surface to help the paint adhere to it. If your furniture has deep scratches, you may want to sand before painting to clean up the surface.
If not, then other steps in the furniture makeover process are more important to ensure the paint adheres and lasts on your newly painted wood furniture.
Taking a few minutes to follow the below steps will ensure your painted furniture looks great and lasts a long time.
Step 1. Inspect the furniture for damage and repair if needed.
Check drawers, sides, feet and surfaces for damage. Repair cracks and splitting wood if needed. You’ll find a lot of useful information in my How to Prepare Furniture for Painting guide.
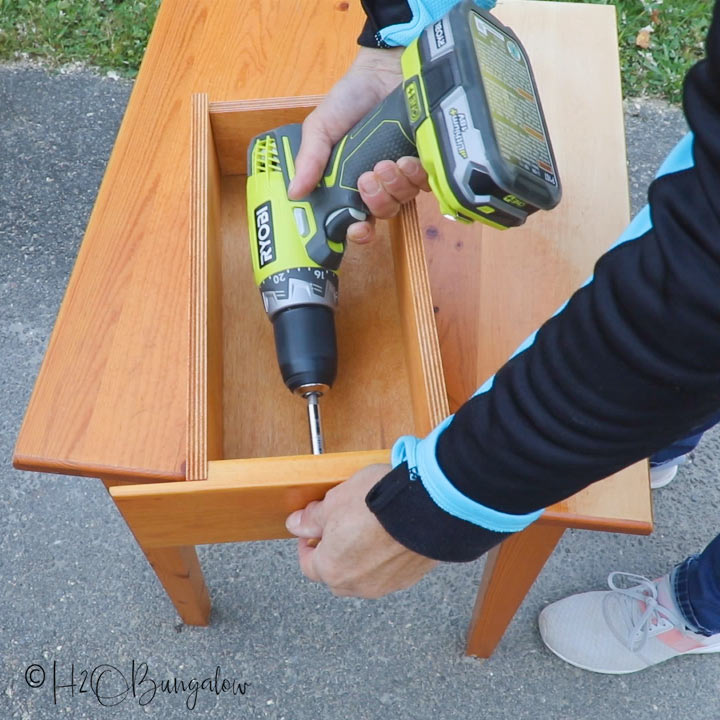
Remove drawer knobs and other hardware at this time also.
Step 2. Clean and degloss wood furniture surfaces to be painted.
This is the most important step when you’re painting wood furniture without sanding. You’d be surprised how much filmy dirt can accumulate on furniture over time!
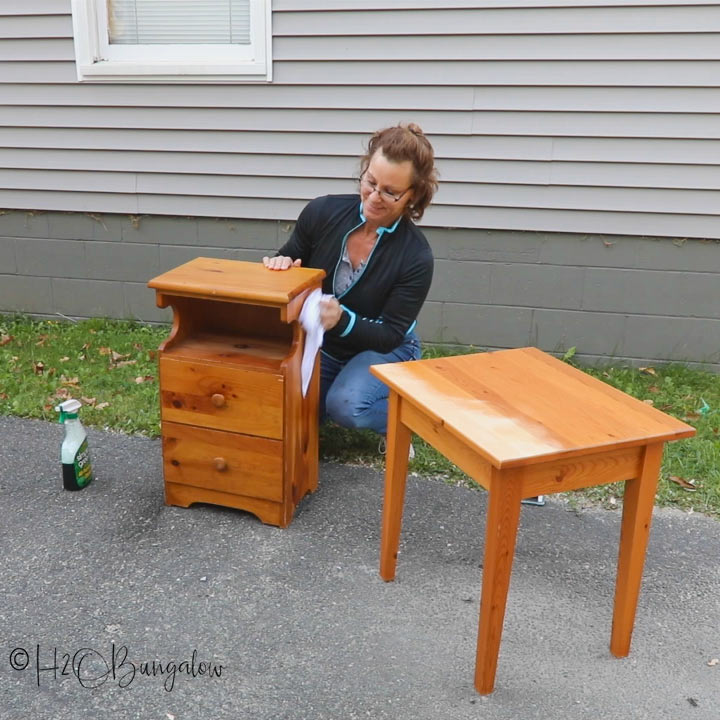
Second-hand furniture needs a thorough cleaning inside and out. Additionally, the surfaces intended for painting need to be deglossed and degreased so the new paint sticks to the surface. I like to use Simple Green which cleans and deglosses in one step.
Clean furniture by spraying undiluted simple green onto the wood surface and wipe it off with a clean cotton painter’s rag. Spray and wipe each area until the painter’s rag doesn’t pick up any more dirt.
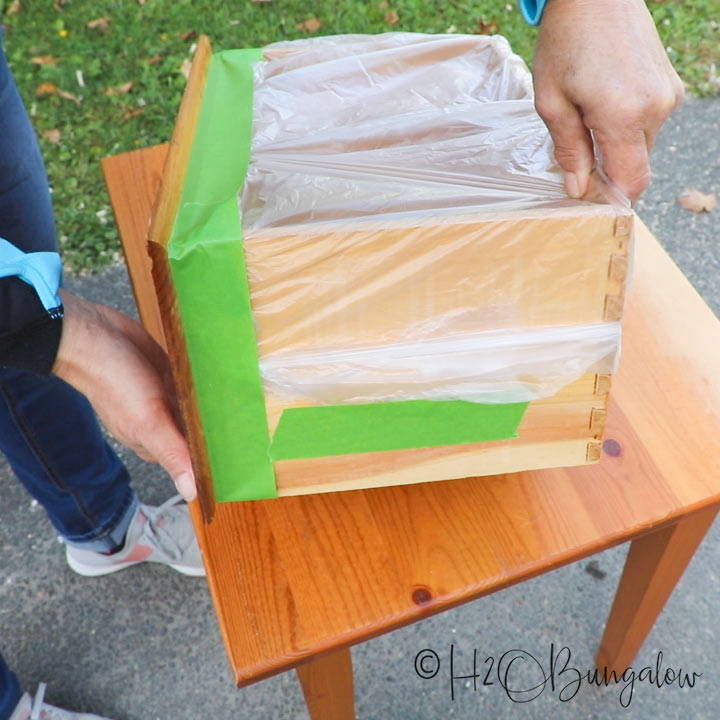
Step 3. Tape areas you don’t want painted.
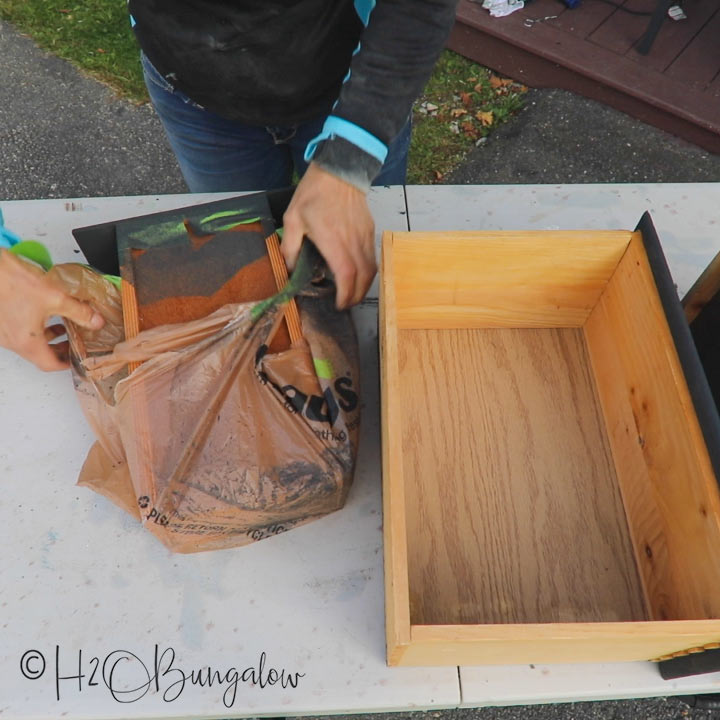
If there are any surfaces that won’t be painted, tape them off now. When painting drawer fronts, sliding the bases into a plastic bag and saves time.
Step 4. Do I need to prime wood furniture before painting?
Most furniture doesn’t need to be primed before painting. Use a primer under your paint when painting over shellac, furniture that has knots, unpainted raw wood with knots and when painting a light color over an existing dark one. You’ll also use a primer when painting over laminate furniture and when painting latex over oil based paint.
Step 4. Paint wood furniture without sanding.
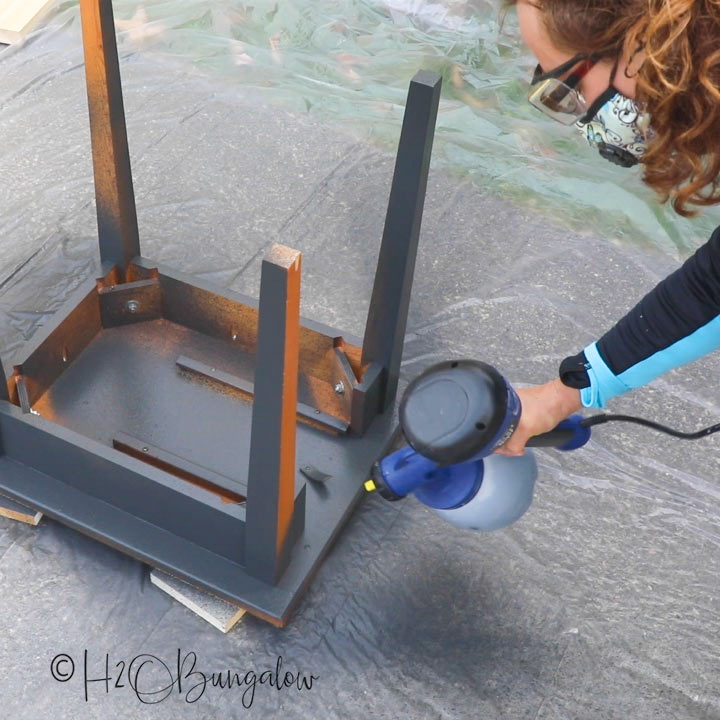
You can spray or roll your paint on. I used my HomeRight Super Finish Max paint sprayer because it gives a perfect finish without brush or roller marks on my painted wood furniture and it’s super fast.
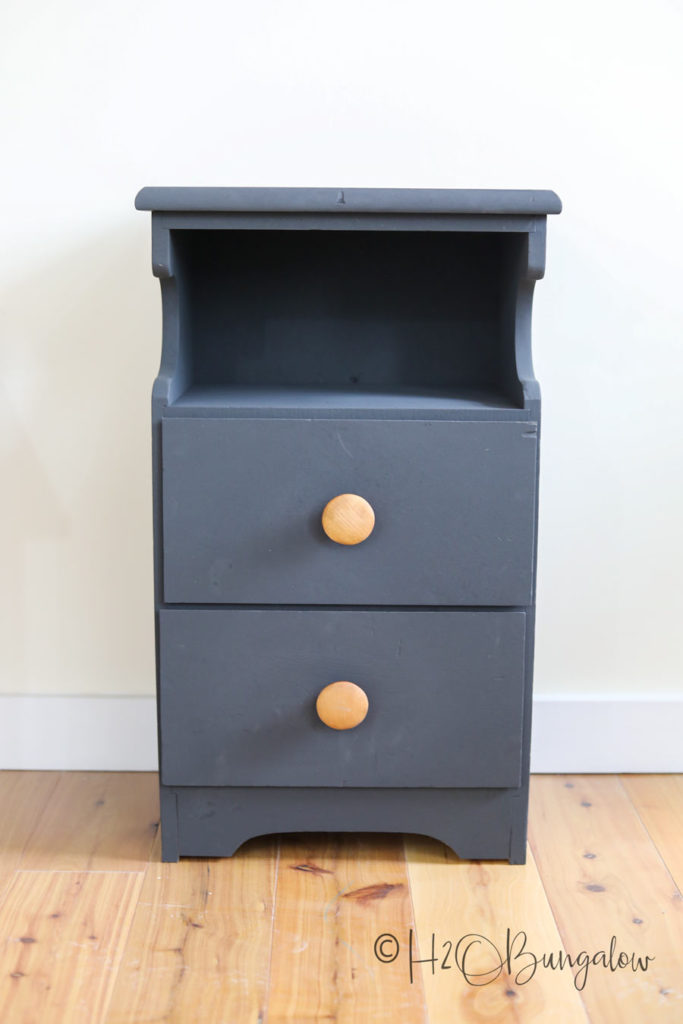
For this project,I used the green spray tip on my Super Finish Max to spray a charcoal chalky finish paint for these nightstands. Since the paint was extremely thick, I diluted it with water until I had the consistency of thin latex paint.
What I didn’t use was my spray shelter for this project and I regret it. The wind was gusty when I painted these nightstands. I thought I could just whip them out. Unfortunately, the wind knocked over one of the wet drawers and I had to repaint the whole section.
Lesson learned! Here are a few more painting tips when using the Super Finish Max paint sprayer.
- Always do a test spray to adjust the paint flow and spray pattern before beginning to paint your furniture piece.
- Apply two coats of paint allowing the first to dry thoroughly before applying the second.
- Paint in even, sweeping motions, starting at the underside of your furniture first.
It’s much easier to paint furniture when it’s elevated slightly by placing blocks of wood or something similar underneath the legs or resting it on its back side. I use these painting pyramids when I’m home and love them.
If you’re painting furniture by hand, use a 4-6″ foam roller for the best quality finish with a small good quality paint brush to get corners and hard to reach places.
Step 5. Remove protective tape when paint is dry to the touch.
Remove the protective painter’s tape and plastic when the second coat of paint is dry to the touch. Do not allow the paint to sit and become fully dry or you may have a hard time pulling off the tape or some of your paint may come off as well.
Step 6. Wax or seal your painted surface.
This step is optional when using chalk finish or mineral paints. If you’ve used a self sealing paint, there’s no need to seal your paint. Self sealing paints are latex, acrylic based paint and some specialty paints. They will usually mention they don’t need to be sealed on the label.
When using a mineral paint or chalky based, I like to seal and protect my painted furniture pieces with a clear wax. A water based poly will work as well but in my opinion, the wax gives a much better and more professional finish. Plus it feels nice to the touch!
Step 7. Replace the hardware on painted furniture.
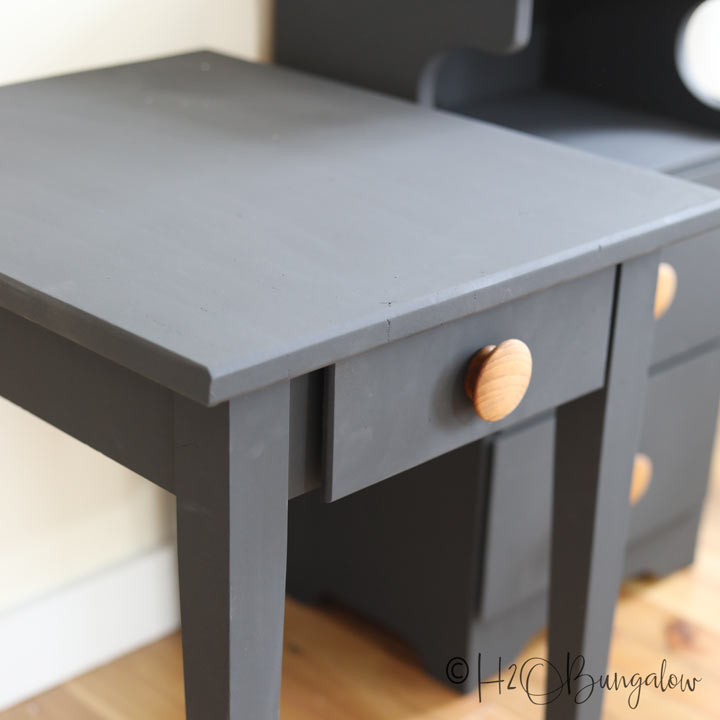
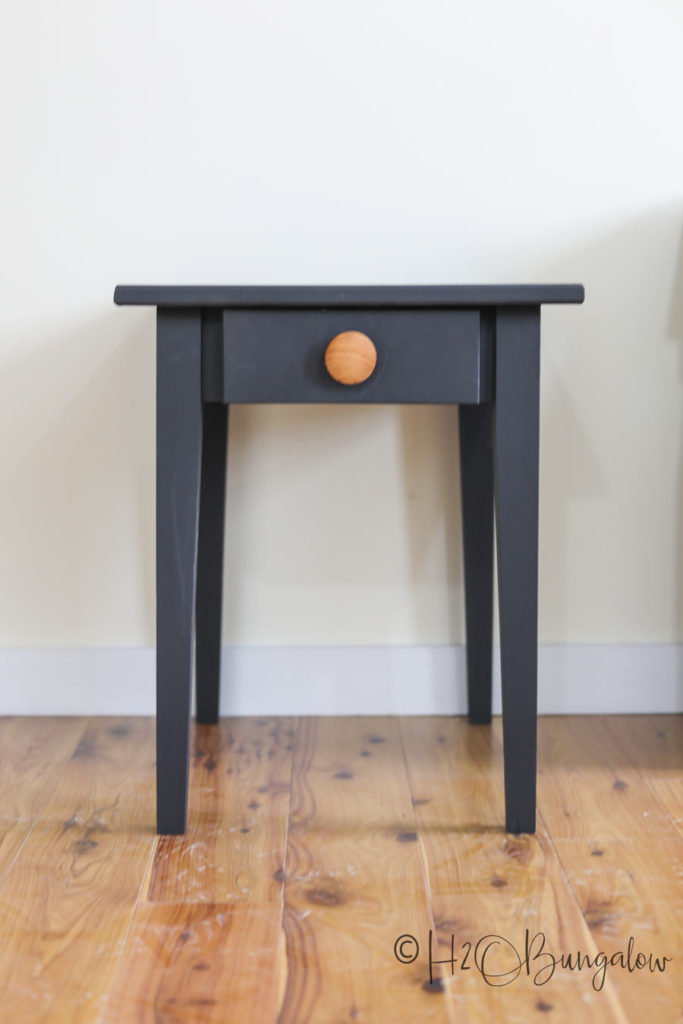
Replace the knobs or hardware. I chose to use oversized wood knobs to give my two nightstands an updated look.
Are you ready to try painting wood furniture without sanding first? It’s not hard and saves a ton of time.
Pin these tips and tutorial for later!
How about a little before and after?
before..
After..
and..
They both look so much better and I can’t wait to put them in place in the new Mill location.
Sending out a big thank you to HomeRight for sponsoring this post. You guys have seen me use HomeRight products for 6+ years and I love them.
You’ll find several more DIY projects I’ve done with HomeRight painting and home tools on the DIY Expert page and information about all of the HomeRight paint products on the website too!


susan says
I ALWAYS prep my furniture- even if it’s just cleaning (which is never ) but did not know about Simple Green. Will definitely give it a try. Always learning something new! Thanks for the info!
Wendi Wachtel says
You’re welcome! So glad you picked up a useful tip.
Jody says
Love the dark gray and they are too cute. Can’t wait til I am mobile and can hit up the thrift stores again. I am happy you talked about painting and things. I painted with white chalk paint my dining room table. Ugh. I have learned so much since then. I never knew to use a sealer. And sanding in between painting. Oh yeah. I was not informed enough. Well it’s a new year and onward I go into the wilds.
Wendi Wachtel says
Hi Jody!
So glad you like the grey and wood knob combo! Yes, following a few painting tips makes a huge difference when painting furniture. Especially when you’re working with something like a chalk or mineral based paint that isn’t self sealing! We all learn as we grow, I’ve had plenty of mistakes as well! Thanks for your visit and note my friend!