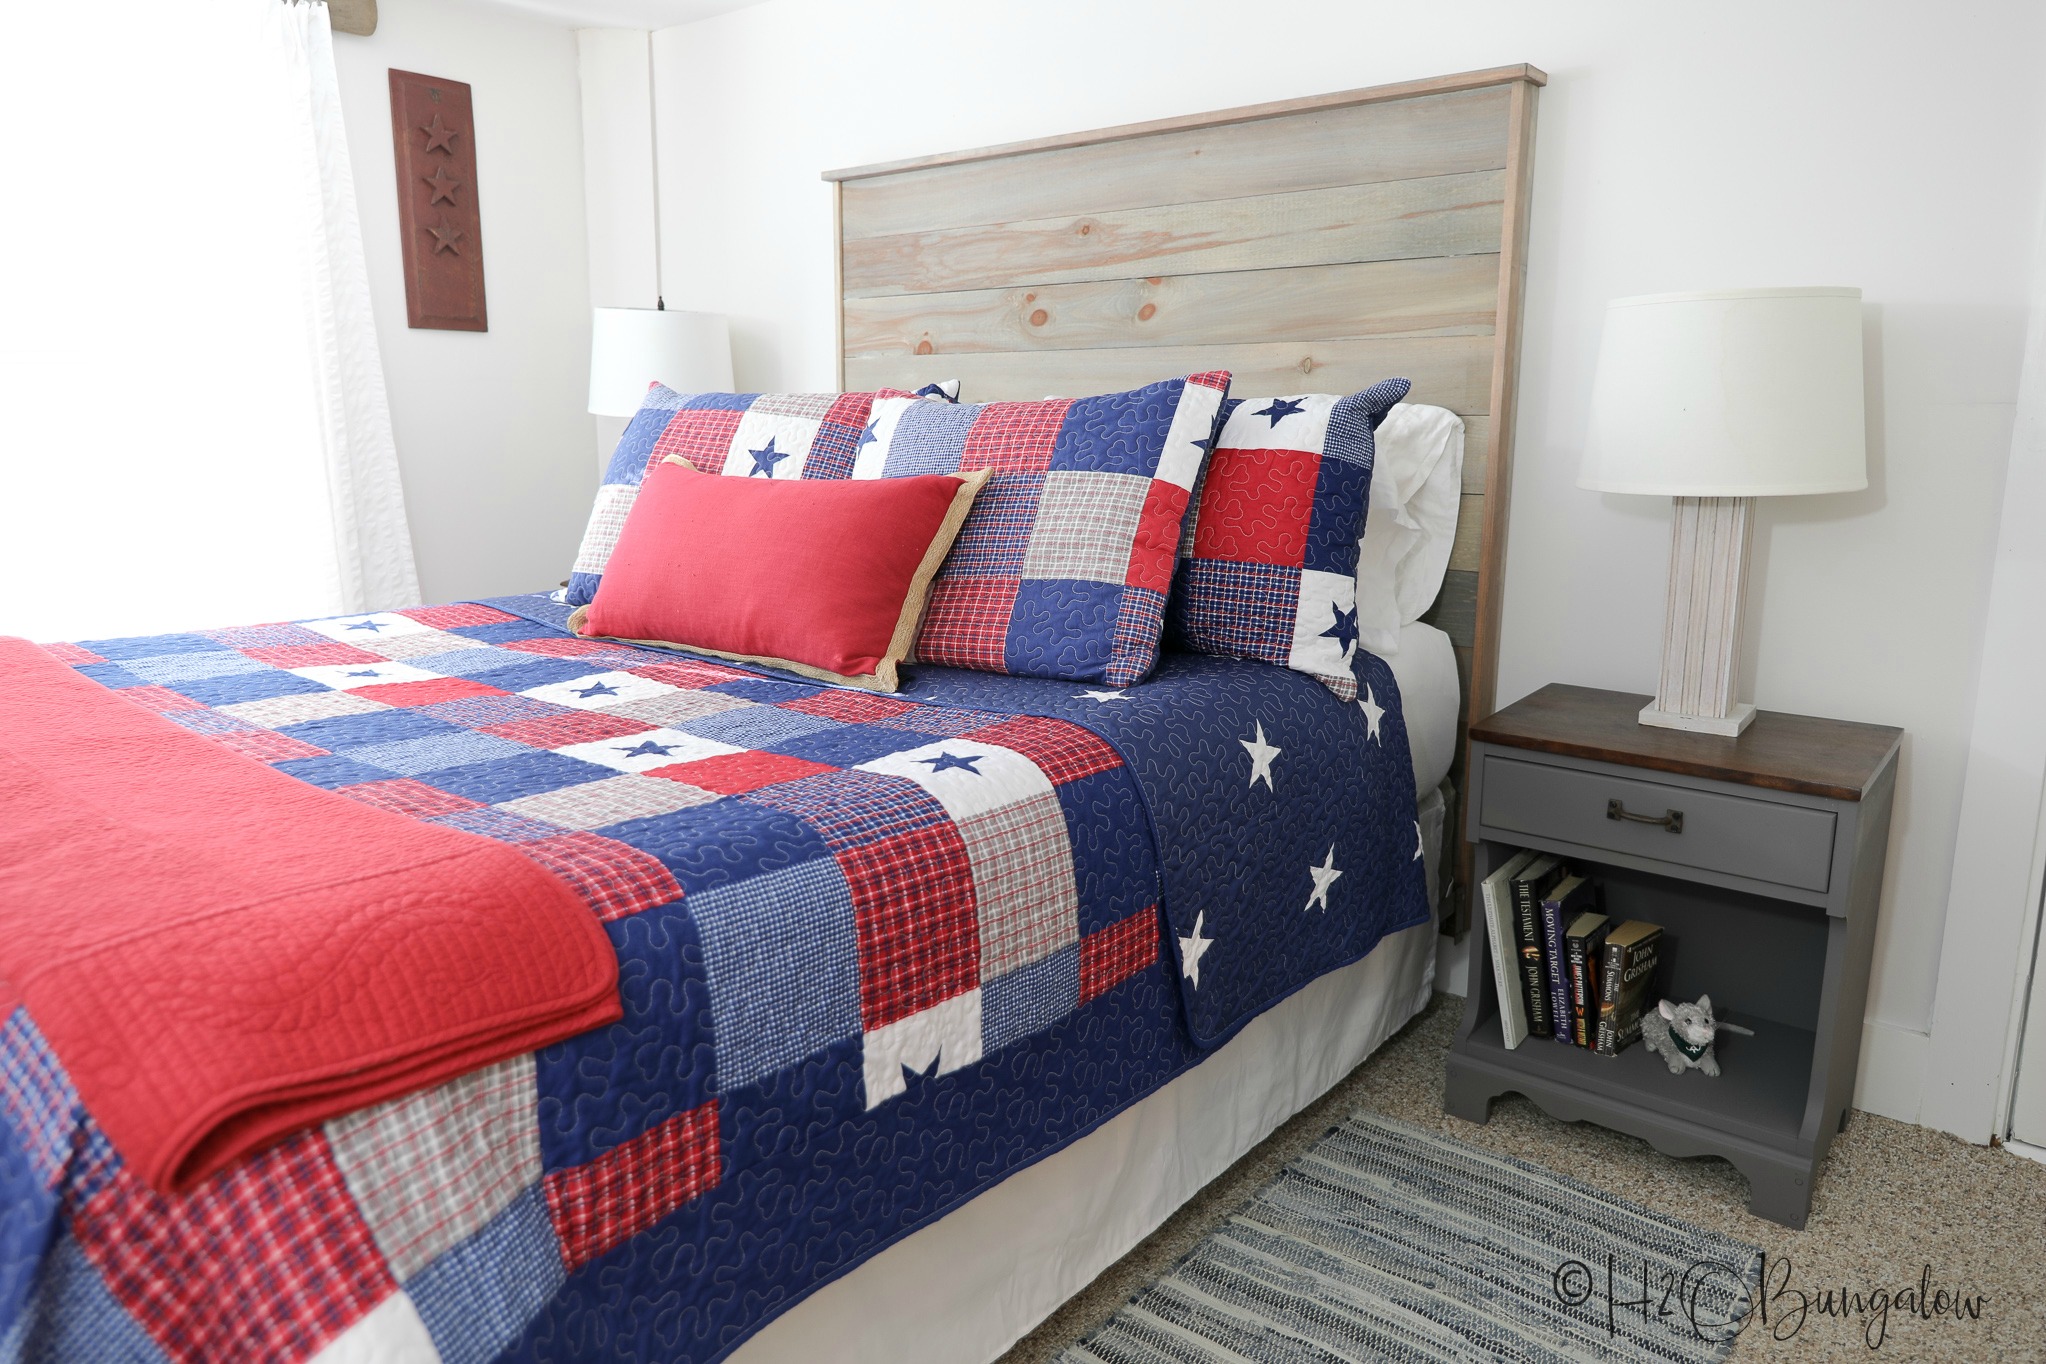
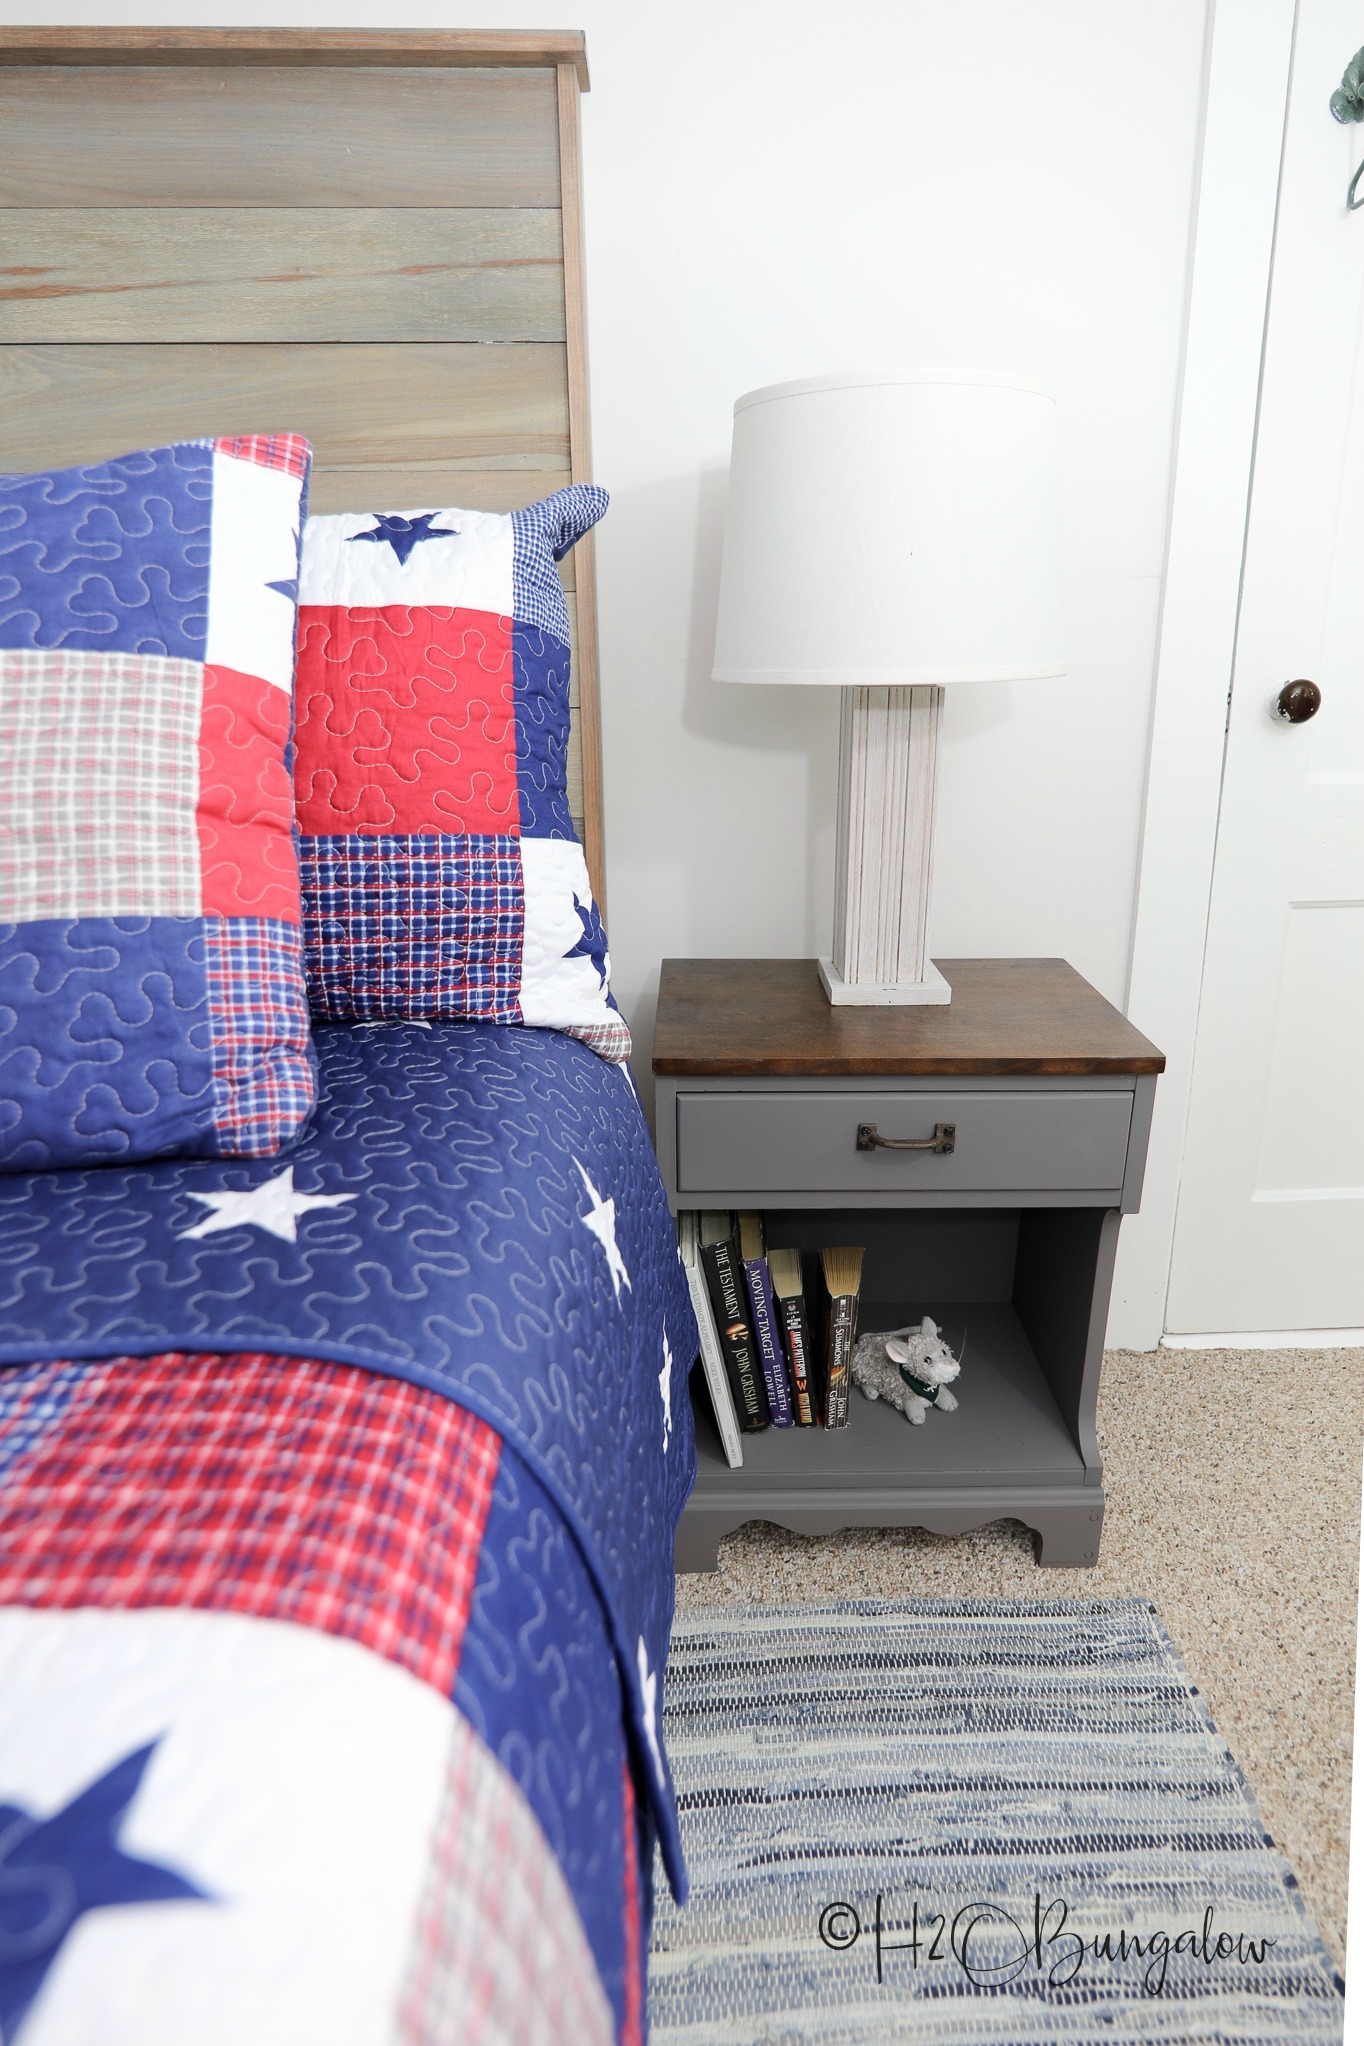
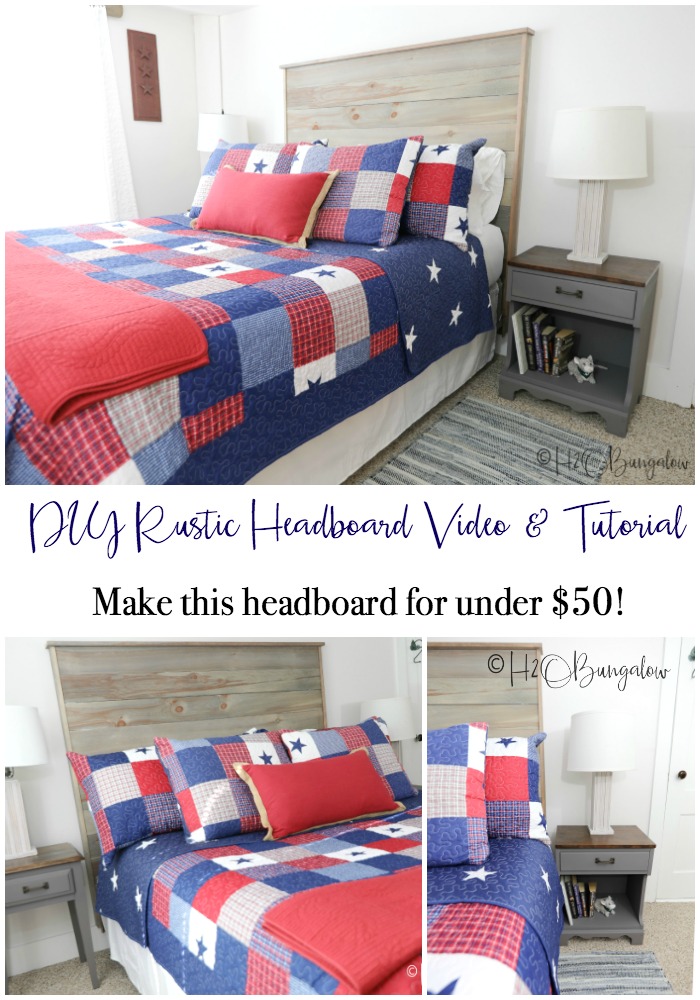
I’m so excited to share today’s project with you guys! I made a queen size DIY rustic headboard out of shiplap for one of our guest rooms up at the North House Lodge. After browsing lots of headboard ideas I designed my own DIY headboard out of shiplap to fit the modern rustic style I wanted.
This headboard design is easy to make and doesn’t require a lot of woodworking skills. Below, you’ll find a tutorial and video to make a wood headboard like mine. I’ve added tips to make this headboard for other bed sizes below too.
If you like the idea of a four poster bed, you can get plans for my bed in my master bedroom at home in Florida here. I think if you have a small wall that a Multi-Colored Plank Wall would make a great backdrop for a bed with no headboard.
Looking for more DIY furniture projects? Check out my Folding Screen Room Divider, this DIY Mudroom Bench and How to Update Old Built-Ins with Sliding Barn Doors.
DIY Rustic Headboard Tutorial
This post has been sponsored by HomeRight. This post also contains affiliate links and I will be compensated if you make a purchase after clicking on my links. Thank you for supporting the brands that keep H2OBungalow going! You can read my full disclosure policy here.
Supplies used to make my queen size DIY rustic headboard out of shiplap.
- 11 – 6″ shiplap pine planks cut to 60″
- 2 – 1 x 3″ pine boards cut to 60″ (sides of headboard)
- 1 – 1 x 4″ pine board cut to 64″ (top of headboard)
- 4 – 2 x 4″ pine boards for headboard braces, cut to 57″
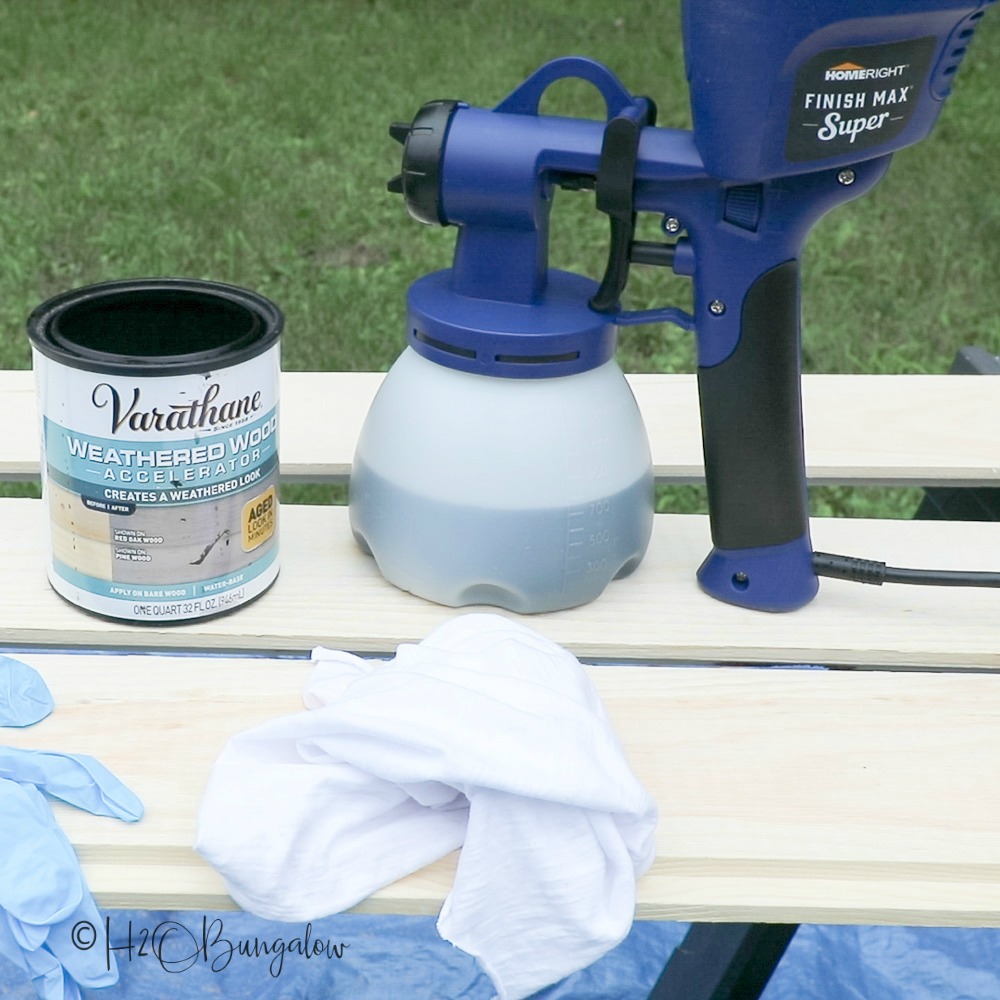
- HomeRight Finish Max Super Paint Sprayer
- Varathane Weather Accelerator
- 3″ screws
- 2″ brad nails
- Brad nailer
- Drill
- Liquid Nails
- 36″ Long level
- Compound miter saw
- Table saw
- Sawhorses – these are what I use
- Plastic dropcloth
I made a video on how to make a DIY rustic headboard which is below. You may only need to watch it to get the gist of how my headboard was built. I’ve also added a few more details in my steps on how to build a headboard below.
Where can I find shiplap?
Shiplap is usually readily available from a lumber yard. In my experience, the quality and price are generally better than you’ll find in Home Depot or Lowes. We paid under $5 per 8 foot pine plank of unfinished shiplap. Many, but not all Home Depot’s offer this shiplap and some will deliver also. You could also use tongue and groove planks to make your headboard. The look will be slightly different, but still attractive.
How to modify this DIY headboard plans for another size headboard
My DIY rustic headboard is for a queen bed. You can modify these headboard plans to fit any size bed. Measure your bed width. I made my Queen headboard 66″ tall. My headboard is also the same width as one that would attach onto the metal bed frame that holds the mattress. If your bed frame has brackets for mounting a headboard, you may want to use that width. Choose the height you’d like for your headboard and adjust the wall braces to the height of the headboard you’re making.
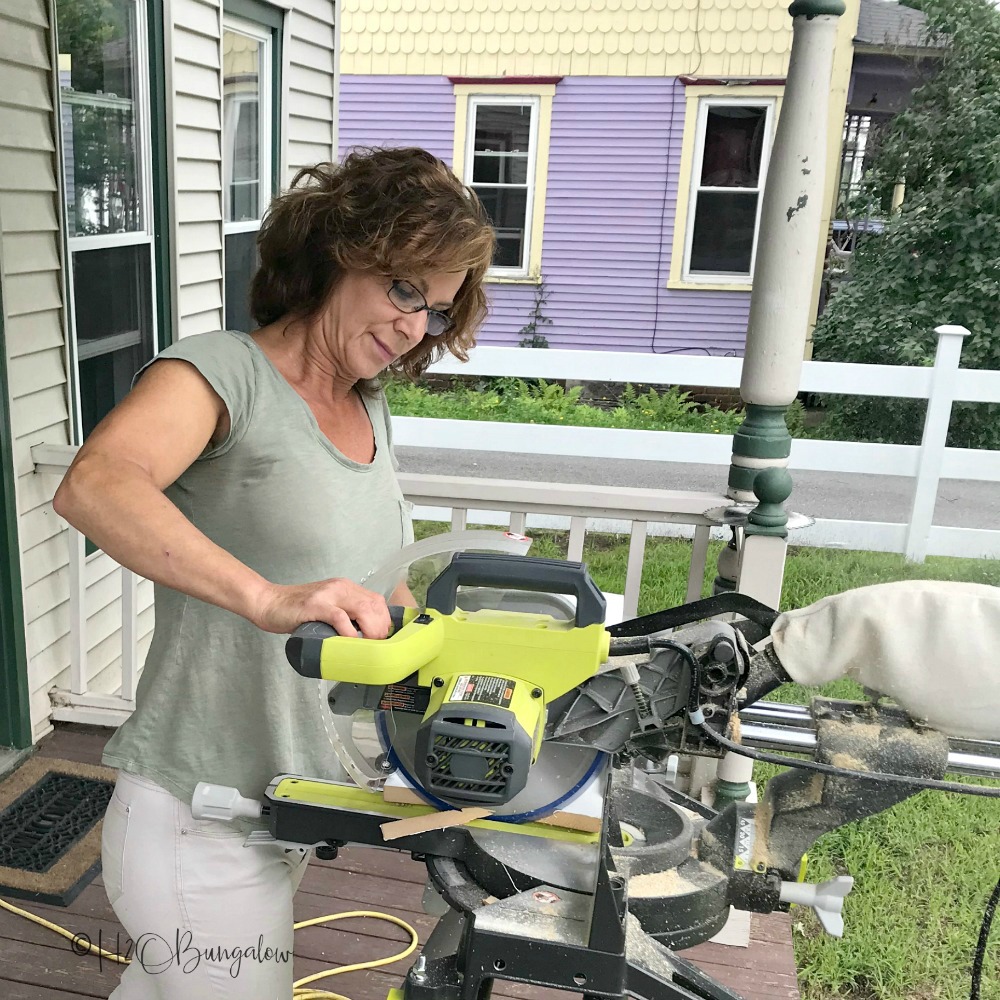
Step 1- Cut all the wood to size. Cut the wood pieces to size. Notch out the two sides of the headboard with a table saw like the video shows. If you don’t have a table saw, or are not comfortable notching out the board, you can edge the headboard sides with the 1″ X 3″ pine board flat against the sides.
Rip the top notch of one piece of shiplap off with a table saw, this will be the first board at the top of your headboard. You’ll attach it with the cut side up so the top 1 x 4″ board can lay flat.
Lightly sand all the sharp corners. If you are using the rough cut side of the shiplap as the front of your headboard like I did, lightly sand it to knock off the loose wood but still keep the rough cut.
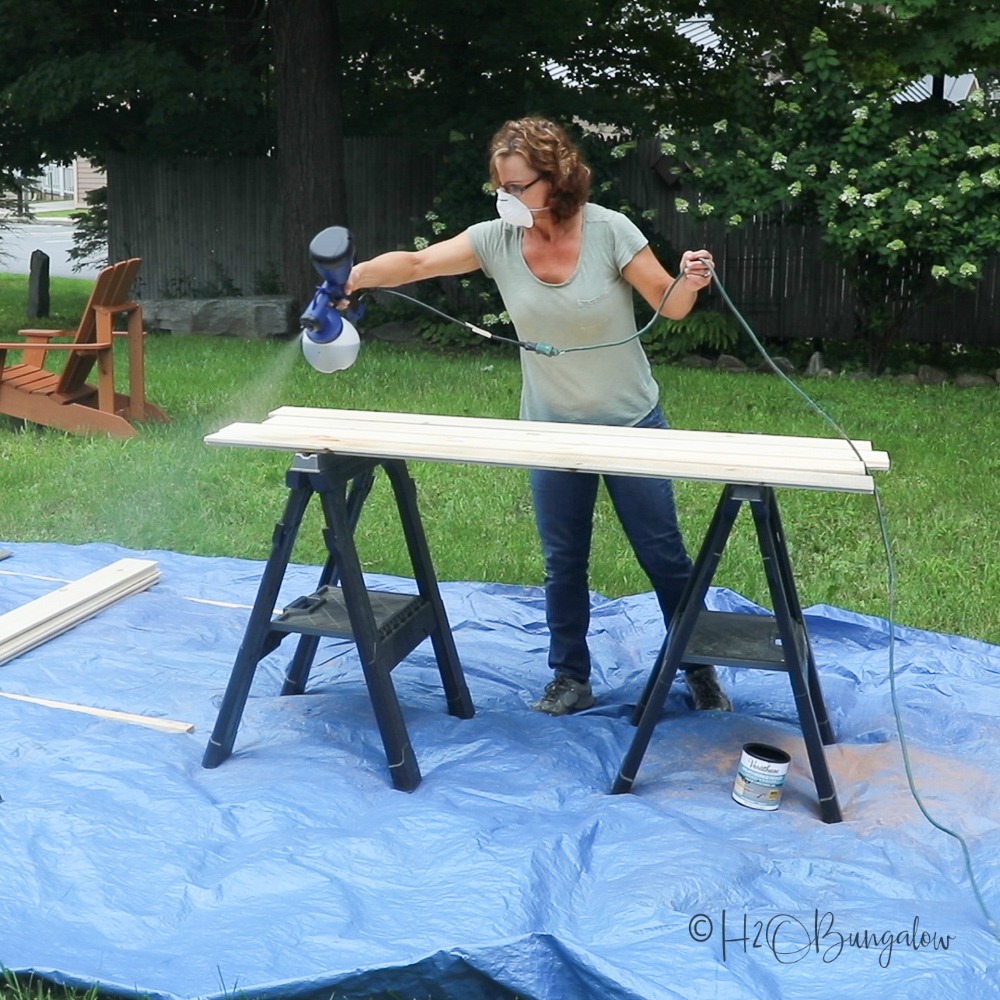
Step 2- Spray all the pieces with a Finish Max Super Paint Sprayer. To give my headboard a weathered reclaimed wood look I used Varathane Weathered Wood Accelerator. It would have been tough to get an even finish without spraying it onto the rough cut boards. I used my Finish Max Super and the blue spray tip to give all the boards an even coating of the Wood Accelerator. Be sure to get the sides and any part that will be visible. The top piece will need to be coated on three sides.
It worked best by using sawhorses to hold the boards.
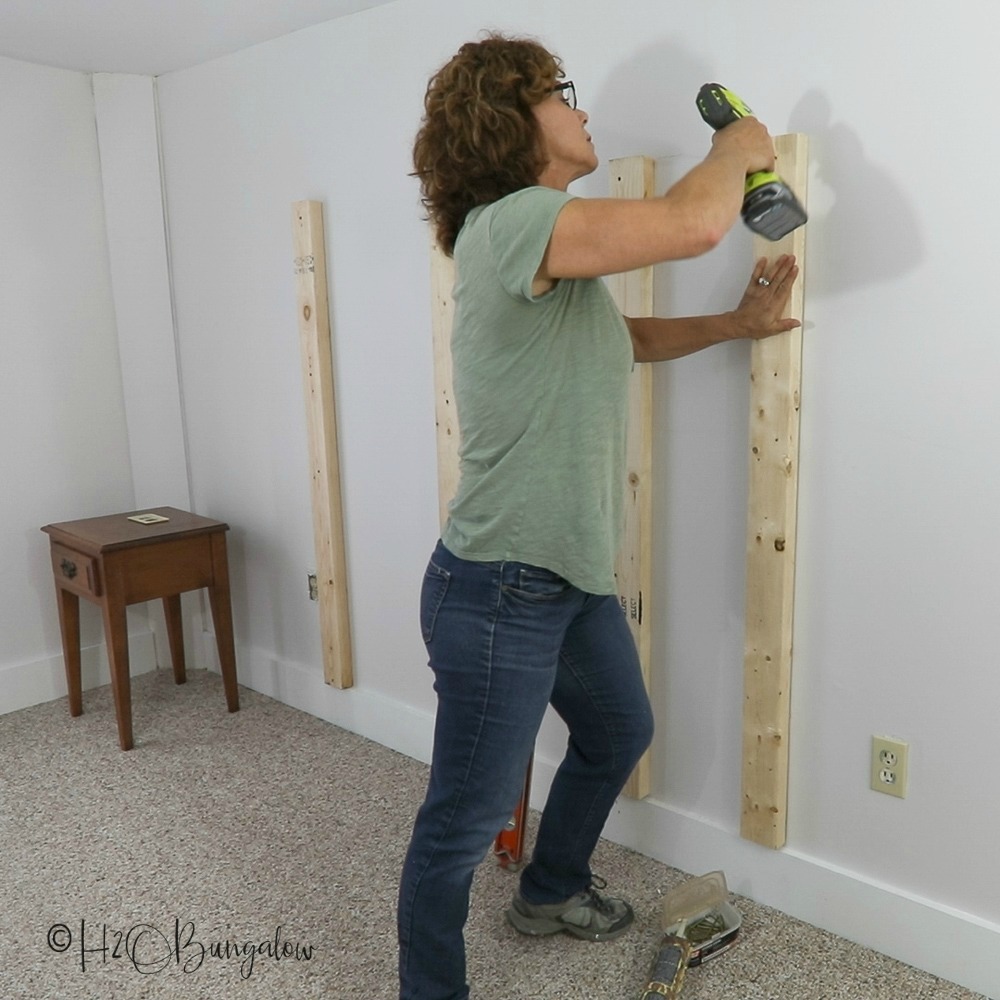
Step 3 -Add the braces to the wall. Use the 2 x 4s to make four wall braces. Line as many of the support studs on a stud in the wall as possible, keeping one at each end of the headboard. Use a level to be sure they are vertically straight. Attach the braces to the wall with liquid nails and 3” nails. I rested mine on the baseboard at the bottom.
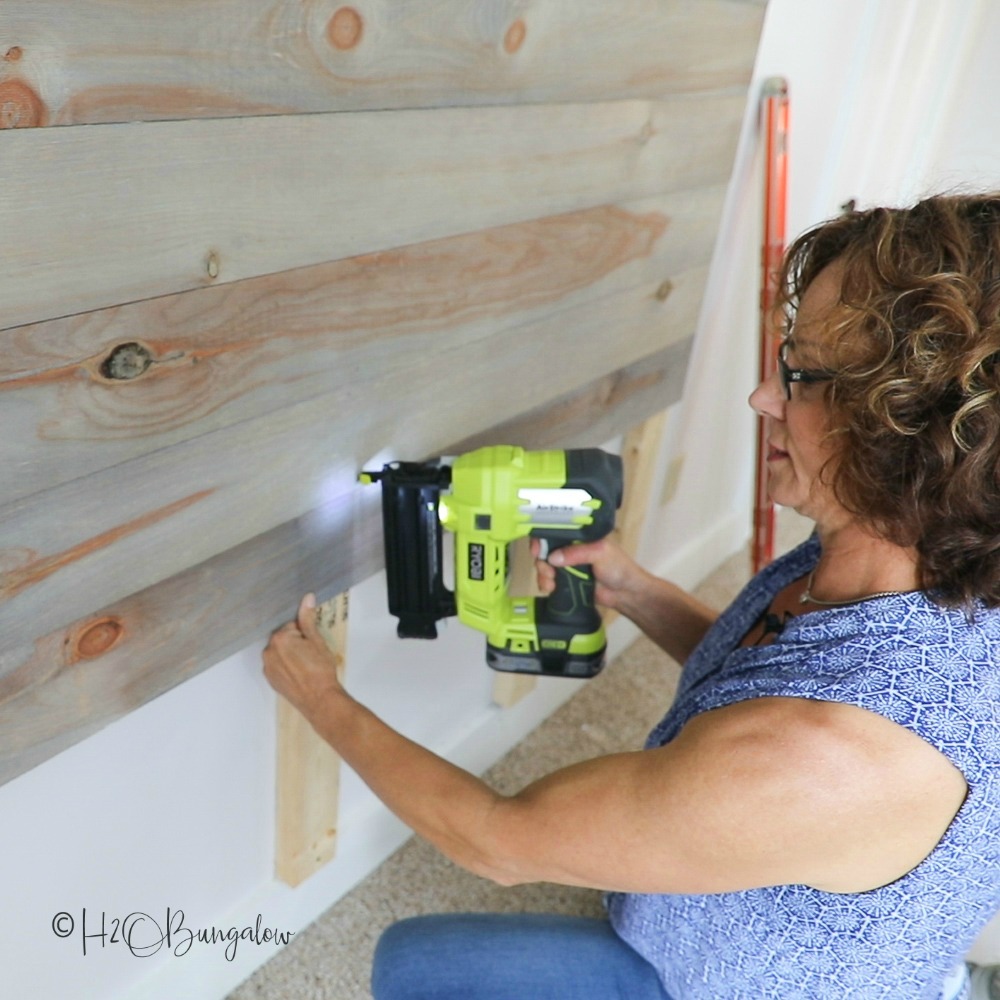
Step 4 – Add shiplap. Start with the first piece of shiplap with the notch cut off. Line the cut side of the board up at the top of the 2×4’s and attach with a brad nailer. Apply a thin bead of liquid nails along the top of the shiplap plank that will join with the board already on the frame. Apply Liquid Nails onto the 2 x 4 studs as well. Continue until all of the planks are attached to the wall.
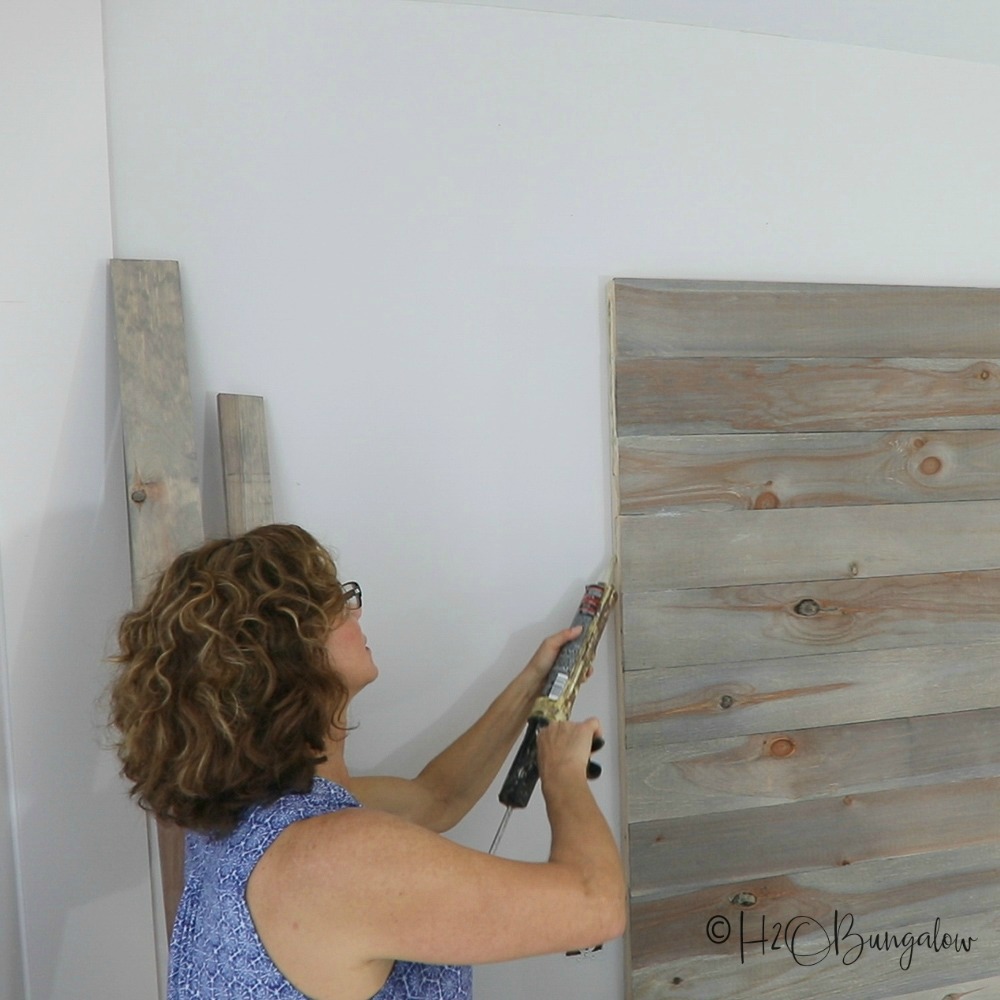
Step 6 -Add the sides. Add the sides of the headboard so the long side butts against the wall and the short side with the lip covers the edge of the cut shiplap planks. Use liquid nails first and attach with the brad nailer. Make sure the top of each side piece is even at the top of the headboard plank.
Step 7 Add the top. Add the top by adding liquid nails to the top of the wall braces. Use a ruler to adjust the board position so each side has the same overhang. Attach the top with the brad nailer on the wall braces.
That’s all there was to it! This is an easy project to make, it took me about a day and cost under $50 to make. Not bad for a DIY headboard!
Don’t forget to pin my DIY rustic headboard and share with your friends on Facebook. I’m thinking my DIY Rustic Garland would look so pretty hanging on the headboard.
Sending out a big thank you to HomeRight for sponsoring this project! You guys have seen me do lots of different DIY projects with my Finish Max Paint Sprayer. It’s probably one of my most versatile items in my workshop. It’s a lifesaver for painting projects that don’t have a smooth finish, or even furniture makeovers where I want a professional smooth finish.
Did you know I am also a Brand Ambassador for HomeRight products? I have over 17 DIY tutorials on their site that I’ve made with HomeRight products, you can Check them out here!
Are you loving my budget friendly DIY wood headboard? Do you have a room that it would look great in too? Share your thoughts in my comment section below!

DARYL HALE says
Awesome job Wendy, a great space saver as well 🙂
Wendi says
Thank so much Daryl! I needed a durable headboard that wouldn’t mess up the walls or take much space. Plus, it had to be budget friendly for the guest house. I love how easy this was to make. Thanks so much for your note and visit Daryl!
Mary says
That is such a lovely headboard Wendi and really compliments the surrounding area with all the trees and greenery.
Wendi says
HiMary! Thank you!! I was so happy to finally get this project done, we needed a headboard in this room for the longest time!
Marissa | Squirrels of a Feather says
Wendi, loving this tutorial! I was so excited when I received the HomeRight stuff, I see you are putting yours to good use as well! I am going to pin this to my Decor and DIY board, thanks for sharing!
Wendi says
Hi Marissa and thank you so very much! Yes, I love my Super Finish Max, this is by far the favorite of all my HomeRight paint sprayers 🙂 You’ll love it for rough and uneven surfaces and even more when you want a perfect smooth finish on furniture. Thank YOU for sharing my headboard and so glad you like it!
Donna Keidel says
I LOVE the finish on the shiplap! I am working on a table right now and think that would be perfect! Any tips to get that same look?
Wendi says
Hi Donna! Thanks so much! I love this finish too. I have a good post on getting an aged weathered look. https://h2obungalow.com/ways-to-age-weather-wood-comparison/ Sometimes, I layer my products too. Different wood will take and absorb products differently too. I hope this helps! Thanks so much for your visit and let me know if you have any other questions!
MaryJean says
Wendi, loved the post and your Youtube demo! I’m thinking of doing a wall with the shiplap in my bedroom so this was helpful.
Would you mind doing me a favor and take a look at my blog? I’m trying to make some improvements to get more views and subscriber and since you seem to have a great blog I was wondering if you could take a look at it and tell me what you think needs improving and any pointers you can give me. I would really appreciate it. Although I think you can just click on my avatar and go right to it, here is the link homeiswherethejourneybegins.blog
Jody says
I really really like it. Moving into a house that is his. So must see what I can and can’t do.
Wendi says
Hi Jody and thanks so much for your sweet note! This is an easy project to do and it can be modified if you don’t have all the tools. Good luck on your move!