There are lots of reasons to make a folding screen room divider for your home. Maybe you want a privacy screen for a large room, you need a simple DIY room divider to break up space in an efficiency or you want to use a folding screen for home decor. This project is versatile and a stylish choice for any of these home decor needs. Today, I have a great tutorial and a video to share with you on how to make a modern DIY folding screen for your home.
You may also like this DIY bifold door room divider . It’s perfect for a coastal or vintage style and it’s a simple project to make!
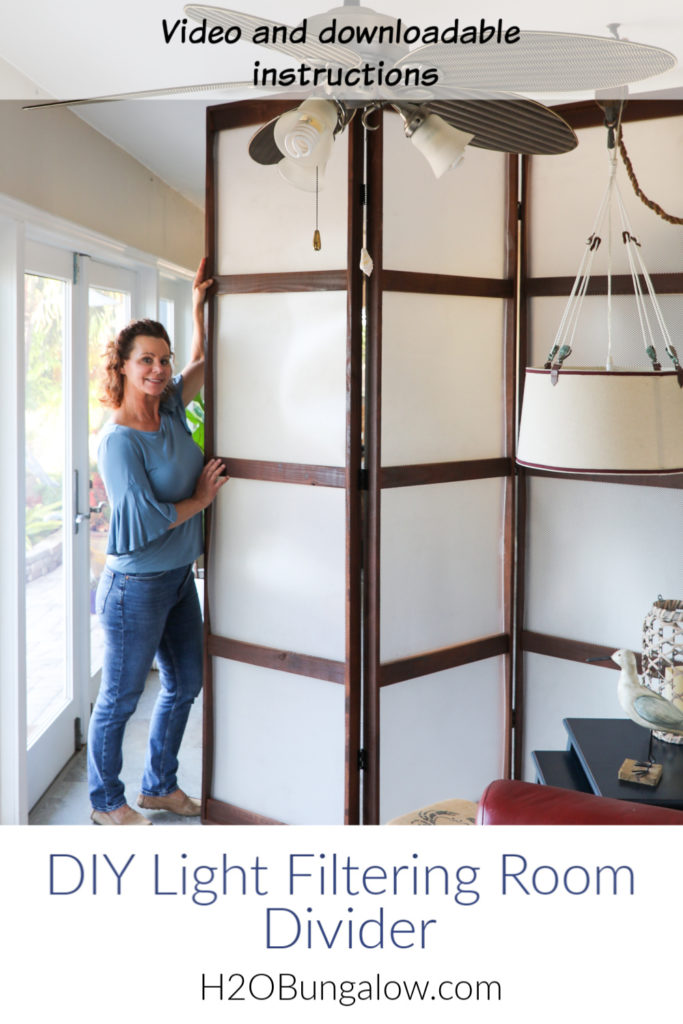
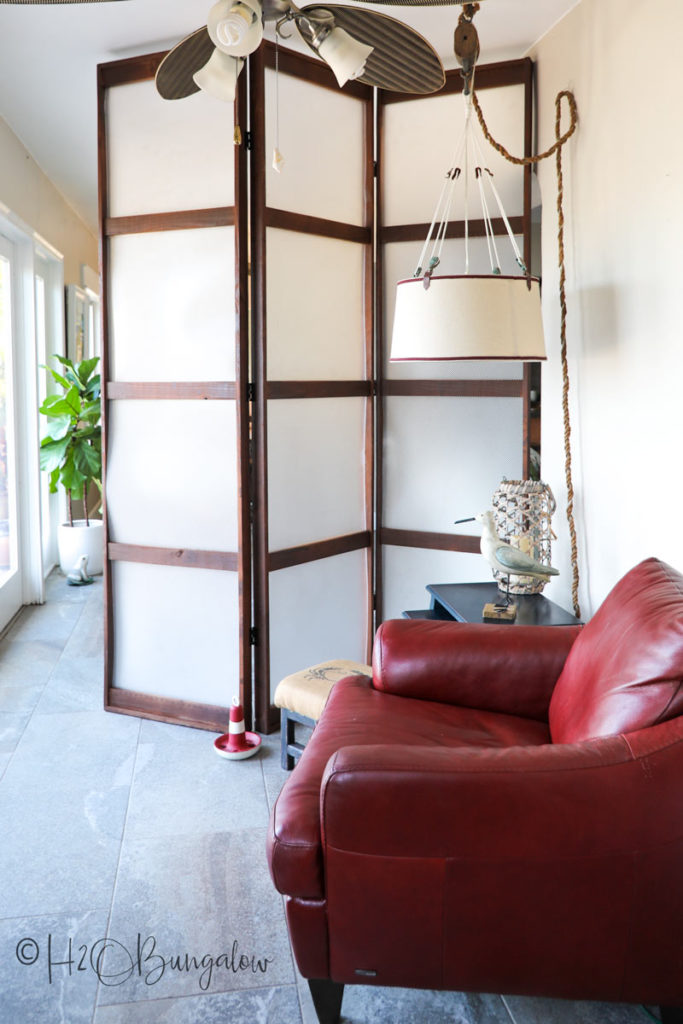
Because this screen is almost 8 feet tall it has presence in a room.
It really makes a statement as a home decor piece and at the same time, it’s still a functional room divider. You’d never know my husband was working at the kitchen table just behind these folding panels!
Sending out a big thank you to HomeRight for sponsoring this project. To help you find the products I used in this project, I use affiliate links, as an Amazon Associate I earn from qualifying purchases.
Make a Folding Screen Room Divider
Supplies needed to make a custom room divider. Each finished panel is 94 1/4″ by 23 3/4″ .
- 15 – 1″ x 3″ pine boards @ 8 foot
- 6 – 22 1/16″ x 46 1/4″ transparent acrylic lighting panels – This is what I used
- 6 – 3 1/2″ hinges
- Dark brown paint or stain
- HomeRight Super Finish Max paint sprayer
- Extra Super Finish Max paint containers
- Kreg Jig – K4
- Pocket screws 1 1/4″ – this is a good deal
- Drill
- Miter saw
- Sander
- Tape measure – this self centering one is a favorite
- Safety goggles that fit over prescription glasses
- Respirator dust mask
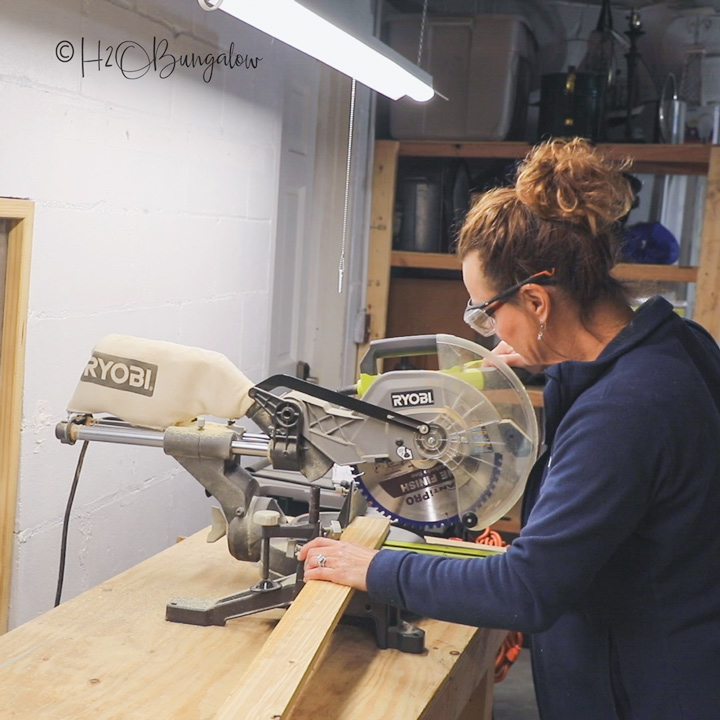
Step 1. Cut the wood to size.
Cut list to make a three panel folding screen
- 6 – 1 x 3” @ 94 ¼”
- 36 – 1” x 3” @ 22 ¼”
A few notes about cutting your wood to size and building a folding screen frame.
- Choose straight 1″ x 3″ boards that are not bowed or warped.
- Use select wood if possible. My local store was out of select lumber and I had to use a lower quality common board. That meant sanding and working around blemishes. I sorted my wood so the blemished pieces would be used where they wouldn’t show and marked them but it was time consuming.
- Frames for the panels require straight cuts. Trim a small section off one end of each of the 6 stiles before measuring to cut the length. Turn the board over, measure your length and cut from the other end so both ends will have fresh cuts.
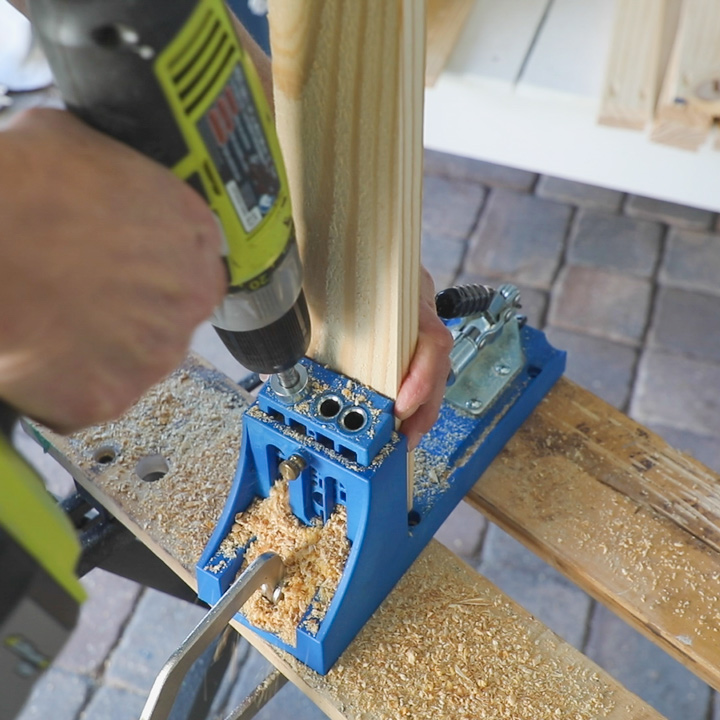
Step 2. Make pocket holes on all the rails, top and bottom of the frame.
Set the Kreg jig for ¾” material and add two pocket holes to the end of each rail and the top and bottom pieces of the frames. Flip the board over and add two more pocket holes on the other end of the same side.
Do this for all of the 22 ¼” pieces.
Step 3. Assemble the panel frames.
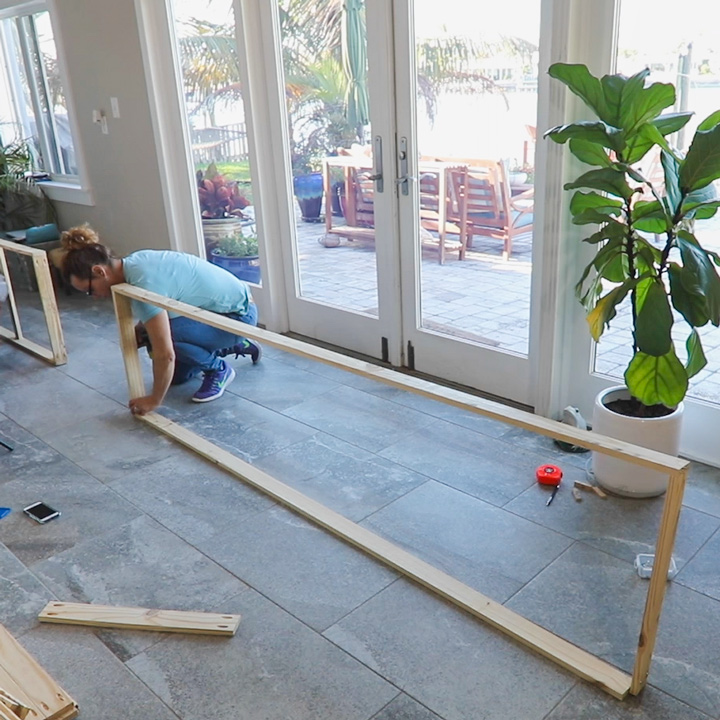
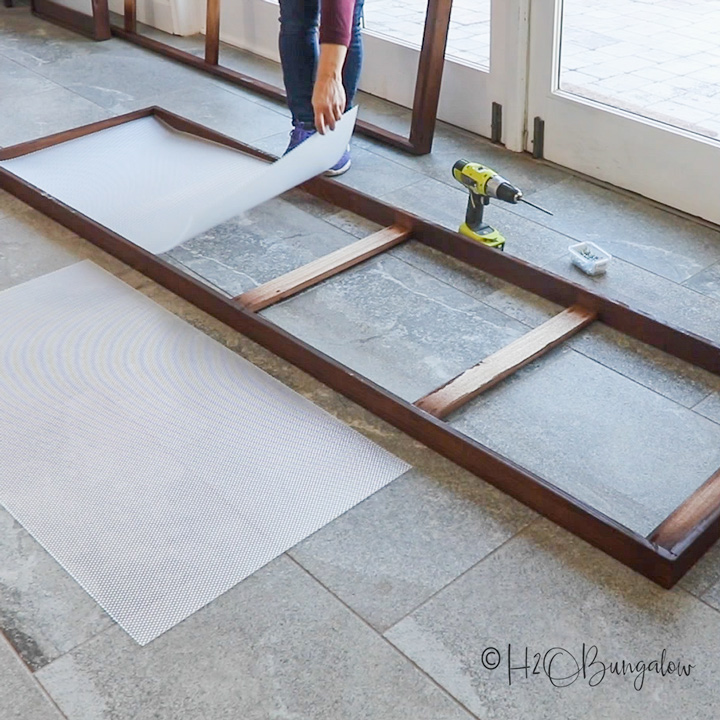
Place two long stiles and two short rail pieces on a flat surface. My workshop is really small so the best place for me was on the floor in the house. Position the top and bottom rail so the pocket holes face outward. Attach with 1 ¼” pocket screws.
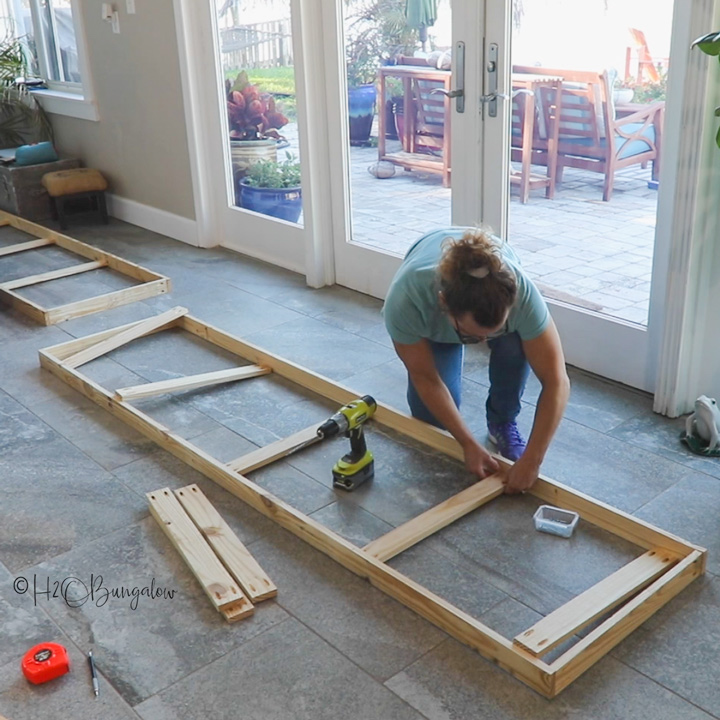
Once you have one side done, flip the frame over and connect the other side (stile). Next, lay the frame flat and add 5 rails to one side. Measure and mark the location of the rails. Mark 23” from each end and the center which is 46”. I didn’t worry about the fractions of the inch between them all just to keep it simple.
You’ll also mark halfway across the end of each rail on the side with the pocket holes at 1 ¼” .
I wanted the rails and clear panels centered evenly in my frame. To do this I cut three- ⅜” thick shims out of a scrap 1” x 3” and placed them under the rails as I attached each one.
Begin attaching the inside rails at the center. Line up the mark on the frame with the center mark on the rail. Attach it to the frame with 1 ¼” pocket screws. Add the rest of the rails moving the shims under each one as you attach it. The two end rails will butt up against the frame.
Step 4. Sand the frame and add micro bevels on any sharp edge.
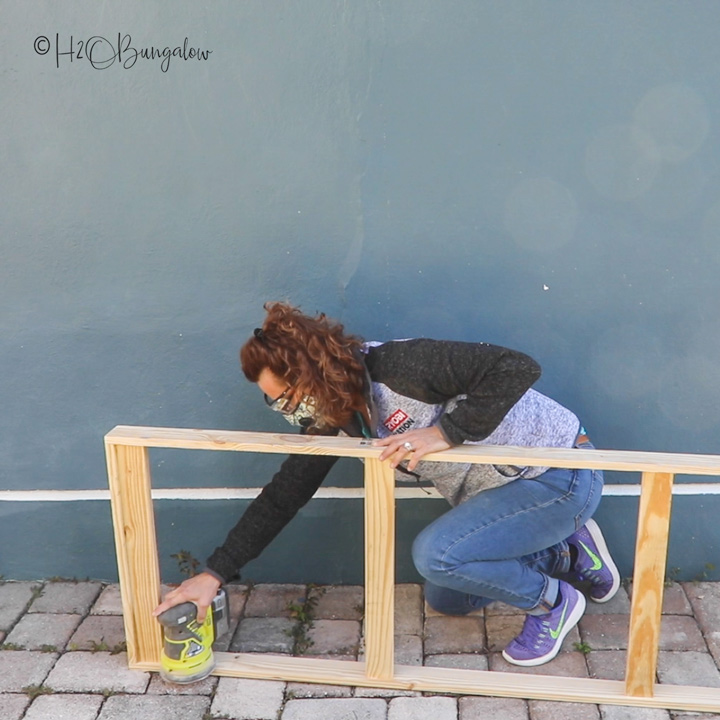
Use a random orbital sander with a 120 grit sand paper to smooth out any rough surfaces. Be sure to get all of the flat surfaces inside and outside of the frame. Add a micro bevel by running the sander lightly over the sharp corners to dull them. Be sure to sand the loose rails that aren’t attached to the folding screen room divider panels yet.
Step 5. Paint the room divider frame.
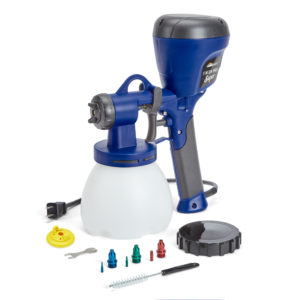
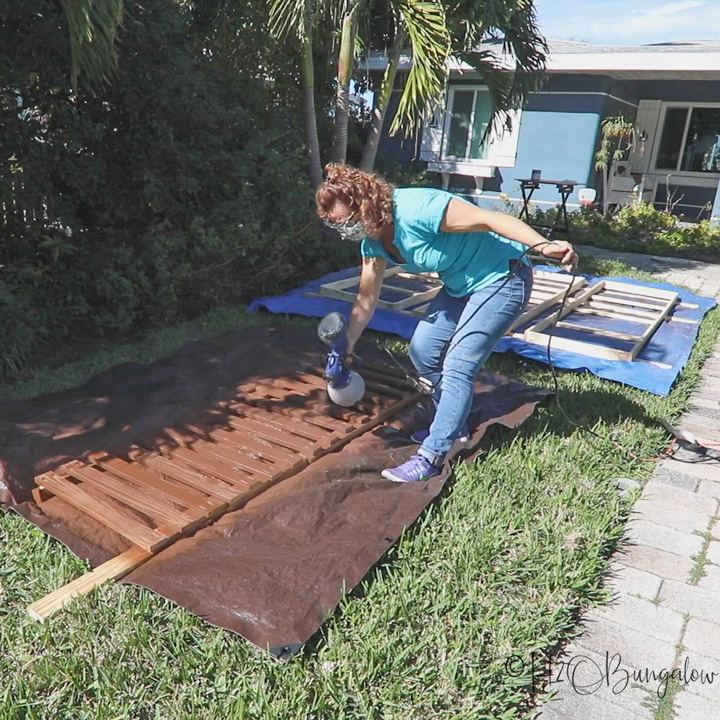
To save time and get a beautiful smooth finish I used my HomeRight Super Finish Max paint sprayer with the green paint tip to paint my privacy screen frame. It works with paint or stain and is my favorite tool!
You guys have seen me using HomeRight products in my projects for the past 5 -6 years. You can find more HomeRight products on their website. Follow HomeRight on Instagram for project inspiration and tutorials.
You’ll get a smooth finish when you elevate the frames and rails on 2 x 4’s and place a drop cloth under to catch excess paint.
To paint the rails, apply the paint in steady back and forth motion on an angle from one side and then do another pass from the other side. Hold the Super Finish Max at a slight angle about 12-15 inches from the frame when spraying.
When the first side is dry, flip the frames over and paint the other sides.
Timesaving Super Finish Max paint sprayer painting tips. You’ll see these in the video too!
- To prevent your plug from coming loose, tie your extension cord and the Super Finish Max plug together.
- I use a piece of cardboard to test the paint flow and spray pattern and make adjustments before I start painting my piece.
- I have a few extra Finish Max containers filled with water ready when I paint. Between coats of paint, swap the Finish Max container holding the paint for one with clean water. Run the paint sprayer until it runs clear. Now your paint sprayer is ready for the second coat without worrying about the paint drying in the sprayer while you’re waiting.
Step 6. Finish assembling each of the three panels.
Lay the first panel frame front side down on a flat surface. Carefully place one clear plastic panel in place starting at the end. These panels crack when bent too far so lay it in place carefully. Add the first two rails in the same position as the front attaching them with 1 ¼” pocket screws. Work from the end inward. You can measure if you want, I eyeballed it and they look fine.
Attach the rails working from the outside inward, attaching the middle one last. Do the same for the other end.
I didn’t use wood glue in case I decided to change out the panels at a later time. Like you saw in the video, I did use a small amount of double sided sticky tape.
A note about the clear panels. While they did work great and stayed in place, they bowed a little in spots but my frame was a little tight. I adjusted the dimensions of the of the panels in this tutorial so you wouldn’t have the same issue. With that said, I’d probably use a one piece, a clear panel like this if I were to build this again.
Step 7. Add hinges to the DIY room divider.
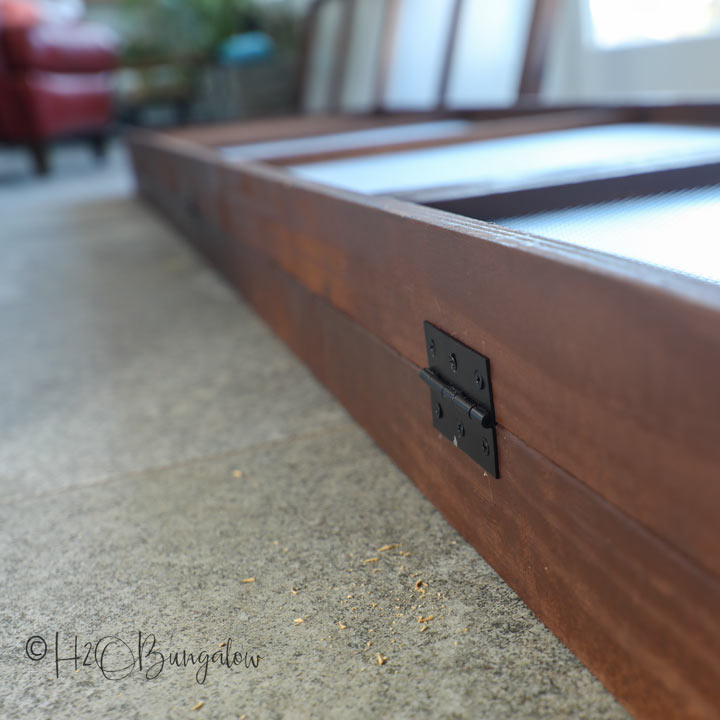
Begin by laying the first two panels with front facing each other, be sure to adjust the ends so all the edges are flush. Next, measure and mark where the hinges will go. Mine are 12 inches from each end and at the center which is 46 inches.
Attach the hinges. I used a bit of hot glue to hold them in place while I drilled pilot holes and then drove the screws in.
Lay the last panel on top of the first two, front side up. Again line up the edges and ends. Attach three hinges to the other side. This will connect the top two panels.
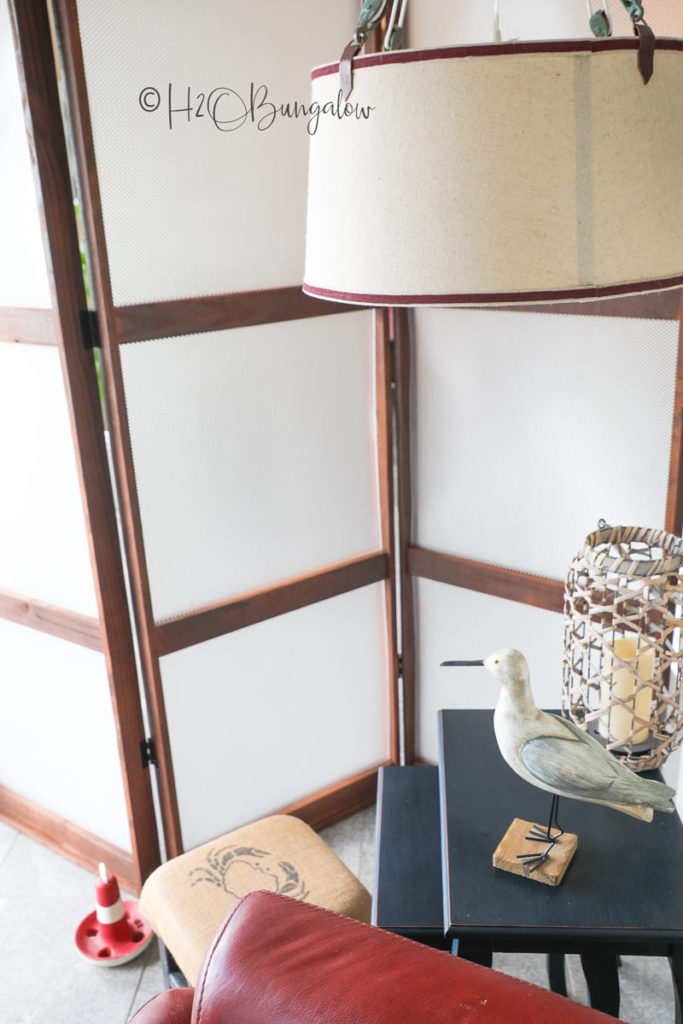
That’s it! Your DIY folding screen room divider is ready!
Pin this project for later and share it with your friends on Facebook!

If you’re trying to divide a room without a wall this is a great option.
Like I mentioned above, I love the height of this screen, at almost eight feet is really a stand out piece in a good way. What I also love about this screen is that it’s lightweight, easy to move and it allows light to pass through.
I painted my frame brown but in a color or white it would look super as well.
As pretty as this custom room divider is, it won’t be staying at my house. My son just rented an efficiency apartment and with one just room to live in, he has to be creative. Mom to the rescue, right? I built this for his place and I can’t wait to see his face when I bring it over!
Now that I’ve shown you how to make a folding screen room divider are you ready to tackle one of your own?
You may like these other awesome projects I’ve made with my HomeRight Super Finish Max paint sprayer!
How to Paint a Dresser in 7 Steps a Beginners Guide
DIY Multi-colored Wood Plank Wall
Folding Screen Room Divider
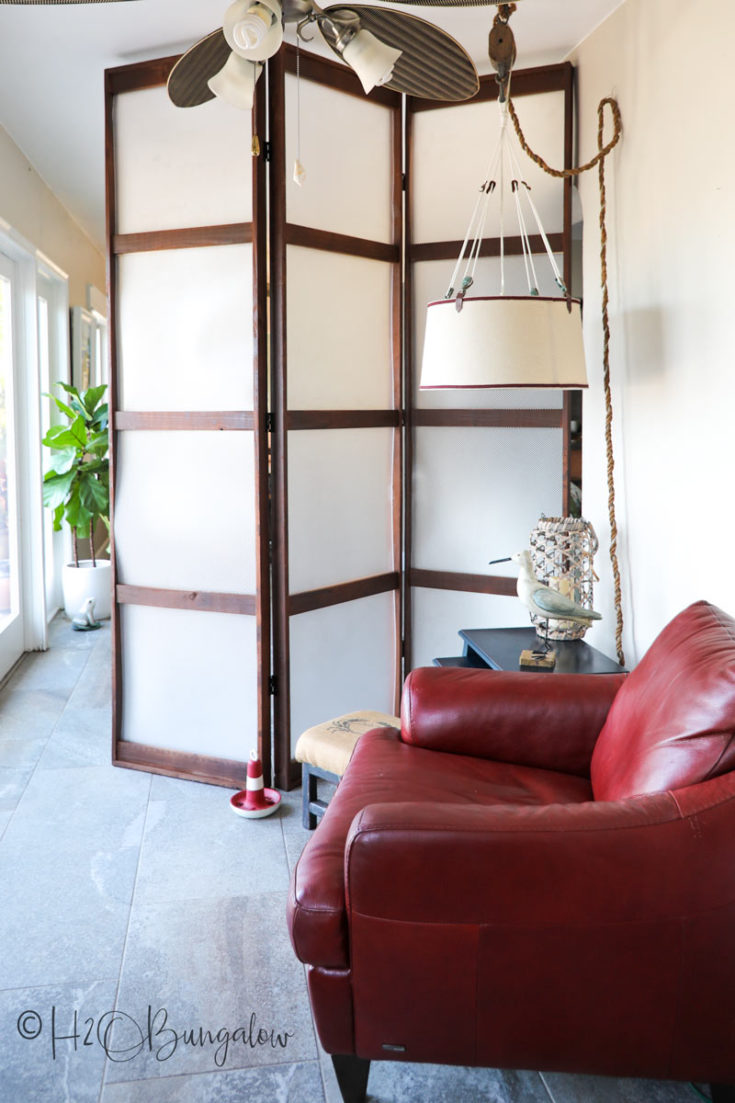
How to make a folding screen room divider with light filtering hinged panels. Use as privacy screen or home decor.
Materials
- 9 - 1" x 3" pine boards @ 8 foot
- 6 - 22 1/16" x 46 1/4" transparent acrylic lighting panels
- 6 - 3 1/2" hinges
- Pocket screws 1 1/4"
- Dark brown paint or stain
- Extra Super Finish Max paint containers
Tools
Instructions
- Cut the wood to size. 6 - 1 x 3” @ 94 ¼” and 36 - 1” x 3” @ 22 ¼”
- Make pocket holes on all the rails, top and bottom of the frame. Set the Kreg jig for ¾” material and add two pocket holes to the end of each rail and the top and bottom pieces of the frames. Flip the board over and add two more pocket holes on the other end of the same side. Do this for all of the 22 ¼” pieces.
- Assemble the panel frames. Place two long stiles and two short rail pieces on a flat surface. Position the top and bottom rail so the pocket holes face outward.
- Attach with 1 ¼” pocket screws. Once you have one side done, flip the frame over and connect the other side (stile).
- Next, lay the frame flat and add 5 rails to one side. Measure and mark the location of the rails. Mark 23” from each end and the center which is 46”. I didn’t worry about the fractions of the inch between them all just to keep it simple.
- You’ll also mark halfway across the end of each rail on the side with the pocket holes at 1 ¼”. I wanted the rails and clear panels centered evenly in my frame. To do this I cut three- ⅜” thick shims out of a scrap 1” x 3” and placed them under the rails as I attached each one.
- Begin attaching the inside rails at the center. Line up the mark on the frame with the center mark on the rail. Attach it to the frame with 1 ¼” pocket screws. Add the rest of the rails moving the shims under each one as you attach it. The two end rails will butt up against the frame.
- Use a random orbital sander with a 120 grit sand paper to smooth out any rough surfaces. Be sure to get all of the flat surfaces inside and outside of the frame. Add a micro bevel by running the sander lightly over the sharp corners to dull them. Be sure to sand the loose rails that aren't attached to the folding screen room divider panels yet.
- Paint the room divider screen.
- Finish assembling each of the three panels. Lay the first panel frame front side down on a flat surface. Carefully place one clear plastic panel in place starting at the end. These panels crack when bent too far so lay it in place carefully. Add the first two rails in the same position as the front attaching them with 1 ¼” pocket screws. Work from the end inward.
- Attach the rails working from the outside inward, attaching the middle one last. Do the same for the other end.
- Add hinges to the DIY room divider. Begin by laying the first two panels with front facing each other, be sure to adjust the ends so all the edges are flush.
- Next, measure and mark where the hinges will go. Mine are 12 inches from each end and at the center which is 46 inches.
- Attach the hinges. I used a bit of hot glue to hold them in place while I drilled pilot holes and then drove the screws in.
- Lay the last panel on top of the first two, front side up. Again line up the edges and ends. Attach three hinges to the other side. This will connect the top two panels.
- That's it, you're done!

Stacy says
I wasn’t able to get 36 of the short boards and 6 long boards out of just purchasing nine 8 foot boards. Perhaps the number is off? Headed back to the home store!
Wendi Wachtel says
Stacy,
Thanks so much for pointing that out to me! That was a typo I didn’t catch. I’ve corrected it to read 15 boards! In spite of an extra trip to the store I hope your project turned out well! Thanks so much for taking the time to let me know!
diane says
Gorgeous and its a LOW VOC/NO VOC room divider screen!
Thank you for sharing, You are GREAT!
Diane
Wendi Wachtel says
Hi Diane!
Thanks so much! I’m glad you liked my room divider. It’s such a good way to divide up a space and still let some light through too. Thanks for your note and visit!
Jody says
There is no one like a mom. In exasperation as Lucy has been screaming for an hour Chris knocks on my door and says please and Lucy snuggles in my arms. Wiggles around puts her head on my shoulder and is asleep in minutes. My little angel.