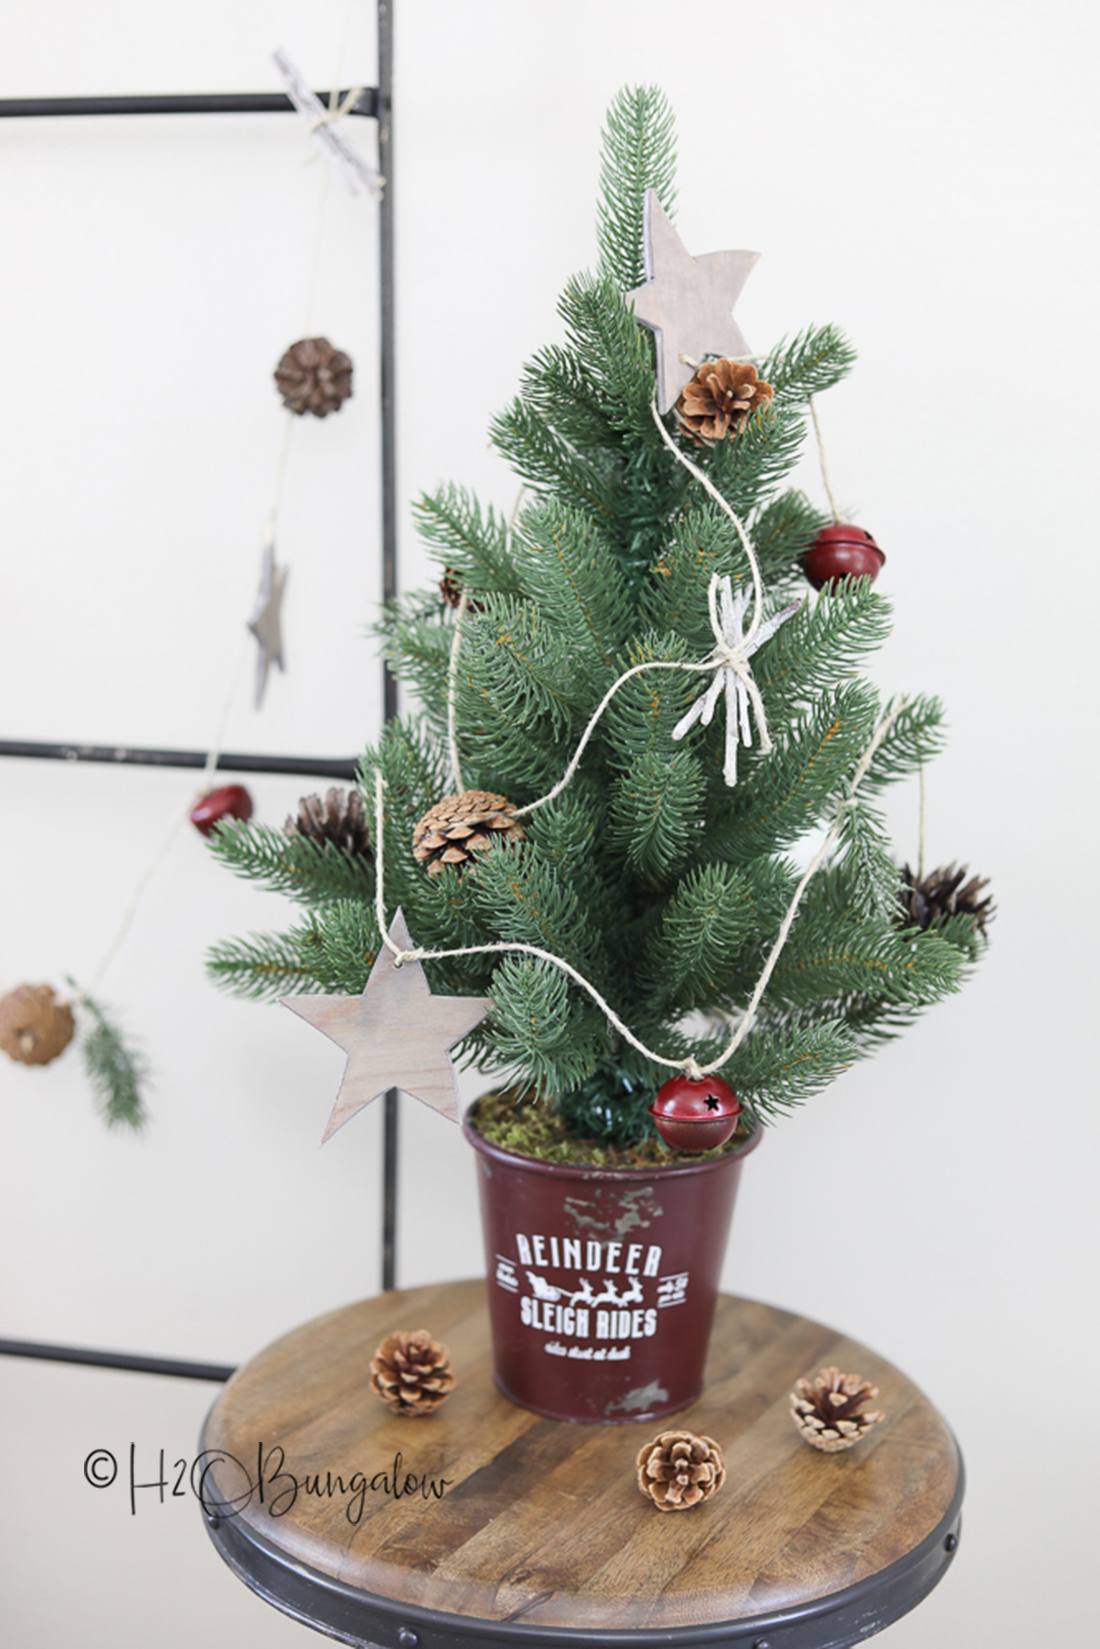
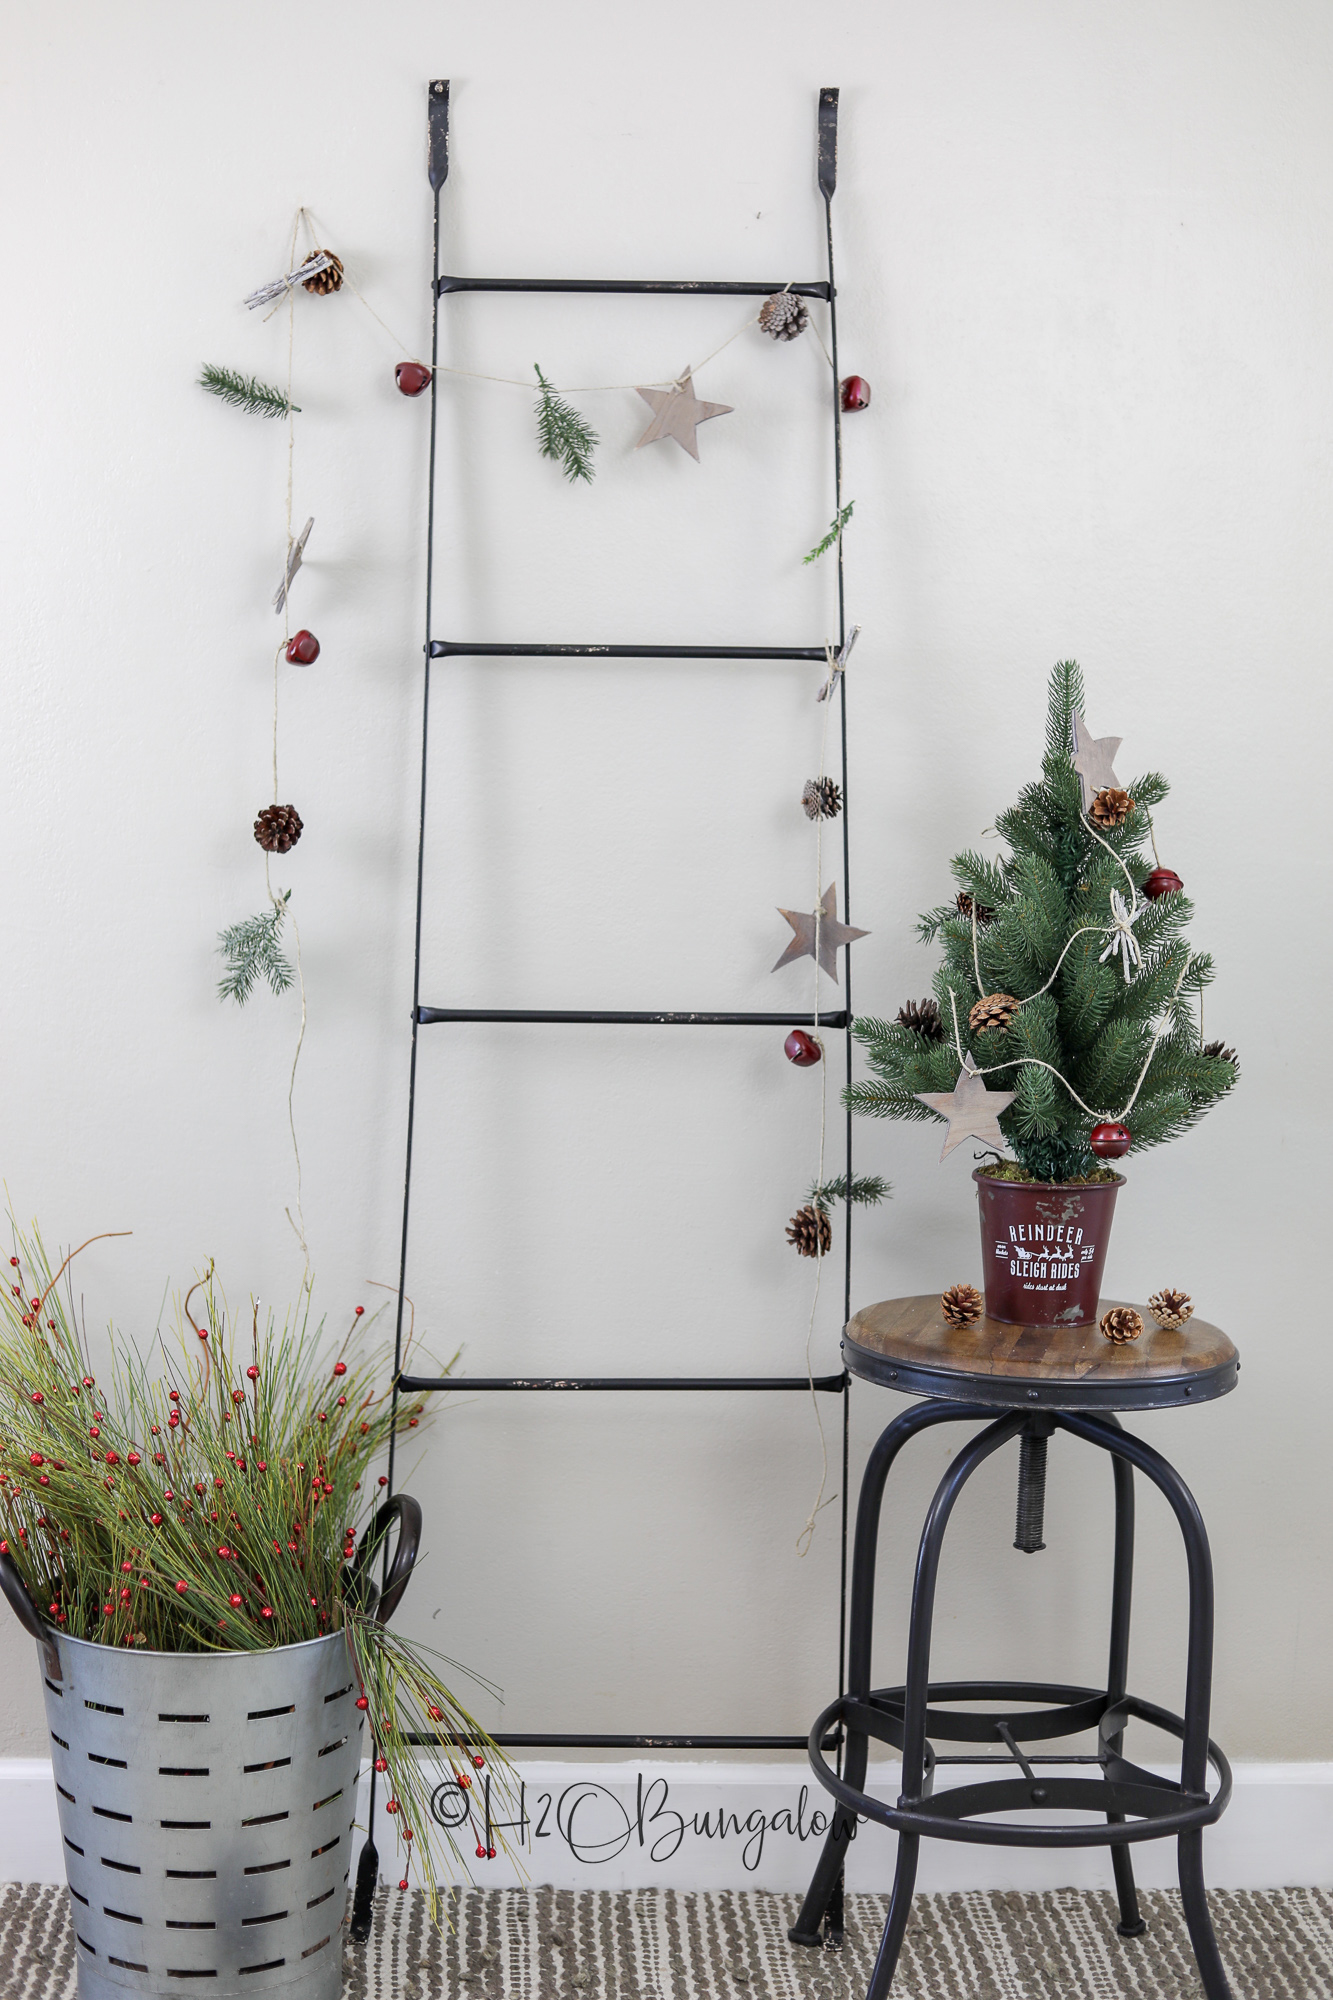
I’m in love with the simple DIY rustic garland project I’m sharing today! I used natural elements, like pine cones, wood and bells to create a simple holiday garland that could really be used anytime. It looks like a holiday decor item you’d find at Anthropologie or maybe Z Gallerie.
Today is also the Power Tool Challenge’s Secret Santa edition where we make something holiday decor related and ship it to the team member we drew. No one knows what they are getting or from who! It’s our third year and lots of fun!
How to Make a DIY Rustic Garland
I use affiliate links to help you find the supplies I used. You can read my full disclosure policy here.
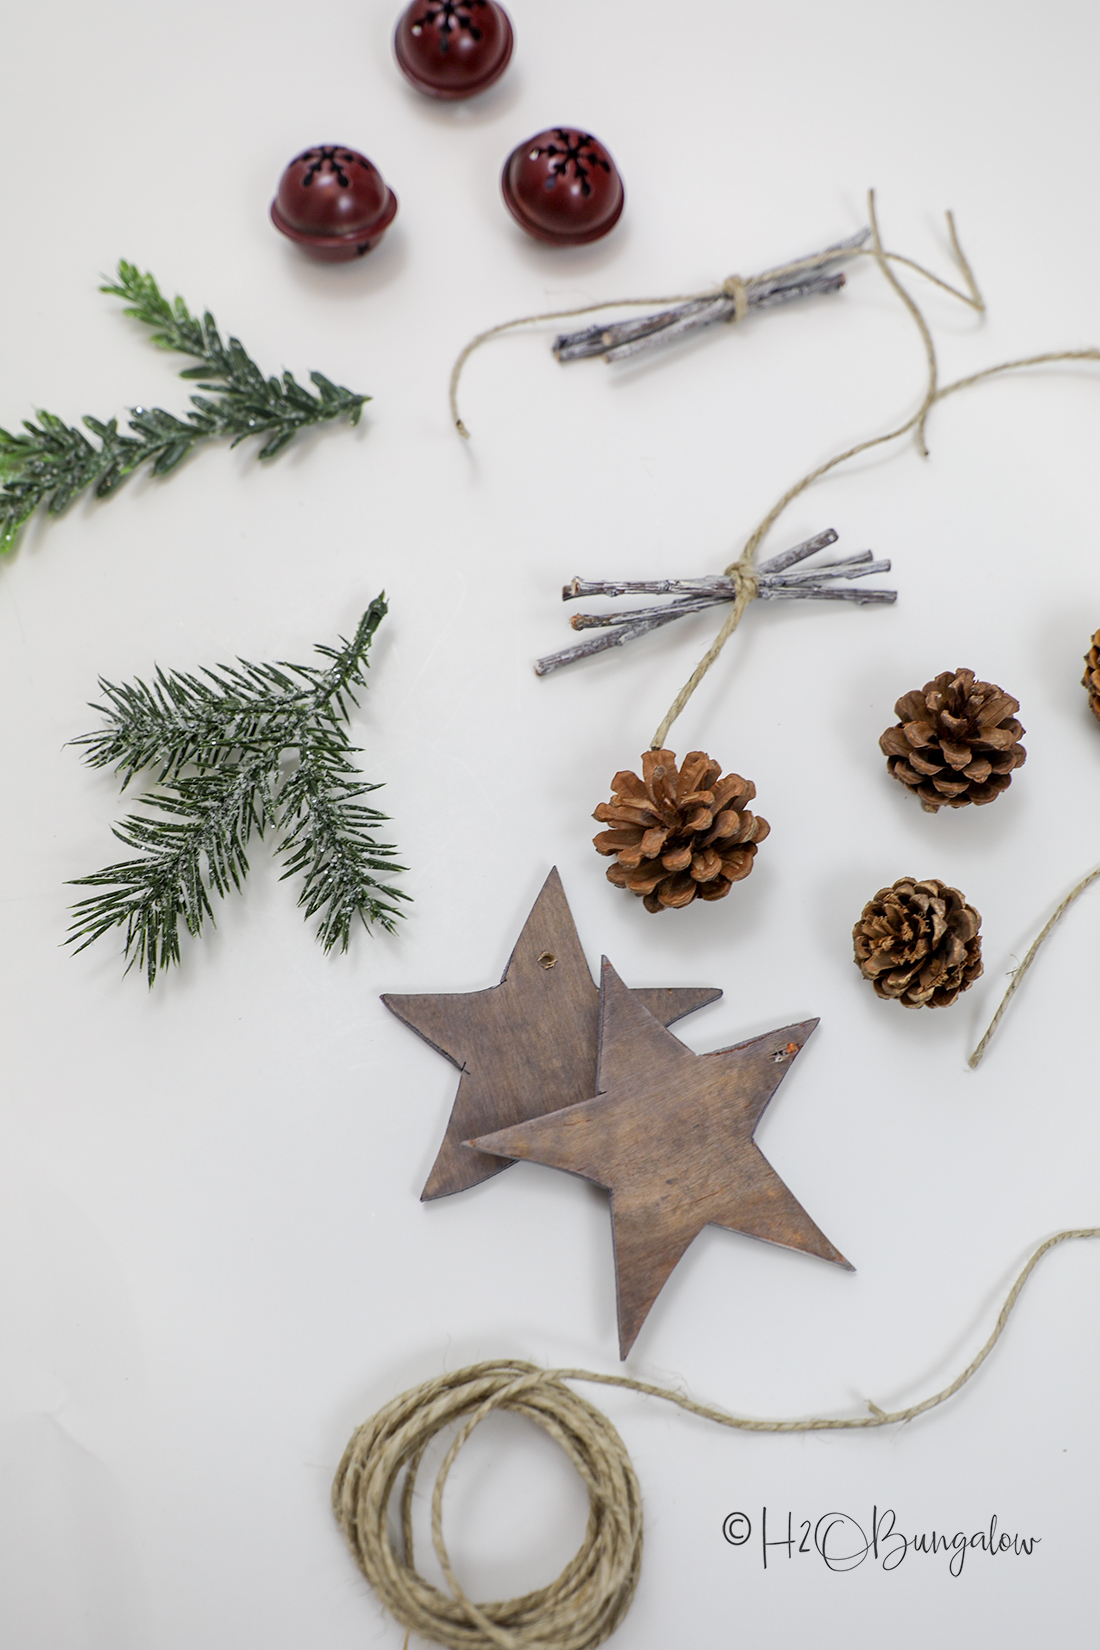
You could use almost anything that catches your eye to make a DIY rustic garland. Below are the items I used.
Download the star template below!
- Star template
- Jute twine
- Medium size bells – Dollar store or try these rusty ones
- Twigs
- Faux evergreen branch
- Small pinecones
- Rustoleum Claret Wine red spray paint – this is the perfect vintage red
- Wood stars made from 1/4″ plywood or use wood ornaments
- Graphite paper to trace the star design on wood.
- Drill
- Scroll saw or jigsaw
- Glue Gun with glue sticks – these are my favorite glue sticks
- Scissors
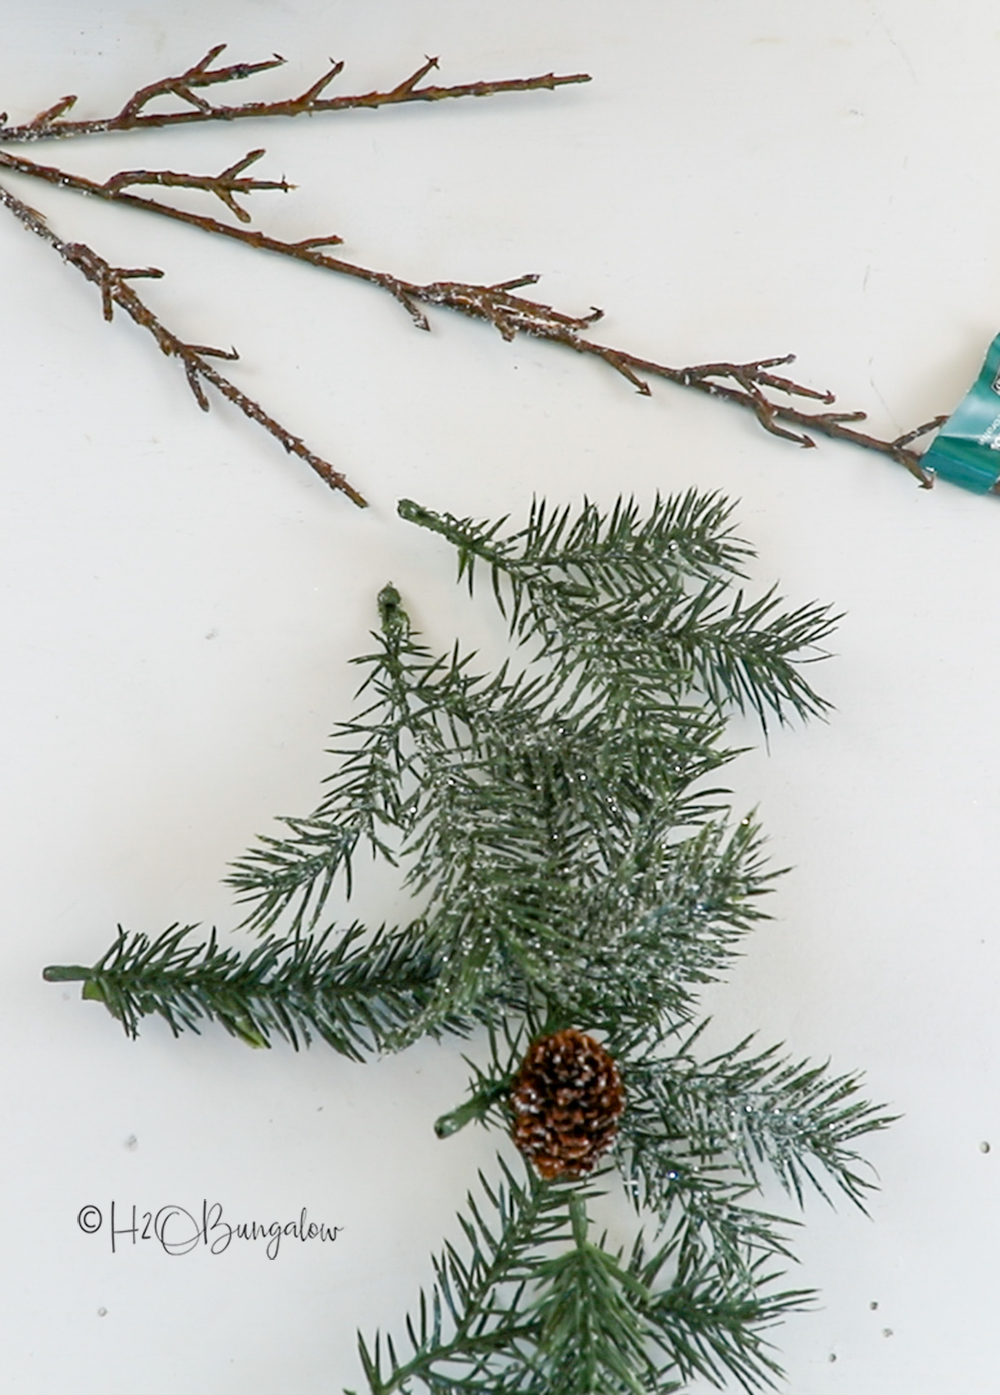
Step one: Pull off the branch ends from the faux pine branch.
I found real looking faux branches with lots of useable pieces at Michaels in the floral section.
Step two: Cut out the wood starts or other shapes for your garland.
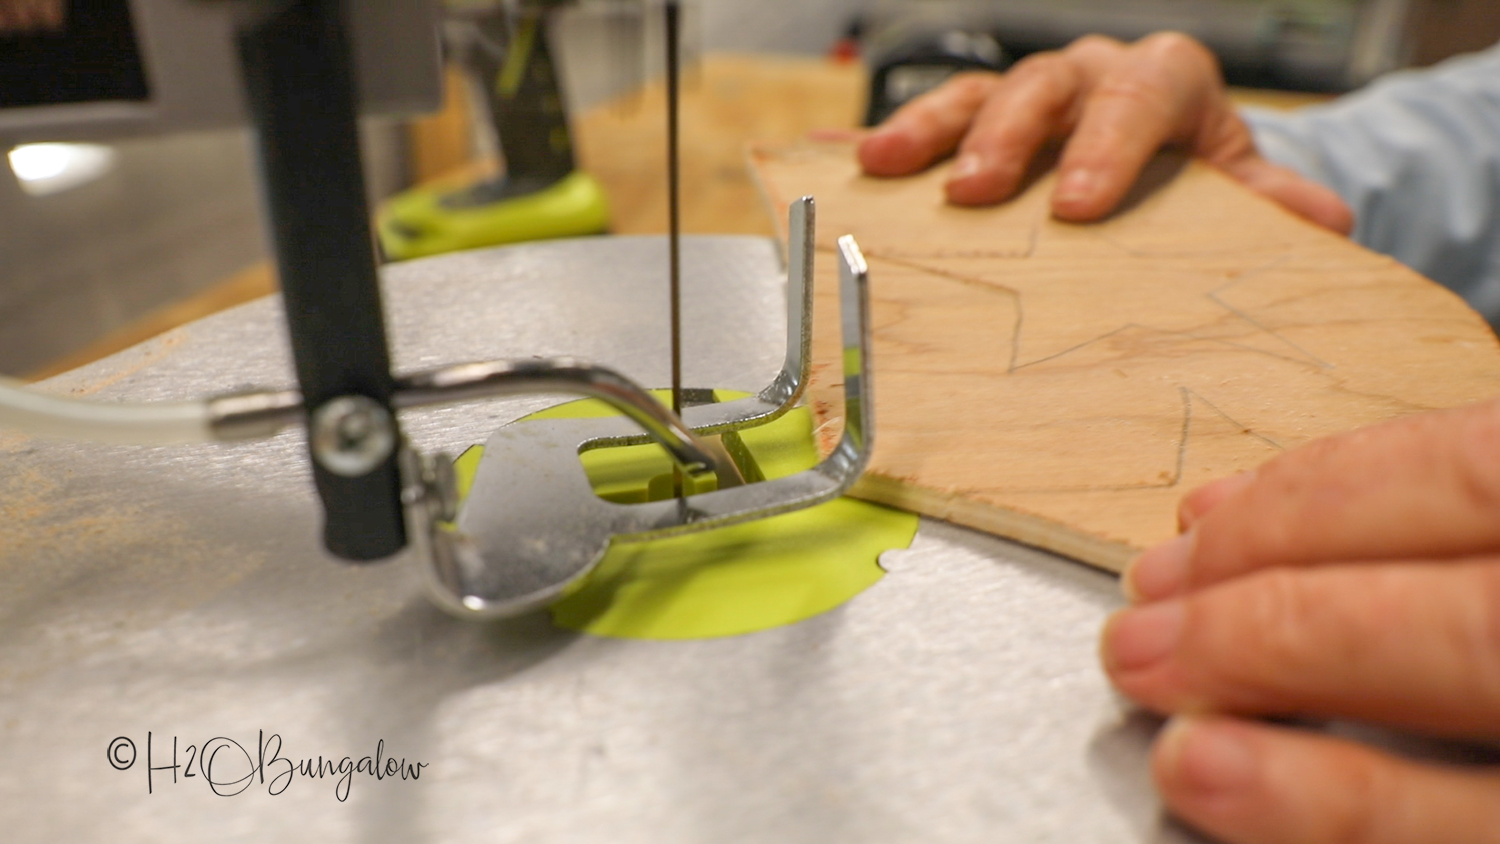
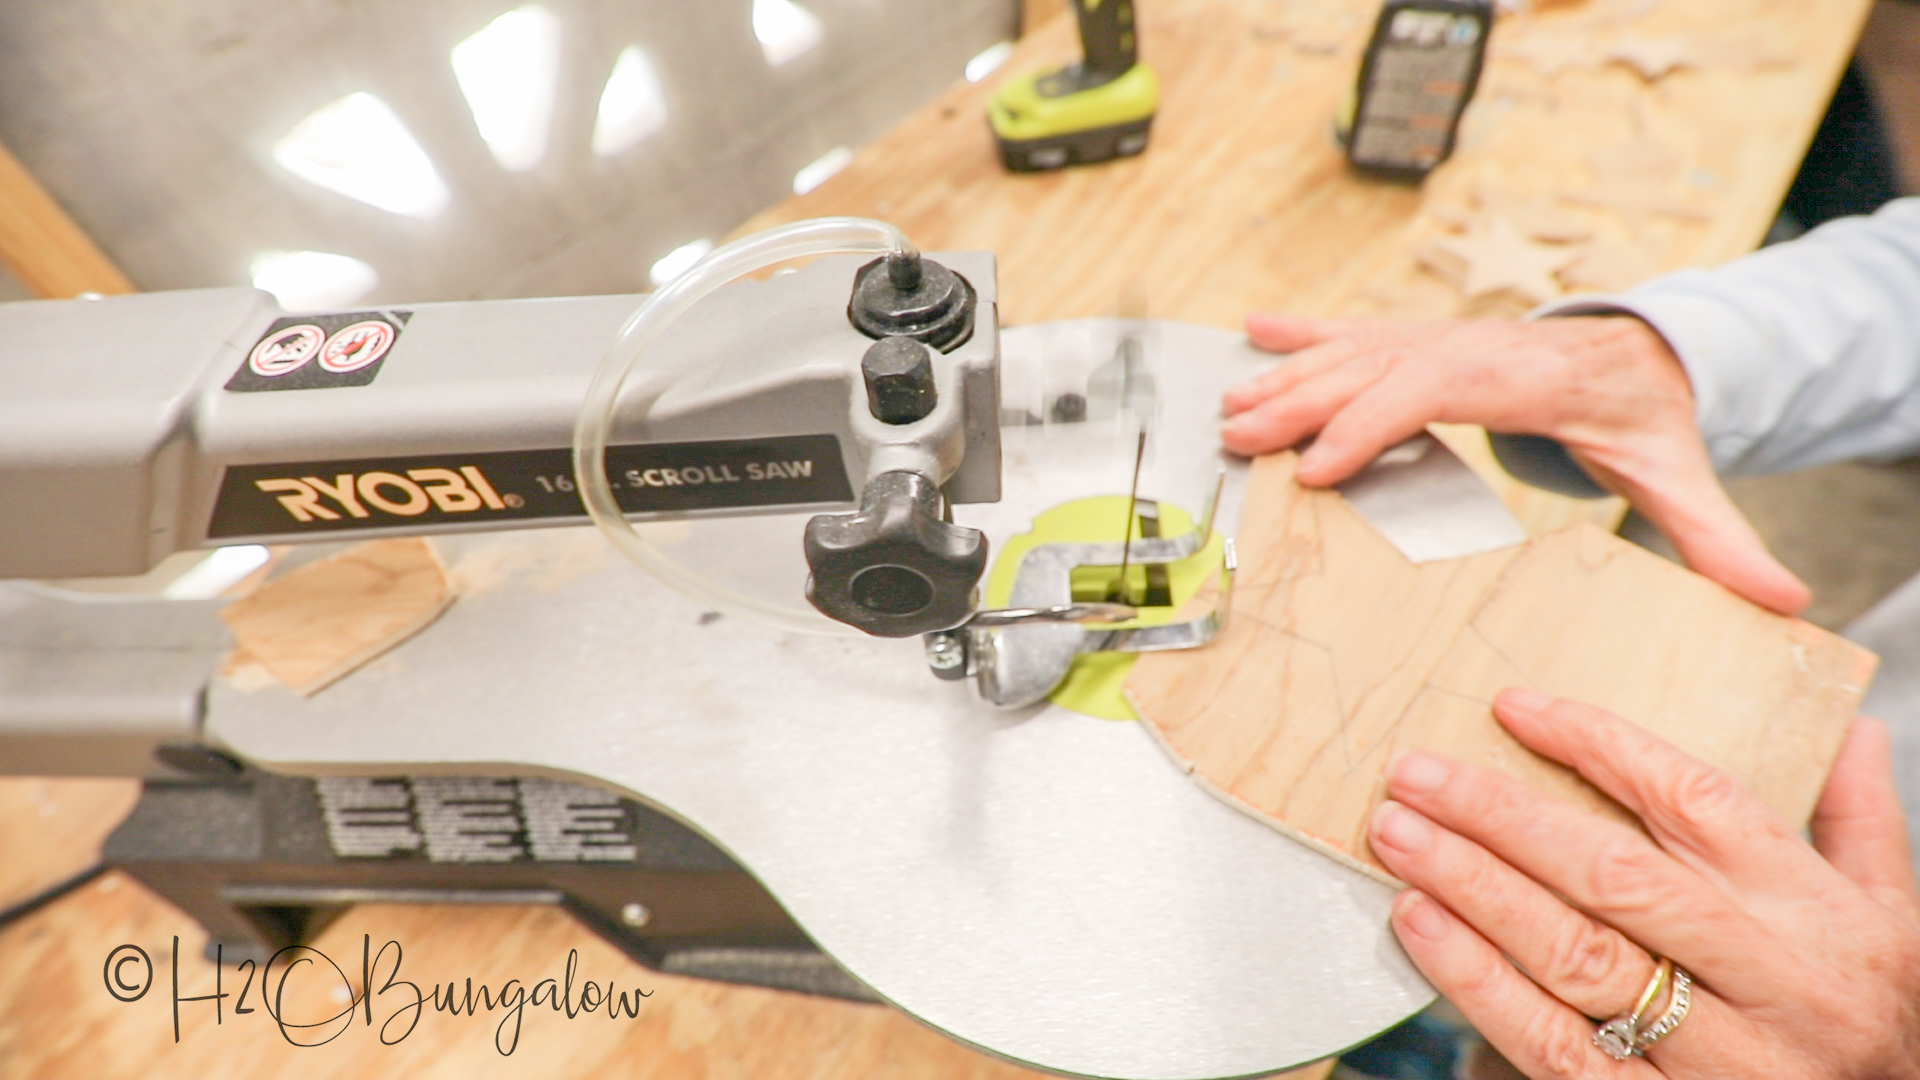
You can download my star pattern to make my rustic garland when you subscribe to my newsletter. When you’re printing, choose the option of printing 4 to a page to get the size stars I made. Use graphite paper to transfer the design onto the wood. See my Easily Transfer Graphics to Paint project to see how. I used a jigsaw to cut the plywood into manageable sizes and my scroll saw to cut out the stars for my fall holiday garland.
A scroll saw works great for cutting out smaller parts like the stars.
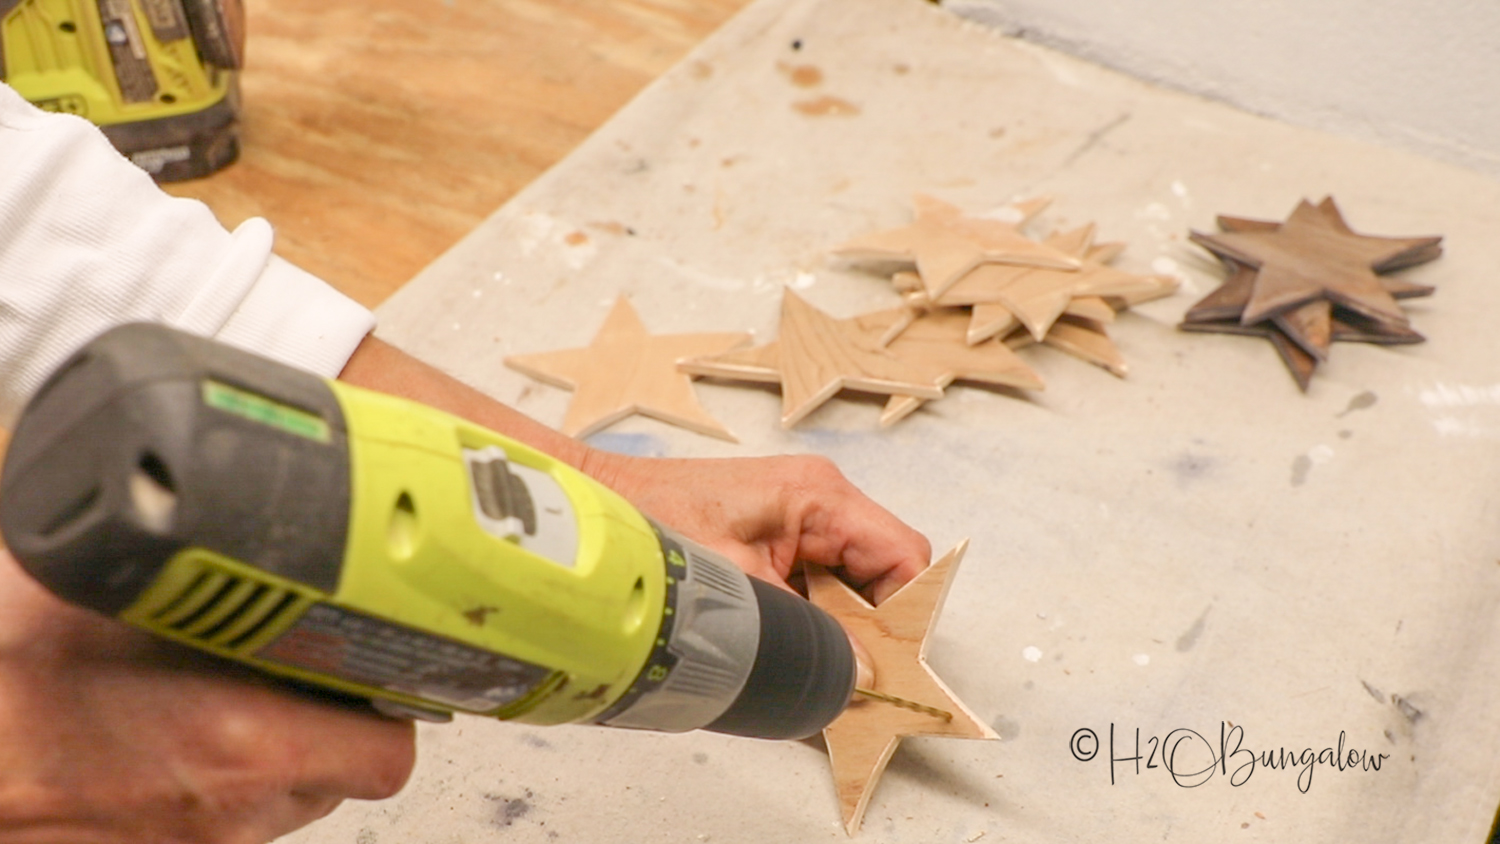
Drill a hole to hang the stars, give each one a light sanding on the edges and finish with your choice of paint or stain. I used Varathane Weathered Accelerator on my stars.
Step Three: Gather twigs and bundle them.
I used four, 4″ twigs in my bundles. They were whitewashed, tied with a piece of jute and secured with hot glue.
*Side note* Truth be told, these twigs have been sitting in a jar for about 2 years waiting on a project I wanted to do but never got around to doing…you guys know how that goes, right?
Step Four: Paint the bells a deep red.
Spray paint the front and back of the bells and allow them to dry overnight.
Step Five: Prepare the jute string.
Cut a ten foot length of jute string, roll clear tape around one end to prevent it from fraying when you thread it through the wood stars and bells. Fold each end over about 3″ and tie a knot to make a loop for hanging.
Step Six: Assemble the DIY rustic garland.
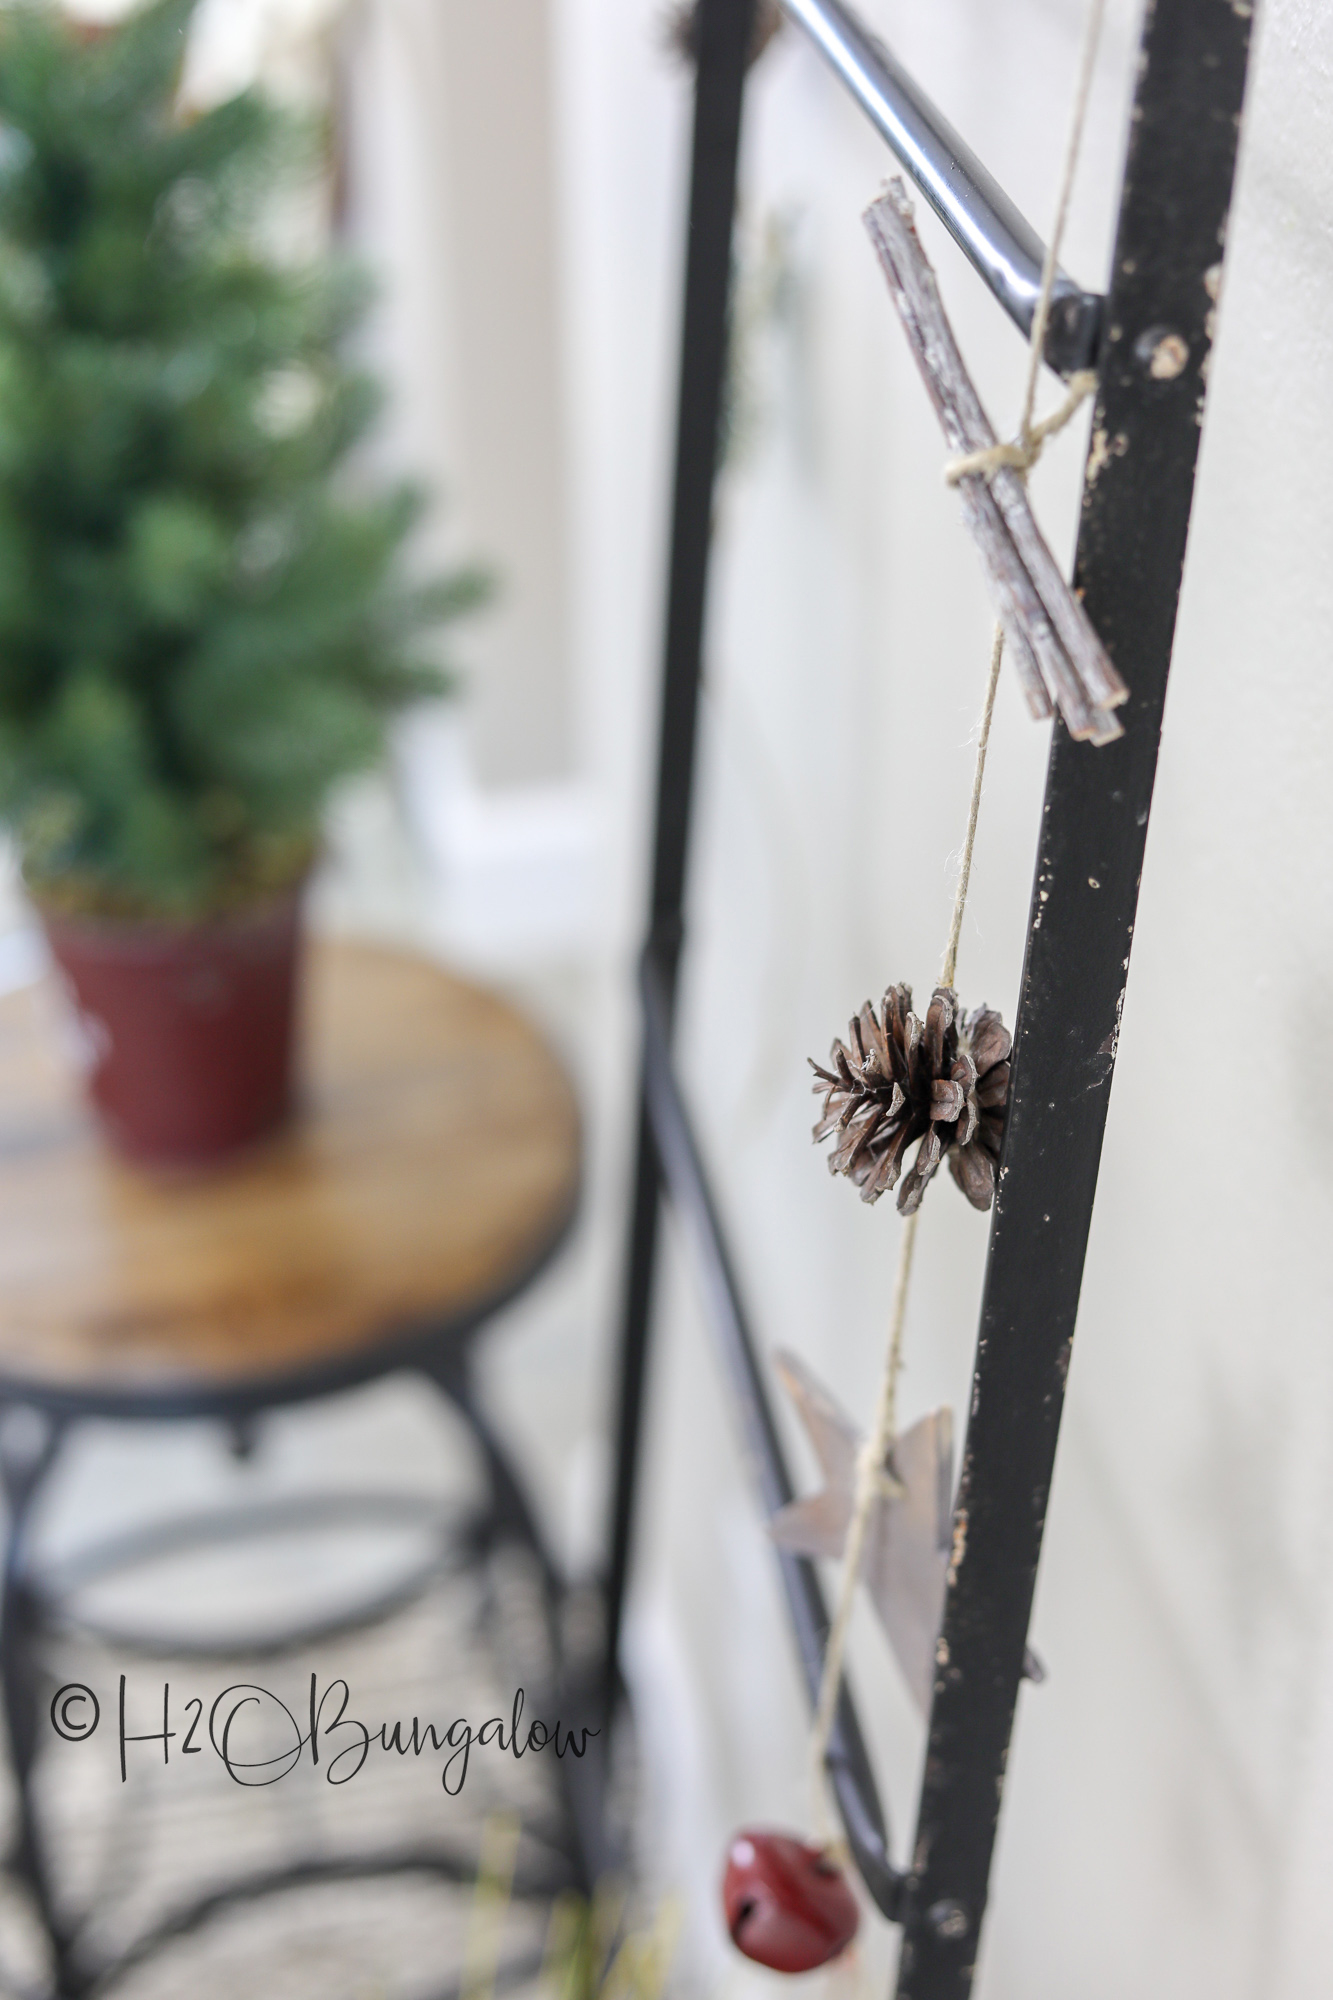
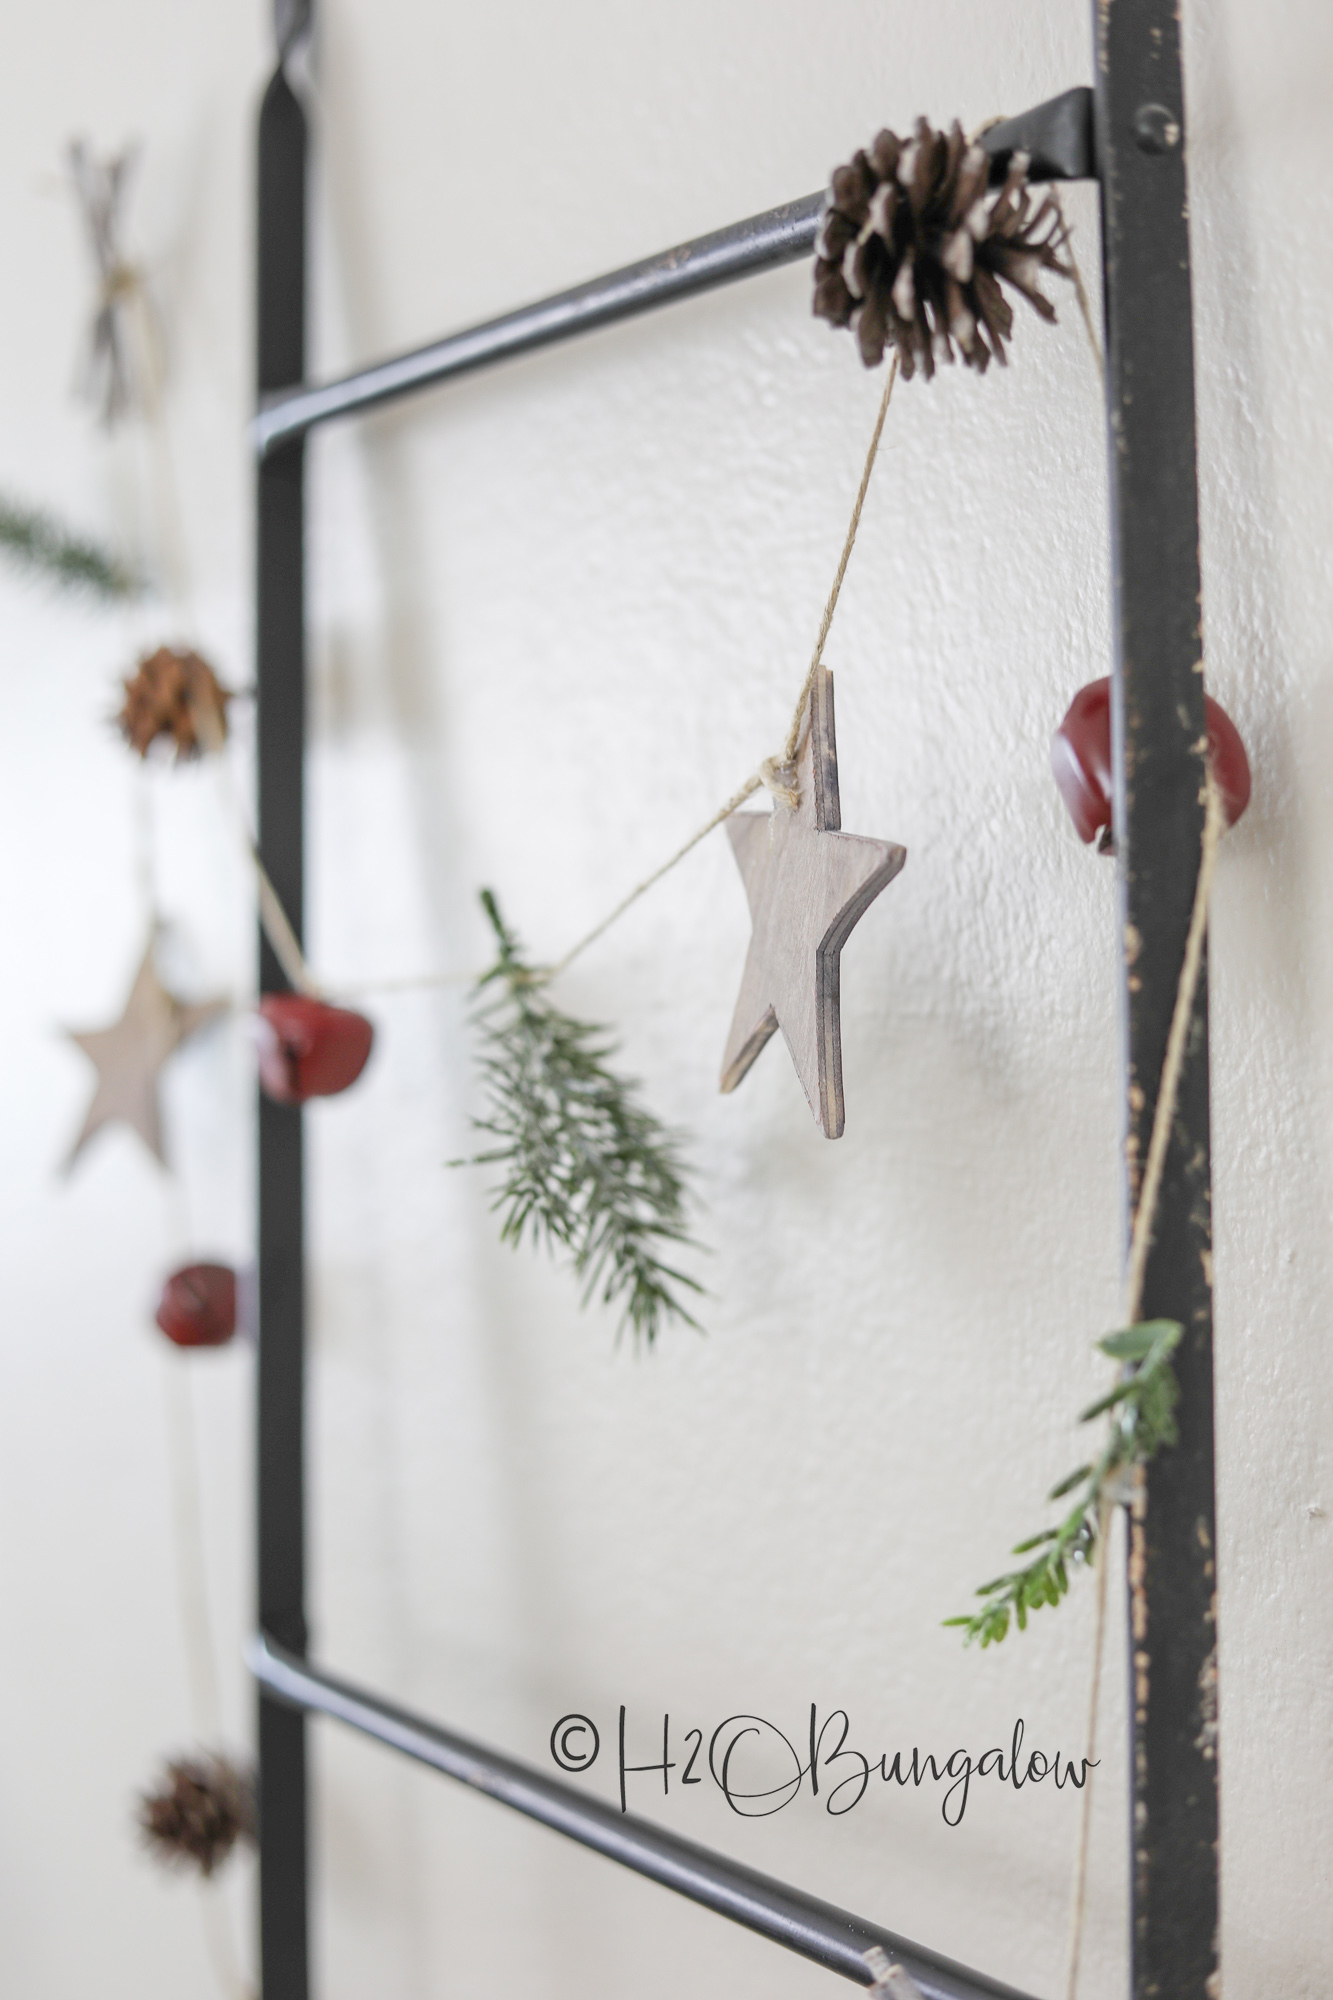
Tie the items onto the jute every six inches. Secure each piece with a dab of hot glue.
Tip~ I laid out a repeating pattern of items for my DIY rustic garland on the floor. It was much easier to see what order everything went in and to make the best order of items for this darling DIY rustic garland.
I’m loving my handmade garland so much I think I’ll pull it out for fall next year too! There are so many ways to use it in holiday decorating!
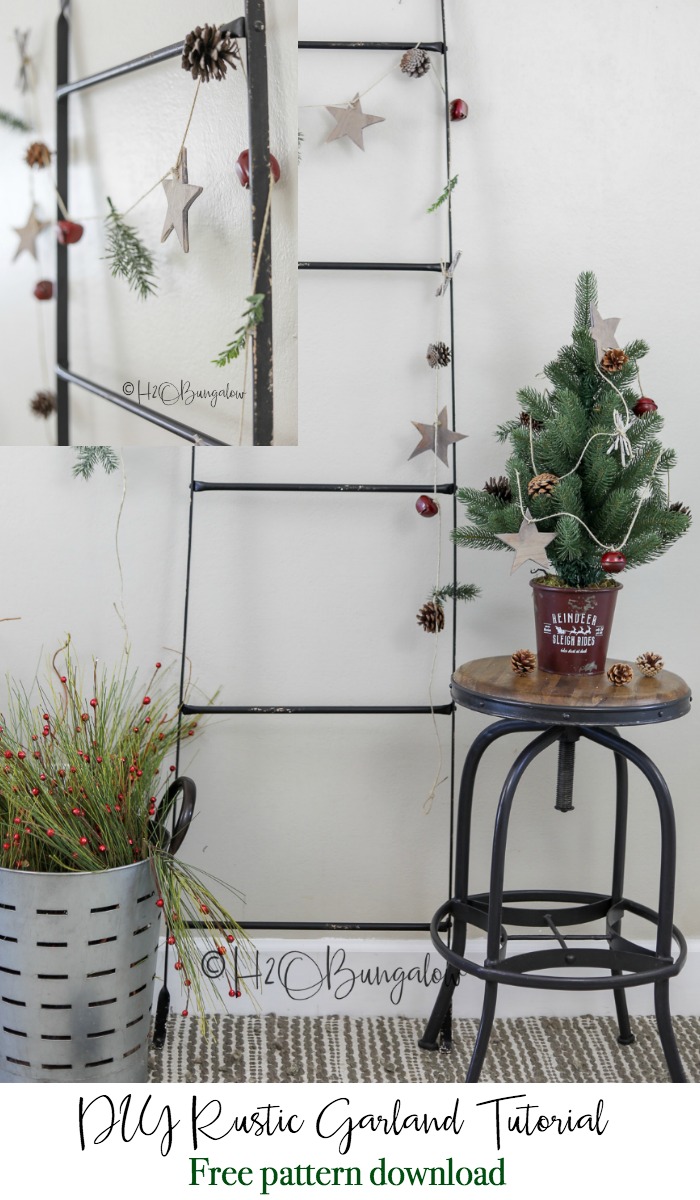
I’d appreciate it if you pinned this for later and share with your friends on Facebook!
More DIY holiday gift and decor ideas
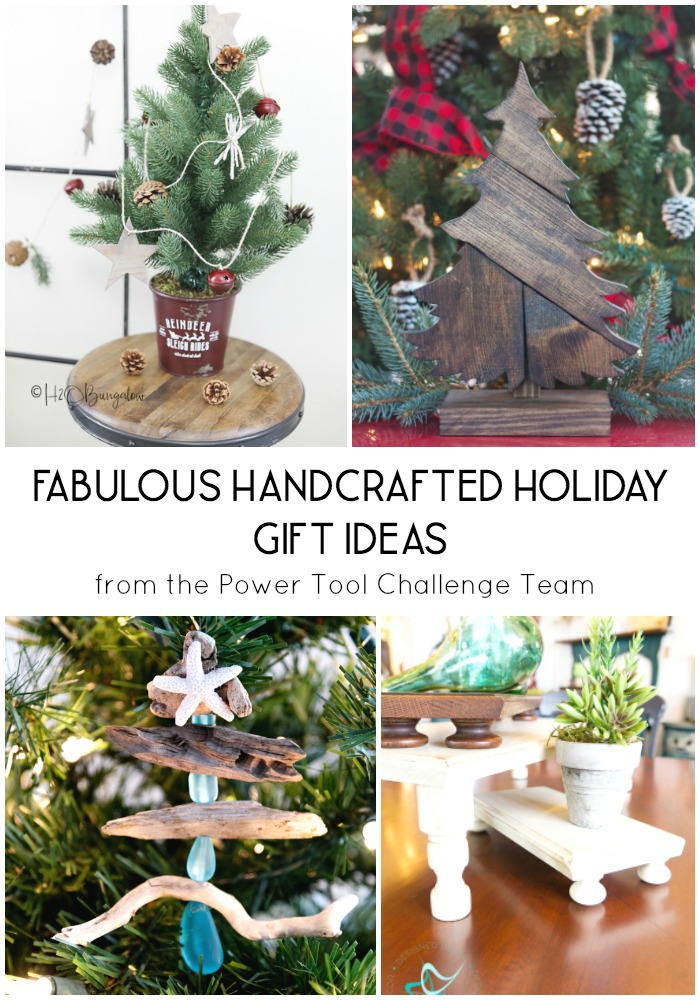
Let’s take a look at what the rest of the Power Tool Challenge Team came up with this year. It’s SO much fun seeing how these gals take something as simple as a piece of wood and create amazing holiday and home decor items.
H2OBungalow – Simple DIY Rustic Garland – that’s me!
Sweet Pea – Patchwork Wood Christmas Tree
The Handyman’s Daughter – DIY Driftwood Christmas Tree Ornament
Designed Decor – Repurposed Drawer Front Display Riser
Pin this for later too!
I cherish handmade gifts. No matter what the occasion, I’m always touched when someone took their own time to make a gift for me. If you ‘d like a few more ideas, here are the last two years of the team’s holiday decor secret Santa projects!
DIY Wooden Snowflake from Paint Stirrers
DIY Hanging Christmas Card Holder
Do you have a simple DIY holiday gift idea that’s an all time favorite? Share in the comments below!

MaryJean Zajac says
I love the Garland you made! I really that country, rustic look and this is perfect! Pinning!
Wendi says
Hi Mary Jean and thank you! I fell in love with the one I bought for the North House. It was so easy easy to make. One with starfish or sand dollars would be fun too. Maybe next year 🙂 Thanks so much for your visit and Happy Holidays!
paulasweetpea says
This garland is so pretty! I can see it being used on a mantel or on a wreath for Christmas. I actually think that it is an item that could be enjoyed all winter, not just for Christmas. I’m wondering who will be the lucky recipient of this gift!
Wendi says
Hi Paula and thank you! I loved making this garland. Yes, it was super easy but it’s so cute for the holidays! I was thinking the same as you, I’d pull this out and use it next year as soon as fall starts! Thanks so much for joining in this months fun Secret Santa theme!!