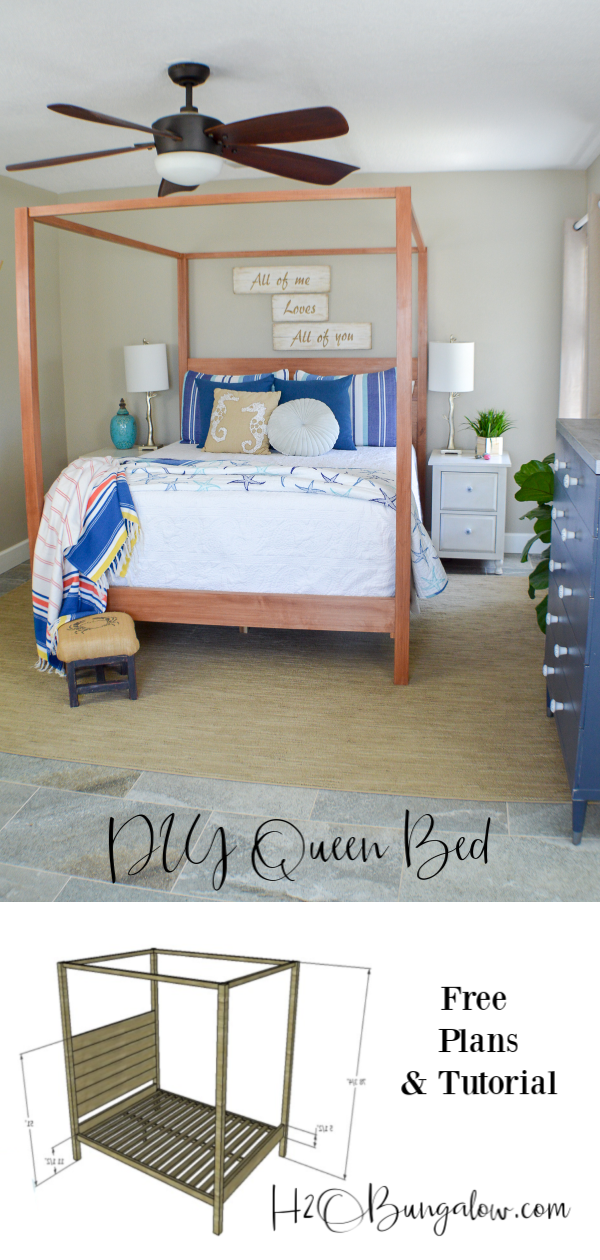
Hey Friends! Today I’m sharing my DIY bed frame and DIY queen bed frame plans so you can make a gorgeous bed for your own home at half the cost of buying a designer bed. Building a bed frame can seem like an overwhelmingly large project, in reality it’s not difficult. I’m going to show you how to build a wooden bed frame that’s drop dead gorgeous and then how to use my secret finishing tips so your wood bed feels smooth as silk to the touch. Seriously, no one would ever guess my queen size wood bed frame was a DIY project, t looks like a designer bed that cost a fortune.
No kidding!
When I share a tour of our home with new friends, my DIY queen bed frame is always a show stopper. It’s a lot of fun to watch people say “No Way!”, you didn’t make that! It’s even more fun when Mr. Bungalow, aka sweet hubby beams with pride and says oh, yes she did!
If you don’t want to build a bed frame, you can take a look at my DIY Rustic Bed Headboard out of Shiplap project. I also made a beautiful DIY Small Pet Bed They are both gorgeous projects!
Tips for Building a DIY Queen Bed Frame
What’s the best wood to use to build a bed frame?
I like using a hardwood when building a DIY bed frame. I used maple to build my bed frame. It can be pricier than pine or other softwoods but doesn’t ding and scratch as easily. Hardwoods can be found at your local lumber mill or specialty lumber stores. Your local big box stores don’t usually carry a wide selection of hardwood and they don’t have odd sizes like the bedpost sizes I used. If you don’t have a lumber mill nearby or want a more budget friendly selection, you can choose to build your DIY bed frame out of select pine or even poplar.
What are the best screws to build a wood bed frame with?
All pocket screws are not created equal my friends! This was a big eye opener for me. Keep in mind, this bed was my first really big build project five years ago.
If you use hardwood to build your bed frame, there are few things you need to know. This is where experience pays off. I checked with Scott who has the blog, Skates on Wheels and specializes in pocket hole building projects for advice. He recommended his article 7 Tips on Using a Pocket Hole with Hardwoods.
Scott recommended using fine thread pocket screws for hardwood. A few more good tips Scott shared for building a bed out of hardwood is to wax screws first and to drill pilot holes when using coarse threaded pocket screws on hardwood. Pilot holes are a little challenging when using a Kreg Jig, it’s not the predrilled pocket hole but the connecting piece of wood that needs the pilot hole. Check out his article for the scoop on which pocket hole screw to use when building a bed.
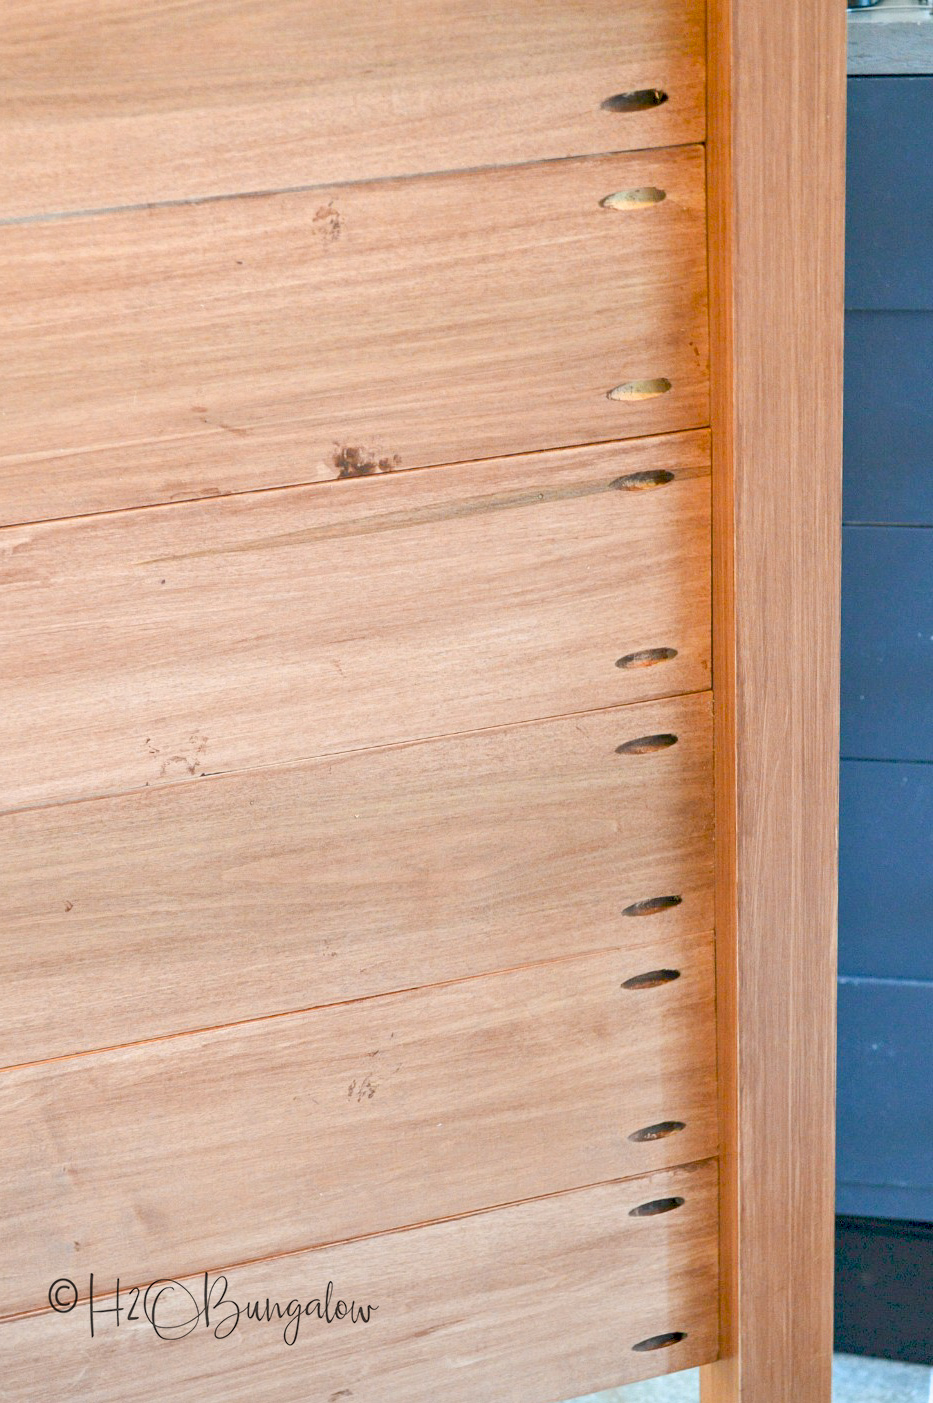
I share this now, because you’ll see extra pocket holes, mainly on the bed rails in my photos. The pocket screw head were shearing off because I was using the wrong screws!
The best finish for a hardwood DIY bed frame.
The finish on my homemade bed frame was easy and inexpensive. First I sanded everything until it was butter smooth, up to 220 grit. Next, I wiped each piece thoroughly with a tack cloth and apply a water base prestain. I used a water based stain and mixed a few colors together and added some acrylic paint to get the exact shade I wanted. Yes, you can use a color right from the can, I wanted and exact color and had to make my own.
Next, I hand applied and wiped off enough to get an opaque cover and let it dry. Last, I once again gave everything a light sanding and then followed that up with two coats of clear wax. My favorite is Fiddes clear wax. That’s it. Just make sure you use a tack cloth to get all the dust off between sanding and do a good job on the wax finish.
How to Make a DIY Queen Bed Frame
First, you’ll need to download my DIY queen bed frame plans. I share my plans and downloads with my subscribers for free. Get the FREE plans below.
- Wood
- Wood glue I use this brand.
- Pocket screws 2 1/2″ – fine threaded pocket screws for hard wood or use coarse threaded pocket screws for soft wood
- Pocket screws – coarse threaded 1 1/4″ or fine thread 1 1/4″ pocket screws
- Wood screws, 1 1/4″, 1 1/2″
- Kreg Jig, K-4 is the easiest for this project
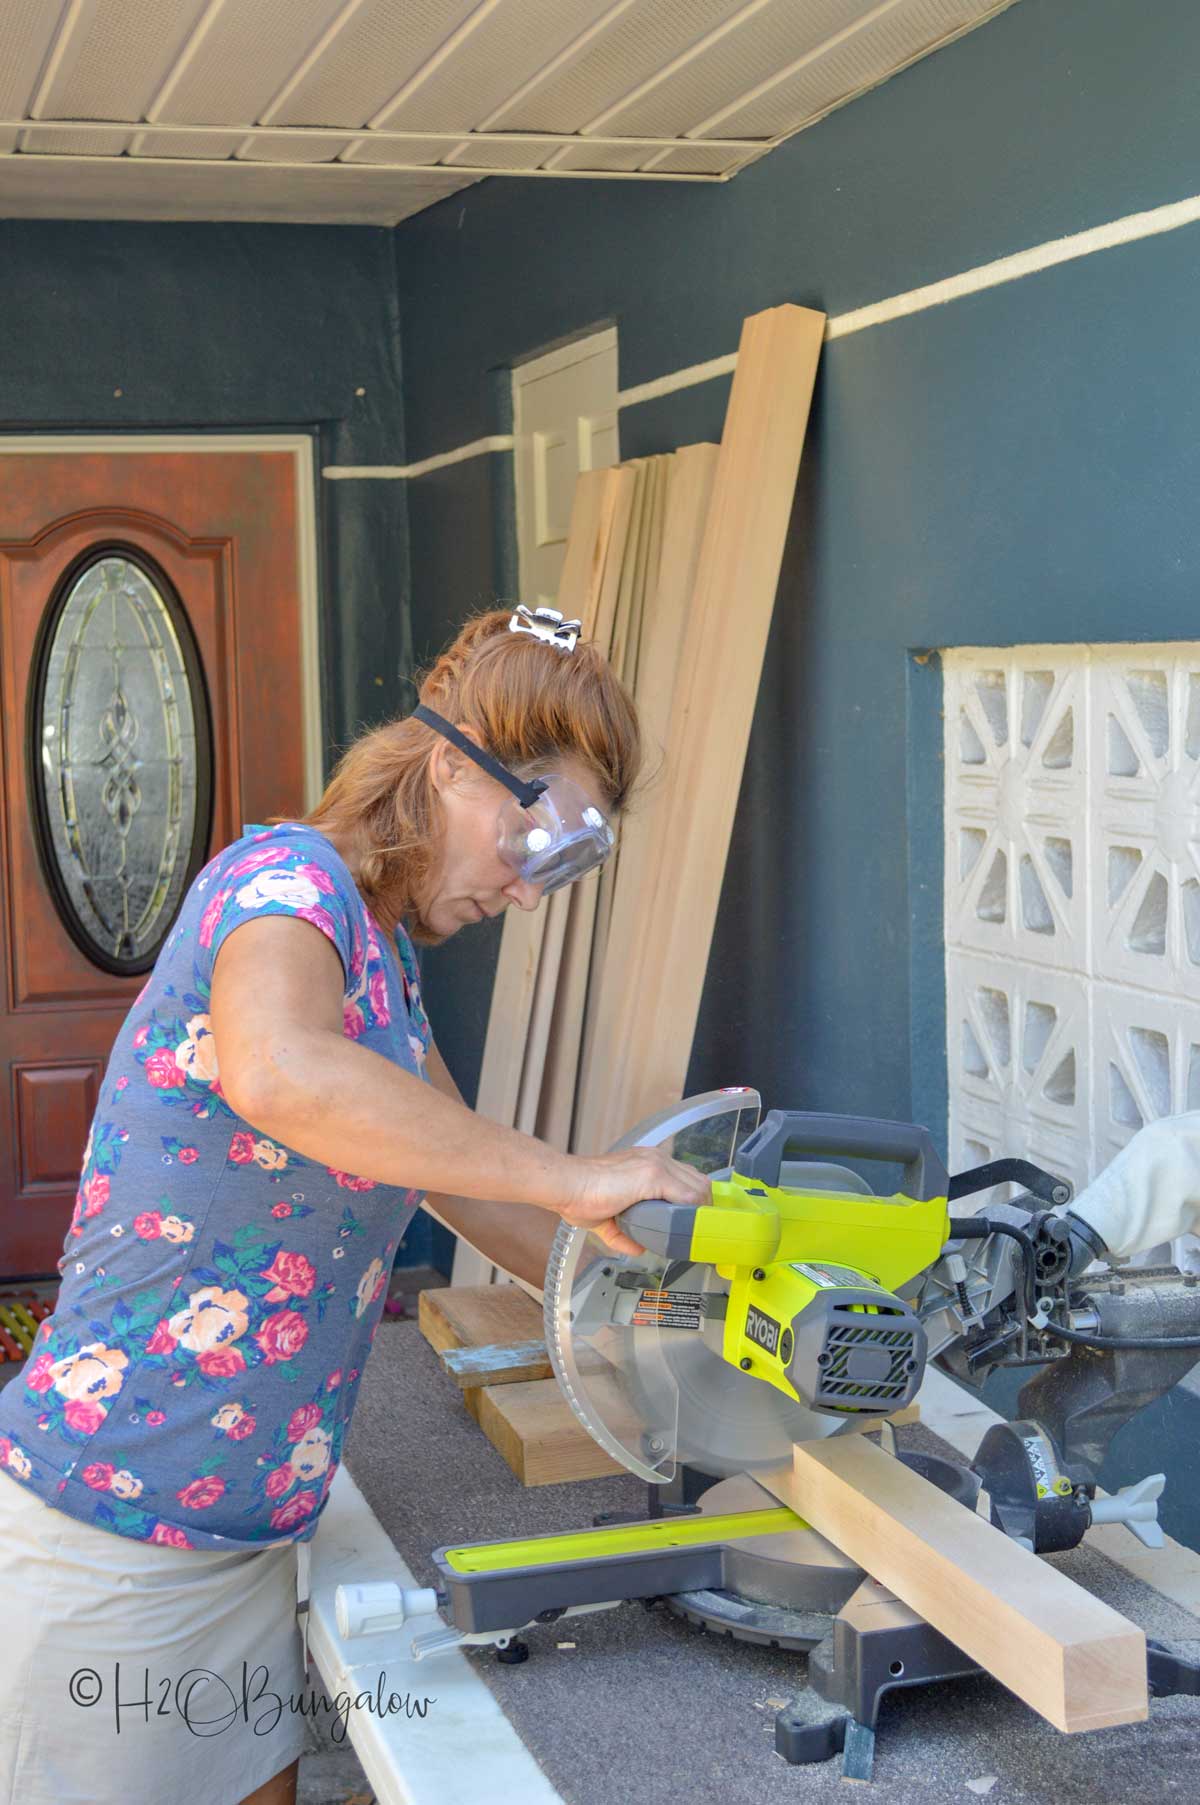
- Compound Miter Saw
- Table saw
- Drill
Supplies I used to finish my DIY wood queen bed frame.
Steps to build a modern DIY queen bed frame
Step One: Cut and finish all the pieces first.
I normally don’t recommend building like this. But, it’s so much easier to finish the individual pieces first! I drilled my pocket holes before finishing my wood as well.
All that was left was to assemble the bed.
Step Two: Assemble the headboard.
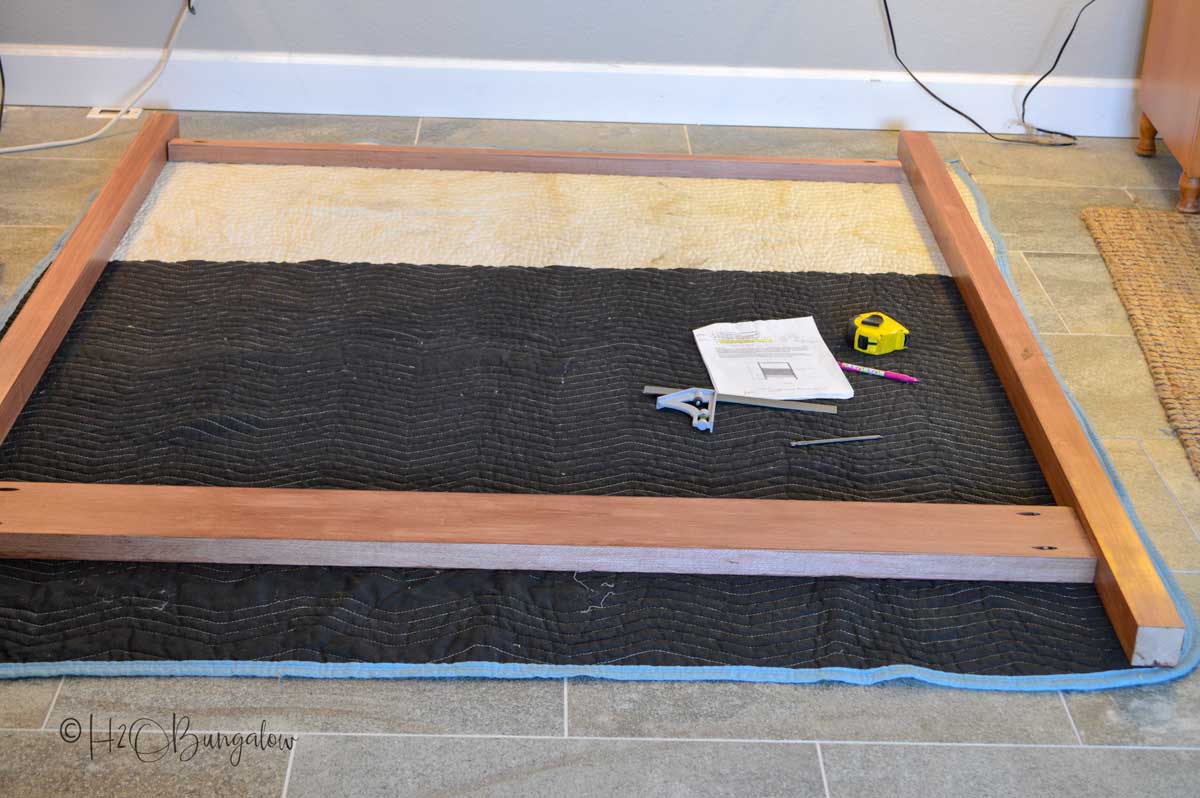
Secure the bottom rail to the bed posts with wood glue and 2 1/2” pocket hole screws. The inside face of the bottom rail will be flush with the front of the bed post which is the side facing the mattress.
Center the top rail on the bedpost with the pocket holes facing toward the back (wall), and attach with 2 1/2′ pocket screws. To keep a consistent center placement for all the bed posts, I cut a ¾” x 5” piece of wood as a jig. I laid the bedpost on the floor and placed my jig under the top rail. It lined up all of the top rails with exact spacing on all of four of the bedposts. Sorry ~ I didn’t get a picture of this.
Notice I’m using a large movers blanket to lay my bed pieces on, so I didn’t scratch my beautiful finish on our tile floor.
Step Three: Install headboard planks.
Secure the planks to the bed posts using glue and 1 1/4” pocket hole screws on the back of the headboard. The boards are flush to the front and the pocket holes face the back (wall) on the headboard.
Step Four: Assemble the footboard frame.
Secure the lower rail and the upper rail to the legs using wood glue and 2 1/2″ pocket hole screws. The pocket holes will face toward the wall.
Step Five: Attach the upper and lower side and top rails.
Secure the side rails to the bed posts using 2 1/2” pocket screws. Use the wood guide to position. Next, secure the top rails to the head board and footboard. Your pocket holes will face inward on the bed frame.
Note: Do NOT use glue on this step in case the bed needs to be disassembled to move!
Step Six: Optional add extra support.
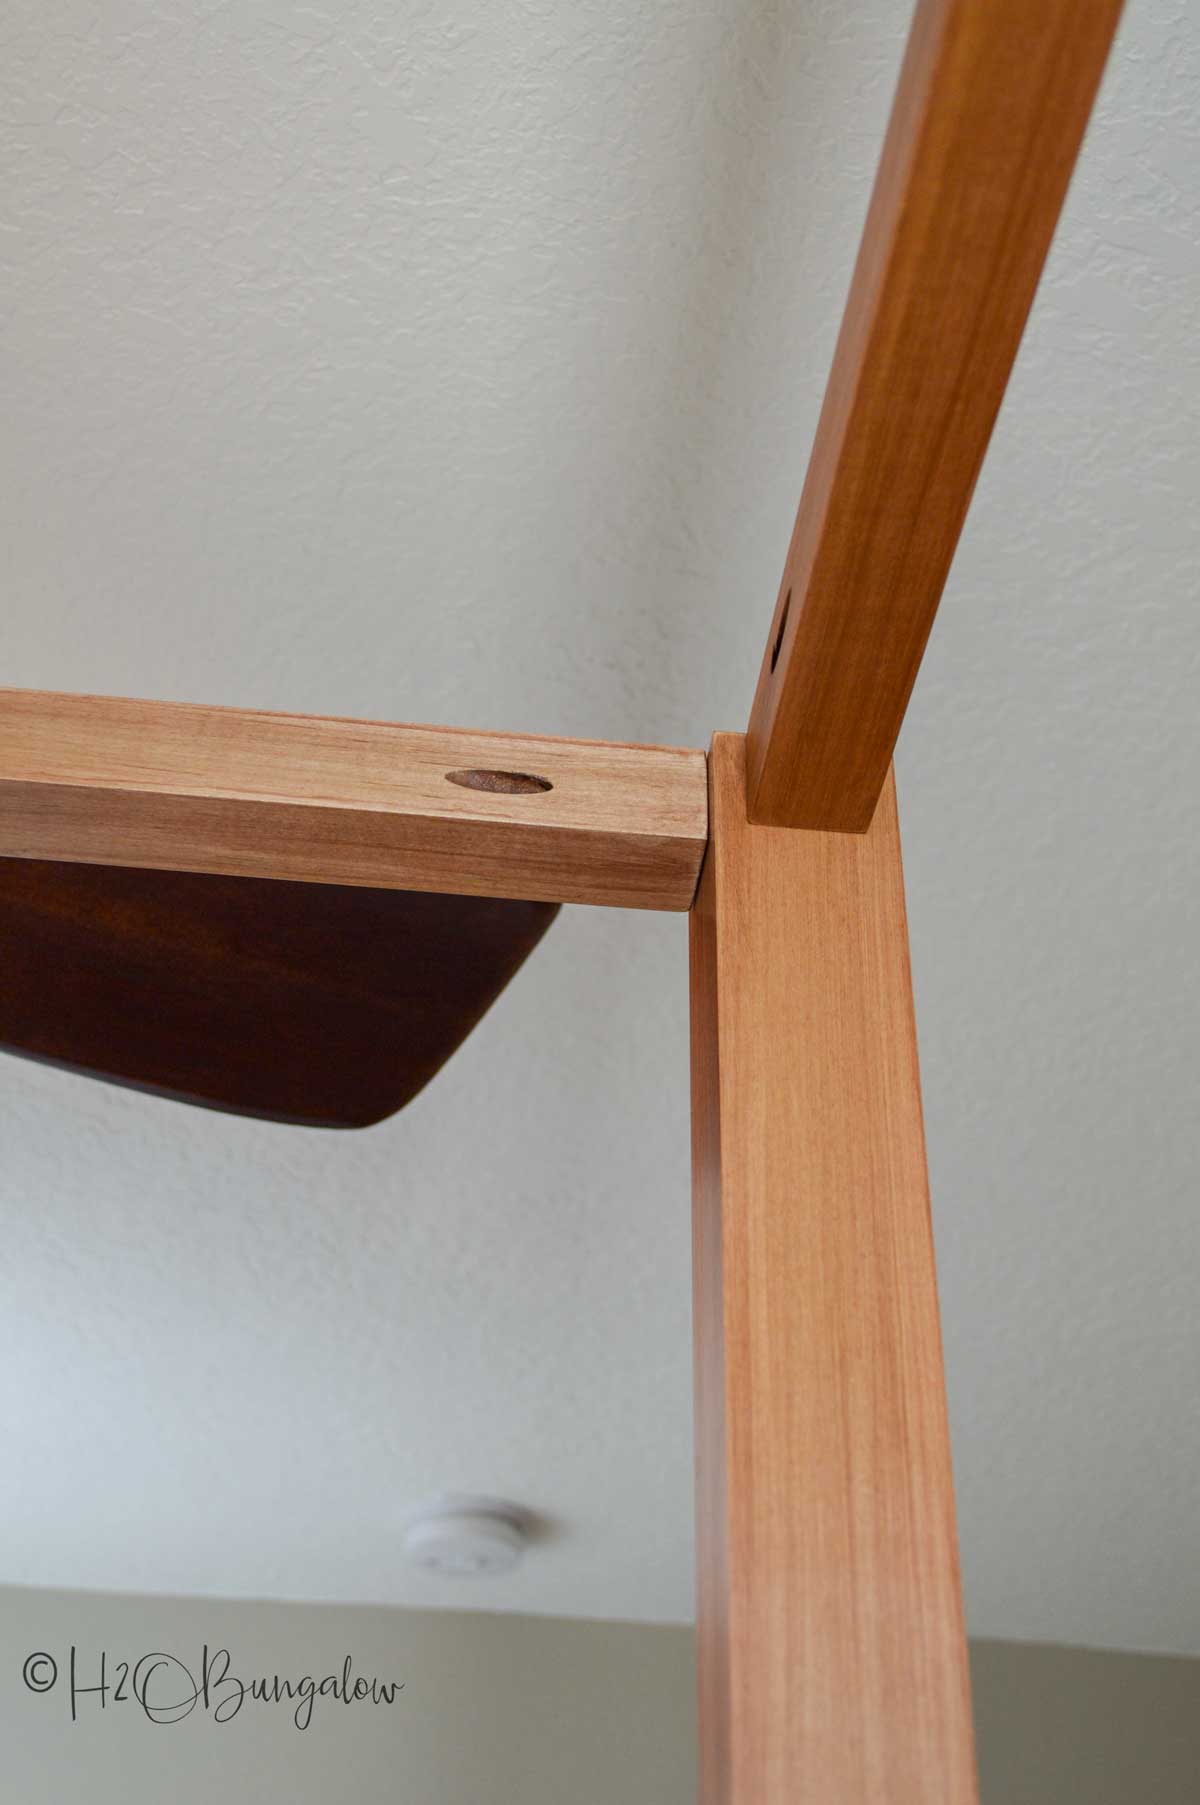
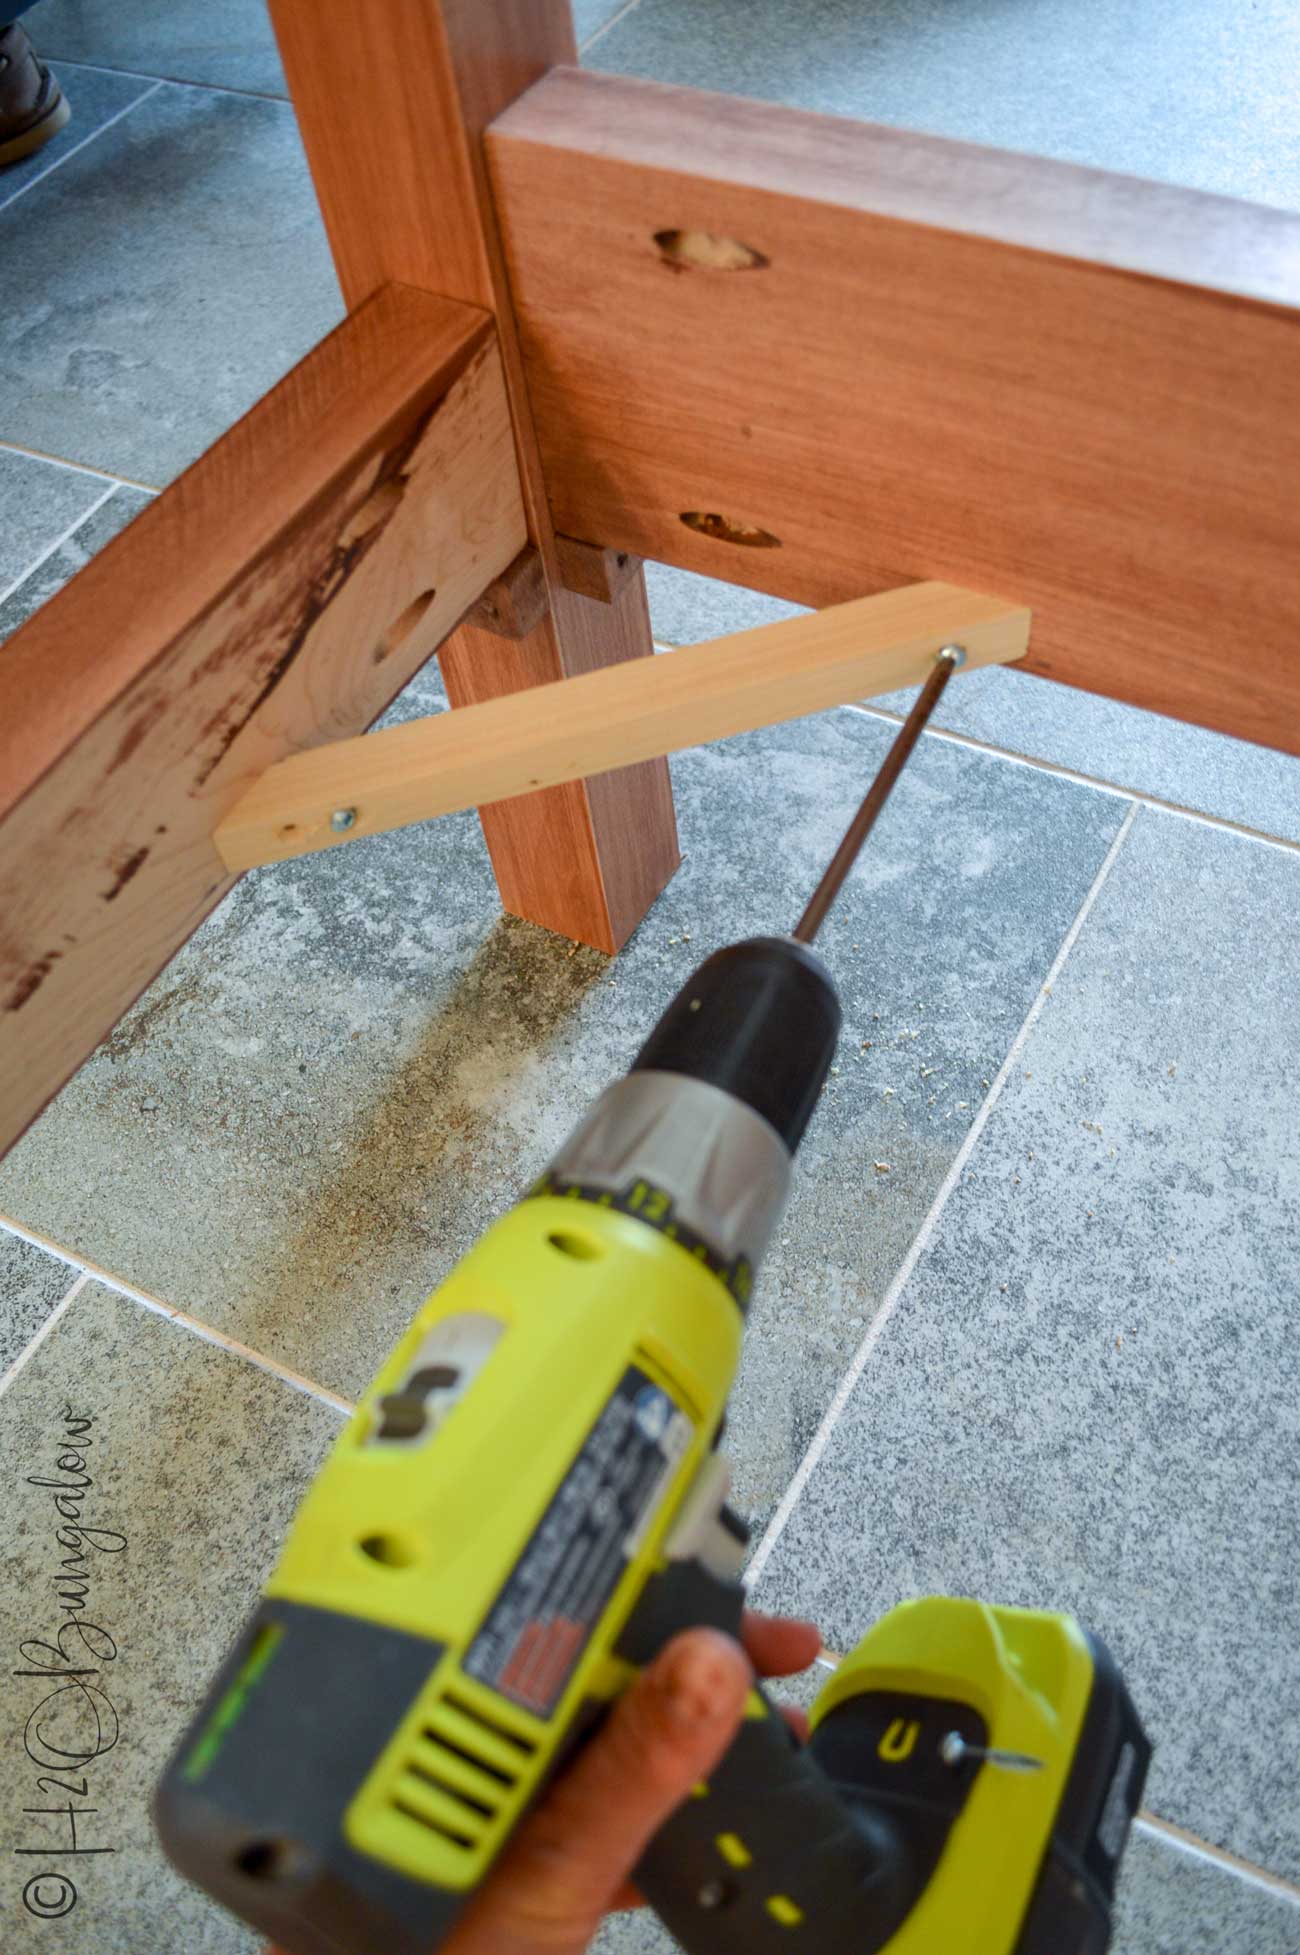
I added small cleats under each joint on the bedposts and struts in the corners for extra strength because of the screw challenge with the hardwood mentioned above.
If you choose to add these extra supports too, you’ll need to shorten the side rail cleats a tad. This step is not in the plans, I added it after I had them made. Cut a 45 degree angle on the struts and attach with 1 1/4″ pocket screws. Use 1 1/4″ pocket screws for the cleats as well.
Step 7: Attach the slat cleats.
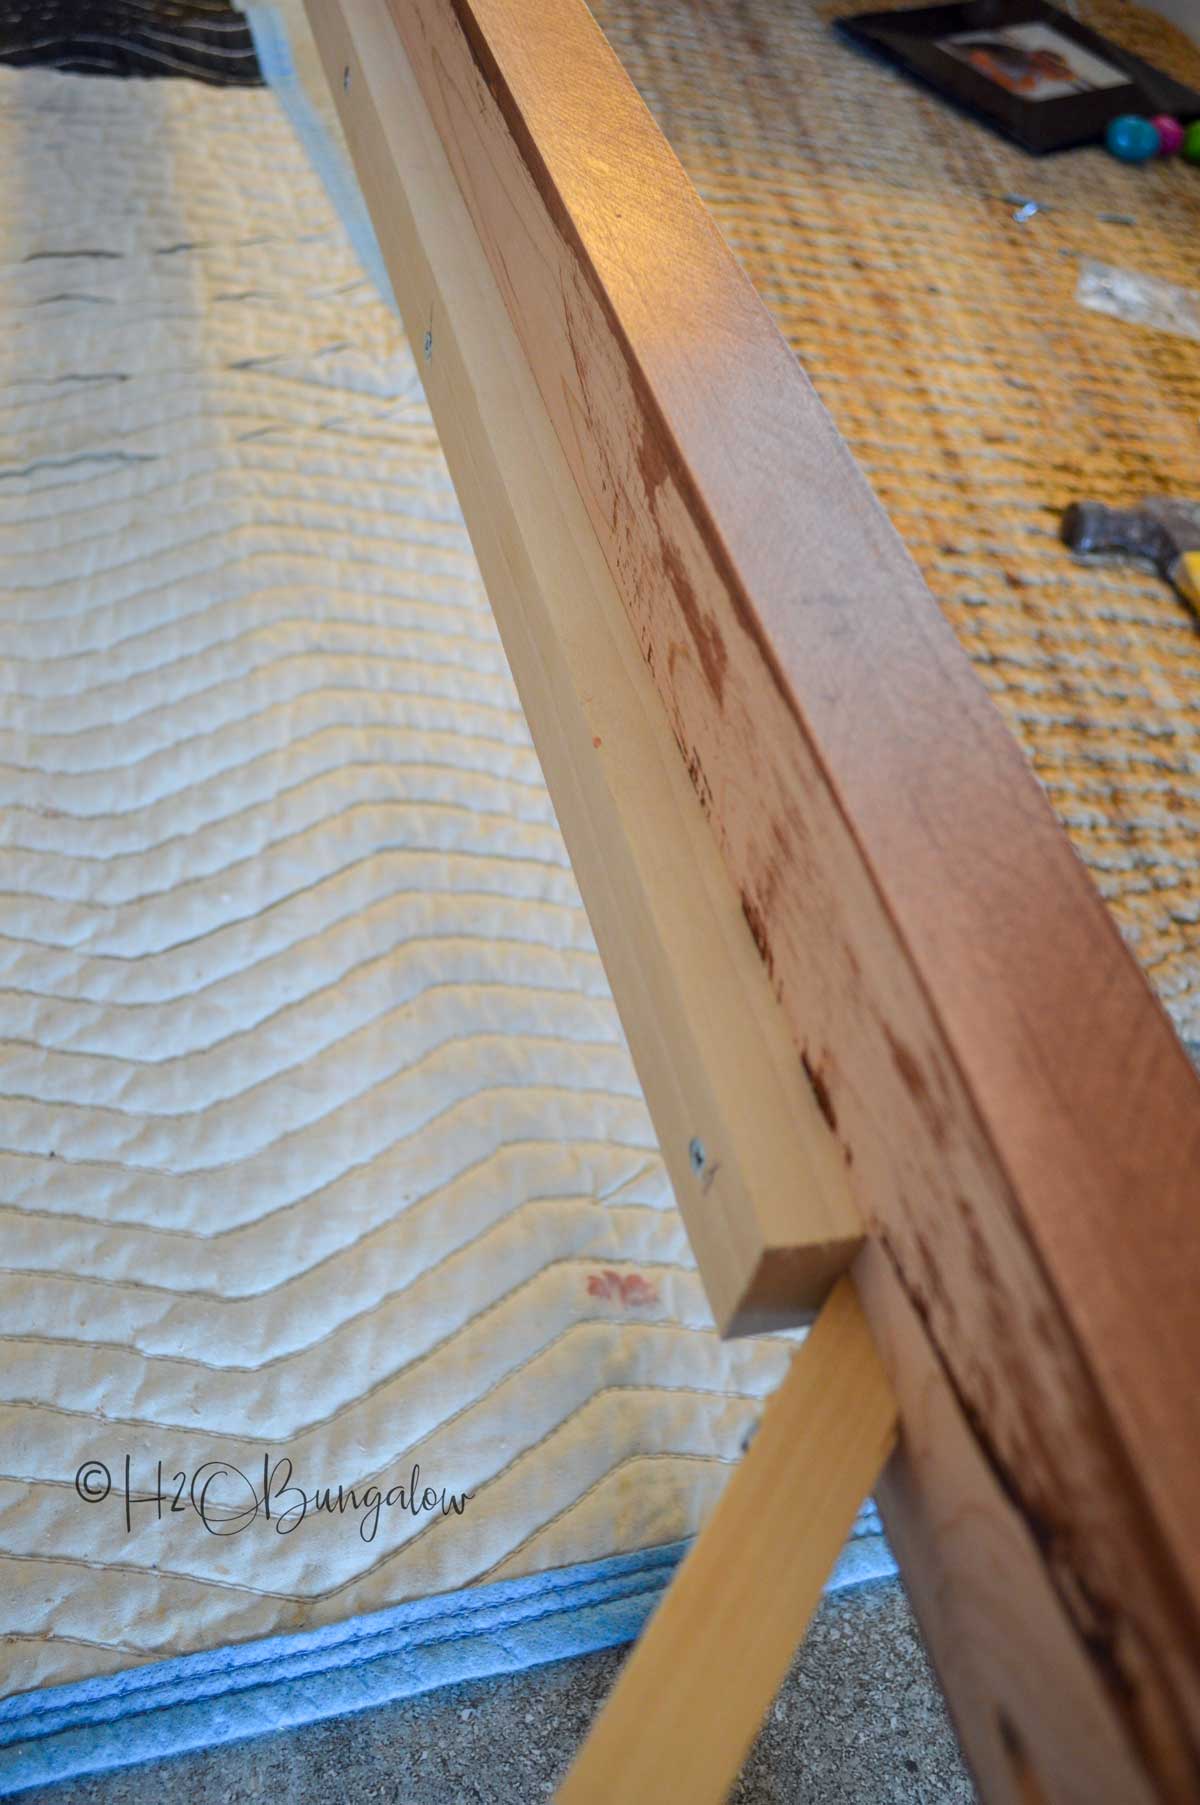
Secure the slat cleats to each of the side rails using countersunk 1 ½” wood screws approximately every 12”. The bottom edge of the cleat will be flush with the bottom edge of the side rail.
Note that these pieces and the bed slats are poplar. No need to waste good money on hardwood for parts no one will ever see 😉
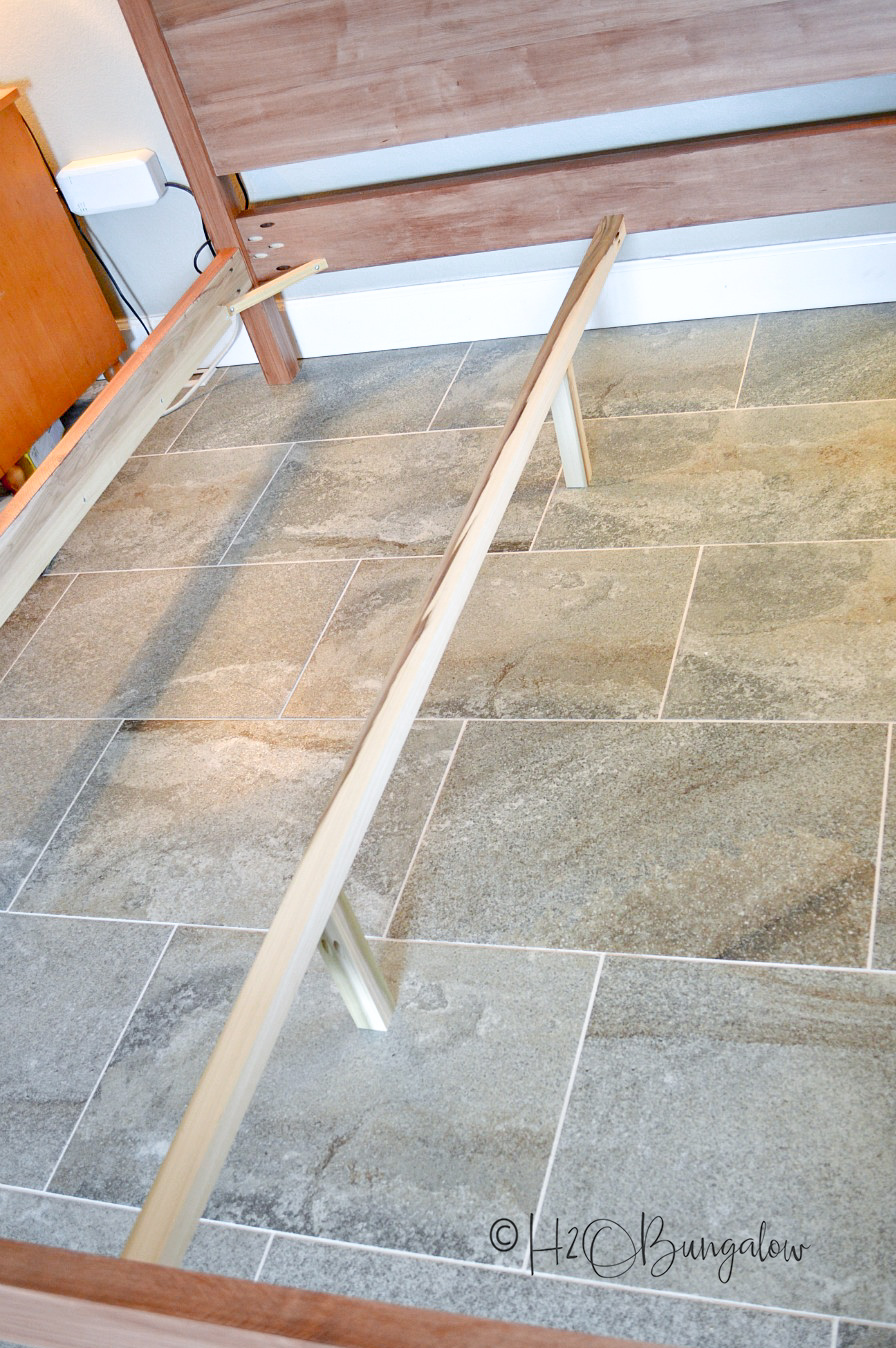
Step 8: Assemble and attach center support.
Drill pocket holes in each end of the center 2” x 2” support piece and then on one end only of each of the 2” x 2” center support legs. Secure the legs to the center support using glue and 2 1/2” pocket hole screws 18” from each end of the support bar. Next attach the center support to the head board and footboard of the wood bed frame with 2 1/2″ pocket screws.
Step Nine: Attach the bed frame slats.
Cut the pieces for the slats. Place them approximately 2 ½” apart and about 9″’ from the headboard and footboard (this is with the extra support struts). Secure the slats using countersunk 1 1/4” screws.
Again, *do not use glue*! If you ever need to move this bed, you’ll need to disassemble it to get it out of your room.
That’s it! My DIY queen bed frame is finished.
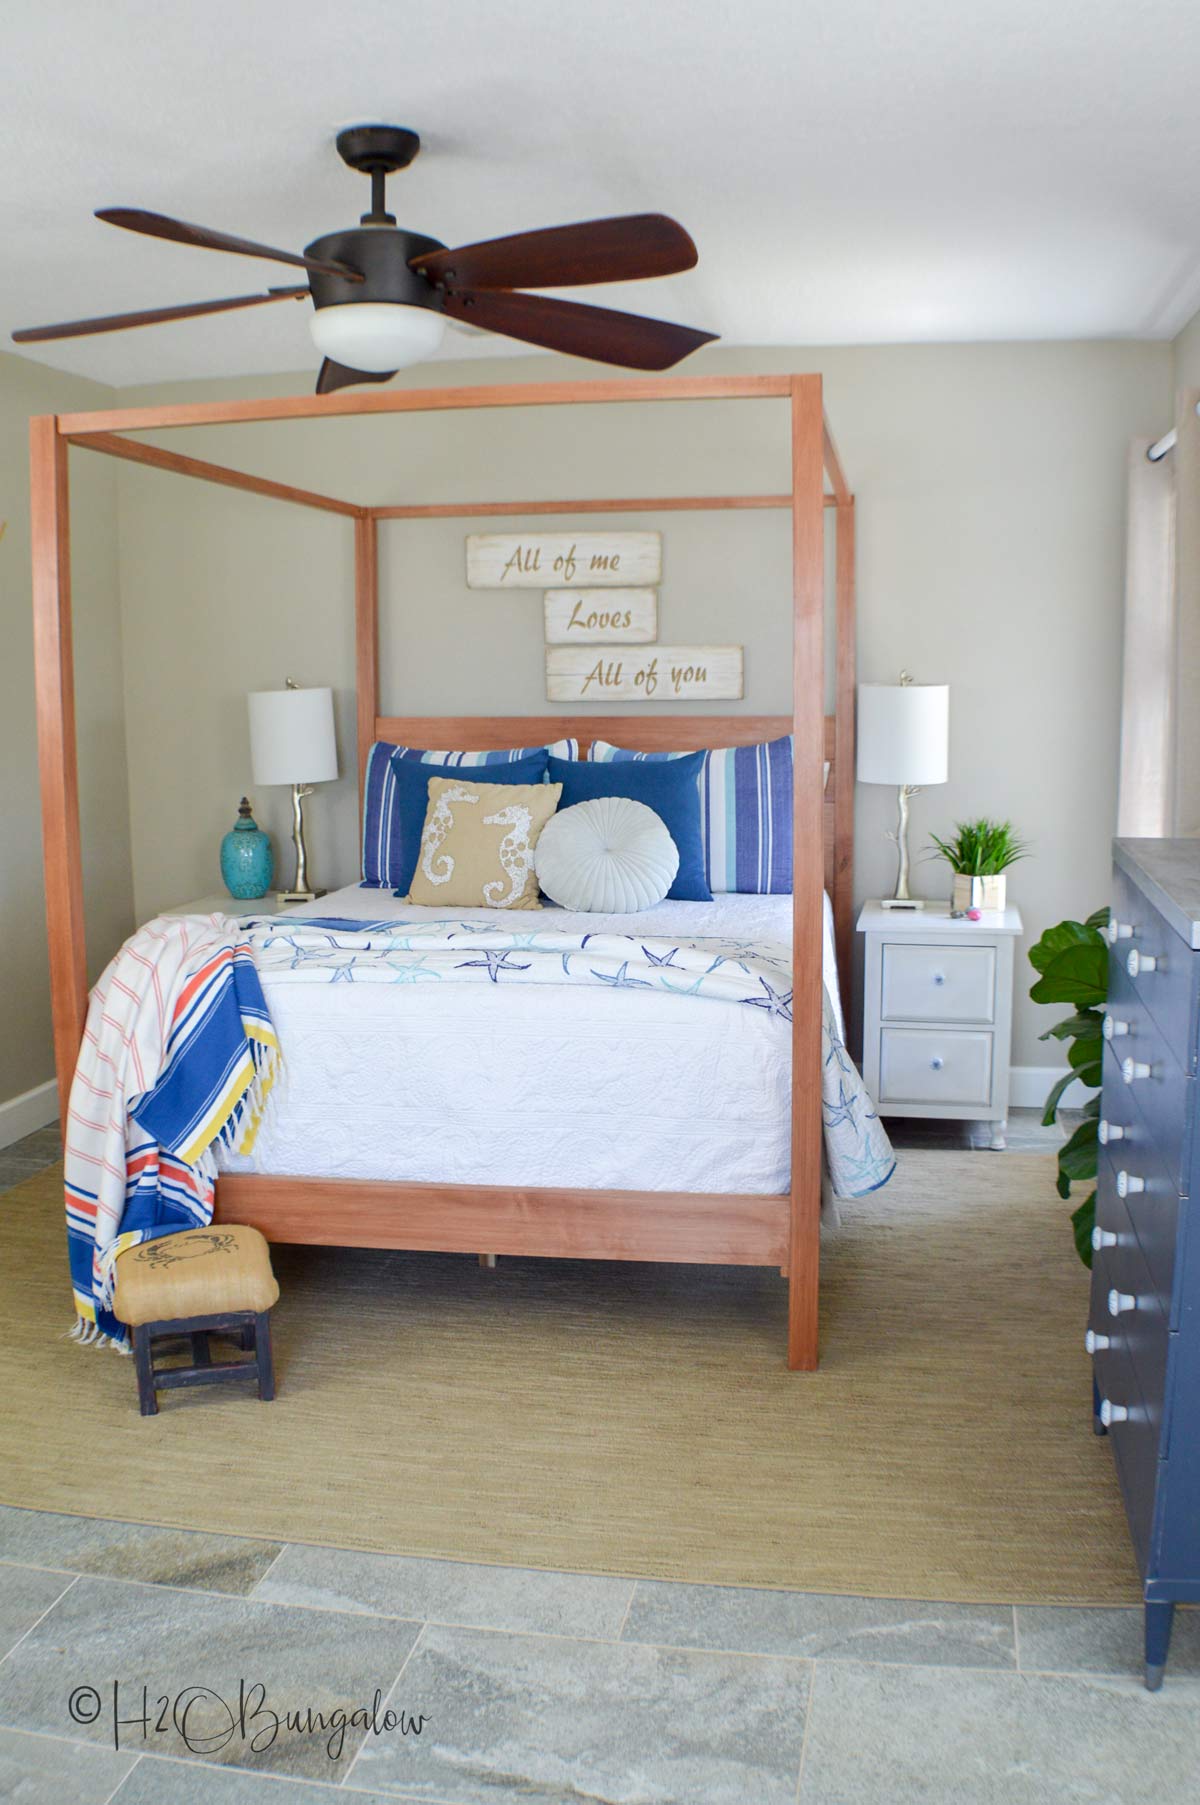
Want to see what my homemade bed frame looks like in our finished room?
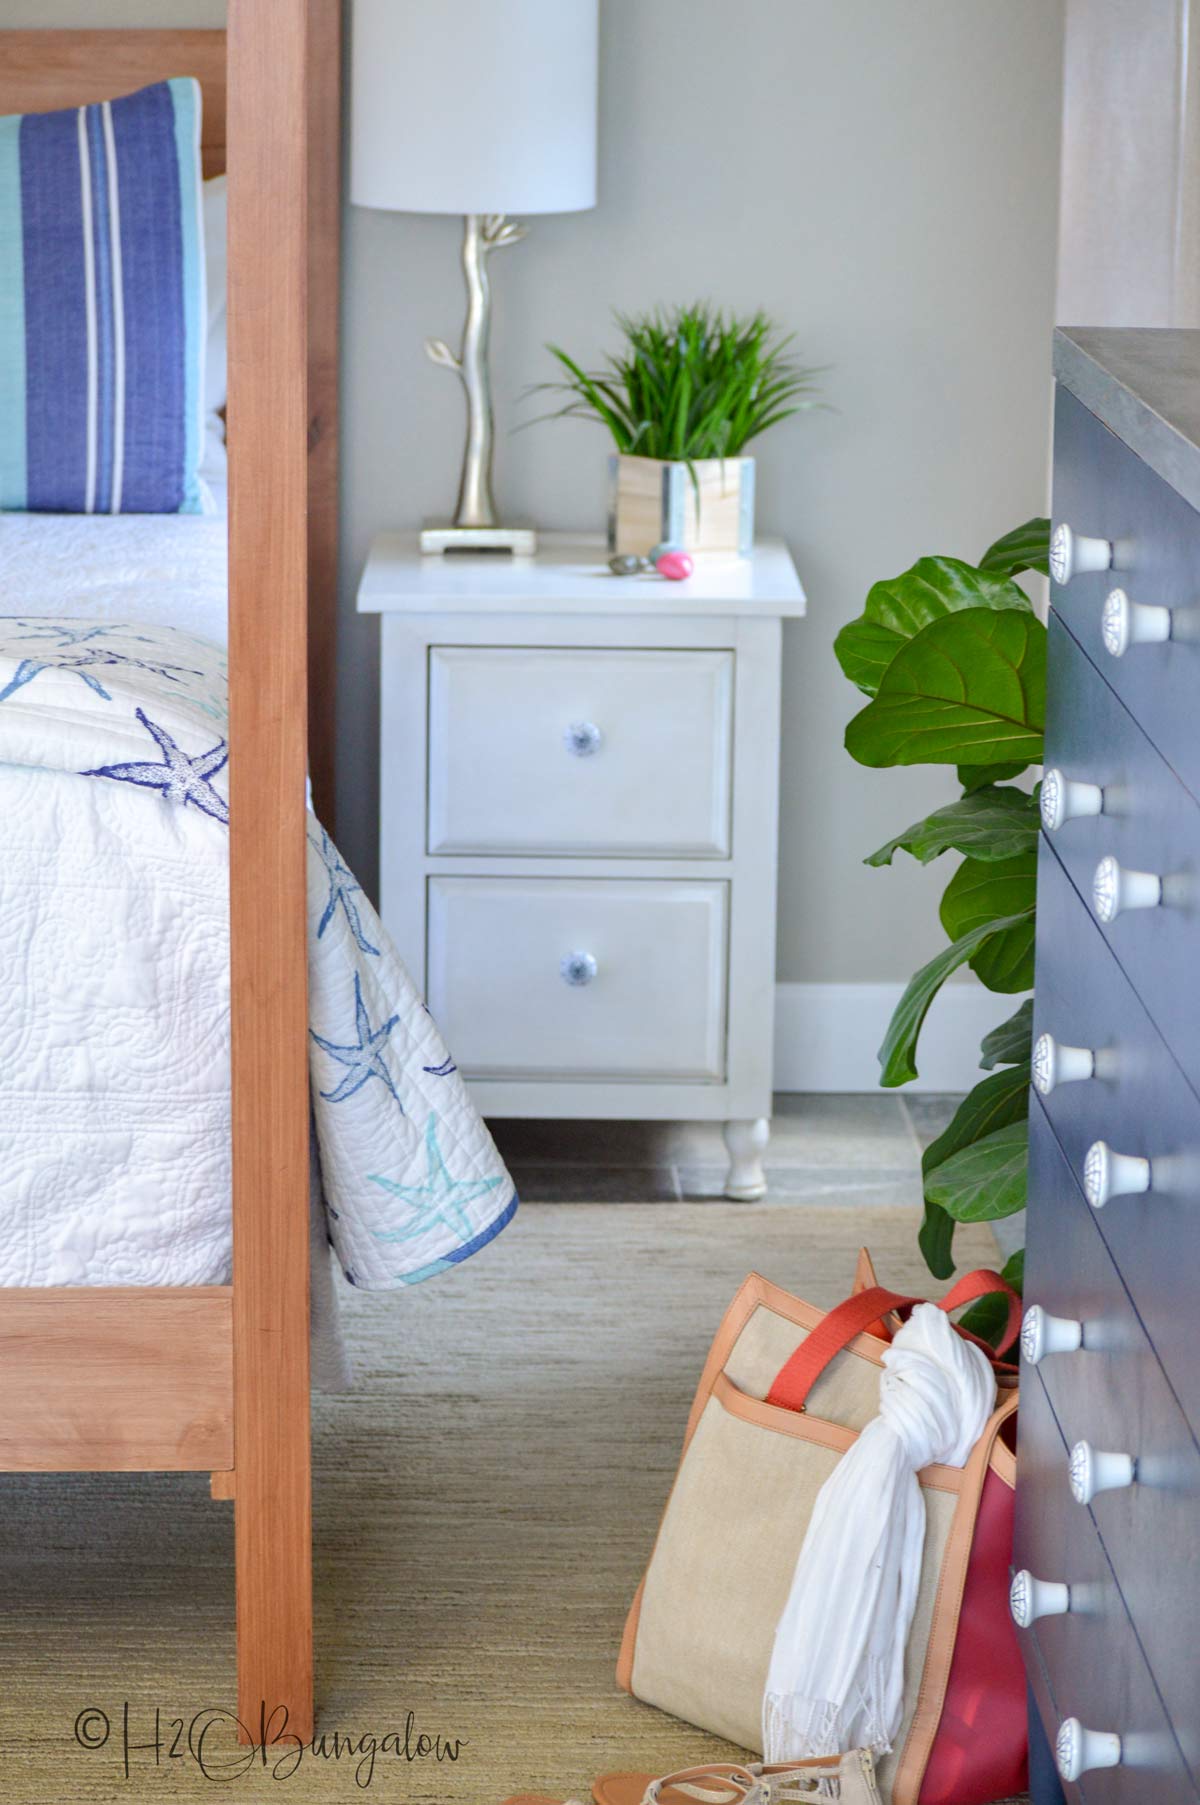
I’d say pretty darn nice. I still love it and it’s been 4 years since I built it. The finish is flawless. Using hardwood was more work, but worth it. There isn’t a scratch or nick anywhere.
I love the simplicity of my homemade bed frame and the clean lines. It works beautifully with our decor style of modern coastal.
So… how’d I do building my own DIY queen size wood bed frame, friends? I think pretty darn good! You can do this too!
Pin this for later and share with your friends on Facebook!
Now that I’ve shown you how to build a bed frame are you ready to make your own?




Leanna says
Your bed is absolutely gorgeous. A woman working with wood always motivates me to keep learning and trying. Thank you for mentoring, its such a beautiful bed.
Wendi says
Hi Leanna and thank you so much! What a nice thing to say! I love that other women learn from some of my projects and crazy ideas! Life is about reaching for those items we think we can’t do and so much sweeter when we realize we can!
Paula says
Wonderful job, Wendi! I love your design and the beautiful maple wood that you used. This is sure to become a family heirloom that will be passed down to future generations? Do you have a branding iron with your name on it? If you don’t, you should get one to mark all of your handmade creations.
Wendi says
Hi Paula and thank you! I’d never thought of passing the bed down to my kids what a great idea! Oh duh! I love the idea of a branding iron for my work! You should get one too!
Anne smith says
Wendi,
The bed is just gorgeous. Did you make the nightstand beside the bed? You do such beautiful work.
Wendi says
Hi Anne and thank you for such a wonderful compliment! I painted the nightstands they are super sturdy but originally were kind of orangey wood. Again, thank you for your note!
Carol says
Looks so beautiful – I love 4 poster beds. I’m not that handy so I’ll not be trying it but I’ve pinned for the future.
Wendi says
Thank you so much for pinning my project!
Barb says
Good on you. Absolutely beautiful work, Definitely something I would really like to try. Thank you for sharing. Barb
Wendi says
Hi Barb and thank you so much for your compliment and note! To me, the thought of making a bed was a lot more intimidating than actually doing it. What a good lesson to learn, we are all more capable than we think we are! Thank you again for your note!