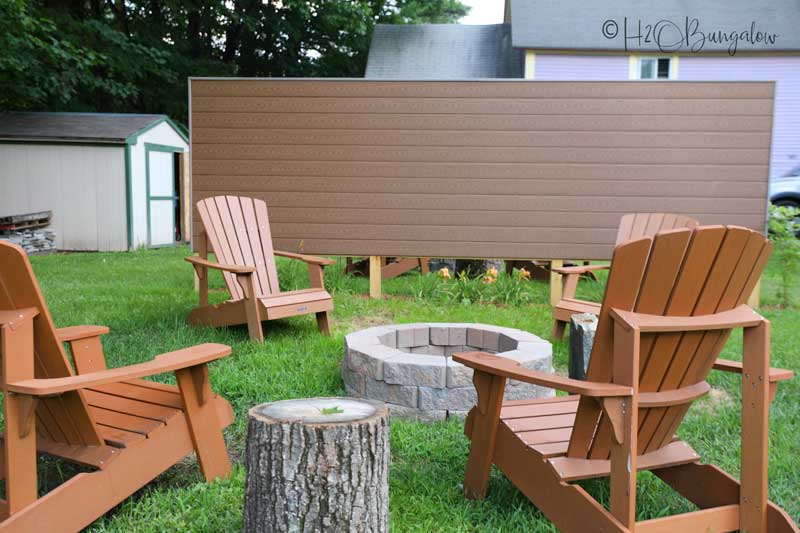
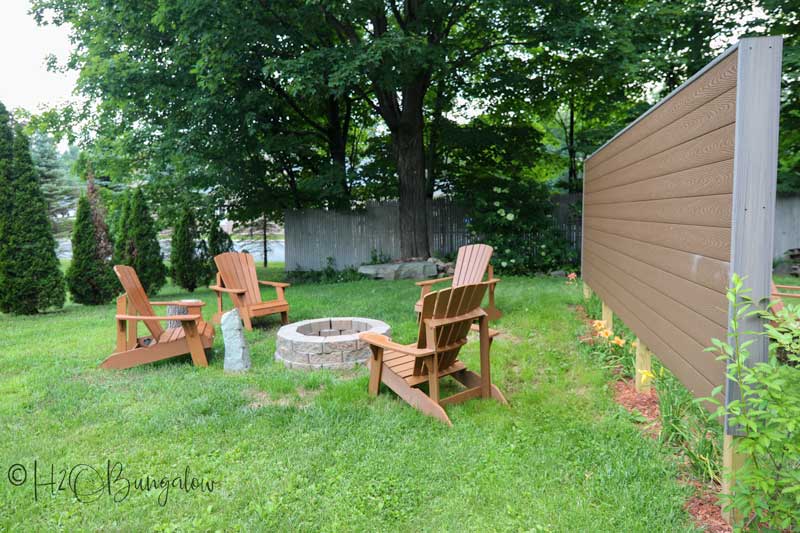
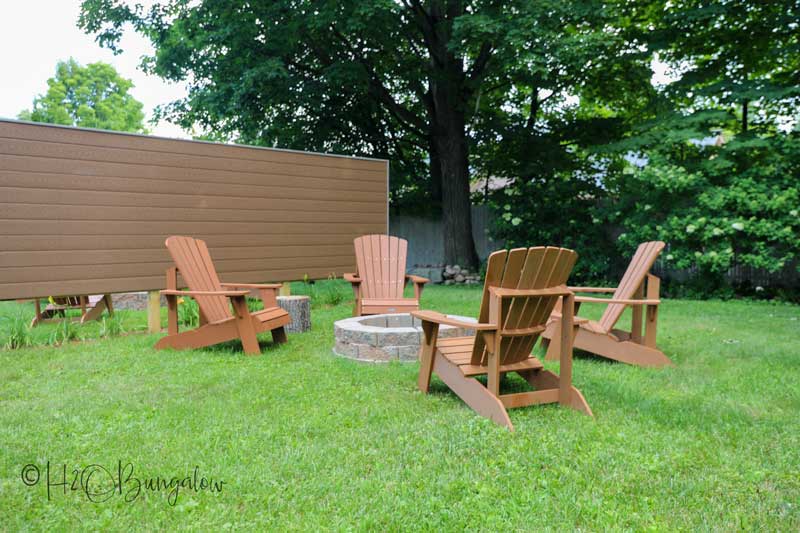
I’m thrilled to share how to build a DIY outdoor privacy screen for your backyard with composite boards or wood. Our privacy fence is 6 feet by 19.2 feet but can be made much taller or longer to to suit your own needs.
We desperately needed a way to give our guests at the North House Lodge outdoor privacy in the backyard and this DIY project fixed that. Best of all it’s a few day project that you can easily tackle yourself with intermediate building skills and a few tools.
If you’re looking for an indoor privacy screen you may like the folding screen room divider I built for my son earlier this year.
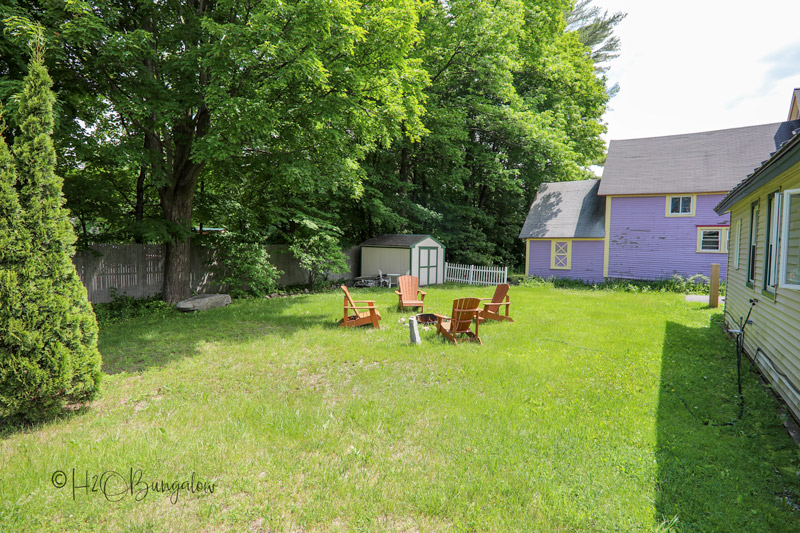
The North House Lodge, our guest house in Vermont was built in 1835. Originally, as a shop on Main Street and then moved a block away in 1894 when it was turned into a duplex.
Crazy, right? Who knew they had duplexes way back then?
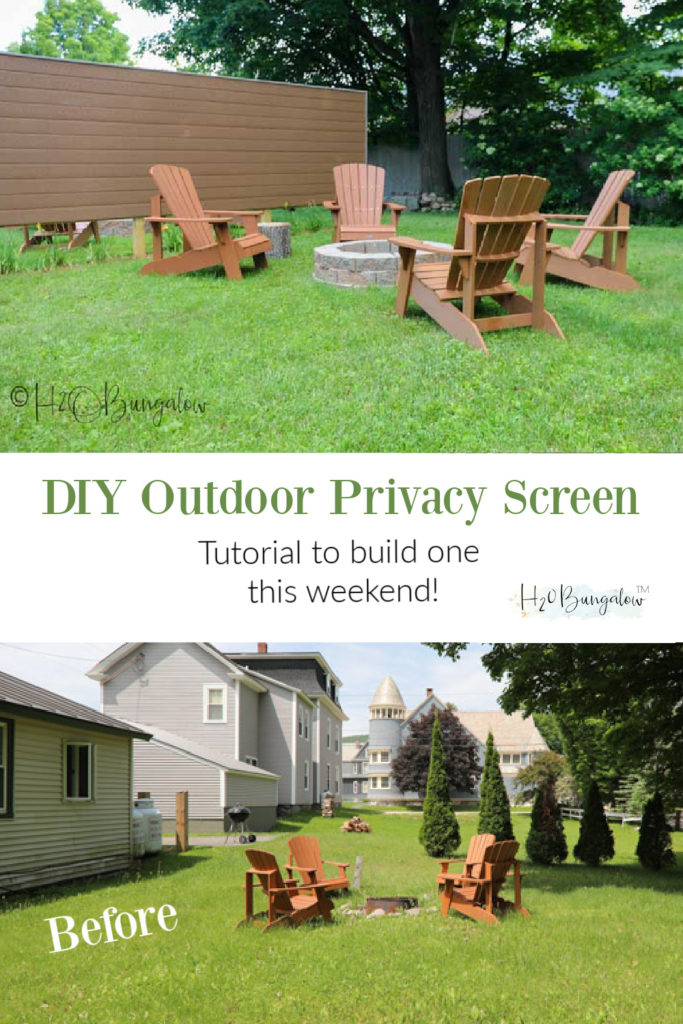
The shared backyard hasn’t been bad but it wasn’t great either. Let’s be honest if you’re on vacation you really don’t want to kum ba ya with someone else’s party. So, it was time to break things up a bit. I researched outdoor wood privacy screen ideas, privacy fences and a few other ideas to give our guests their own yards with a backyard privacy screen.
I decided I wanted to use a combination of hardscape and landscaping to provide a sense of intimacy and privacy for everyone in the backyard. My backyard privacy screen is 18 feet long by 6 feet tall before we added the landscaping to it. The landscaping will fill in over time, make the privacy screen seem bigger and give an even greater sense of privacy for our guests.
You can follow my instructions to build our outdoor privacy screen exactly, or easily modify to fit your own needs or budget.
Before starting be sure to check with your local township to confirm you won’t need a permit to add a privacy screen or fence to your backyard. We didn’t need one but I was glad I made the call just to be on the safe side!
How to Build a DIY Outdoor Privacy Screen
Supply list for our DIY privacy screen.
- 4 x 4’s pressure treated
- 1 x 6’s @ 18 feet composite decking boards or pressure treated wood
- 2 x 4’s @ 8 feet
- 3″ wood screws
- Quick set cement
- Miter saw
- Drill
- Post hole digger
- Level
- Chalk line
- Tape measure
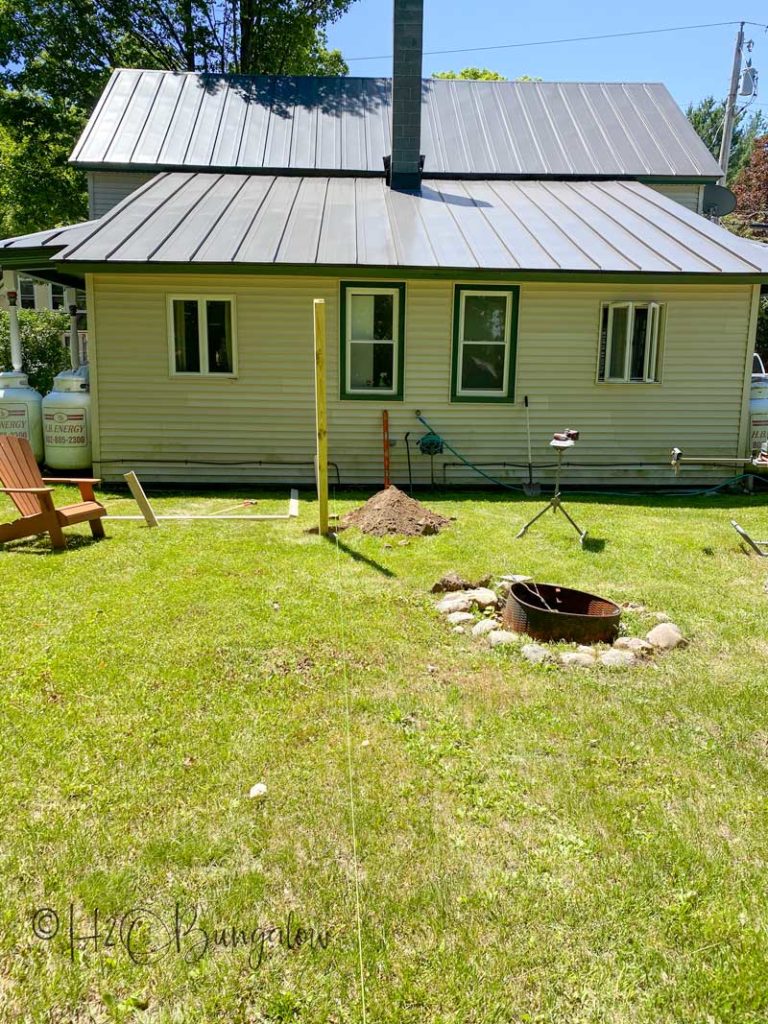
Step 1. Plan the location and distance of the screen from the house.
We located the screen 10 feet away from the house. Dug the first post hole and used a snap line as a guide to position the other posts.
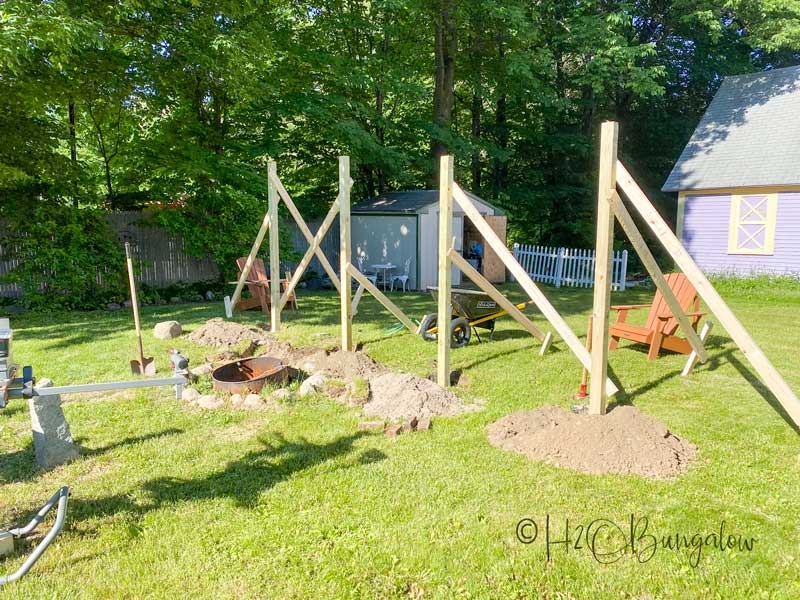
Step 2. Cement posts in place.
We used quick set cement in the posts holes. To make sure the posts were straight we used a level to position them. Next, we screwed braces on with extra 2 x 4’s to hold them in place while the concrete set overnight.
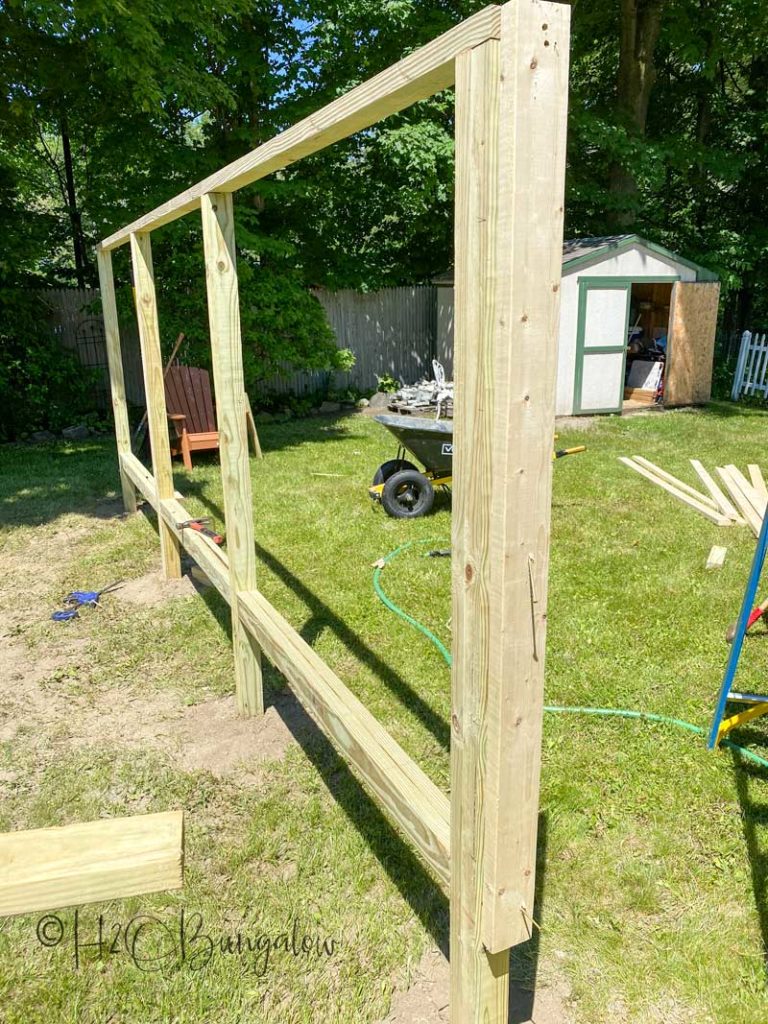
Step 3. Build the frame.
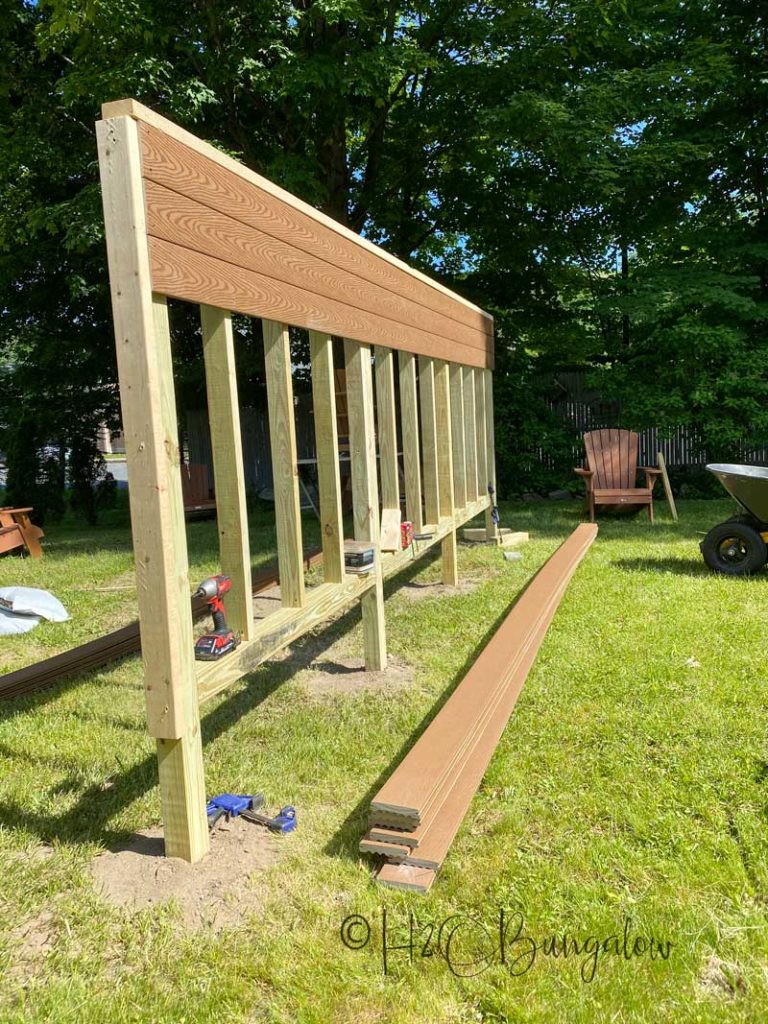
We used 4 x 4’s on the bottom of the frame and 2 x 4’s on the top, the center studs and on the outside at each end. The extra 2 x 4’s at the ends were added so we could frame around the post ends.
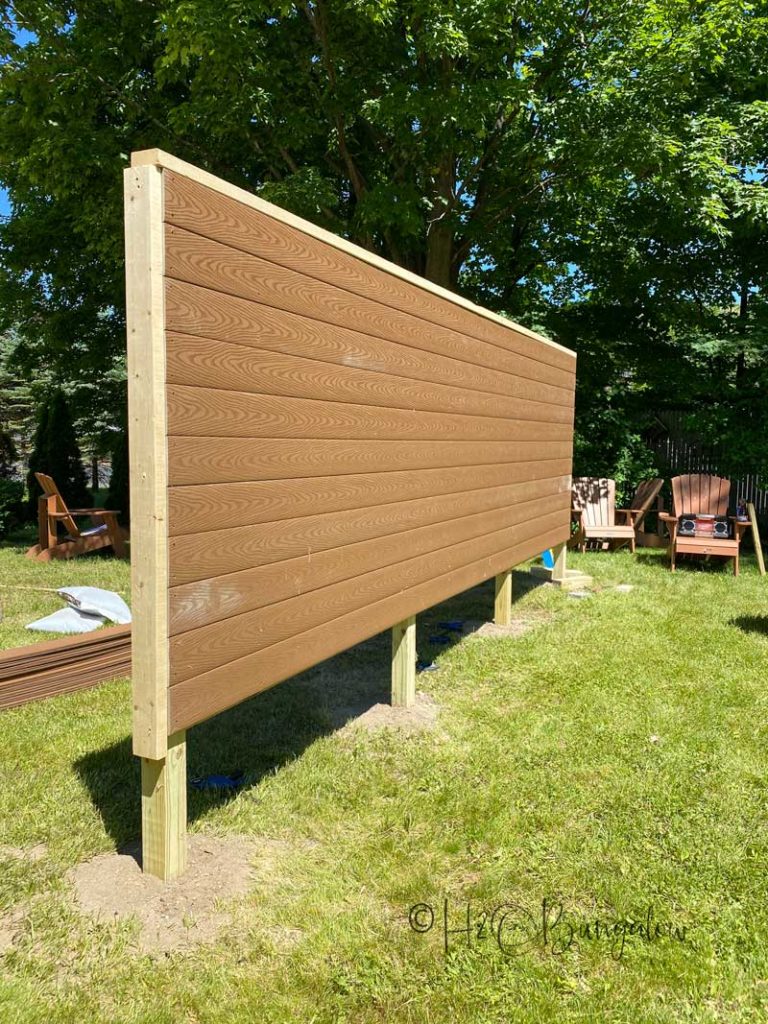
Step 4. Add the boards to the DIY outdoor privacy screen horizontally on each side.
Start attaching boards at the top of the privacy screen frame. Position the first board so it butts up against the top 2 x 4 and then sets just inside the two end post 2 x 4’s. Leaving this space will give you room to frame the top and sides later.
We chose not to use deck clips that you usually see with composite deck boards. They looked ugly and the spacing wasn’t pretty. Screwing the boards directly to the frame gave a much better appearance.
Step 5. Screw additional support screws on all of the composite boards.
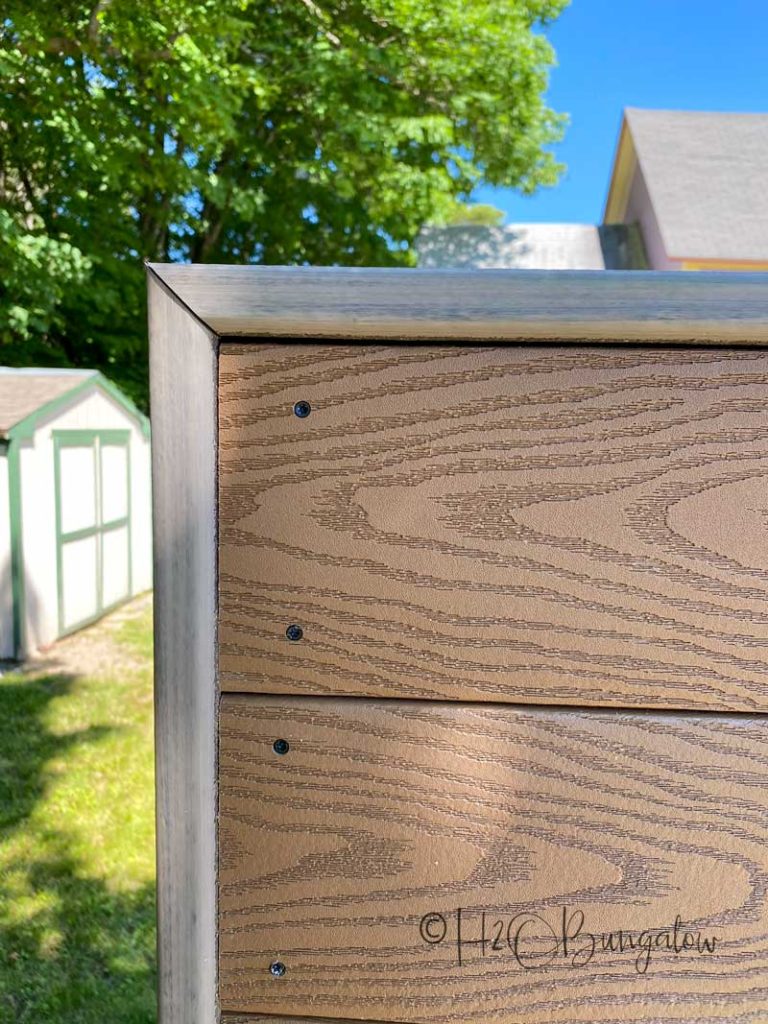
Composite boards will bend when held horizontally. We fixed that by screwing each board to each stud at the top and bottom of every plank all the way down each side.
Step 6. Frame the top and sides of the outdoor privacy screen.
I’d like to say we were just being creative and used a complimentary color of composite wood for the outside frame. The truth is supplies were low in VT and we only found enough 18 ft boards in one color for the privacy screen panels. So, we picked another color for the trim.
It turned out well and I like the difference!
Last we added the landscaping.
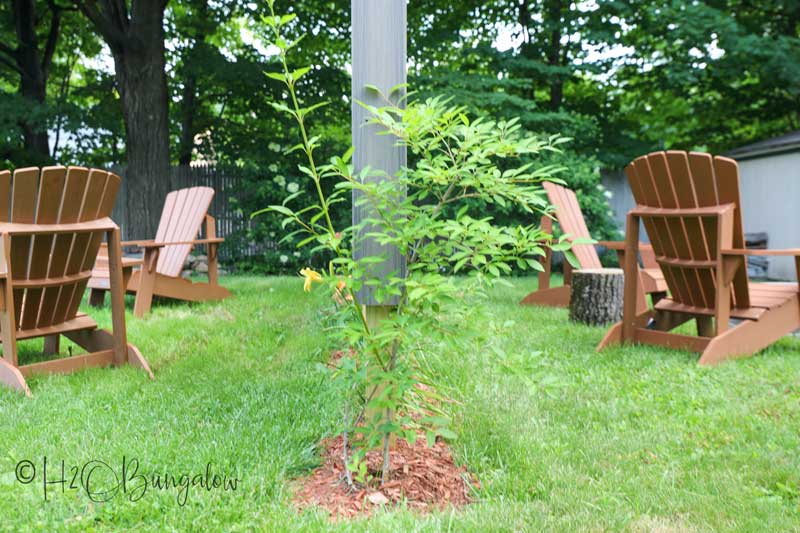
My idea was to have our DIY outdoor privacy screen blend with landscaping so it wasn’t just a boring old outdoor screen that was plopped in the middle of our open backyard.
This is a small forsythia that will become large and thick in a few years. We planted a few colors of daylilies underneath the screen and they will fill in pretty quickly. Last, which isn’t built yet is the perennial herb garden that will be located at the other end of our DIY privacy screen.
I’ll plant it next spring on the left side of our outdoor privacy fence.
In my minds eye I see it lush and full with herbs that guests can cut and use for cooking!
I swear by these faux wood Adirondack chairs. They last in all kinds of weather and never need painting. Although the ones I have at home for our dock are painted orange! The tree stump tables are courtesy of the woods at my sister’s horse farm.
We built simple fire rings out of retaining wall blocks. They’ve been great and we found the best adhesive to keep them together and durable! I’ll share post on that project later.
Pin this for later and share with your friends who may need a big outdoor privacy screen for their backyard too!

Now, I feel like the backyard at the North House is finally shaping up! Each set of guests has a private backyard seating are to enjoy the cool Vermont evenings. Next year will be even better when the plants grow in and we have the herb garden in place.
Do you need a DIY outdoor privacy screen in your life too?
