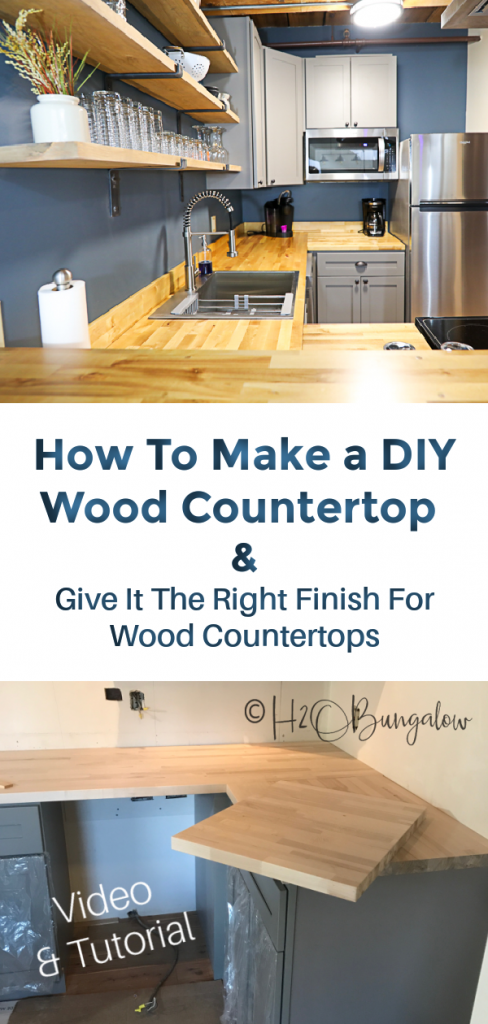
Today, I’m going to share with you how to make a DIY wood countertop and how to finish a wood countertop. I’ve also made a video tutorial that shows the steps to build and finish a wood countertop.
If you’re thinking about a DIY countertop, you might also want to check out MY DIY Concrete Countertop Tutorial and How To Wax Concrete Countertops.
How to Make a DIY Wood Countertop
This post contains affiliate links, as an Amazon affiliate I earn a fee from qualifying purchases at no additional cost to you. Thank you for supporting H2OBungalow!
What you’ll need to make wood countertops.
- Butcher Block Counter
- Waterlox Satin Finish I used a gallon and a quart on my countertops
- Bloxygen
- Silicone sealer, clear
- Two-part epoxy
- Painter’s tape
- Painter’s rags
- Tack cloth
- 2″ pocket screws
- 1 1/2″ wood screws
- 220 grit sandpaper
- Protective eyewear – these fit over prescription glasses!
- Respirator
- Foam brush
Tools I used for this project.
- Circular Saw
- Drill
- Nail gun
- Sander
- Kreg Jig – this one works best and is the easiest for this kind of project
- Tape Measure
- Level
One thing to note, this is a new kitchen with new base cabinets. If you’re working with existing base cabinets or another surface, just skip what doesn’t apply to your project.
Step 1. What kind of wood to choose for wood kitchen countertops
What type of wood is best for a wood countertop?
You can purchase ready-made butcher block countertop in several lengths and wood types from big box stores. It comes in 4, 6, 8 and 10 foot lengths and is 1 1/2″ thick and 25″ wide.
They all come unfinished. Keep in mind, the color will change and darken some when you seal the wood countertop.
The best wood for a countertop is a hardwood. The choices of pre-made butcher block counters at our local store were maple, ash, acacia and birch. The pattern of the wood is a classic butcher block pattern. There are also chevron patterned butcher block available too, of course at a higher cost. Matching backsplashes in various lengths and matching wood types are also available.
We used maple for my DIY kitchen wood countertops.
Measure your countertops and diagram out which pieces fit best for your project. Think about where it’s OK to have seams when you’re planning your wood countertops.
Step 2. prepare the cabinet bases for the new wood countertop.
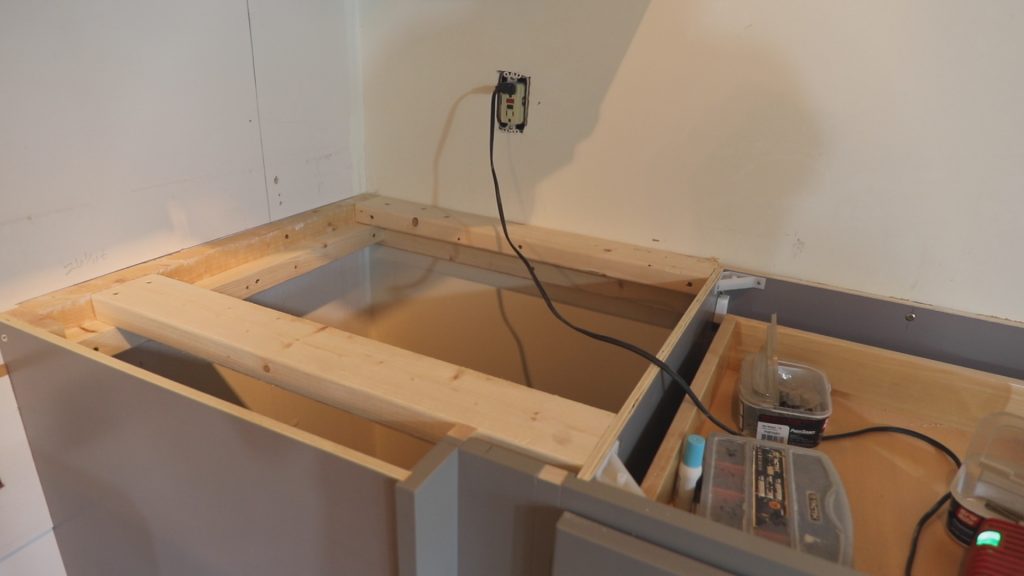
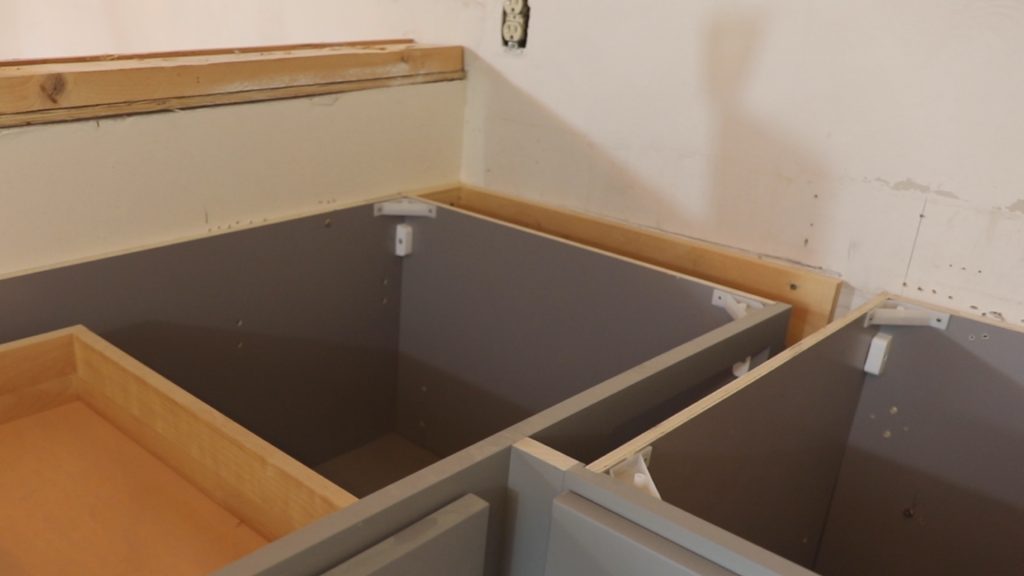
Secure the cabinet bases to the wall and if needed, add additional support to hold the wood counters or add wall braces as needed.
Our cabinets didn’t reach all the way back to the wall in one area, so we had to add wall support and additional 2 x 4’s to support the wood countertop.
Step 2. Cut countertop wood to size.
Use a circular saw to cut the wood countertop material to size.
My best advice is to think about where you are OK with seams in advance. We decided that having one large butcher block piece along the back wall made the most sense. We then attached the two small pieces that butted up against it.
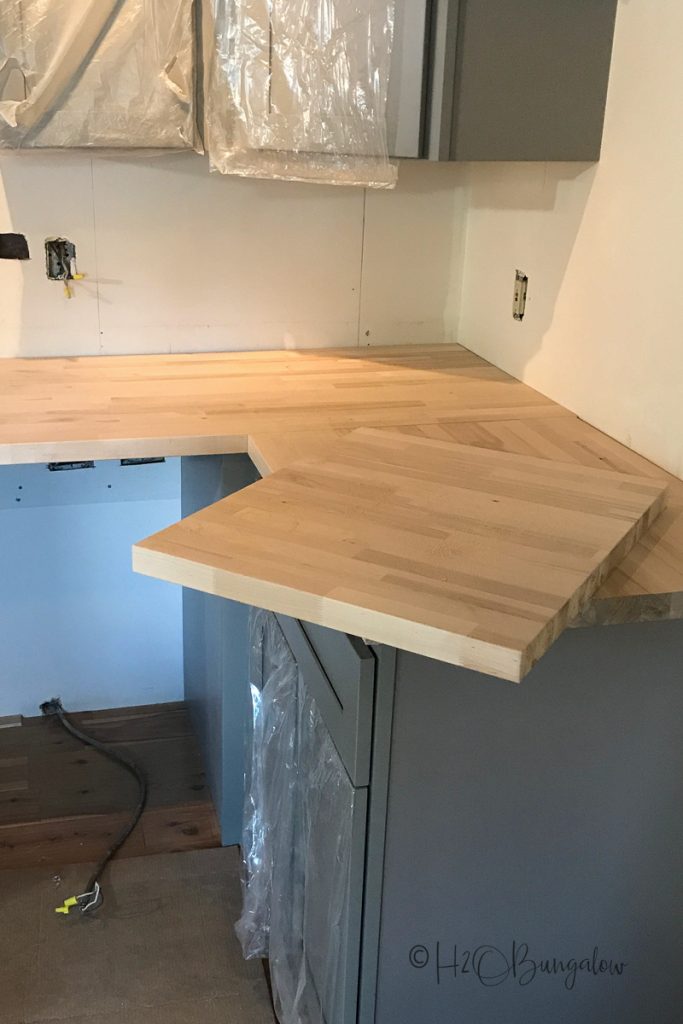
You’ll want to line up like seams. In other words, don’t have a factory cut edge next to an edge you’ve cut. We worked our wood layouts to fit factory edges together and the cuts we made were the outer edges. So the edges by the stove and refrigerator is where we positioned the cuts we made.
Lay everything out as you work. sand the sharp cut edges a little to make them blunt before assembling the pieces.
Step 3. Attach the countertop pieces together
We added pocket holes using the Kreg 320 in groups of two about a foot apart to the underside of the counter.
Lay the DIY wood countertop upside down on a surface. We used cardboard on the floor to protect the countertop from scratches and the floor underneath. Adding the pocket holes was easy (you’ll see in the video) while one person held the Kreg jig 320 and the other drilled the pocket holes.
We didn’t even need to use clamps.
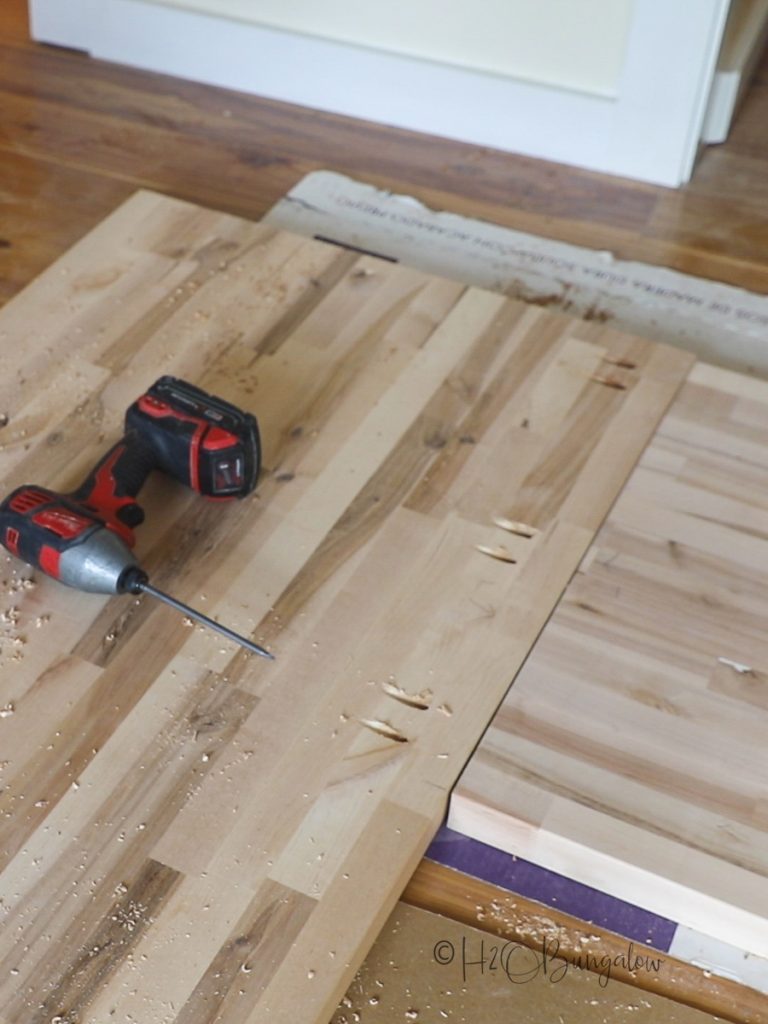
Important: When you’re ready to attach the pieces, make sure they come together flat! Have someone hold both down and use a level or other flat item across the seams to check before screwing the pocket screws in.
Attach with 2″ pocket screws. We didn’t use hardwood pocket screws, they can be tough to find, the regular ones worked fine.
Step 4. Attach the wood counter top to the cabinet bases
Dry fit the wood countertop in place and double check everything, including that the seams fit snugly before attaching the wood countertop to the cabinet bases.
- Check to be sure two separate pieces of countertop are level where they meet.
- Shim at the cabinet base where needed to make them level.
Next, run a large bead of clear silicone on all of the flat surfaces where the wood countertop will lay on a wood support or flat part of the cabinet base.
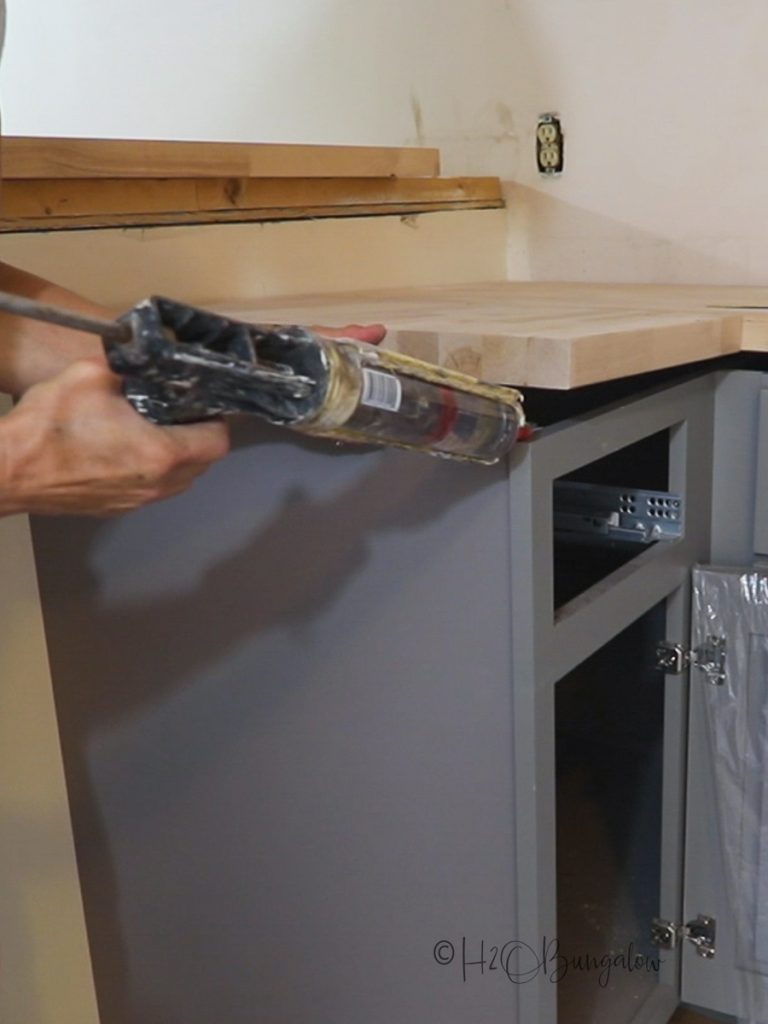
With the drawers out of the cabinet bases, attach the DIY wood countertop.
The easiest way to do this is by reaching into the cabinet base and add wood screws from the underside of the cabinet frame into the countertop.
In other words, there will be braces and other cabinet parts that lay flat against the countertop. Use those for the screws that will hold the counter in place. We used 1 1/2″ screws for this step.
Step 5. Cut the sink opening out.
Most new sinks come with templates you can trace onto the wood to cut the right opening for a countertop. We started by using a drill to make the initial hole large enough for a jigsaw blade and finished with a jigsaw to cut the sink opening out of the wood countertop.
Step 6. Sand the wood countertop.
Use a high grit sandpaper along the grain of the wood and give the entire wood countertop a once-over.
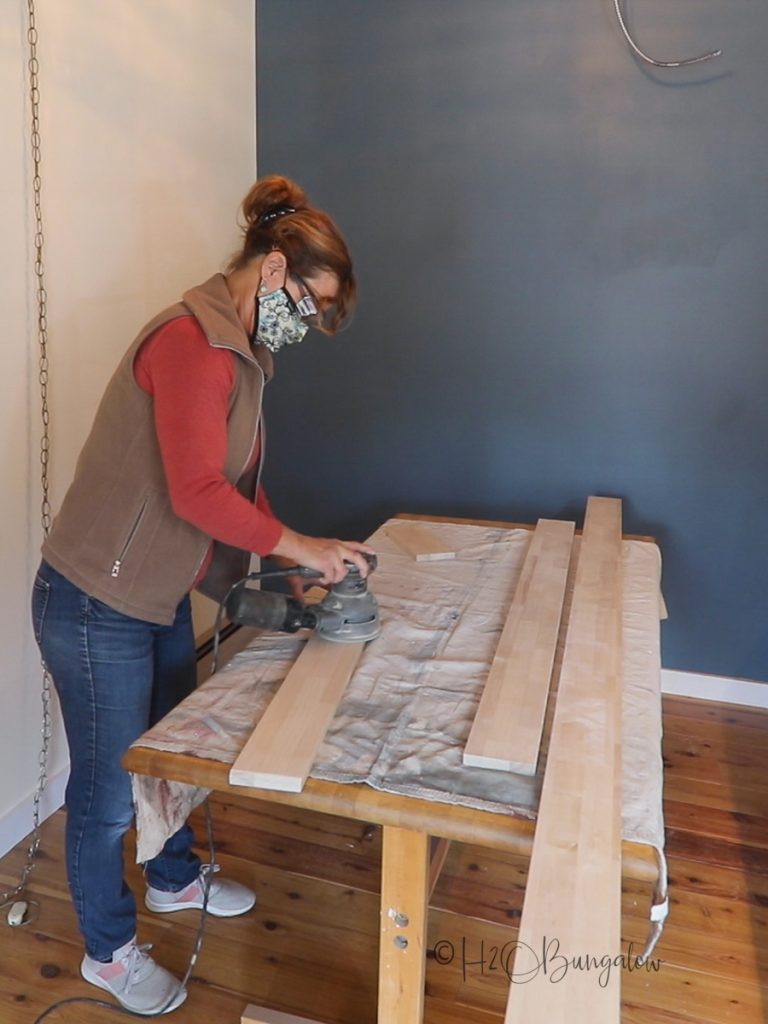
Wipe all the dust off with painters rags followed by a tack cloth.
Note, that we did not install the backsplash along the wall yet. That’s because I wanted the water sealer to cover all the way to the edges of both the counter top and the underside of the back splash. Especially around the sink.
Step 7. Seal the seams with epoxy.
To prevent water and food particles to get into the small beveled area where the factory cut edges but up. we sealed and leveled them with clear epoxy. You won’t be able to see it once the finish is applied.
First, run a layer of painters tape along both sides, and be sure to get the front and seal the bottom of the countertop. Mix a little two-part epoxy and add it to the crack. You’ll see this step in my video.
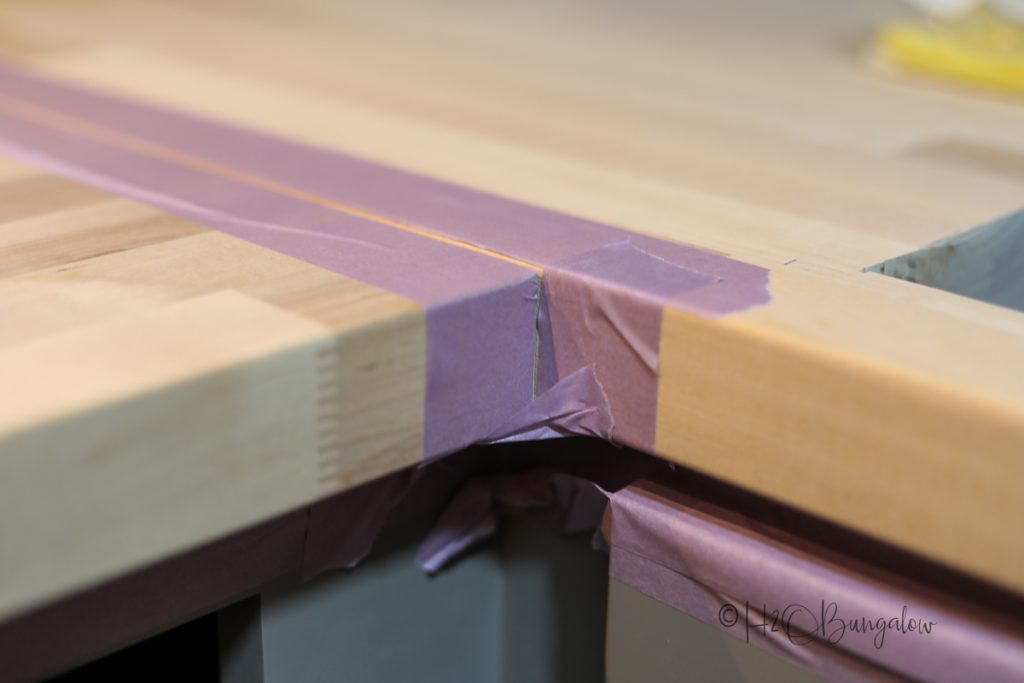
Take off the tape before it dries and allow it to finish hardening. Lightly sand with a sanding block until it’s smooth and flush. Wipe the dust off with rags followed by a tack cloth.
Step 8. Prep the butcher block counter to finish.
Add painters tape along the walls and surface you don’t want the finish getting onto it. Tape along all of the walls, the underside of the cabinet.
Step 9. How to finish a DIY wood countertop.
A lot of research was done before choosing the best finish for a wood countertop in a kitchen. It needed to be durable, waterproof and easy to maintain. I even tested a few products to find the best and most durable wood countertop finish.
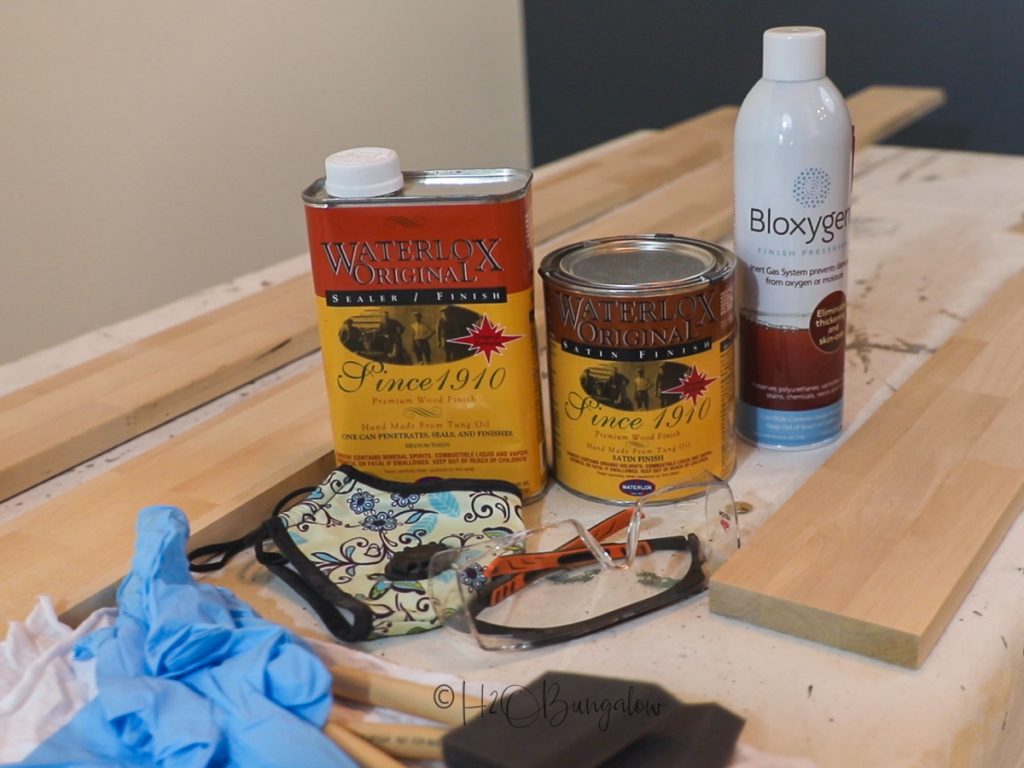
Ultimately, I decided to use Waterlox finish on my wood butcherblock countertops.
It’s a solvent-based, resin-modified tung oil finish that is delivered in mineral spirits. The only down-side to using this wood countertop sealer is the cure time. You can definitely use it within a few days, but it takes between 30-90 days to reach it’s maximum hardness, weather dependent.
The long cure time wasn’t an issue for us since the Mill still had a few months of work before we’d host our first guest.
I applied three coats, allowing each to dry 24 hours between coats. You want a dust free surface before adding the sealer. Run a tack cloth over everything one more time just before sealing.
Wear protective goggles and a face mask when you’re using Waterlox. Open the windows and ventilate the room well if possible, the smell is really strong. Plan to toss the cups, foam applicators, etc, you use with each coat.
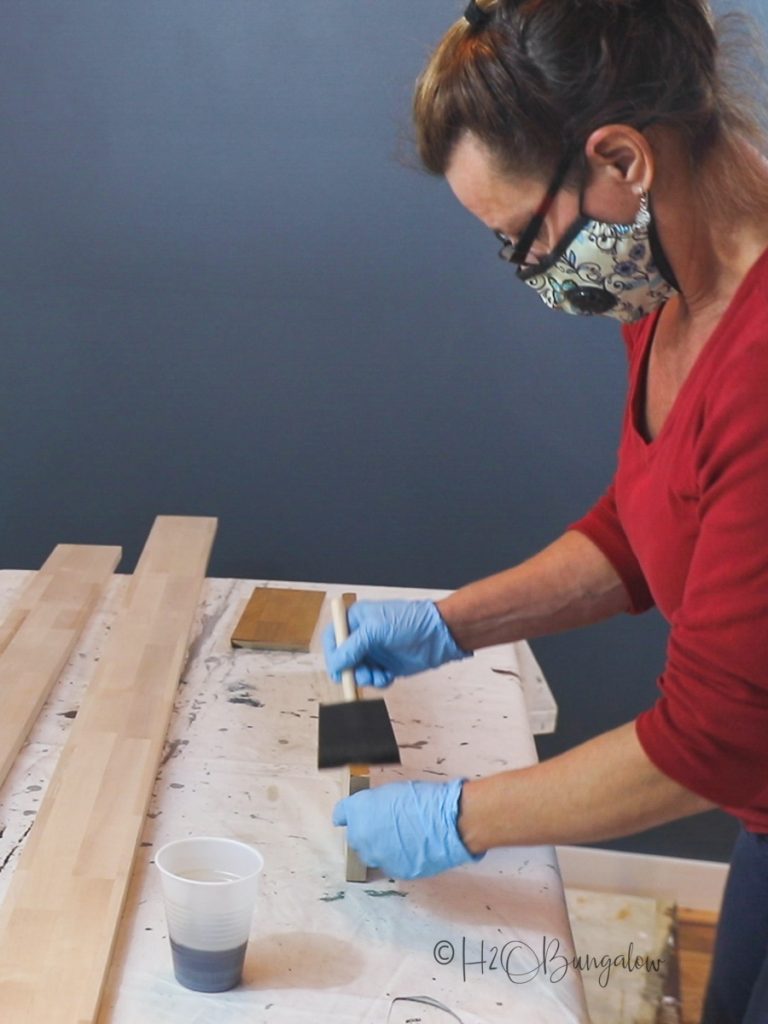
Important tips for sealing and finishing DIY wood countertops
- You want a dust free surface before adding the sealer. Run a tack cloth over everything one more time just before sealing.
- Do not shake the can! It will create bubbles in your finish.
- Work with small amounts at a time by pouring the Waterlox into a separate container to apply.
- Always seal the can right away after opening it by using Bloxygn which removes the oxygen from the can. Otherwise, your finish will start hardening in the can.
- Always apply in long sweeping motions from the high points to the low spots, with the grain.
- Be sure to get the edges and the sink cut out.
- Allow it to dry at least 12 hours before adding another coat
- Sand very lightly with 220 grit sanding block between coats. Go over everything once more with a tack cloth and add another coat of Waterlox.
I worked on the backsplashes first, coating the front and the top and bottom of each. Apply the finish with a foam brush using long strokes.
Next, I moved on to the bar top and odd shapes.

Once fully dry, we attached the rest of the wood backsplash to the wall using silicone and a few brad nails.
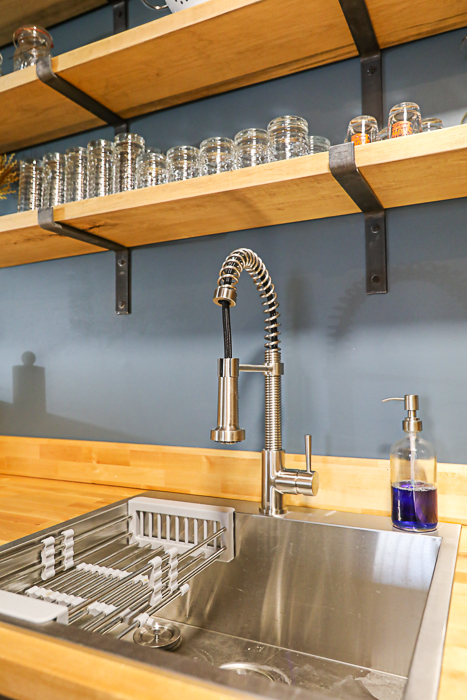
Will a wood countertop last? This one has been in place and used pretty much everyday for about a year and half now. It just as good as the day it was finished.
Don’t place hot pans or use it as a cutting board though!
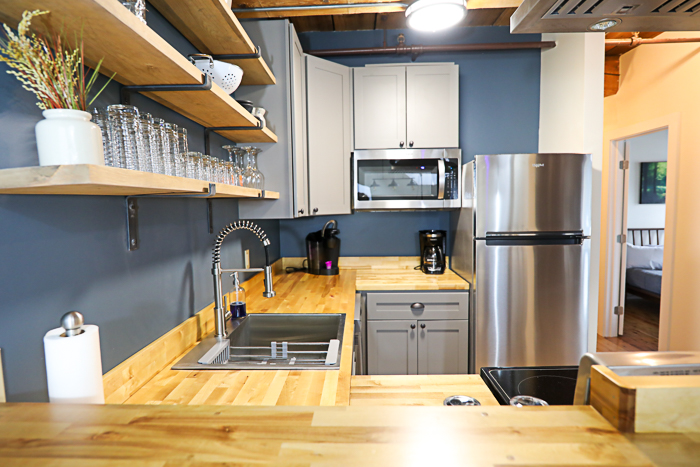
We haven’t had to add another coat of finish yet. When the time comes, we’ll clean and degrease it well. Sand the top lightly, tape-off the areas and put another or two coat right over the existing one.
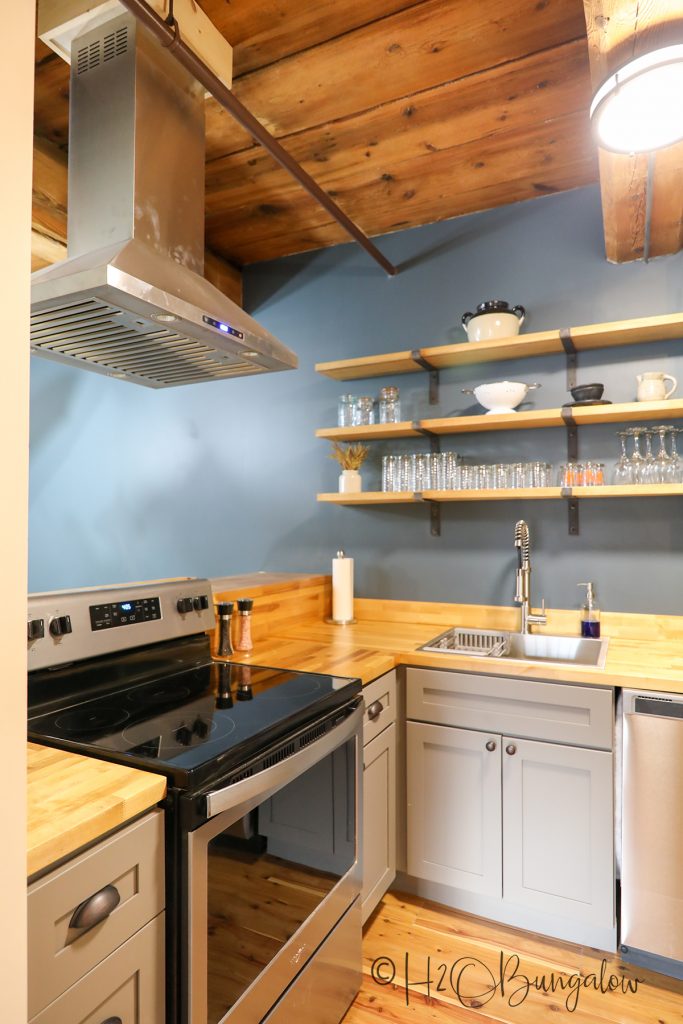
That’s all there is to installing a wood counter top. It’s not hard to do and was definitely easy on the budget compared to other counter materials!
