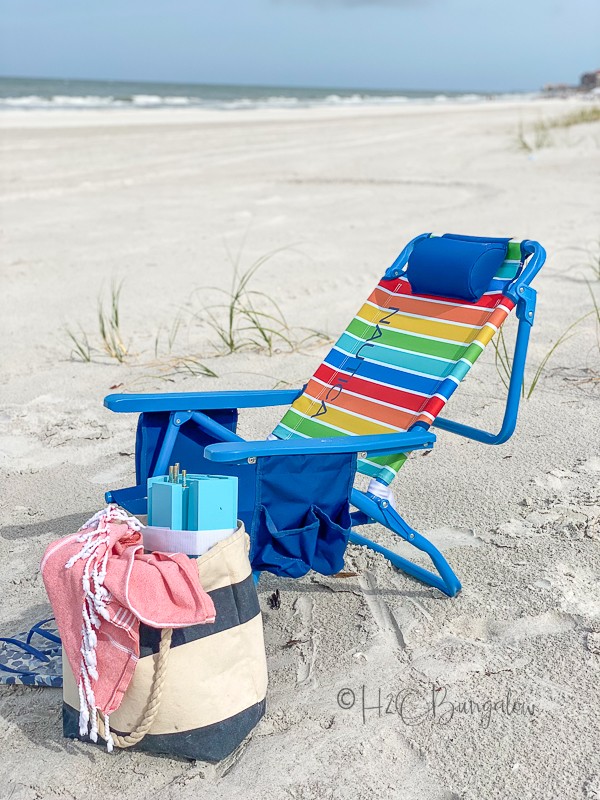
How to make a DIY small folding portable table. Make and take this mini portable beach table anywhere, it fits in a small beach bag and keeps your drinks and snacks off the ground. Best of all, this lightweight tiny table is easy to make and use!
If you’re looking for instructions to build an Easy DIY Patio Table, you’ll love this tutorial!
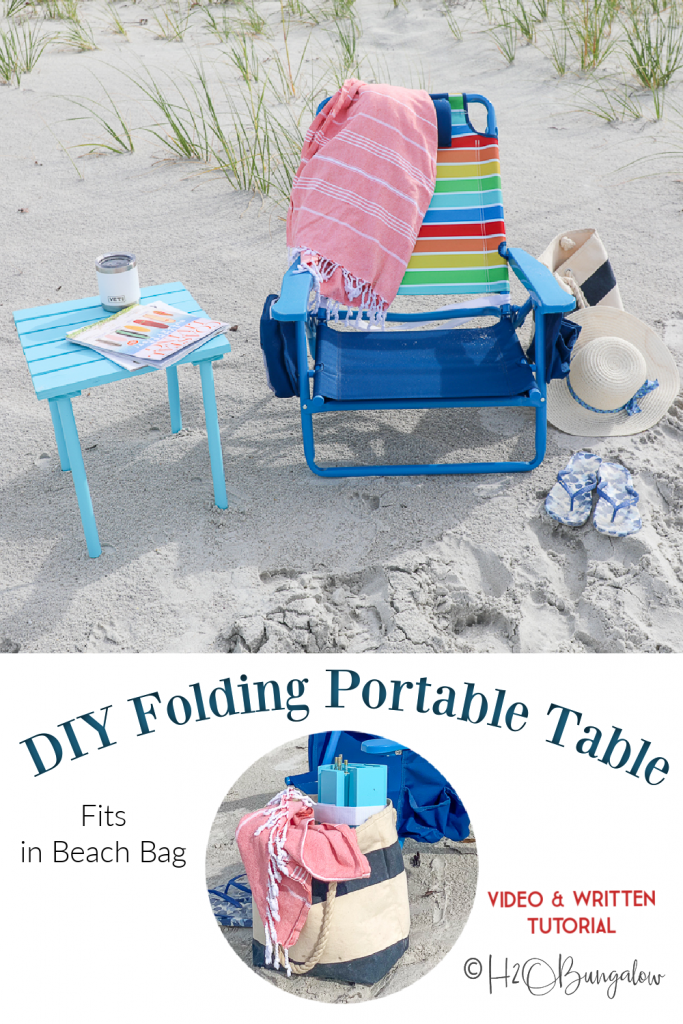
How To Make A DIY Small Portable Folding Table
Sending out a big thank you to HomeRight for sponsoring this post! I also use affiliate links, as an Amazon affiliate I earn a fee from qualifying purchases at no additional cost to you. Thank you for supporting H2OBungalow!
DIY small portable folding table supply list
- 1 x 3″ Select Pine @ 11 feet
- 1″ Dowel @ 5 ft
- 4 – 5/16 hanger bolts at 2″ long It was cheapest to buy this kit with both bolts and inserts and toss what I didn’t need.
- 4 – Hanger Bolt Threaded Inserts, see above note on hanger bolts
- 1″ Nylon webbing
- Paint, I used Paradise Sky in a latex, satin finish from Home Depot
Tools needed for this project:
- HomeRight Quick Finish Paint Sprayer
- Wagner Paint Shelter Medium
- Miter saw
- Drill
- Forestner Bit kit with, 1″, great set if you don’t have one, just the one bit 1″ Forstner bit
- Electric Stapler, I love this one
- Sander
- Measuring Tape
- Kreg Multi-Mark, optional but makes repetitive measuring a breeze!
- 8mm Hex Wrench
Check out my video on How To Make a Portable Folding Table to see how I made mine!
Step 1. Cut wood to size
Cut 7 lengths of 1×3 at 15″ each. Next, cut 4 legs from the 1” dowels at 15”. Lightly sand rough edges as needed.
Step 2. Assemble the portable table legs
Make pilot holes in each leg with a 3/8″ drill bit. Tape painters tape onto a 3/8” drill bit as a guide for the depth at 1”.
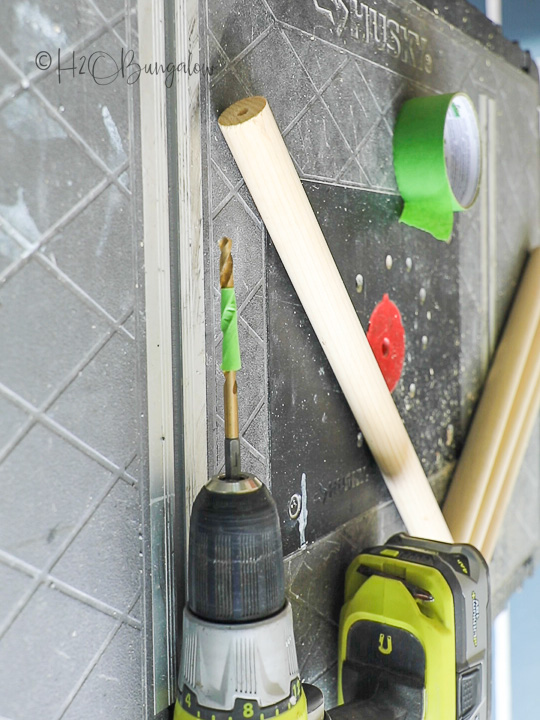
Hold a leg upright on a flat hard surface and drill a 1” deep pilot hole in each leg.
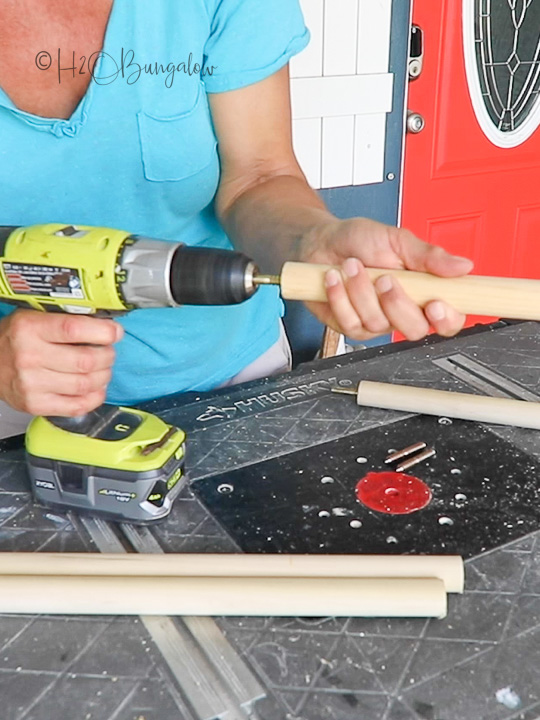
Inserting the hanger bolt into the pilot hole is easy. Load the flat end of the bolt into the chuck of your drill, set the torque to low, hold the leg in one hand and the drill in the other. Slowly screw in the hanger bolt until it’s inserted 1” which is the top of the coarse threads.
Step 3. Build the table top support
Cut 10- ½” wide spacers and place between 6 of the boards. I cut mine from scrap wood I had left over. Place the two leftover 15″ pieces across the boards, one at each end.
Next, position and center the two support bars. I set my Kreg Multi-Mark tool to 5/8″ as a guide while I positioned the support bar 5/8″ in from the side and end of the table top. Mark the center of the support bar too. This is where the leg will attach to the table.
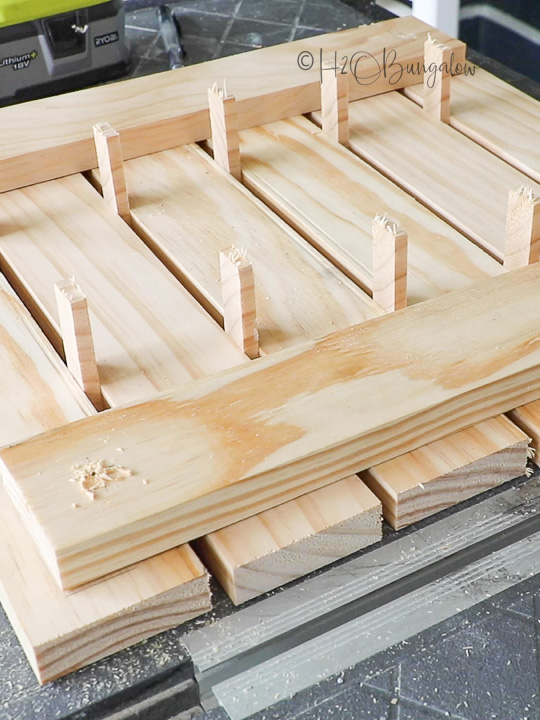
Hold each support bar in place, drill a pilot hole through the top support and about ½’ into the table top slat. Do not drill all the way through the table top piece. Tape a ⅜ drill bit at a 9/16” depth and drill all the way through only the 4 support pieces over the pilot hole. Do this for all four corners.
Tip: To help prevent the wood from splitting at the underside when drilling, place a piece of scrap wood under both sides of the support bar. Drill all the way through and slightly into the scrap wood underneath.
Next, use a 1” Forstner bit and drill about ½” deep recess over the center of each of the 4 holes on the support pieces. It will look like this.
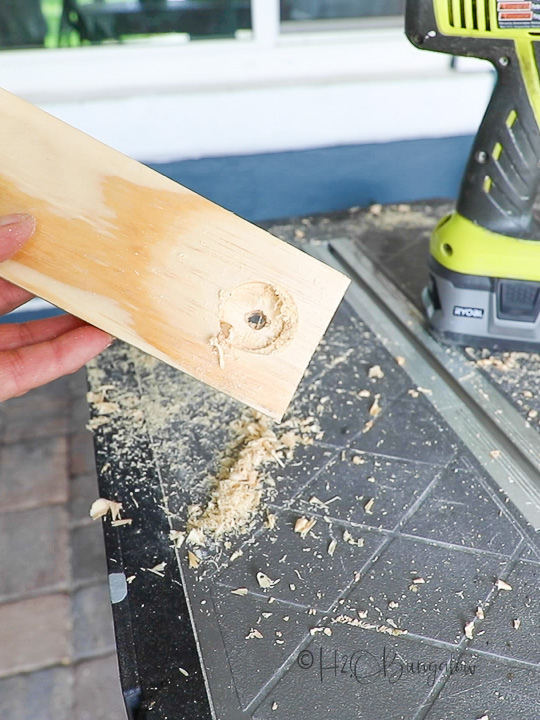
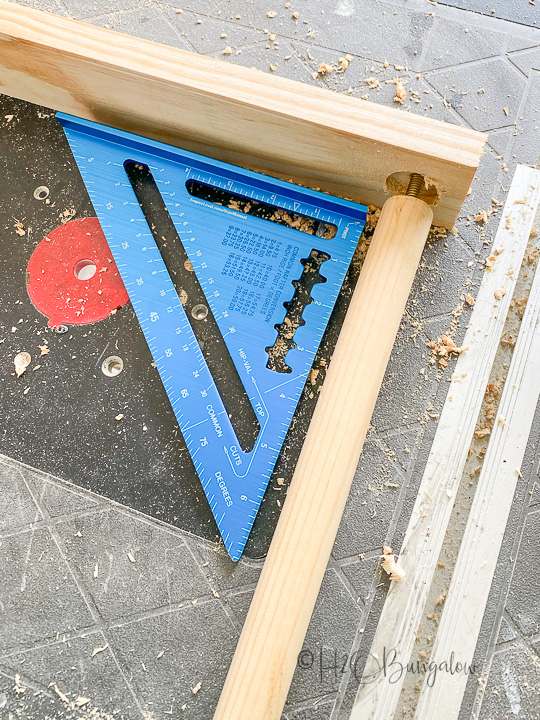
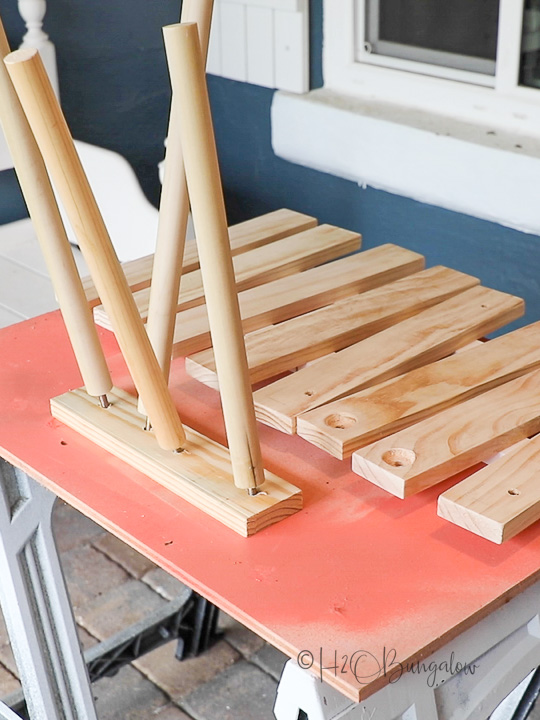
The hanger bolt on the leg will fit through the drilled hole snugly and the screw should stick out about ½” on the other side. The top of the leg will fit into the recess.
Check to be sure the leg will lay flat by placing a speed square next to it with the screw all the way through the hole.
Step 4. Paint the DIY portable folding table your favorite color
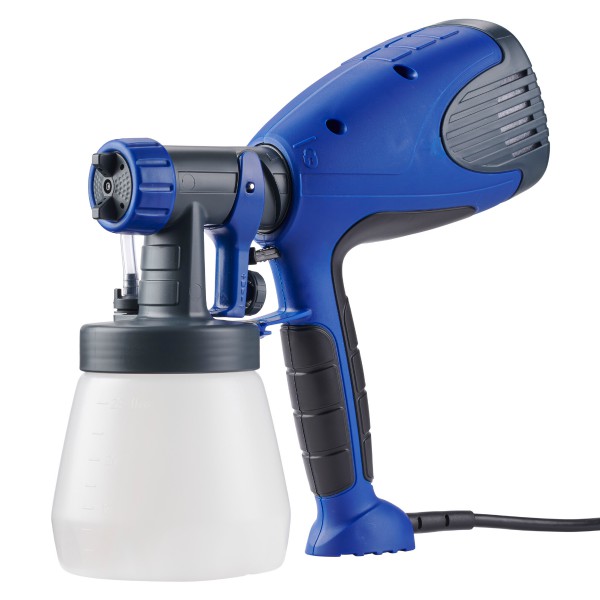
I used my HomeRight Quick Finish paint sprayer and a Wagner Medium Paint Shelter for this project. They are both perfect for smaller projects.
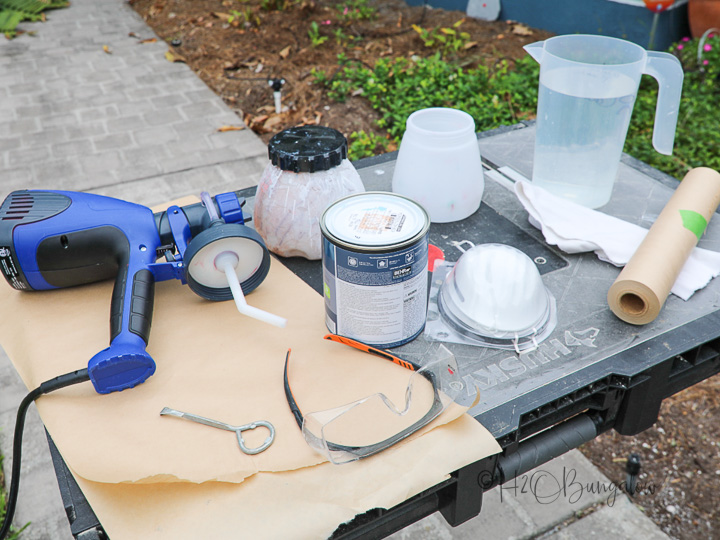
I always set up my paint supplies and figure out how I’ll place my painted items to dry before I start painting.
The table top pieces are elevated on boards to dry. To make painting and drying the legs easier, I made a jig to hold the legs upright by drilling holes in a scrap piece of wood and inserted the legs screw side down.
Using a Quick Finish Paint Sprayer is very easy. Water the paint down if needed, to the consistency of pancake batter. Adjust the paint flow amount by spinning the dial behind the trigger. Change the paint pattern from horizontal to vertical by turning the front nozzle. Pull the trigger to begin spraying.
You’ll see all of these steps in my video.
Painting with a paint sprayer is easier when you elevate the items on a table. I use a lazy susan I found in the thrift store so I can spin it around and spray an even coat of paint onto my wood. Place the table top slats onto another board to elevate them. That way the pooling paint doesn’t mar the painted surface.
I knew this and forgot for the first few table top pieces. I’m glad they could be hidden on the underside of the table!
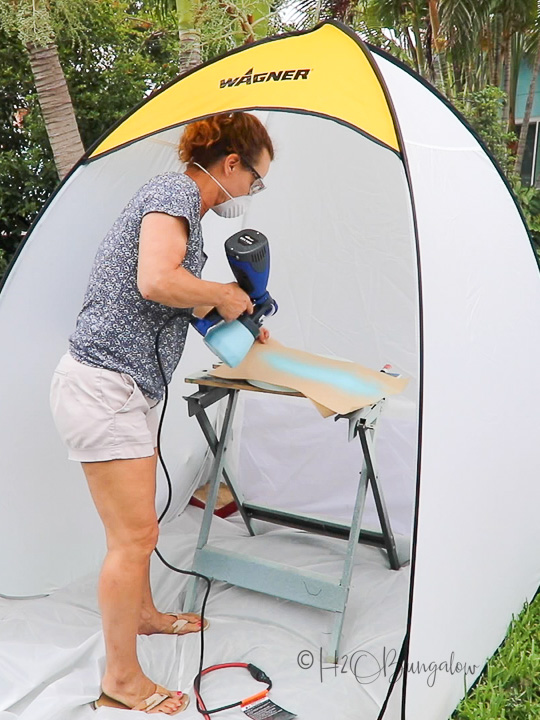
Tip: Place a few heavy blocks on the inside of the paint shelter on breezy days.
Always do a test spray and adjust the flow of paint before painting a project. A piece of masking paper works well and you can toss it when done.
Remember A thin coat of paint is always better than a thick coat. Spray with a slow back and forth movement, moving your arm from side to side.
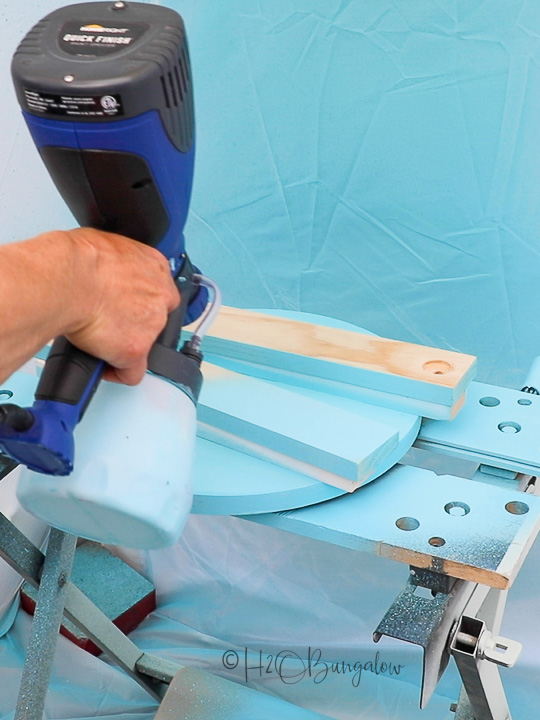
Apply two coats of paint to each side allowing the paint to dry between coats.
Always rinse the Quick Finish with clear water between coats to keep the paint from drying in the sprayer and nozzles.
Step 5 Assemble the DIY portable folding table top.
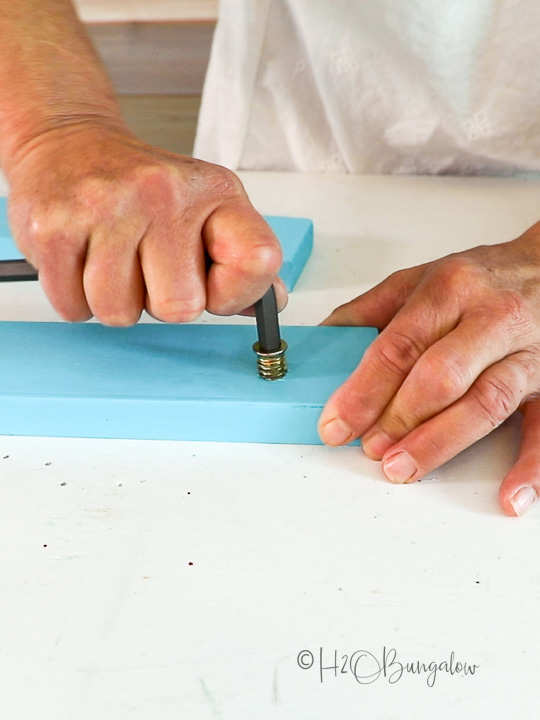
Add the four hanger bolt inserts to the two support pieces table using a 8mm hex wrench. Screw them in straight until they are flush to the wood. Don’t over tighten them or they may bulge out on the other side.
Next, lay the top of the table slats face down on a flat surface. Place the ends with the inserts at each end. Use the same spacers you used earlier between each board. Mark 4“ in from each end which will be where the nylon straps will attach to the back of the table top.
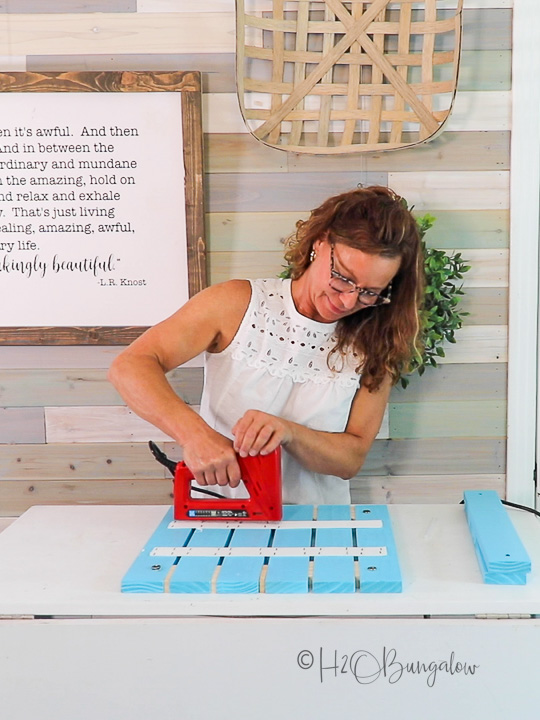
Cut two lengths of the nylon strap at 13 1/2″ long. Singe the ends with a lighter so they won’t unravel. I attached my straps with a dab of hot glue before attaching them but it’s not necessary. Use a staple gun with ⅝” staples and attach the straps to the boards. Place two staples at each edge so each board has four staples holding the straps on.
Remove the spacers.
Pin this now!
Save How to Make a DIY Portable Folding Table on Pinterest and share with your friends on Facebook!

Step 6. How to set up the portable folding table
To set the DIY portable folding table up, all you’l need to do is unroll the table top out on a flat surface. Place the support across the slats so the drilled holes for the screws line up to the inserts.
Screw the legs into the table.
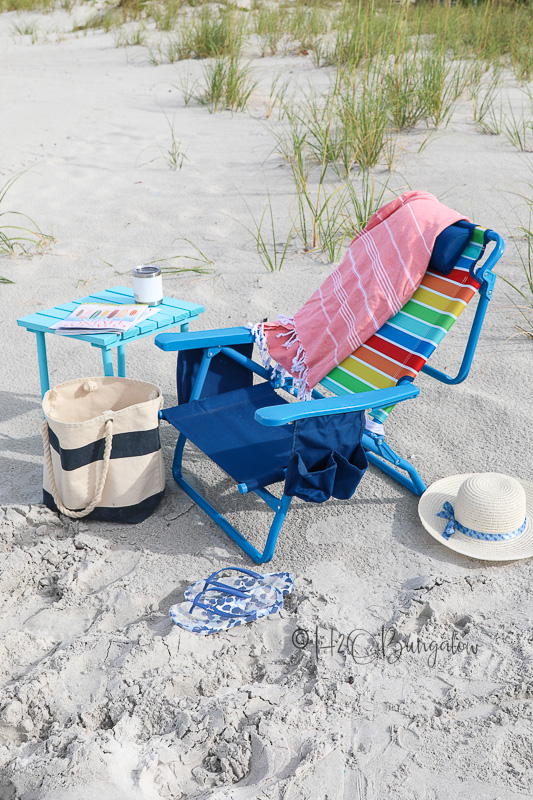
Flip it over and voila! You have a fantastic small table that you can use at the beach, the park or where ever you may to use one!
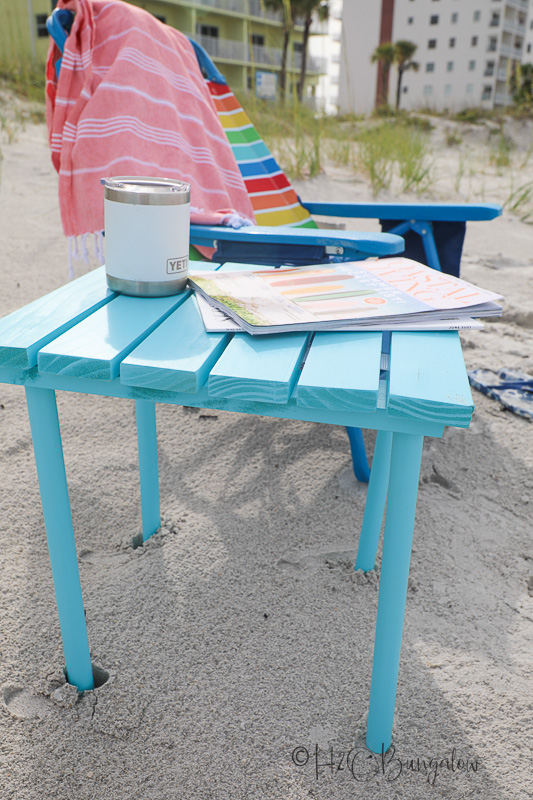
Storing the table is easy too, plus it easily fits in to a beach bag!
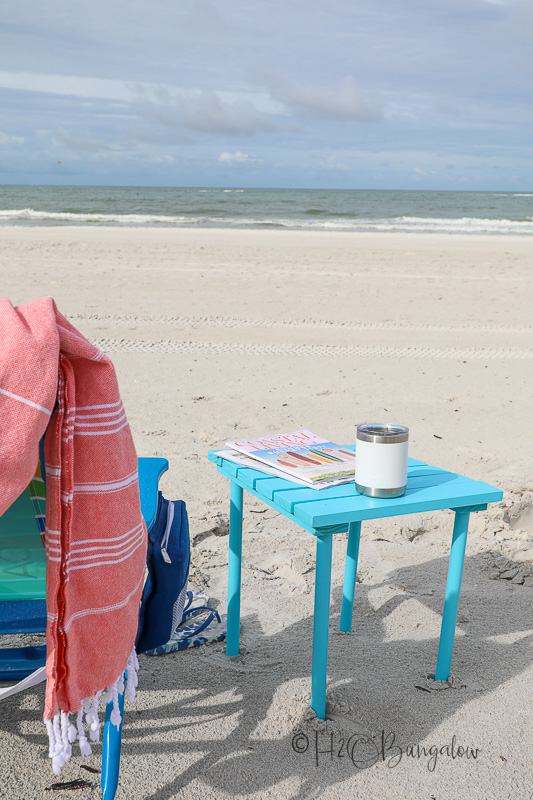
Remove the legs, lay the legs and the table supports lengthwise with the table top. Roll up and tie with a cord or cinch with a velcro holder.
Want to see what else you can do with a HomeRight Paint Sprayer? I’ve made dozens (yes, that’s correct!) of DIY projects with my Quick Finish and Super Finish Max Paint sprayers!
