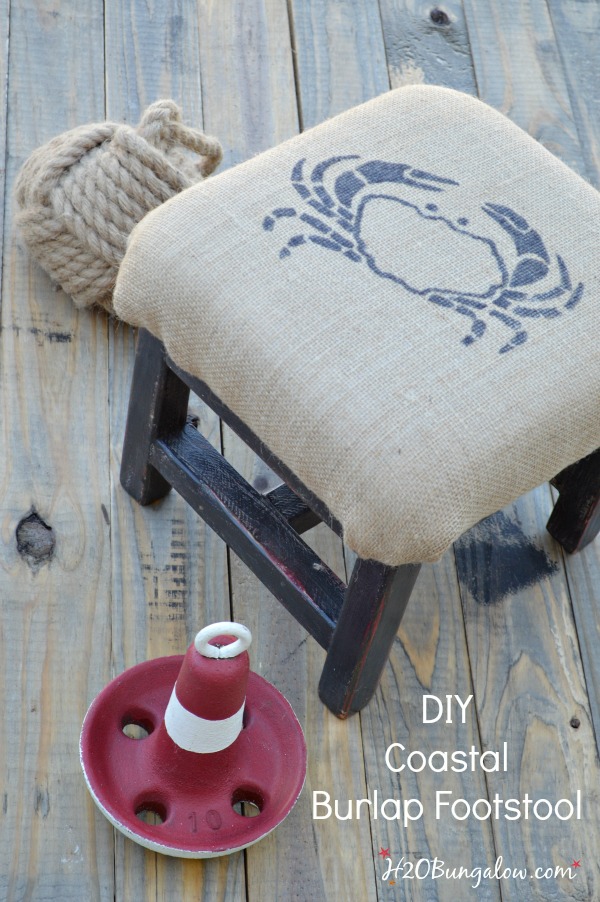
You know that thought in the back of your mind when you see something in a thrift store that you know would be perfect for a makeover? But you dont get it because you’re looking for something else for an entirely different project. You can’t get that thing out of your head? Yes, that feeling. I saw the perfect foot stool recently for this months Themed Furniture Makeover Day as soon as I saw it, tucked up behind stuff and underneath a rickety table, I knew I could make a such a cool coastal burlap footstool out of it.
So I went back the next day.
And it was gone 🙁
By that time I had everything figured out in my head . I knew exactly how I’d make a coastal burlap footstool, right down to the graphic I wanted to put on it.
But, it was gone.
Bummer.
So… instead of running all over town to different thrift stores to find another footstool , which I know there would not be a single one available, anywhere…
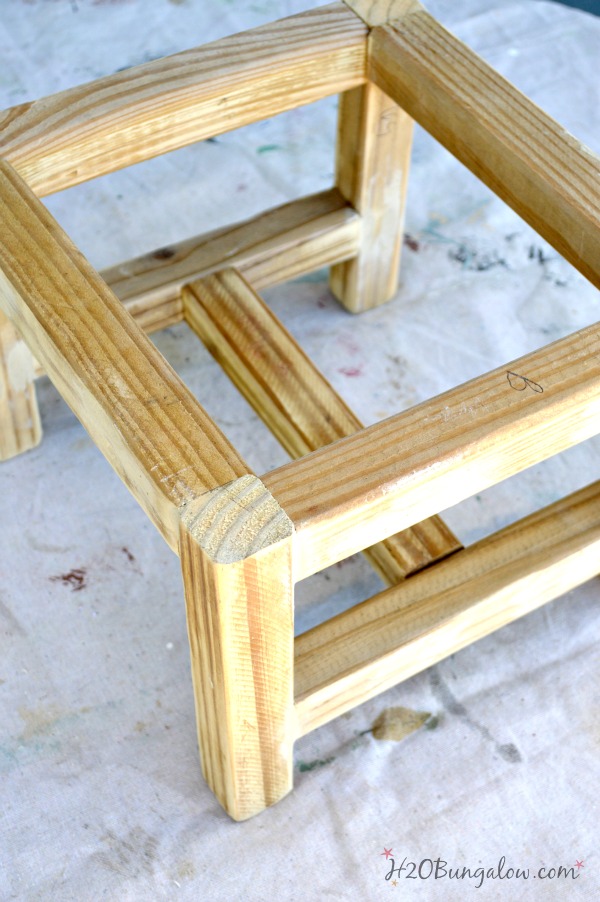
I built one.
I used the same concept as my Simple DIY Bench which came from my tutorial for these DIY Patio Tables I built last summer.
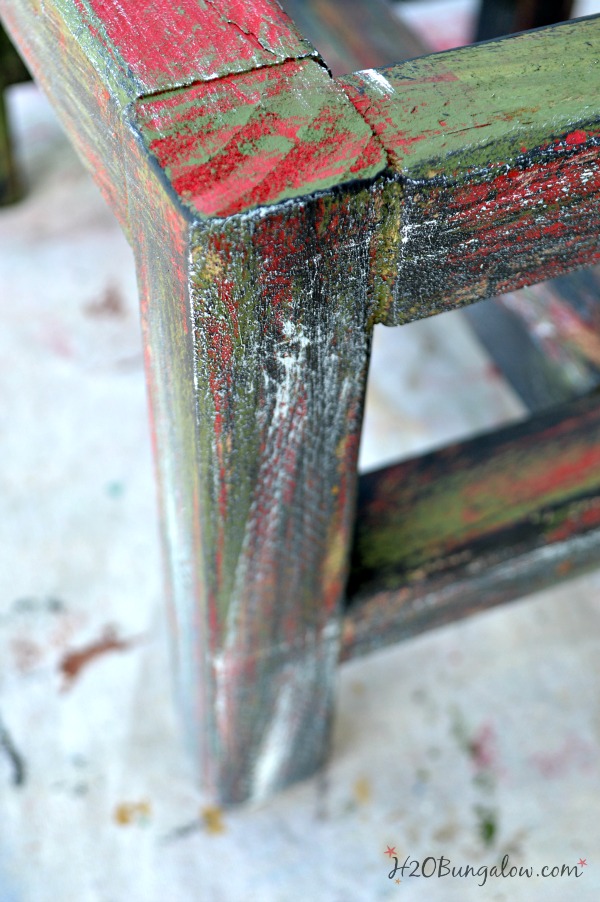
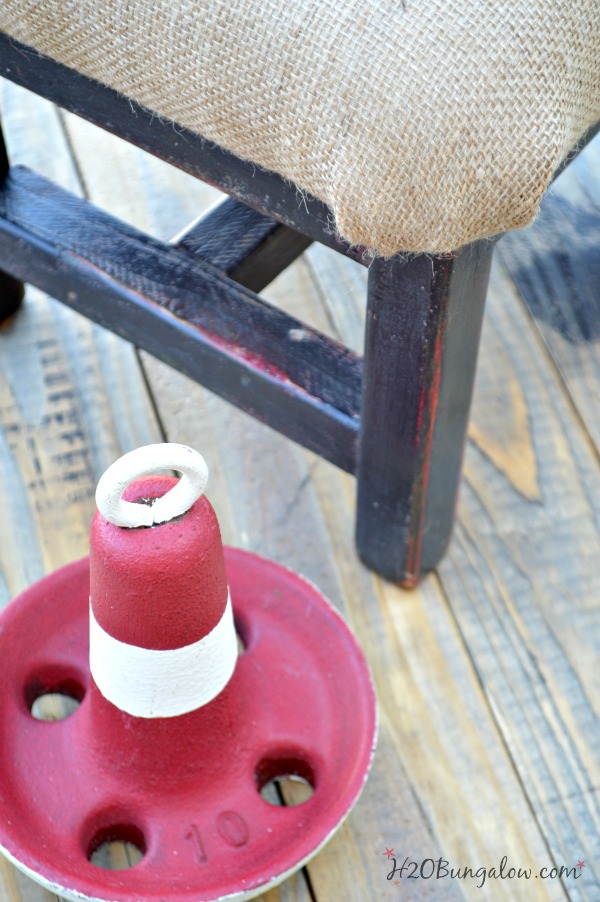
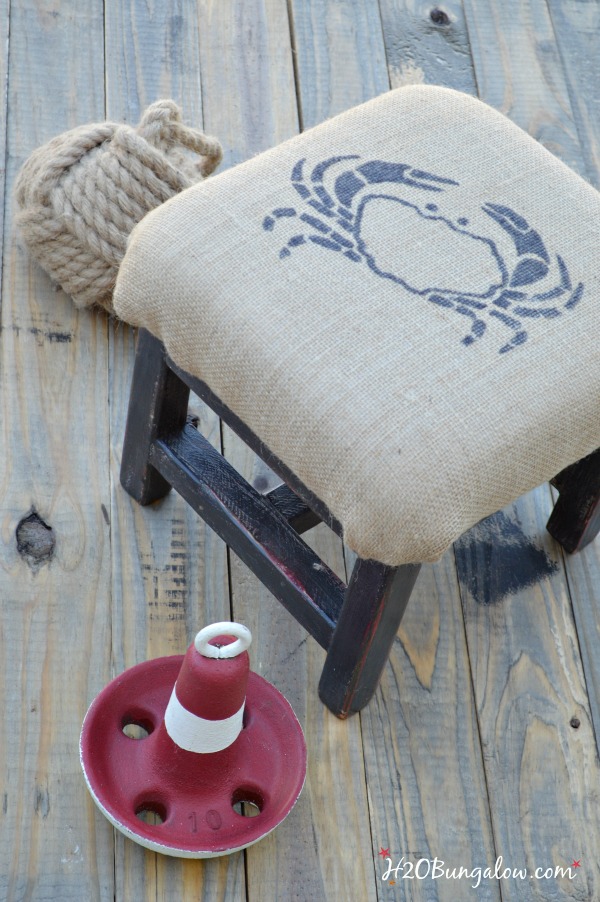
I wanted my coastal burlap footstool to look like it had been around awhile so I layered several colors on the raw wood, letting each one dry in between. Then painted it black and followed up with two coats of clear wax.
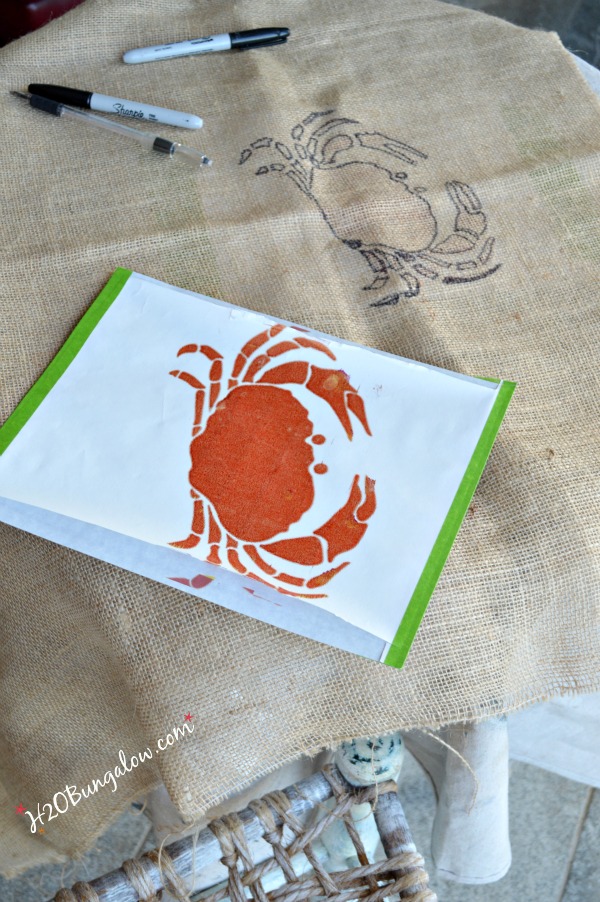
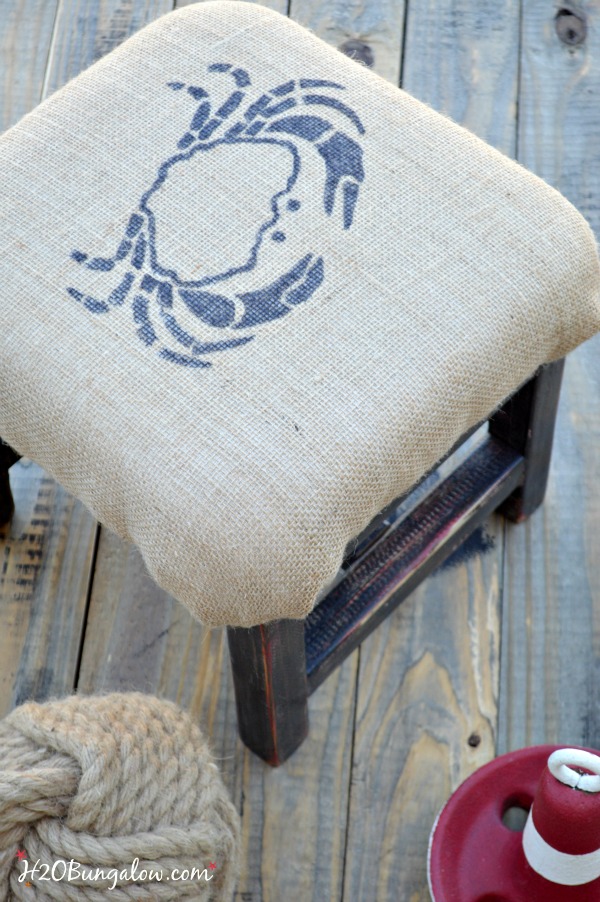
I just knew a crab would be cute on it. After trying several transfer methods that didn’t take so easily, I traced it through the burlap and used another printed crab to make sure I was getting the shapes correct. I used a regular sharpie and heat set it with a hot iron between two paper towels.
Easy.
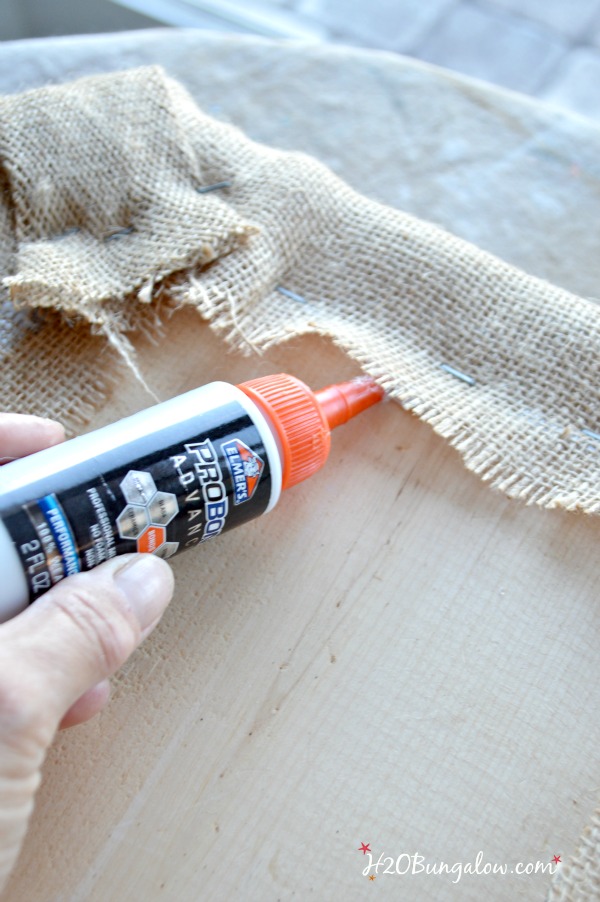
I covered the seat with a layer of muslin first and then attached the burlap. I have great tutorial on how to upholster a bench seat here. Since I didn’t want the edges to unravel or fray, I added a layer of ProBond glue all around the inner edge of the burlap to give it extra stregnth.
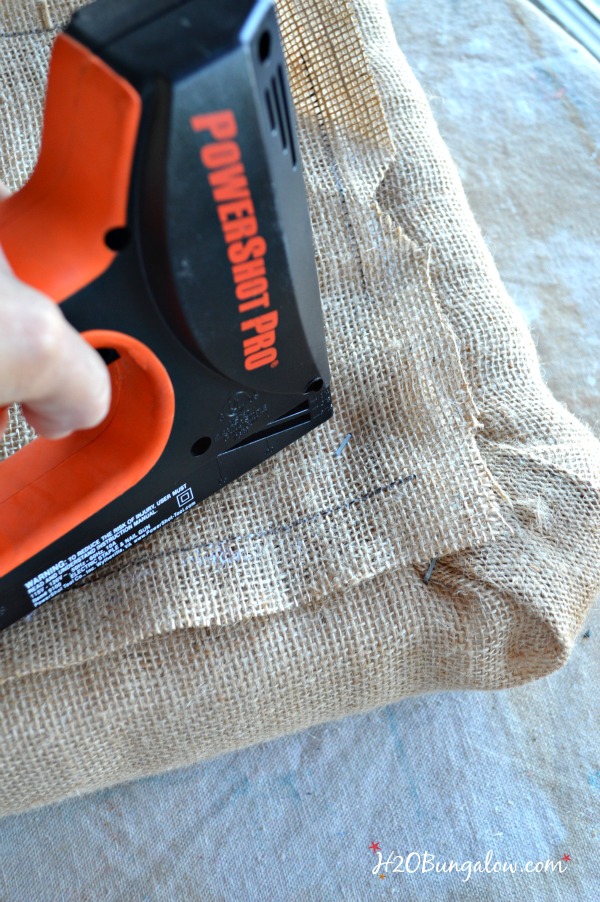
Then tacked down an extra burlap piece with the staple gun to cover the raw wood.
Light distressing before I waxed it let the different colors peek through just enough to give it personality.
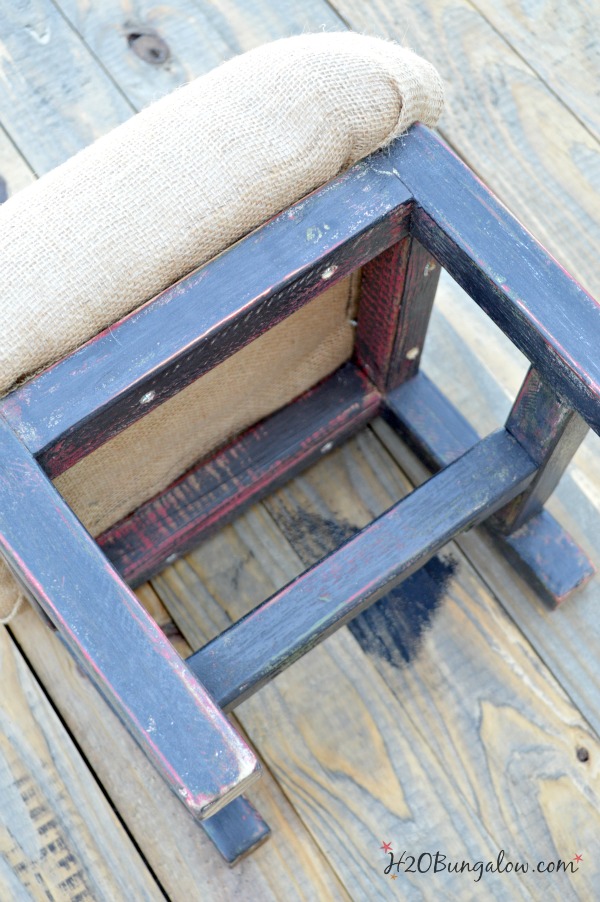
I attached the seat with 2″ screws. To make it easy. I drilled pilot holes and used my countersink bit so the screw heads would be recessed and not show.
I like the underside with the burlap covering, don’t you?
I love it!
I didn’t make it for my house. I have a new arrangement for my extra projects to go to a local shop. I’m pretty excited because I won’t have to store all the stuff I make 🙂
I think this little DIY coastal burlap footstool will look great in a rustic coastal place. Hopefully it goes home with someone who thinks it’s as cute as I do.
In the end, I think my DIY footstool worked out better than the one I passed up in the thrift store.
There’s lots more Themed Furniture Makeovers just below this picture! Click on any one of the pictures to go tho that post and tutorial.
Love a good dose of DIY home decor, home improvement, the challenge of woodworking and creative ways to make your home look fabulous?
Me too!
I’d love to share mine with you. Click here to sign up for my post emails and I’ll send a quick note when I have a new project to share.
Social media fan? Don’t be shy say hello! I love when you guys do that! I’m interactive on Facebook and I share lots of other projects and, useful inspiration for the home and content I don’t share anywhere else. Follow H2OBungalow on Facebook here
Oh heck, just follow me on all social medias. We’ll have some fun…promise:) Follow H2OBungalow on Instagram , Follow H2OBungalow on Twitter , Follow H2OBungalow on Pinterest, I’m on Periscope! @H2OBungalow
I use affiliate links in my posts. If you should make a purchase I will receive an itty bitty commission at no cost to you. Thank you in advance for supporting my blog…my two cats and our boxer dog


Janet says
I’m not understanding the stenciling technique that you used, would you mind explaining further? What does the ironing do, I’d never heard of that either. Thanks!
Wendi says
Hi Janet! I’m happy to explain. I het set the Sharpie writing just to give it an extra dose of hardiness to last. If the fabric was washable, I would have put it in a dryer set on high for about 10-15 minutes. This is the method to follow if you were using a sharpie on washable fabric too. I hope that helps! Thanks for your question!
Chelsea @ The Johnsons Plus Dog says
Super cute project! Great thrift store find! Thanks for sharing at the #HomeMattersParty – hope to see you again this weekend!
Wendi says
Thanks so much! I love your party and all the super projects that link up each week!
Amy @ StowandTellU says
Fell in love with this and had to stop over to tell you. It’s amazing and how cool that you made your own because the one at the shop “was gone!”
jennifer says
43 comments! I can see why your readers are eager to chat with you! I would love to make something like this out of our old bar stools. Your step by step instructions may just make that possible! Thanks for the inspiration. However, with two boys burlap may just get nasty. I may have to go for fabric that is scotch guarded. Or can you scotch guard burlap!? jenn
Wendi says
Hi Jennifer! I’ve thought of that amd don’t see why you couldn’t Scotch Guard burlap. In fact, thank you! Because I have a case of it in the garage and I’ll do just that. I’m sure other fabric would look good too, I’ve used dropcloths before and they take paint & stencils very well. Please share a picture of what you make on my H2OBungalow Facebook page. Thanks so much for stopping by:)
Vineta @ The Handyman's Daughter says
I love it! The layers of paint really add a lot of character, and the crab is adorable!
Wendi says
Thanks so much! I fell in love with the crab too. It took a while to find the perfect crab since burlap doesn’t work with fine details. So glad you stopped by & thanks for your sweet note:)
Liz says
That’s such a cool little stool!!
Wendi says
Thanks so much Liz 🙂 It is cool & I’ll have a hard time parting with it too. Thanks for your visit!