In spite of storms and rainy weather this week, I made lots of progress on the backyard makeover! The patio landscaping is almost finished and ready for planting.
Sending out a big thank you to Ryobi for sponsoring this post and month long competition.
It’s exciting to see the progress on my big backyard makeover for the Ryobi Outdoor Overhaul 2.0. I can’t believe it’s week already week 2 of 4. If you missed last week’s post and Backyard Makeover announcement start there to catch up. It’s not too late to join us! You’ll find more info at the bottom of my post!
My Patio Landscaping Idea
I needed a simple landscaping idea to update my backyard patio. I shared my before pictures in last week’s post just how big and open our patio is. To me, the dining table and sofa table seemed like two clusters in the wide open sea of worn old pavers.
It wasn’t inviting at all.
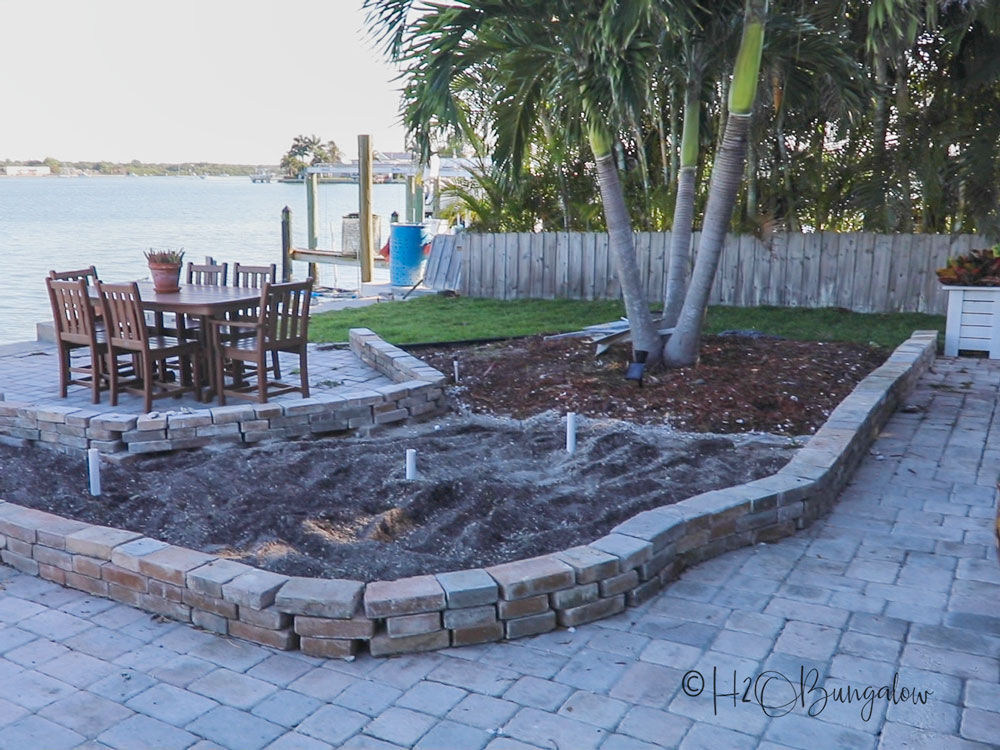
My goal is to make this area feel cozy and inviting by adding lush landscaping that surrounds these areas to make them feel more cozy and intimate. It will look especially nice when the plants mature and spill over the edges. To keep the costs down, I’m reusing my old pavers for flower bed edging.
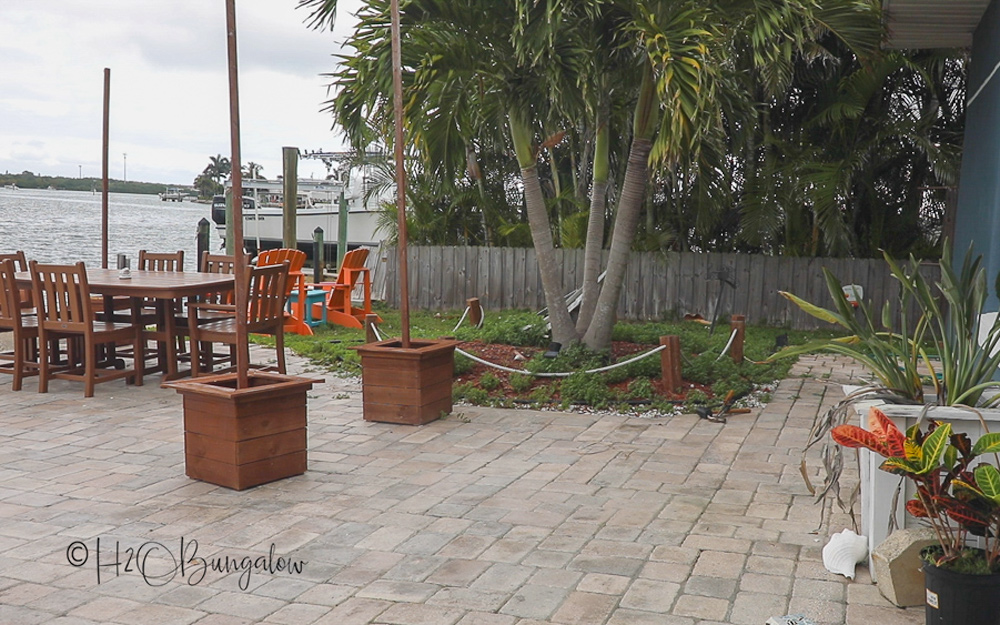
To make the area pretty at night, I’ll add cafe light poles in the garden. The poles will be sturdy but removable so they can be taken down when we have big storms or heavy winds which is several times a year. My Outdoor String Lights on Poles looked great but would fall over during really high winds which is crazy since they each have over 50lbs of concrete weighing them down. I think they’d be fine with wider bases.
This new makeover gives me an opportunity to try out a better plan.
Designing garden bed shapes
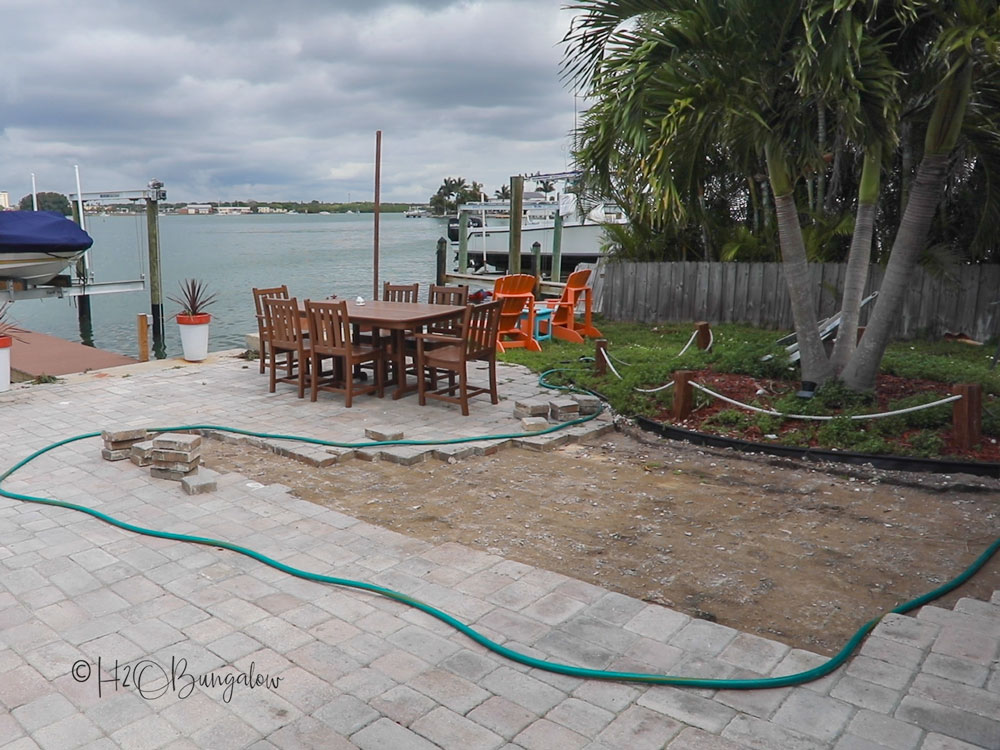
I used a garden hose to outline the shape I wanted for my new planting beds. This allowed me to play with different ideas and shapes until I had the perfect flower bed outline.
A few more tips for designing patio landscaping beds
- Watch where you have shade at different times of the day. Plan around, or with shade if you want to keep plants or your seating in shady areas.
- Plan where your sprinklers will go in advance, that may affect where you place your flower beds
- Think about the flow of the area. I intentionally made big beds around the dining area. But, that means I have to walk around them to get to my table.
- Keep enough room around a table for people to walk and pull out a chair without touching a flower bed border.
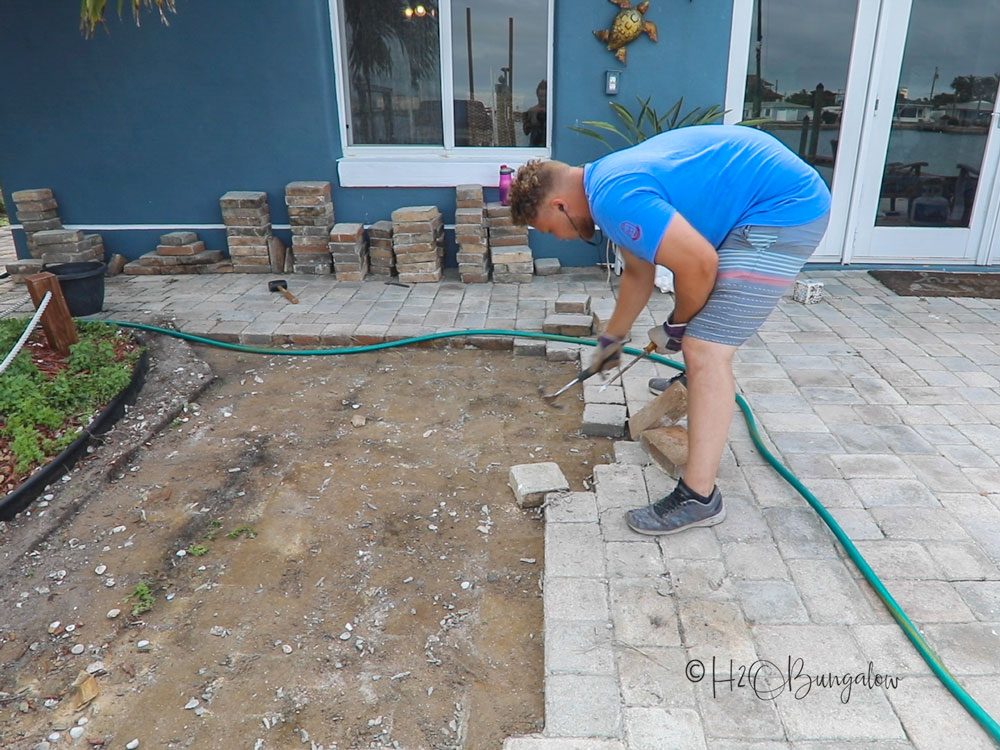
Next, we started pulling up the old pavers. It was easy to start at an edge. After trying a few tools to pop the existing pavers up we decided using the claw of a hammer was the fastest way to pull up pavers. You’ll see that in my video below.
My son came over to help with the heavy lifting since I’m still on light duty from shoulder surgery. This part of the landscaping project went by way faster with two of us!
Using pavers for flower bed edging
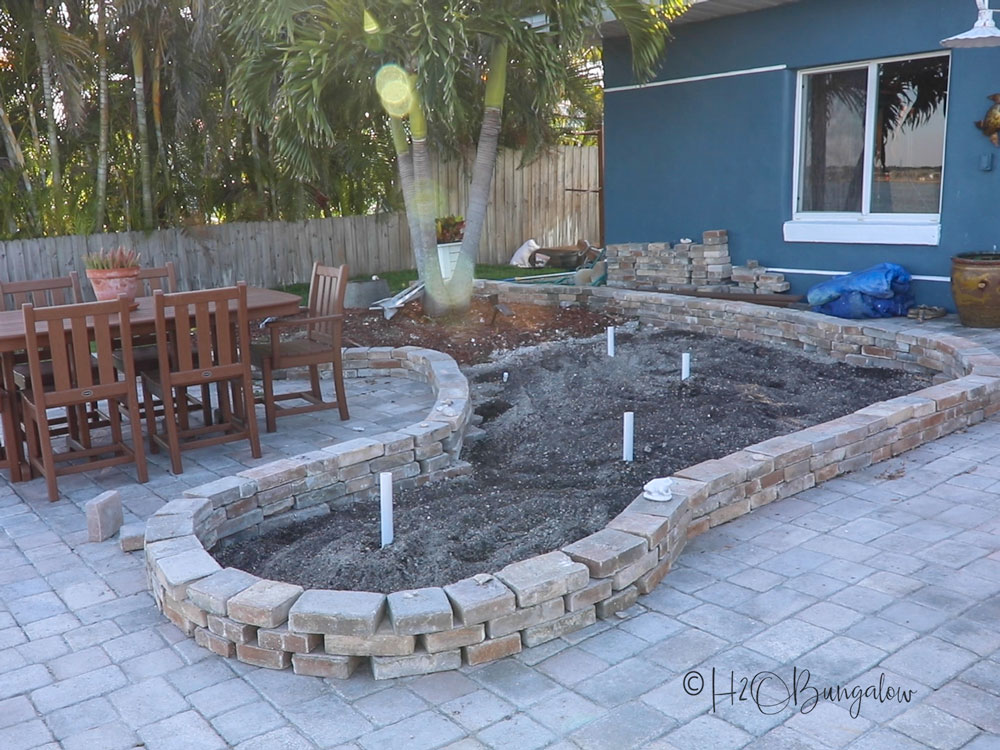
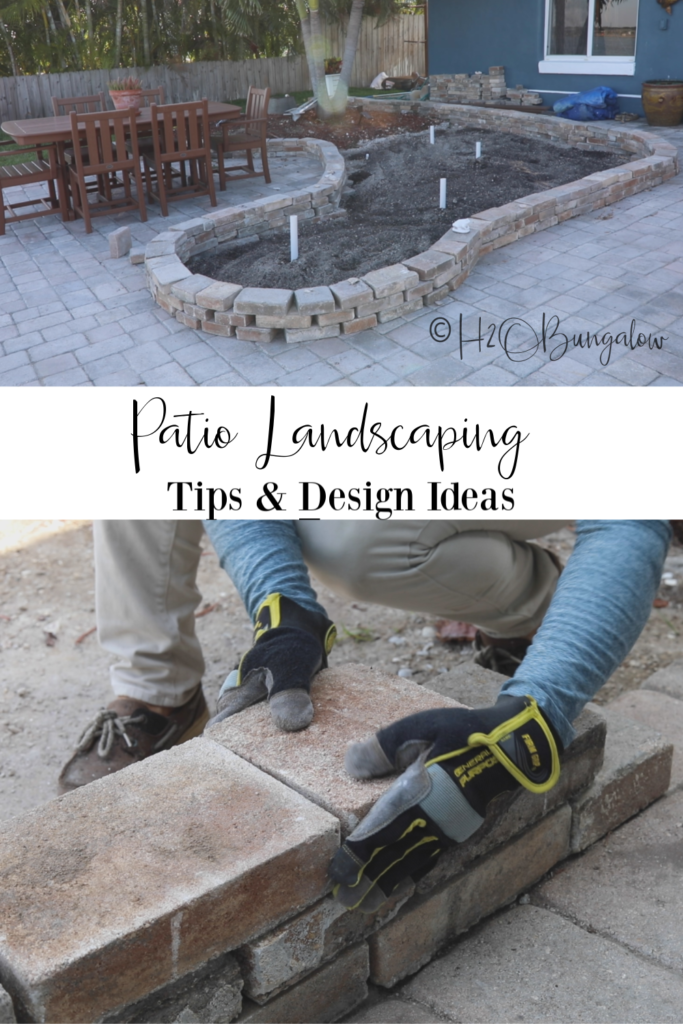
To save on the makeover budget I decided to reuse my pavers for flower bed edging. After trying a few different ways of placing the pavers around the garden, I decided to make a short stacked paver wall, 3 pavers high.
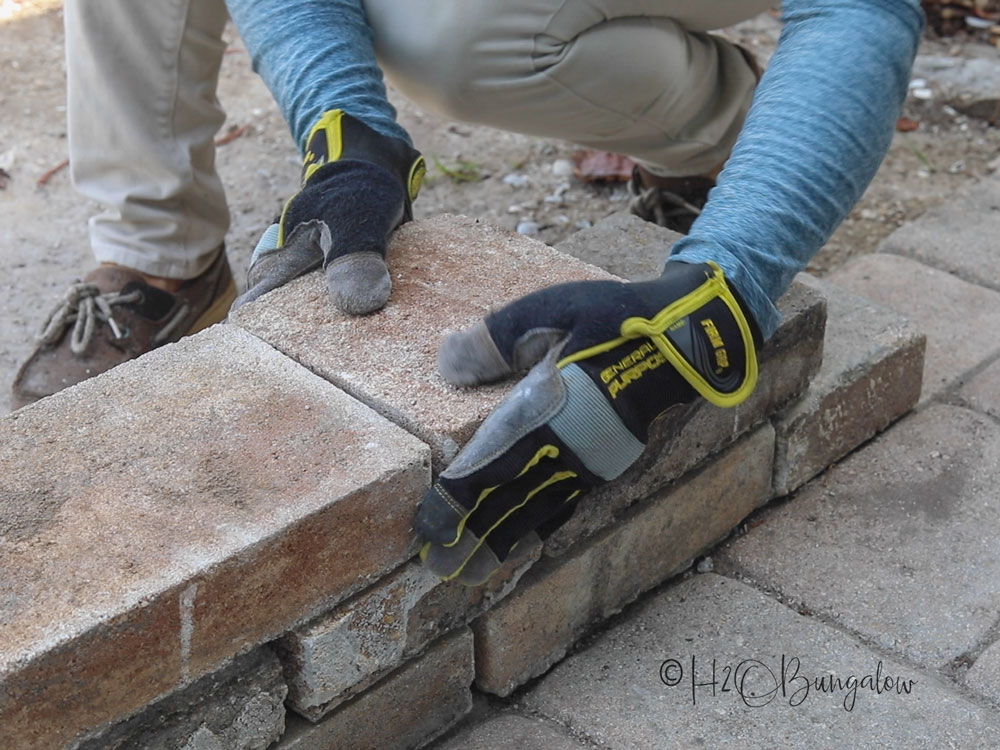
I started by placing the first paver layer around the edge of the landscape garden bed. I used a combination of short and long pavers. The short ones were good for the rounded areas. Paver garden walls look the best when they are stacked in a staggered pattern like the photo below.
You can see on the back wall how I placed the pavers over jagged edges on curves. When possible or as much as I could, I lined up the paver walls with the ground level paver. Most of this will be covered with plants once the garden is established but I still like the neat and lined up look of the pavers.
I should and probably will go back and use a construction adhesive to hold my paver garden edging in place. I didn’t do it at the time, because I wanted to be sure I liked the way the stacked pavers looked first.
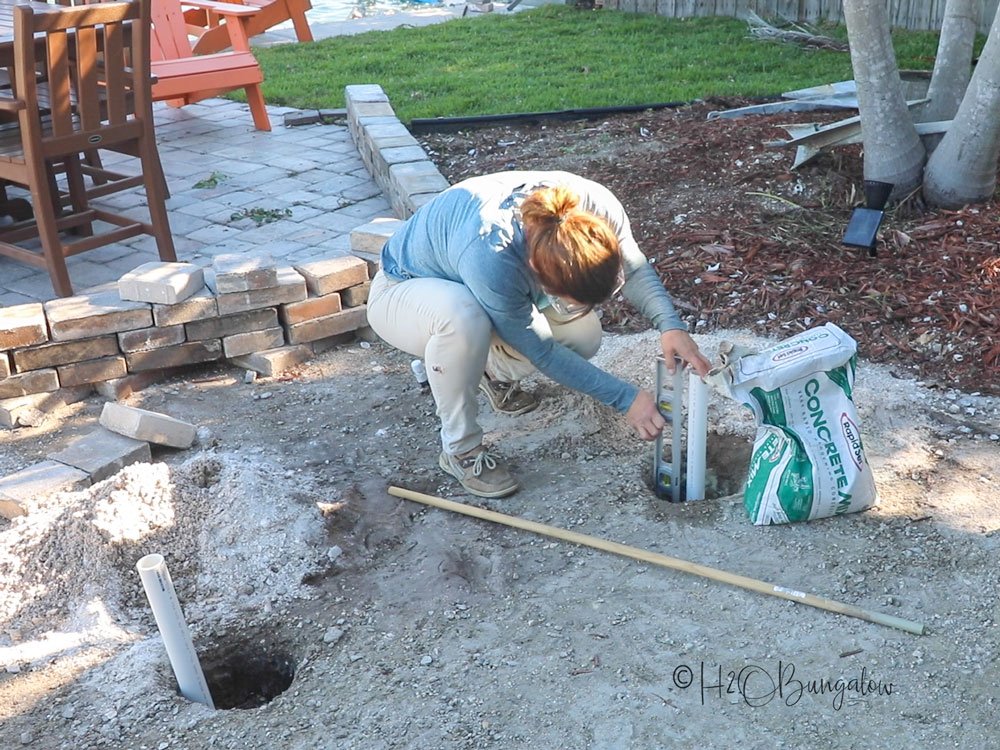
I plan on using drip irrigation for my new landscape beds and had a sprinkler pipe installed in each garden. I also set my sleeves for the cafe lighting. I’ll share that project next week.
Preparing the patio flower bed soil
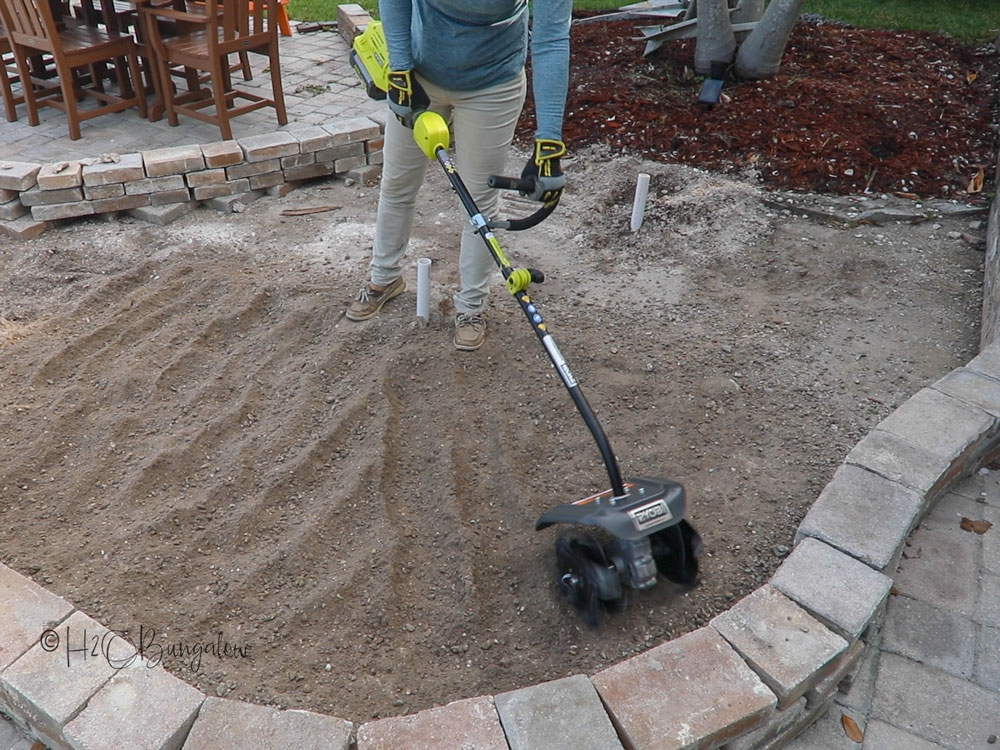
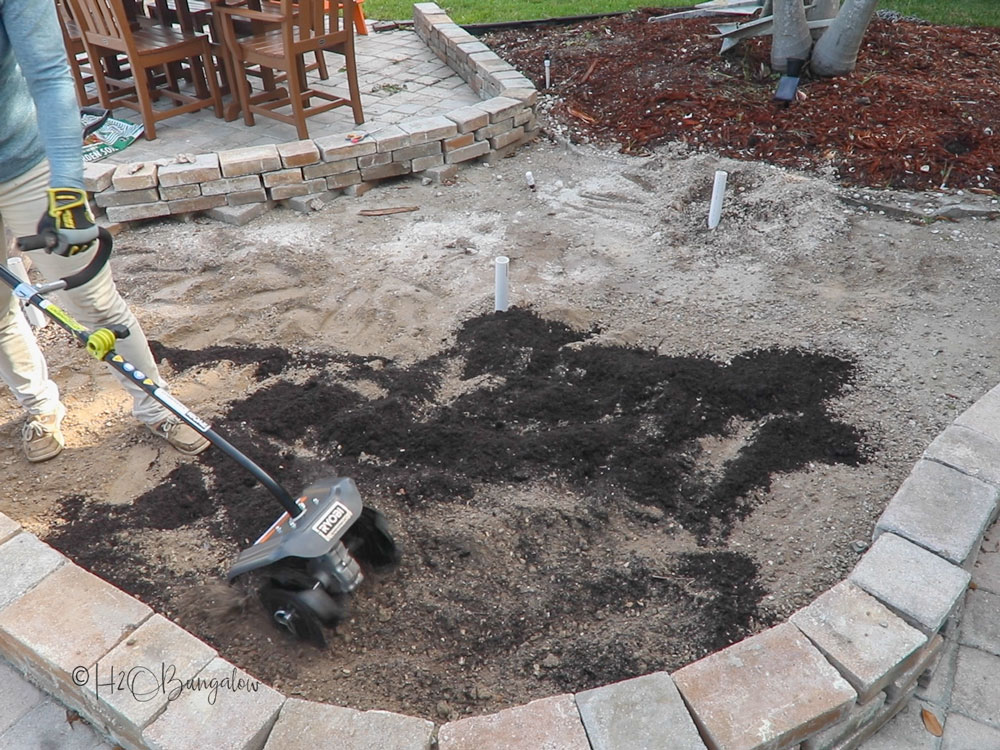
My new Ryobi 40V Expand -It Universal String Trimmer works with several useful Ryobi attachments. I used the Ryobi Cultivator Attachment to break up the soil and work in the organic dirt I needed. To say I was thankful that I had this tool was an understatement. The dirt was rock hard after being under the pavers for years. I’m not sure how long it would have taken me to break this up by hand.
I saved hours of valuable time!
It’s pretty easy to use, just depress the button on the handle, there’s a high and low speed, pull the cultivator toward you while the tines spin, break up the soil and do all the work. I went over each area from one direction and then moved 90 degrees and covered the area again. Go slow enough to let the machine do the work for you.
Our soil is pretty much sand and shells since we are on a barrier island. I needed to work lots of organic matter into the soil. The cultivator did all of the work for me and this step took about 5 minutes for each garden bed!
Truth be told, I should really add a lot more organic matter. I’m thinking I’ll do that only where I’m planting to help keep the project budget in check.
The good thing about using my pavers for flower bed edging is that I used almost all of them up. I thought about other edging ideas initially. My first plan was to buy new garden blocks that stacked or use bricks or stones as garden edging. I decided against it for two reasons. The first was cost. I had two large beds to put edging around. When I did the math, it was a lot of money. The second was logistics, I’d have to get the new garden edging delivered and then haul off the old pavers.
That just seemed like a lot of wasted money and energy, especially since I only have 4 weeks to get my entire backyard makeover done!
I’m thinking of using the remaining pavers to build a small fire pit on the patio too.

That’s my update for the week, Friends!
Save this project for later and share with your friends!
I can’t wait to see what you guys are doing with your makeovers! It’s been a blast on Instagram over the last week watching everyone’s progress and seeing the different makeover projects everyone has been sharing! Keep on sharing!
Makeover your own yard
It’s not too late to join in!
Again, if you missed last week’s post and big announcement, read about it here Ryobi Outdoor Overhaul 2.o, The Hangout Challenge. You’ll find all of the details there like our weekly giveaways and
My video below will share a quick update of how much I’ve accomplished this week!
Take a look at the progress from the other bloggers who are hosting the Ryobi Outdoor Overhaul Challenge with me this week!
My Repurposed Life ~ DIY Fire Pit
Handyman’s Daughter – Garden Clean-Up
Thrift Diving – Ryobi Outdoor Overhaul Update
I have two more weeks to finish my Outdoor Overhaul. This week I’ll finish the cafe lights, plant my gardens and refresh my teak outdoor sofa set. I can’t wait to see what you guys are doing too!

Marti says
It looks great and I love the shape. I can’t believe you are doing that much hard work with your shoulder. Did you use anything to keep the pavers from migrating over time? I’ve noticed mine have shifted a bit and need to redo them all one of these days.
Wendi says
Hi Marti!
Thank you so much, I love the shape of both gardens. I couldn’t get the other picture it was too sunny and it didn’t come out. I am being very careful with my shoulder, I think laying the pavers in the wall was the most work and I only picked up 2 at a time. My son has helped with all of the rest of the hard/heavy work. That’s an interesting thought on the pavers migrating. I’ll let you know. Although I think I’ll be OK since the ones that were there were solidly there but poorly done. There was no sand underneath so now I see why they had so many dips. Oh well, we’ll call it character. Thanks so much for your note!
gail says
I’m exhausted watching y’all work! 🙂
You’ve accomplished a lot Wendi, and everything is looking great. I can’t wait to see it all come together.
That attachment for the power washer looks awesome! It really cleaned up your space quickly.
hope the weather is holding out for you!
gail
ps budget? what’s that? I had NO idea how much my outdoor overhaul would cost me. Since I’ve not done anything outdoors like this. I guess I’m glad I didn’t know, or I may have kept it much smaller! hehehe
Wendi says
Hi Gail!
So funny, yes, it’s been a bit of work but Like I mentioned earlier it’s a great way to get something done! You’d love the attachment for the power washer. It made cleaning the concrete so fast! The weather has been a huge challenge…I’m hoping next week is better:) . I’m loving your backyard too! Can’t wait to see it finished!