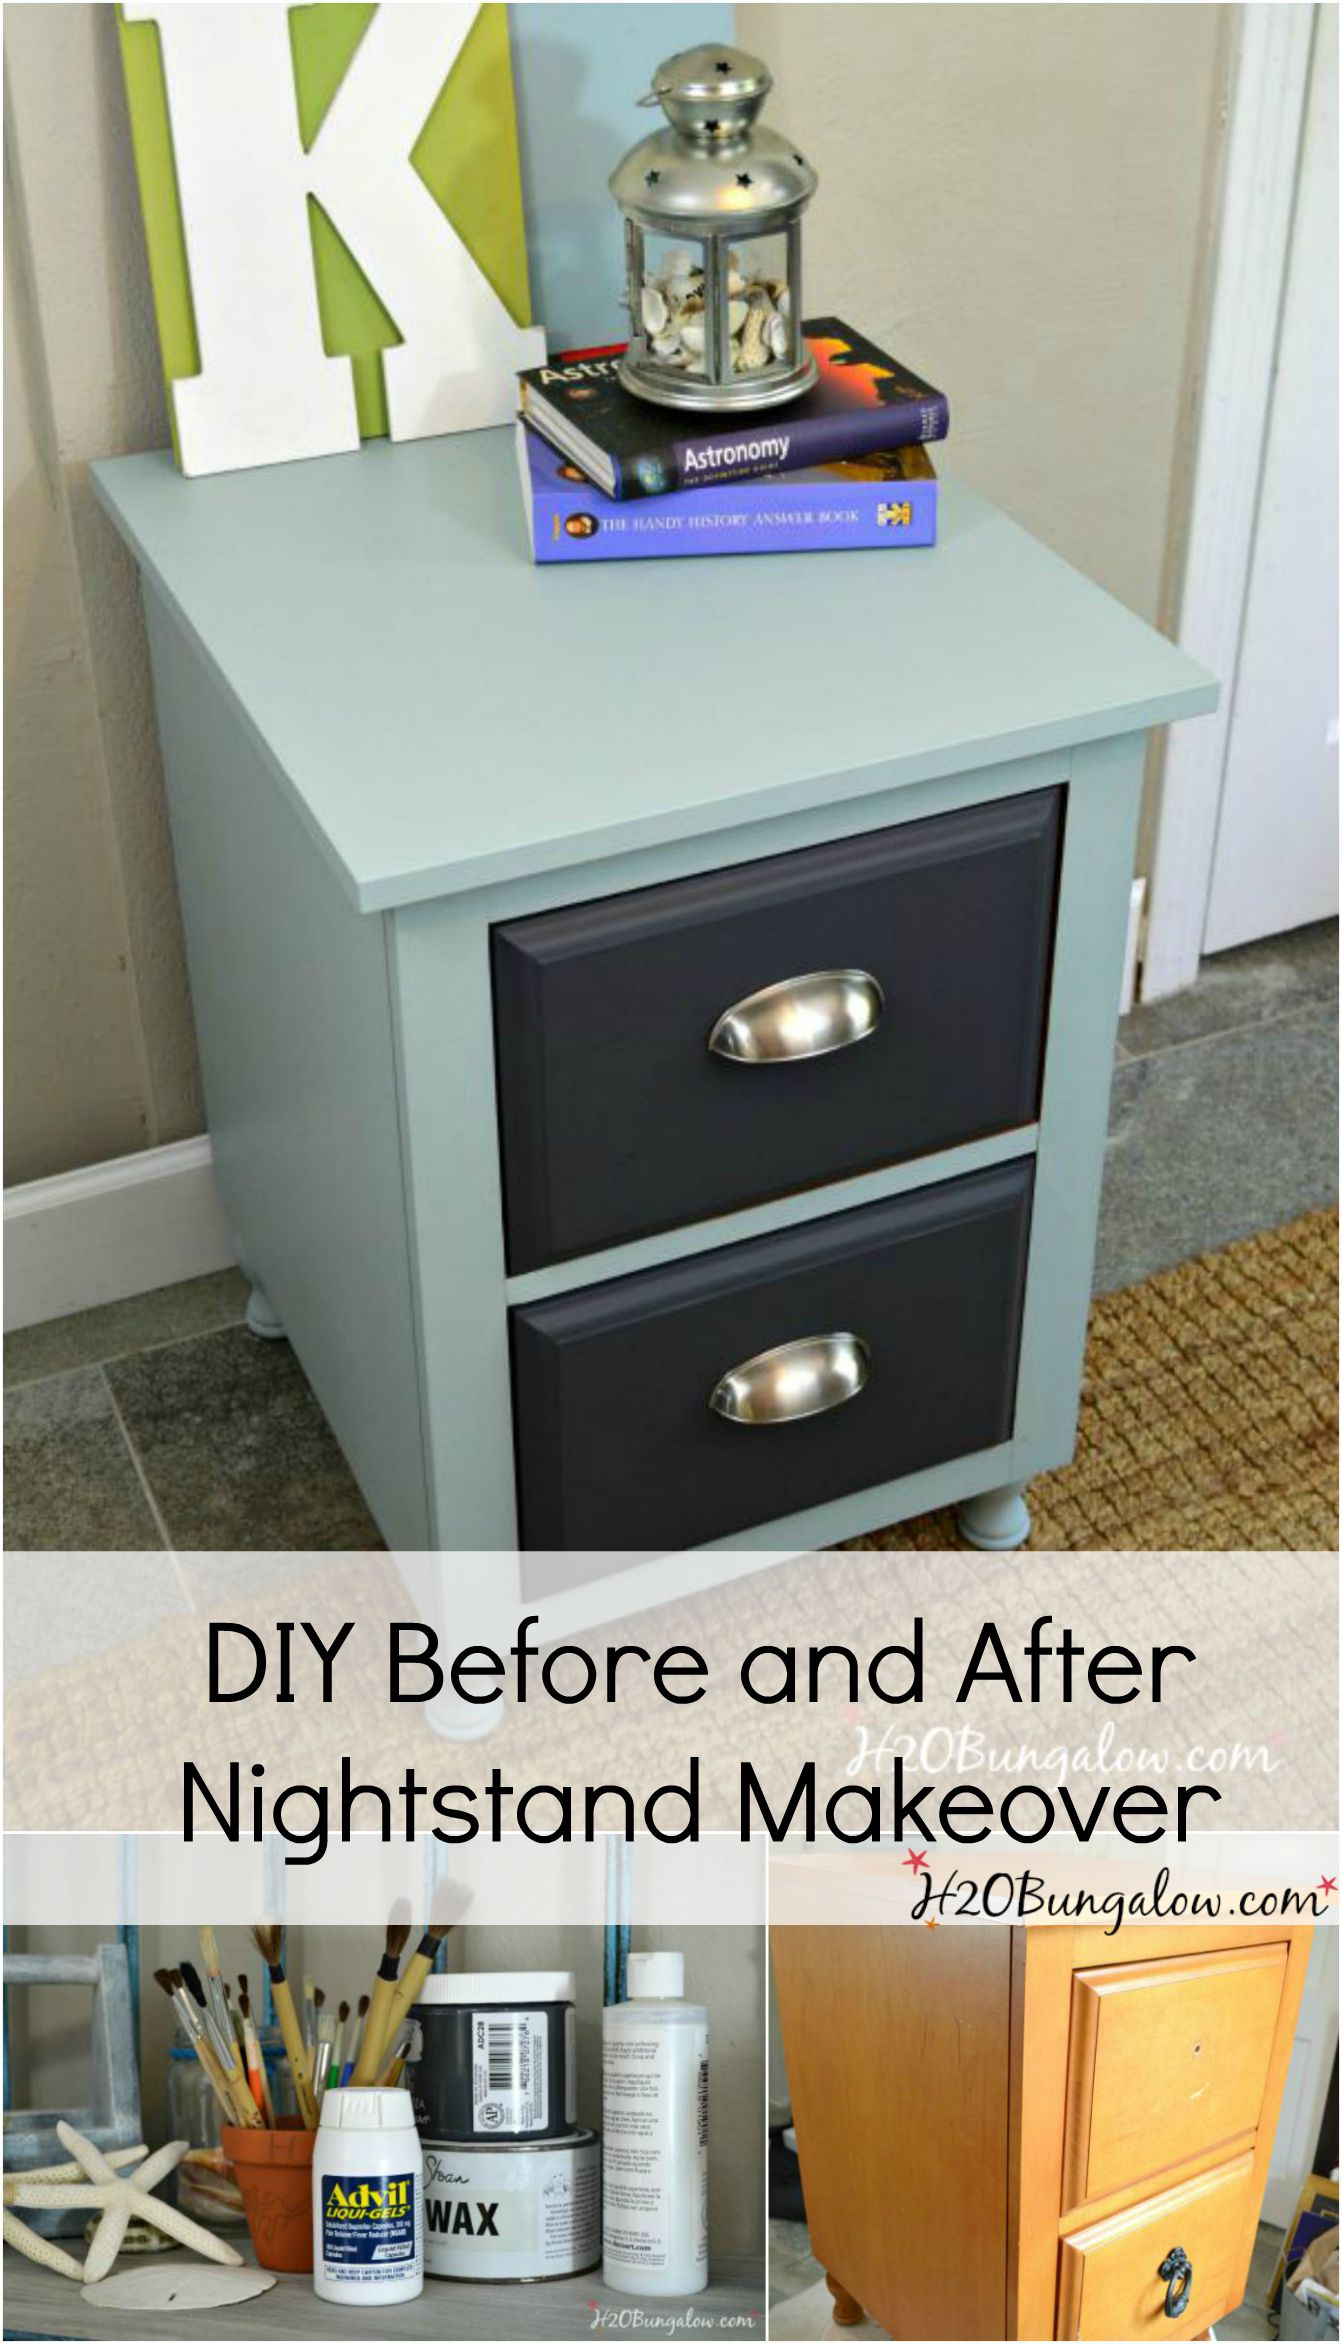
Today I’m sharing the before and after of my nightstand makeover project I’ve been working on. Remember last week where I shared a few of my favorite painting tips that I used while working on this project? Today is reveal day! Isn’t that the best part of any DIY? The moment when you stand back and admire your work…the “I did that!” feeling of pride.
Be sure to read my best tips for painting a dresser, those techniques are what made this makeover a success.
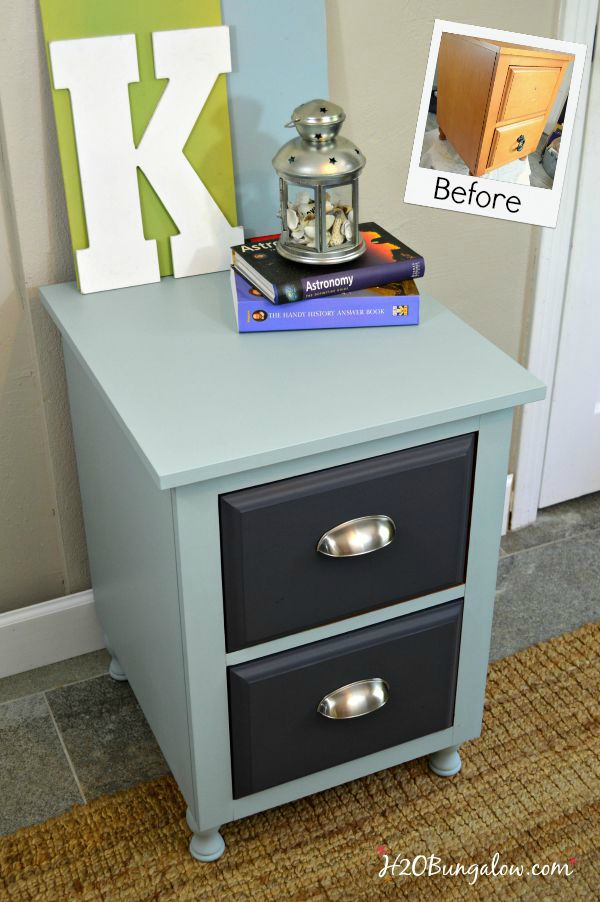
My little nightstand DIY project started out like this. I probably wouldn’t have picked this for a makeover, except it was extremely well-built and heavy. I love good quality anything 🙂
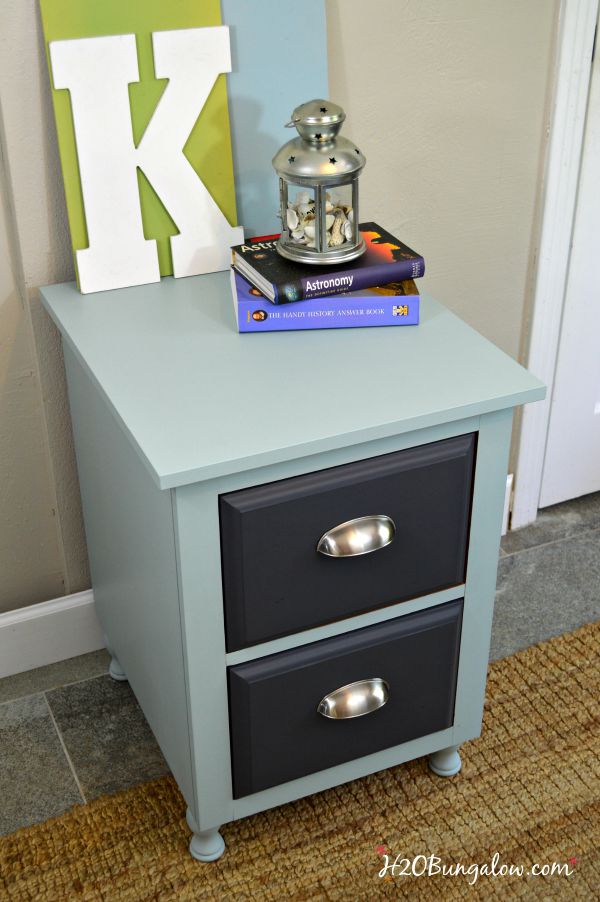
Here’s what a little paint and new hardware can do… Amazing things! So what do you think? Do you love it? I do!
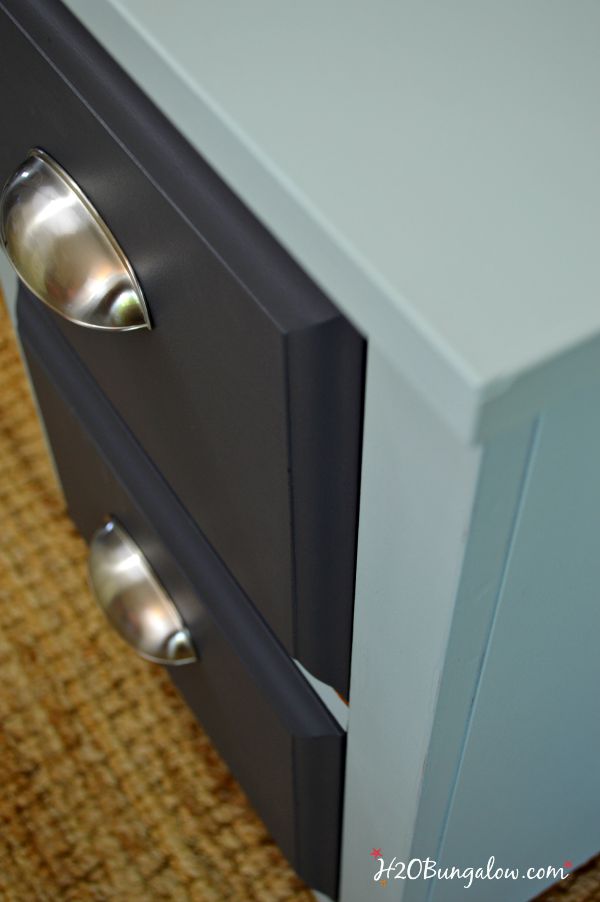
The new hardware updated the whole piece!
Using a two-toned theme made the nightstand look more contemporary.
Normally, I can lift and move around most of my makeover pieces myself, or my big brute of a son is near and he does it for me. Wouldn’t you know, there was no one around come photo time for this project:( I initially I thought I’ll just carry it to the window where the light is good for photos because I was too lazy to go get my gliders. I quickly discovered that was NOT a good idea and experienced pain after.
Note to self…I have floor gliders for a purpose. Use them! Yes, they stay in my studio on my shelf for easy access.
Now that I’ve shared my DIY project…let’s talk about yours!
What awesome DIY project are you working on?


