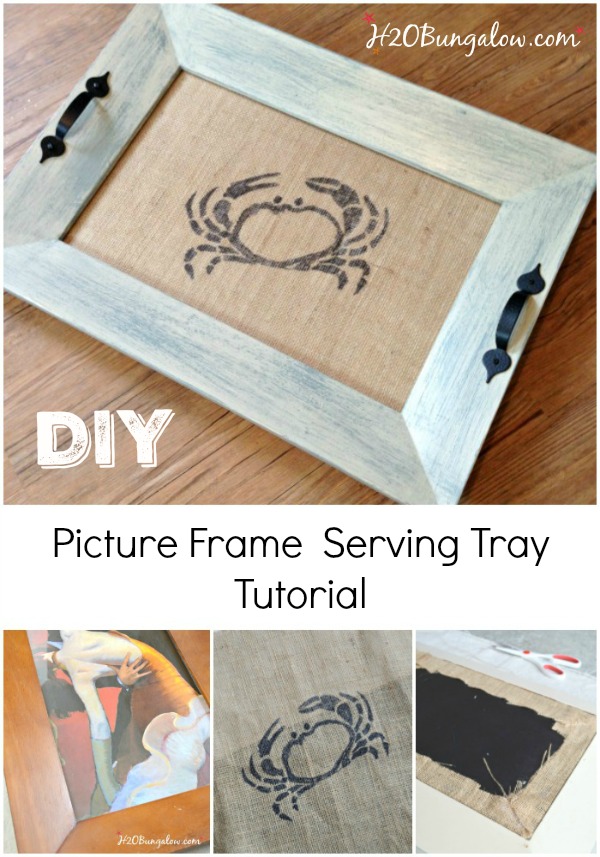
Hi guys. I’m on my way to the SNAP Conference this week and of course have a to do list as long as my arm! Needless to say, I didn’t churn out a new DIY for today’s post. Digging through my files, I found this DIY coastal picture frame serving tray that I haven’t shared yet. I’m sure the biggest reason was that I forgot to take staged final pictures. Oops!
I love this coastal serving tray so much I that had to find a way to share it. I dug through hundreds of photos I’d taken that month.
Nada. I couldn’t find one.
But…then remembered I’d snapped one with my phone for Instagram! Yay!
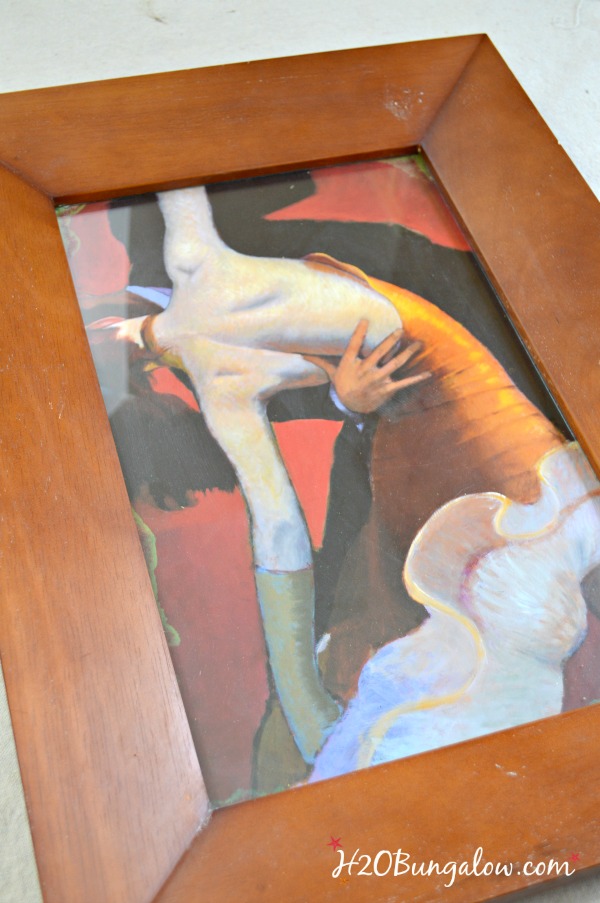
The minute I spotted this frame, I knew what I would do with it.
Wow!
Heavy, solid wood with a unique shape.
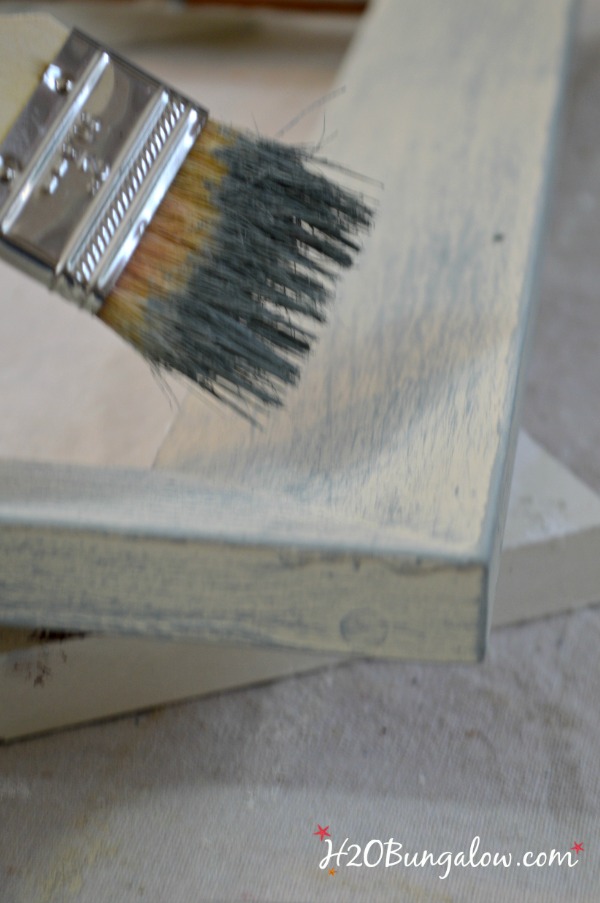
I took it apart and painted it with a base coat of Old Ochre by Annie Sloan. Next, I dry-brushed Duck Egg all over, also by Annie Sloan.
Because I wanted to the surface to be durable, and knew it needed to resist water and spills, I applied two coats of Dura-Coat by Deco-Art. This stuff is tough and inexpensive. I used it on my desk a year ago and it’s held up extremely well.
I had the perfect filler for under the glass.
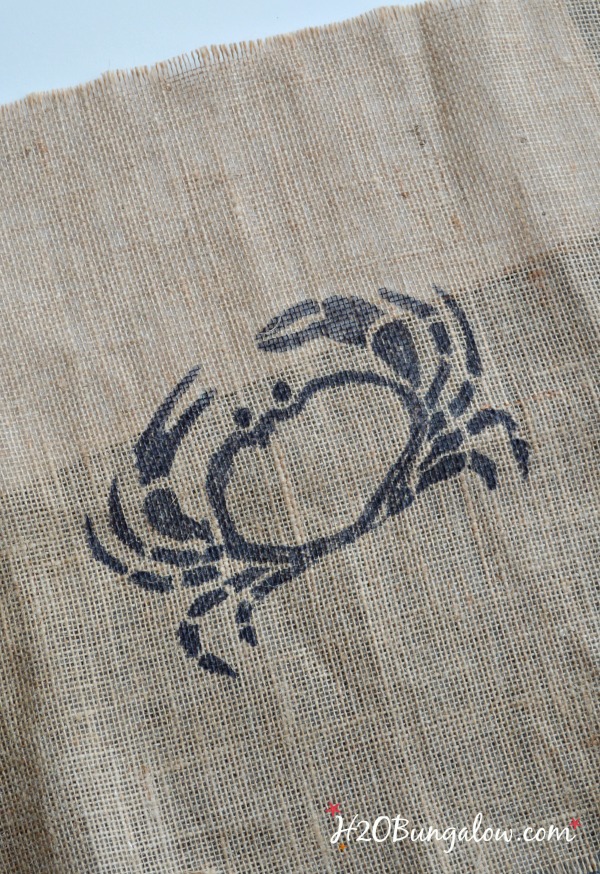
This darling crab was left over from another project. Kind of a faux pas that worked out:) I was testing to see how well tracing my crab with a fine point Sharpie would work on burlap. It was a test. I should have stopped when I saw that it worked just fine. But, as I often do, I got absorbed when I was drawing the crab, and continued on until I had this great looking crab.
Only to realize I’d spent lots of time…
…on a sample piece of burlap too small for the project I was working on:(
I kept it. Why not, the crab looked great.
Here’s my original project with my stenciled crab.
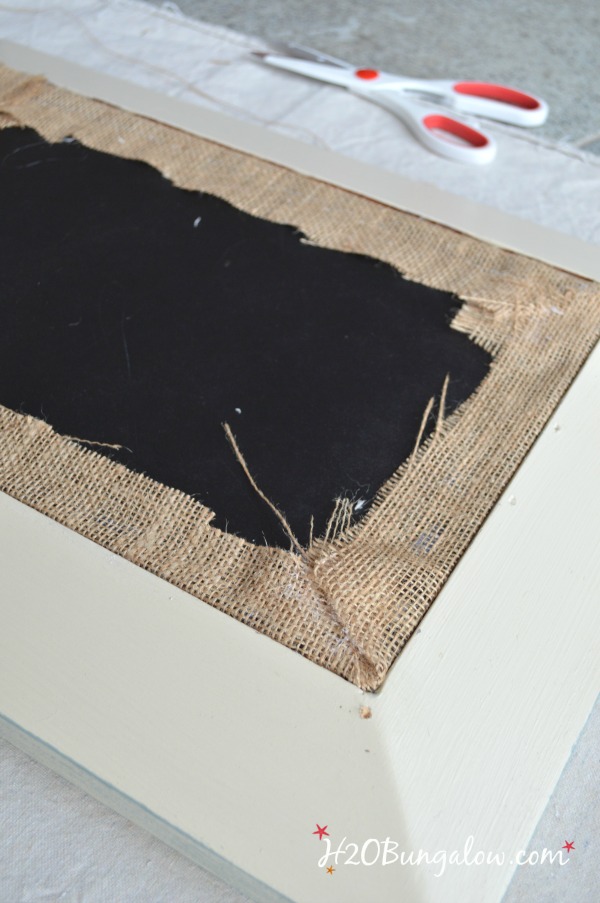
Assembling the tray was pretty straightforward. I used the picture backing and hot glued the burlap to it. Getting the corners as flat as possible was important. I added the glass back in the frame, and put my burlap covered backing on top of it. Just like you’d add a picture to a frame.
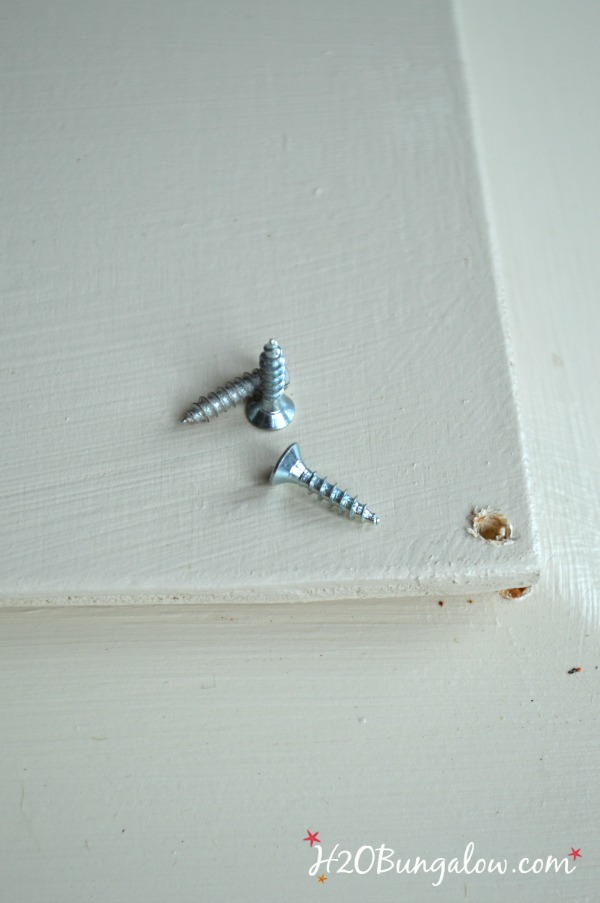
Note the little holes I predrilled in the frame corners. I shared another picture frame serving tray tutorial a few months ago, the assembly is similar. I etched butterflies on the glass top of the serving tray on that project. It turned out gorgeous!
The little predrilled holes are for a 1/4″ piece of plywood to cover the back of the board. I knew my DIY coastal picture frame tray needed enough support to hold snacks or glasses of tea for serving.
Yes, I have hot glue and burlap pieces stuck all over my hands. As much as I can paint almost anything with a drip or a drop, I can’t seem to master the hot glue gun:)
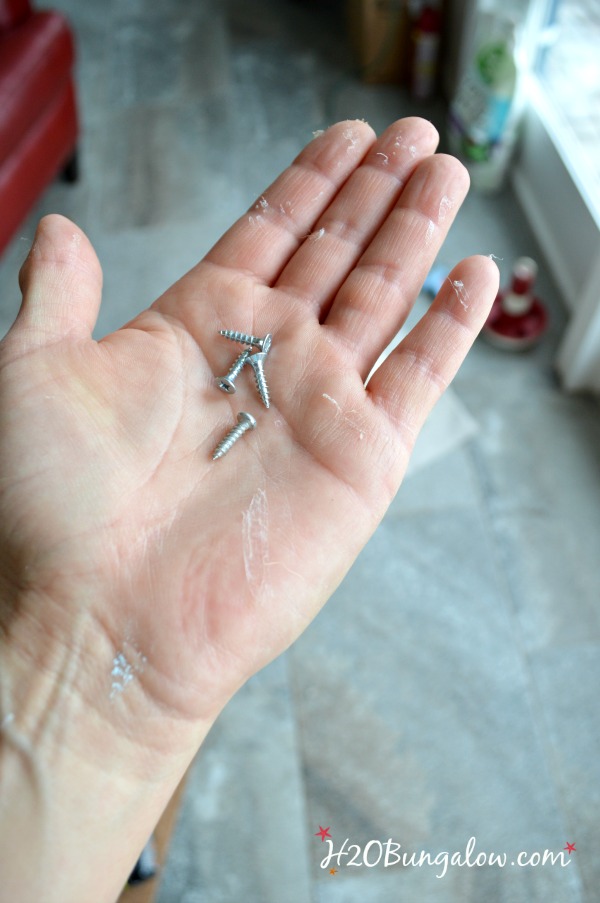
I found these itty bitty screws in my stash of random hardware. I used wood screws which have flat tops.
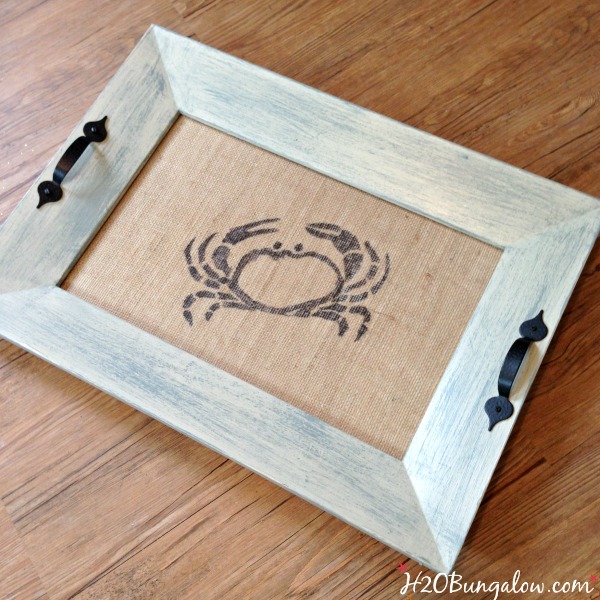
Last, I added a few handles to the top of my picture frame serving tray.
Done!
Do you love my DIY coastal picture frame serving tray?
Please pin it if you do!
I use serving trays in lots of ways. A few of my favorites are layering in vignettes, stacking items on and to arrange wine glasses on when we have friends over. Share your favorite uses for serving trays, DIY or not in the comments below.
Oh and be on the lookout later this week for a special post from me. This one will be out of the box and fun!
You’ll find my project linked up to these fabulous parties!
Love a good dose of DIY home decor, home improvement, the challenge of woodworking and creative ways to make your home look fabulous?
Me too!
I’d love to share mine with you. Click here to sign up for my post emails and I’ll send a quick note when I have a new project to share.
Social media fan? Don’t be shy say hello! I love when you guys do that! I’m interactive on Facebook and I share lots of other projects and, useful inspiration for the home and content I don’t share anywhere else. Follow H2OBungalow on Facebook and Instagram!
I use affiliate links in my posts. If you should make a purchase I will receive an itty bitty commission at no cost to you. Thank you in advance for supporting my blog and two fur-ball cats who believe they are privileged.

Lindsay @ The DIY Mommy says
Oh, love that beauty distressed look you finished the frame in!! Such a great up cycling project!!
Wendi says
Hi Lindsay & thank you! This was a really fun project to do. The burlap was a last minute idea and I loved the texture. Thanks so much for your visit!
Allison says
I absolutely LOVE this! Thanks for the tutorial!
Wendi says
Hi Allison and thank you! I really enjoyed this this project. As soon as I saw the frame I knew what I could do with it. Enjoy making one for yourself & thanks so much for your visit and comment 🙂
Marie says
This turned out fantastic! I love everything about it. I can’t wait to make my own! Thanks for sharing at Merry Monday this week.
Wendi says
Thank you so much Marie:) I loved this project. I wish I could find more frames in this awesome shape too! Thanks for your visit:)
Mary-the boondocks blog says
Wendi that was one great save of the burlap crab. And your choice of colors on that orange frame was perfect for that beachy vibe. A lovely tray perfect for warm weather entertaining. Thank you for joining us over at Sweet Inspiration.
Wendi says
Hi Mary… & thank you! I had fun with this project. It was a great way to use a pretty frame:) Thanks so much for stopping by:)
gail says
I LOVE picture frame projects! (I may be a picture frame hoarder)
Your serving tray is so darn cute Wendi!
gail
Wendi says
Thank you Gail! I loved making this one and the frame was the perfect shape for this. Besides, my goof up crab was too cute not to use!
TwoPlusCute says
Loved and pinned here: http://www.pinterest.com/pin/357051076689700747/
Your dry paint distressing (and the crab!) are perfect. Really, really good and ideal come summer. 🙂
Wendi says
Hi! Thank you so much for sharing my project! That little frame was made for this project. I’m thrilled I found an after picture so I could share it with you guys:)