Today’s project is a DIY large wood name cut out tutorial. This is an easy project to make using a 1/4″ piece of scrap plywood, a jigsaw and a palm sander. I’ve cut large script letters out of wood before and have a good tutorial which I link to below. This post shares more tips for making clean cuts when cutting out words with a jigsaw.
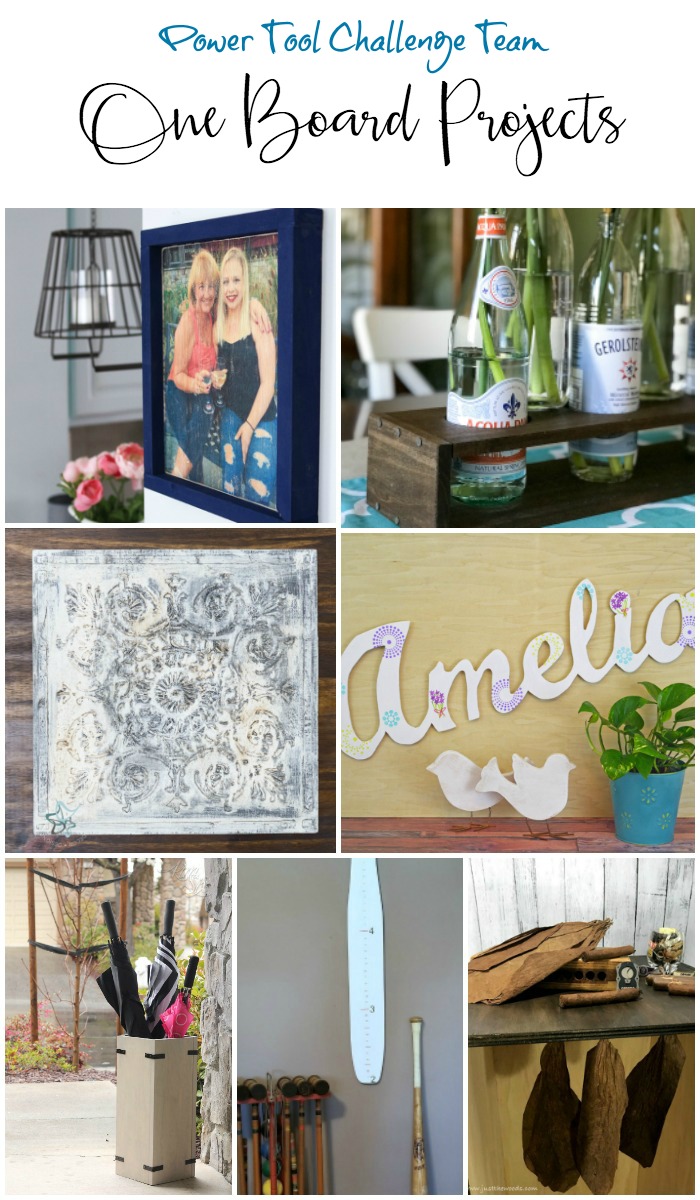
Making giant letters or script words is an easy project you can make with just one board. Speaking of one board, that’s today’s Power Tool Challenge theme. We all had to come up with something made with only one board. I think you’ll like what the rest of the team came up with too. I do! Scroll down to the bottom of this post to see their projects.
I use affiliate links to help you find the supplies I used. You can read my full disclosure policy here.
Here are the supplies you’ll need to make a large wood name cut out
- 1/4″ plywood or mdf board
- Ryobi 18 volt One+ Jigsaw
- scroll-cut jigsaw blade with 18 -20 tpi (tooth per inch)
- Ryobi 18 volt One + palm sander
- graphite paper for tracing letters onto the wood
- printer
How to Make a DIY Large Wood Name Cut Out
A few years ago I shared how to make a DIY Wood Cut Out Name tutorial. It shares all of the steps you need to make a wood word or name cut-out including how to make a free template to trace the word onto the wood. I followed the same steps for this one, right down to the font.
Best Tips For Cutting Words or Names Out of Wood
#1. Using the right jigsaw blade will make this project much-much easier. Be sure to use a high tooth-count blade. At least 18-20 tpi (tooth per inch).
#2. Set the jigsaw to high speed, let the jigsaw do the work, just guide it and give yourself plenty of room on corners and turns. When you turn a corner very slowly, you’ll get a clean cut.
#3. Cut sharp angles and “v”s by cutting in one direction and then the other meeting your first cut from the other direction.
#4. When you need to stop cutting, back the jigsaw up a about 1/2” before taking your finger off of the saw trigger.
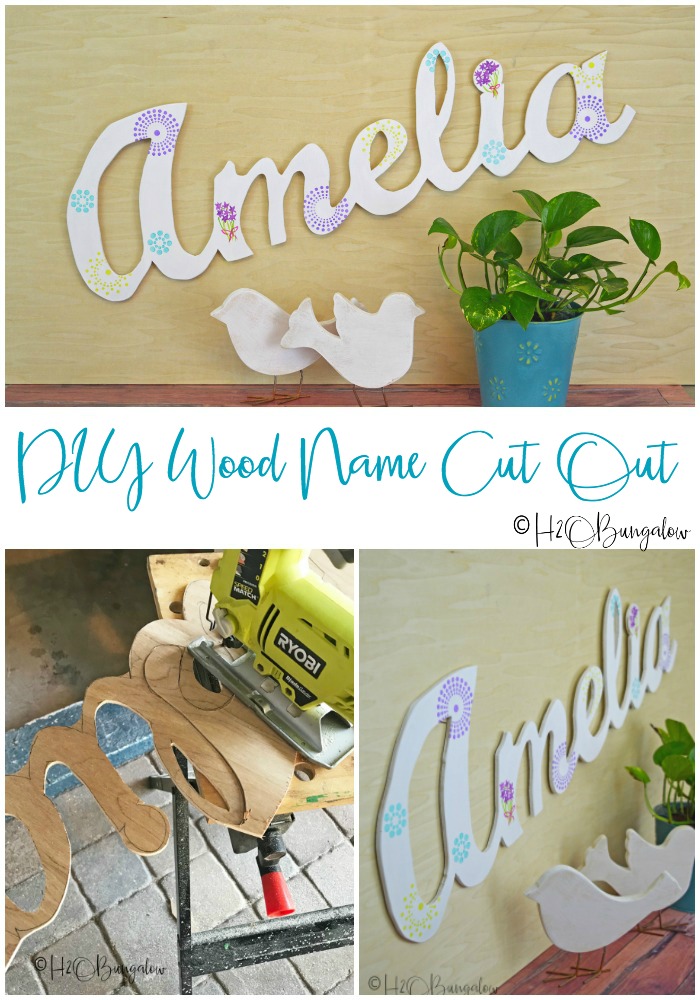
#5. Cut out the wood word on a work bench or flat surface with an opening in the center. See the picture below. It’s much easier to work on large wood name cut outs when the wood is being supported from both sides.
#6. Drill pilot holes in the center of letters like e or o big enough to get your blade in to start cutting out the large letter.
#7. It’s OK to modify the shape of your font. Make thinner areas thicker, connect letters better and bring the dot of the i down to rest onto the letter.
After you’ve cut out the your large word or wood letters just smooth the rough edges with a sander and paint! Easy peasy.
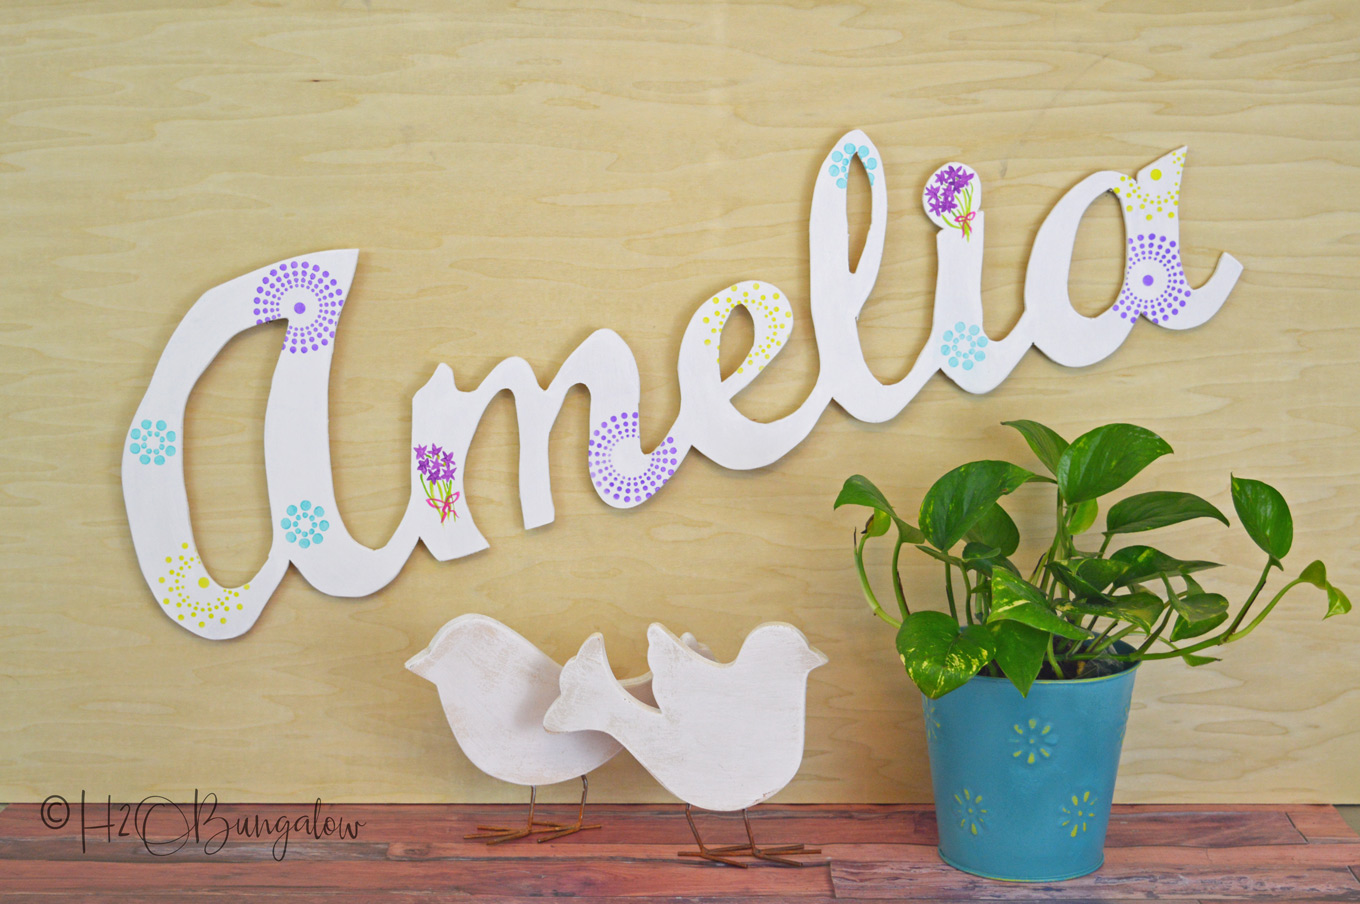
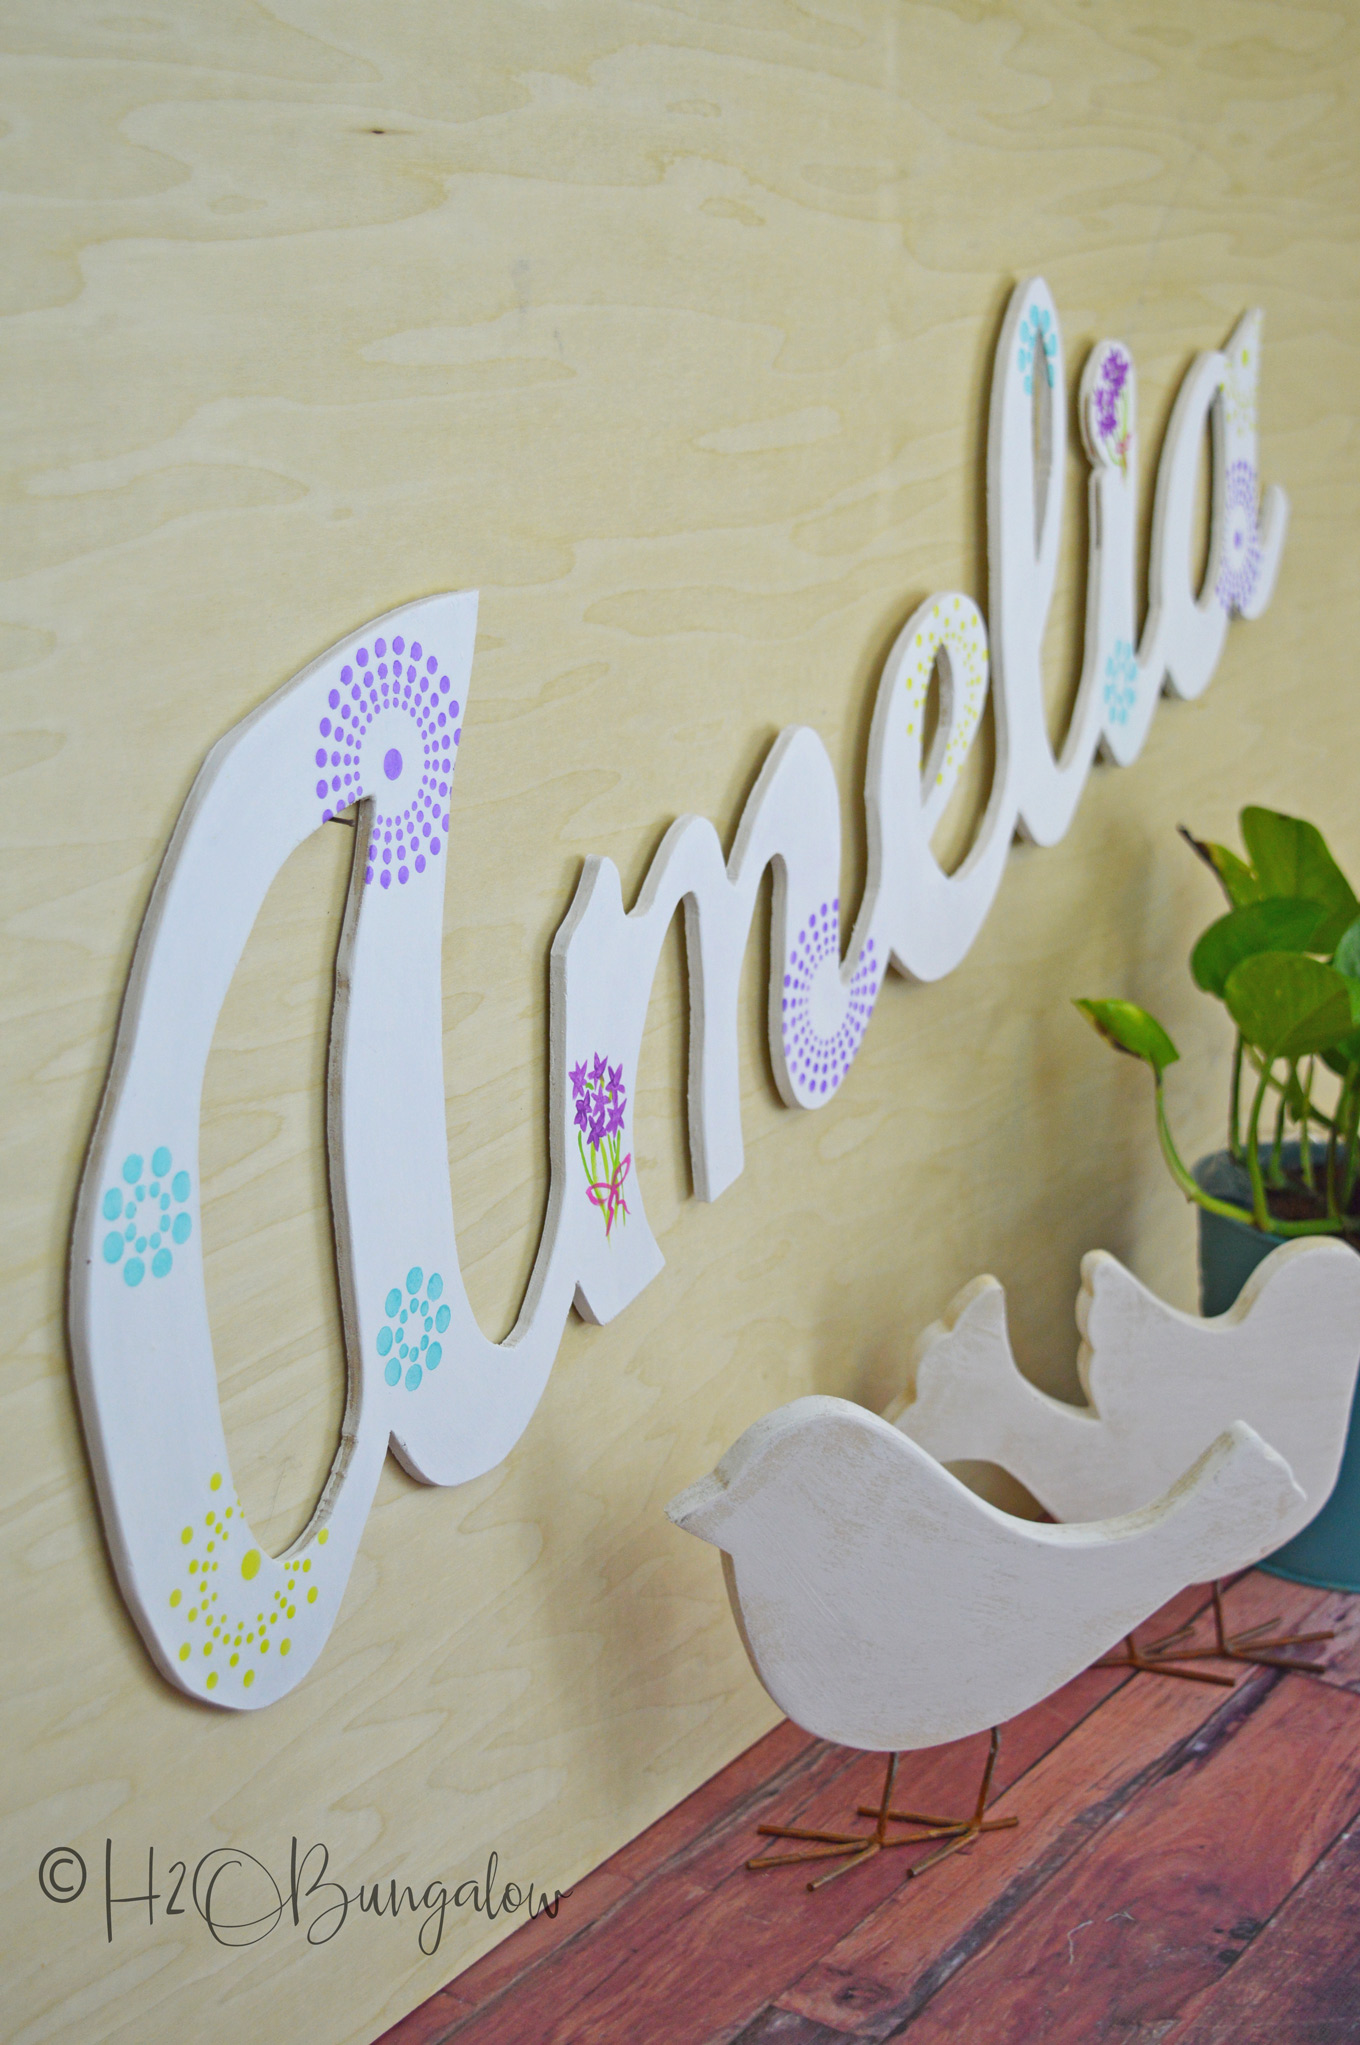
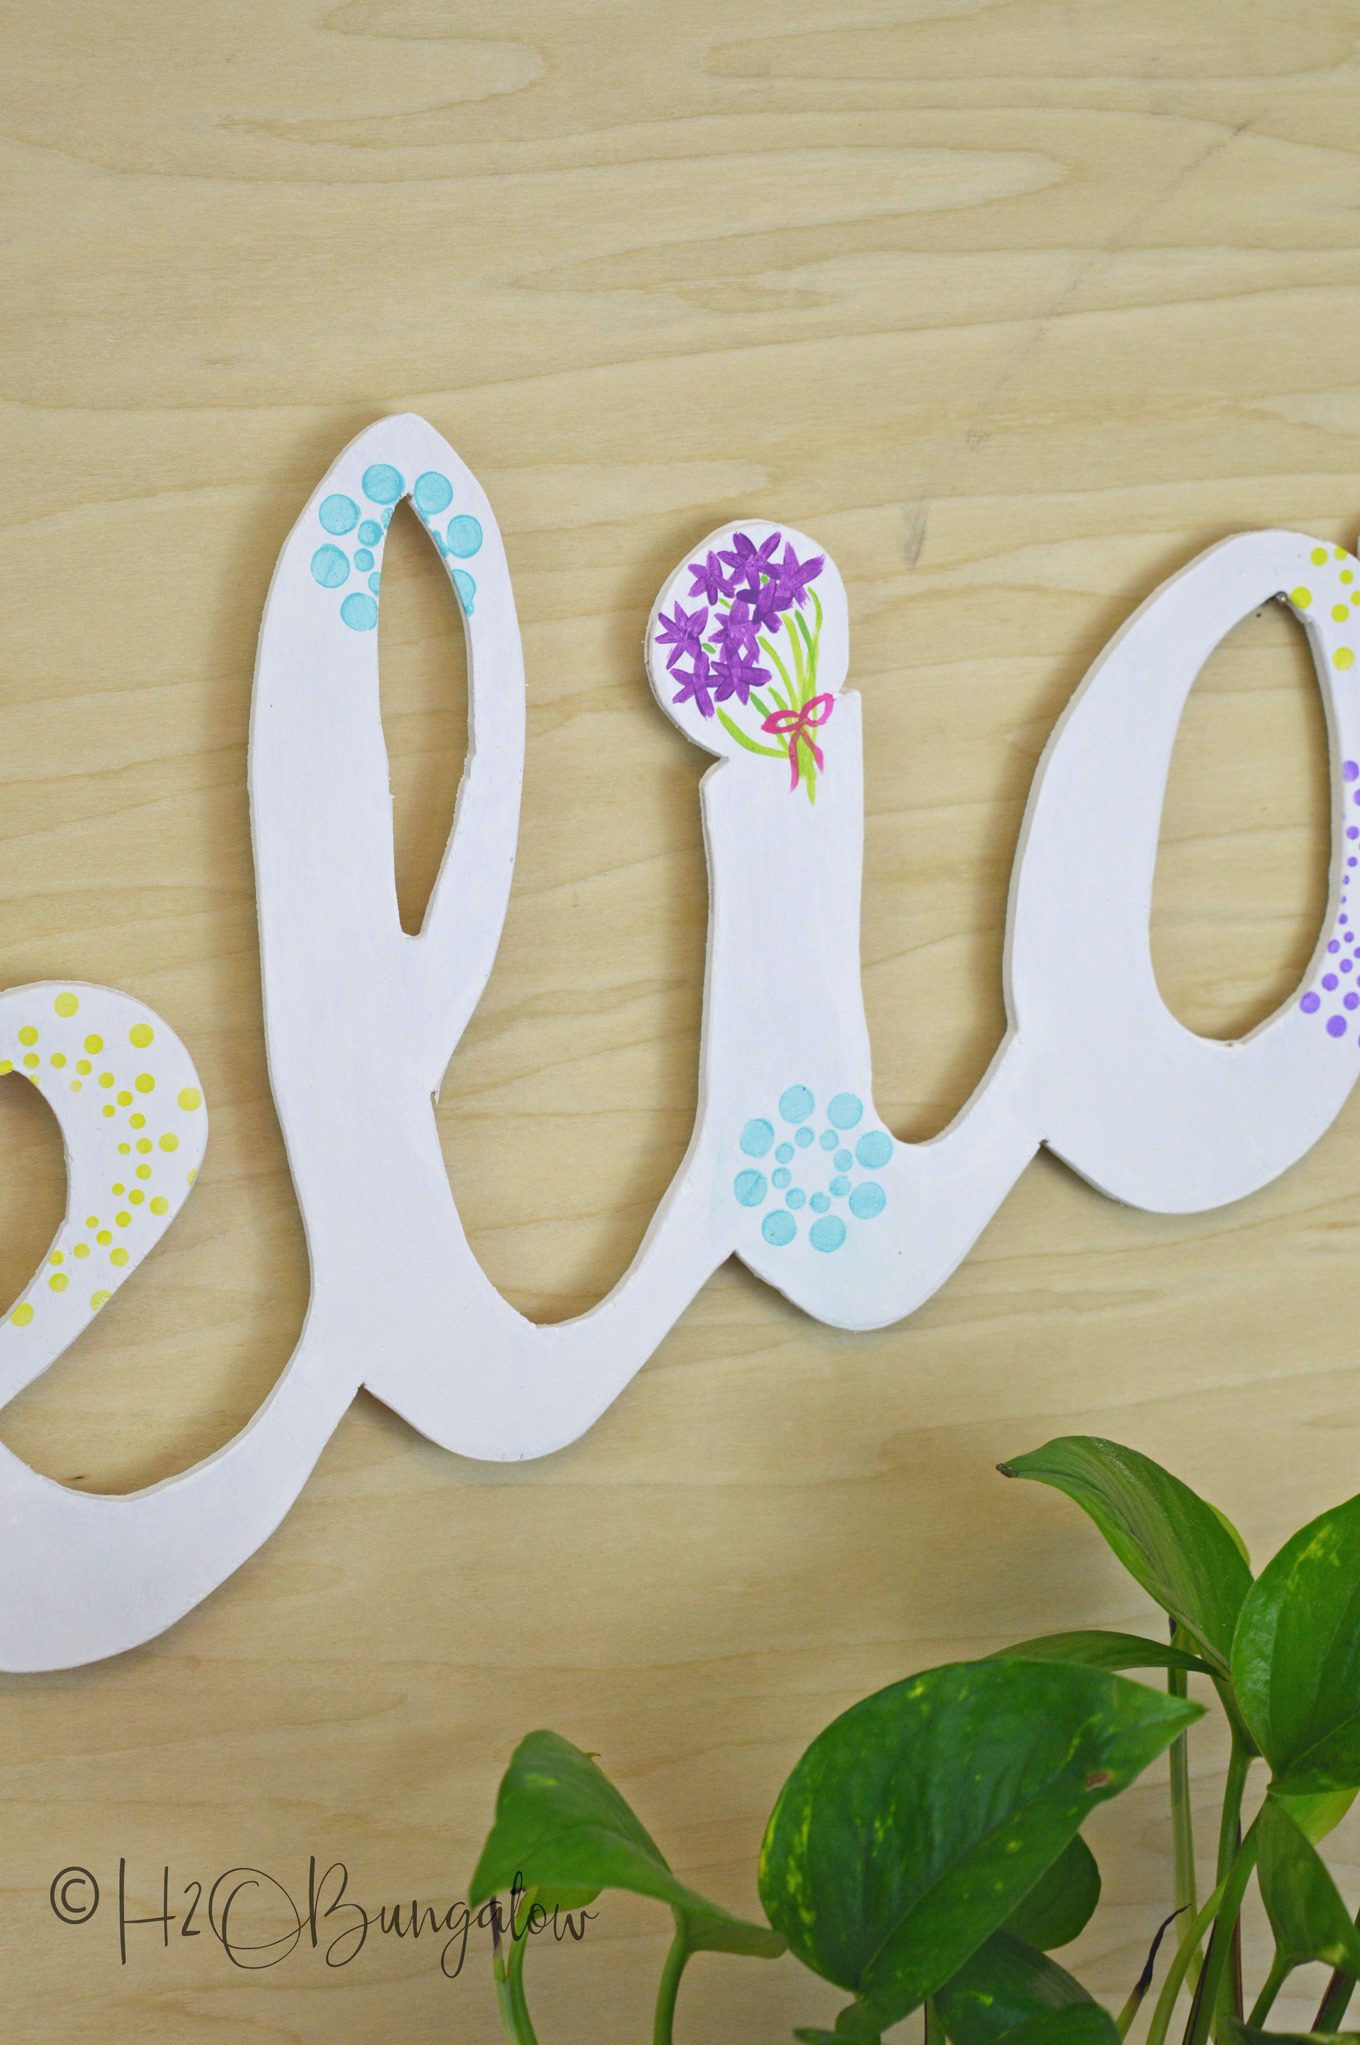
This project is obviously is for an Amelia. She’s my 1 week old granddaughter. I painted a few meaningful family things onto her wood cut out name. See the little purple bouquet? When my girls were little I didn’t have much of a budget to decorate. I hand painted their entire bathroom with purple bouquets tied in ribbons just like this one. It looked like wall paper and was beautiful. I’m sure my daughter will recognize it when she see’s it.
The pink and green paint was part of my mother’s stash of paints. She was an artist and I still use many of her paint brushes and a few other of her supplies including some paint that has miraculously not dried out.
I think it turned out cute. The only thing I’d change is round out the letter A more. That odd dip in the shape was how the font was shaped.
Pin my tips for making a large wood name cut out and share it on Facebook!
OK, so enough about my project. Let’s take a look at what my friends created for their One Board Challenge
Create and Babble – How to Make Simple Wood Frames
The DIY Village – Bottle Vase Holder
Designed Decor – Faux Tin Tiles
H2OBungalow – DIY Large Wood Name Cut Out – that’s me!
The Kim Six Fix – Easy Umbrella Stand
My Repurposed Life – Baseball Grow Chart
Just The Woods – How to Build a Tobacco Kiln for Curing Tobacco
You can pin this for late too!
The best part of doing these challenges with my friends is seeing their creativity in action. My list of future projects gets bigger with each monthly challenge!
What favorite phrase, name or word would you make into hanging large wood letters for home decor? Share below in the comment section!

Courtney says
Hi. What is the link under for how to print out the name template?
Wendi Wachtel says
Hi Courtney!
I linked to another project I made where I shared how to make a cut-out name and a free resource to make large word templates. Here it is again https://h2obungalow.com/diy-wood-cut-out-name-traveling-birthday-present/. I hope this helps and thanks so much for your visit!
Nigel William says
Amazing project! Do you have a template for names?
Wendi says
Hi Nigel, Thanks so much, nope, I don’t have a template for names but I did link to a previous post that gave step by step instructions on how to make a template of any name or word with free online software. Take a look again, I think you’d make some pretty cool projects yourself! Thanks for your visit and good question!
gail says
Wendi,
You did a beautiful job on this cut out name! I love how you embellished Amelia’s name with paint! That really adds so much to the project.
Pinning!
gail
Wendi says
Hi Gail and thank you! I made one for my grandson a few years ago so it was Amelia’s turn. You’ll be making one of these soon yourself!
Paula says
What a thoughtful project to make for your new granddaughter! Congratulations to you!!
DeDe Designed Decor says
Great project Wendi! Your tips are great and I need to remember to back my blade up before stopping! Guilty!
Wendi says
Hi dede,
Yes! Backing the blade up when cutting on a jigsaw makes a big difference! So does having the right blade when you’re doing scroll- type cuts. So glad you like my project!