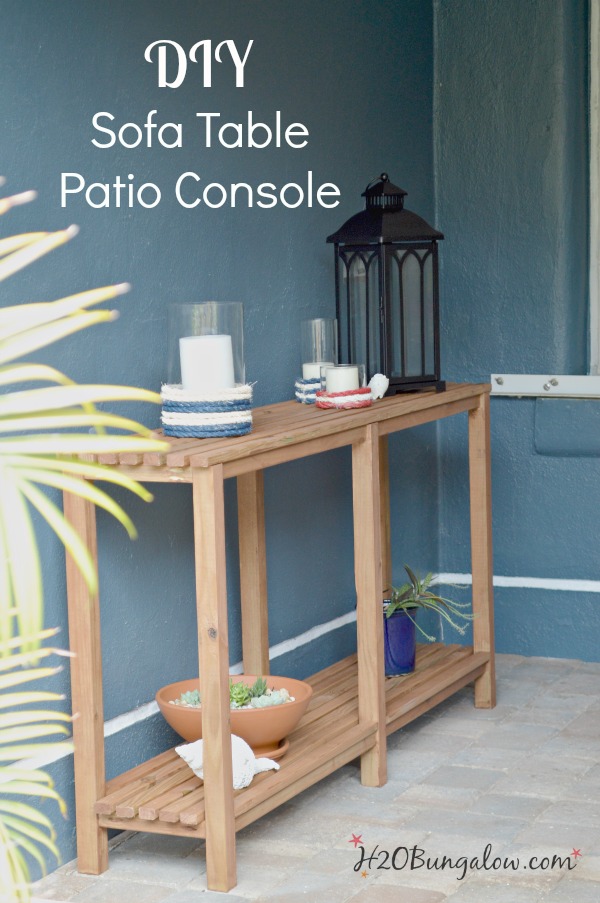
Today I’m sharing a DIY outdoor sofa table tutorial you can easily make in a few hours.
This is the year friends. Maybe I should say this is the season. It’s time to tackle the projects that will make my outdoor space a place I want to hang out in and relax. A place that makes me smile, and think how pretty when I look out the window. I’m sharing my DIY outdoor sofa table tutorial with you today in case it’s your dream too.
To have pretty outdoor space…on a DIY budget of course 😉
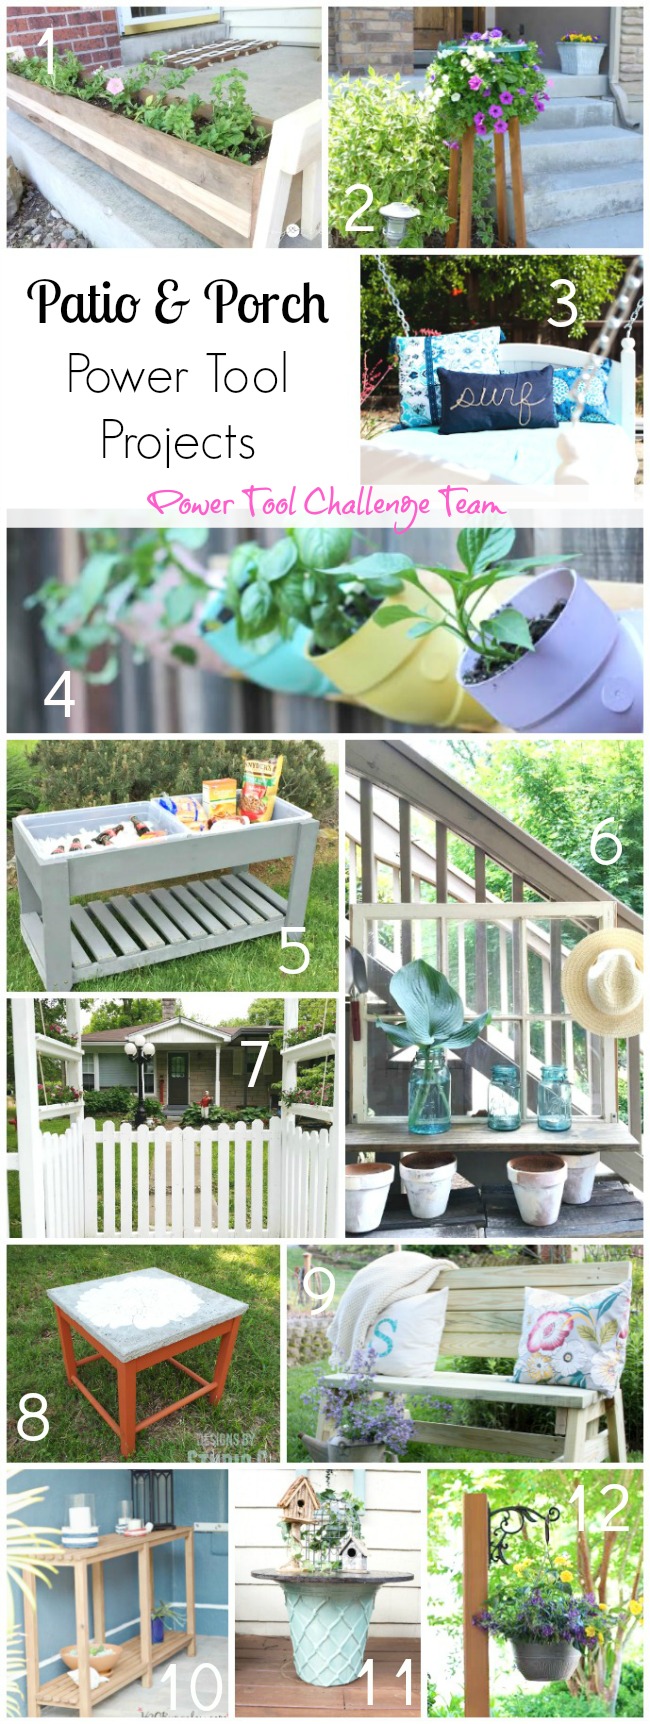
I also have a treat for you today. Eleven other fabulous ways to pretty up your porch and patio from the Power Tool Challenge Team. Don’t let the words power tools intimidate you. There are awesome projects for every level of enthusiast:) You’ll see them all below.
I use affiliate links to help you find the products I used. If you make a purchase I get a small commission at no cost to you. The affiliate money I earn helps cover the overhead costs of H2OBungalow. Thank you for your support!
DIY Outdoor Sofa Table Tutorial
Cut list for outdoor sofa table
Use treated wood for outdoor use.
- 6 legs, 1 1/2″ x 1 5/8″ @ 31 ” I ripped 3 – 2″x 4″ boards in half to make the legs.
- 8 side pieces, 1″ x 2″ @ 27″
- 4 end pieces, 1″ x 2″ @ 9″
- 2 center supports, 1″ x 2″ @ 9″
- 12 long slats, 1″ x 2″ @ 60″
- 4 short slats, 1″ x 2″ @ 27″
Tool and supply list to make a DIY sofa table
I use affiliate links to help you find the products I used.
- miter saw
- table saw
- drill
- Kreg Jig, I like the K4
- 1 1/4″ Kreg pocket screws, Blue-Koat for outside use
- combination square
- Nail gun (optional)
- 2 1/2″ screws for exterior use
- Thompson’s WaterSeal Waterproofing Stain in Semi-Transparent Acorn Brown.
I ripped the legs from 2 x 4’s because I wanted them to stand out and be a tad different from the slats. My DIY sofa table will go next to my teak outdoor sofa set and I figured that would help my little DIY project look upscale.
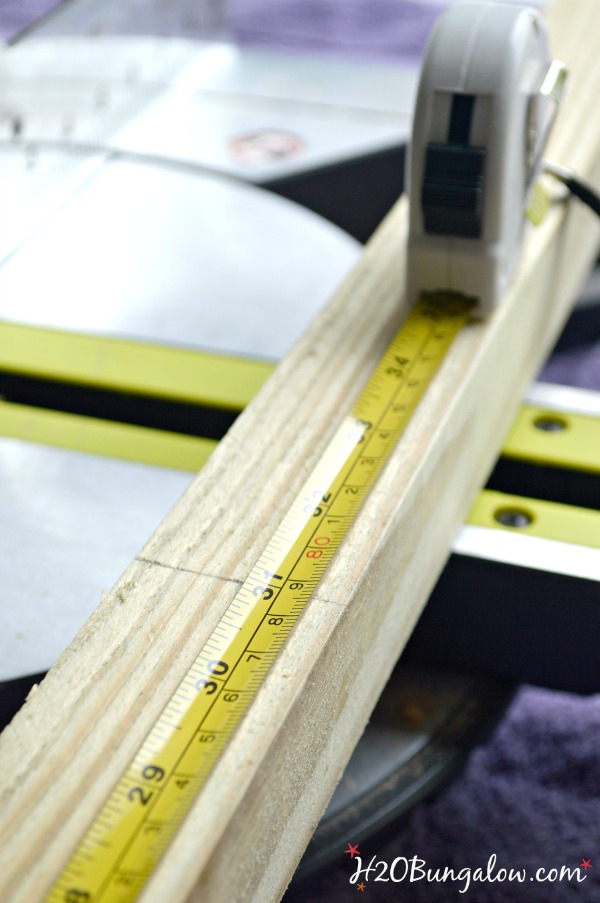
Make sure you square the ends on all your pieces of wood before measuring and cutting the length of your boards.
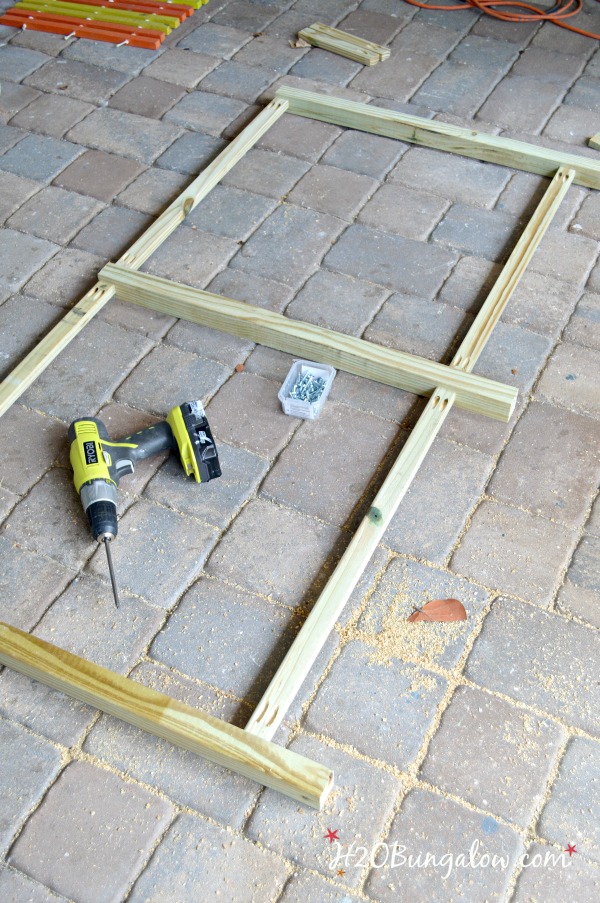
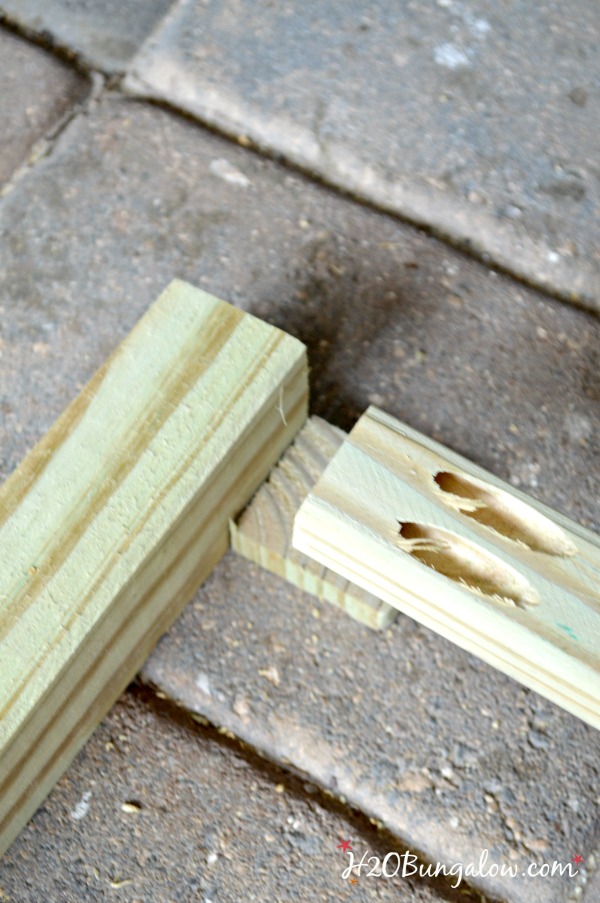
Set the Kreg Jig to a 3/4″ material setting and put two pocket holes at the end of the frame side supports, and the two center supports.
Assemble each side of the frame like I did below. The side support pocket holes will face inward when the table is assembled.
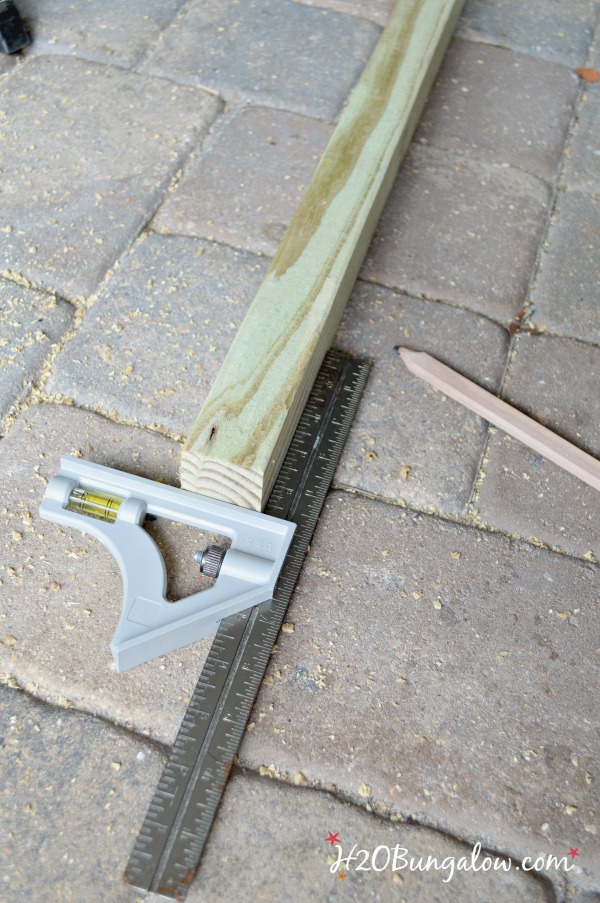
Save yourself a ton of time when measuring the bottom of each leg where the side support will attach. Set a combinations square at 5″, Line it up like my picture below, draw your line. Attach the side support to just below the line with pocket screws.
The top side supports are flush with the top of the legs.
I used a piece of wood as a shim to line up and offset the side supports. It made it easy to attach each one with the same measurements.
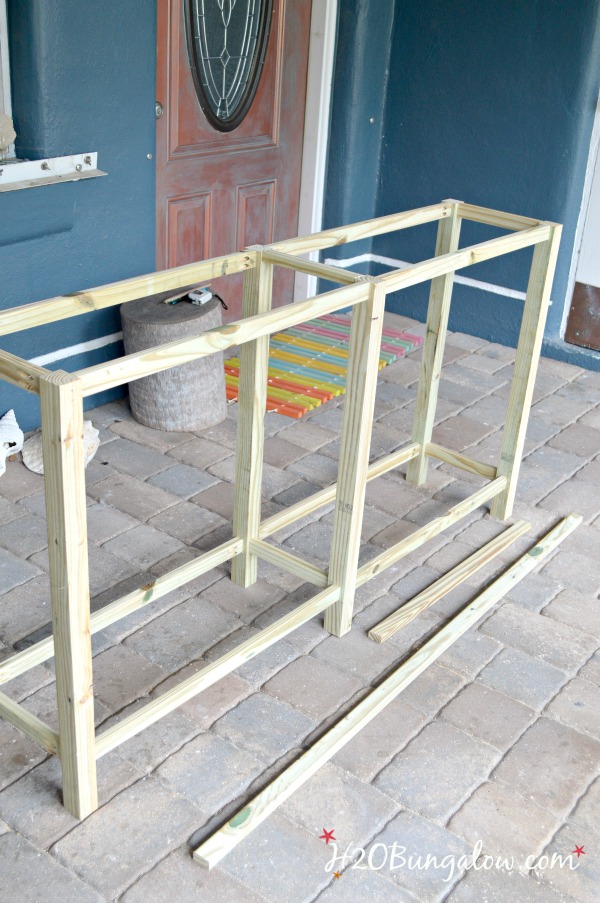
Attach the two sides of the frames together by adding the two end supports. Keep the pocket holes to the outside. Install the top center support with the pocket holes facing up and the lower support with the pocket holes facing down. I tried to install them facing inward and it was a bear to fit the drill with the long bit in the tight spot:(
Tsk…sometimes I spend more time getting myself out of a mess than I would have saved without my “shortcut idea”!
At this stage you should have your sofa table frame built, 12 long slats and 4 short slats cut. Just in case you’re wondering, the four short slats will fit on top of the side supports:)
It will be a lot easier to stain or paint your sofa table project before attaching the slats.
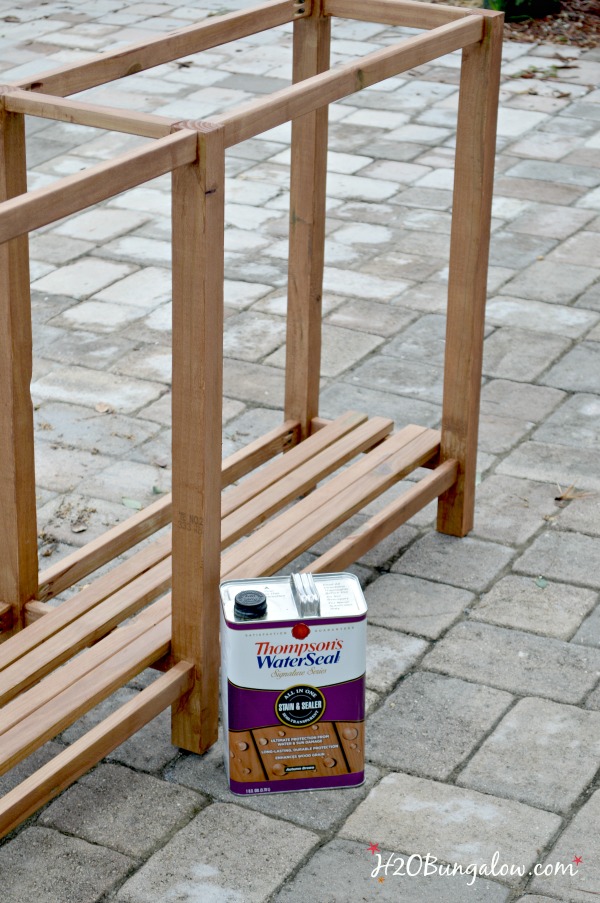
Because our Florida sun and weather is crazy harsh on our outdoor furniture, I protected my DIY sofa table with Thompsons WaterSeal, semi-transarent in Autum Brown. It was easy to apply with a 4″ foam roller and a chip brush. I loved that it was soap and water clean-up!
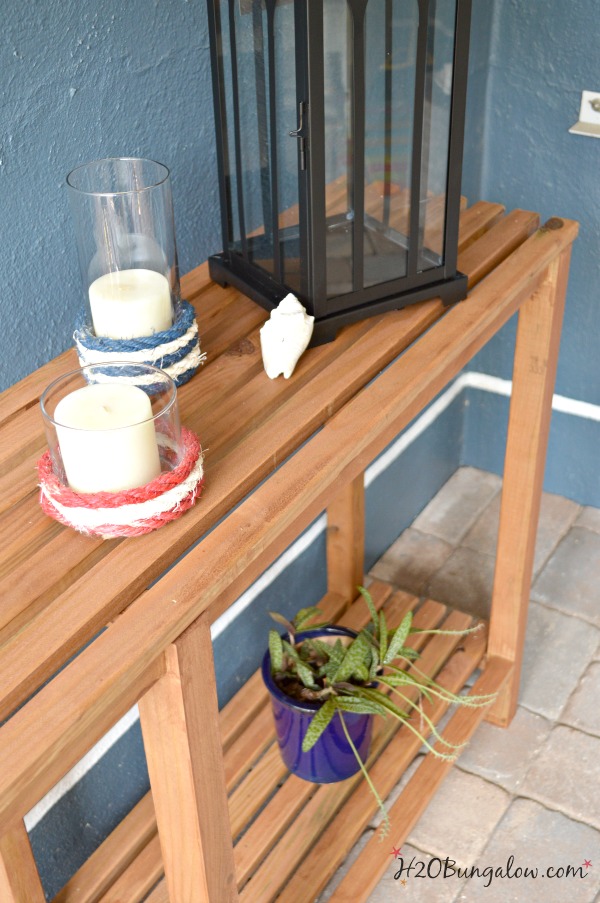
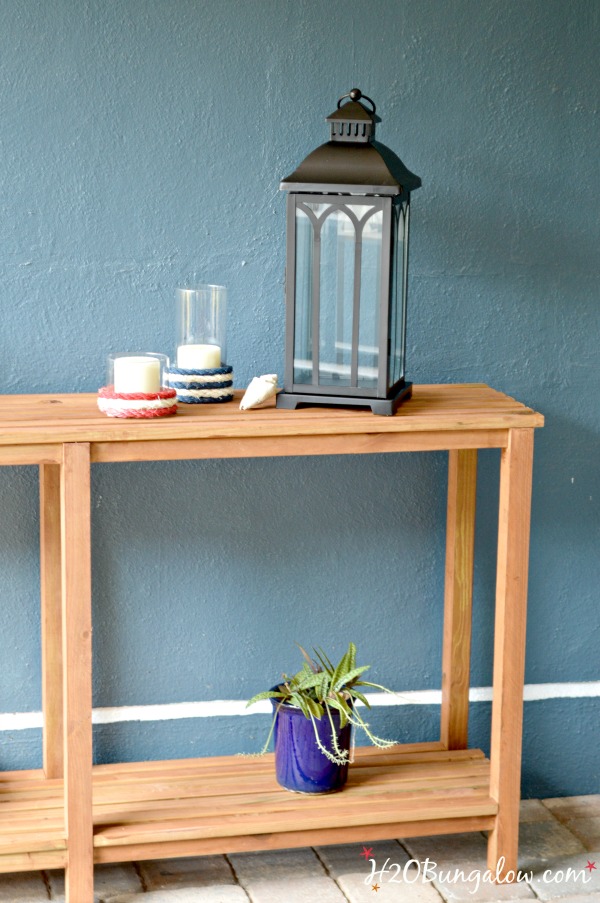
Now that my outdoor sofa table is stained, it’s starting to like a nice piece of outdoor furniture.
Don’t you think so?
If you’re using your outdoor sofa table in a protected area, you can easily attach the slats with a nailgun and call it a day. You could even use a quality glue to attach the slats.
But…
My table will be exposed to the weather all of the time, and I want it to last.
I secured the slats with my nailgun to hold them in place. With all our rain I ran out of time for this post. Later, probably today, I’ll turn the sofa table over, and use screws to secure the slats from the underside. Drill pilot holes first and the screws will go in like butter and you won’t need to worry about splitting your wood.
Since I was dodging rain while I was building this, I also had to photograph my DIY outdoor sofa table on my porch. It would look good here too, but I have big plans for it in the back yard!
I like that the side supports are recessed just a tad from the legs. I copied that idea from the sofa table in my living room:)
I have a special month long series staring in June. All month long I’ll share DIY projects to pretty up outside.
I have a plan, and a place for my cute outdoor sofa table already!
Now it’s time to see what my friends created for thier patios and porches. I’m loving this month’s projects with so many budget friendly DIY’s to kickstart the outdoor season and pretty weather!
You’ll see a link below to each project.
** Sharing my work is THE best compliment you can give! I really appreciate it when you guys pin my projects and share on your Facebook pages too! **
1. Long Porch Planters by My Love To Create
2. DIY Flower Pot Plant Stand by Her Tool Belt
3. DIY Easy Swinging Bed by Domestically Speaking
4. PVC Pipe Vertical Garden by Kim Six
5. How to Build An Outdoor Serving Table by Create and Babble
6. Repurposed Window Garden Shelf by Refresh Restyle
7. Trimming Out Porch Posts by My Repurposed Life
8. Stenciled Concrete Topped Table by Designs By Studio C
9. 2 X 4 DIY Bench by Virginia Sweet Pea
10. DIY Outdoor Sofa Table Tutorial by H2OBungalow
11. Repurposed Electrical Spool Holder Table by Designed Decor
12. DIY Outside Standing Plant Hanger by Confessions of A Serial DIYer

Maria Brittis says
Very impressive! This is a something I have been wanting to learn to do is use a power saw.
Thanks
Maria
Wendi says
Hi Maria and thank you:) I cannot begin to tell you how much fun power tools are to use. They don’t require brute strength, and a little creativity goes a long way in projects. Start small and just begin. Thanks so much for your visit!
Debrashoppeno5 says
This is great and I have vowed to myself to build outdoor furniture because I live in Florida also and the weather is brutal on our outdoor furniture. I will be studying this post before I start building.
Wendi says
Hi Debra and thanks. You’re right, the weather here is brutal on furniture! I’m doing a series in June all month long about transforming a back yard and patio. I’m sharing several really good projects to makeover weathered furniture and more. Check back or subscribe to my email updates, I think you’ll like my other projects:) Thanks so much for your visit and have fun building that table!
Shirley Wood says
You really rocked this project…and I am not surprised because you are so talented. Thanks for partying with us at Merry Monday. Pinning!
Wendi says
Hi Shirley, Well…you just made my day! Thanks SO much for your thumbs up and kind words. I love your party, so thanks so much for all the hard work in hosting it! Have a great weekend:)
Marie, The Interior Frugalista.com says
Finally, I’m catching up on May’s Power Tool Challenge rockstars! You always impress the heck out of me with your tool/DIY savvy skills, Wendi. Love your outdoor sofa table and can’t wait to follow your new series in June.
Wendi says
Hi Marie and thank you! We needed a nice piece of furniture to go with the outside living area set. The table was not hard to make. I’m looking forward to the projects for June too! I’ll probably be mighty tired! LOL Thanks again frind for your visit. Hope you can make the next challenge:)
TwoPlusCute says
Love your patio console. I find furniture like that to be very practical and help a ton with decorating an outdoor space.
*pinned*
DeDe @Designed Decor says
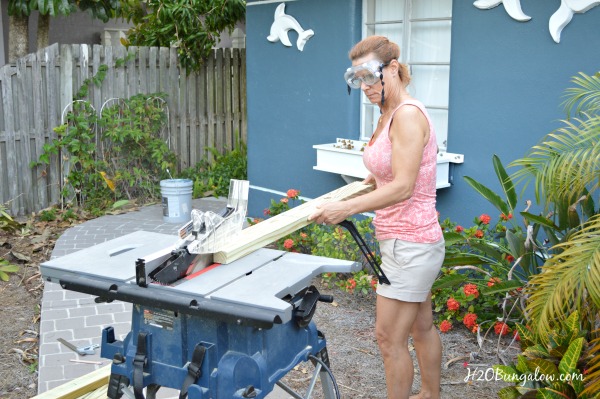
Wendi, This is awesome! The design is so pretty and it looks perfect in that space! You are rocking those eye goggles and table saw! You go girl!
Cher @ Designs by Studio C says
Wow, my friend, you are quite the furniture building machine! This table is fabulous and the stain color is amazing! I agree with Gail in that it looks like it came from a catalog store!
Wendi says
Cher, you may have helped in creating this monster when you started me with the vanity a few years ago! LOL. I love that I could have a nice piece of furniture for the backyard for next to nothing!
gail says
Wendi,
Your table looks like it could be from a high end catalog store! Great tutorial, easy to understand and I bet someone will be making a lot of their own diy tables.
gail
Wendi says
Hi Gail & thank you! I can’t wait to get my table outdoors by the sofa and start using it:) Thanks so much for your visit!
Christy@Confessions of a Serial Do-it-Yourselfer says
You build all these amazing furniture pieces like it’s no big deal, and I am always impressed!! I love this! XO
Wendi says
Hi Christy! Funny, I think the same thing about your projects:) Building things gets kind of addicting, and it’s so much cheaper than purchasing. Thanks so much for your visit!
Maryann @ Domestically Speaking says
LOVE it! I’m pretty sure I need one to put next to my hanging bed!
Wendi says
Maryann, You do! You could put one at the footboard and then the bed could still swing:) How muh fun would that be?
Paula@SweetPea says
You designed such a pretty sofa table! I’m looking forward to seeing how you use it in your outdoor space.
It’s crazy how much rain we’ve had this spring. It certainly makes it difficult to finish up outdoor projects or even to get started on them.
Wendi says
Thank you Paula:) I completely understand about the rain, we were like that last year. I couldn’t get anything done and it was awful! Thanks so much for your visit:)
Mindi says
I love the design of your table Wendi! It is straight out of a magazine! So pretty! Awesome job!
Wendi says
Hi Mindi and thank you! Since it will sit next to an teak sofa, I needed it to look quality and be similar in design. Plus, this is such an easy design to build too! Thanks so much for your visit!
Patty says
Wendi, I love your sofa table so much it is so elegant with simple lines and that beech’y feel to it, I think of Key West when I look at it.
You did a beautiful job, I wish I had half your talent.
I have a large covered patio and I really need to get out and get it ready for the season, but our weather just won’t cooperate, would you believe we have had our heat on and it has rained everyday I think for two weeks.
I can’t wait to see what else to else you have in mind to do, you have already given me an idea for my patio once this weather breaks, haha.
Wendi says
Hi Patty! Thank you so much! We had rain like that last year and it was a mess. We actually had algae grow on the pavers because they were so wet all the time! I’m excited about the June outdoor theme. Our backyard has been such a mess for so long, I’ll finally be committed to making it nice! LOL. So glad you stopped by & have a good weekend!
Jody says
Sure could use this. Saved in my folder of to do pages which is bigger than the dictionary.
Wendi says
Hi Jody & thank you! I have one of those folders too and it’s crazy how much stuff goes in there:) Thanks so much for your visit my friend:)
Mary-the boondocks blog says
This is lovely Wendi! Of course, you are such a master with the power tools, it must have been a breeze for you. I’m going to show this to the hubs, maybe I’ll get lucky and he’ll make one for me.
Wendi says
Hi Mary & thank you! Oh my gosh, so not a master on the tools but I learn more all the time. Plus with a little know how and creativity, it’s possilbe to do a lot. I hope you get a table too! Thanks so much for stopping by, I always enjoy your notes:) Have a good weekend!
Jeanie says
This table looks great Wendi! I love the narrow profile – it doesn’t take up too much room but yet it is very functional!
Wendi says
Hi Jeannie and thank you! I copied the dimensions from my indoor sofa table to make sure it would be the right size. I’m excited to get it outside and start using it!
Kim Six says
This looks amazing Wendi!! You did a gorgeous job!
Wendi says
Hi Kim & thank you! I’m happy with how it turned out and can’t wait to use it too!