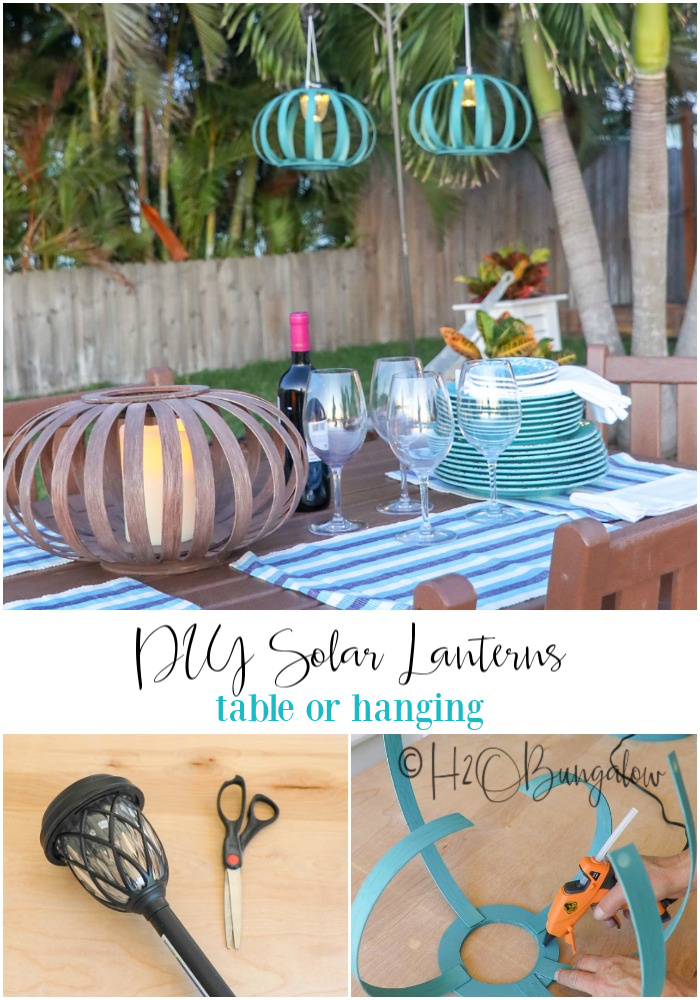
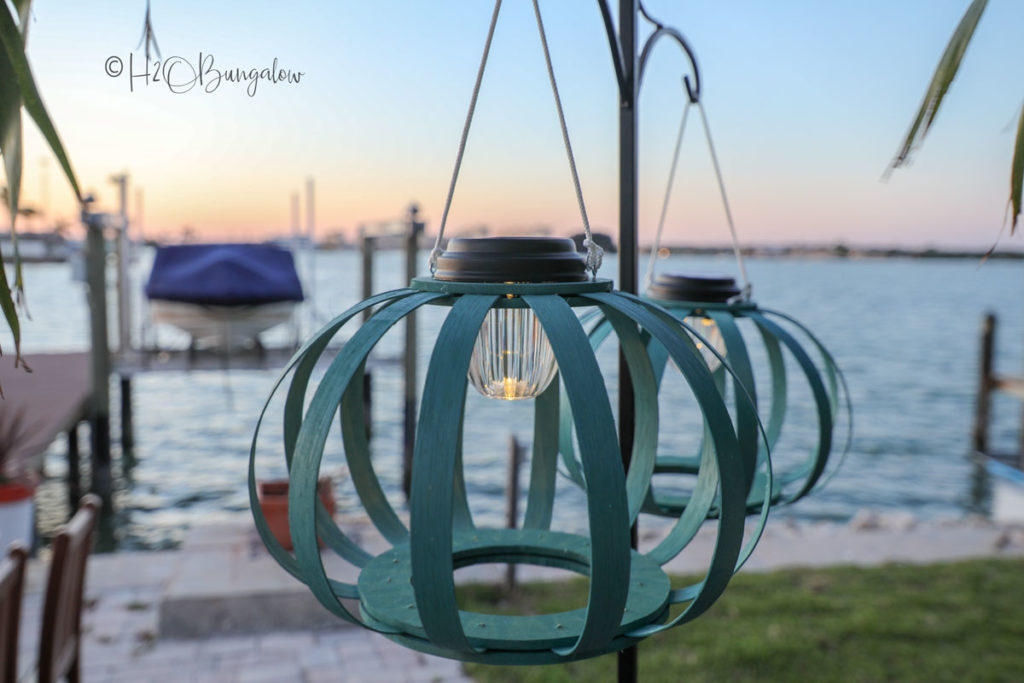
I just made a set of DIY solar hanging lanterns for our backyard. After what feels like weeks of tearing things apart, I’m finally at the stage of my backyard makeover where I can begin to think about making it pretty again! To me, outdoor lighting is the finishing touch to a beautiful landscape. I’m loving these colorful solar pendant lights I made and can’t wait to try them out.
This month, a few other bloggers from the Power Tool Challenge Team and I decided to come up with a project that our readers could make for $20 or under. Thankfully that didn’t include stain or paint! I still had basket reed left over from last year’s crazy popular DIY Wooden Lantern so I thought I’d make a set of hanging solar lanterns for our backyard with my left over materials.
This post contains affiliate links, as an Amazon affiliate I earn a fee from qualifying purchases at no additional cost to you. Thank you for supporting H2OBungalow!
How to Make a DIY Hanging Solar Lantern
You’ll be able to make two hanging solar lanterns from the below supplies…plus still have enough reed material to make my DIY Wooden Lantern if you want after!
- 25mm basket reed $16.03
- 2 x 2′ Chipboard $3.13
- 2 -Solar lights $3.88 ea (Home Depot)
- 4- eye hooks $1.18 – I keep this kit in my toolbox
- Hot glue & glue gun – Gorilla hot glue is the best
- Vintage Teal spray paint
- String
- Scissors
- Jigsaw
- Drill
If you loved that handy little portable power source I used for the glue gun, you can find it here.
I made a quick video so you can see how I made my outdoor solar lanterns. It’s pretty quick and the only power tools I needed were a jigsaw and a drill. Easy! My tutorial is for a set of hanging solar lanterns.
Step 1. Cut the basket reed for the lantern shade.
Cut 24 pieces of basket reed at 14″ each piece.
Step 2. Take apart the solar light and cut the plastic housing of the solar path light.
The solar path light I used has a plastic outer cover. You’ll see in the video where I cut it to leave the top bracket so the clear base would stay attached to the top solar cap. You can probably use any solar path light as long as you can cut away the decorative cover over the light.
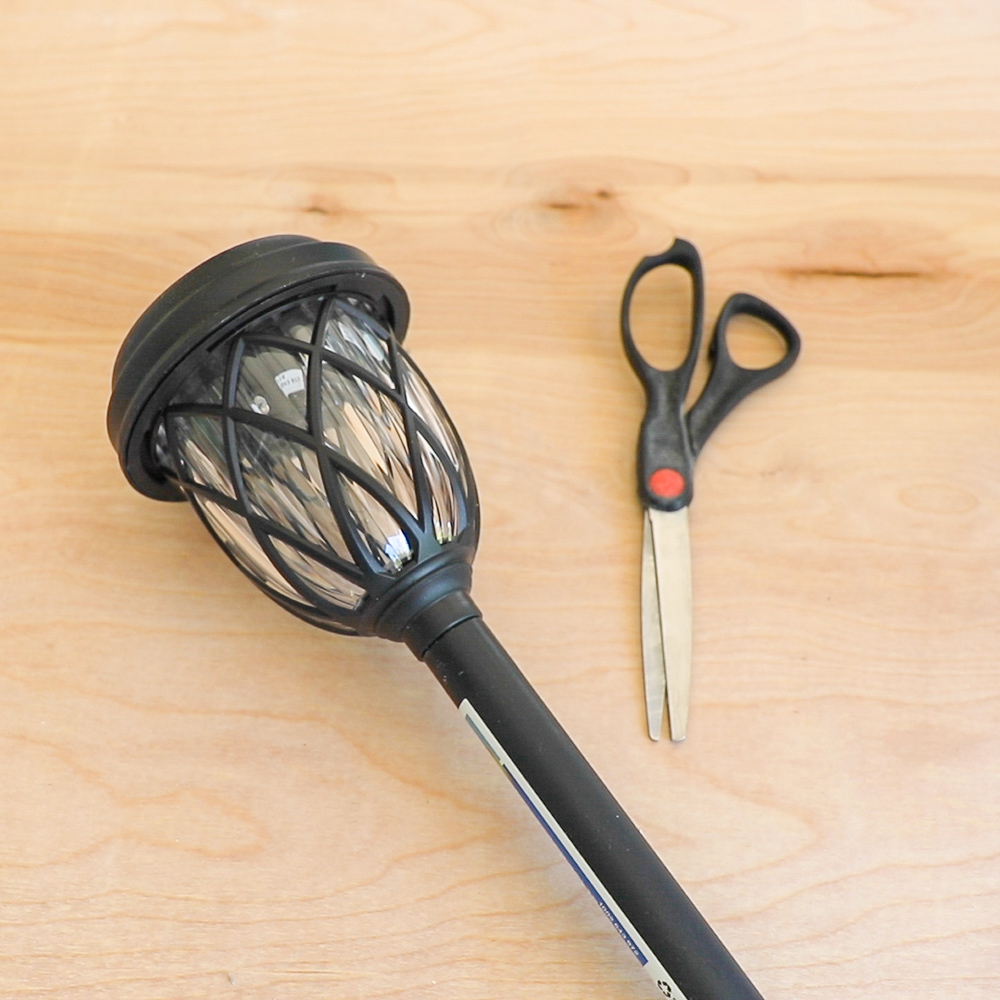
Step 3. Hot glue the remaining plastic light housing to the clear plastic light cover.
To be sure the top of the solar light locks back on the clear lamp part, keep the two pieces assembled while you are hot glueing. I ruined my first attempt by not having the pieces together when I glued them, the parts wouldn’t line up and the cap wouldn’t go back on the light.
Step 4. Make the Lantern tops and bottoms.
Make 4 large and 4 small circles with the centers cut out from wood or chipboard. I used chipboard for this project to stay under budget. That means it won’t be able to get wet. If you want to keep your DIY hanging solar lanterns outside all of the time, I suggest using a piece of treated lumber to make your lantern frame circles.
Use whatever you have or a protractor to make your circles. I eyeballed everything. For the large circles I used an 8 1/2″ salad plate and another can that fit well. Each circle is about a 1 3/4″ – 2″ wide. I used the can for the outside of the smaller circles and the solar light housing to trace the inner circle.
Step 5. Paint or stain the lantern parts.
I gave the circles a quick sanding and then painted everything, front and back. Be sure to get the sides. You’ll see in the video how I painted the basket reed in batches. Thumbtacks on cardboard worked great.
Step 6. Assemble the Lantern
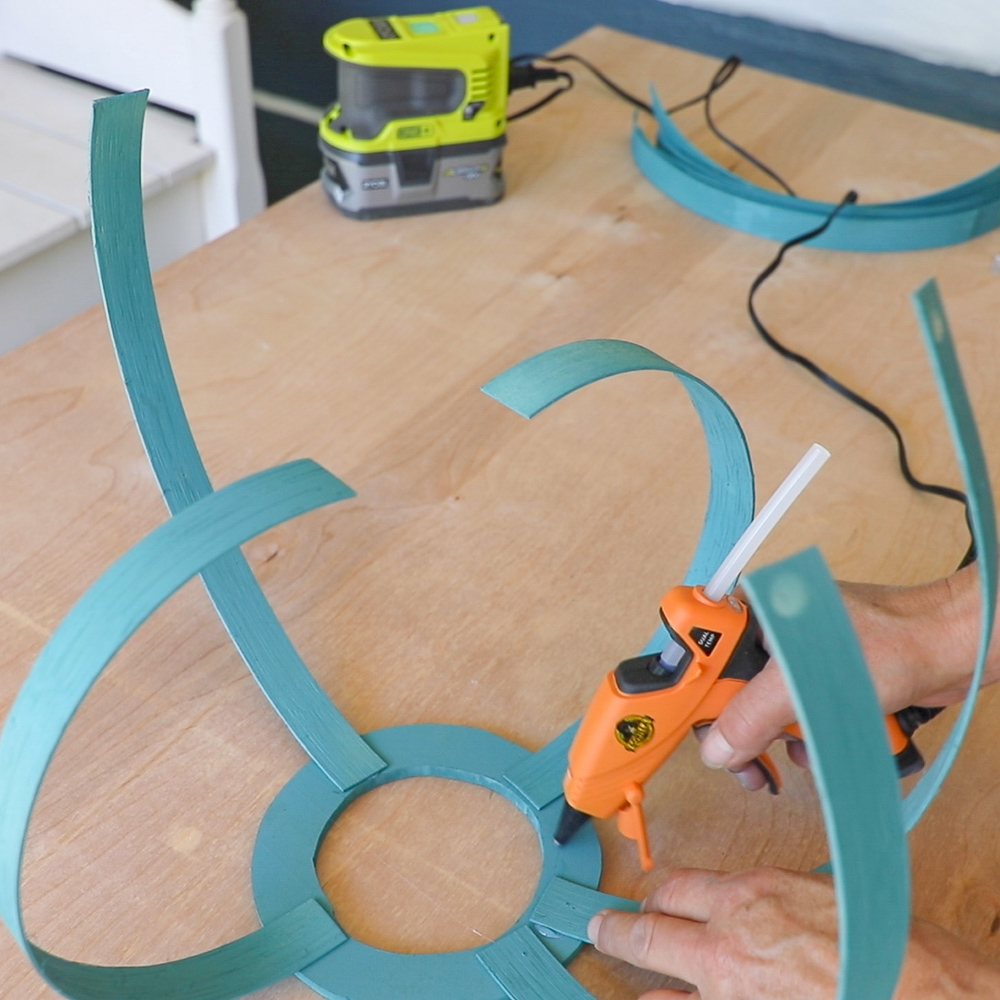
Use a ruler and pencil to divide the circle into quarters. It’s a little easier to start with the top smaller circles first. Hot glue the basket reeds onto the circle at the 4 points. Add two more reeds in between each of the 4 points. Next, glue the same size circle over the top of the reeds. Flip the lantern over and do the same to attach the bottom.
Step 7. Attach the eye hooks.
Place the solar lamp into the top small hole and mark where you’ll add the eye hooks. Make a pilot holes at both spots and screw the eye hook in. Add string or wire to hang.
That’s it! It sounds more complicated that it is.
How to Hang Outdoor Solar Lamps
I hung my two DIY solar hanging lanterns from a shepherd’s hook in the garden. I think they’d also look great hanging at different heights from low branches in a tree. You could also hang them from the edge or inside of an umbrella or pergola too.
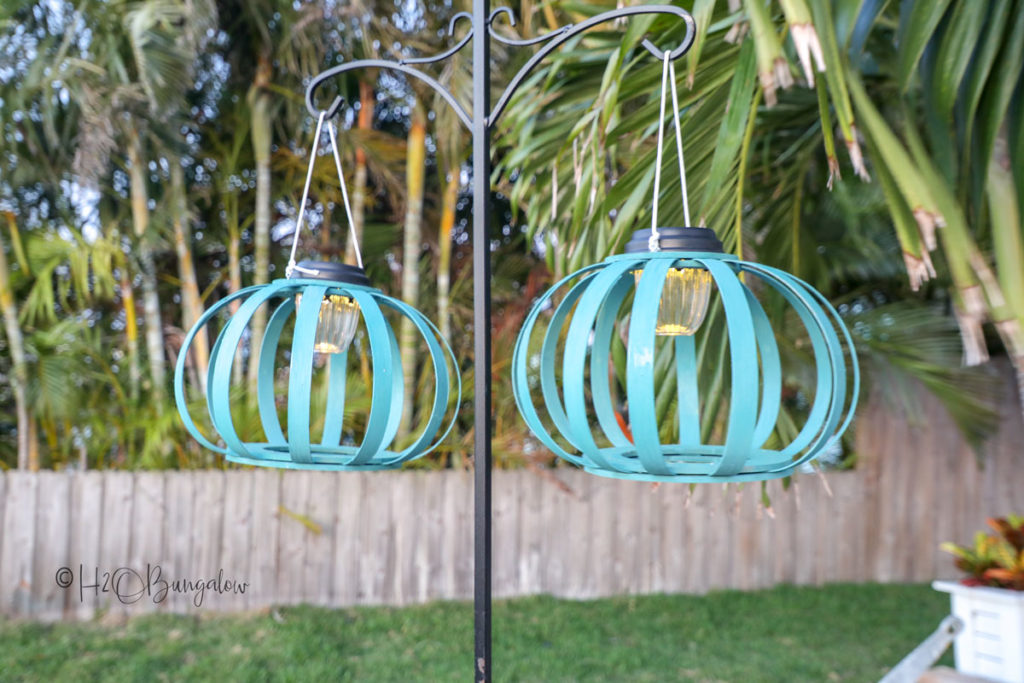
Another idea to hang your outside solar lights is to make several smaller versions of these hanging solar lanterns and make a pretty DIY solar chandelier. It wouldn’t be hard. Build a frame to hang the lights from and hang several at different heights from the frame.
Believe it or not, it’s not easy to find solar lighting for an outside dinner table. Sure, there are cafe lights, which I’ll be putting up soon but outdoor lighting for the dinner table is hard to find. I’ve also made DIY String Lights on Poles and built stands for my light poles and outdoor cafe lights.
I’m thinking of making my own version of a solar light chandelier to hang over our dinner table. Since we don’t have a pergola to hang lights from, I’ll use the center umbrella hole and make a wood frame like a shepherd’s hook to suspend my lanterns over the table. That should give us enough light to eat by and look pretty too. Hopefully this gets done before next week’s big reveal of my Backyard Makeover for the Hangout Challenge.
Ways to use solar powered lanterns outside
There are many ways to use solar powered lanterns outside.
Another variation of my hanging lantern lights would be to add more basket reeds so the outside looks more like a lampshade. I didn’t because I needed more light to shine down on the dinner table. If you’re looking for a table solar powered lamp then try my DIY Wooden Lantern project.
Don’t forget to pin my lantern project!

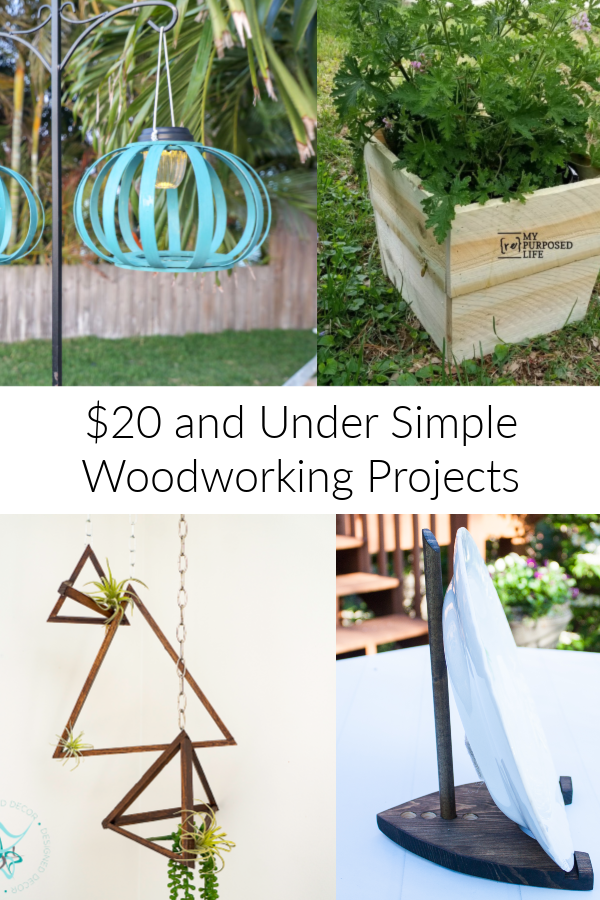
What did my friend’s come up with for their $20 and under projects?
H2OBungalow – DIY Solar Hanging Lanterns
My Repurposed Life – Flower Pot Cover
Designed Decor – DIY Hanging Air Plant Holder
Sweet Pea – DIY Adjustable Plate Stand

gail says
Wendi,
I love, love, love your new solar lights. Solar lights have changed so much in recent years. So many options!
gail
pinned!
Wendi says
Hi Gail!
Thank you so much! You are so right, solar lighting has gone to a whole new level! This was such a fun project to make and I’ll get a lot of use out of these lanterns. Thanks so much for your visit and note!
Kippi says
Wow! This project turned out great. I pinned it.
Happy spring, Kippi #kippiathome
Wendi says
Hi Kippi!
Thank you so much for sharing my solar lantern project! I love that they look pretty in the day and at night too. I hope you make a set too! Thanks so much for your note and visit!
Kirstin says
I’m loving these…I was waiting for you to do another project with them. Maybe someday I’ll make one.
Wendi says
Hi Kirstin!
Thank you so much! I’ve held on to that leftover basket reed for about a year and knew I’d make something out of it! You’d love these lanterns in your backyard…I hope you make a set! Thanks so much for your note and visit:)
DeDe DesignedDecor says
I love these and have wanted to make some for my patio since your first post. This year we are starting to work on the patio area, so I need to find a spot for them! Thanks for the inspiration!
Wendi says
Hi DeDe,
I love your new place! These would be perfect on your pation and I’m sure you’d put your own spin on the project:) Share a pic if you make some, I’d love to see them!
Paula@SweetPea says
Your solar lanterns look fabulous in your backyard! I’ll bet that they look so pretty when they come on in the evening and they must make your backyard feel like an outdoor room. I enjoyed your video and I can’t wait for your reveal next week.
Wendi says
Hi Paula!
Thank you so much on all accounts! I’m so excited about this backyard makeover and my new solar lanterns will fit beautifully out there! Thanks so much for your very kind note!