I made this DIY wood lantern for this month’s theme of Lantern for the Power Tool Challenge Team. I love lanterns for adding a cozy touch to outdoor or indoor decor. Today, I’m sharing how to make a wood lantern for a candle or LED candle plus five more creative wood lantern DIY ideas.
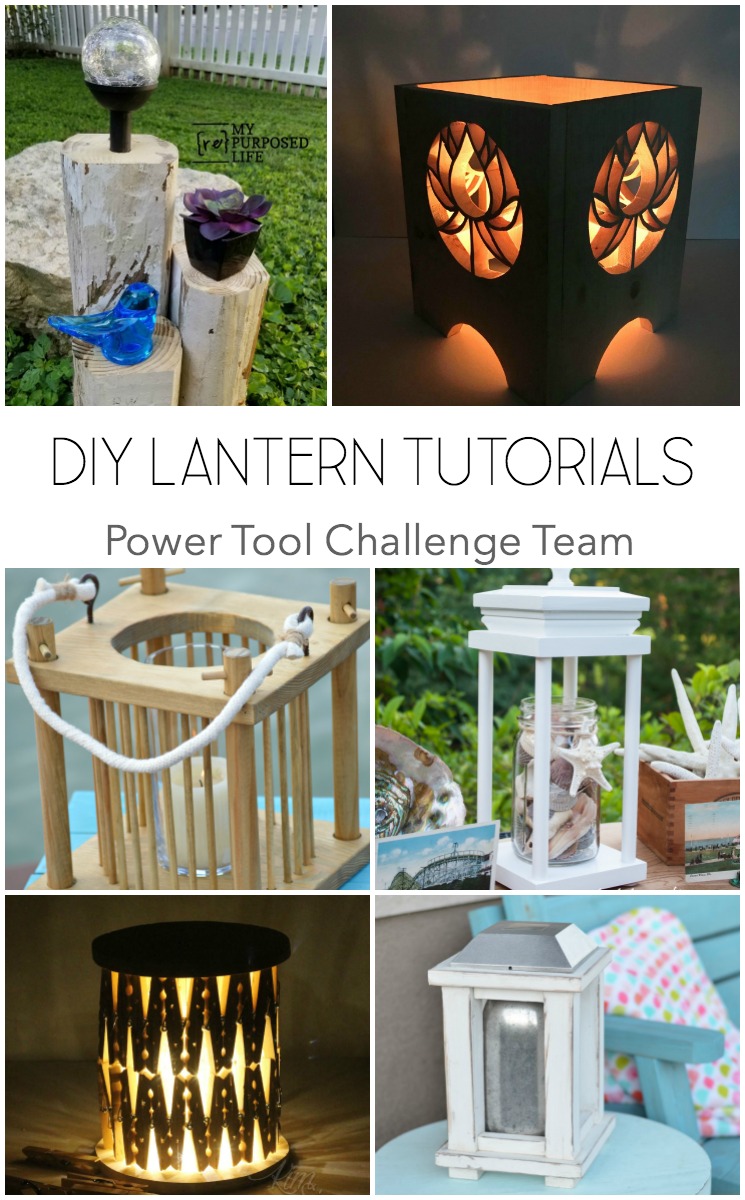
It was tough coming up with another DIY lantern idea especially on the heels of last months DIY Wooden Lantern that went viral! I had to think on this one a while before I came up with an idea. But I did! Before I share my tutorial, I wanted to share what the rest of the team made. You’ll find the tutorial to make my DIY wood lantern when you scroll down a bit.
My Repurposed Life – Landscape Timer Solar Light
Just the Woods – Scroll Saw DIY Lantern
H2OBungalow – DIY Wood Lantern Tutorial – That’s me!
Virginia Sweet Pea – Easy DIY Decorative Lantern
The Kim Six Fix – Clothespin Lantern
Her Tool Belt – Wood and Mason Jar Solar Lantern
Pin this for later!
Now, on to how to make a DIY wood lantern for a candle like I did.
How to Make a DIY Wood Lantern
I use affiliate links to help you find the supplies I used. You can read my full disclosure policy here.
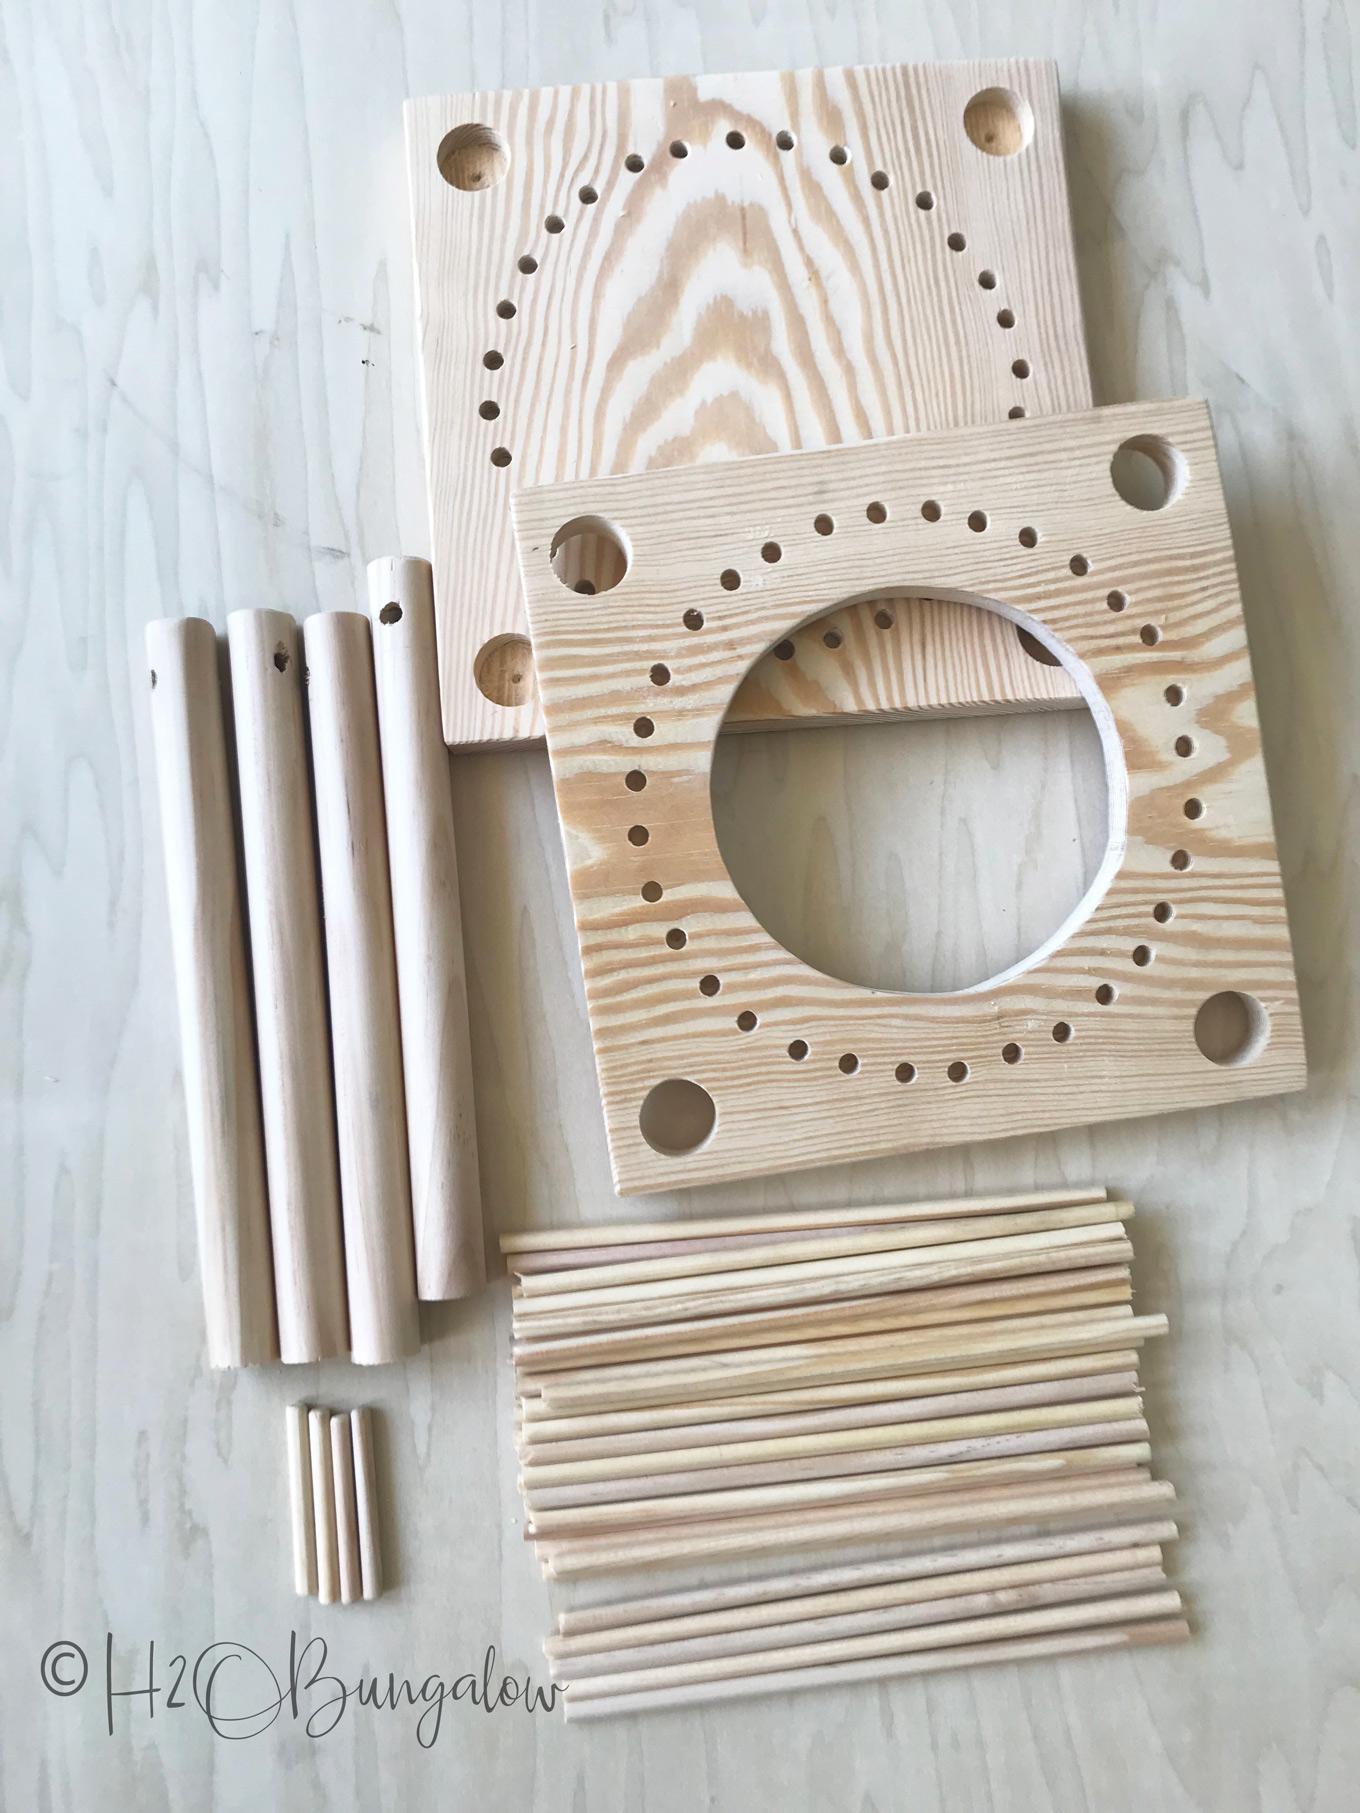
Cut list for wood lantern
- 32 – 1/4″ wood dowel, cut at 8″
- 4 – 1/4″ wood dowel, cut at 2″
- 4 – 1″ wood dowel, cut at 13″
- 2 – 1 x 10 wood plank, cut into square 9 /1/4″ x 9 1/4″ pieces
This is what you’re pieces will look like when you’re ready to put the lantern together.
Supplies needed to make a DIY wood lantern
- Drill or drill press
- Forstner bit, 1″
- drill bit, 5/16″ for the dowel holes
- graphite paper – I just found this brand and love the idea it’s on a roll!
- hole punch
- hammer
- stain or paint – I used Minwax Driftwood
- wood glue– I’m loving this Gorilla non-foaming clear glue lately
- sander
- ruler
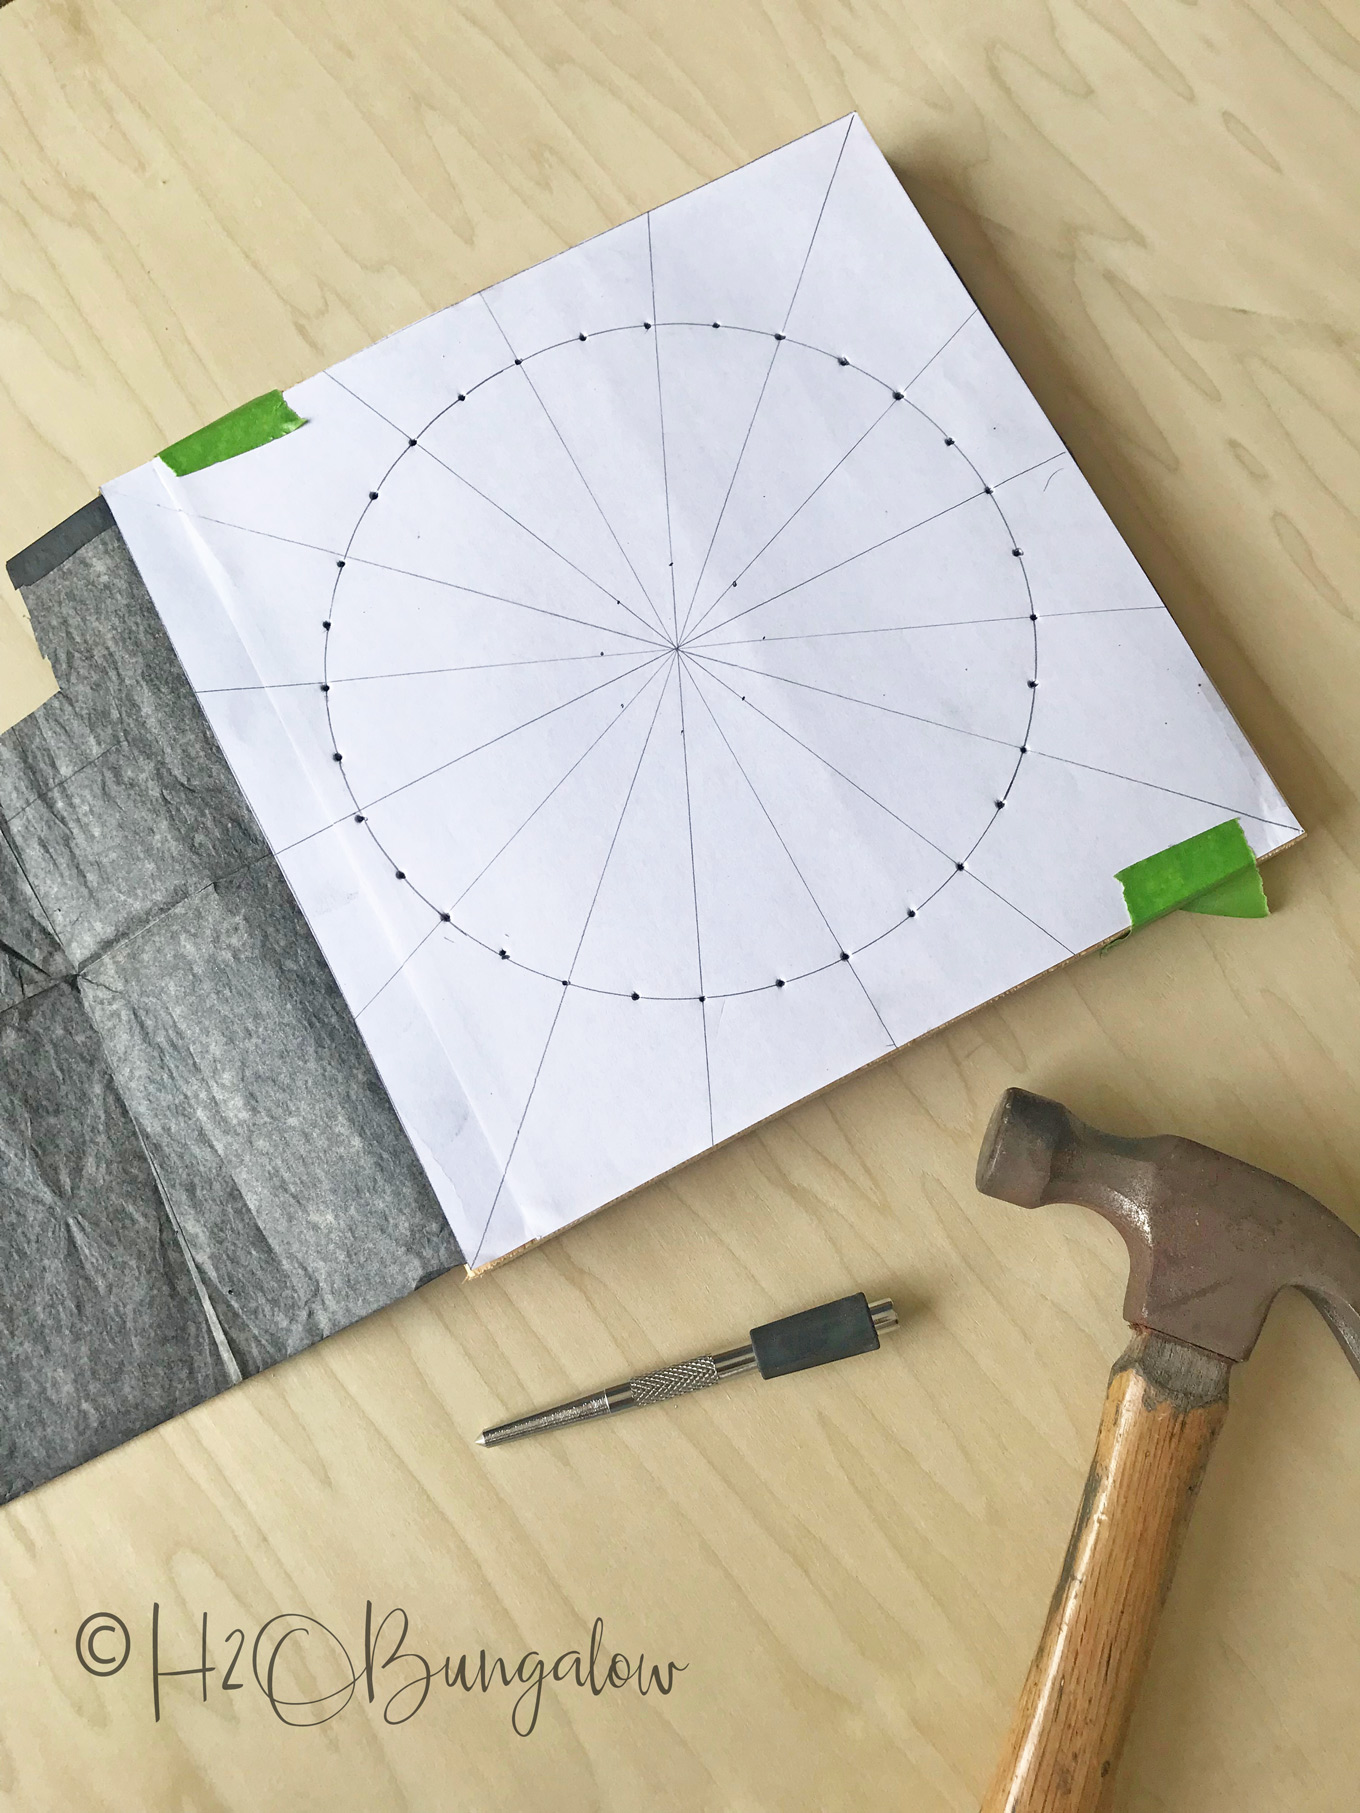
Since I didn’t have a protractor, I used a bread plate to trace the circle for my template and another to line up the hole on the top of my DIY wood lantern. I know, not very technical, but it worked! next, I used the ruler to draw the intersecting lines to help me space the dowel hole spots. It’s all kind of eyeballed and so was the extra dot in between the lines. Graphite paper works great with a punch and hammer to transfer the hole pattern to each side of the wood. This pattern is the same for the top and bottom pieces.
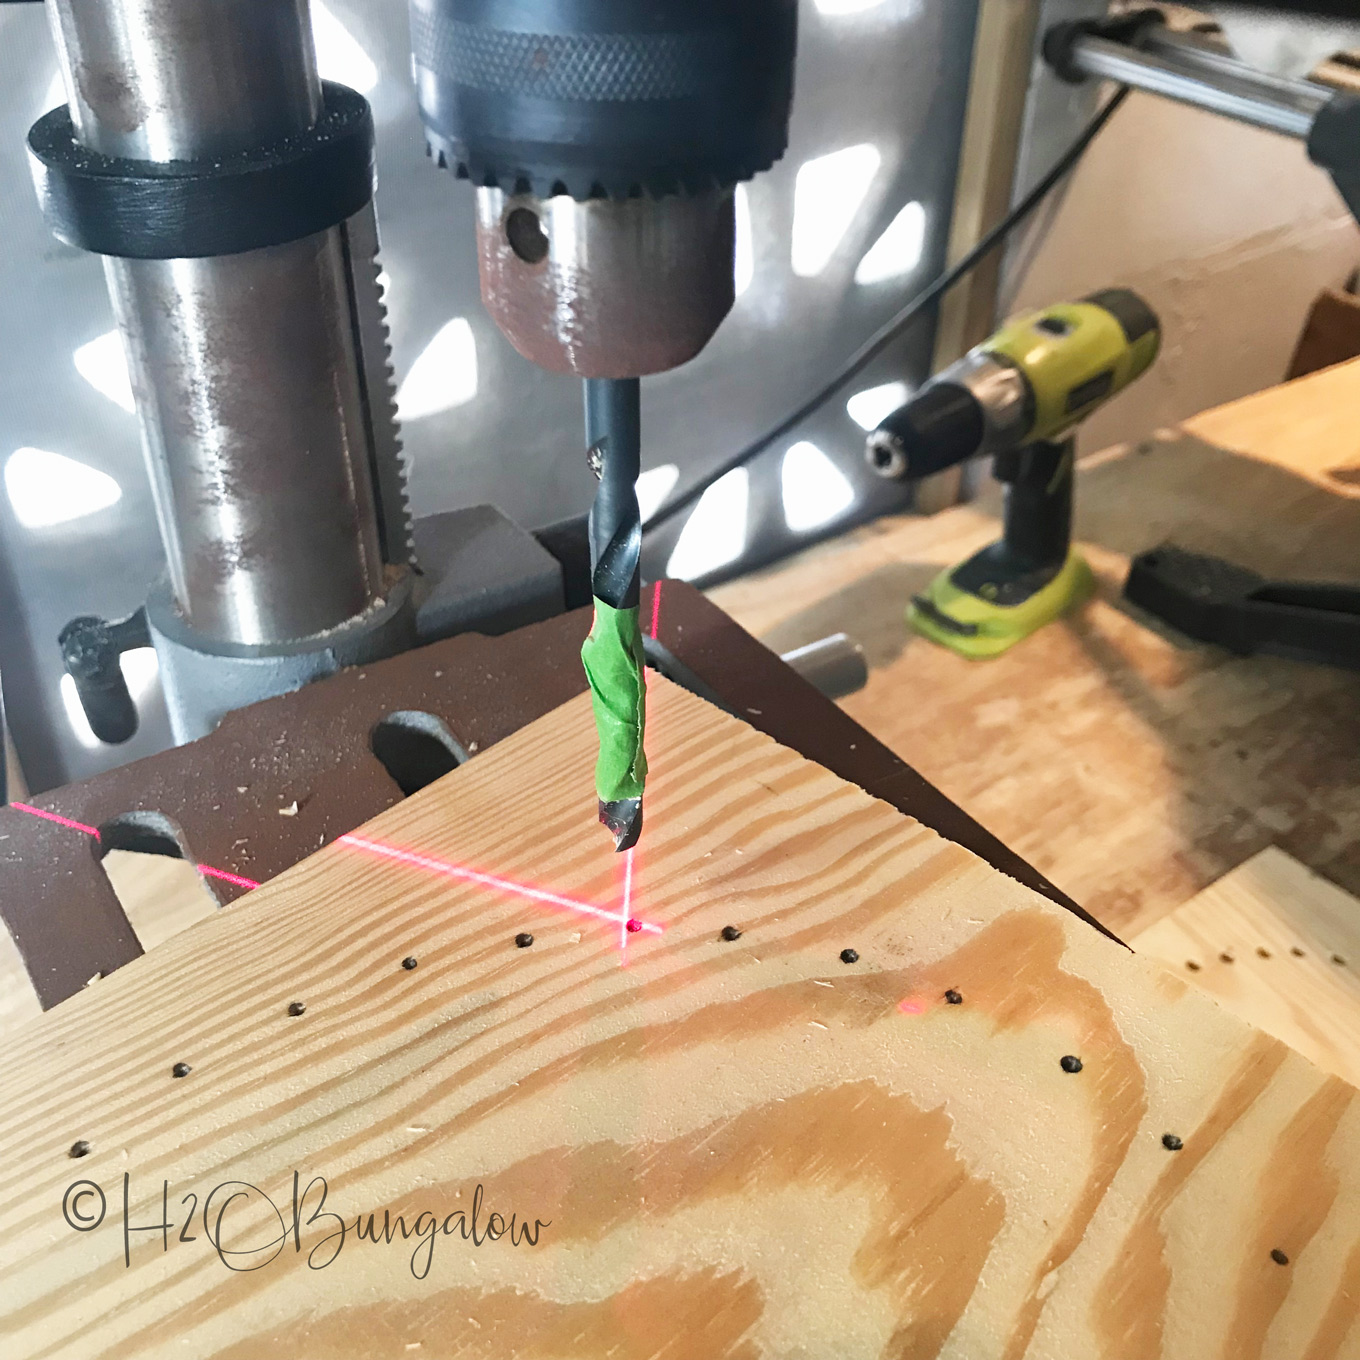
Use a drill or a drill press to drill the holes. My Ryobi drill press has a laser which helped line up the holes. A plain old drill will work fine too. Mark the drill bit with tape to a depth of 1/4″.
This part is where I’ll share what to do and not what I did 🙂
Bottom piece: Drill 4 holes 1/4″ deep on four opposite sides on the circle, one top, bottom and two sides. Drill the rest of the holes all the way thorough.
Top piece: Drill all the holes at 1/4″ deep using the marked drill bit as a depth guide for all of the marked spots.
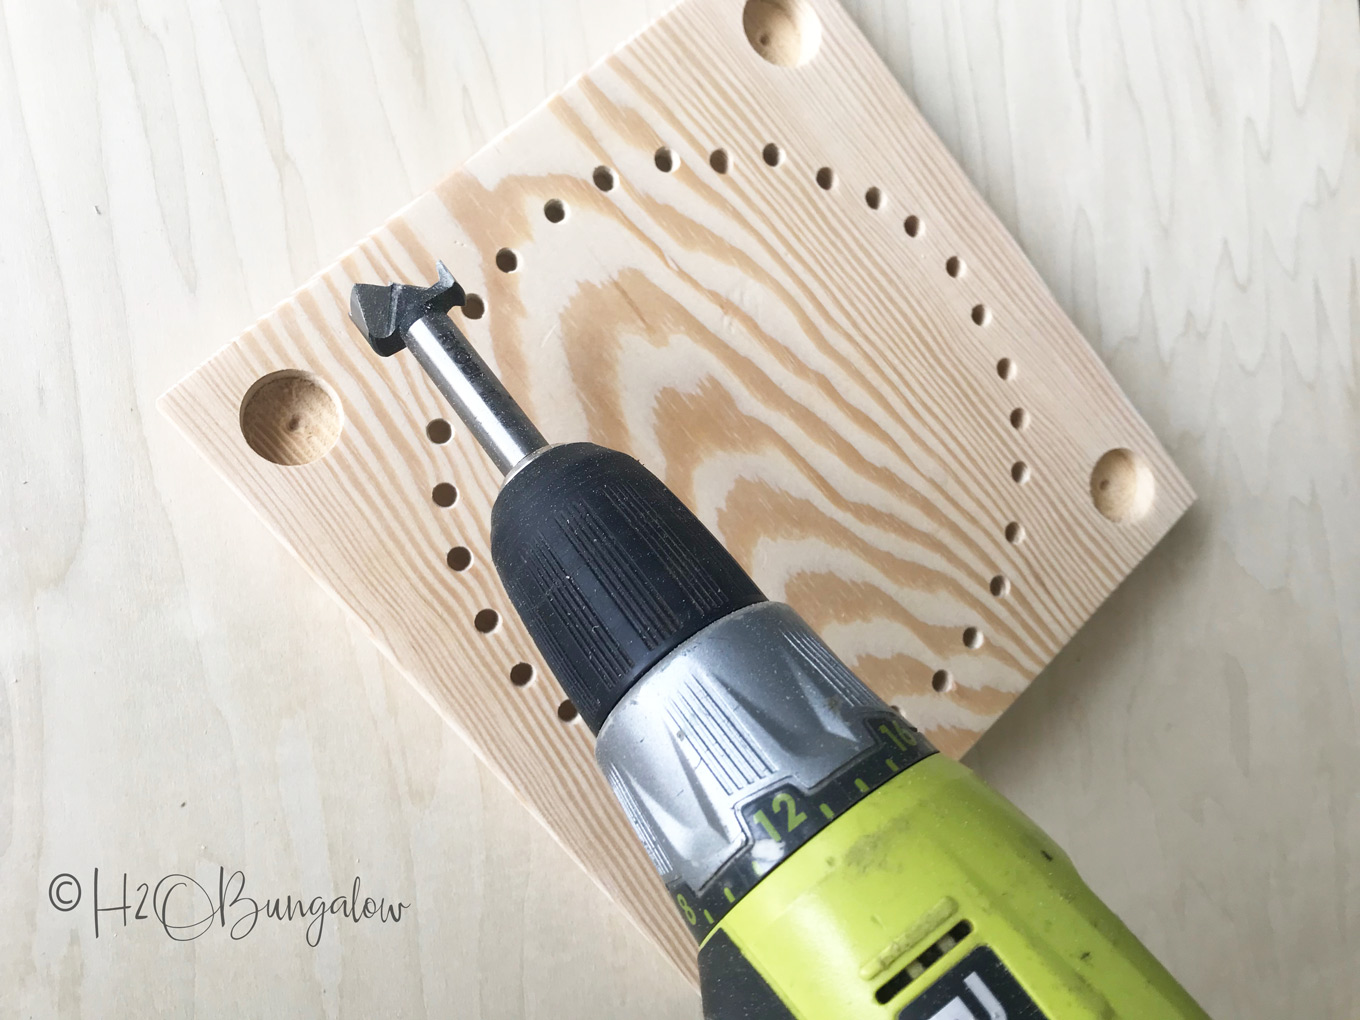
Use a 1″ forstner bit to mark and drill the four corners fo the large dowels. I used my Kreg Multi Measure tool to mark 1″ in from each side and used the intersection for the tip of the forstner bit.
The corner 1″ dowel holes only go in about 1/2″ on the bottom piece. The dowel holes on top go all the way through for the top piece. I dry fitted four of the 1/4″ dowels in place and the four 1″ dowels to mark the spot where I’d put the holes for the 2″ cross pieces. I thin it’s easier to just look at the picture of all my pieces than it is for me to explain this process. It’s pretty simple.
Give everything a good sanding.
Stain or paint the pieces before putting the DIY wood lantern together.
Time to assemble!
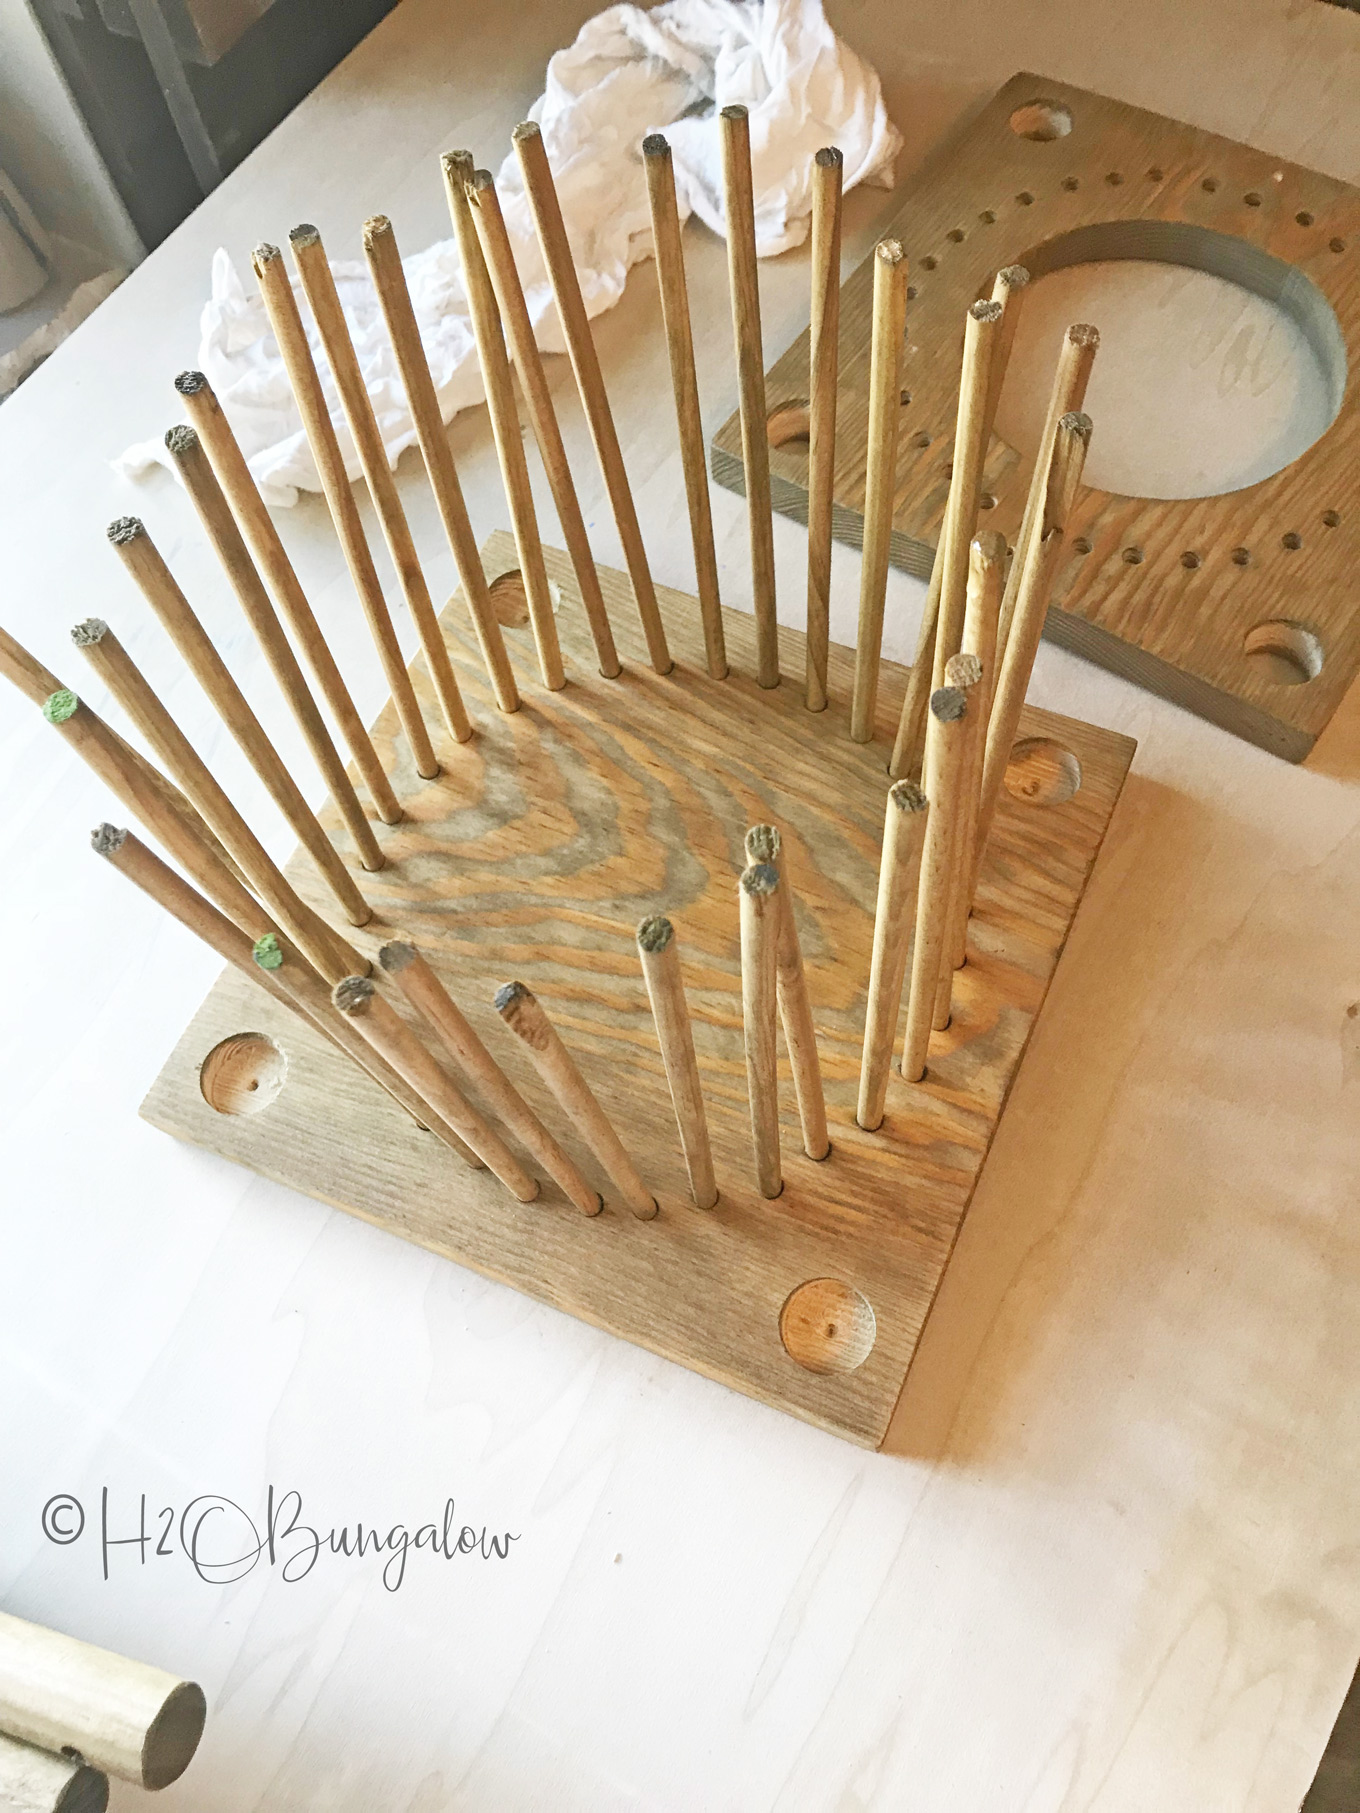
Yeah… the picture below is what WON’T work! It dawned on me that I’d have to lift the top up slightly to get the next dowel into a hole and that would let the other dowels out of the holes on the top I’d already filled. Oh, duh… It was a hand on head kind of moment, as in what were you thinking? I was already thinking up the fix as I stained the pieces.
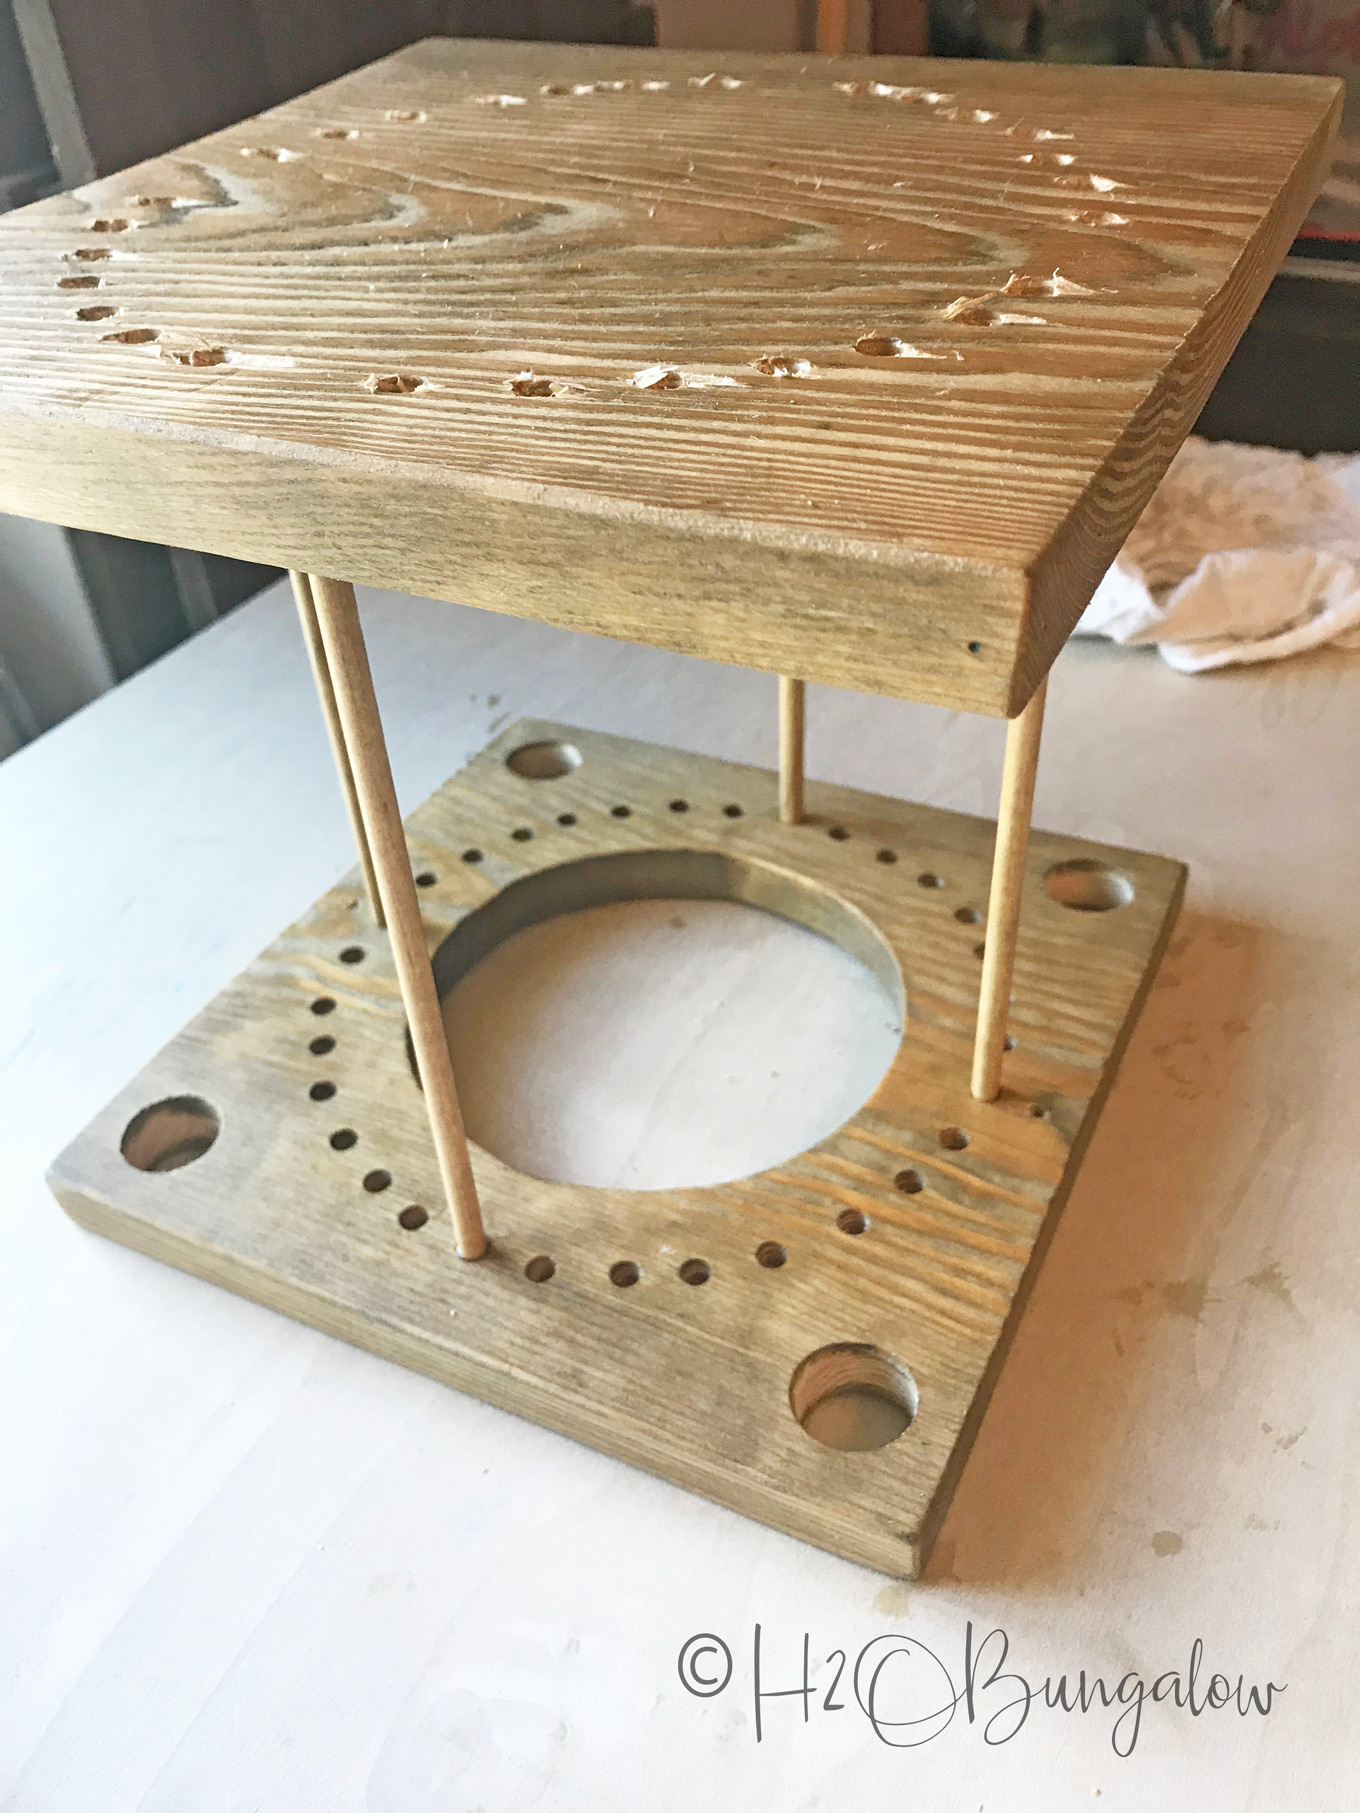
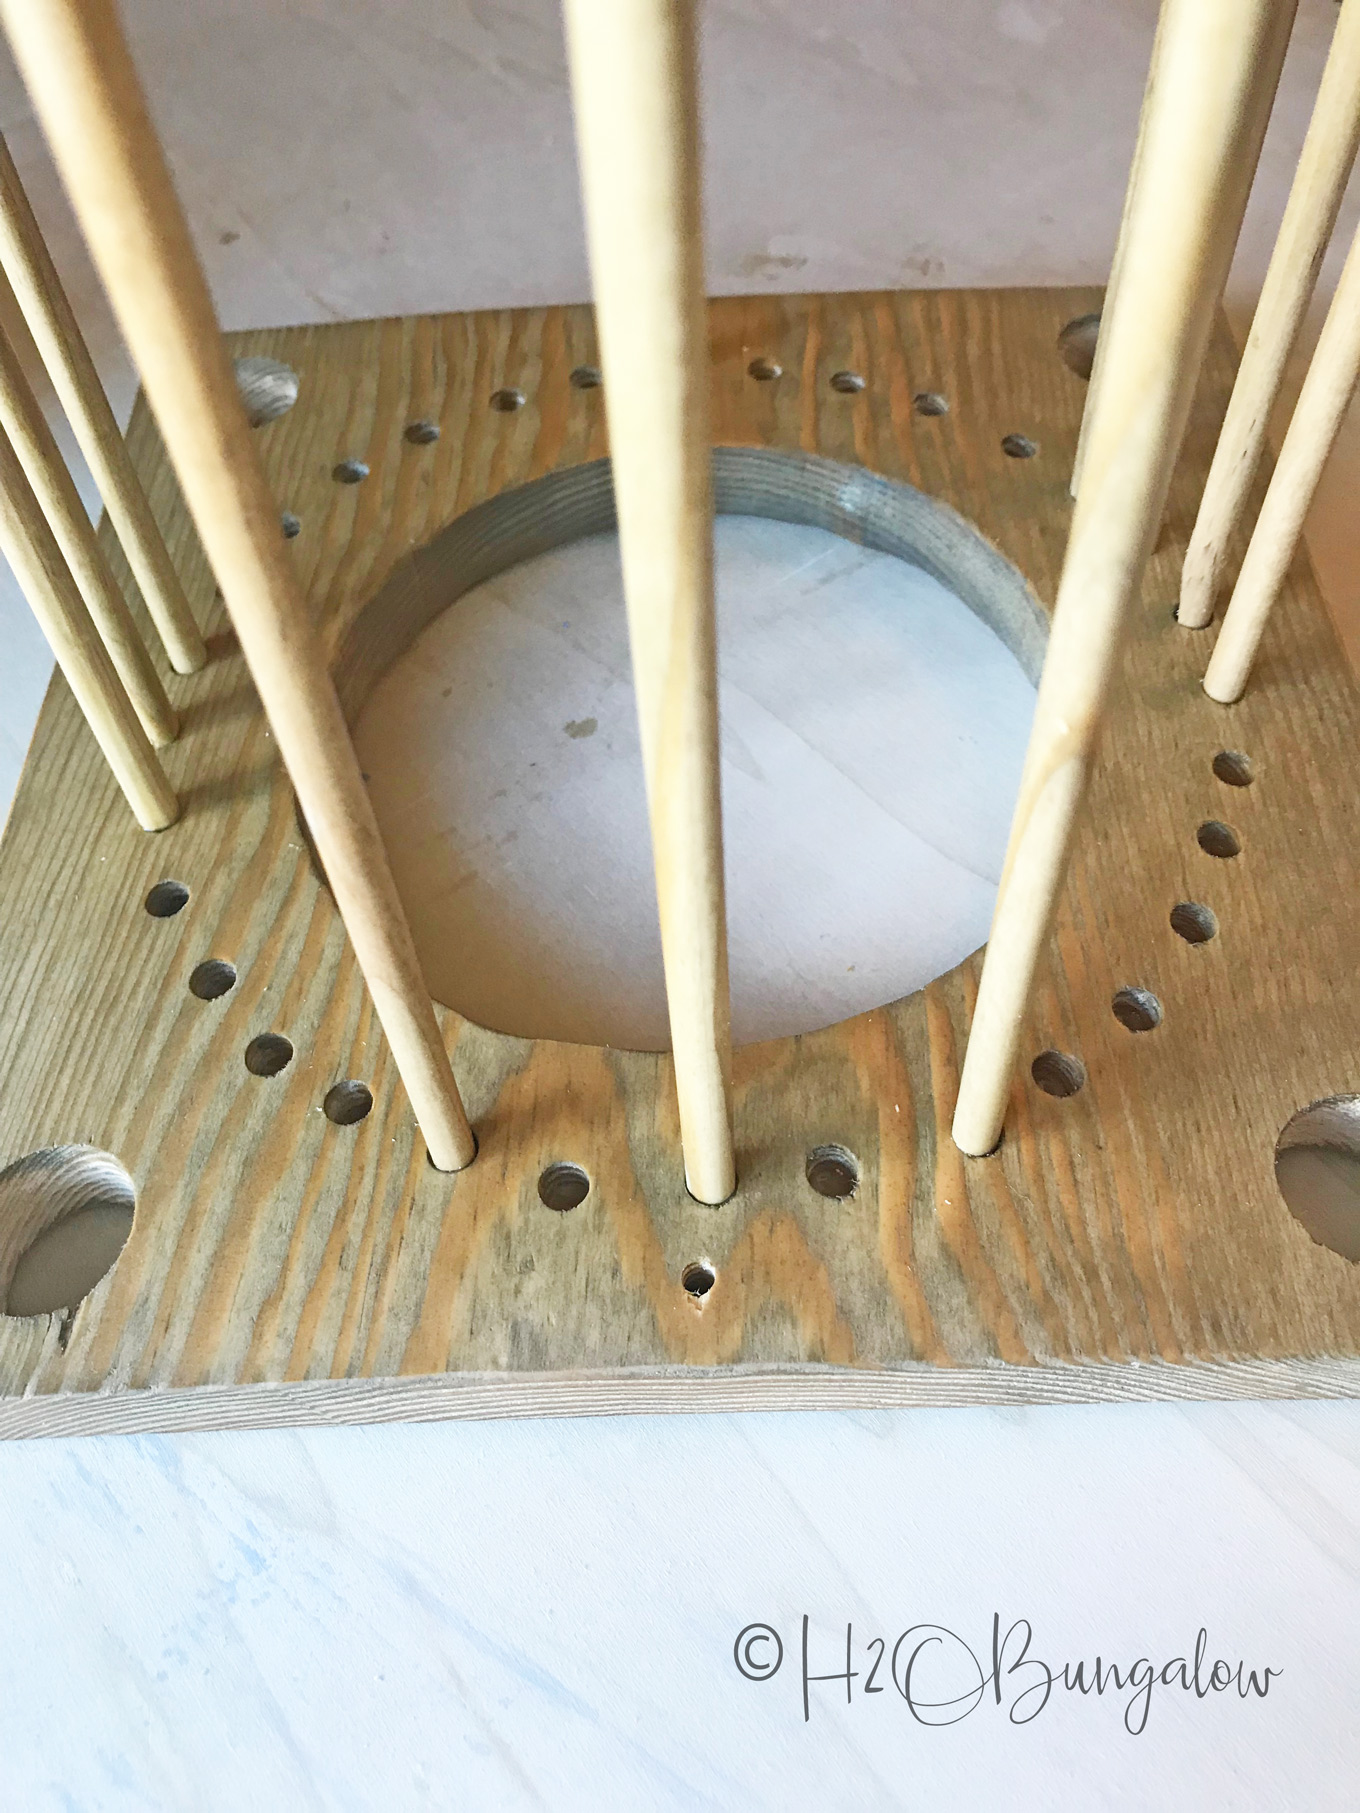
This is a pic of the bottom on the lantern. My drill kind of chewed up the boards when I drilled through the bottom with a bit large enough for the 1/4″ dowels to go through. Stick another board underneath this one when you drill your holes and that will help with the issue.
I was running so late at this point and getting ready to leave for our family reunion the next day so I just barreled through this step and chewed up my lantern base. It’s the bottom so at least it won’t show.
Place the top down on a flat surface like the above picture.. Place a dab of glue onto each of the 1/4″ drilled holes. Next, put the four dowels into the spaces you only drilled at 1/4 on the bottom piece connecting the top and bottom like the pic. Slide the remaining dowels in place through the drilled holes from the top (bottom piece that’s up).
I used a dab of hot glue in each of the dowel holes so the dowels wouldn’t slide back out when I turned the lamp over.
Turn the lamp over assemble and slide the large dowel in place using wood glue. I also put a 1 1/2″ brad nail into the underside of each dowel for extra strength.
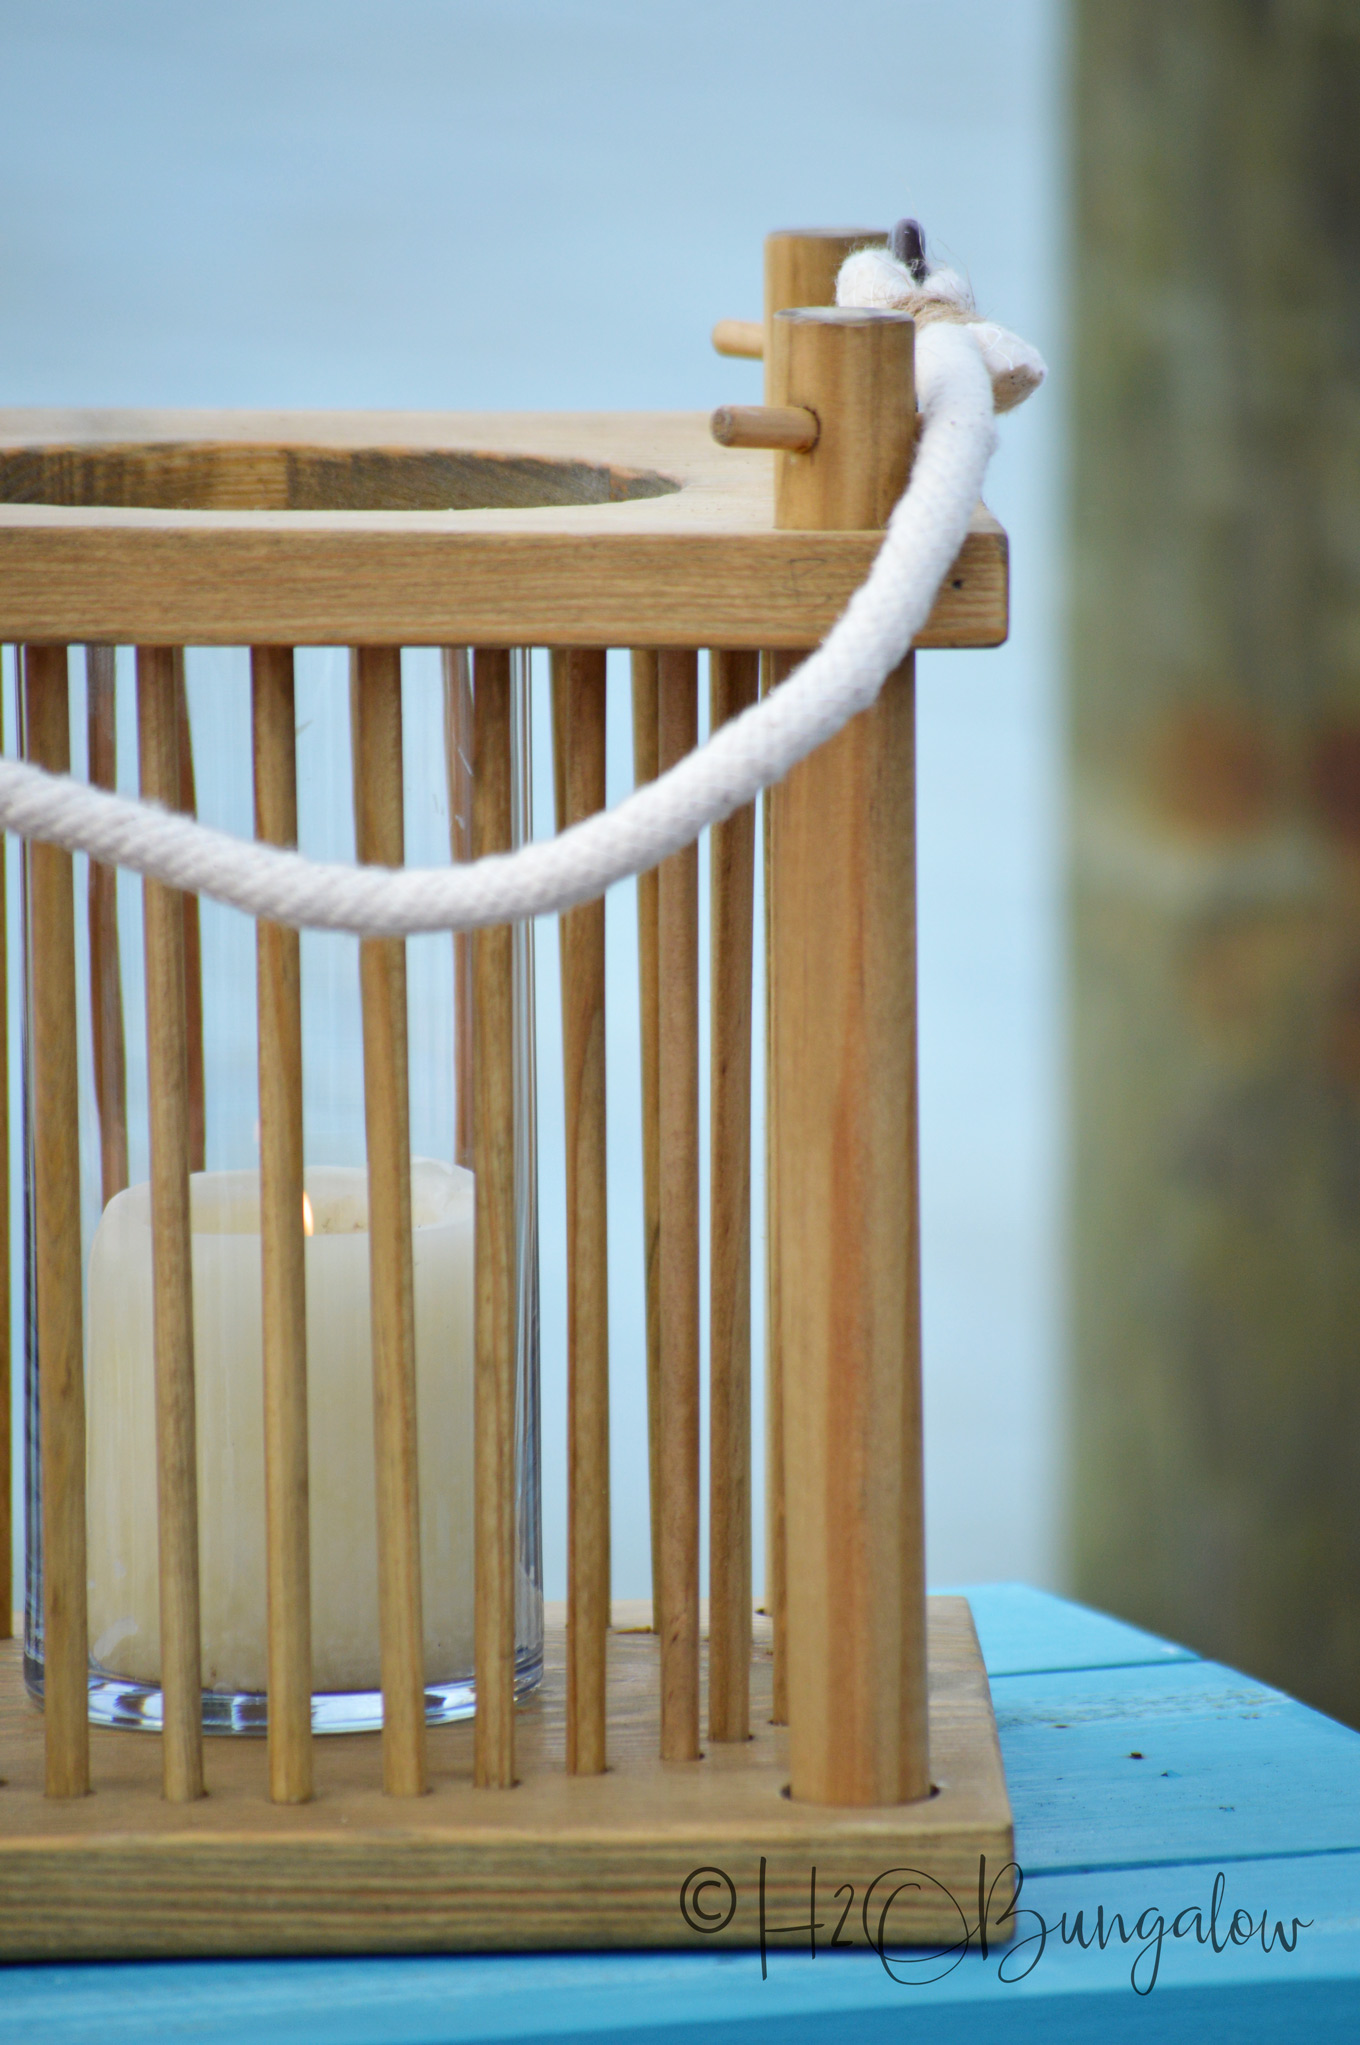
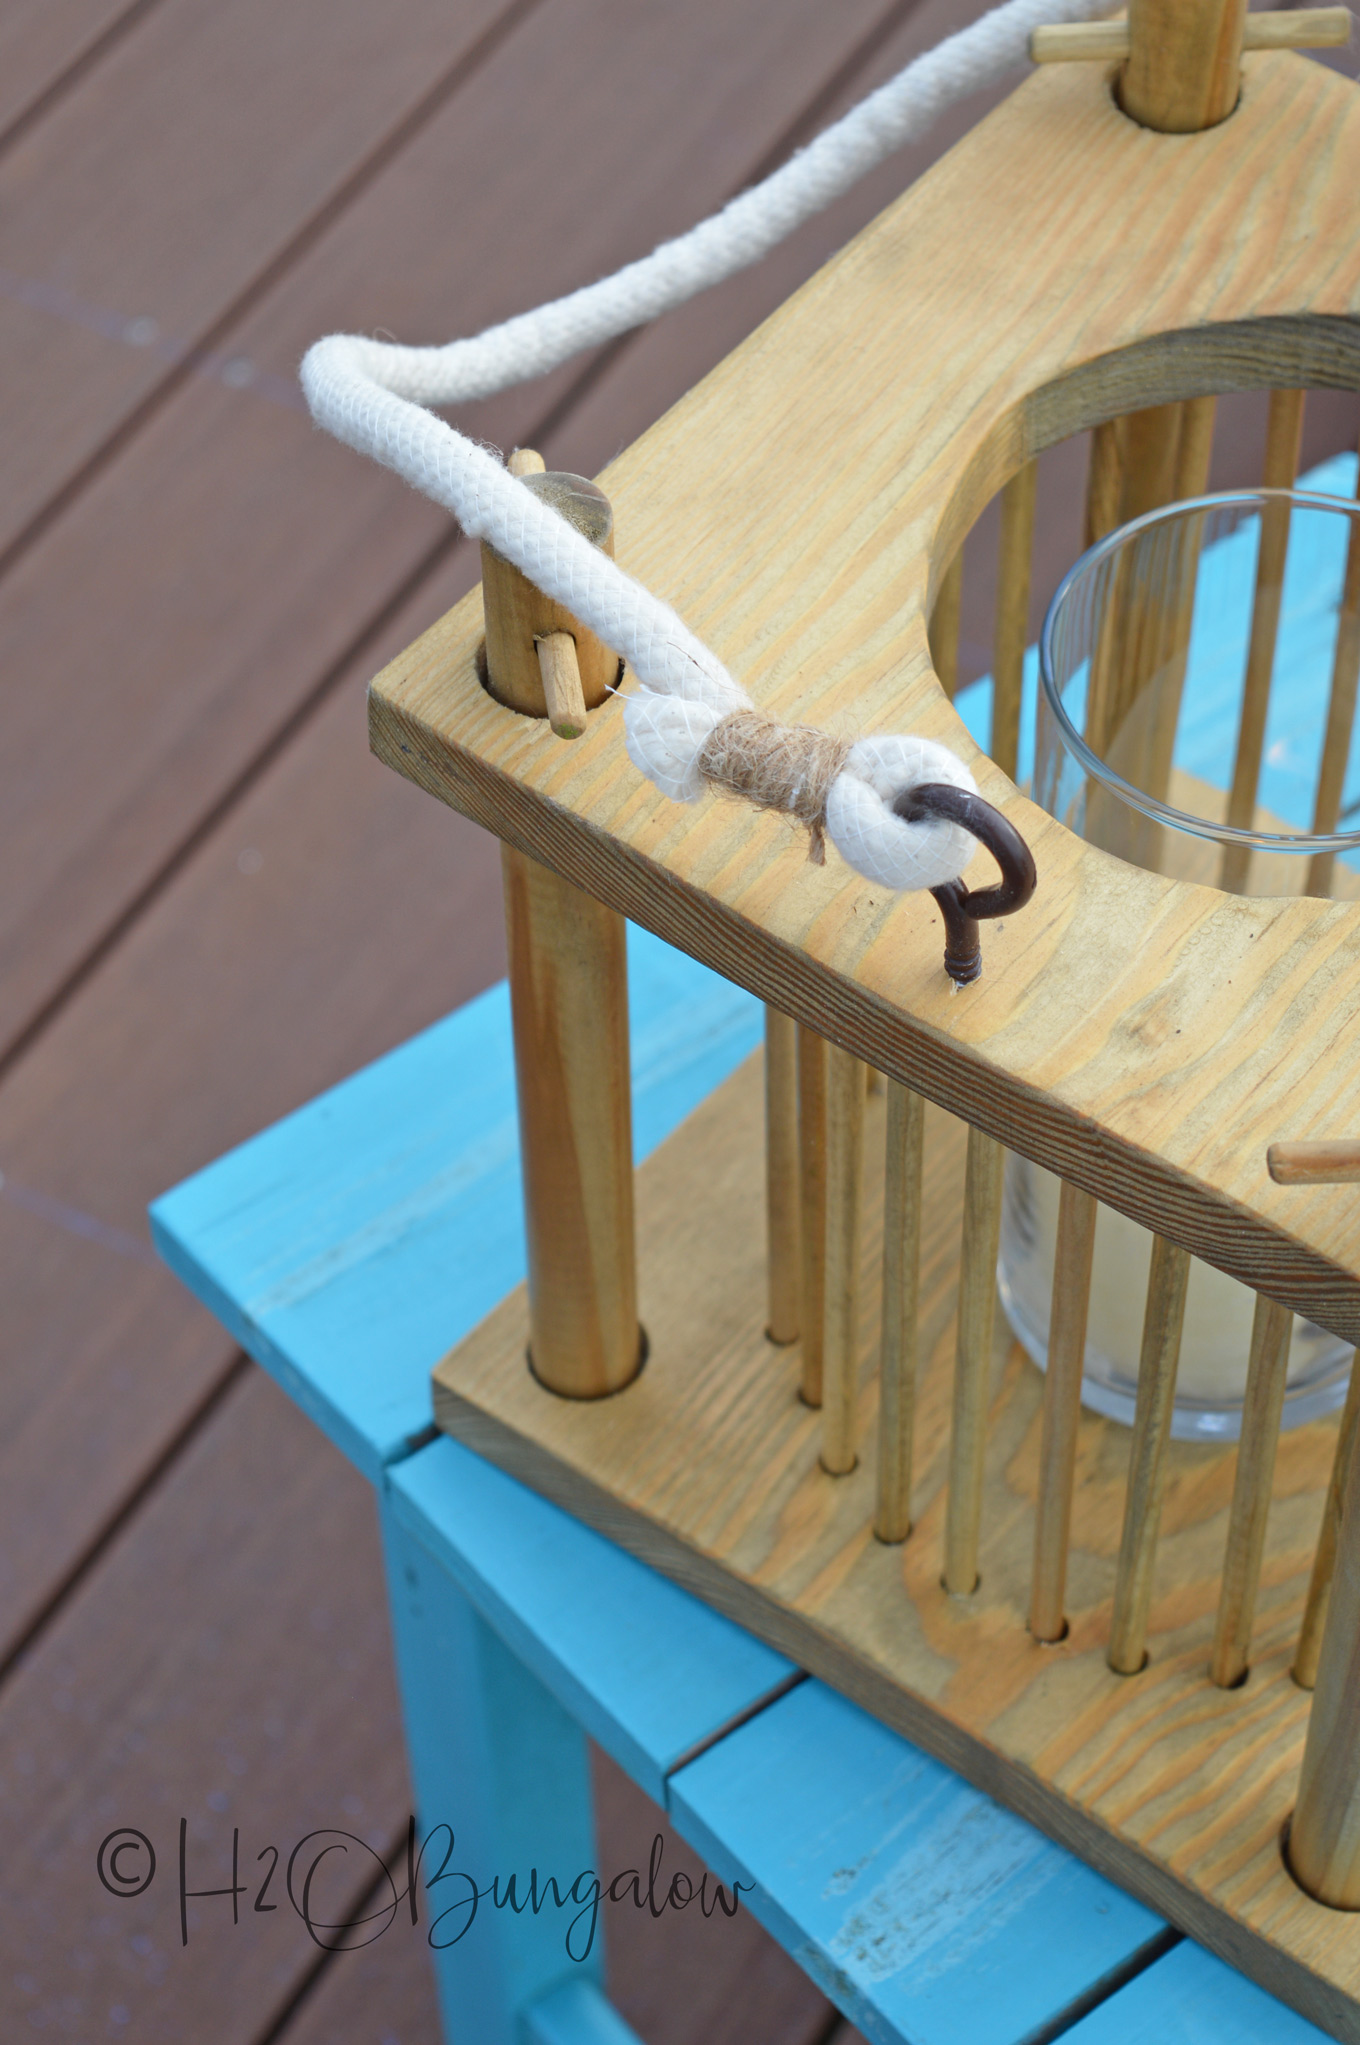
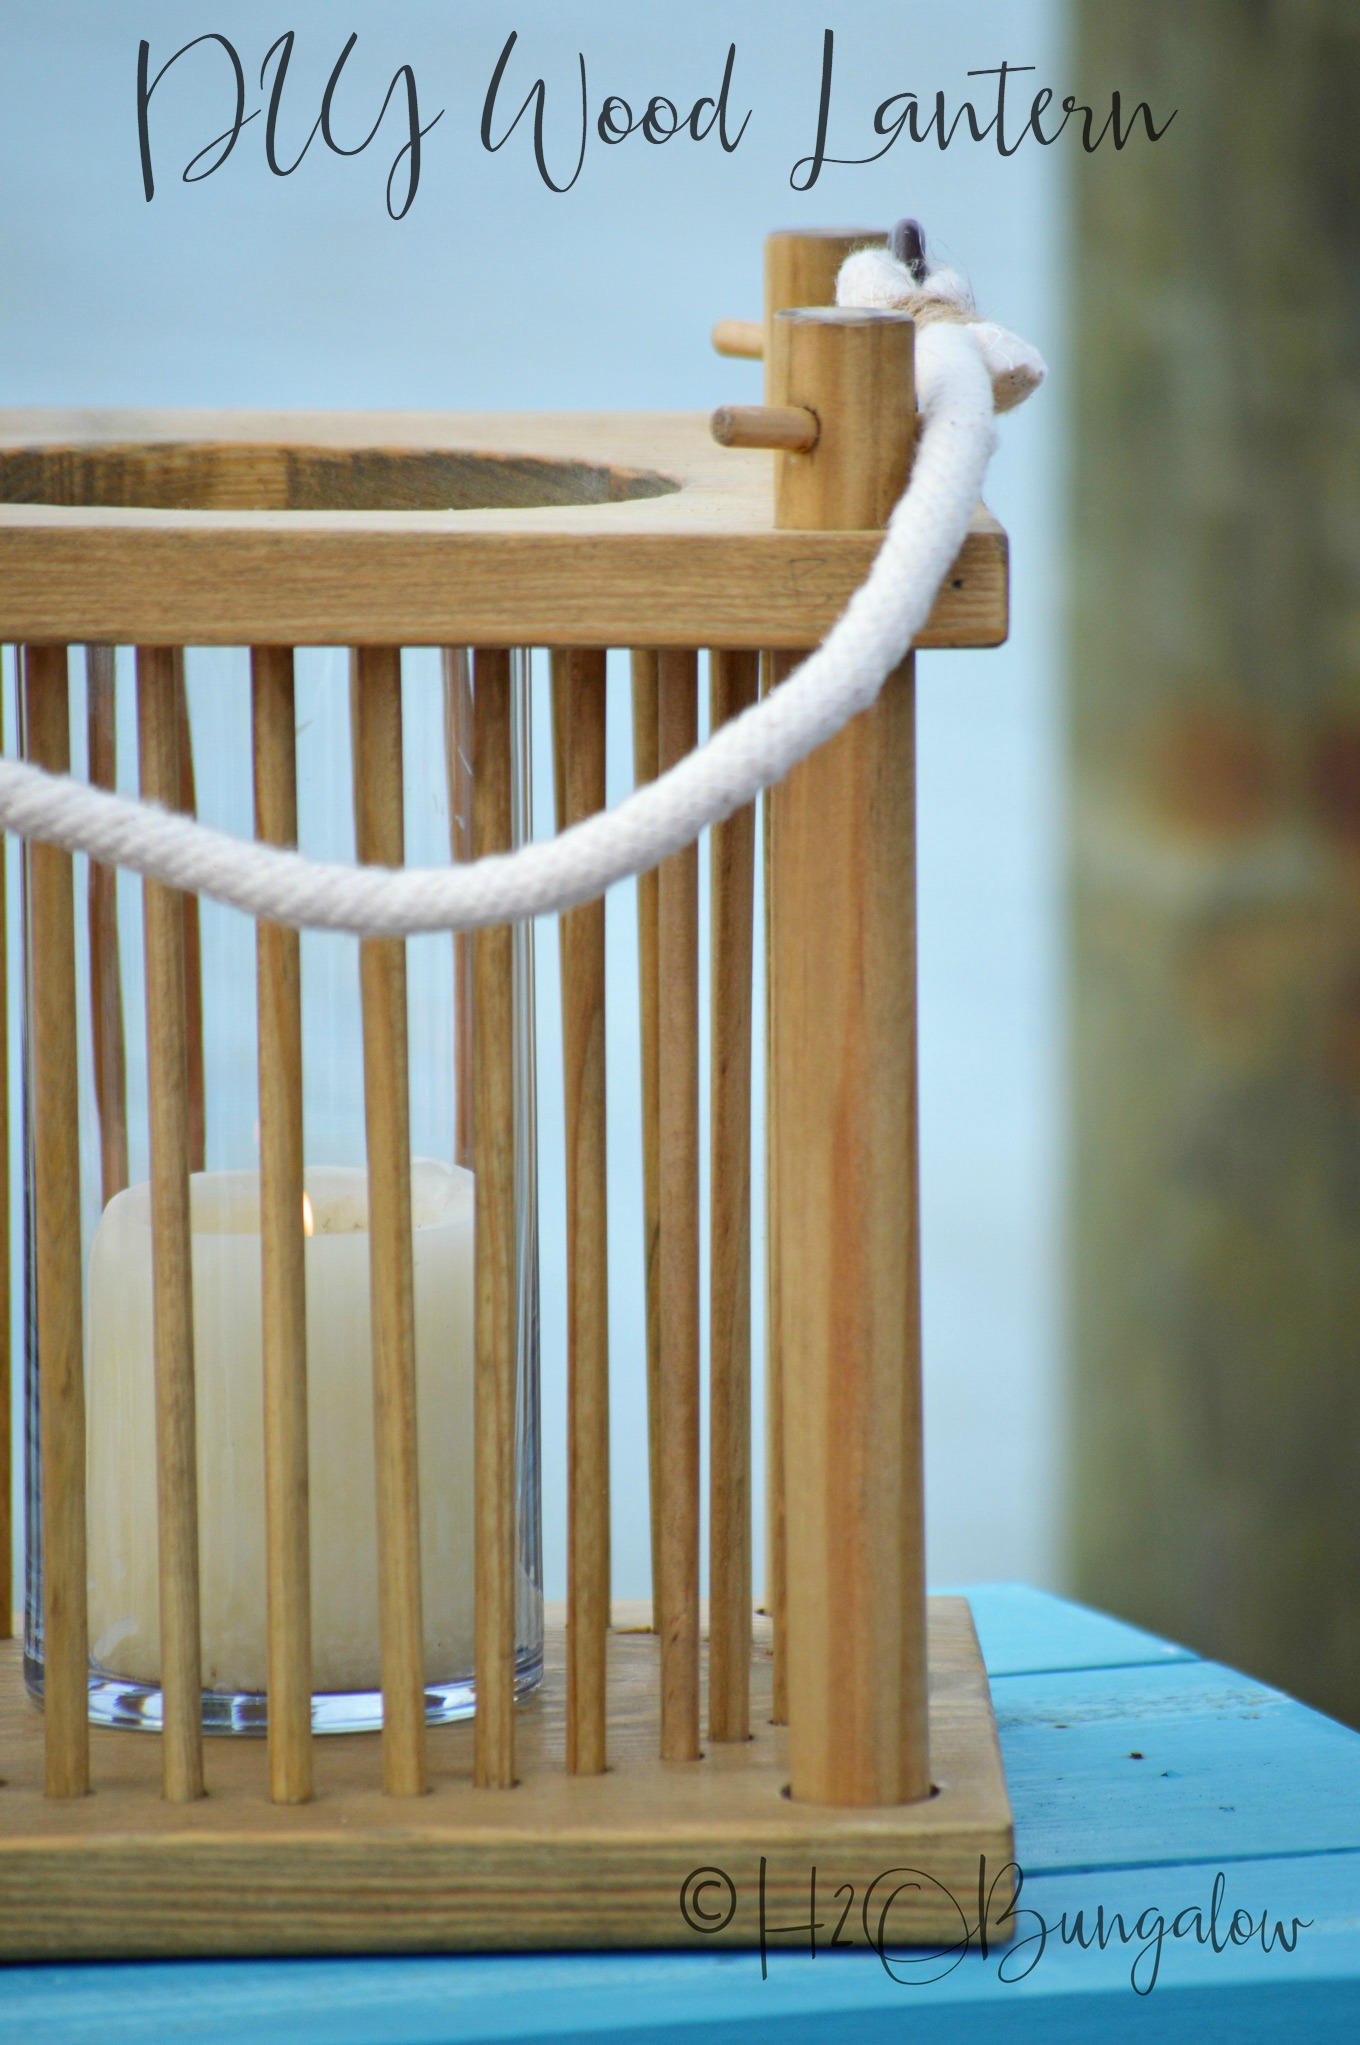
Use pilot holes on the top to add hardware and a rope handle. I made the rope handle and twisted jute around the folded rope at the eye-hooks.
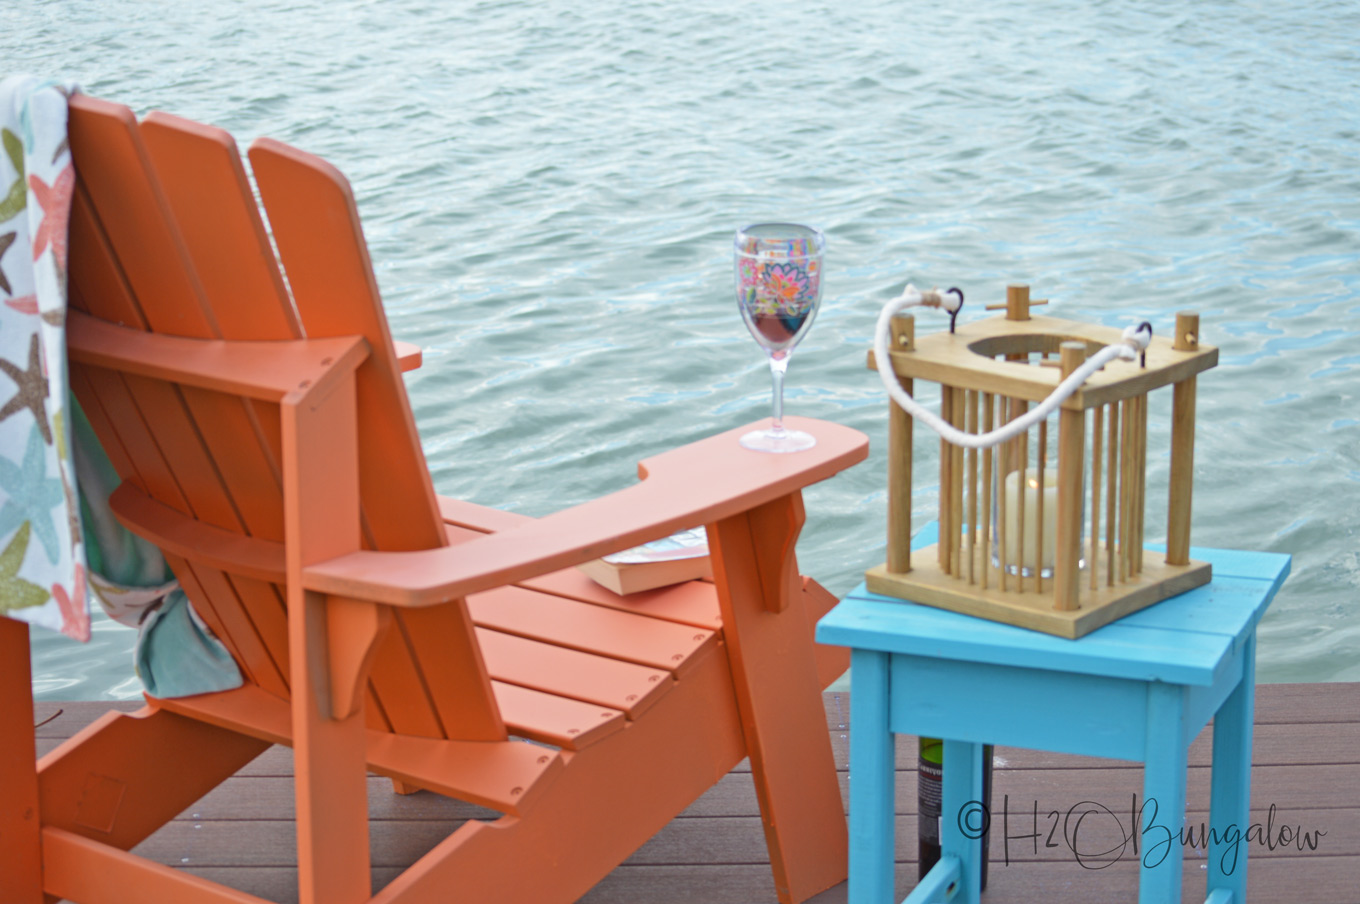
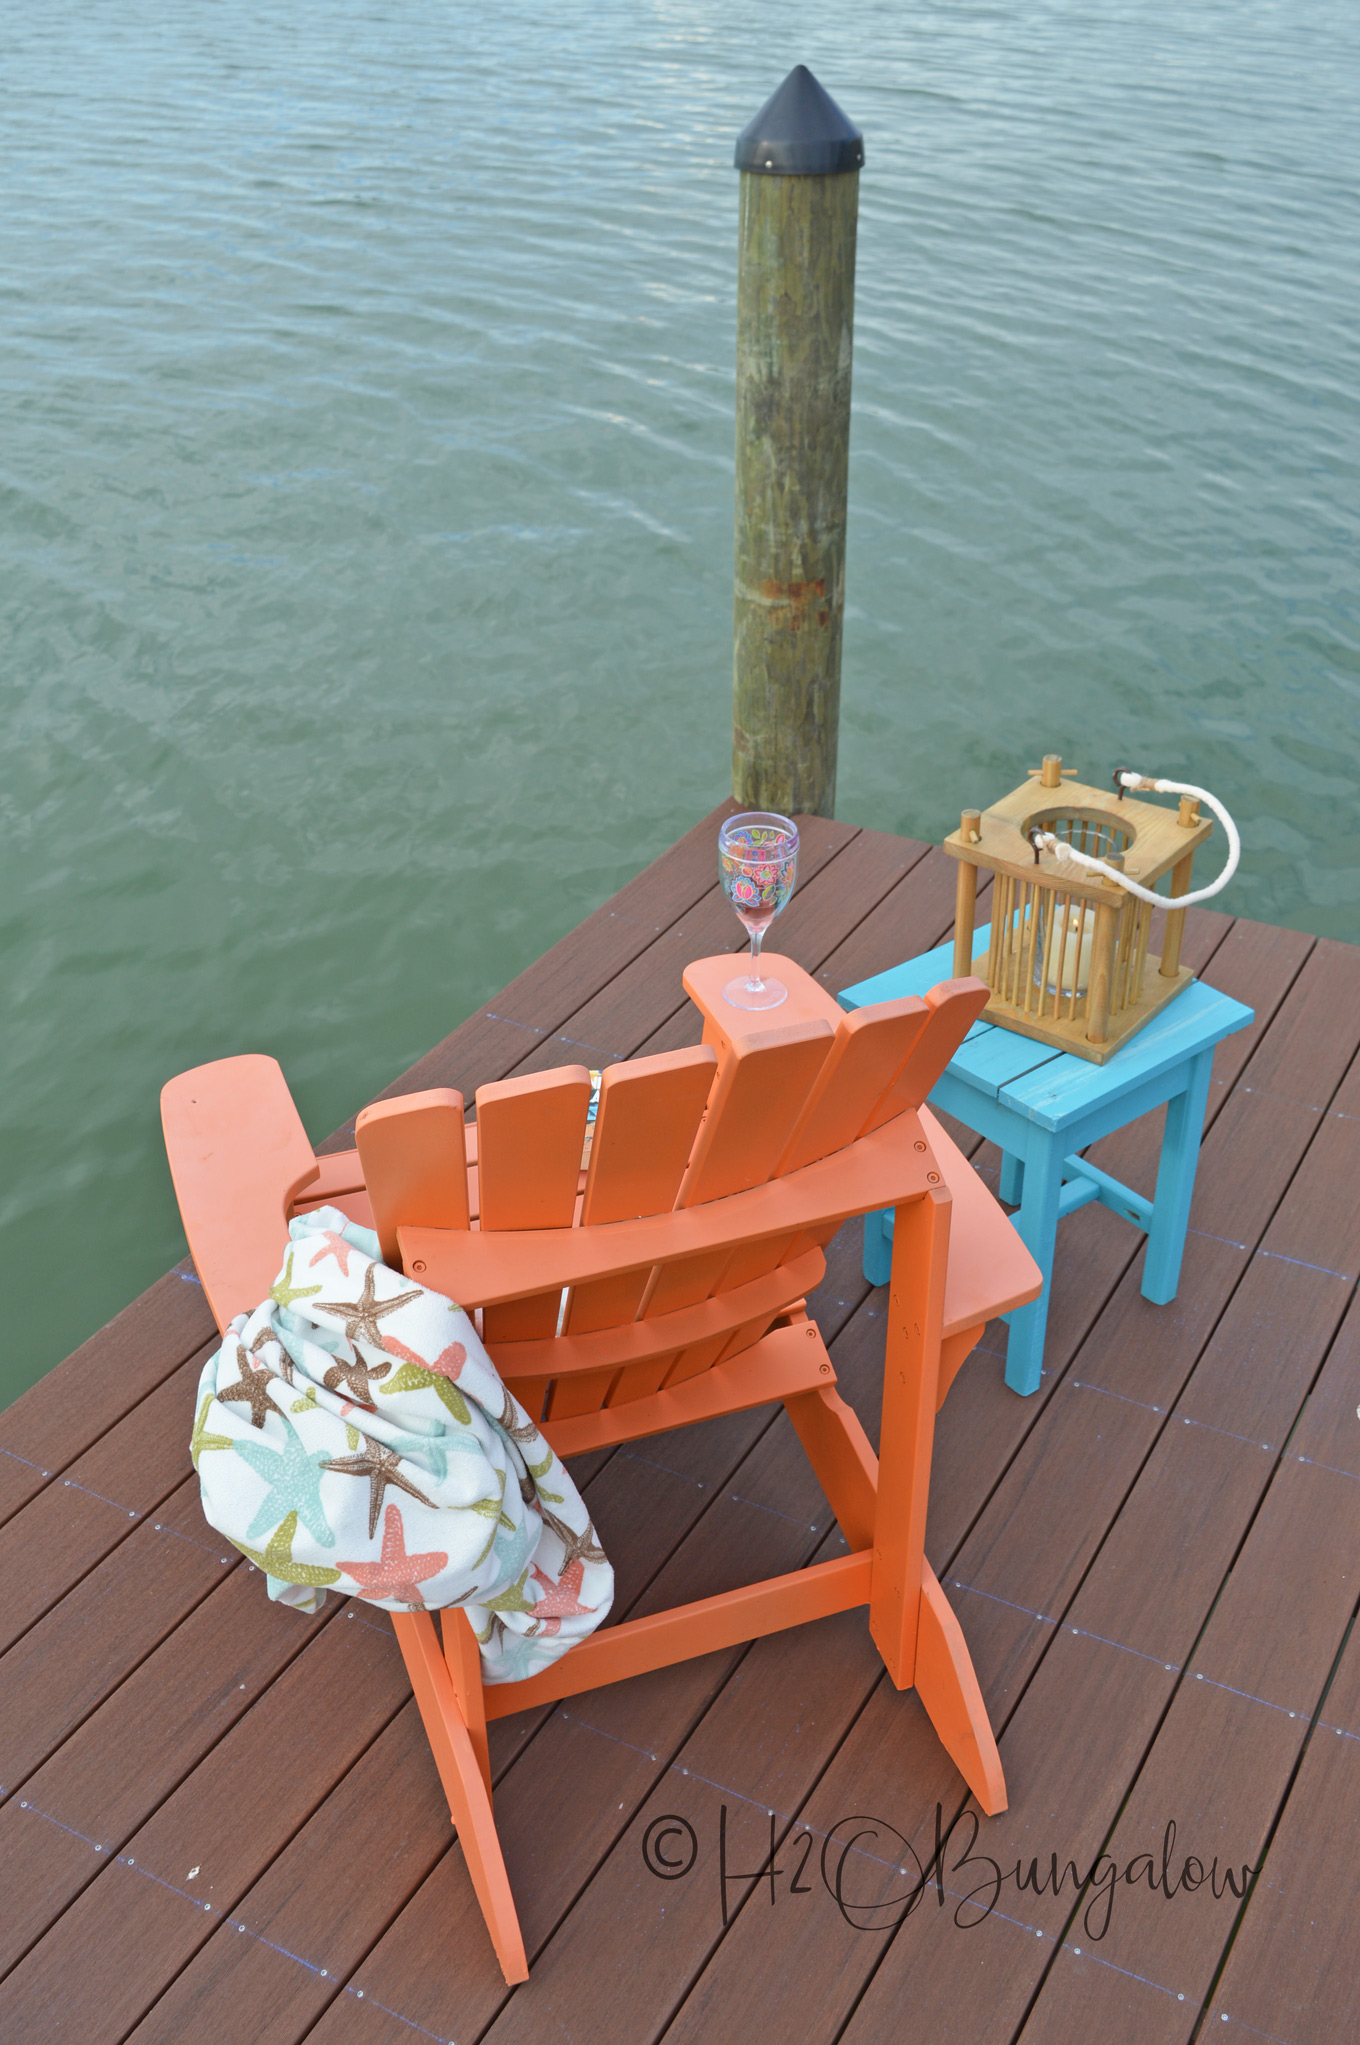
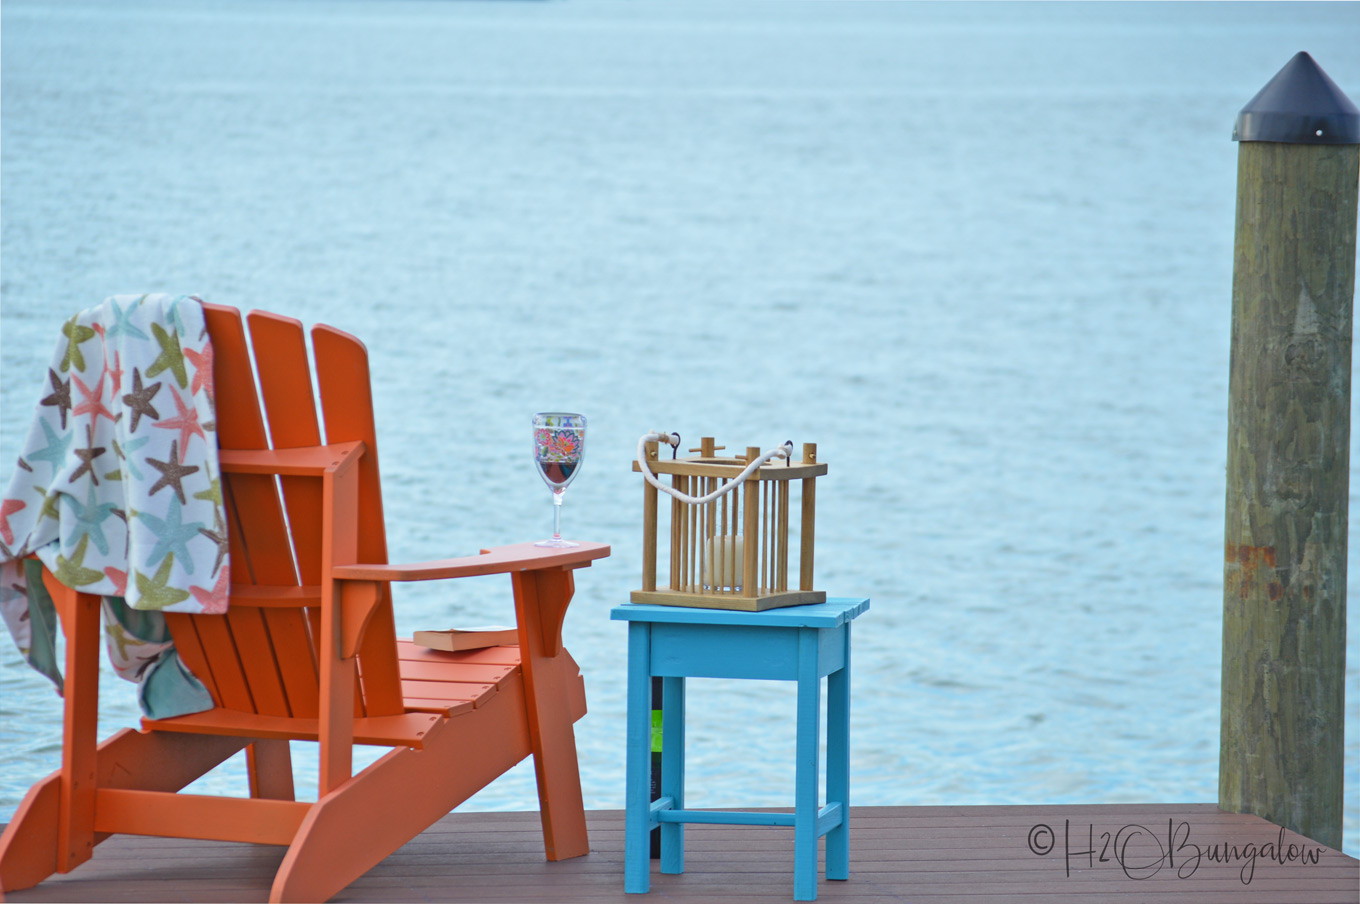
We finally had a new dock put in so I couldn’t resist using it for my photos. After putting the lantern together in my shop in the Florida heat outside, I was ready to chill with a glass of wine.
It looked like the perfect place to relax.
What could be better than a soft light glowing from a DIY wood lantern a glass of nice wine and a good book?

Pin this for later!
Outdoor spaces look so much cozier with simple things like a DIY wood lantern added. Don’t you think so?
Which lanterns was your favorite?

Emily says
Wendi, your lantern is so cool! You are on a roll with the lanterns lately 😉 Thank you for sharing at our Merry Monday party!
Wendi says
Hi Emily and thank you! Coming up with a second lantern idea was crazy tough. I’d forgot that I had this lantern due later in the year when I made the first! LOL… It took me 2 weeks to come up with another idea. Thanks so much for your sweet note and visit! …and hosting each week too! It’s a lot of work!
Mary says
This is lovely and oh so commanding Wendi. I would love to try my hand at this.
Wendi says
Hi Mary and thank you! You could do this! It wasn’t too hard, it just had a lot of parts to it…which made me think halfway through it…what the heck am I doing? LOL Thanks so much for your visit and sweet note my friend! I hope your summer has been good so far!
Shirley Wood says
Wendi, you have taken it to the next level. That picture is so relaxing. I can almost hear the sound of the water. This post is a Feature at this weeks Merry Monday. Sharing. Hope to see you at the new party going on now.
Wendi says
Hi Shirley and thank you so much! Both for your sweet compliment as well as featuring my project! We’d been working on the new dock for a while so I couldn’t wait to get out there and enjoy it. My lantern was perfect out there with my book and a soft breeze!
gail says
Wendi,
I love your DIY lantern! Very creative and unique.
Thanks for hosting the power tool challenge each month. 🙂
gail
ps pinned!
Julie Briones says
I’m sitting here shaking my head… Wow, Wendi… How great is your lantern?! Just LOVE it! Pinned!
Wendi says
H Julie and thank you! After last month’s lantern it was really- really hard to come up with another idea that was fresh! LOL So glad you liked it. 🙂 Thanks for your note and visit …as always 🙂
Tina says
I really like this!! I am keeping this tutorial to make for the new covered deck/porch we are building, I’ll use wire for the hanger instead of rope for safety and hang them. Thanks for the idea! BTW, I also love the round basket lantern you did last month. Plan on making one for the outside dining table. Keep up the great work!
Wendi says
Hi Tina! What a great idea to add a metal handle. It is a good idea if you’re planing on hanging it 🙂 Please share a picture on the H2OBungalow Facebook page when you do. I love seeing what others create from my posts. It’s the best feedback! I loved the other lantern too and yes, it’s beautiful on a pretty table. Thanks so much for your note and have fun creating your lanterns!
MaryJean says
Hi Wendi, that is so cute! Man oh man I would love to be sitting there sipping a glass of wine right about now! I definitely need to pin this project. Great job! xoxo
Wendi says
Hi MaryJean! Thank you so much! Yes, sitting on the dock is a wonderfully relaxing way to end a day. My lantern fits right in with a glass of wine!
kandice kullmann says
I love this! It looks so nice on the dock too!
Wendi says
Hi Kandice and thank you! It was a tough challenge to come up with a pretty lantern. Yours is gorgeous this month! Thanks so much for your note and visit!
Paula says
This looks amazing! I love the design that you came up with for this challenge. I hope you enjoy many nights on your dock with wine and this lantern this summer.
Wendi says
Hi Paula and thank you! LOL coming up with a new lantern idea was a challenge. This lantern goes great with a glass of wine and a comfy chair on the new dock 🙂