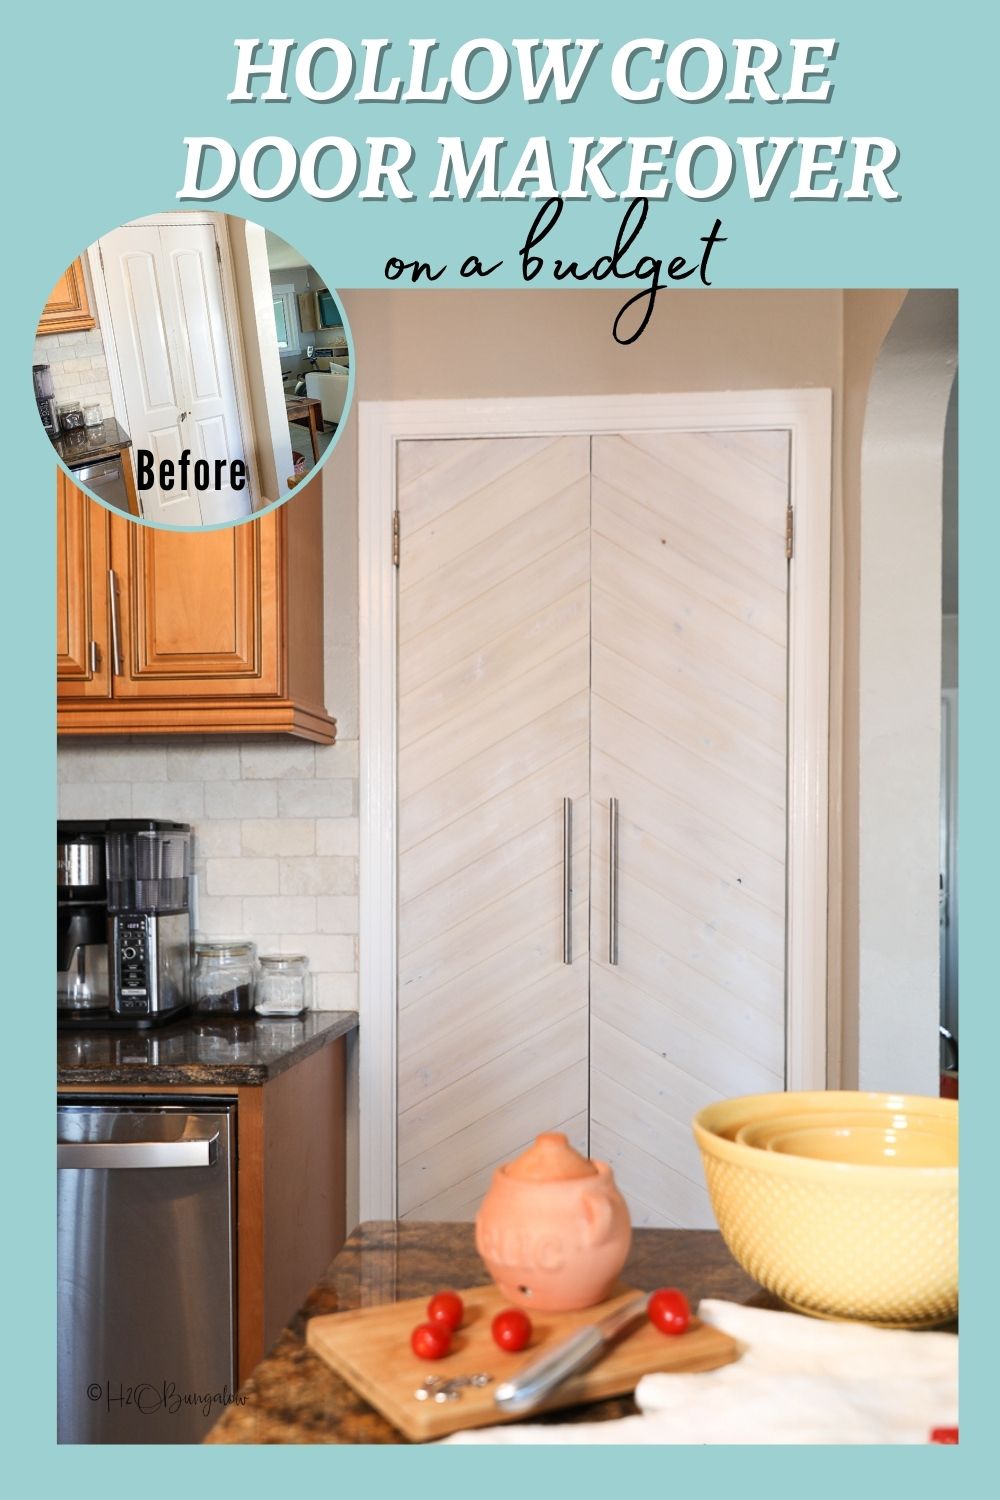
This hollow core door makeover is a great way to update a plain door in your home or, in our case, a great way to update interior doors on a budget.
I’ve done several door projects in the past. I’ve built amazing DIY barn doors. I worked with another blogger on these tall DIY Shaker Doors for a hall linen closet in one of our Vermont vacation rental locations. I even built small shaker doors for my office built-in makeover.
For more kitchen updates check out my How To Makeover A Kitchen Island on a Budget, my Organize a Pantry And Get More Space, how to Make A DIY Wood Spice Rack, and How To Make Wall Mounted Paper Roll Note Holder, my new dining table that I love, and my free-standing pantry cabinet!
I’ve always wanted to try a hollow core door makeover by adding wood to the front of it. It seems like it would be an easy way to update an old door.
So, let’s get started. I’ll share my thoughts about updating interior doors with wood trim at the end.
Hollow Core Door Makeover
This post contains affiliate links, as an Amazon affiliate I earn a fee from qualifying purchases at no additional cost to you. Thank you for supporting H2OBungalow!
These are the supplies needed for a hollow core door makeover:
- Wood panels, 1/4 ” thick tongue and groove This is what I used
- Miter saw
- Brad nailer, 3/4″ nails
- Jigsaw
- Fine cut jigsaw blade
- Sander
- Construction adhesive
- Speed Square
- Drill
- Bar door handles
- Extra long screws for door handles
- Paint
- Sawhorses
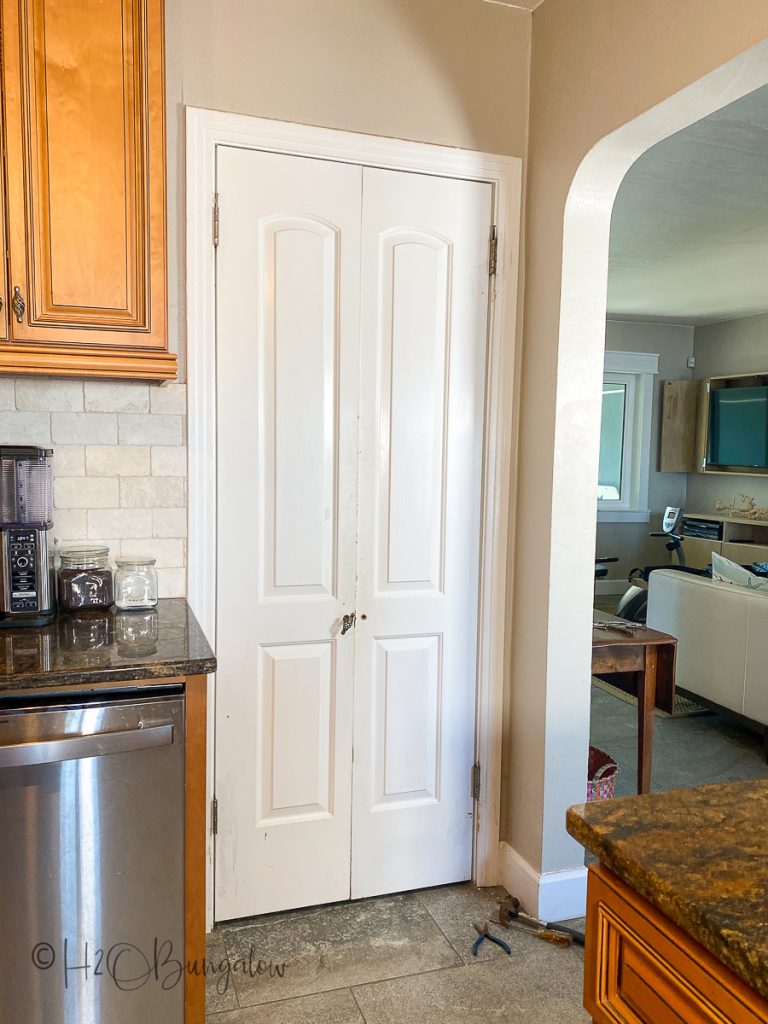
Step 1. – Remove door
Start by taking the pin out of the hinges and removing the door from the door frame. Our hinges had little caps on the bottom. Once I pried them off, I was able to put a thin screwdriver into the bottom and push the pin up.
Take the hinge plates off the doors and set them aside. You’ll put them back on when you rehang the door.
Step 2. Cut wood
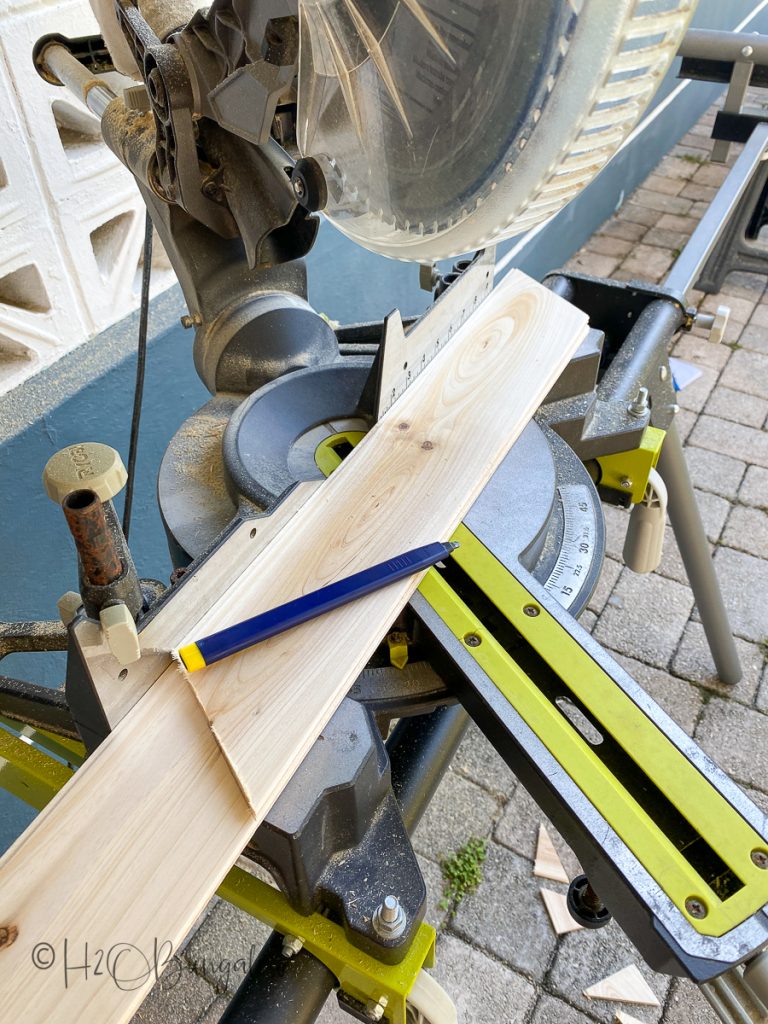
I cut my wood at a 31.5° angle to make the chevron pattern for my hollow core door makeover.
Since I was working with tongue and groove wood I wanted to be sure to cut the pieces the correct way so they’d fit together. I always kept the tongue at the top of my cuts. Set the miter at 31.5° for each side. Cut 22 pieces with the miter to the right, then adjust the miter saw to 31.5° on the left and cut the same number of pieces for the other door.
Each piece was cut a few inches longer than the door is wide. A few pieces on the top and bottom of each door will be smaller.
By flipping the sides of the miter saw you are creating two angles that meet in a chevron.
Tip: Save time by cutting parallelograms. Use one piece as a template to cut the rest.
Step 3. Add trim to doors
Your DIY hollow core door makeover will look the best when the inside edges of the door line up with the edge of the wood overlay. This is also needed so the door(s) close properly.
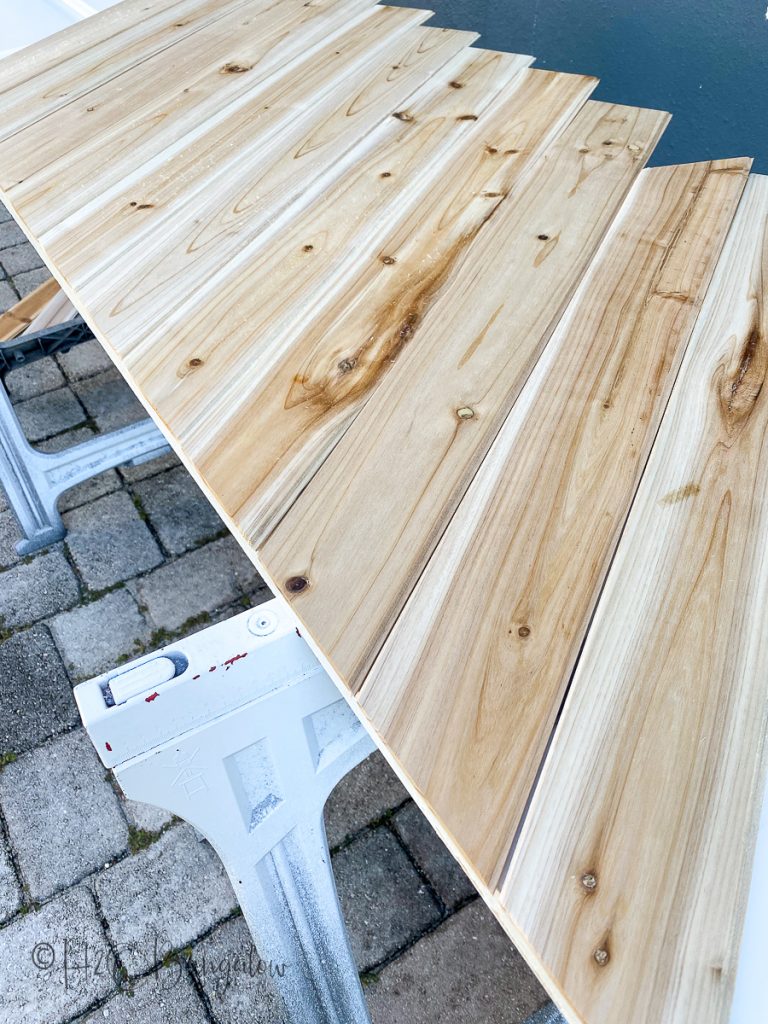
Put one piece of wood in the upper part of the door, with the angle cut lining up along the inside of the door edge, add the construction adhesive generously and add a few 3/4″ brad nails to secure it in place.
Then add the rest of the boards below and above. Be sure the tongues are set completely in the grooves as you add each piece.
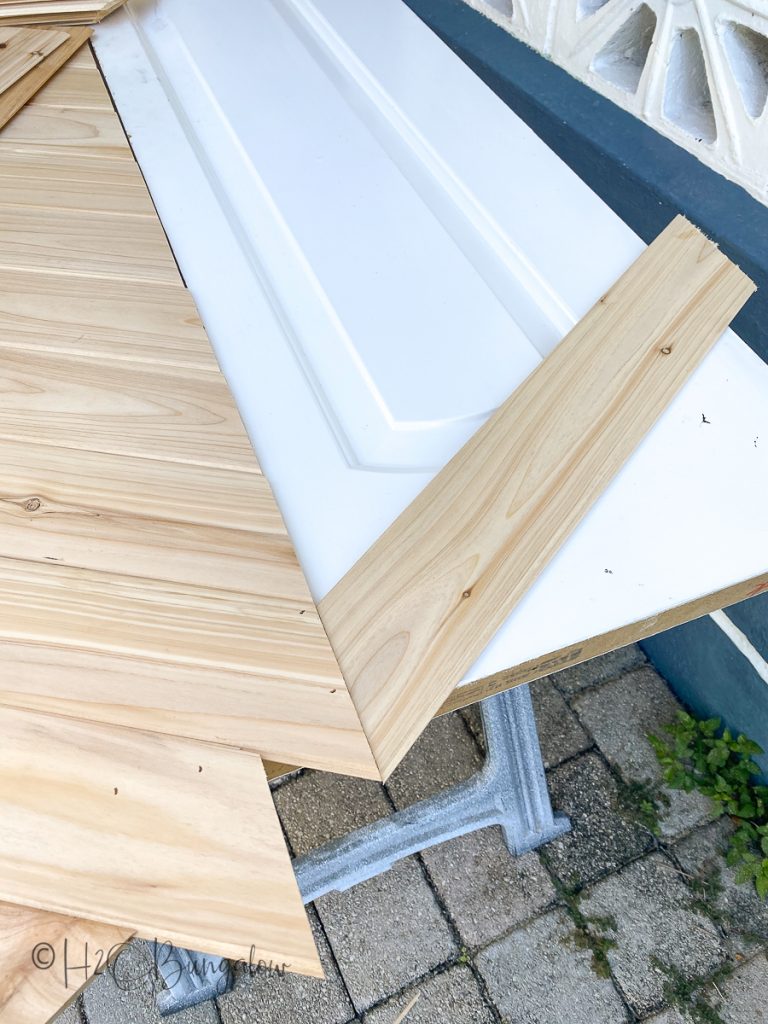
When you’re ready to start on the other door put the two side by side, line up one wood piece like the picture above. Secure it with construction adhesive and brad nails.
Continue adding wood overlay to the rest of the hollow core door.
Weigh the wood down with something heavy and allow the adhesive to dry overnight.
Do not leave your boards out in the sun! Mine sat out for the rest of the day and the wood expanded and then lifted from the door. It went down when it cooled off but, it could have been a disaster!
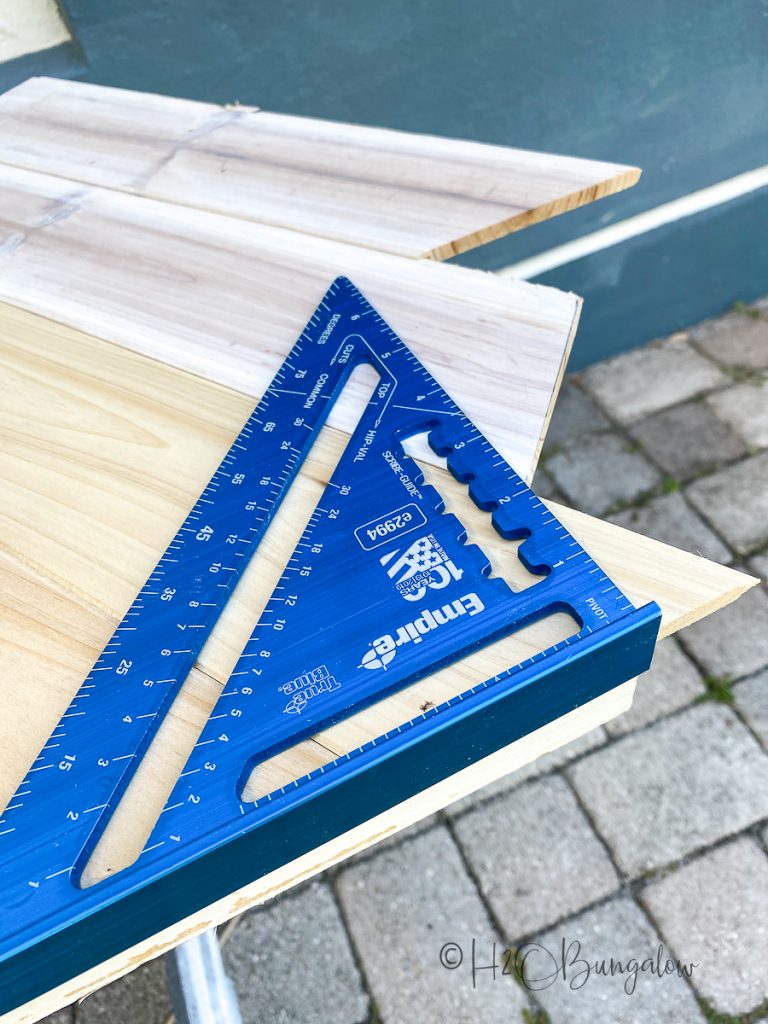
Step 4. Trim excess wood off door edge
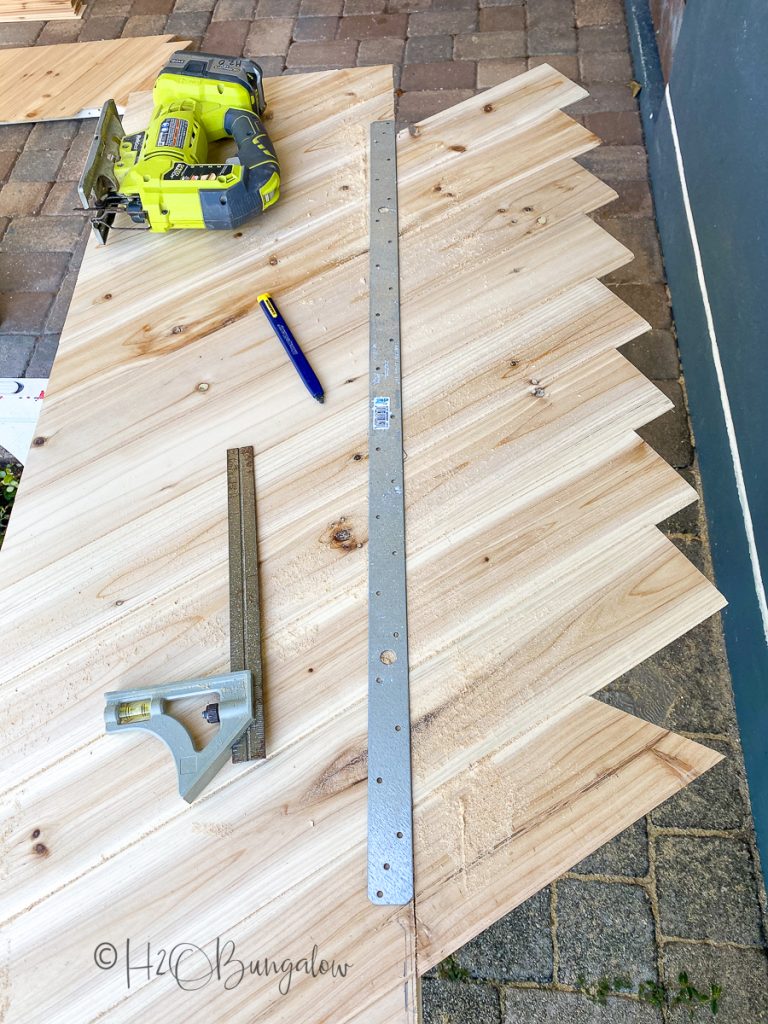
Trim the excess wood off the outside edge of the hollow core door with a jigsaw, a speed square and something that has a long straight edge. I used a long metal tie I had on hand. A long level would work well too.
Line the speed square up to mark the edges of the door from both ends. Use a fine cut blade and cut along the line. Next, line up the long straight edge and mark the rest of the door, then trim the excess wood off.
Tip: always cut on the same side of your line
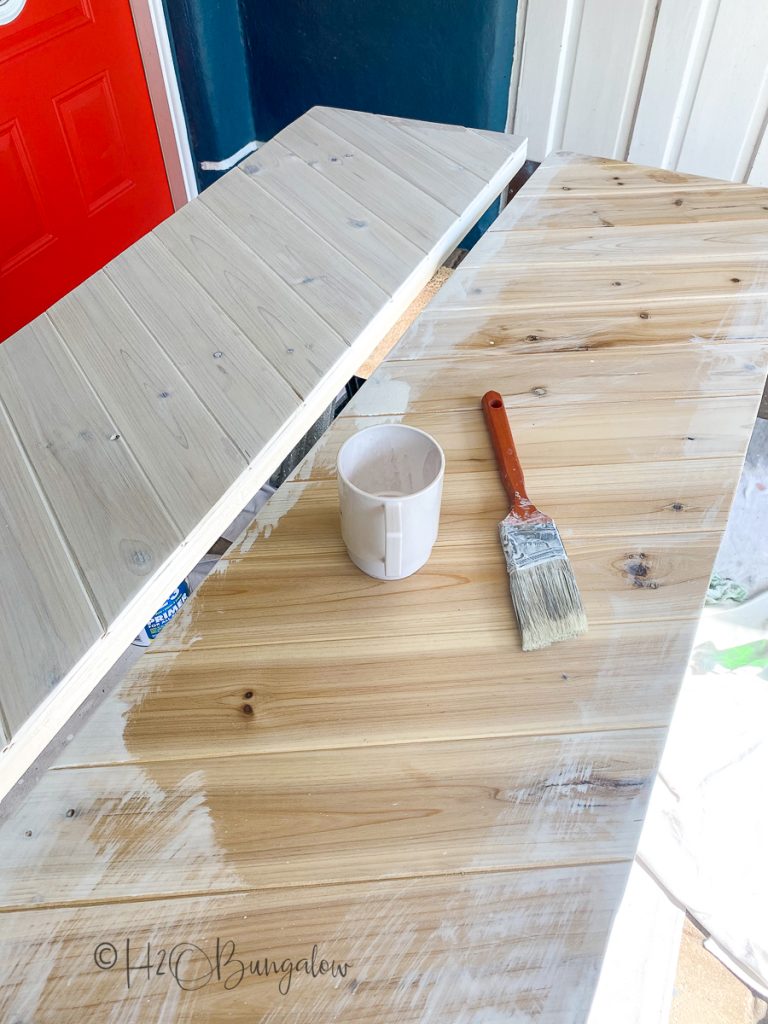
Step 5. Paint the doors
I used a white paint wash on the doors by adding some white paint and water.
Step 6. Hang the doors
Put the hinges back onto the doors and rehang them. You can choose to add the handles after you’ve rehung them or before. See How to Install Knobs and Drawer Handles if you need a few tips!
And now, all that’s left to do is to stand back and admire your new DIY hollow core door makeover with a fresh new look!
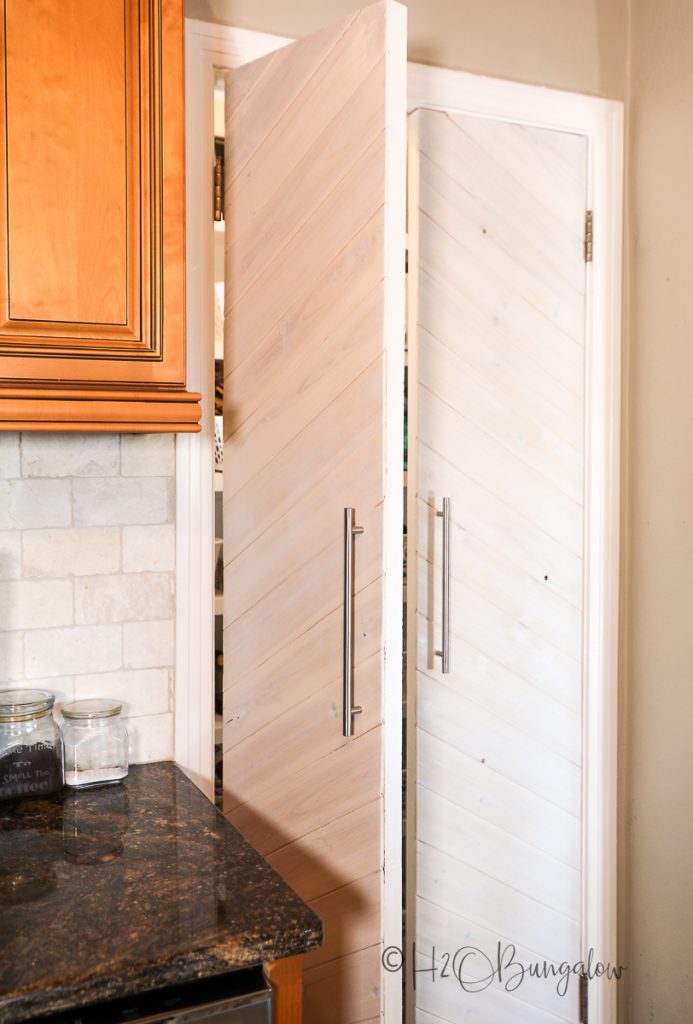
I’ve been working on giving my kitchen a budget face lift.
It started with my DIY Spice rack, download my free labels in the post! As usual, project creep set in…or maybe I finally decided to tackle something in my own home for a change!
Next, I tackled the pantry I shared Organize A Pantry And Get More Space Everyone loves the coordinating bin labels (yes, you can download those too!)
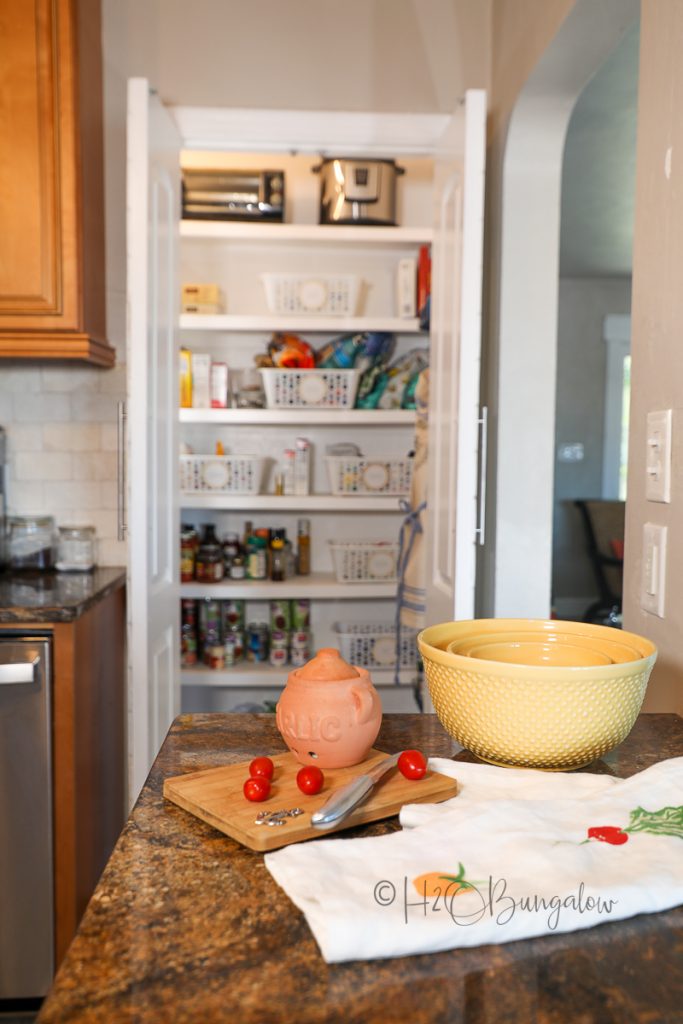
Updating the hollow core doors in the pantry was my next step.
What’s next? I’m moving on to the big part and giving the cabinets a fresh new look!
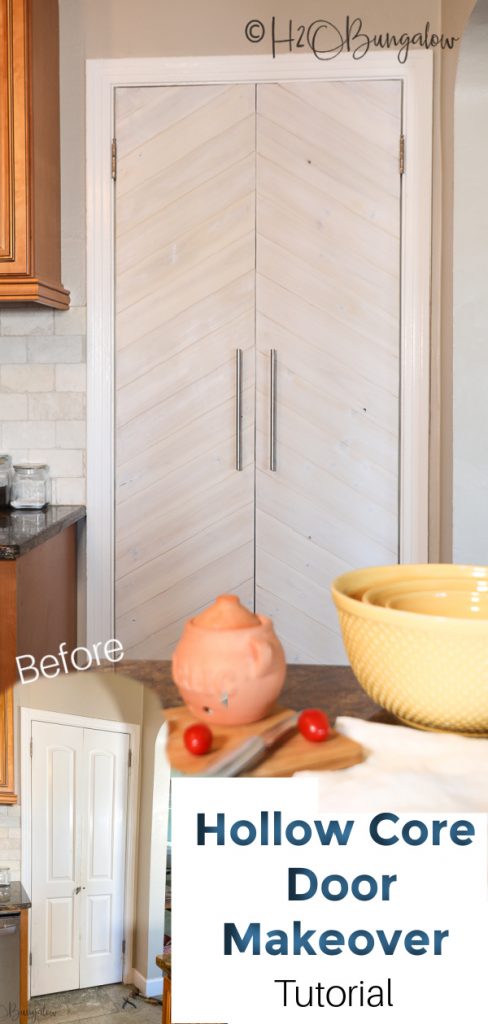
Let’s get back to the DIY hollow core door makeover for a moment. Do I think updating interior doors by adding trim to a door is a good idea? I do. I think there are a few drawbacks though.
First, you can only add trim to one side of the door if you’re planning on adding a chevron or other wood pattern to the hollow core door. Second, I’m not crazy about seeing the original side of the door if the styles are dramatically different like mine are. The perfectionist in me would love to take a veneer edging to the inside of the door as well. But that’s probably going overboard.
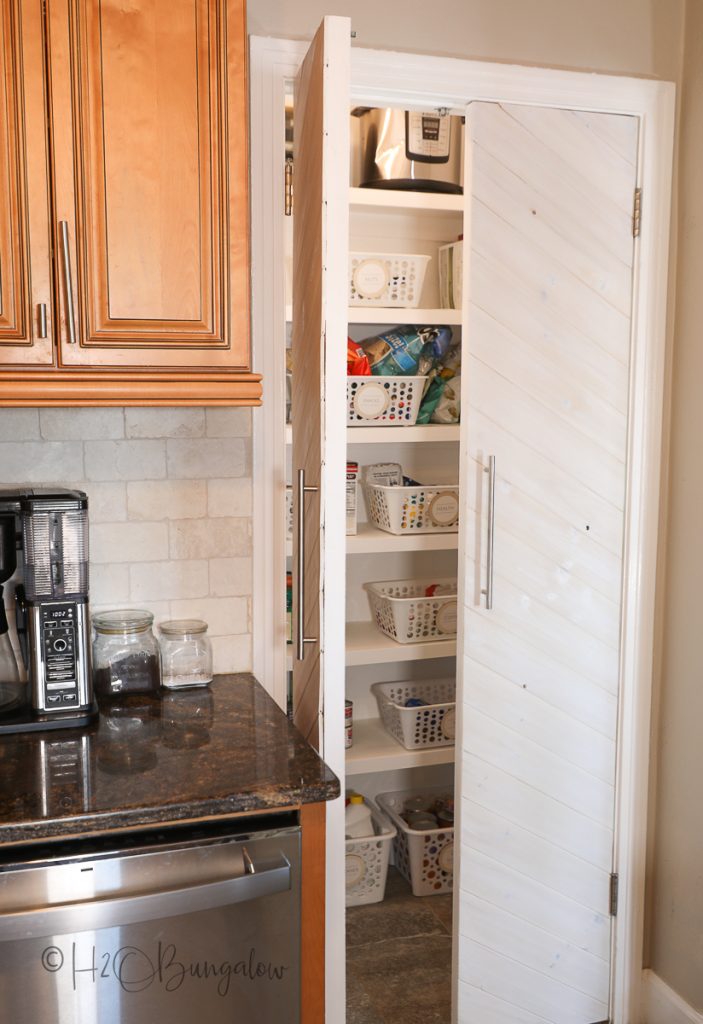
On the flip side…Do I love my DIY hollow care door makeover? Yes, I do! I would do it again in a heartbeat. It’s an easy and inexpensive way to update an old hollow core door.
