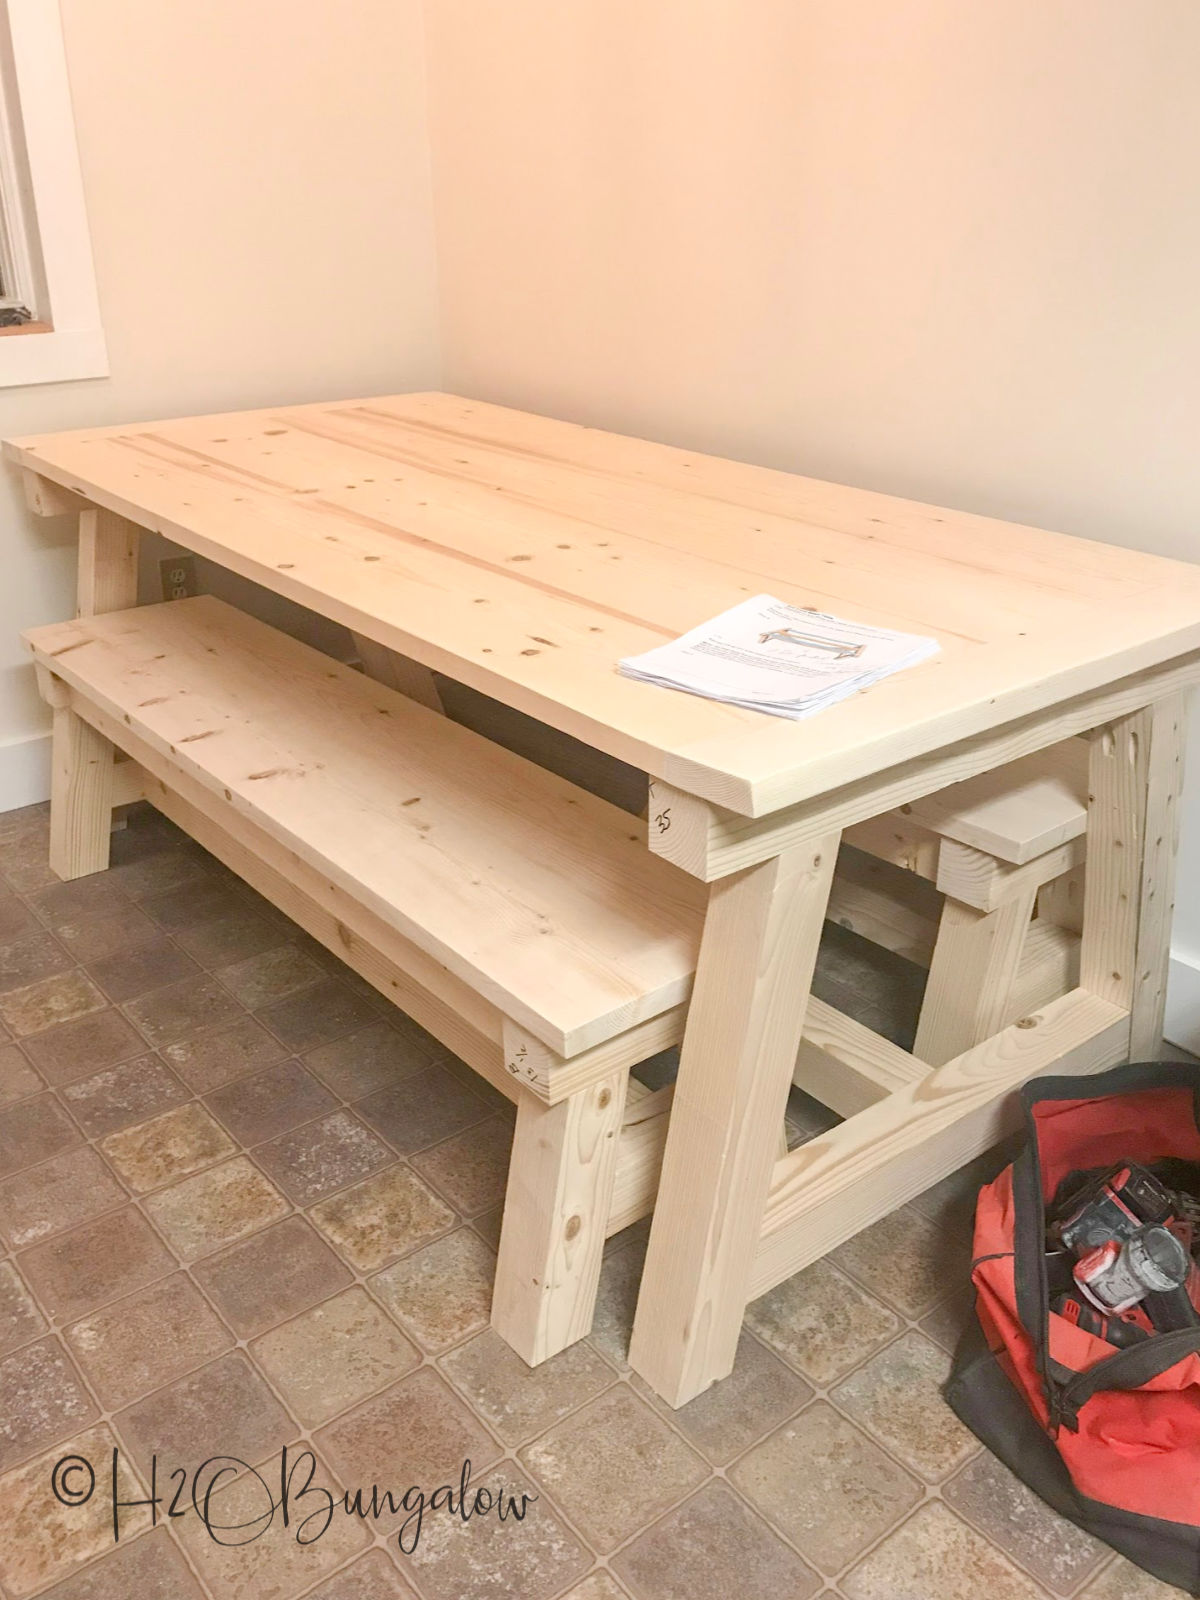
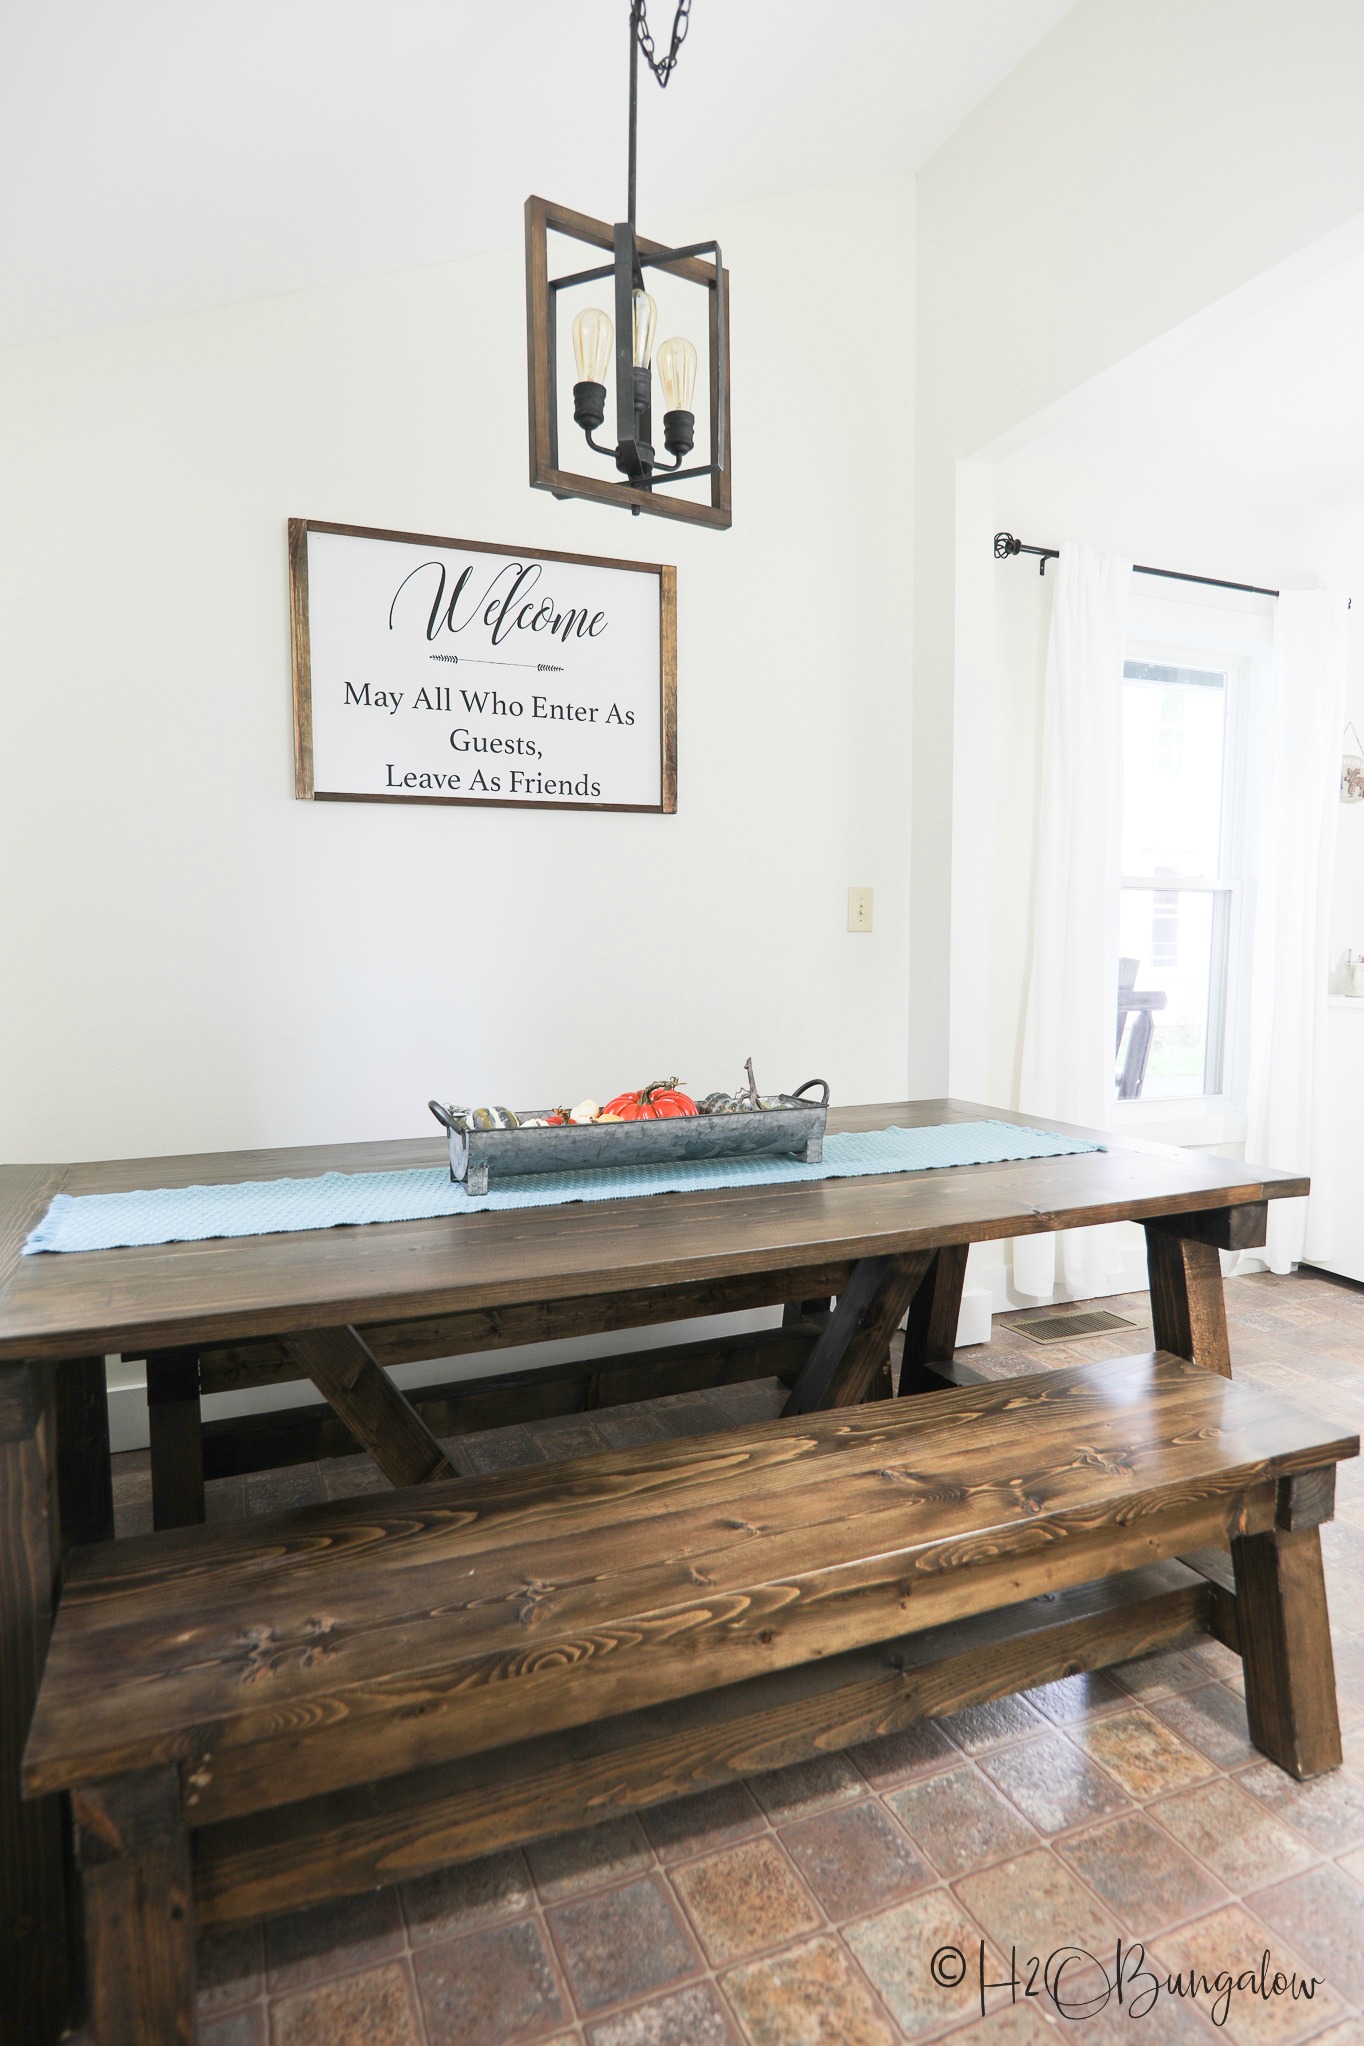
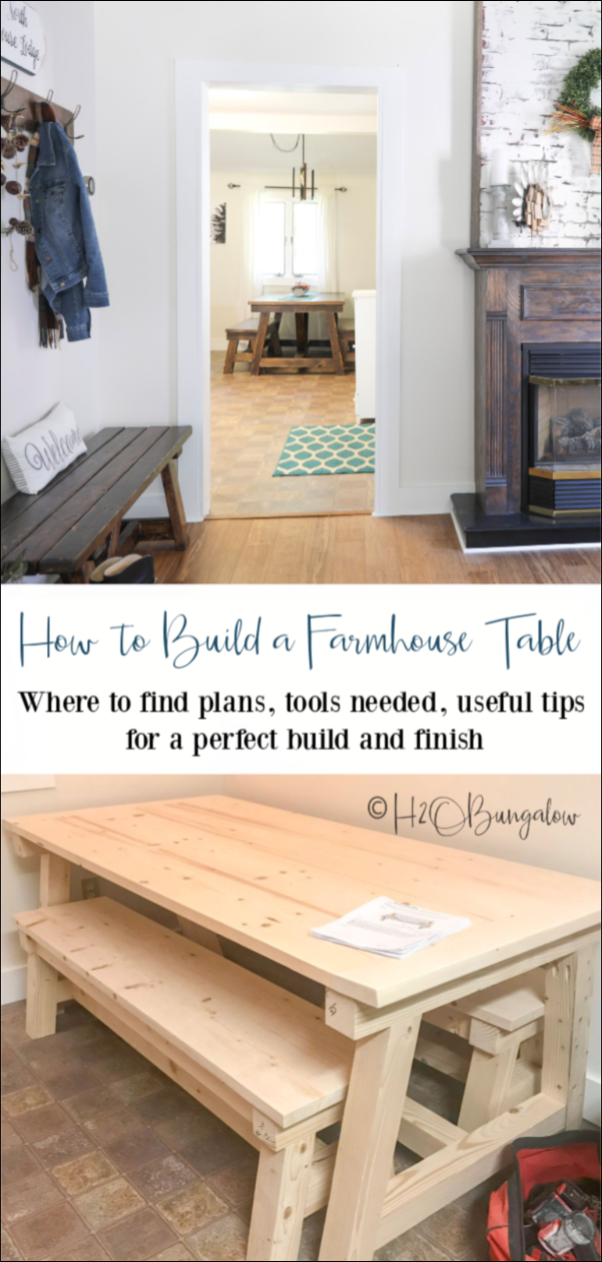
Today’s post shares how to build a DIY farmhouse table, where to find farmhouse table plans and some really good tips on building a table so you’ll love your project every bit as much as I love mine! Oh, and I share lots of details you’ll need to know if you’re newer to building and want to tackle your first big build project.
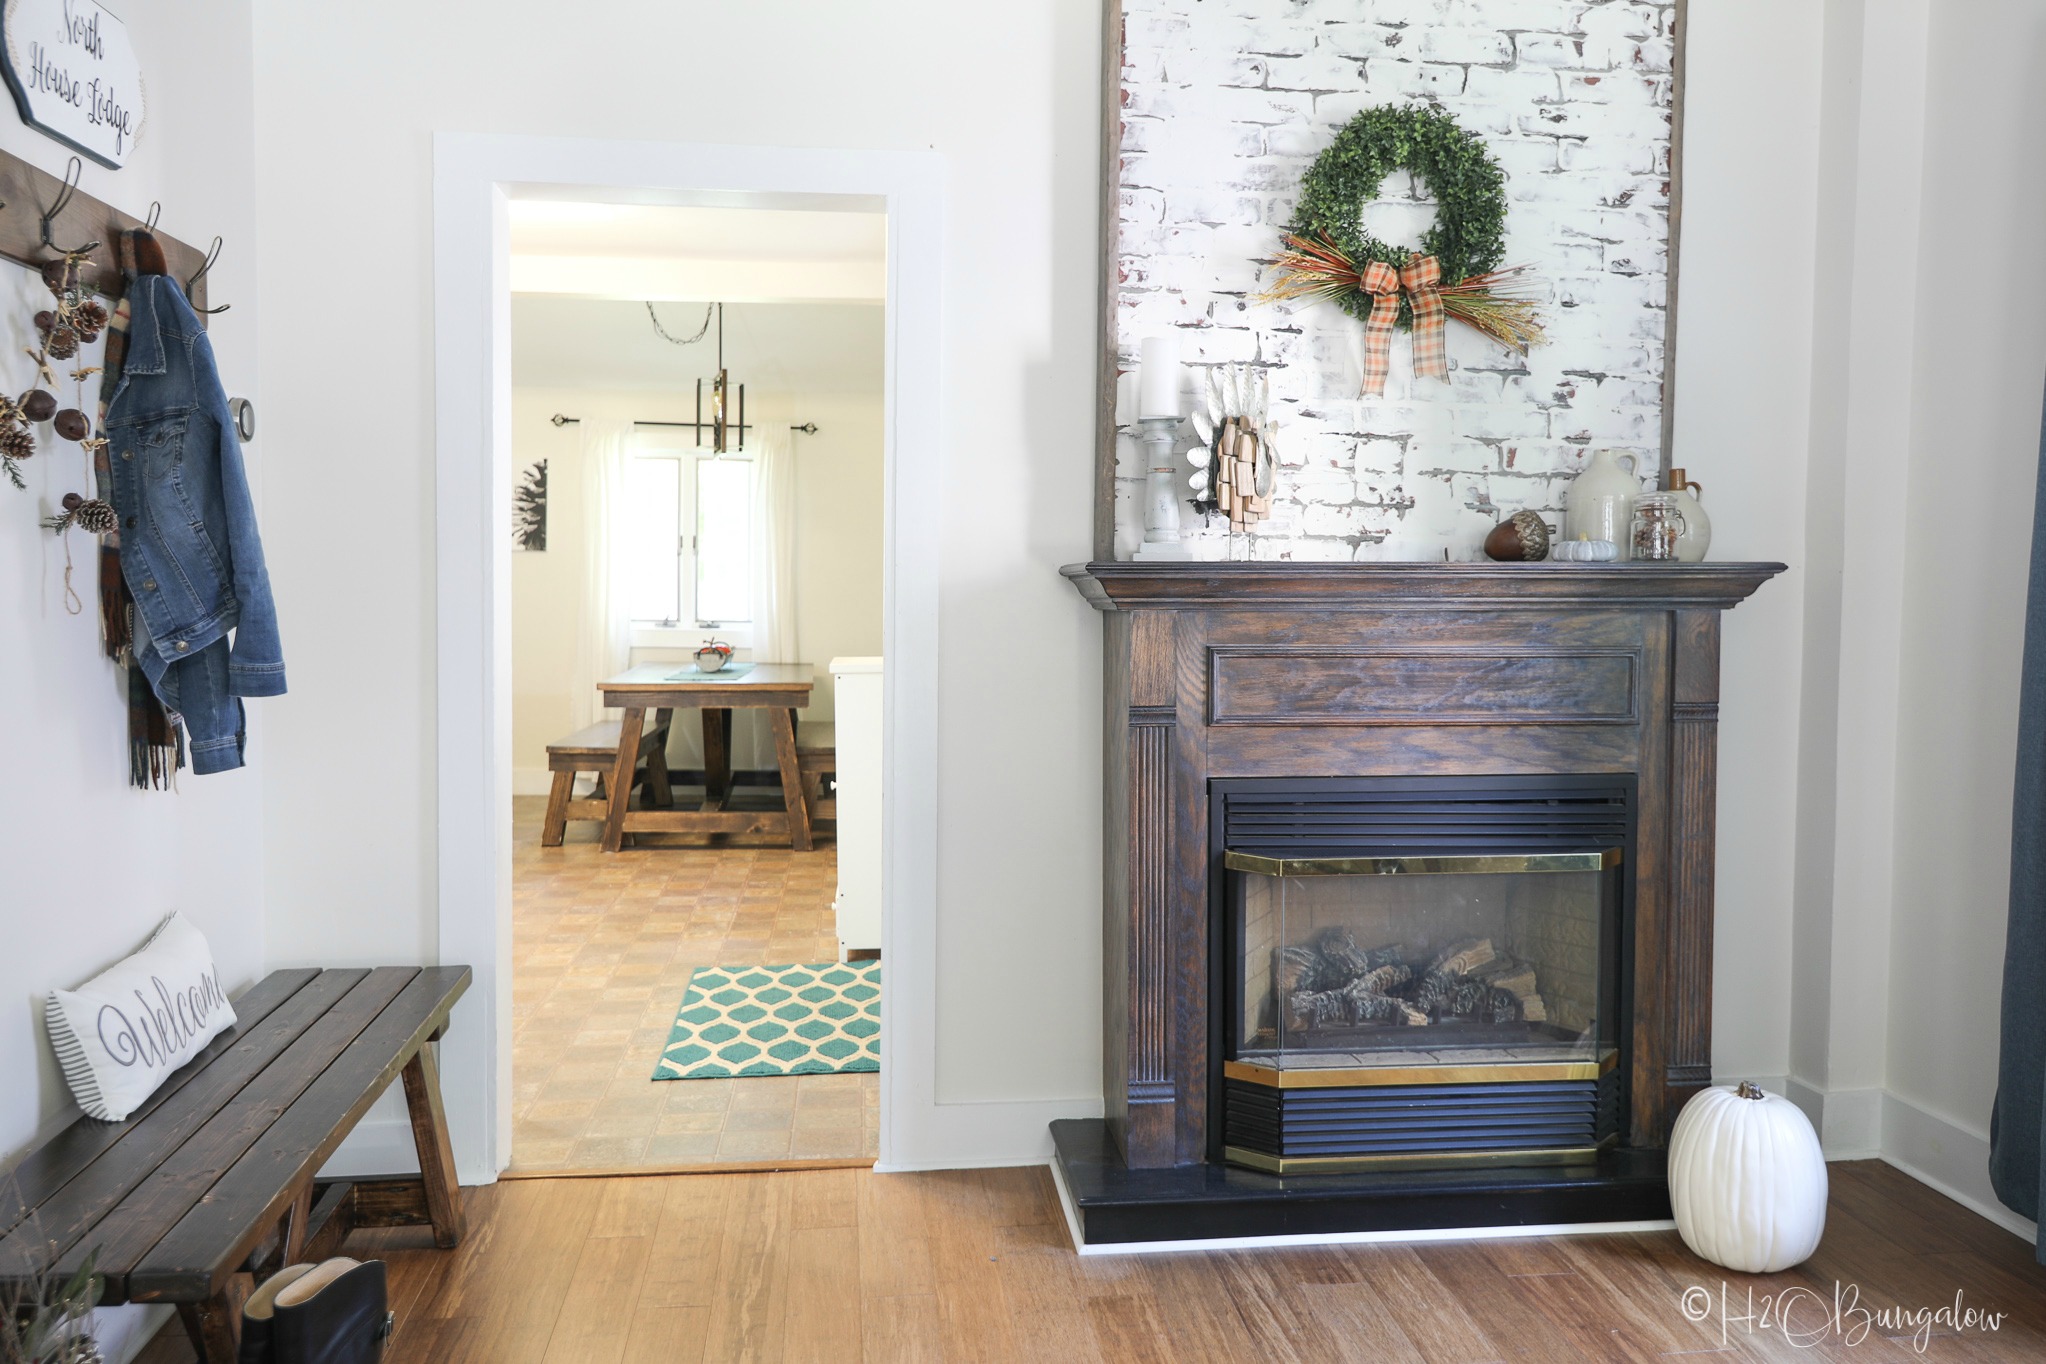
Who doesn’t love a big chunky DIY farmhouse table in a kitchen? They are awesome, especially for seating a big family or large group of friends. I needed a budget friendly kitchen table with benches for one of the North House Lodge kitchens and after searching around a bit decided to build a DIY a rustic farmhouse table myself.
If you love bench seating at your dining table, you will love this dining table I made for our home in Florida! Our dining room looks completely different now!
How to Build a DIY Farmhouse Table
First things first. You’ll want to start with a set of farmhouse table plans.
Where can I find DIY farmhouse table and bench plans?
Search where to get farmhouse table and bench plans or rustic farmhouse table plans on the Internet and you’ll find several resources. You’ll find plans for sale and free plans. I used Ana White’s Truss Beam Table Plans for my table and benches, they were free. I had to modify them a little to fit my space. The Rouge Engineer is also a good source. He has this DIY Farmhouse Dining Table Plans which are great for beginner builders especially if you’d like to just build the table top and use prefabricated farmhouse table legs.
How well your DIY farmhouse table turns out goes way beyond finding plans you love, though. That’s where this post comes in. If you’re picky like me, you don’t want your DIY farmhouse table to look DIY!
You want it to look awesome and amazing. You want your friends and family to say what? You built that?
Read on for my tips on how to build a farmhouse table you’ll be proud of.
What kind of wood should I use for a farmhouse table?
My table was built with regular pine that I found at our local lumber store. The benefit of using pine is that it’s inexpensive and easy to find. Keep in mind, pine is a soft wood so it will get dented and scratched over time. But then, that’s part of the charm of decorating with an old farmhouse table. I just use a furniture cover up marker on the dents.
Using hardwood to build your DIY farmhouse table will be more expensive. Hardwoods also come with their own set of challenges and making mistakes can be costly. See my Modern Queen Bed I built out of maple for a few hardwood building tips.
More important than what kind of wood to use for a farmhouse table is the quality of the wood you do choose.
Here are a few tips I always follow when selecting wood for any project.
- Always check to be sure the wood you are selecting is not warped or bowed. Check by holding a piece of wood eye level on one end with the other end on the floor. Look down the plank to the other end. Does the board bow out or curve or is it straight on the top and sides all the way to the other end? You need your project wood to be straight on all sides.
- Pass on knotty wood that has big knots. Especially on the edges. Clear lumber is the best. That may mean you have to do some serious digging through wood at the store but it’s worth it!
- Don’t use wood that has splits or chunks missing, you won’t like how your table looks in the end.
- Look for local lumber mills, they generally have a better quality lumber than the big box stores and I’ve found the prices to be comparable.
I use affiliate links to help you find the products I used. If you make a purchase I get a small commission at no cost to you. The affiliate money I earn helps cover the overhead costs of H2OBungalow. Thank you for your support!
What tools do I need to build a farmhouse table?
You don’t have to have a fancy workshop to build a farmhouse table. Here’s a list of the basic tools I used to build my kitchen table and benches.
- Miter saw
- Planer – optional, this is the one we used
- drill
- sander
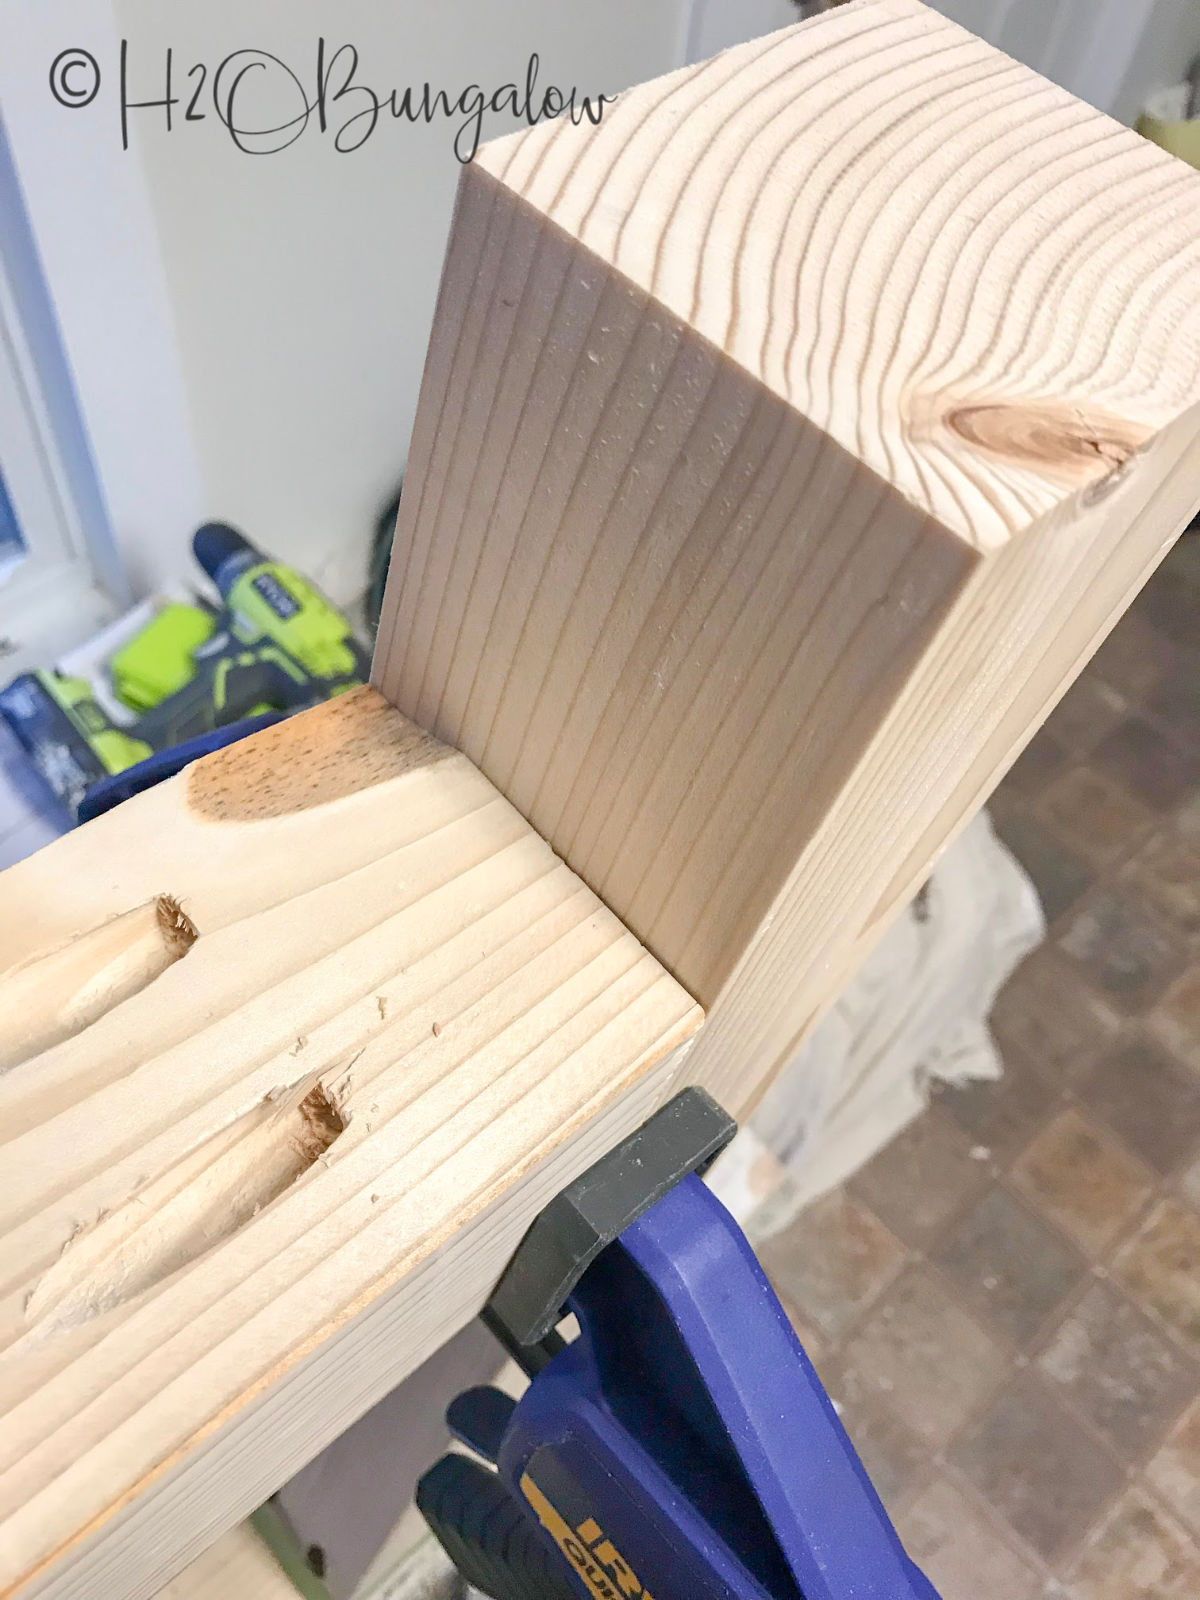
- Kreg KJHD – works on thick lumber over 2″
My favorite time saving tools when building a project
- Kreg Multi-Mark tool, I use this on just about every woodworking project
- builders pencils – I’ve been loving these always sharp ones lately
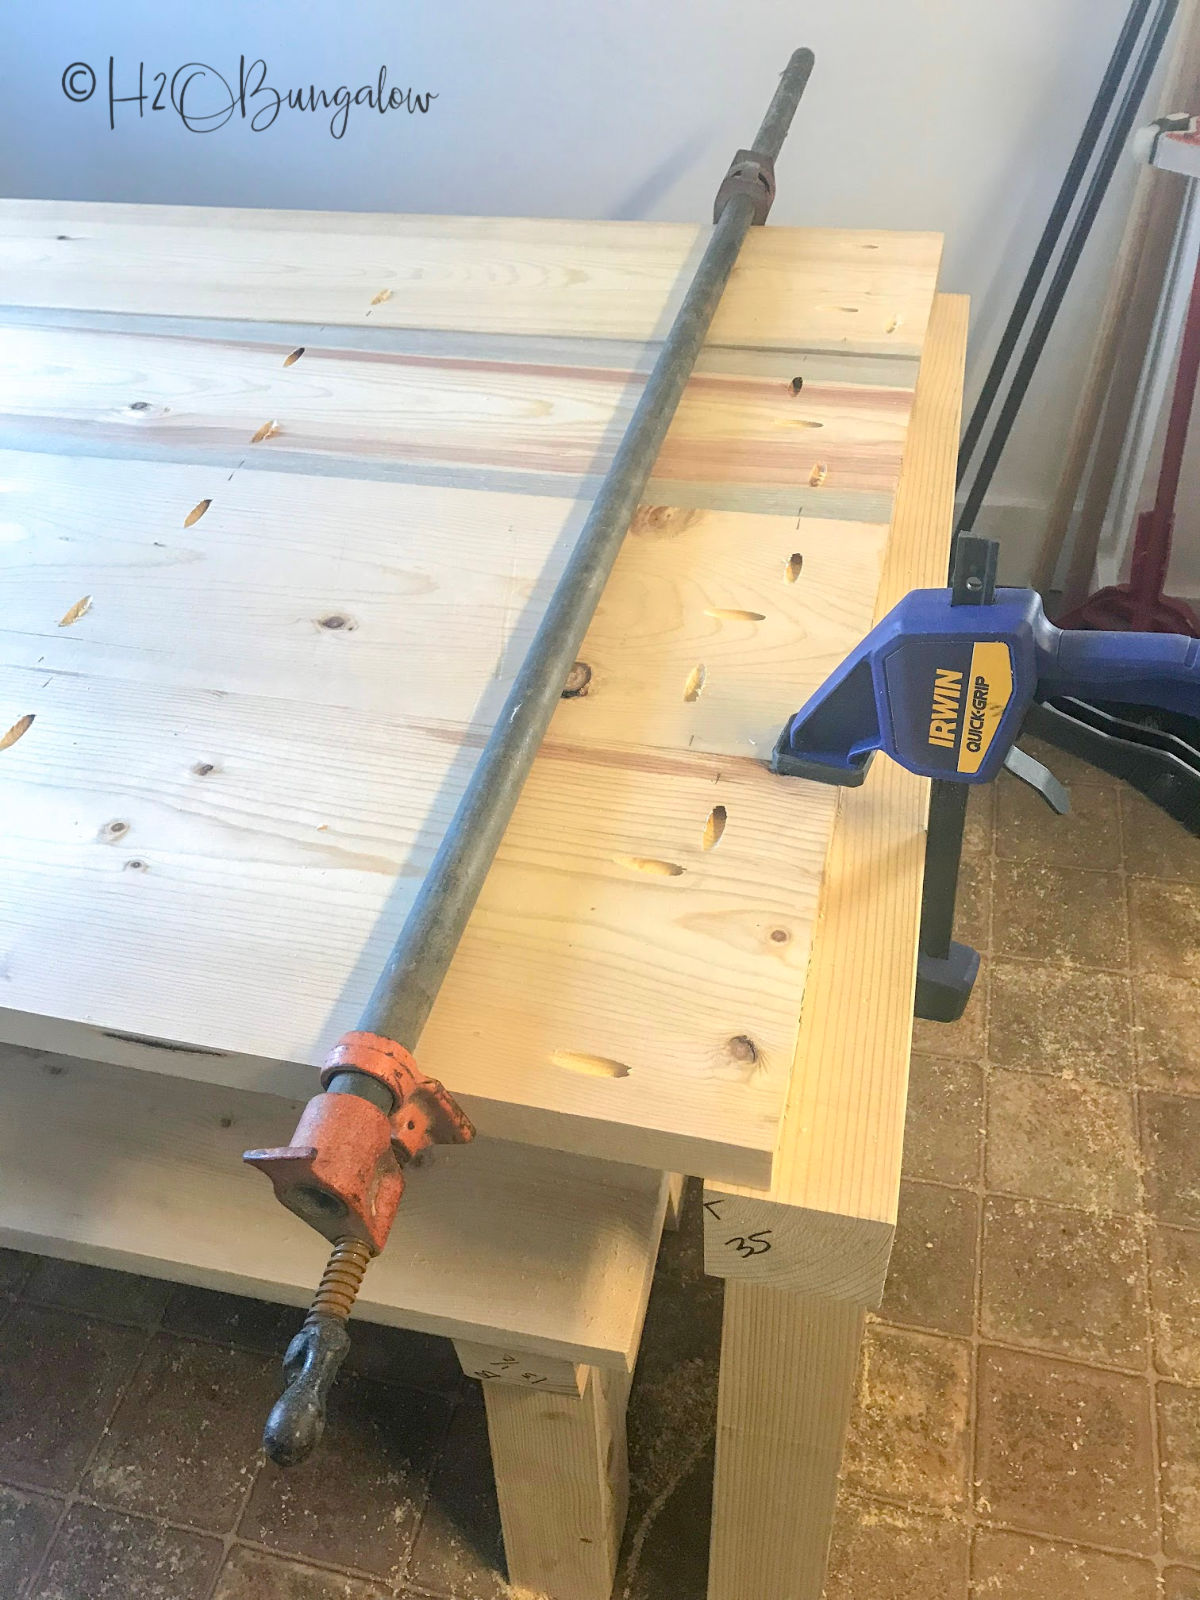
- Bar clamps small 12″ and large 36″
- Self centering tape measure
Finishing supplies for a farmhouse table
- tack cloth
- 220 grit sandpaper
My favorite DIY building tips for any woodworking project.
- Always mark each piece of wood as you cut. You can see I used a sharpie which wasn’t so smart because I had to sand all the marks. A builders pencil would have been so much better. I mark things like the which side up, where pocket holes go, how long a piece is, especially when I’m working on a big project with lots of parts and cuts. You’ll notice I used a “T” or “B” for table or bench on my parts.
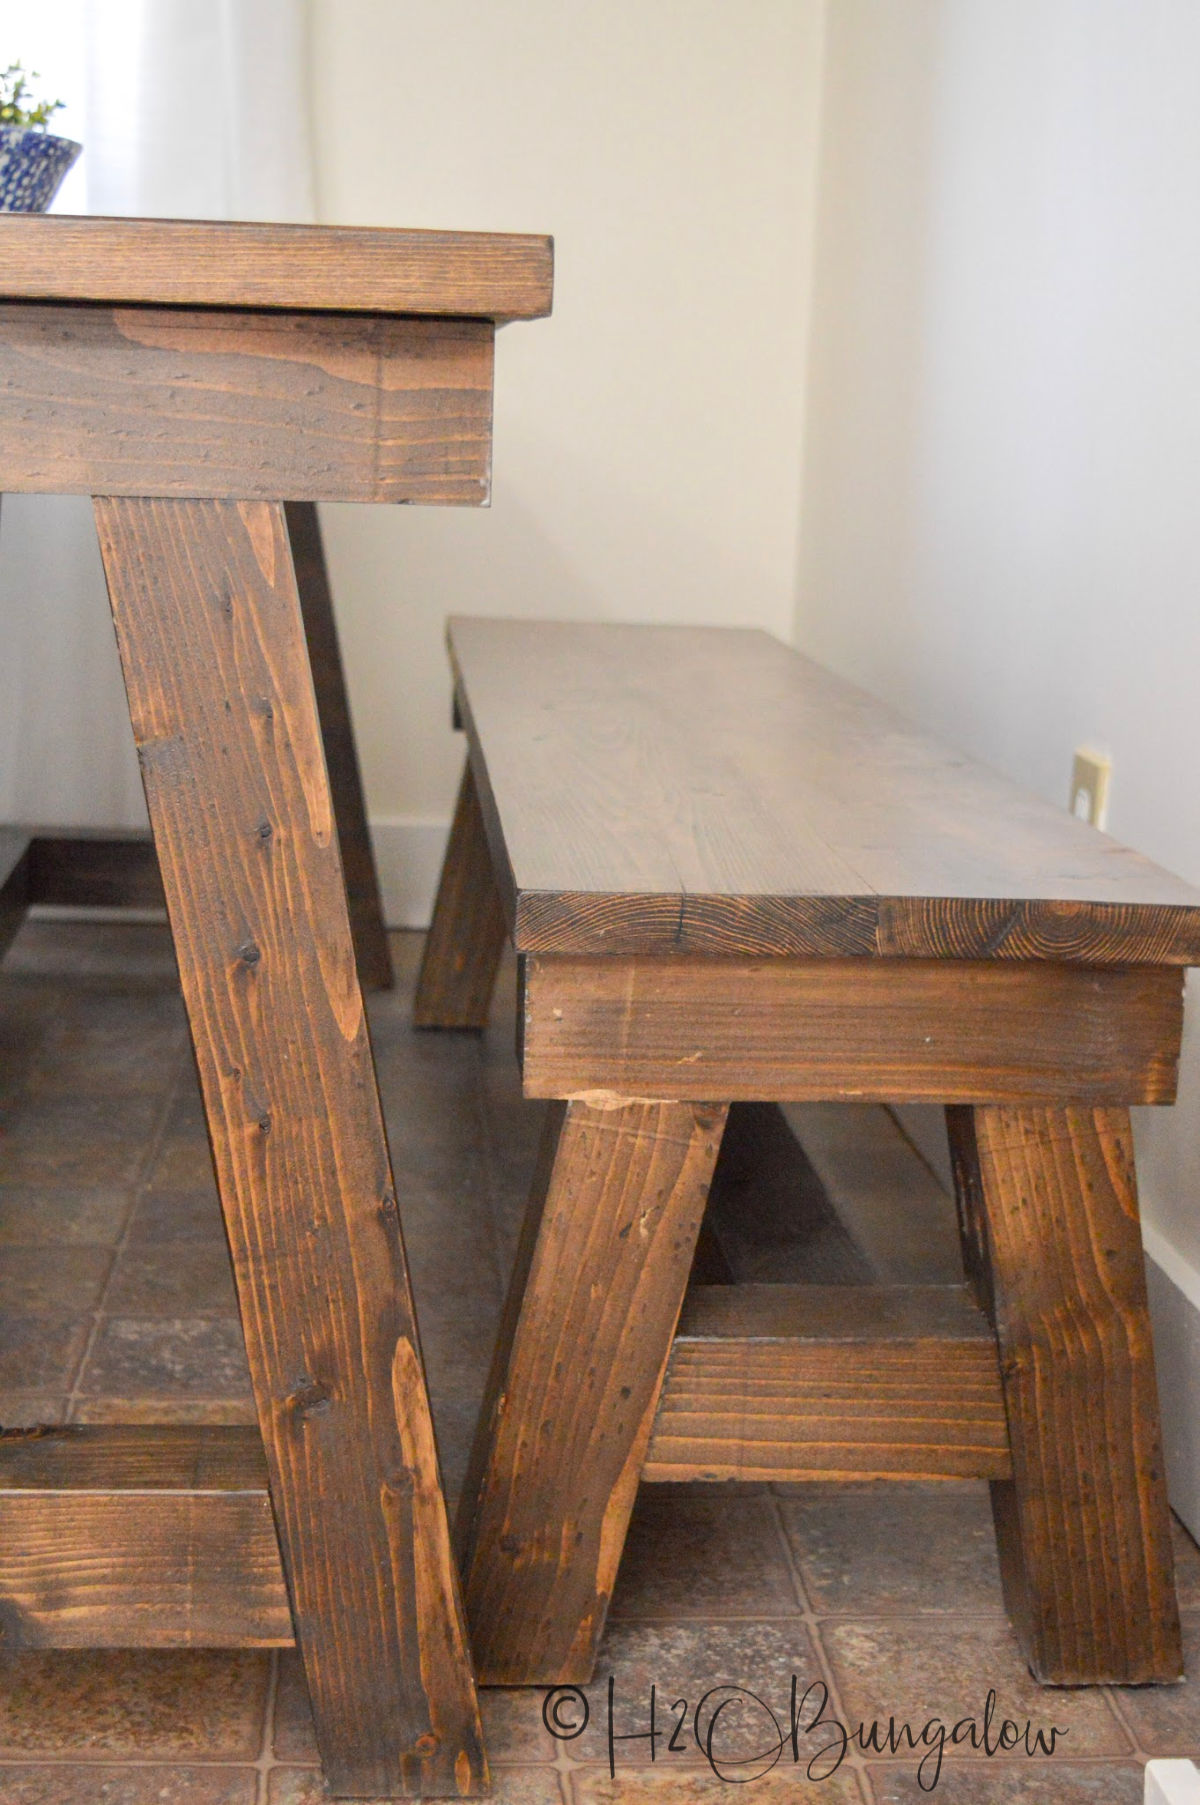
- Double check the scale of the project fits into your space! You may love the shape of that DIY farmhouse table, but will it fit into your dining room or kitchen? I shortened the bench length on Anna White’s farmhouse table plans because I wanted them to fit under the table.
- Use wood glue on the joints
Tips for finishing your farmhouse table.
The last thing you want is a bad finish on a big project like a farmhouse table and benches, especially after spending your valuable time building it!
- Sand your surface before finishing and work your way up to a 220 grit.
- Sharp edges can scratch, I always knock the sharp edges and corners down with a sander as well.
- Get the dust off with a tack cloth before adding your finish.
- If you plan on staining your DIY farmhouse table, always, let me repeat, always use a prestain conditioner. Remember to only use water/oil base prestain with the same water/oil base stain. You’ll be unhappy with splotchy stain coverage if you don’t.
- Choose your sealant wisely. I prefer a water based satin poly and put it on in very thin coats with a wet edge, like I did in my Hairpin Live Edge Coffee Table tutorial. I’d use several coats and let it dry in between. Lightly sanding with a 220 grit between coats.
- If I were painting this farmhouse table, I’d use a quality chalk or mineral base paint followed by 2-3 coats of my favorite clear wax to seal it.
- Regardless of the finish you use, be sure to let your project sit and cure for a few days to a week to let the finish harden.
- DIY farmhouse tables are large and heavy. Always use furniture pads on the table and bench legs. It makes them easier to slide and move and most importantly, they protect your floor.
Whew! This post is long but I wanted to share how to build a farmhouse table with useful tips along with my own DIY farmhouse table I built.
Pin this tutorial for later and share with your friends on Facebook!
What do you think? Are you ready to roll up your sleeves and build your own farmhouse table too? Leave me a note in the comment section below!
