It’s been over 2 years since I’ve installed my peel and stick tile backsplash in one of the kitchens in the North House Lodge. I made a video on how to install a peel and stick tile backsplash and share it below with several questions you may have when thinking about adding a stick on backsplash to your home. I’ll cover how to prepare your surface and tips for cutting and measuring stick on tiles too. Of course, I answer the big question, does a peel and stick tile backsplash last, and would I do it again?
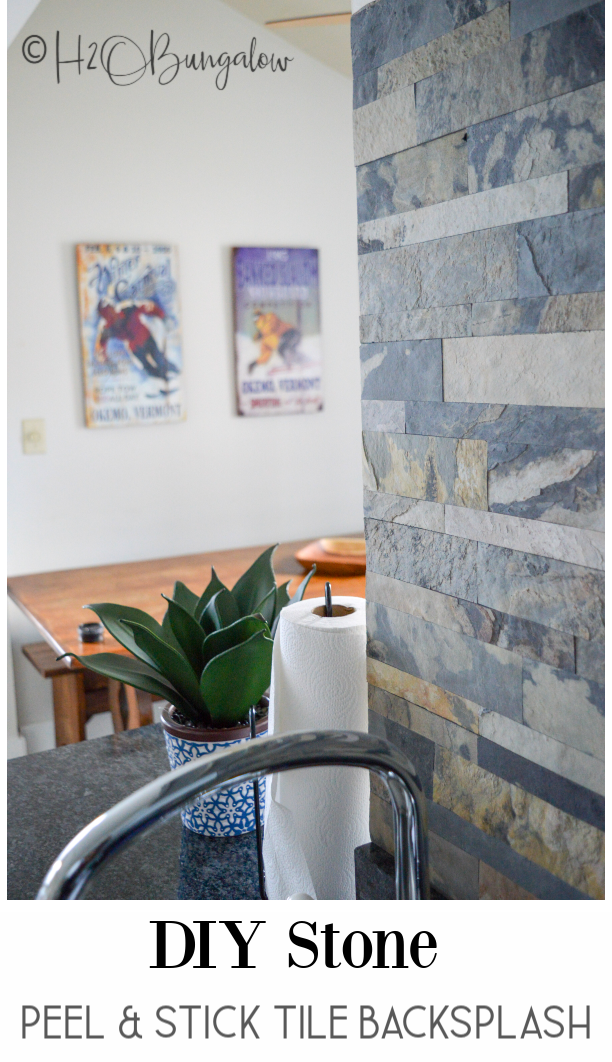
I’m all for easy home decor and remodel ideas like this one.
The attraction of using stick on tile backsplash is huge! You don’t need fancy equipment or a wet saw for most tile types and there’s no grout or messy supplies needed. Best of all, you can install a peel and stick backsplash in a day by yourself and save big bucks over paying expensive labor fees.
What’s not to love?
How to Install a Peel and Stick Tile Backsplash
I used Aspect peel and stick stone tile for my project. Its real slate stone cut very thin and mounted on a very, very strong thick sticky backing.
They sent me a few boxes after the Haven Conference a few years ago and it sat in the closet forever before I pulled it out to do this project. I’m finally getting around to writing this about a year and a half after I installed my peel and stick kitchen backsplash. Since I installed my first one, I’ve been on the hunt for more styles for other projects. I’ve checked out a few more types of stick on backsplashes and tile options for kitchen and bath walls which you’ll see below.
I use affiliate links to help you find the products I used. If you make a purchase I get a small commission at no cost to you. The affiliate money I earn helps cover the overhead costs of H2OBungalow. Thank you for your support!
Supplies needed to install stone peel and stick tile backsplash
- Peel and stick tile
- Straight cut tin snips
- sturdy scissors
- 12″ level
- builders square to mark straight edge
- measuring tape
Check out my video to see how to install a peel and stick tile backsplash and what the process looks like.
Step 1. Prepare your surface for stick on tiles.
Your peel and stick tile backsplash will last if you have a smooth and clean wall surface for the tile to stick onto. There are two choices for installing peel and stick tile.
Option A: Use the sticky backing on the tile.
You’ll need to apply your peel and stick tile backsplash onto a flat surface. If you have a heavily textured wall, use a thin layer of drywall mud to flatten out the surface. Always use a primer to seal the a newly mudded surface before applying stick on tile.
If your wall and counter has a line of grout, you’ll need to remove it first. Use a hairdryer to soften the caulk and a caulk tool to remove the caulk.
All peel and stick tiles also need a clean surface to adhere to. Kitchen walls, especially near stoves can accumulate a film of grease. If your kitchen has been recently painted, wipe the surface down with a degreaser like TSP first. Otherwise, it’s best to wipe it down with a degreaser and apply a fresh coat of primer to the entire backsplash area. My favorite primer is STIXX. Allow it to dry comply before moving to the next step.
Option B: Add a construction glue to the backing of the tile.
Wipe your surface down thoroughly, prime if needed, and use a sturdy construction adhesive like liquid nails on the back of the tile also.
Step 2. Measure and check for levelness.
Most kitchen countertops are pretty level, but not all. It helps to know in advance if you have a wonky spot that will give you a challenge either at the countertop or below a cabinet. Use a level and check the backsplash and under the cabinet area to know in advance if special cuts need to be made in the tile. It’s better to have an awkward or slanted cut tile where it’s less likely to be seen and you can plan around this when you know in advance.
Step 3. Peel off and apply tile
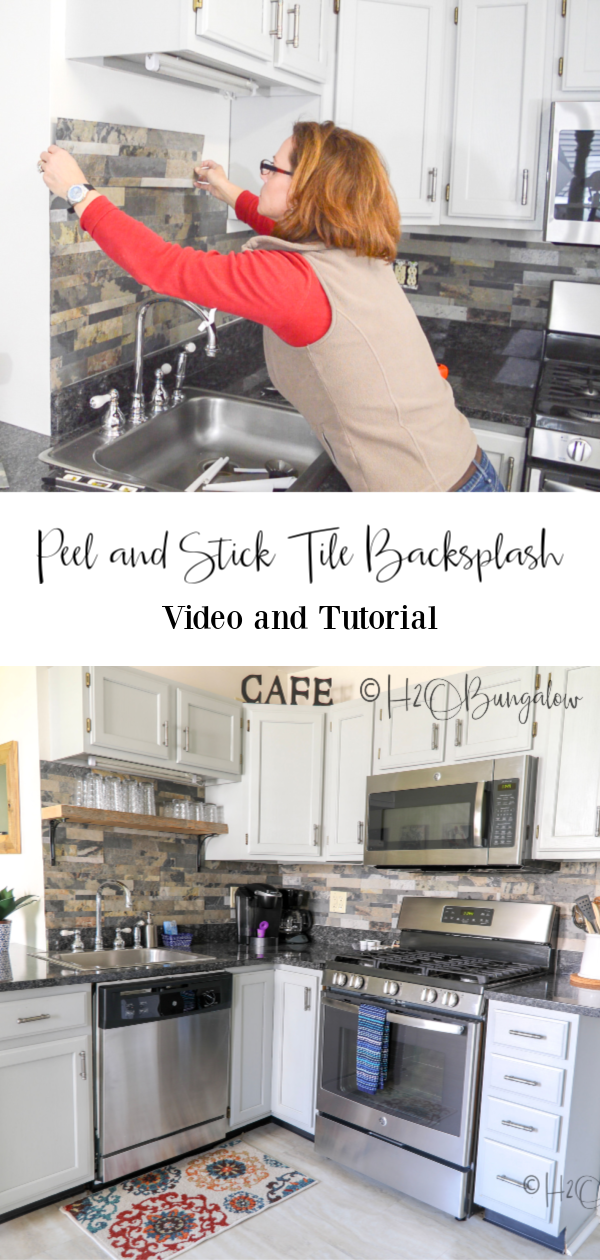
Peel the back off of the tile and carefully position it onto your surface. Hold the tile by the edges or you’ll get stuck like fly paper to the backing! Peel and stick tile is not reposition-able. I tried to move a tile and it ripped the sheetrock when I pulled it off so be sure to line up your tile before the sticky back touches the wall.
More Questions About Using Peel and Stick Tile
What’s the best peel and stick tile for a kitchen backsplash and how real do they look?
There are many choices and styles of stick on tiles that work for kitchen backsplashes, bathroom and accent walls. These easy to apply tiles come in subway tile shapes, mosaic tiles, penny tiles, the currently popular Mexican Talavera style that you see everywhere and I found a few pretty fabulous rustic wood styles too.
- PVC Stick on tiles– these are the most budget friendly. They are precoated and sealed which is a nice time saver. But if you look close or touch them, you’ll know it’s a PVC sheet.
- Real stone tiles – In my opinion Aspect corners the market on real stone peel and stick tiles. They have a wide selection of real cut stone in slate, quartz, sandstone and marble.
- Embossed vinyl tiles– These are similar to flooring tile but made for walls with a peel off sticky backing. They are easily washable and wipeable and I found a few patterns that were nice looking.
- Wood tiles– I couldn’t find a large a selection of wood stick on tiles for backsplashes. I suspect it’s due to the skills of the average DIY’er and that they can easily make their own for a lot less money. I also don’t think the appeal of wood as a backsplash is high due to keeping it clean.
- Metal tiles– You can find sheets of metal peel and stick on tiles or individual metal tiles in a large selection of popular trendy styles. There were many beautiful choices that looked every bit as real as if they were actual installed tile.
- Glass tiles – There is a large selection of glass peel and stick tiles available. I found beautiful pencil tile and subway tiles in sheets and individual pieces. This selection is about as broad as what you’d find in the tile department at your local big box store. Keep in mind, you’ll need a wet saw to cut these when installing.
Are peel and stick tiles durable and easy to care for?
Overall I’d say yes. It depends on which type of stick on tile you choose. They protect your kitchen wall like a backsplash should and need to be wiped down periodically. The stone tile I applied for my kitchen backsplash didn’t need to be sealed which was a plus. But, Sealing it would help keep off stains since it is real slate. I’d test an area before sealing to see how it changes the appearance of the backspalsh.
Do peel and stick tiles come off?
The big question I had from the start and I bet you do too, is do peel and stick kitchen backsplashes last? Will the tiles fall off?
After a year and a half, I’ve had a few that started coming up at the edge. When I touch the sticky back, it isn’t sticky anymore. To fix loose tiles, I used a construction glue to tack them back down. Easy Peasy.
Can you use peel and stick tiles over existing tile backsplash?
Using peel and stick over existing tile is a great idea if the surface is smooth. Especially if you don’t want to go to the trouble of removing the existing tile and making a mess. The one challenge would be finding an edge piece to cover the thickness of the old tile and the new layer of peel and stick tile. I did see that Aspect offers a few edging kits for some of their tiles so that may be a good option.
There’s a lot of information in this article. Pin it for later and share with your friends on Facebook!
By now I think you know the answer to the big question. Would I install a peel and stick tile backsplash in my kitchen again?
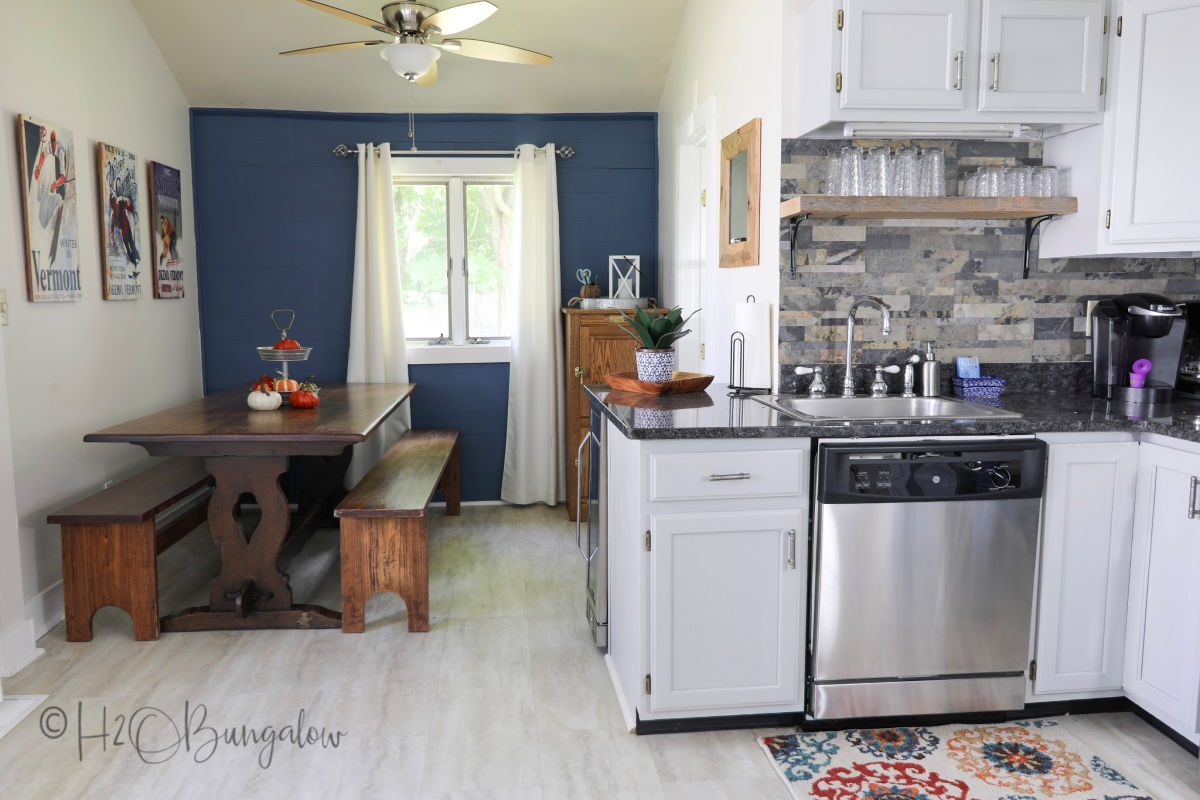
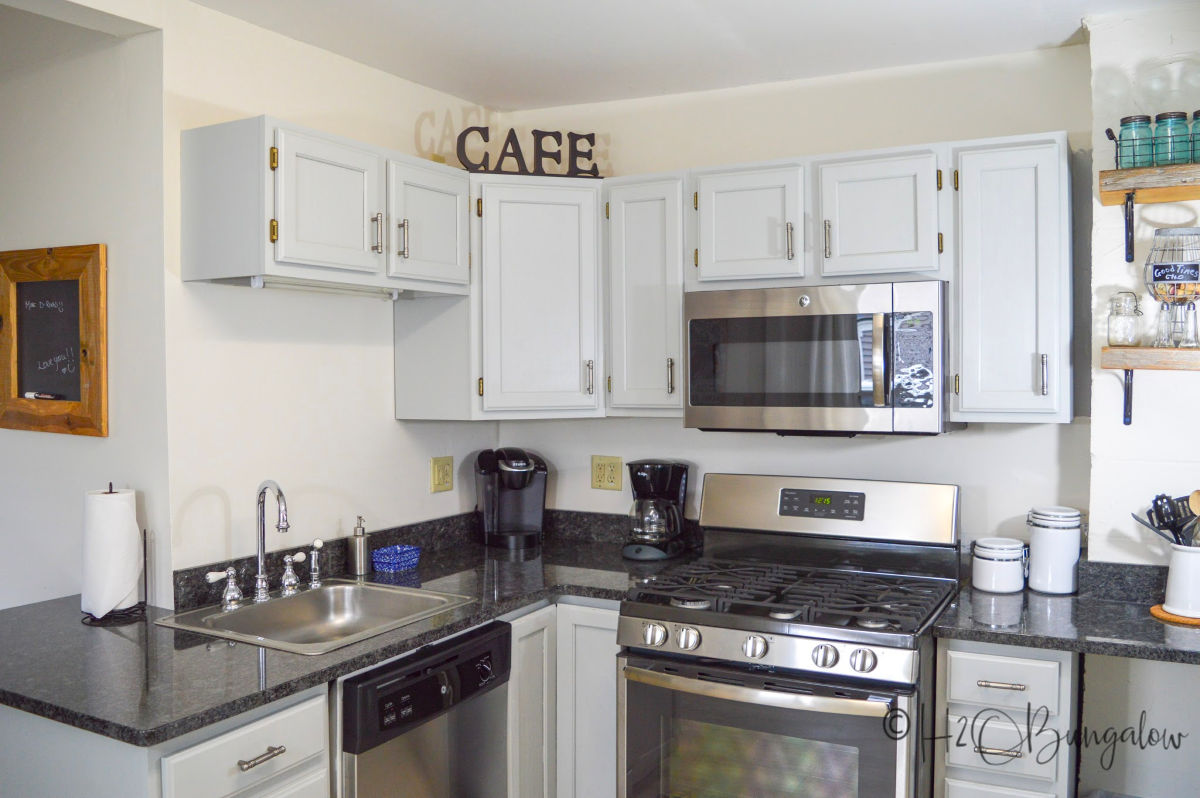
Here’s a picture of my kitchen before the new slate backsplash.
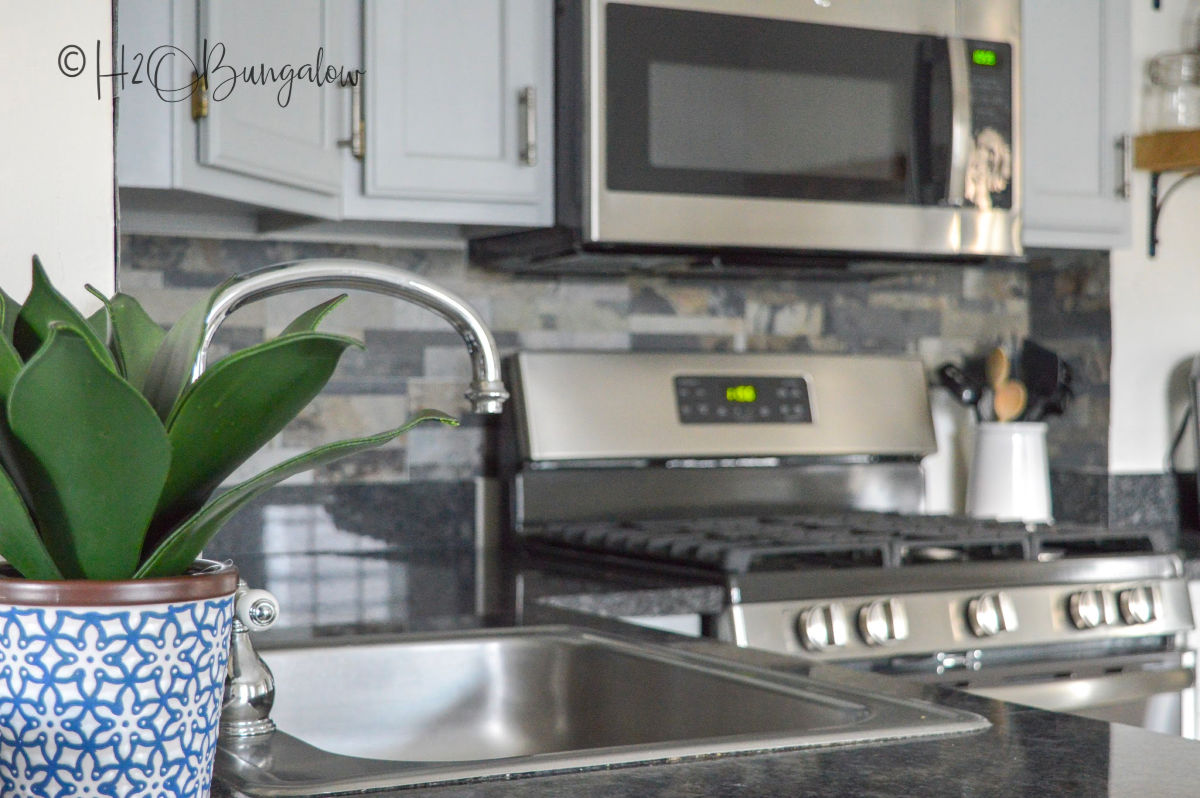
Here’s the kitchen after I installed the backsplash. What do you think?
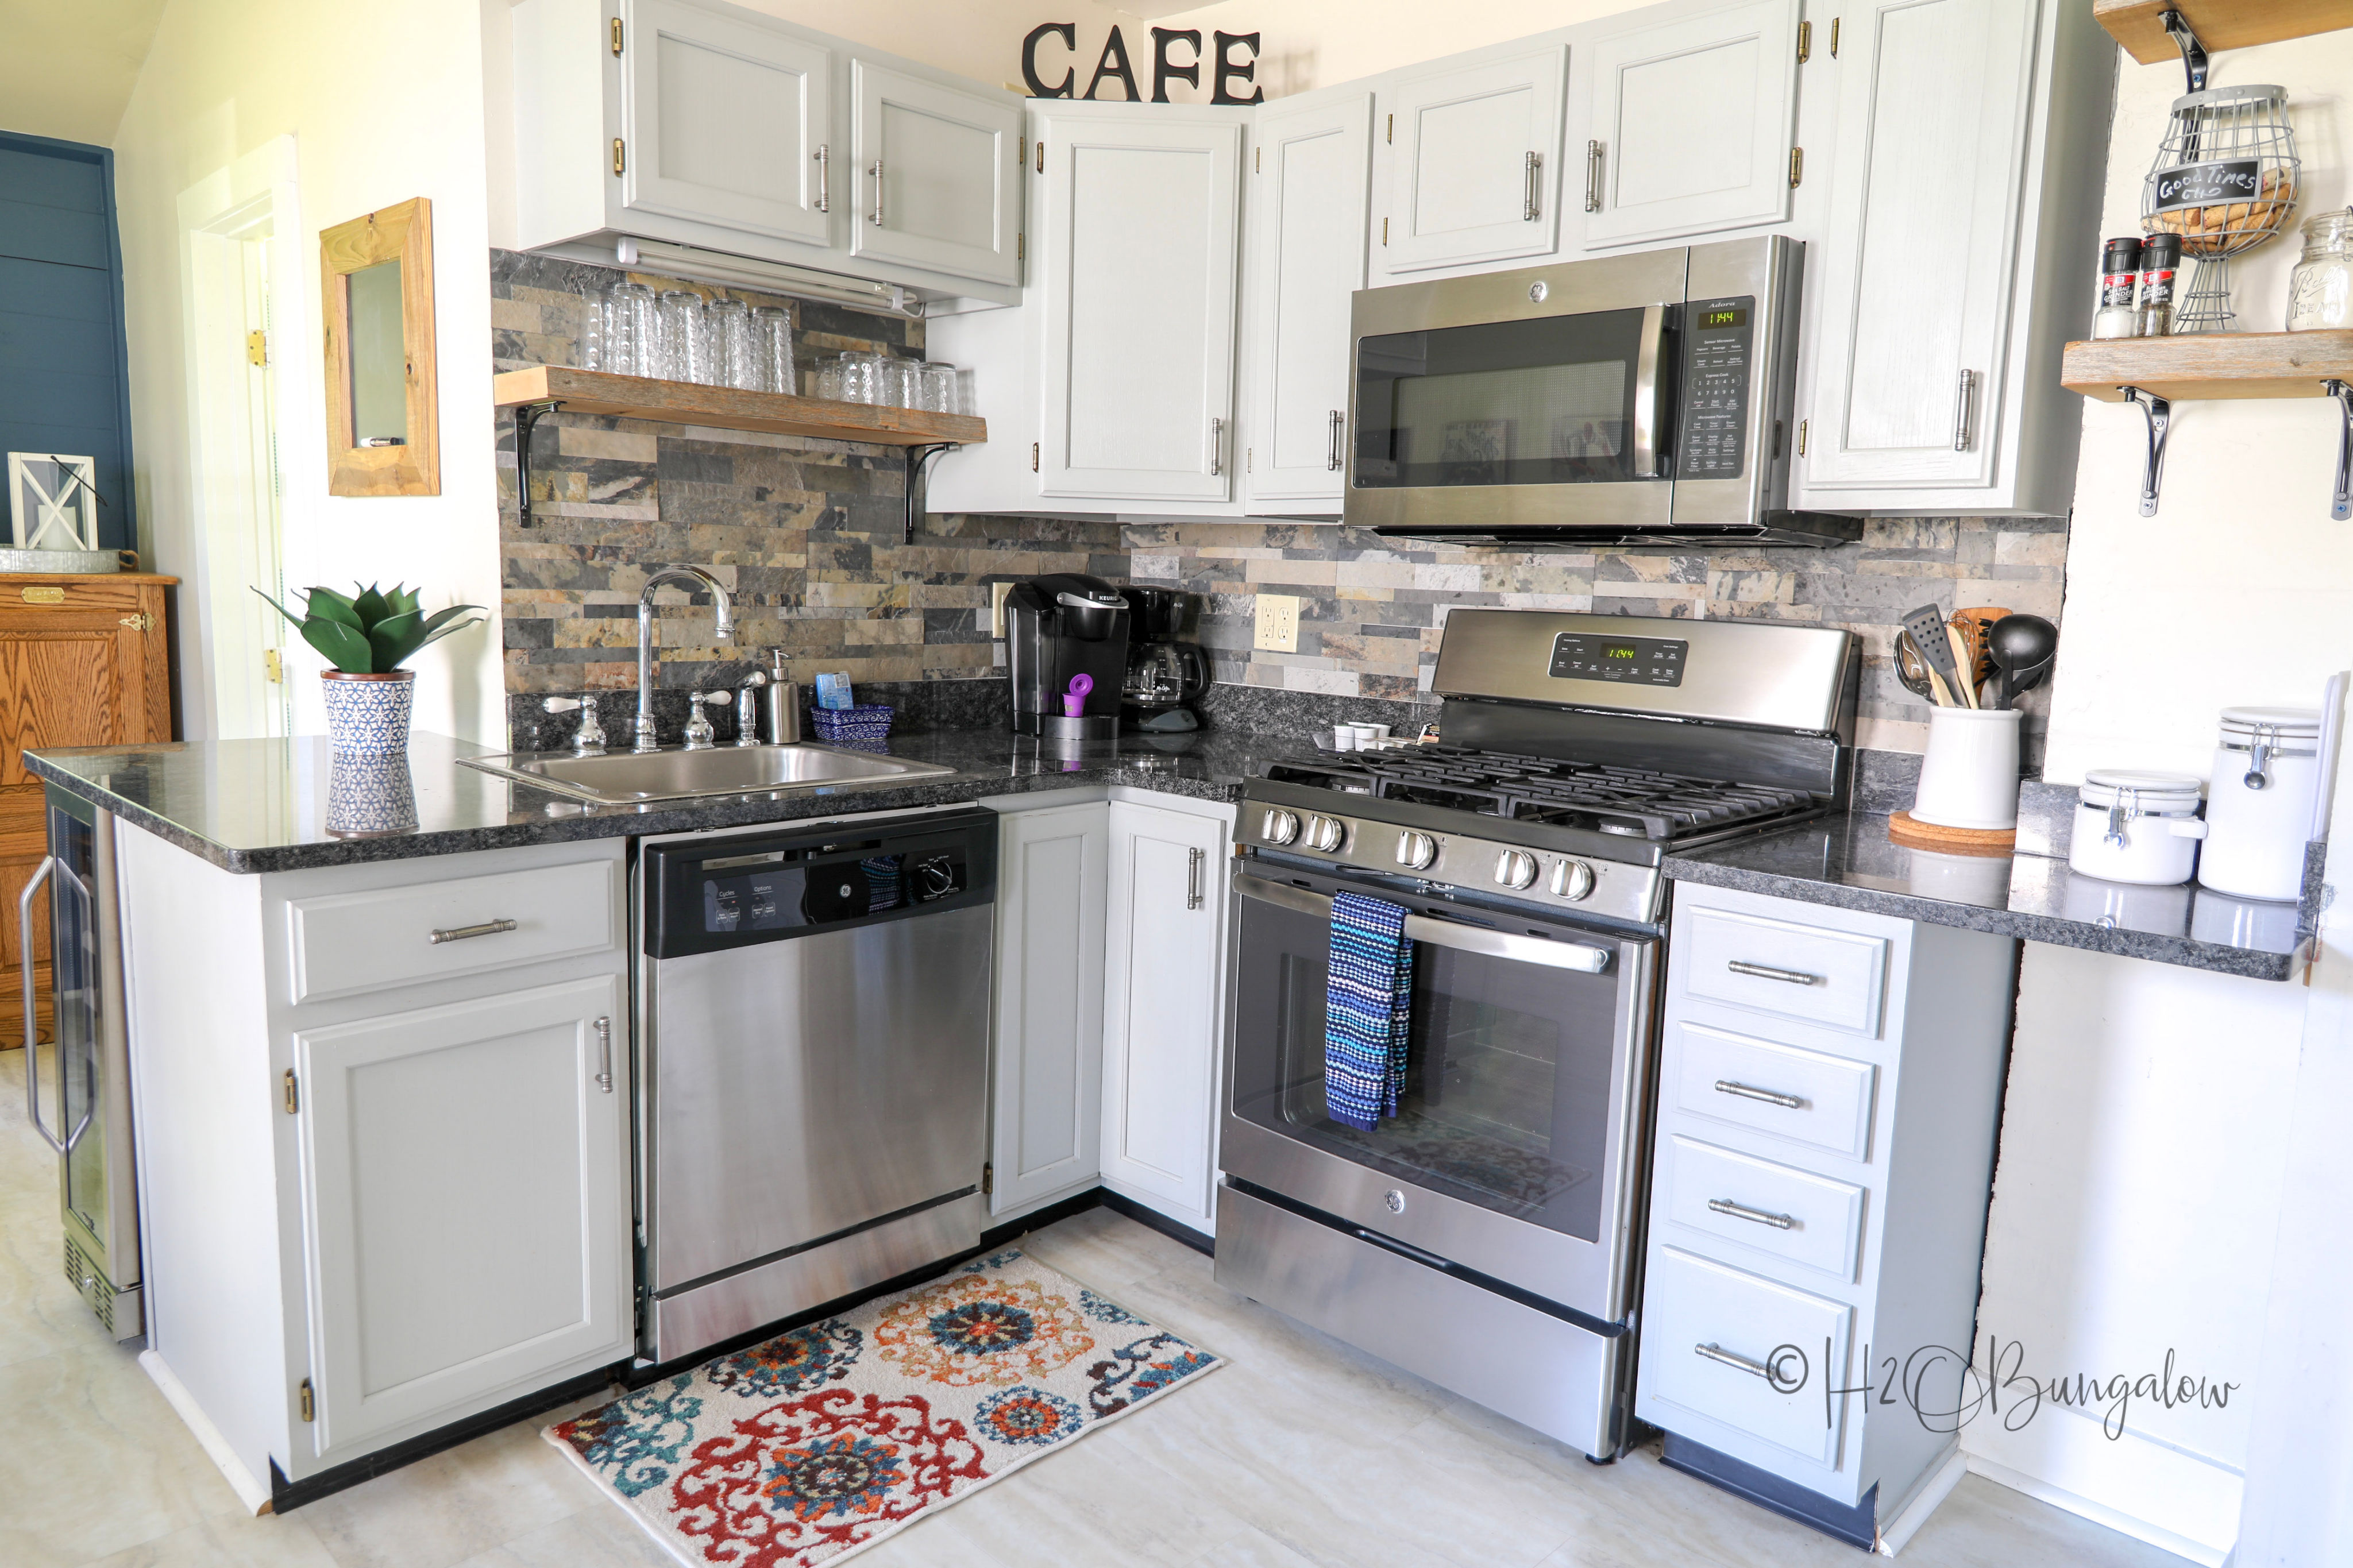
Yes, I love it!
The answer is yes, I definitely would.

Bonnie Hackett says
how do you cut around the back splash for an outlet.
Wendi Wachtel says
Hi Bonnie!
I(‘m thinking you’re asking how do I cut around a backsplash tile for an electrical outlet? If that’s the question, take a look a the video in my post. I cut all of mine with tin snips. I positioned them so didn’t need to cut anything out from the inside. So two tile pieces came together for the backsplash. One at the top with part cut out and one at the bottom with part cut out. I hope that answers ypur question!
Lisa says
Which Aspect stone did you use?
Wendi Wachtel says
Hi Lisa!
This is the aspect tile I used, https://amzn.to/3e1KttQ you can purchase it by the box or in bulk. Hope that helps!
Stephanie S. says
I really like that look and would love this in my kitchen. Thanks for sharing.
Wendi says
Hi Stephanie!
This was such a doable project, especially when you consider the cost of labor over tiling a wall with traditional tile. Thanks so much for your visit and note. I hope you try this in your home too!