Even the most novice painter can get a fabulous DIY kitchen cabinet makeover with a perfect finish and no brush strokes. Follow this step-by-step beginner’s guide on how to paint kitchen cabinets tutorial and instructional video.
Of all the DIY projects I’ve done, I think painting kitchen cabinets was initially the scariest. What if I don’t like them? Will the paint job look good enough? What if I don’t use the right paint or color?
Self doubts like this are the reason I think some people don’t just pull out a paintbrush and tackle the job. Instead, they live with kitchen cabinets they are less than happy with.
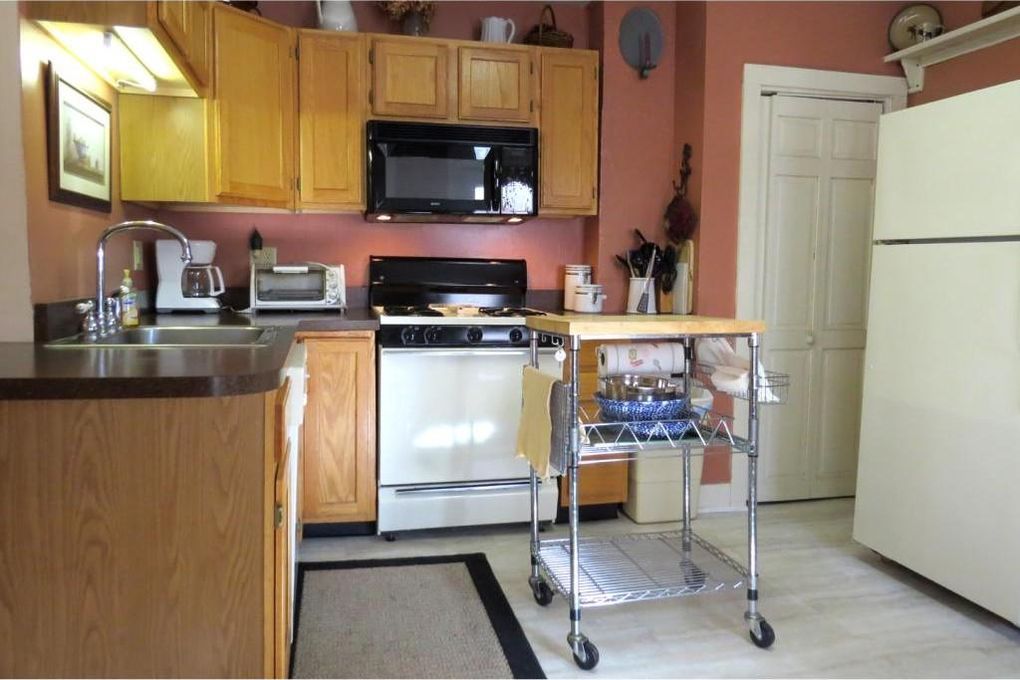
Here is the kitchen before. Not my style at all and I just felt that the entire space looked dated. Don’t worry, I also painted the walls.
I loved that this entire kitchen cabinet paint makeover was done by hand, without the need for any special equipment to buy, and I did it all myself in just two days. Win!
Be sure to check out How To Makeover A Kitchen Island on a Budget.
Step by step guide on how to paint kitchen cabinets with a video tutorial
Supplies needed to paint kitchen cabinets. I use affiliate links to help you find the products I used and earn a small commission if you make a purchase at no cost to you.
- Beyond Paint kit I used Soft Grey
- dropcloth
- painters pyramids
- painters rags
- painters tape for delicate surfaces
- degreaser – Beyond Paint recommends Simple Green All Purpose Cleaner to prep
- disposable gloves
- safety googles
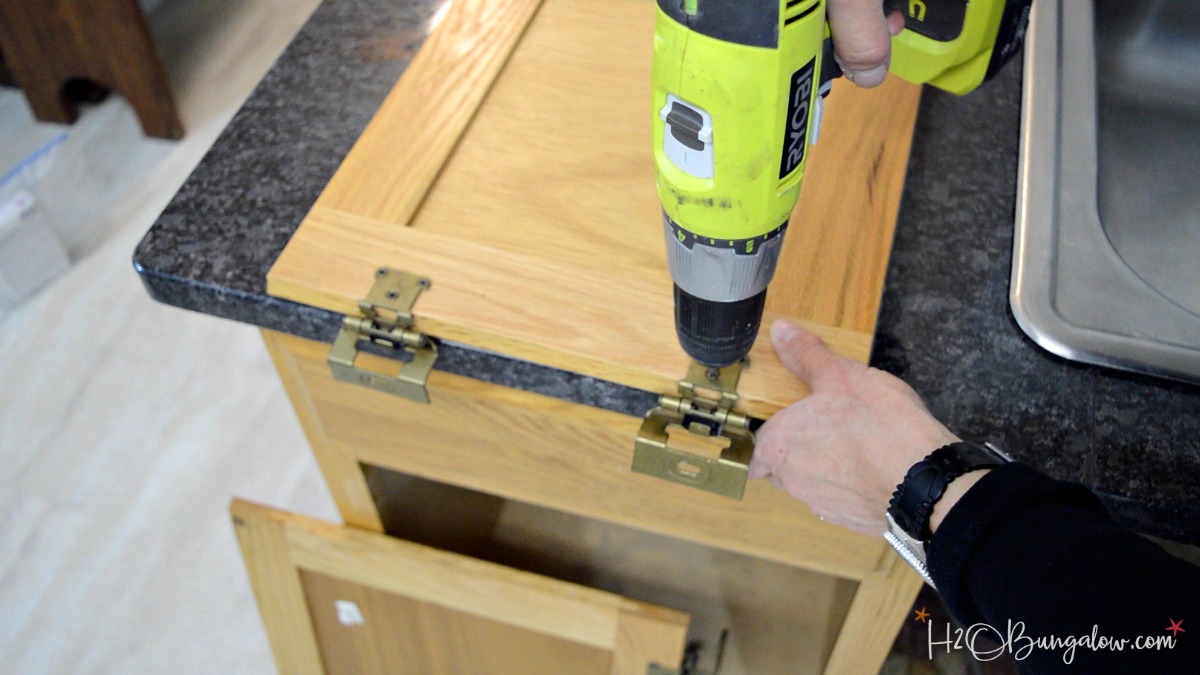
- drill – to remove hardware
- old toothbrush
I share a lot of painting tips to successfully paint kitchen cabinets in this video. Pay attention to how I work the roller and brush to get a super smooth painted finish.
I’ve also shared a bunch of helpful tips during the process of painting the cabinets. I wanted to be sure you had enough information to confidently tackle this DIY kitchen makeover project yourself 🙂
Step One: Remove doors and drawers from the cabinet bases
Remove the doors from the cabinet bases. Next, you’ll remove the hardware from the doors and place it in a container so it will be easy to reassemble the cabinets when your project is done. Remove the drawers next.
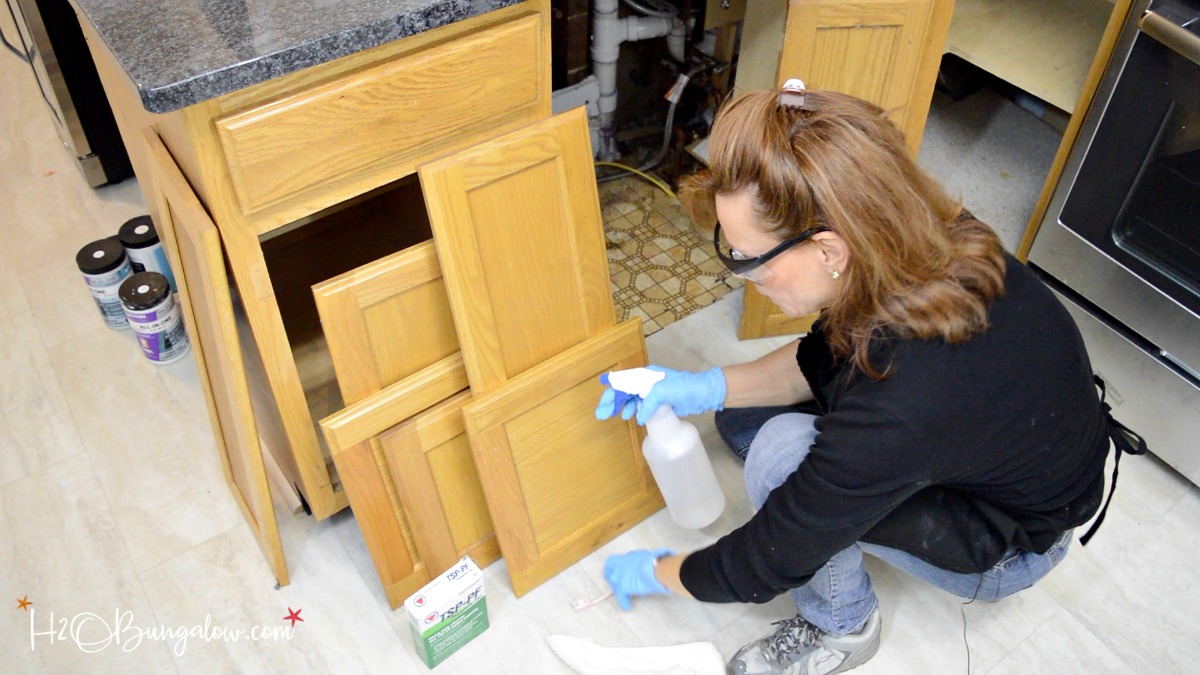
Step Two: Clean the surfaces with a degreaser
Thoroughly wipe all the surfaces down with a degreaser. Beyond Paint recommends either Simple Green or Mineral Spirits.
Clean the front and back of doors and cabinet bases. Basically, you’re cleaning any surface area that will be painted. An old toothbrush is a great tool to get into old cracks and crevices.
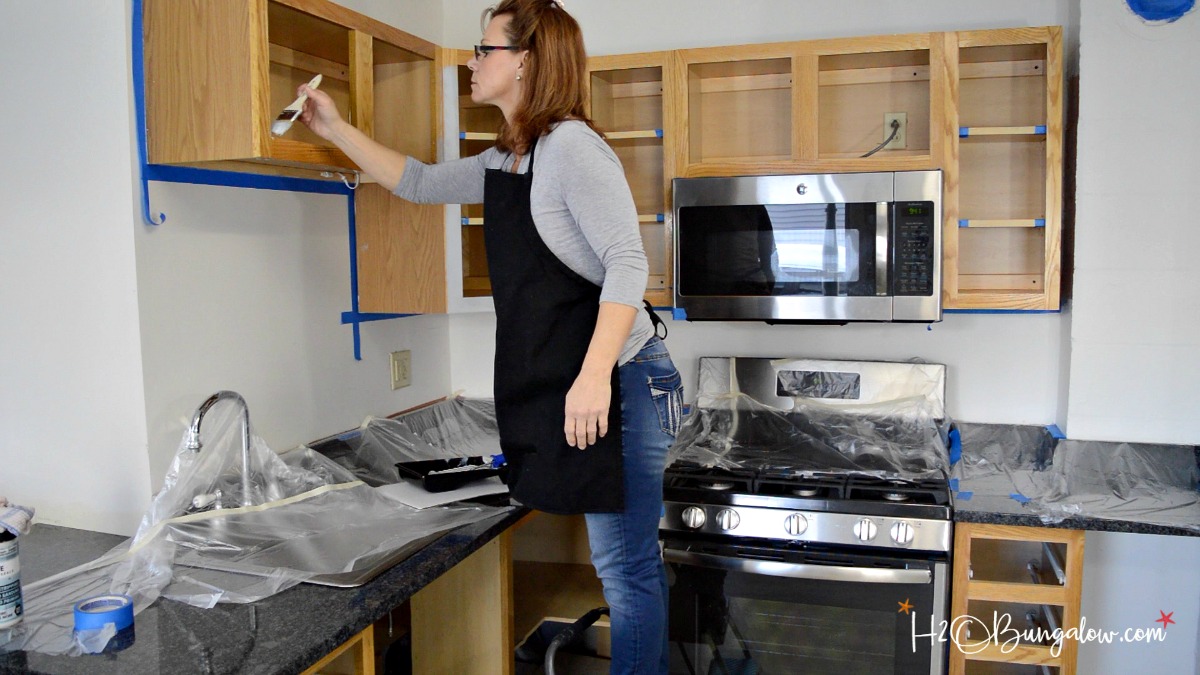
Step Three: Tape off and protect your surfaces
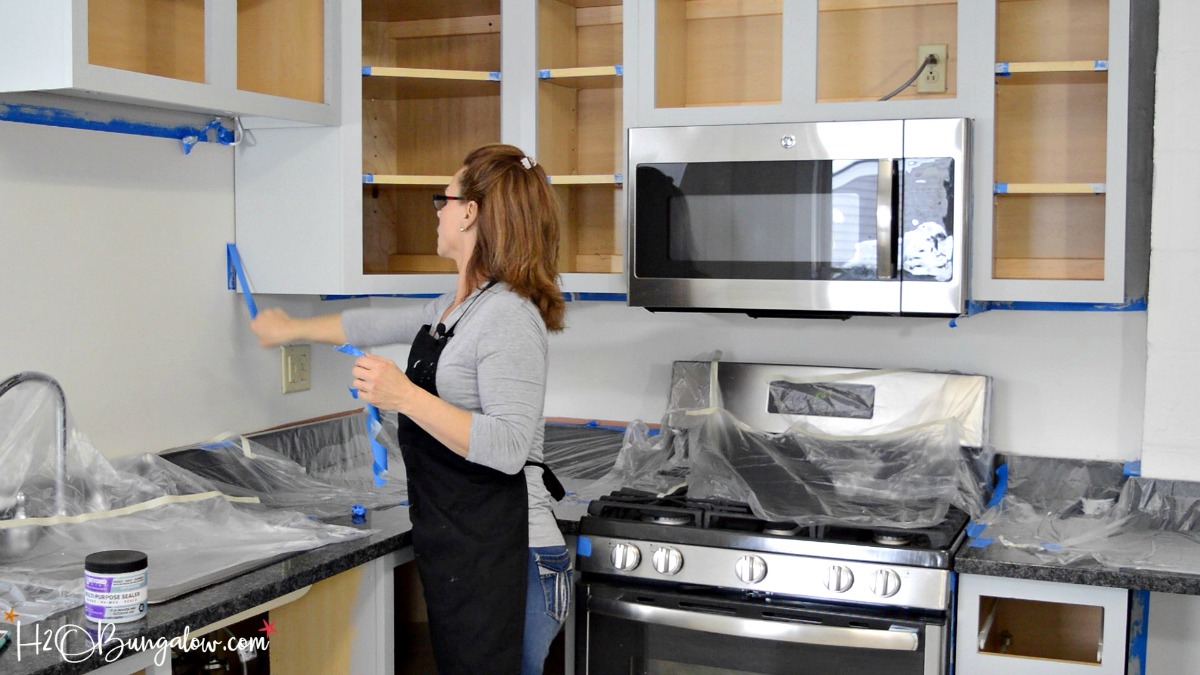
Use painter’s tape for delicate surfaces and tape off areas that need to be protected. Lay drop cloths to protect any area you don’t want to get paint on as well.
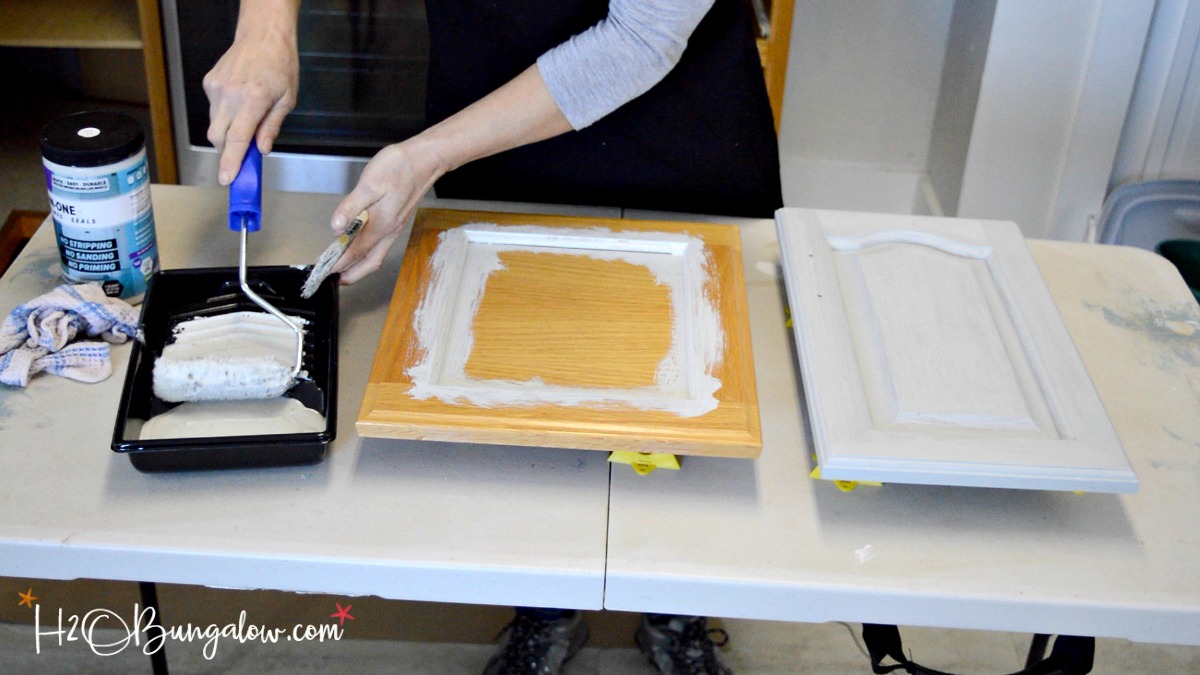
Step Four: Paint the doors and drawers
Use the chip brush for crevices and apply a thin coat of paint. Next, apply a thin coat of Beyond Paint with the roller that comes with the kit to all surfaces.
Watch the video for step-by-step details on how I painted the doors and drawers. Let the paint dry for 2-4 hours and apply a second coat.
Step Five: Paint the kitchen cabinet bases
Use the chip brush to apply paint to all the corners of the cabinet bases and frames. Use the roller to apply the paint to the cabinet faces.
Again, you’ll want to apply a thin coat. Let the paint dry for 2-4 hours and apply a second coat.
It’s best to remove the painter’s tape while the paint is drying but before it has hardened.
Step Six: Apply a sealer (optional)
Beyond Paint doesn’t require a sealer but if you choose to use theirs like I did you’ll wait 24 hours, and apply one very thin coat of the sealer in the same way that the paint was applied.
Don’t forget to apply a new layer of painter’s tape where needed to protect your surfaces and walls! Allow the sealer to dry thoroughly before putting the cabinet hardware back on.
Step Seven: Reassemble kitchen cabinet doors and put back drawers
Reassembling the kitchen cabinets after they’ve been painted is easiest if you reattach the door hardware onto the doors first and then attach the doors to the cabinet frames.
Your drawers should just slide back into place. Reattach the cabinet handles and drawer pulls last. I have a fantastic tutorial on How To Install Knobs and Pulls On Cabinets which will save you a ton of time.
Now for the fun part. Let’s do a little before and after comparison!

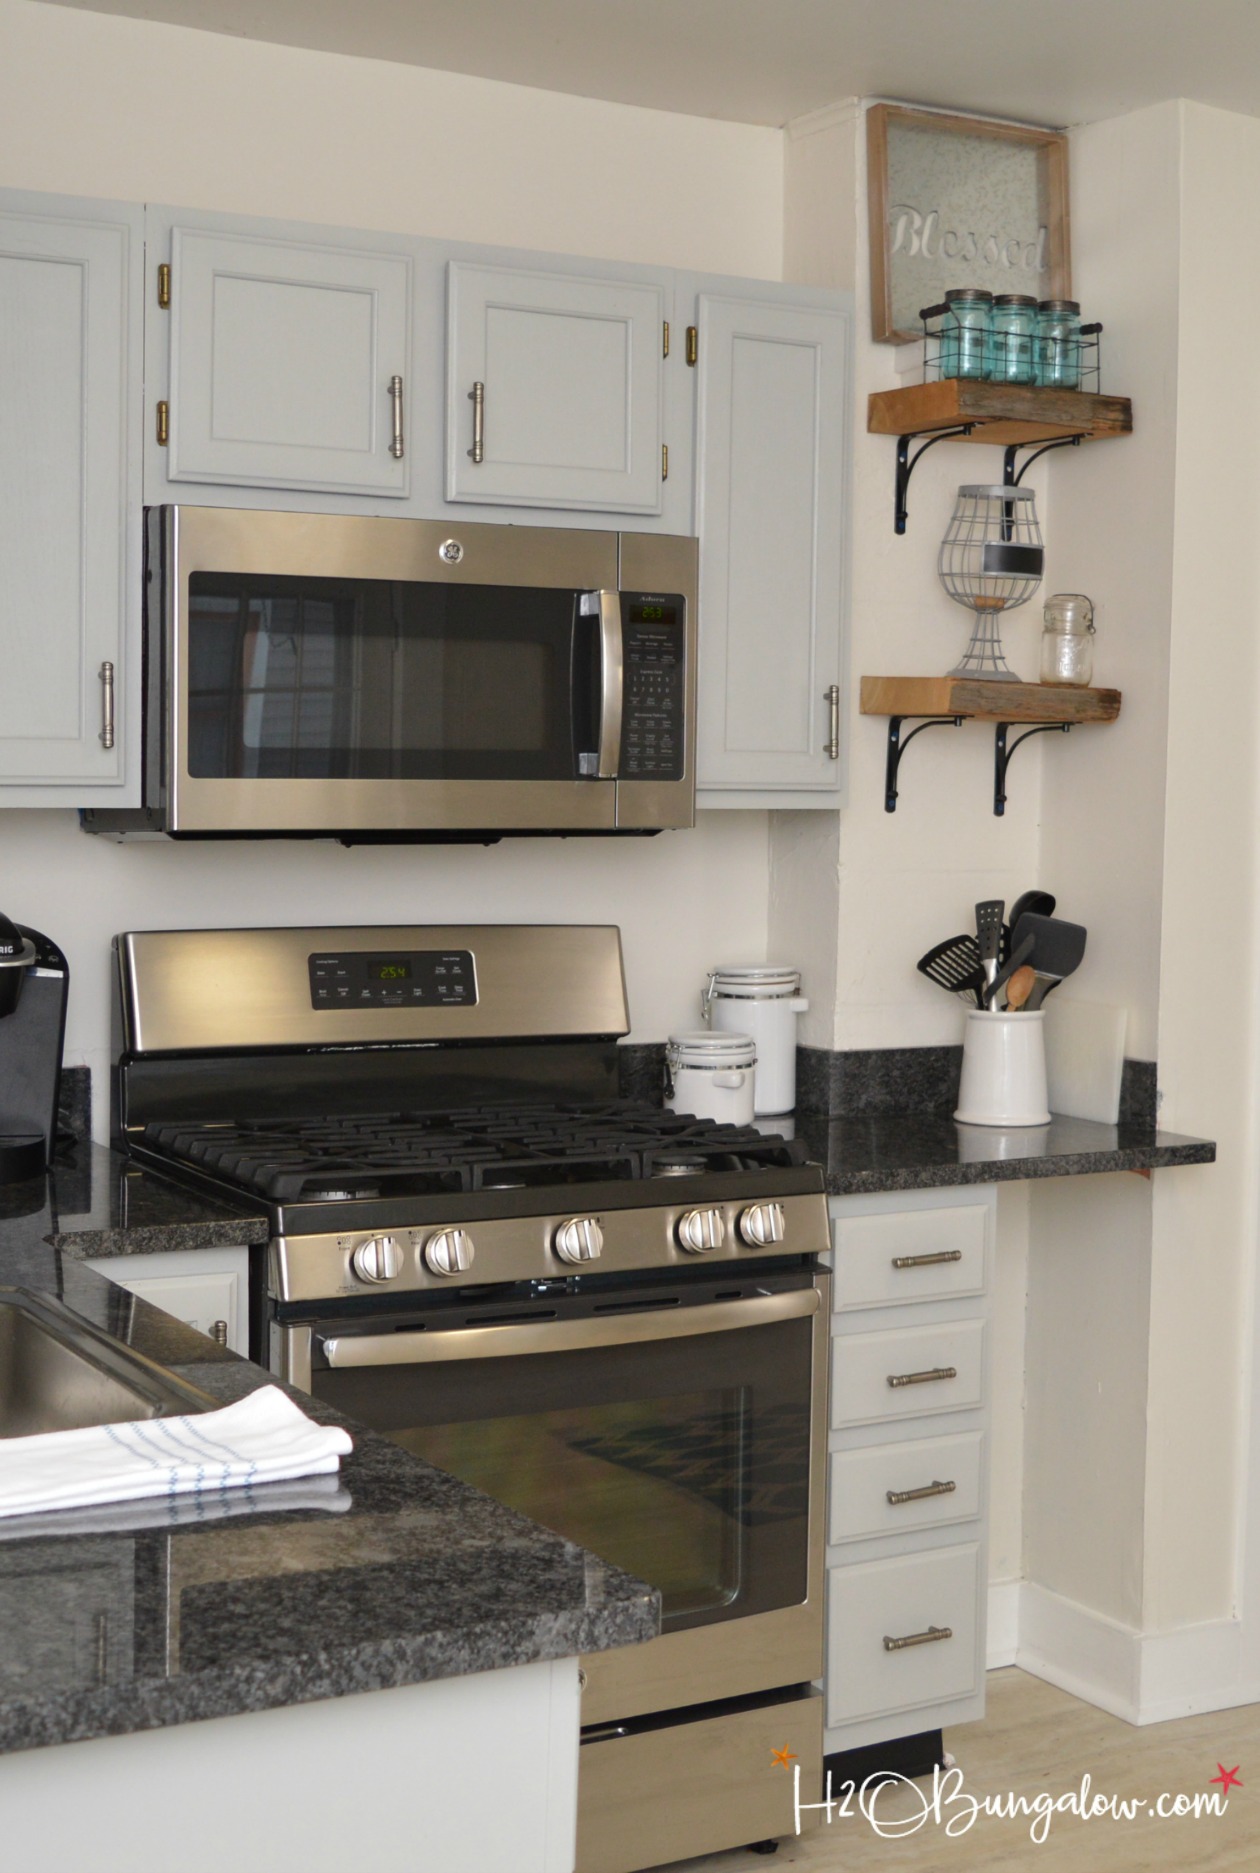
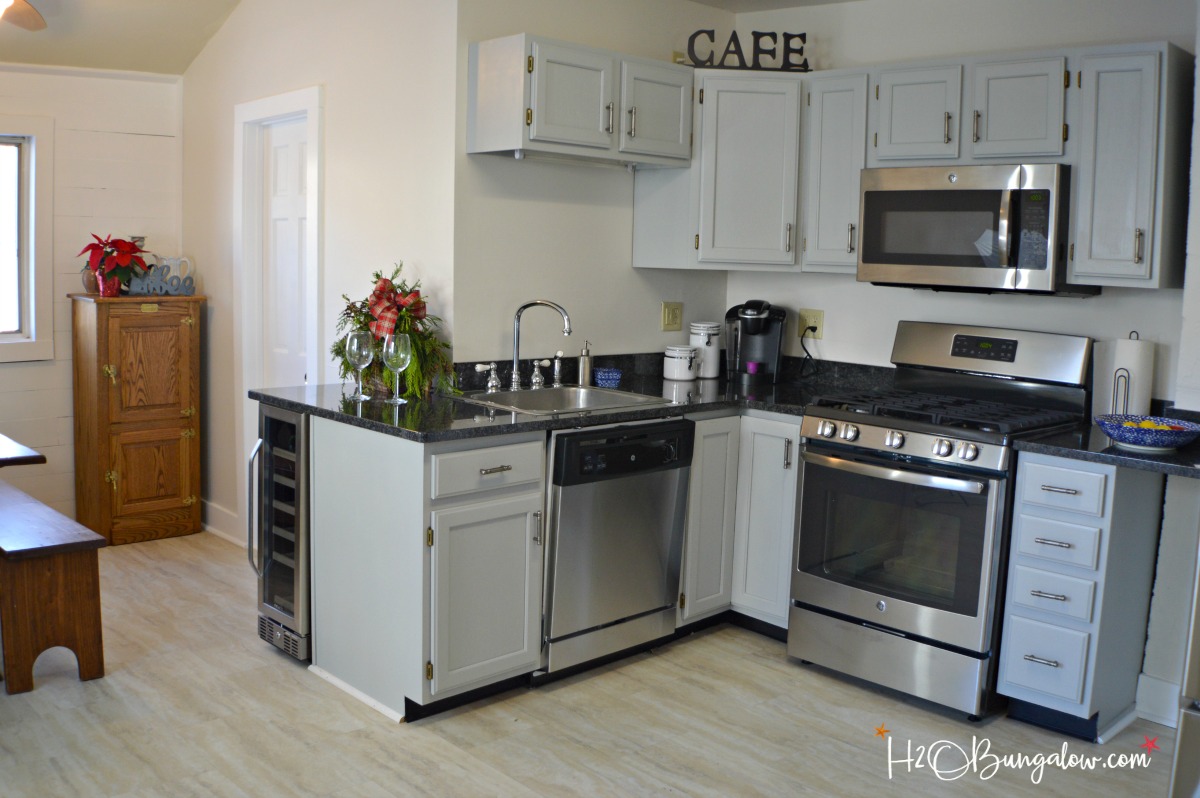
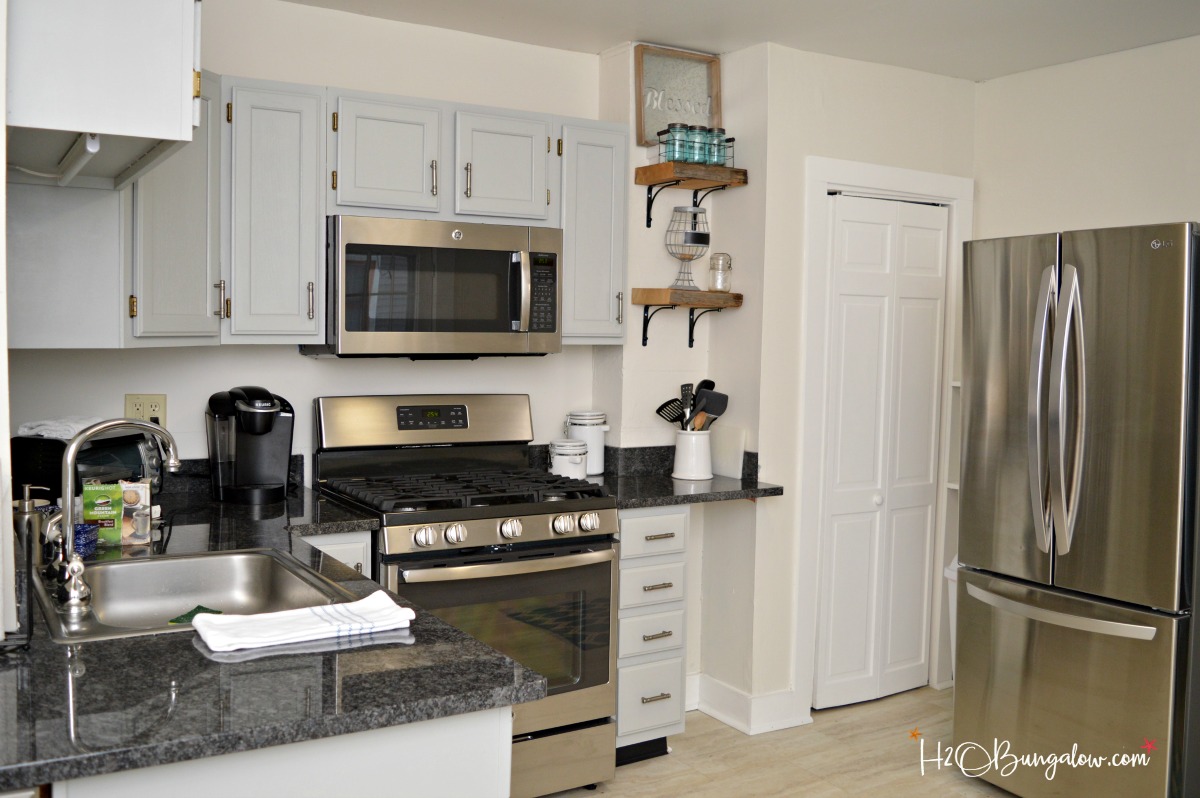
What a difference the paint makes! I love how this turned out. This room has come a long way. See the DIY Shiplap Wall in the background?
Beyond Paint’s Soft Grey was the perfect shade of light grey to work with the new granite counters, stainless appliances and the DIY built in wine cooler I just finished.
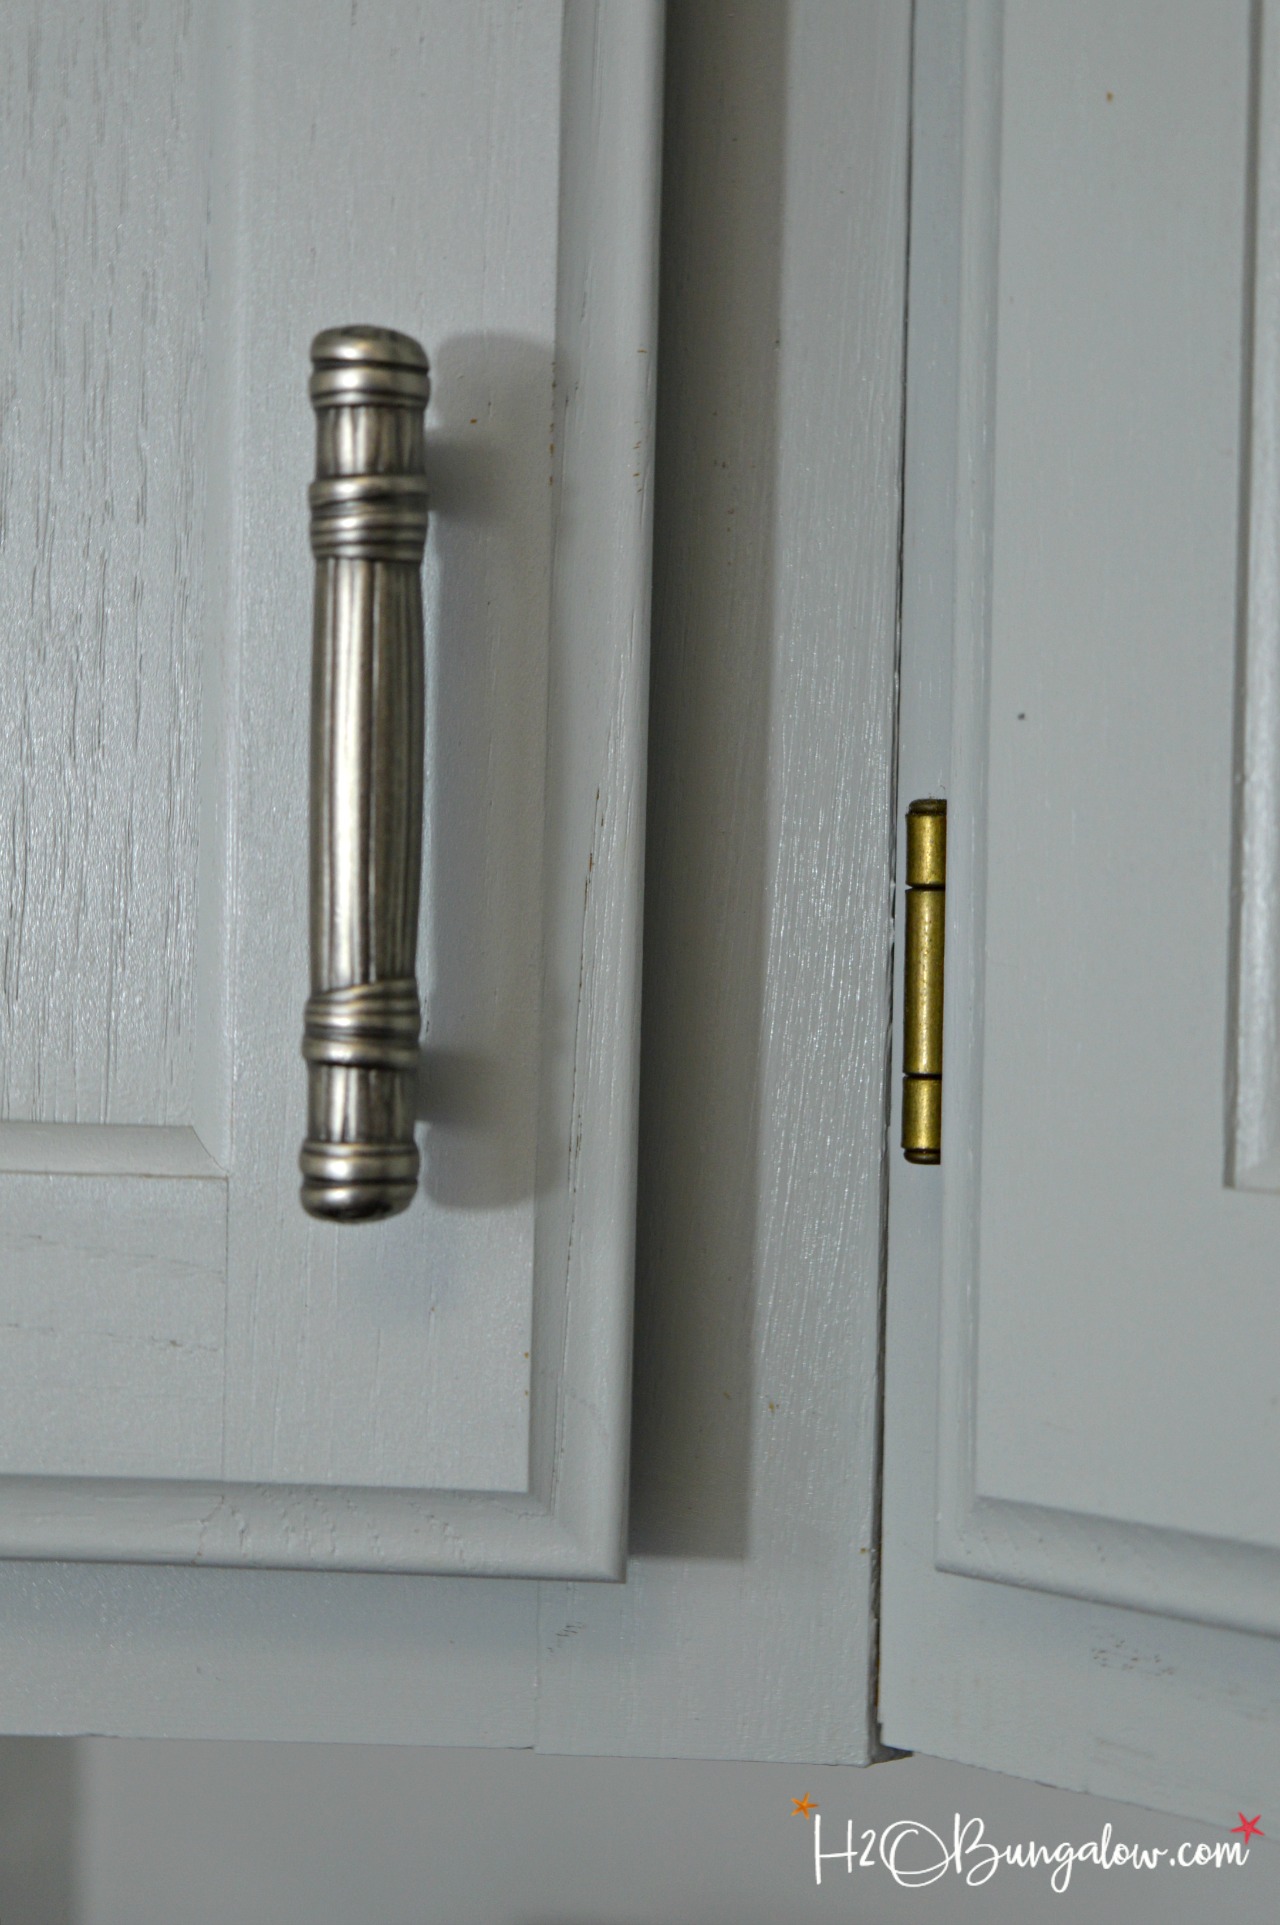
The cabinet pulls for this project were supplied by DLawless Hardware. Here’s a link to the post I did on how to install knobs and pulls on cabinets and furniture.
You’ll find more information in the article on the fabulous hardware I used too. If your cabinets need more shelf space, you’ll want to check out how to add extra shelves to your kitchen cabinets.
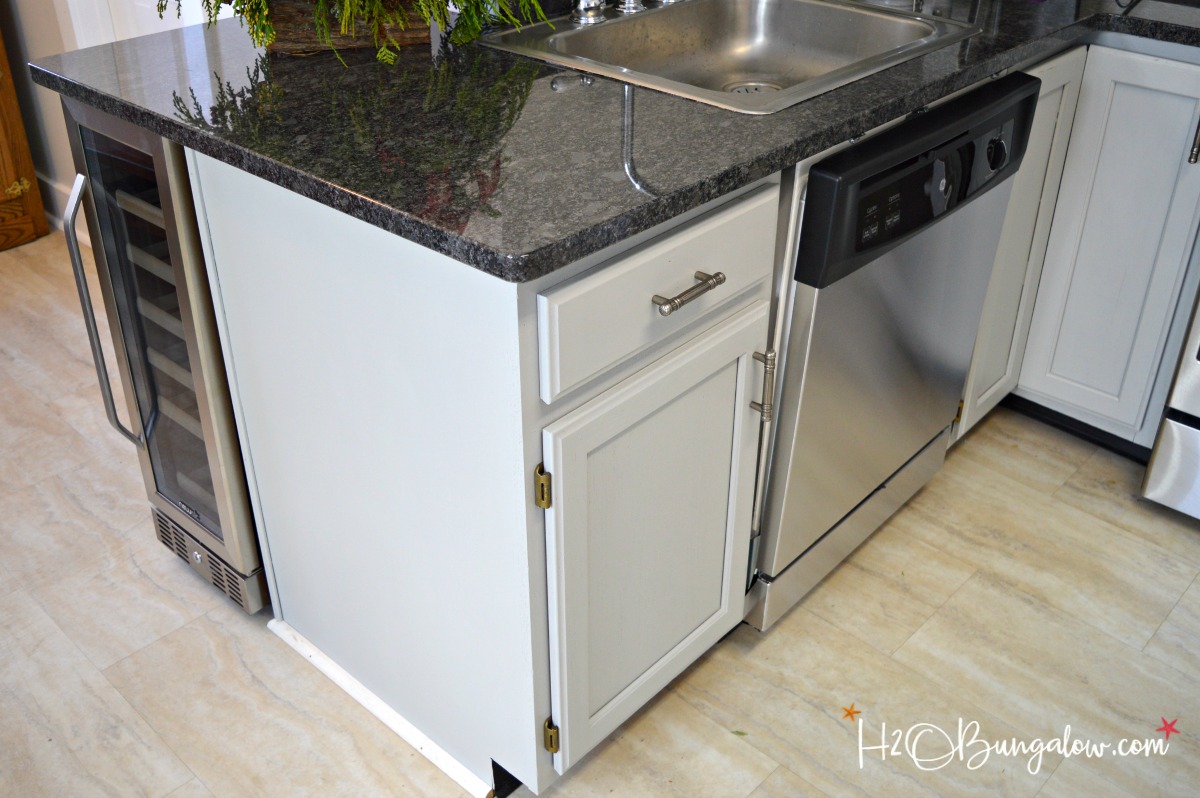
The cabinets look fabulous! They look so great with the Peel and Stick Tile Backsplash I installed.
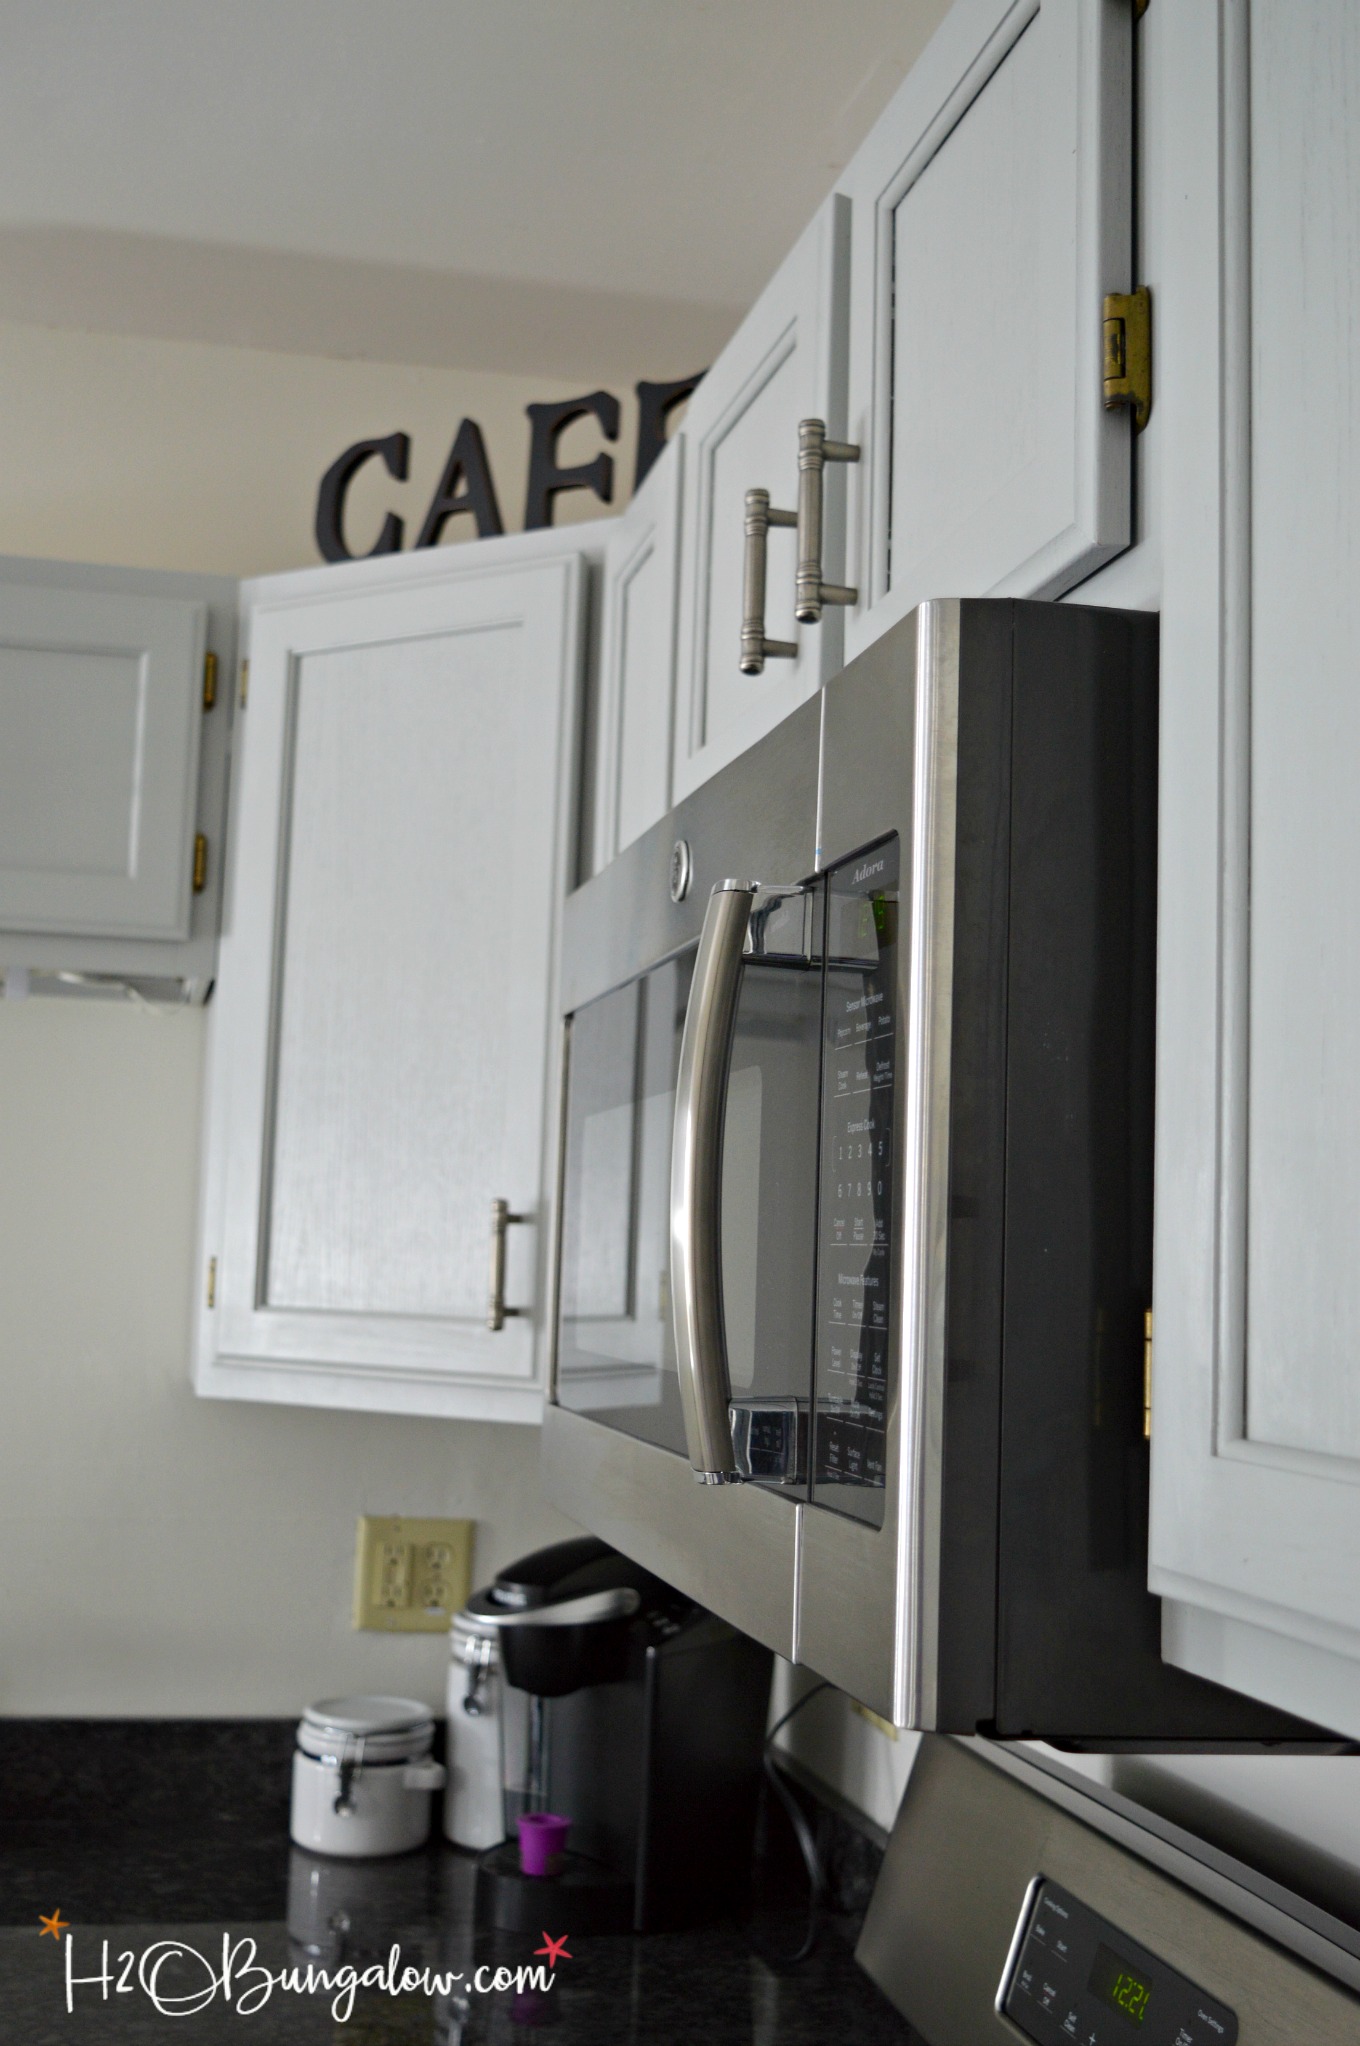
Not a brush stroke or roller mark anywhere. In fact, the cabinets look like the paint was applied with a paint sprayer.
What do you think? Are you ready to tackle this type of DIY project and paint your own kitchen cabinets too? You can do it!
Pin this tutorial for later!
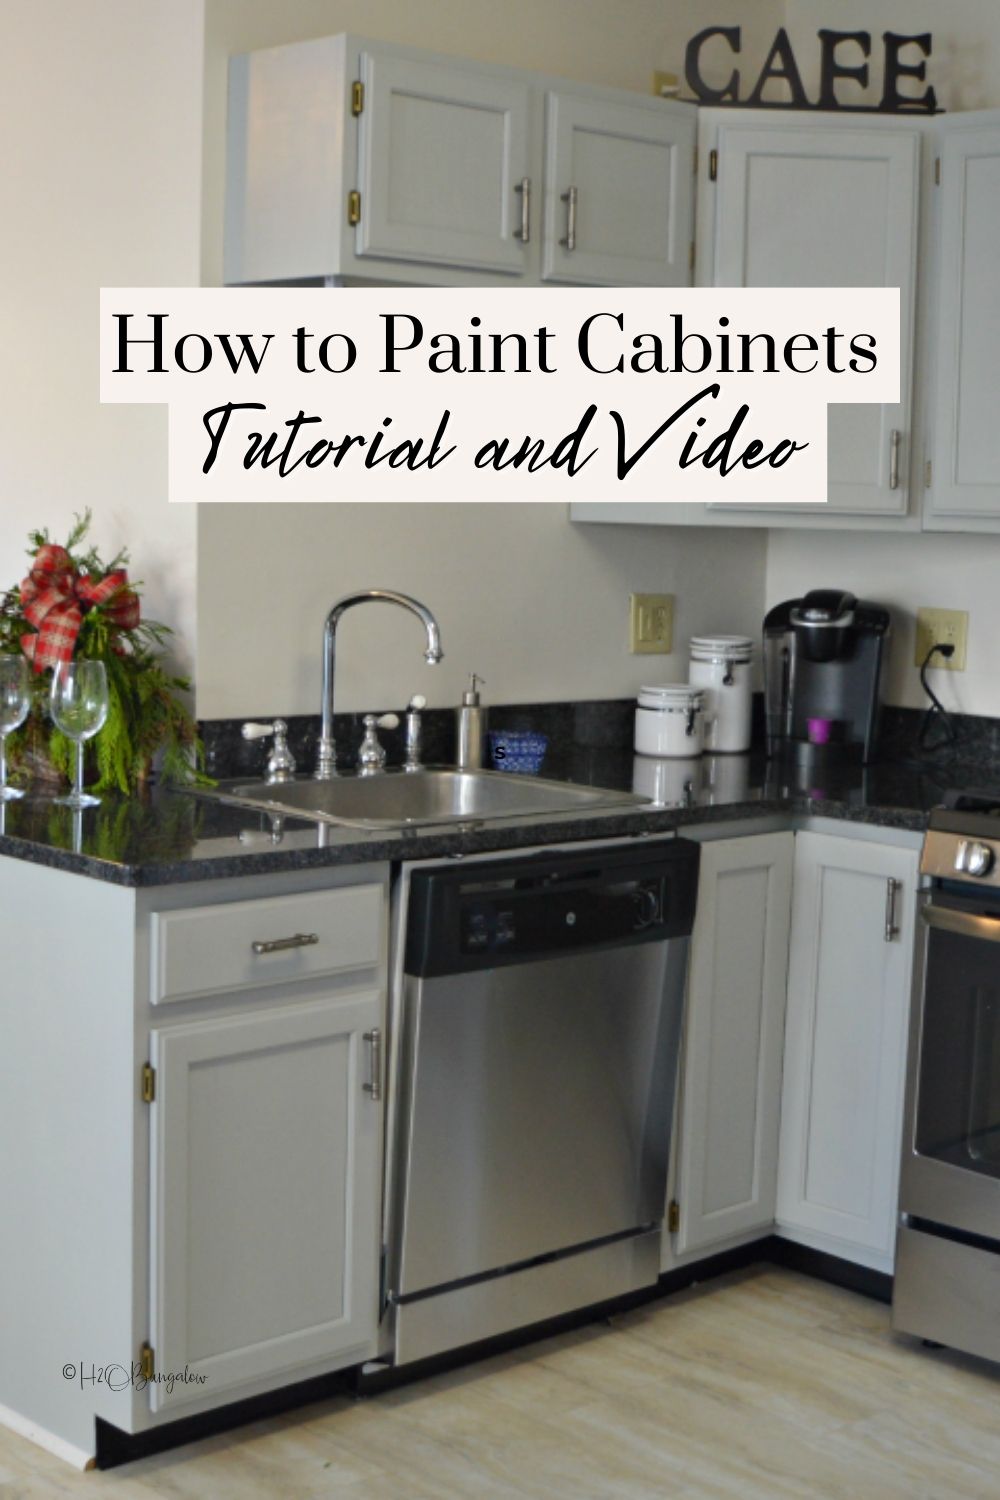
Now that I’ve shared how to paint kitchen cabinets are ready to try this DIY yourself?

Chelsea Schalton says
Have you considered adding crown molding to the tops of the cabinets?
Wendi says
Hi Chelsea! I haven’t thought about adding crown molding to my painted cabinets. Mostly because there is such a large space to the ceiling and I’d like to fill that with something first. Maybe add more cabinets? If I do, I think crown molding would be the perfect trim to finish it out 🙂 Thanks so much for the suggestion!
Jeremy says
I noticed the Simple Green recommendation is strikethrough now – do you no longer recommend it? And why?
Wendi says
Hi Jeremy, Thanks so much for pointing that out to me. All of the links are still valid and I absolutely love Simple Green for prepping cabinets to paint. Everything in this post is current and valid. I have no idea why that has the strike throughs. I’ll have to check with my technical person to see whats going on. Thanks so much for your note, I really appreciate it! Good luck on your project!
Debra says
Why couldn’t you mix the sealer in with the paint?
Wendi says
Hi Debra,
Thanks a very good question. I think it adding the sealer to the paint would change the composition of the paint too much. Also, the sealer was an ad on step. It wasn’t truly necessary since the paint is self sealing. I did it because I wanted as much protection as possible since kitchen cabinets get so much wear and tear and are near food. I painted the bathroom cabinet at the same time as I did the kitchen cabinets and didn’t seal them. They held up just fine and have stayed stain resistant. I spilled some red wine across the entire cabinet a few months back and it wiped up just fine. I hope that helps!
Lalitha Achanta says
Hello Wendi. Your site is amazing! I’m doing a kitchen cabinet makeover and I think I’m going to go with your color and cabinet pulls. Tried to find the cabinet pull in your pics on DLawless but couldn’t find it. What the name/model# of these? Pls let me know. Thanks in advance!
Wendi says
Hi Lalitha and thank you so very much! I love notes like yours! This combination of the paint and pulls is stunning. I know you’ll love them together. I wrote a post on how to install knobs and pulls with a link to the ones I used. I thought I had connected the two articles together. Oops! …I guess not. Here is the link to the other post which you may find helpful too. https://h2obungalow.com/how-to-install-knobs-pulls-on-cabinets-furniture/ Especially if you need to drill new holes for the pulls and handles. Thanks so much for your note and good luck with your cabinet makeover!
Shauna says
Hi Wendi,
I love this tutorial! Thanks so much for it. I have been wanting to paint the kitchen cabinets for awhile now but I can’t decide on what color I want to do. One question I have for you is why did you paint the corners of the cabinet bases?
Wendi says
Hi Shauna, You are welcome! I’m not sure I understand your question. Could you be more specific? Thanks!
Jacky says
love this, am going to help my sister with a kitchen cabinets project, about this size, how much paint did you purchase? Thank you.
Wendi says
Hi Jacky! This was such a doable project. You’d be surprised how far this paint goes. One quart covered 50 square feet with two coats. I had a little paint left over after finishing two coats in this kitchen. Good luck and let me know if you have any other questions!
Jody says
I love the gray cabinets. I started off a soft blue but the gray is perfect. Thank you for the tutorial. I am afraid to paint anything. Except I can do chalk paint nicely.
Wendi says
Hi Jody! Thank you! If you can use chalk paint I KNWO you can use this paint! It’s easy to use and goes on great. You can do this! Just try a test version on a small piece of furniture first to get the feel of the paint like I did. It’s a huge confidence booster! You got this…I have confidence in you!
Jolene says
Your video inspired me to finally tackle our ugly orangy oak cabinets that I have hated since we moved in 9 years ago. I went with the color licorice. I love they way they look now. However, it’s been 2 weeks since I finished and they are still chipping fairly easily. I followed all the directions to the letter. I am a bit disappointed but even with some chips they still look so much better then they did before. I’ll just keep a small bit of touch up paint handy and maybe they will get less chipable with time.
Wendi says
Hi Jolene! I’m glad you tackled your cabinets and the licorice color looked awesome. That’s too bad they are chipping! I have a few ideas, if they are chipping as in flaking that means the paint didn’t get a good grip on the wood underneath. That usually means there was grease or dirt left on the wood. If the paint is easily scratched I’d say it hasn’t cured yet. I had that on a few spots too. I had to be extra careful when using them for a while. Paint hardens and cures over time. When it’s new things like humidity and temperature can affect how long it takes to cure. Keep the touch up paint handy for now. I’m glad you like the new look I’m sure it’s beautiful!
Heidi says
The whole look of the kitchen has changed–love it! Thanks for the step by step tutorial and for linking up with Funtastic Friday!
Wendi says
Hi Heidi! Thanks so much! I’m loving how the kitchen has progressed. It was a lot of work up to this point but very worth it. Painting the kitchen cabinets made the biggest difference in this room. We are loving the new look! Thanks so much for hosting!
Nita says
Like your kitchen makeover and painting the cabinets looks so easy. Planning to paint my kitchen cabinets and one thing which worried me was the hinges were brass looking and on the outside of the doors. I see you left yours and added the new pulls and it looks good. The Beyond Paint sounds great. Had never heard of it. Thanks for the tutorial on the cabinets as I was looking for information on painting kitchen cabinets.
Wendi says
Hi Nita. Thank you very much! Painting the cabinets was much – much easier than I anticipated! Yes, I left my hinges the same, I did take them off to paint as you’ll see in the video. They don’t look bad at all and are brass too. I think you’d love the Beyond Paint line. Of all the paints I’ve used on furniture and other makeovers (well over 100 projects) this one was absolutely the easiest to get a smooth finish with. Good luck with painting your kitchen, I’m sure it will turn out beautifully!
Karen Marie Kedzuch says
Wendi,
Aug bit of paint and your hard work created a huge change in your North kitchen.
Happy Creating,
Karen Marie
Wendi says
Hi Karen and thank you! This was such a doable project and I love that this paint works so well for all levels of DIY’ers! If you remember the sofa table I painted a few months back for the Themed Furniture Group I used Beyond Paint on too and loved it! It’s great on furniture too. Thanks so much for your visit!
Bliss says
Such a big change can be accomplished with paint and elbow grease!
Wendi says
Hi Bliss! It’s amazing what can be done on a budget. This kit is so inexpensive and the kitchen looks brand new and fresh now 🙂 I have new projects in mind for this paint and can’t wait to try them out! Thanks so much for your visit!
gail says
Beautiful job on the kitchen cabinets Wendi, and the video was awesome! I have some beyond paint in Poppy and it lasts forever!
pinning!
gail
Wendi says
Hi Gail and thank you! I’m loving, like really loving this paint! Can’t wait to try it on some other projects I have in mind. Thanks so much for sharing my project…hugs!
Marie|The Interior Frugalista says
What a difference between the before and after! It looks so fresh, clean and larger. I also noticed the under sink dishwasher – what a great idea for small kitchens. Had no idea they existed. Wish I had known about Beyond Paint when I painted our kitchen cabinets about five years ago. Not having to prime the cabinets would have saved oodles and oodles of time.
Wendi says
Hi Marie and thank you! I think the room looks fresh and larger too now. I’m always mazed at what a little fresh paint can accomplish! Yes on the dishwasher, both sides of the North House have these. They are not cheap and there are only 2 companies who make them. but if space is an issue they help a lot! Now you know what paint is the easiest if you want to repaint your cabinets again! Hugs!
Serena @ Thrift Diving says
Great tutorial, Wendi! Don’t you love Beyond Paint?? It’s actually become my go-to paint! It’s the easiest and fastest to use! Looks like a great transformation on your kitchen! North house is coming along!
Wendi says
Hey Serena! Thank you and YES, I love love Beyond Paint! It was the right choice for sure. I loved it on the furniture makeover I did as well! Yes the North House is coming along nicely… I look at all the projects I’ve finished and can’t believe we’ve come so far in a few months!
Mary-the boondocks blog says
Huge difference Wendi and so much brighter. The room looks twice as big. Iknow that there will be a project like this for me down the line so I have to take notes.
Wendi says
Hi Mary…It’s amazing what a little paint and some elbow grease will do! I think the kitchen looks brighter and cleaner too. This is so doable and the best thing is you can order the kit right off Amazon! Thanks so much for your visit!
Ivory says
Wow, what a fantastic transformation.
Wendi says
Hi Ivory & thank you! It’s come a long way in the last few months. The kitchen feels so much brighter and cleaner. I’m thinking of changing the color of paint in my home in Fl next! Thanks so much for your visit & sweet comment!
Becky says
This looks amazing! I’m so inspired to paint my cabinets now! I just have a question – my “cherry” cabinets have a dark reddish-brown stain or paint on them, and I would like to paint them white. I know the paint kit says no sanding or priming is required but I’m concerned that the 2 coats of paint wouldn’t give the full coverage I’m looking for. What are your thoughts?
Wendi says
Hi Becky and thank you! You have a really good question too. Painting over dark cabinets may take an extra coat. I think you’d be fine but you may want to plan for for a third coat just in case. There’s no harm in adding a third coat of the paint. I’m thrilled I’ve inspired you to paint your cabinets! Please send me a picture when your done! Thanks so much for your visit & good luck with your paint project!
Susan Bedard says
Hi Wendi,
The cabinets and the kitchen looks great!
Thanks for sharing.
It’s great to know that the dishwasher can go under the sink. I think I’ll do that in our Florida house.
Vanessa says
It all looks amazing! I’m curious about the dishwasher – I did not know you could fit them under the sink! I suffer from tiny kitchen so it immediately caught my eye.
Wendi says
Hi Vanessa. Thank you! It’s come a long way and painting the cabinets was the biggest improvement and the most inexpensive too. Yes they make under the sink dishwashers. I had no idea either until I saw these. I learn new things with each makeover! The downside is that they aren’t cheap and the kitchen sink is very shallow, Like 6″. So glad you liked the makeover!