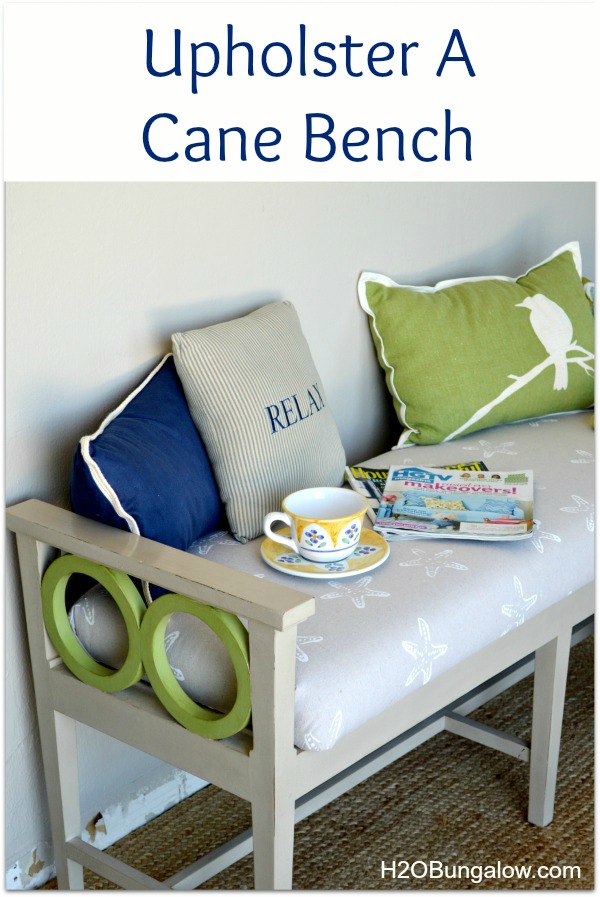
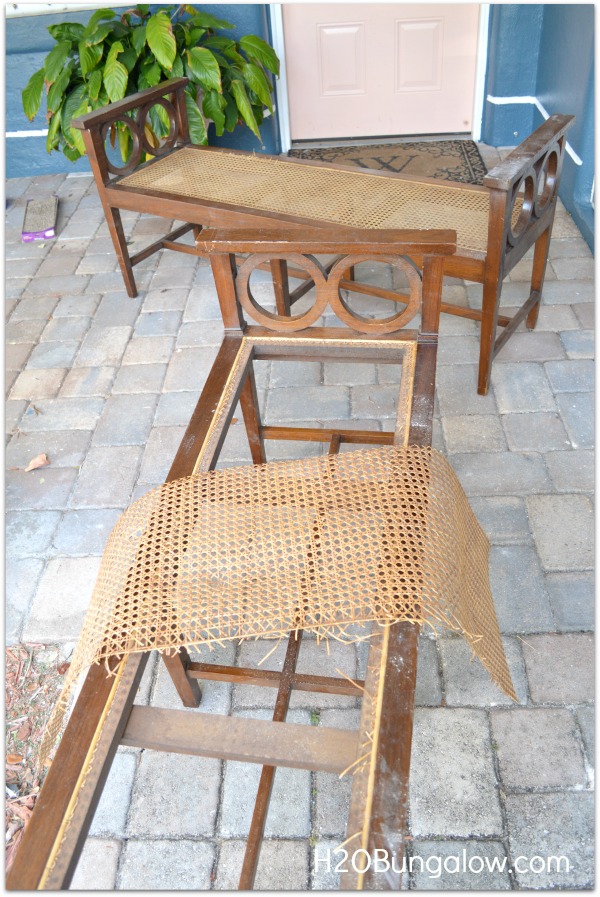
Today I’m sharing how to upholster a cane bench seat. I love the shape and size of these benches I just picked up. Unfortunately the cane seats were ruined. Recaning is expensive so I thought I’d try my hand at converting these to cushioned benches.
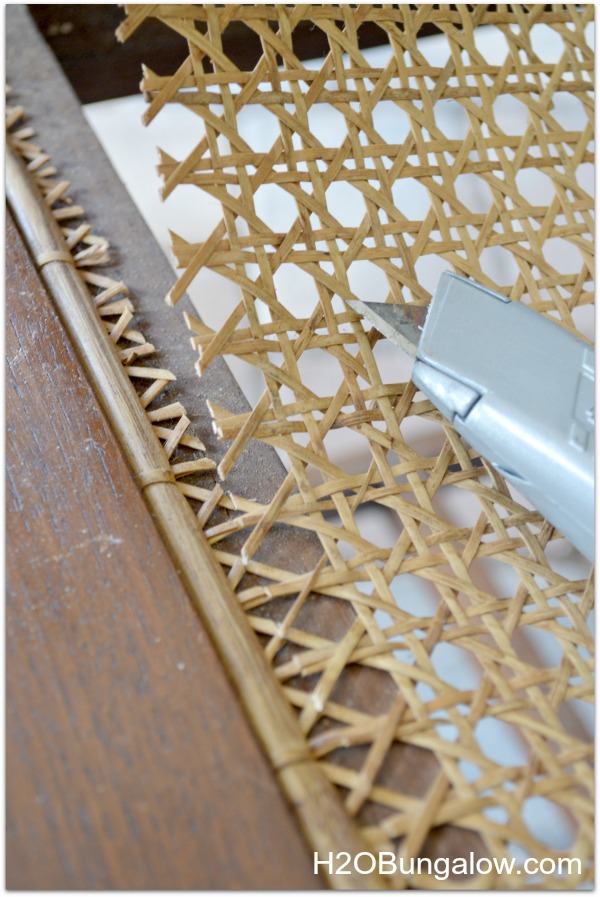
Taking off the cane seat was easy. It’s time consuming and a little messy so I’d recommend doing this outside. I wanted to save the caning that was still good for another project in the future. The easiest way I found to remove the caning was to run a box cutter around the edges. I had to use some pressure on this. I used a cutting motion going away from by body just incase I slipped. Next I took a flathead screwdriver and popped off the attached wood bracket all the way around the seat edge. Needle nosed pliers were a big help in pulling all the remaining caning strips off the bench.
Next, I prepped, painted and waxed the bench frame. Once that was behind me I was ready to move on to my drop cloth upholstered seat cushion.
Here’s a list of supplies you’ll need to upholster a caned bench.
- Plywood – 1/2 inch
- Hi-Density Foam – I used 3 “
- Batting
- Fabric
- Can of spray glue
- Staple gun
- Drill and screws to attach the seat to the bench
- Scissors
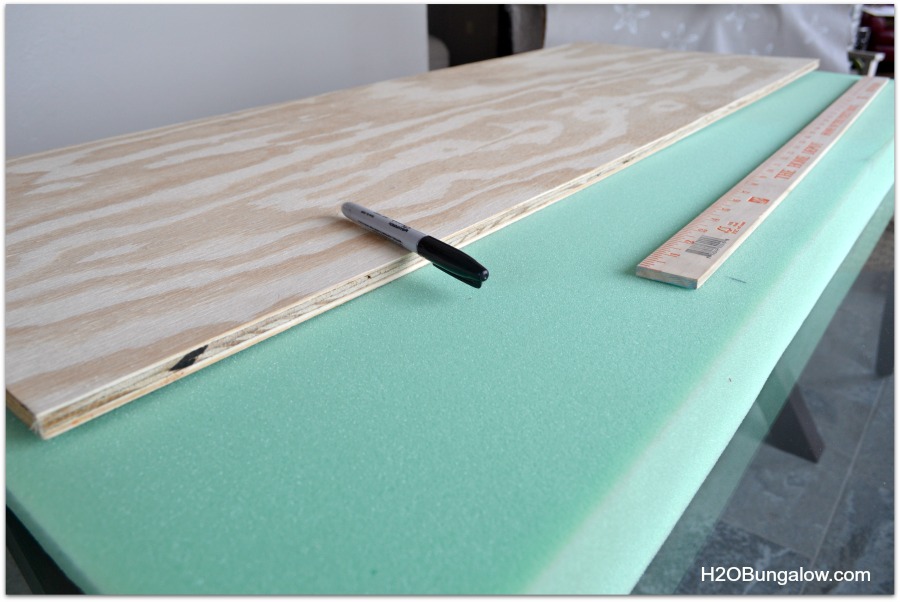
Measure and cut foam 1″ larger than your wood seat bottom. The fabric store recommended using an electric cutting knife to cut the foam. Since my electric knife is still packed away I used a long bread knife and gently ran it across the cut line in one long motion which cut about an inch or so. I continued to do this until I cut all the way through the foam. It worked fine and I was able to get a pretty clean cut line.
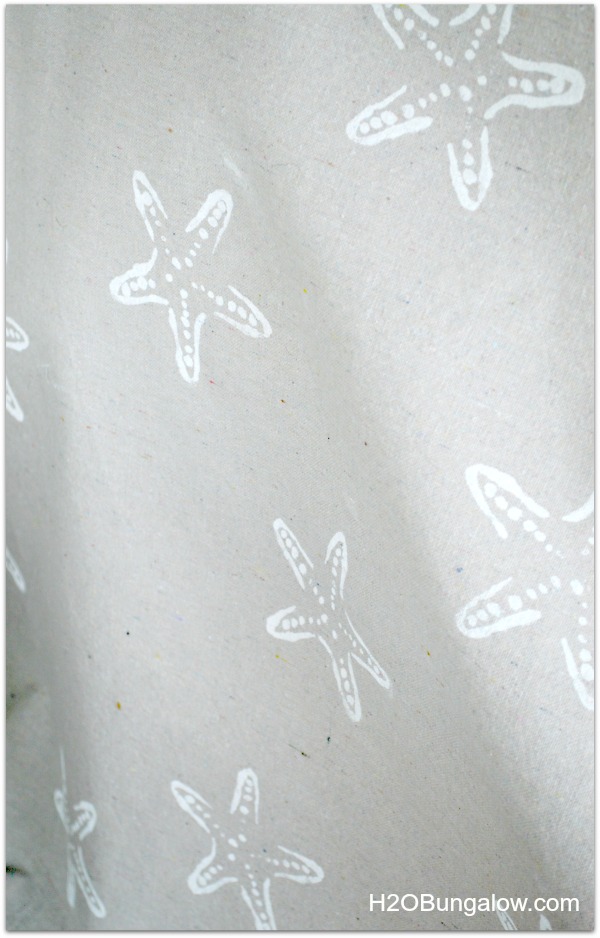
This is the fabric I used for my upholster a cane bench project. I made it from a drop cloth and stenciled on the starfish. It was easy and durable. I love the way this turned out 🙂 You can see how I did that HERE.
After cutting your foam give the plywood a light coating of the spray adhesive. Center and place your foam onto the plywood. Warning…the spray glue goes everywhere. Do this part outside.
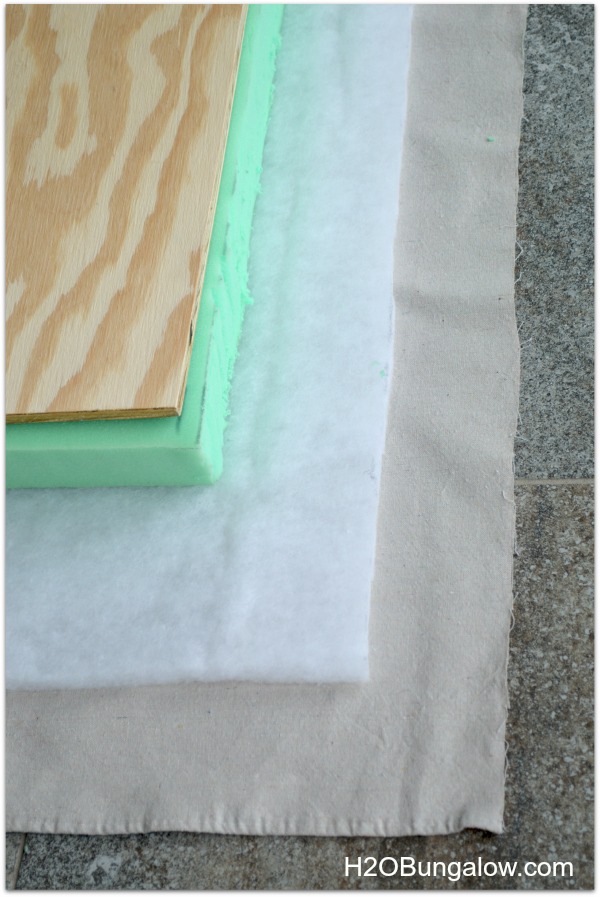
Begin with your fabric pattern facing down. Layer the batting, foam and seat bottom like the picture below. It will look like this on all edges. Your batting should be wide enough to cover the foam and extend onto the plywood. The upholstery fabric should be at least 3 inches larger than your batting.
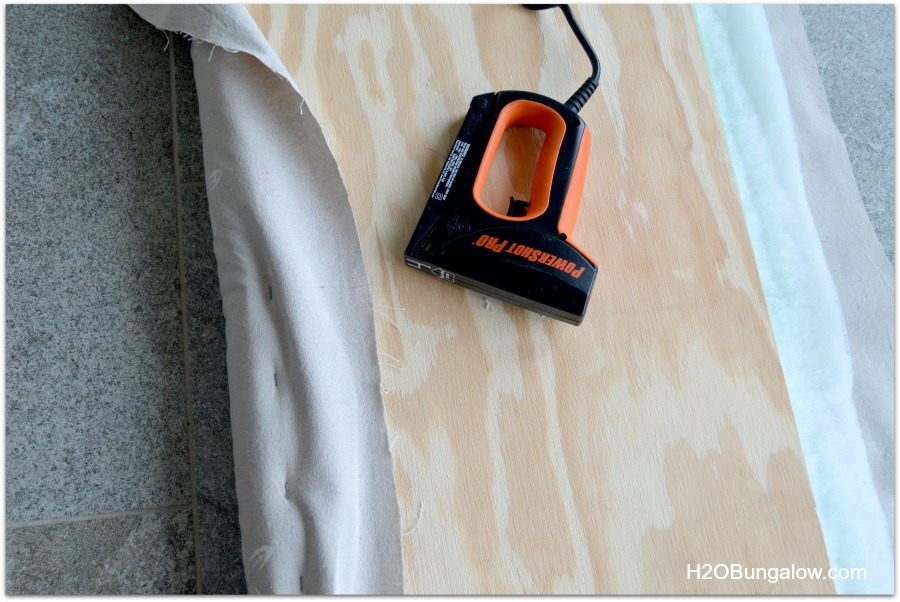
Start your stapling in the middle on one of the long sides of your bench cushion. Begin by gently but firmly pulling the fabric over the wood and staple. Your batting should cover the foam cushion and reach the wood seat under the fabric.
Add a few more staples to the left and right of your first staple. Only staple a section, not the full length of your seat. Flip your cushion over to make sure the fabric is straight. If it looks OK, than staple the same section on the other side.
Keep the tension on the fabric even as you staple.
Follow the same steps for the ends of the bench. Start stapling in the center and work your way out towards the corners. Flip your seat cushion over to check the top for wrinkles before stapling each new section.
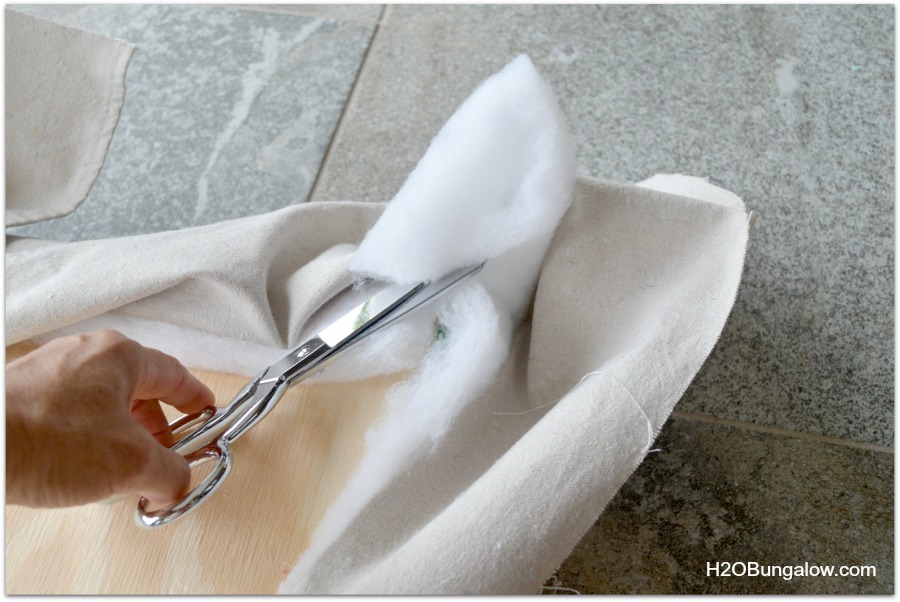
Work your way to the corners. I trimmed the batting at the corners to reduce the bulk.
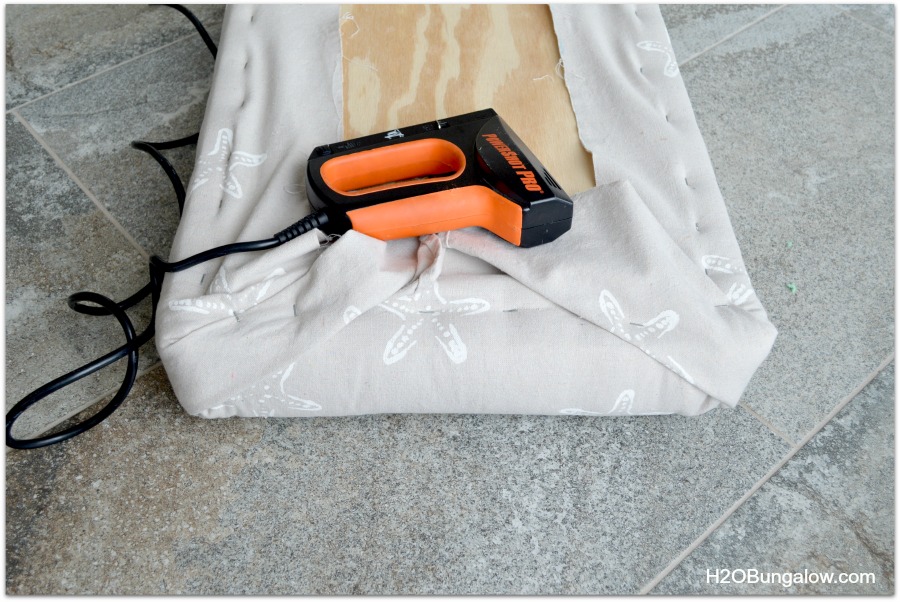
My corners were square. I folded the fabric over the corners in the same way as wrapping a present. I had to keep working the fabric to get it to lay flat and not have excess wrinkles at the corners . Continue to staple as you get an area to lay flat.
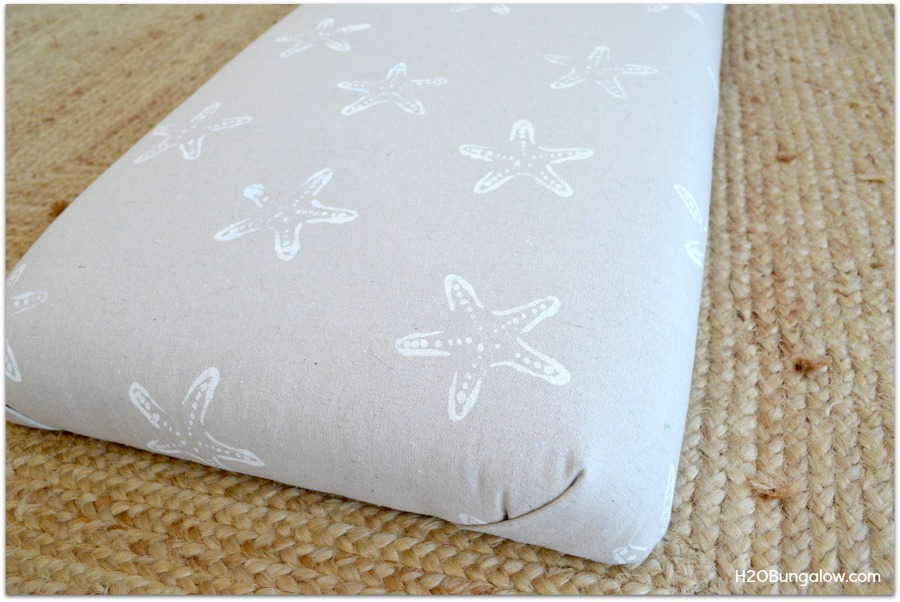
When your finished stapling the corners, flip it over. Your cushion should look like this. If your happy with it, add extra staples to firmly secure your fabric onto the seat base.
Attach to the bench with screws. I didn’t need to drill pilot holes onto the bench frame. There were plenty of holes from the caned seat that I could reuse.
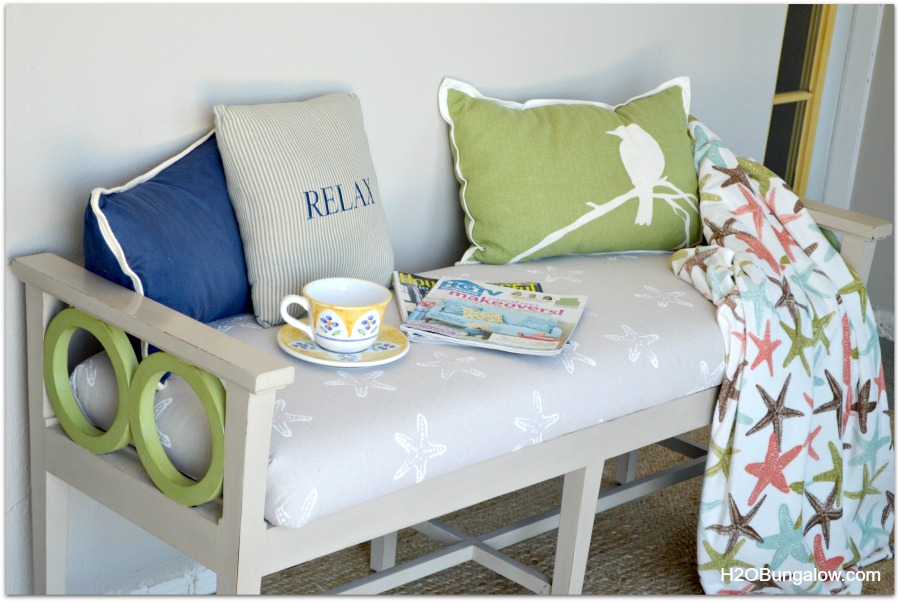
That’s all there is to it. This project is more time consuming than difficult. But it still only took a few hours. You can easily upholster a cane bench making a custom piece of furniture that would cost a small fortune in a furniture store.
Benches are so useful, I don’t think they get enough credit. I could use one like this at the end of my bed, pull it out for extra living room guest seating when we have company over. It would look wonderful pulled up to a dinning room table or against a wall under a window for a window seat.
How would you use a bench like this in your home?

LeeAnn Hart says
Hello!
I realize you posted this nearly five years ago, but I just discovered it when looking for help converting a broken-out caned bench to an upholstered top. Your instructions were invaluable. This was a first-ever project for me in many ways, and I owe its success to your step-by-step guidance. Many thanks!
Wendi says
Hi LeeAnn!
Thanks so much for taking the time to leave me your awesome note! I’m so glad my Upholster a Cane Bench Seat was helpful to you. It helps to have a little advice when tackling something new. Enjoy your bench and thank you again for your note. It really make my day when someone shares how my work has been helpful!
~ Thank you… Wendi
Nancy @ Artsy Chicks Rule says
That is fabulous Wendi!!! Love, love it! And the stenciled starfish just make it! 🙂
Nancy
Wendi says
Thanks Nancy, This so fits your coastal look too. I’m still dreaming of your awesome coastal dresser..it would look wonderful with my bench!
Patty says
It turned out beautiful, I just love it, the drop cloth upholstery is perfect. Great job
Wendi says
Thanks Patty! I like the fabric so much that I’m already thinking about some other projects to make with the left over piece. Thanks so much for visiting today.
Zena says
Thank you! I love this bench and would love to find one just like it! Your step by step tutorial has given me the confidence to do this. We just signed a contract to have a small home built in FL and I hope to find some discarded or thrift store bargains to repurpose. And I agree a bench is handy in so many ways!
One question…your supply list has fabric glue listed. Did you use it in one of your steps?
Thanks again, Zena
Wendi says
Zena..Thank you! ..as I hit my palm to my forehead!! Oops, forgot a step. Thanks so much for asking that question. I’ve just updated the post with the missing step of the spray glue. It attaches the foam to the plywood. Congratulations on your new home here…you will LOVE Florida. And..how exciting a new home to decorate! I’m sure you’ll find a bench for a makeover, there are thrift stores everywhere here. Again, Thanks for your question!
Vanessa says
Wendi,
It turned out great!
Wendi says
Thanks Vanessa! I’m happy with the way it turned out too…which is good, because I have another one just like it in the garage that needs a makeover too! LOL