Today I’m sharing how to make a DIY vintage ladder for under ten dollars and give it an easy rustic finish for the perfect home decor item.
Most people don’t think ten dollars goes very far nowadays. Usually it doesn’t, unless you’re a creative or a Power Tool Challenge Team Member! Not only is the team sharing some rockin’ projects this month, that all cost $10 or less to make, we are opening up the challenge to our readers!
Check out my rustic DIY vintage ladder and the team’s projects below.
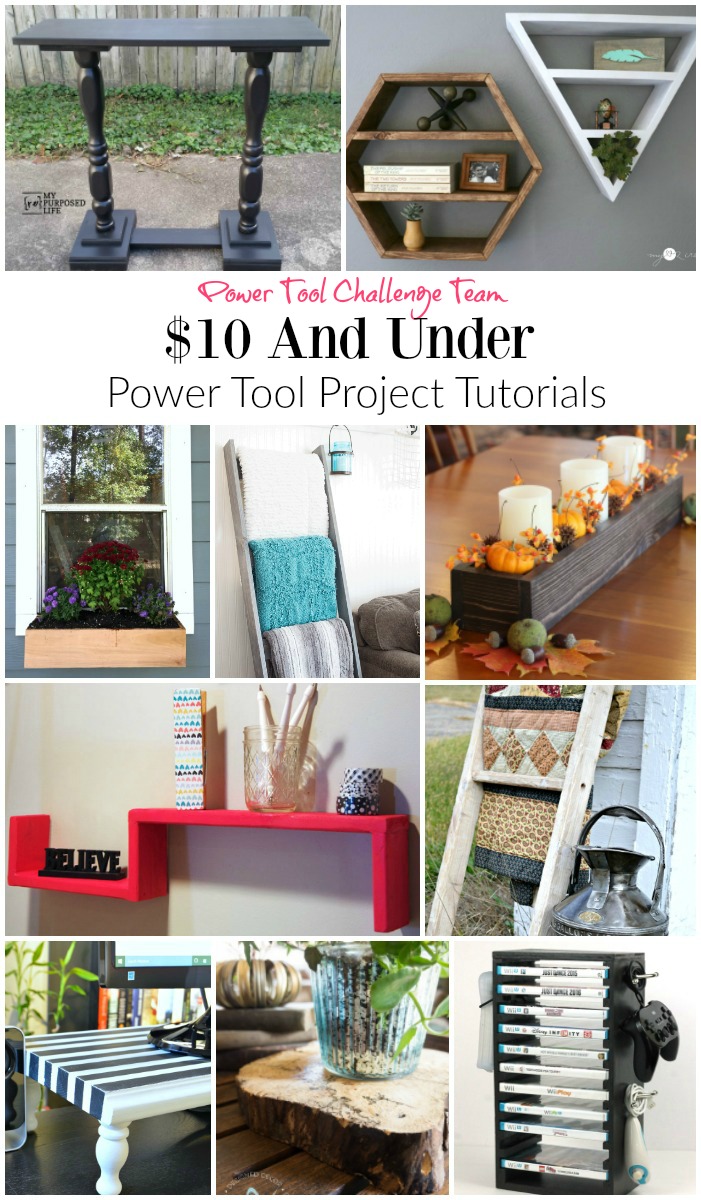
Double Pedestal Scrap Wood Table by My Repurposed Life
Hexagon and Triangle Shelves by My Love 2 Create
Window Box by Dogs Don’t Eat Pizza
Blanket Ladder by Domestically Speaking
DIY Wood Centerpiece Box by Virginia Sweet Pea
Easy DIY Shelves by Create and Babble
Vintage Peg Blanket Ladder by H2OBungalow (that’s me!)
Computer Monitor Stand by Interior Frugalista
Wood Slice Plant Stand by Designed Decor
DIY Video Game Organization Station Holder by Kim Six Fix
So now let’s talk about your project. You ready for the details?
- The project can be made from a free item, reclaimed wood, anything as long as less than $10 was spent on it including hardware.
- At least 1 power tool has to be used to build it.
- The $10 Power Tool Project Challenge is open for entries from 10/27 through 11/10 with a linky. Upload a picture of your project. If you need help uploading your project photo, send me an email at [email protected] and I will upload it for you 🙂
- Submit an old or new project as long as it was under $10 to build.
- Anyone can enter, the more the merrier 🙂
- Each participant can enter up to 3 projects.
- Winners must be 18 or older and live in the US.
- The Power Tool Challenge Team will vote on the best project and one winner will be selected. The winner will receive the Ryobi ONE+ 18-Volt Lithium-Ion Cordless Combo Kit with Miter Saw 6 tool package shown above.
- Void where prohibited.
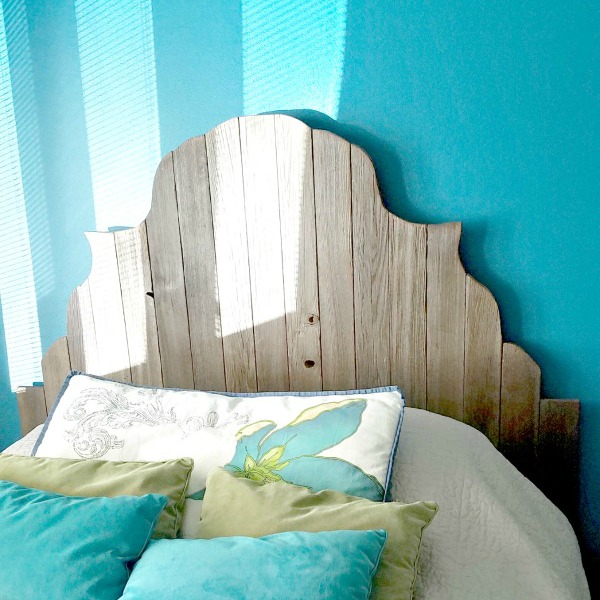
We have a winner! The team voted on the best entry and Shawna S DIY headboard was the winner!
See all the project entries in the link below.
Ready for my tutorial to make a budget DIY blanket ladder?
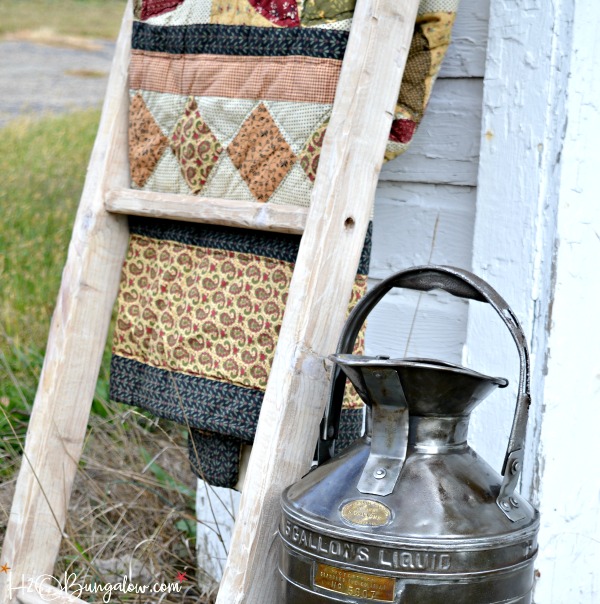
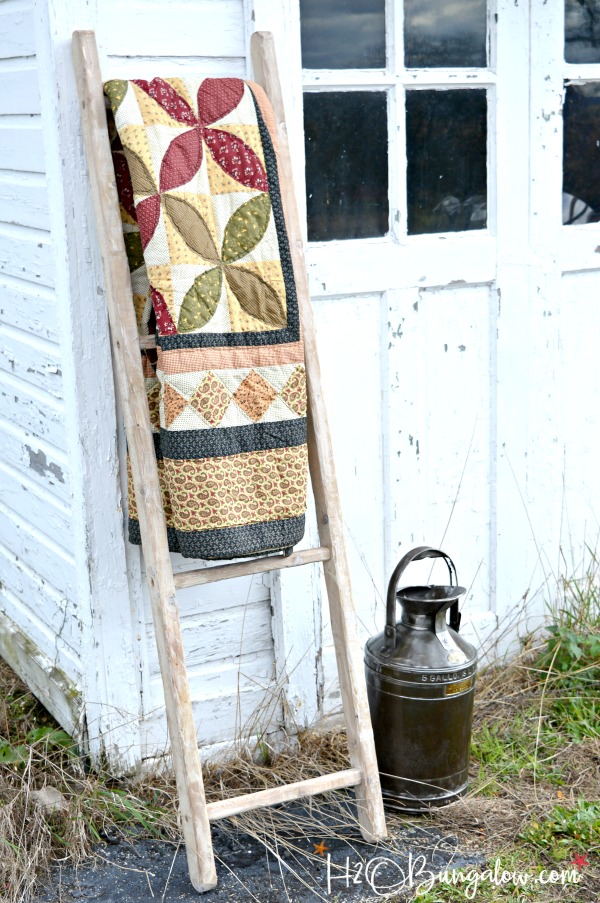
Here’s my tutorial to build a decorative rustic vintage ladder. Some of you may know by now that I’m obsessed with old things. Old furniture, time worn patina and cool vintage pieces all make my heart go pitter patter 🙂 You may also have noticed in my supply list above there isn’t any hardware listed. Nope, none. It’s not a mistake. My DIY vintage ladder replicates how furniture was made Pre-Civil War and in old barn construction before nails were available. I used pegs to assemble my ladder. It’s sturdy and added the character of a time-worn piece. Best of all this project cost under $10 to make.
How to make a DIY vintage ladder for under ten dollars.
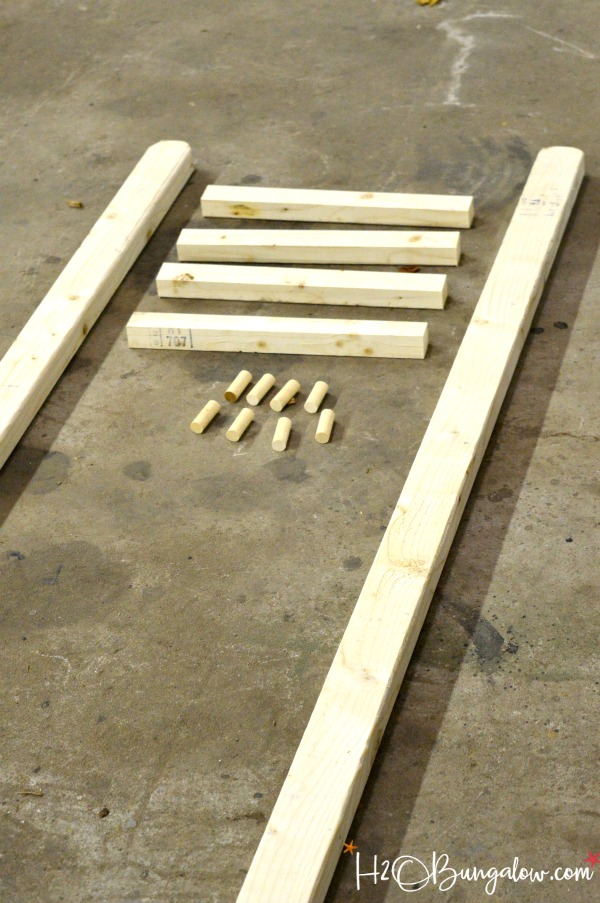
Supplies to make a vintage peg style ladder with no hardware.
- 2 – 2″ x 3″ pine boards at 6 feet (ladder sides)
- 1 – 2″ x 3″ pine board ripped down the center and cut into 15″ pieces (ladder rungs)
- 1 – 5/8″ dowel cut at 3 1/2″ (2 pegs for each ladder rung)
- wood glue
- 2 clamps
- drill
- drill press (optional)
- 5/8″ bit
- pilot hole bit
- table saw
- compound miter saw
- orbital sander or grinder
- mallet
Supplies for the rustic antiqued finish
- DIY Tea Stain. See my post to make Tea Stain from steel wool and vinegar
- chip brush
- white paint
- water
- rags
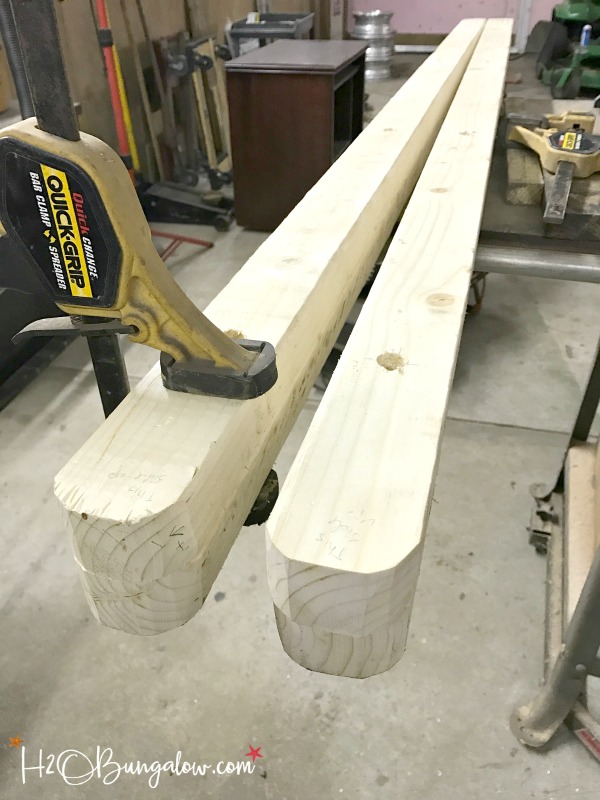
1. Using a grinder or orbital sander, start by clamping the two ladder sides together and rounding both ends. Make a mark on your sides and tops so you’ll be able to line up these two parts again later. I made 2 ladders which is why there are 2 side sets below.
2. Mark 6″ from the top and bottom. Next mark where you’ll place your rungs by dividing up the remaining length. I used 4 rungs, I think the ladder would look better with 5, (I went back and forth for a while on this and should have listened to my self talk). Make your mark on the center where the peg hole will connect the rung to the ladder side.
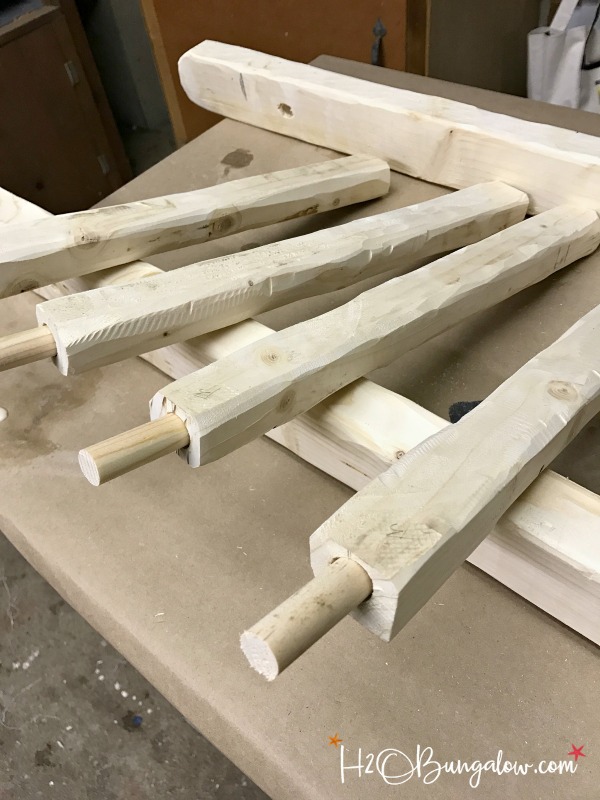
3. With the two ladder sides clamped together, drill the 5/8″ peg holes.
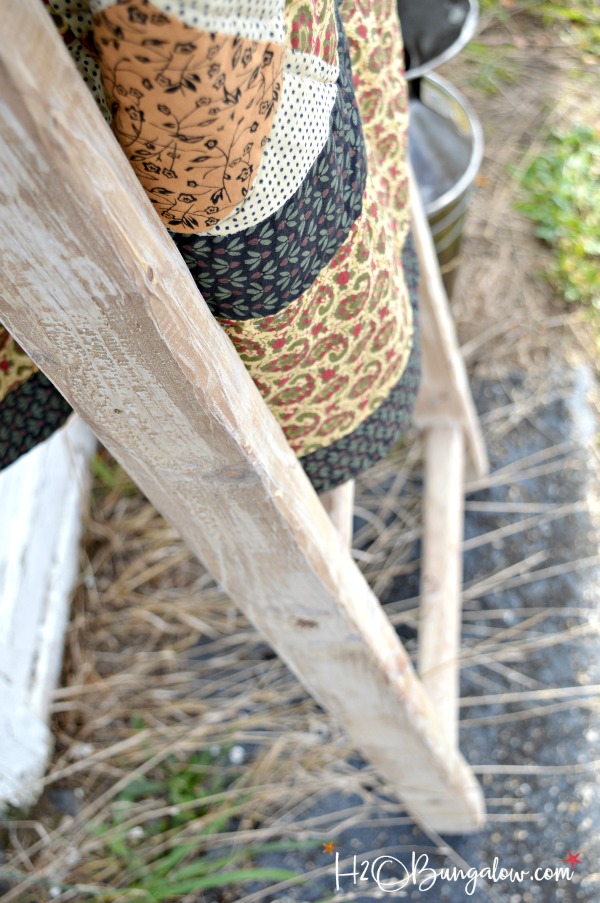
4. Distress the wood with a grinder or random orbital sander. Round off the rungs and add some wear to the sides of the ladder. Don’t be afraid to nick and mar the wood, the more worn the wood the better on this step!
5. Drill a pilot hole and then a 2″ hole into the end of each ladder rung. It helps to hold the ladder rung in a clamp to drill the hole straight.
6. Check your marks to be sure your sides are lined up like they were when you drilled them. Assemble the DIY vintage ladder by putting a generous amount of wood glue into the rung end and inserting a peg. Do this for all the rungs. Assemble the rungs along one side and then the other. Tap with a rubber mallet as needed. Wipe away any dripping glue with a damp rag. Let sit 24 hours for the glue to dry and cure.
We aren’t done yet! Building a vintage style ladder isn’t enough to make it look vintage and time-worn 🙂
Add a simple two-step rustic aged finish on the DIY ladder
1. To age the wood so it looks like it’s sat outside for years you’ll need to give it patina. Start by applying a layer of my Homemade Tea Stain and allow it to dry overnight.
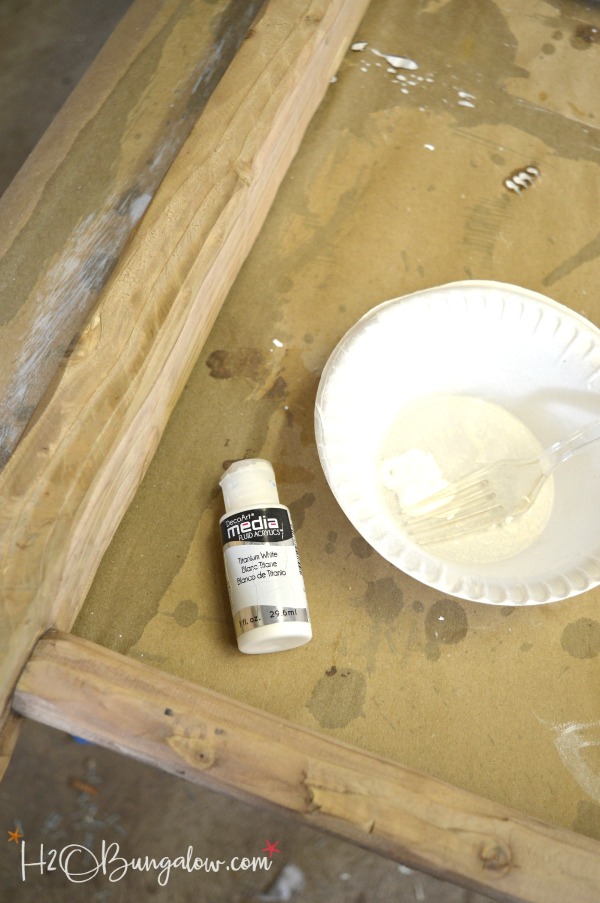
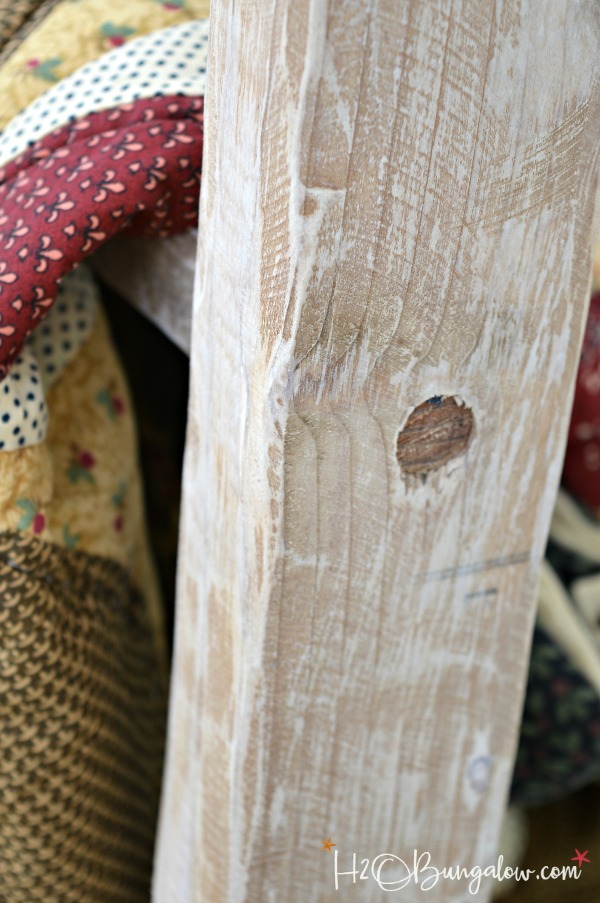
2. Dilute the white paint with water and make a watery opaque wash. Using the chip brush randomly apply the wash to the wood. You don’t want to “paint” a solid layer on, just heavier in spots and none in others. Allow to dry.
Keep in mind this is a decorative piece only. I’m planning on using my rustic DIY vintage ladder to hold blankets and throws.
The peg holes give the rustic ladder character, and I love the old world style of not using any hardware in the construction. It’s sturdy too.
All I need now is a good wall to place it on and a few warm blankets to sit by the fire with this winter 🙂
Where would you put a rustic DIY vintage ladder in your home?
Don’t forget we want to see your best $10 power tool project too! The Reader Challenge is open until 11/10!


Marie says
I love your distressing! It gives the ladder so much character and charm. This would be a perfect way to add to your Christmas decor! Thanks for sharing your tutorial with us at Merry Monday this week!
Wendi says
Hi Marie & thank you:) I loved using the grinder to distress this project, talk about fast! You are so right about this fitting in for Christmas decor. I’ll use this in so many different ways during the year. Thanks so much for your visit & hosting an awesome party!
Randi says
Hello Wendi,
Thank you for linking up with our Home Matters Linky Party!
My quilt ladder is one of my favorite things in my house. I love it because it displays my quilts, plus it doesn’t take up much space in my small house. I like all of your ideas here!
Have a lovely day,
Randi 🙂
#HomeMattersParty
Wendi says
Hi Randi! I love a good blanket ladder too. I’ve wanted one for the longest time. Building one for under $10 made this project even better! Glad you like my projects I have a blast creating them. Thanks so much for your visit!
Robin @ Redo It Yourself Inspirations says
Adorable! I’m in love with the character you gave it. It’s perfectly old looking with the use of the dowels and rounded off ends. Fantastic job!!!
Wendi says
Hi Robin & thank you! This was a fun project and not so hard to create. Constructing it with the dowels gave it so much more character. Now I’m thinking about what else I can build with a peg construction Thanks so much for your visit and sweet comment!
Angie ~ ambient wares says
It truly looks worn and weathered. No one would guess it was made of brand new wood!
Wendi says
Hi Angie & thank you! I have a serious love of old anything so this project was especially fun to make & recreate an old look. Thanks so much for your visit!
Patty says
Wendi that is so gorgeous. I can’t believe you just made it, you aged it perfectly.
I really want it, you still have my address don’t you! haha
Wendi says
Hi Patty! Thank you! This project was simple, especially the finish. You know how much I love a good finish and I knew what I was doing and that it would be the perfect touch to making my ladder look old. …and sure! I’ll mail it right down to you! LOL! Thanks for your visit:)
Maryann @ Domestically Speaking says
Great minds think alike 😉 LOVE the finish on your ladder!
Wendi says
They do Maryann! I loved your finish too, especially the grey stain. I’m having to be creative since I’m traveling and not near my own supplies. You can’t go wrong with a vinegar stain in a pinch!
Paula says
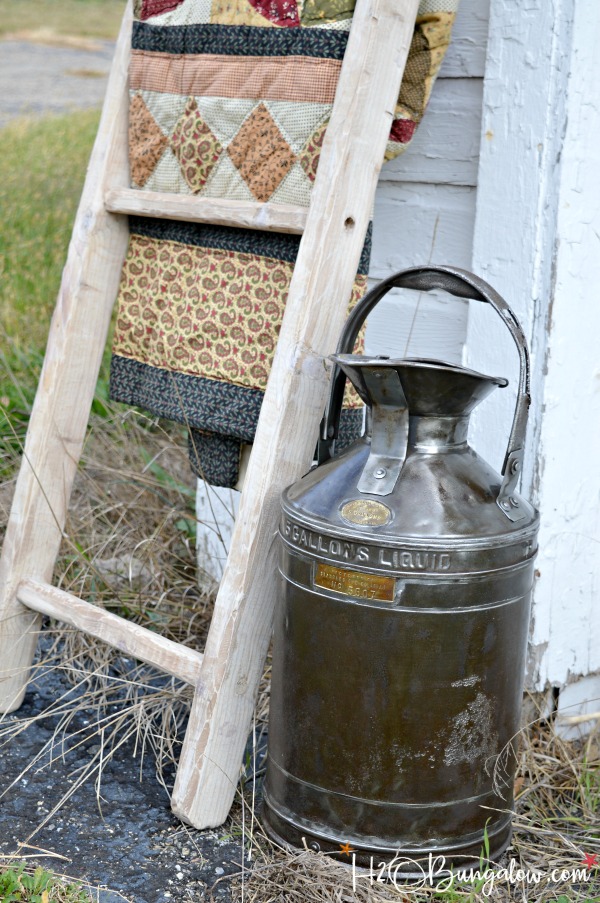
Amazing! This looks like you rescued it from an old barn and that it’s a true antique. I love the quilt that you’ve displayed with it and also that cool can. I’d love to know what the tag on that can says.
Wendi says
Hi Paula & thanks! I made this to look like an old ladder in a barn. I walked by it several times to be sure I remembered the wear and details. Funny you mention the can. We just picked it up for $15 at a flea market, it was caked with grime & none of the labels were visible. After we cleaned it up we looked up the labels and its pre 1900! It’s a 5 gallon oil measuring can from a company in Philadelphia.
Marie from The Interior Frugalista says
Seriously girl, you come up with the great ideas and I’m always blown way by your DIY skills! You rocked the challenge and I just love the time worn look of this ladder. Beautiful photo of the finished piece too!
Wendi says
Hi Marie & thank you!! I’m limited in what I can make since I’m traveling but loved this idea. So much that I made 2 ladders. You guys will all see why next week 🙂 Everything is photogenic here I’m going to be spoiled!
Mindi says
You have some mean sanding and grinding skills girl, I love you roughened up that wood, it looks fabulous! What a beautiful rustic ladder at an awesome price! 🙂
Wendi says
Hi Mindi! LOL… The grinding was the fun part! I totally got into creating an authentically worn ladder, especially at the price I made it for! Thanks for stopping by!
Jeanie says
Your ladder is gorgeous~ I must make one! I love the photo of it propped against that old chippy barn! Well done Wendi, well done. Pinned.
Wendi says
Thanks Jeanie! I’m happy with the way it turned out:) I can’t wait to start using it too!
gail says
Wendi,
Your ladder looks so perfectly “old”. I think you did a super job on making it look so rustic.
pinning!
gail
Wendi says
Hi Gail & thank you 🙂 I had fun on this project and completely got into distressing it to look old and worn. I made two of them and can’t wait to place them where they belong…very soon!
Karen @ Dogs Don't Eat Pizza says
I love the ladder! I can’t believe that was less than $10!! So creative and pretty! Thank you for organizing and including me in the Power Tool Challenge!
Wendi says
Hi Karen & thank you! I’ve had a ladder project on my wish list for the longest time. Since I’m close to New England where everything is old and has history I was inspired to create something fitting for the area. Your project was super too, thanks for joining in!