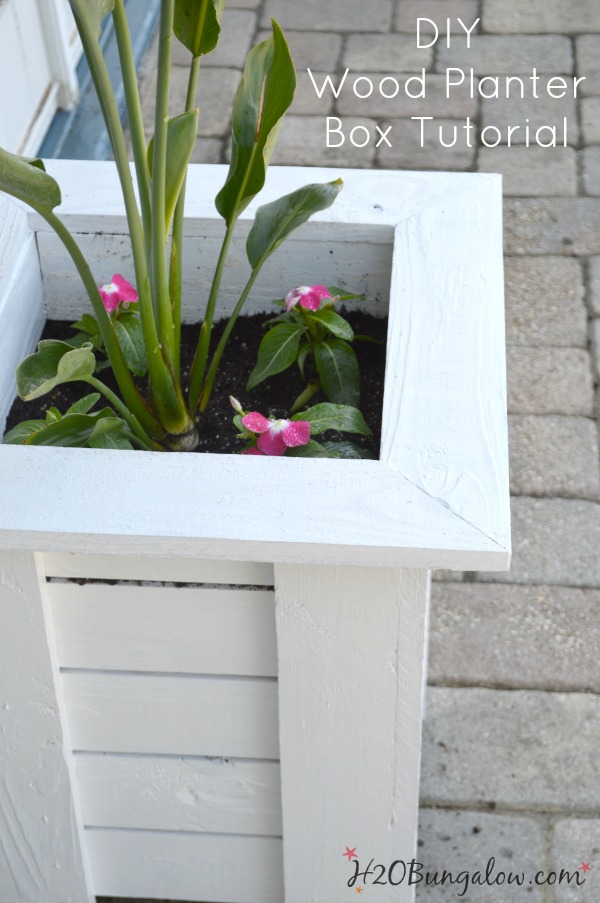
My project today is a Key West inspired DIY Wood Planter Box.
Hey guys, it’s that time again! I’m talking about the Power Tool Challenge Team monthly challenge. This month’s theme is Spring, which means we can create anything our hearts desires as long as it fits a spring theme. My project this month is a Key West inspired DIY Wood Planter Box.
I fell in love with Key West when we visited last year. I loved everything about the colorful island. Key West has its own style, It almost doesn’t feel like part of the US, with influences from Cuba, the Caribbean and Europe. The bungalows and houses are as colorful as the people, dotted with tropical, Colonial, Victorian and a smattering of other home styles.
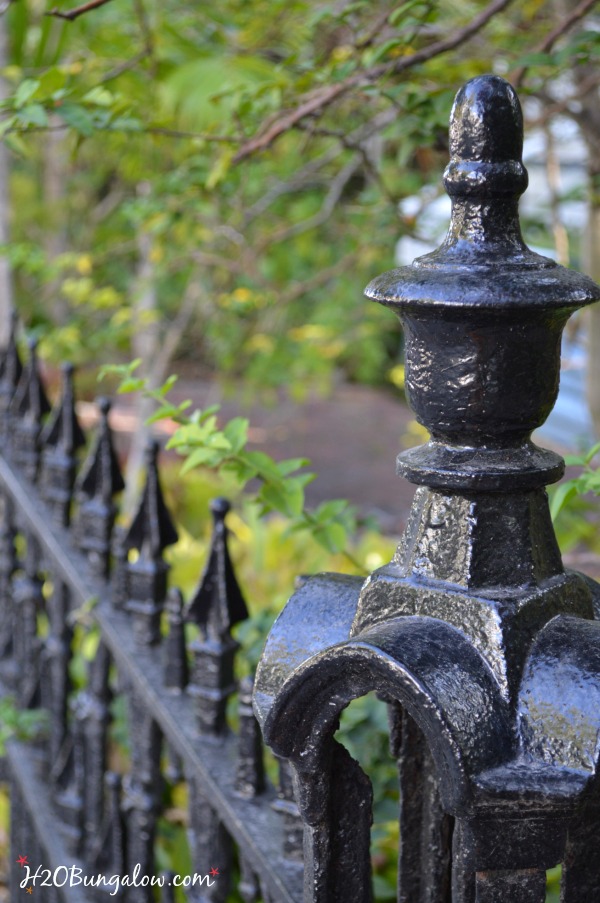
It has some of the most beautiful ironwork I’ve ever seen.
I’ve been thinking of ideas to add some Key West style to our little place ever since.
This project is the first of several creative ideas 🙂
My set of wood planters was also budget friendly since they were made from a pile of wood that I purchased for a project that didn’t happen. I’ve worked on using that wood up ever since!
I’ve updated this project and tweaked a few things. You can now download my free plans in my Wooden Planter Box Plans post.
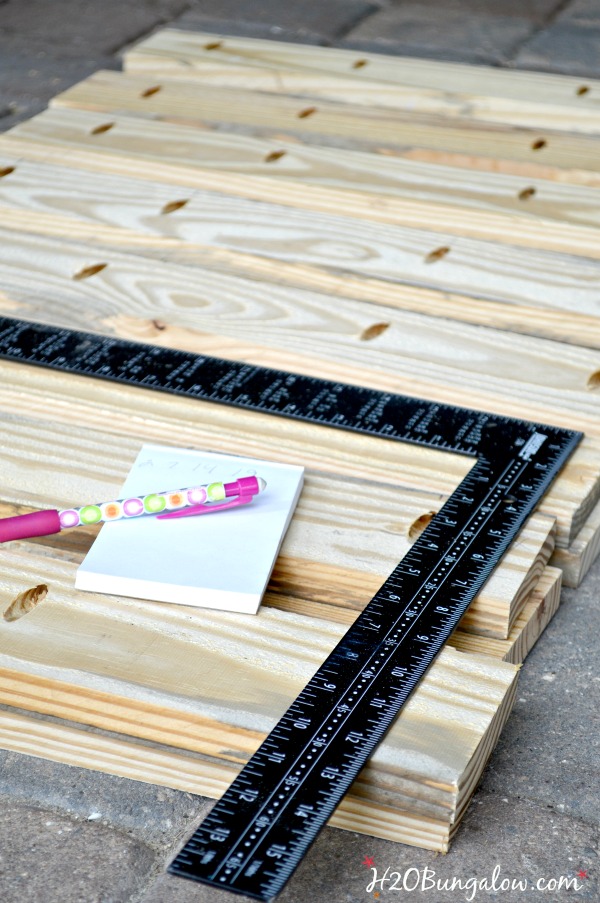
Start with the corner supports. Make pocket holes with the Kreg Jig in four of the side pieces at 2, 7, 14 and 19″. Connect two sides with pocket screws to make the corners. You’ll have four of these.
There are two choices in putting the planter together.
This is what I did.
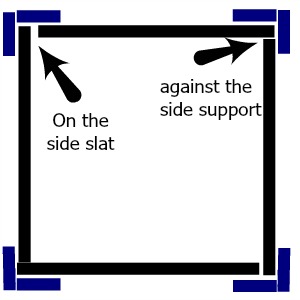
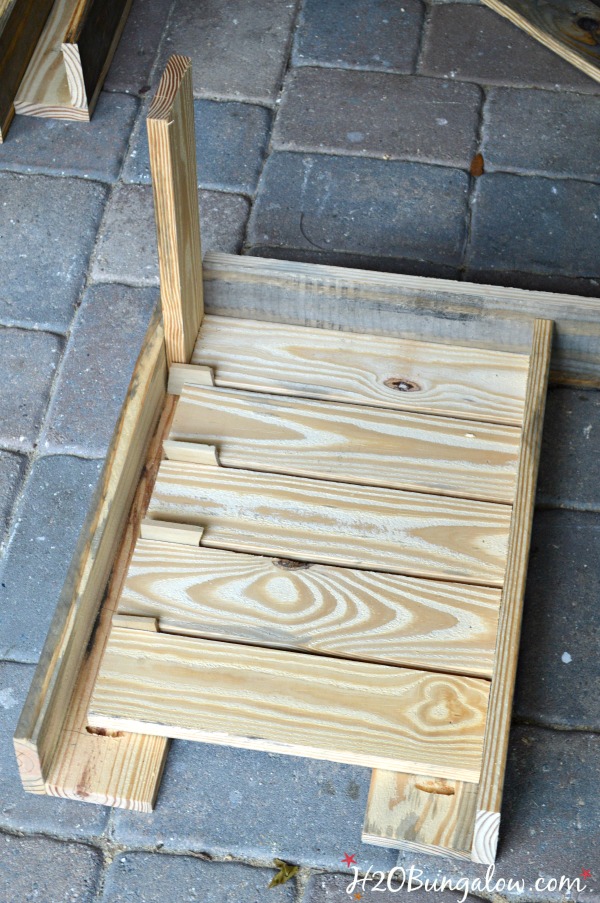
I made a simple drawing of how I attached the side slats to the end supports. See how one end buts up against the side support and the other end of the same side slat rests over the side slat before it?
This made my planter square all around.
If that’s too much thinking for you, just assemble two sides and then connect them with the remaining slats. This was my original idea until my Dad turned the corner as I was beginning to assemble my sides. We had a debate over the two ways to assemble my wood planters.
He won.
Either way, they will look good. You can see how I assembled the planters from the pictures below. The pieces make it more tedious than difficult:)
I used the spacer trick again to hold my slats in place while I nailed the boards with the brad nailer.
Here is what my DIY wood planter box looked like as I assembled the side slats to the corners.
After the planter base was assembled, I added a bottom to the inside of the planter. It can be set at any depth. Nail two inside slats on opposite sides lay the inside slats on top and secure them with the nail gun.
The last step is to cut the top frame and secure it with the nail gun.
I was running behind as usual and put my first coat of paint on early that morning before I broke out my compound miter saw to finish the last few steps on my DIY wood planter boxes.
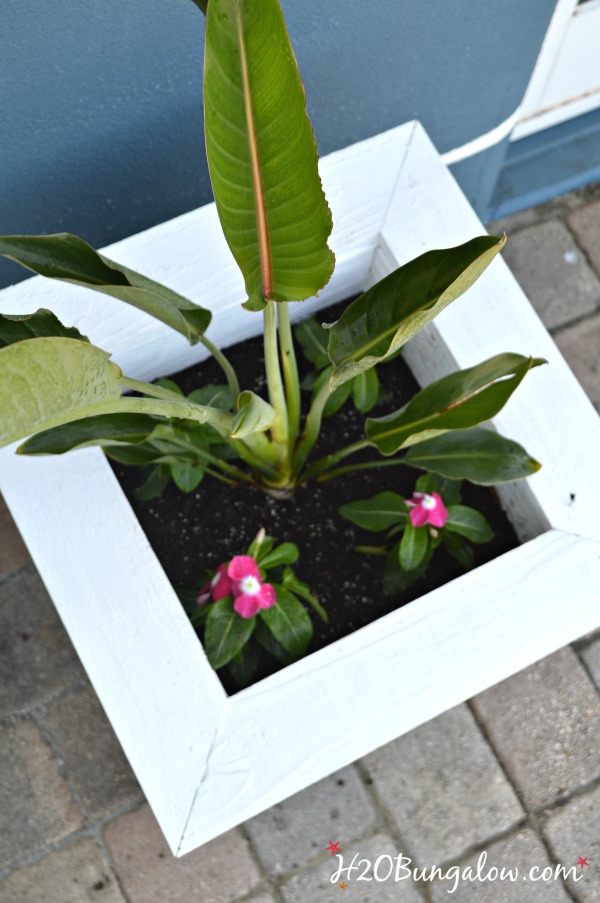
Add a few plants and you’re good to go!
If you’re using untreated wood, make sure you add a plastic liner. I stapled a heavy duty shower liner to the inside.
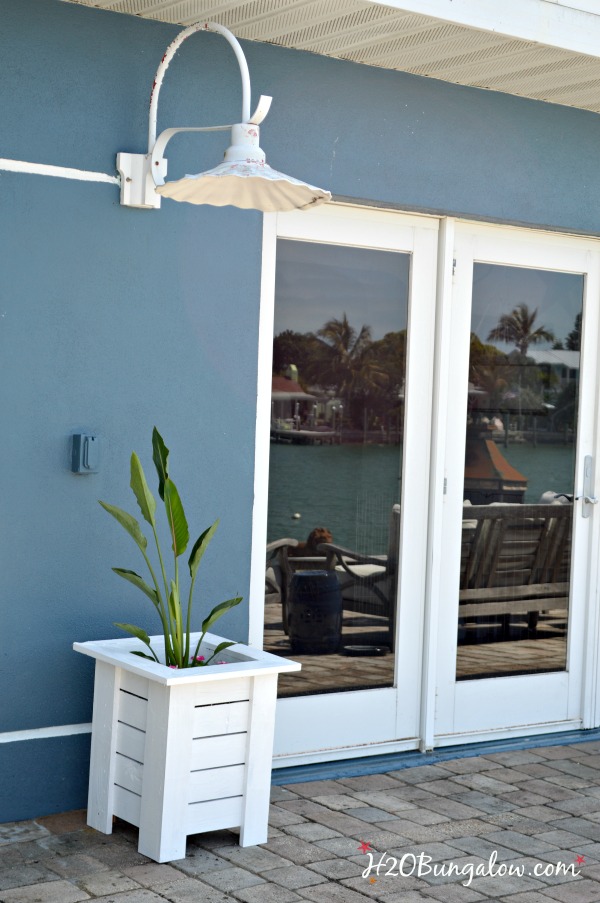
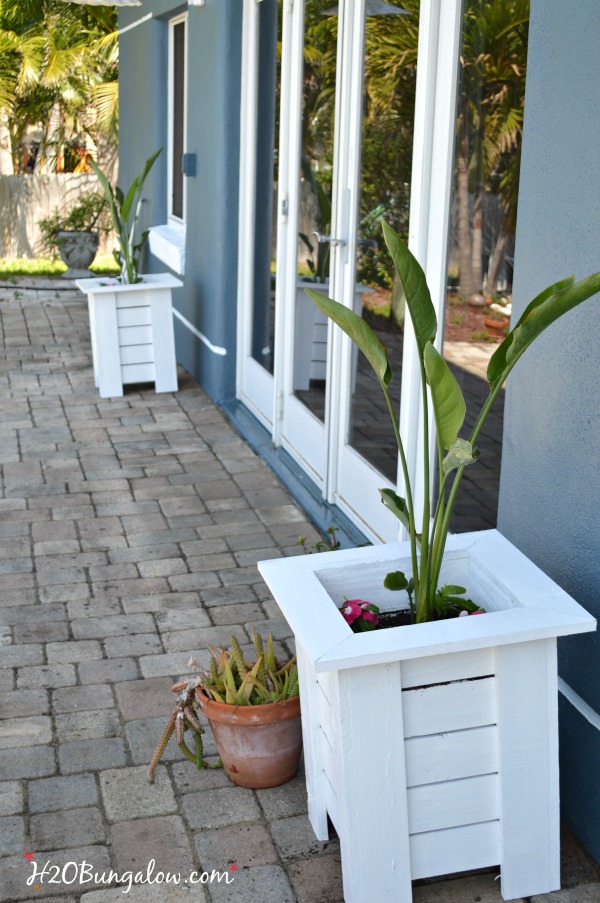
I made these for our back yard.
It’s almost like we have two front yards since our backyard is on the water with boats and people passing by all the time.
It needs curb appeal, although I guess you’d call it bay appeal, since we face the bay.
I have more ideas to give our backyard more of the Key West tropical vibe. I wish they could all be done now.
But hey…This was a good start.
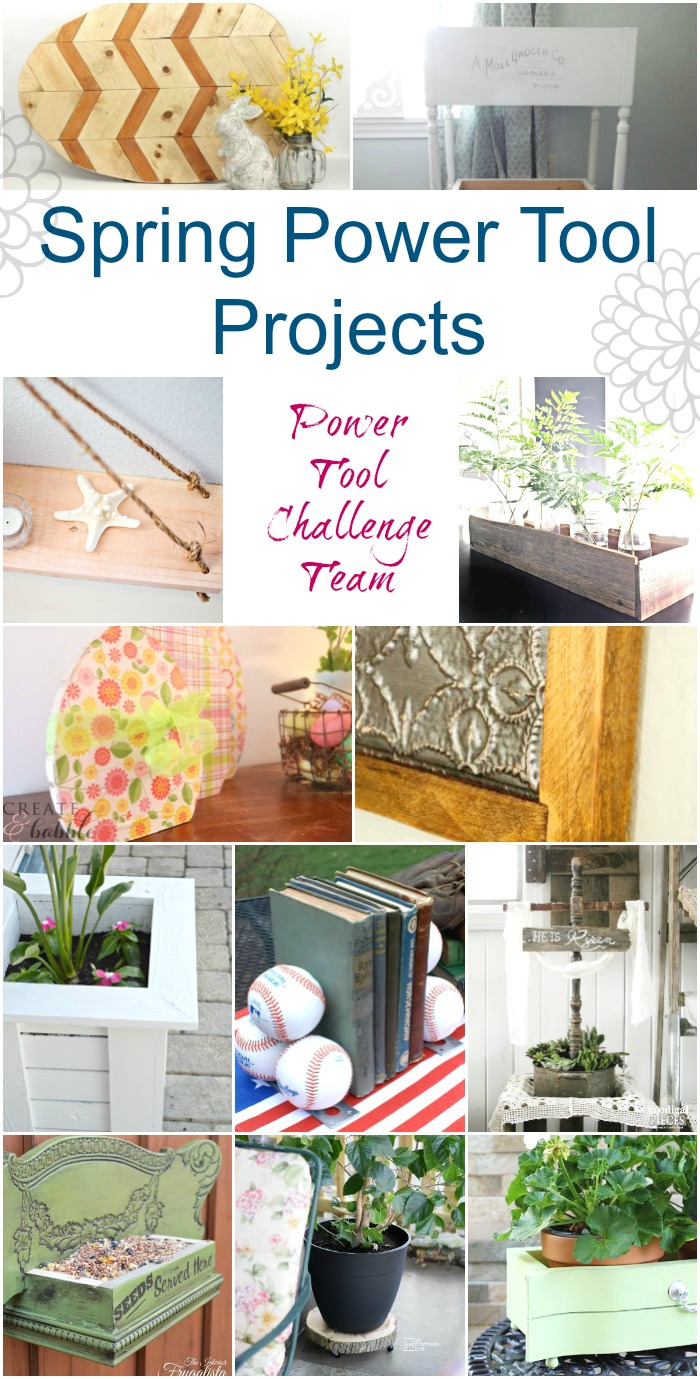
I mentioned my Key West inspired wood planter box was part of this months Power Tool Challenge Team’s theme. Take a look at the rest of the awesome projects my friends and team mates put together this month! Click on any of the links next to the descriptions to go to that project.
Chevron Wood Easter Egg by Kim Six Fix
Fruit and Vegetable Bin by Designs By Studio C
Wooden Swing Shelf by Domestically Speaking
Wooden Easter Eggs by Create And Babble
Repurposed Easter Cross by Prodigal Pieces
Planter Box Centerpiece by Refresh Restyle
Upcycled Drawer Front Planter by Confessions of A Serial DIY’er
Rustic 3 Panel Wall Decor by Designed Decor
Key West DIY Wood Planter Box by H2OBungalow – That’s me!
Baseball Bookends by Virginia Sweet Pea
Chair Back Bird Feeder by Interior Frugalista
Wood Slice Rolling Plant Stand by My Repurposed Life



Rachel O. says
So pretty! My dad could whip this up in no time! Maybe when he retires, that is. 🙂 Thanks for sharing your link at the #HomeMattersParty !
Wendi says
Thanks Rachel! It’s pretty simple and looks fabulous when it’s done!
julie says
These look fab, I was wondering about lining them too, but I see someone else asked and you replied. I’d love something like this in our garden, very professional looking.
Wendi says
Hi Julie, I’ll have to add what I used for a liner into my post. They look great by our back door which was desperate for something to give it some umph! Thanks so much for your visit!