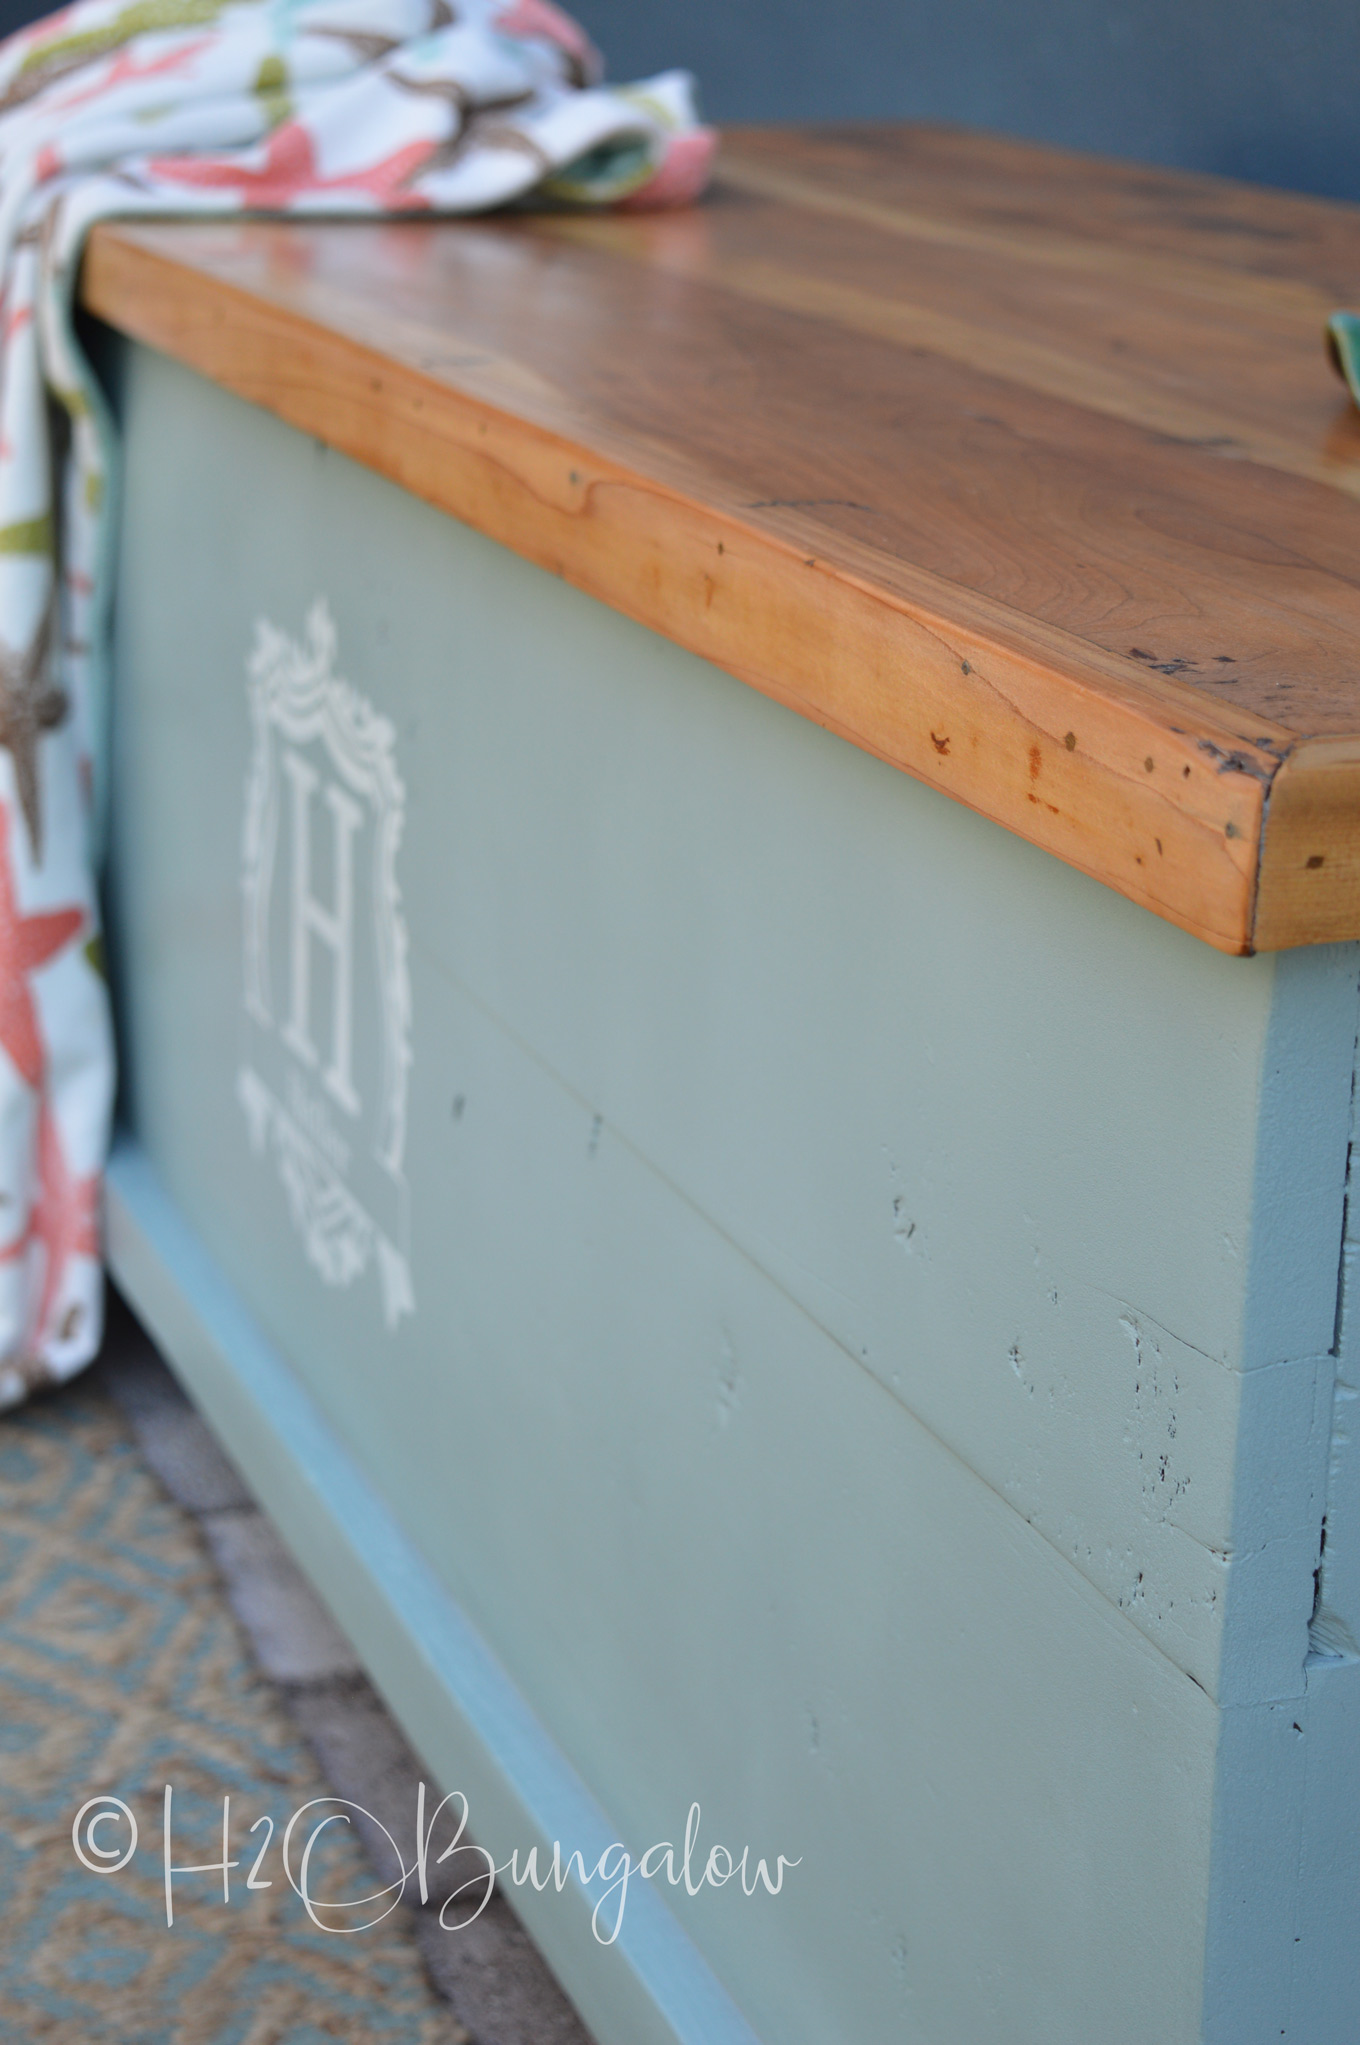
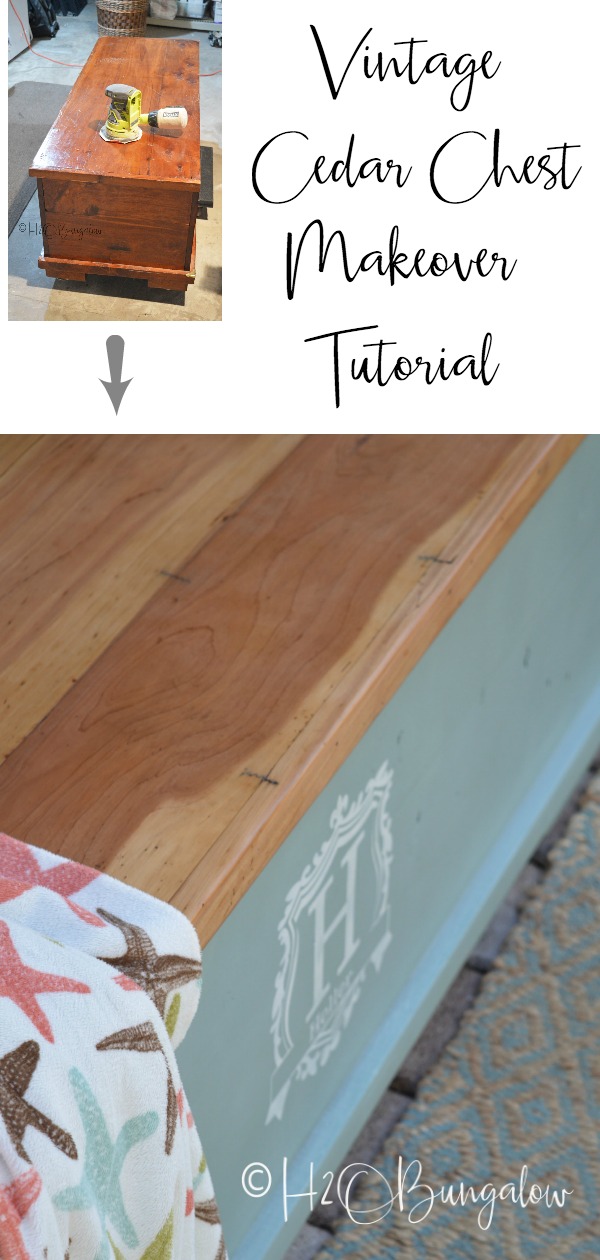
I absolutely loved how this monogramed blue cedar chest makeover turned out! This wasn’t just any old chest makeover, it was a family heirloom that had been passed down from generations. What I love about this tutorial is even though I’m sharing a chest makeover, you can use these same steps to makeover a dresser, table or whatever else in the same style, a natural wood top and painted base.
A few months ago I had a call from someone who’d purchased my crab serving tray I made from a picture frame, way back when I was selling my painted furniture locally. She had a family heirloom that was made from wood planks that came from her family’s property. It didn’t fit her decor and would I be interested in painting it for her? Wow, what a cool project and at the same time, that’s a lot of responsibility I thought. How do you paint an old chest and still keep the integrity of the wood, or even a family heirloom?
I thought I’d not only share how to makeover a chest but things to think about when you’re painting a family heirloom or old piece. You can see how wax paste looks on this dresser makeover with just the natural wood.
Cedar Chest Makeover Tutorial
Start with a plan. The owner and I worked on defining her vision for this chest. I shared paint samples and color chips from various furniture paint companies I had on hand. We started a shared Pinterest board where she could save painted cedar chest ideas and colors she liked along with styles of painted furniture. Together, we initially decided to stain the top and wax it which is the same finish I used when I built my four-poster queen bed out of maple. She settled on using Annie Sloan’s Robin Egg Blue for the rest of the chest and adding a custom monogram on the front. I use affiliate links to help you find the supplies I used. You can read my full disclosure policy here.
Here are the supplies I used for my cedar chest makeover.
- Simple Green All Purpose Cleaner & Degreaser
- 50 grit sandpaper
- 120 grit sandpaper
- 18 volt One + Ryobi random orbital sander
- Annie Sloan Chalk paint in Robin Egg Blue
- quality round paintbrush – See the wax brush set I linked below. It’s a great deal and what I use.
- 4″ foam paint roller
- paper plate ( for paint)
- wax brush * This is a fantastic deal and the type of wax brush I use**
- clear wax – This is the wax I like the best
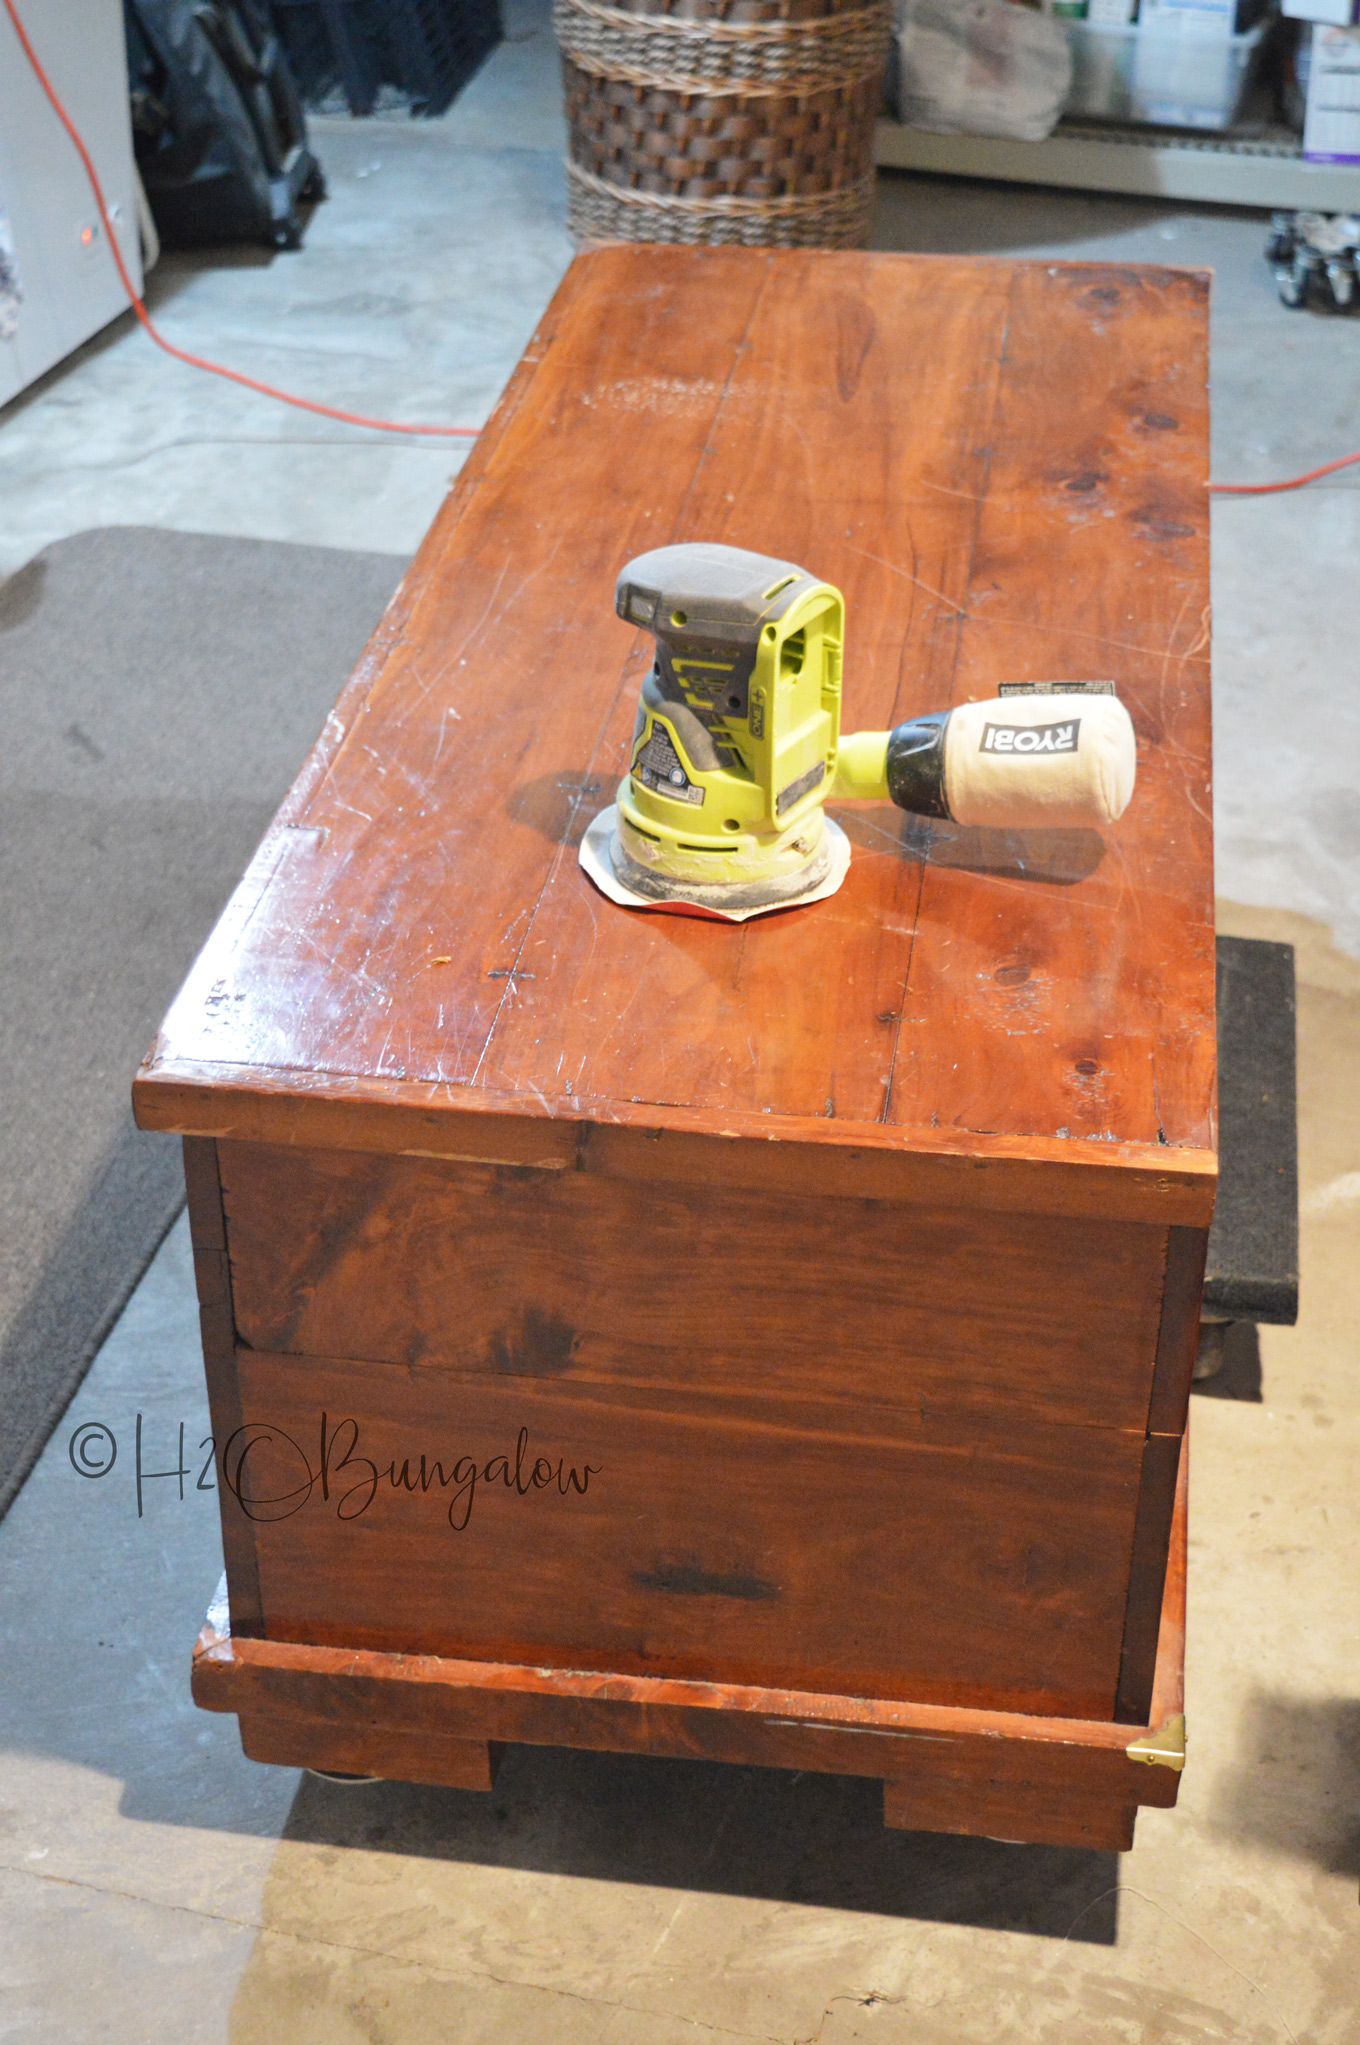
Thoroughly clean and prep furniture before painting. Prepping this old wood chest to paint was simple. I sanded and sanded then …sanded some more. The old varnish had just about petrified onto the outside of the chest. I started out being conservative with the sandpaper but ultimately had to use the coarse grain just to get the old stuff off the top. I was thankful I only had to sand the top!
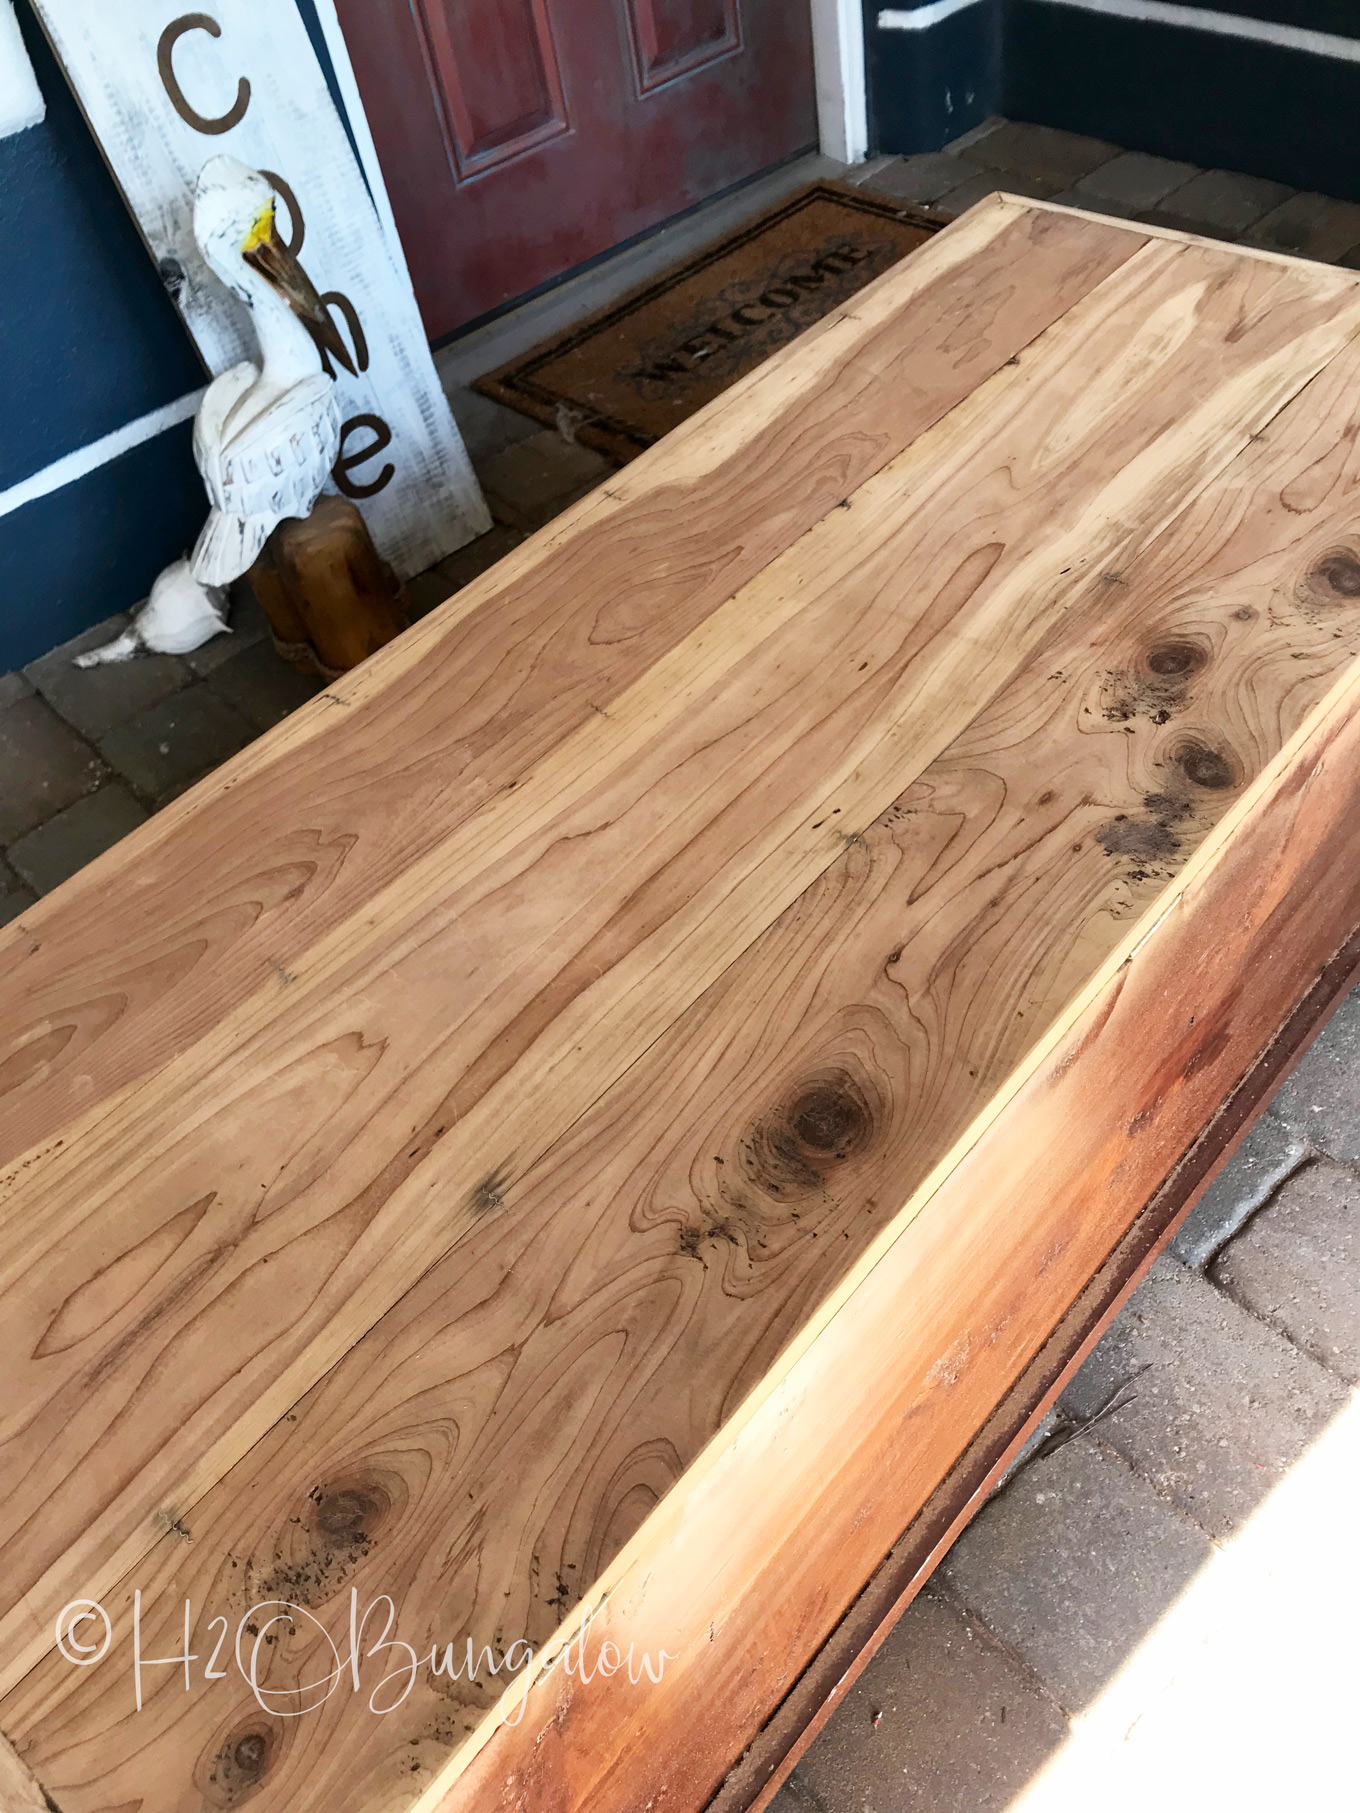
Until this point, the owner thought this chest was made of pine which was why we were planning on staining the wood top. One look at what I’d uncovered and I knew there was no way we’d put stain on this wood. The old chest was solid cedar! It was getting dark outside when I took this picture but you can still see the lovely wood grain.
Next came the cleaning. See my post on How to Prepare Furniture For Painting One change I’ve made since writing that post is I now use Simple Green instead of TSP.
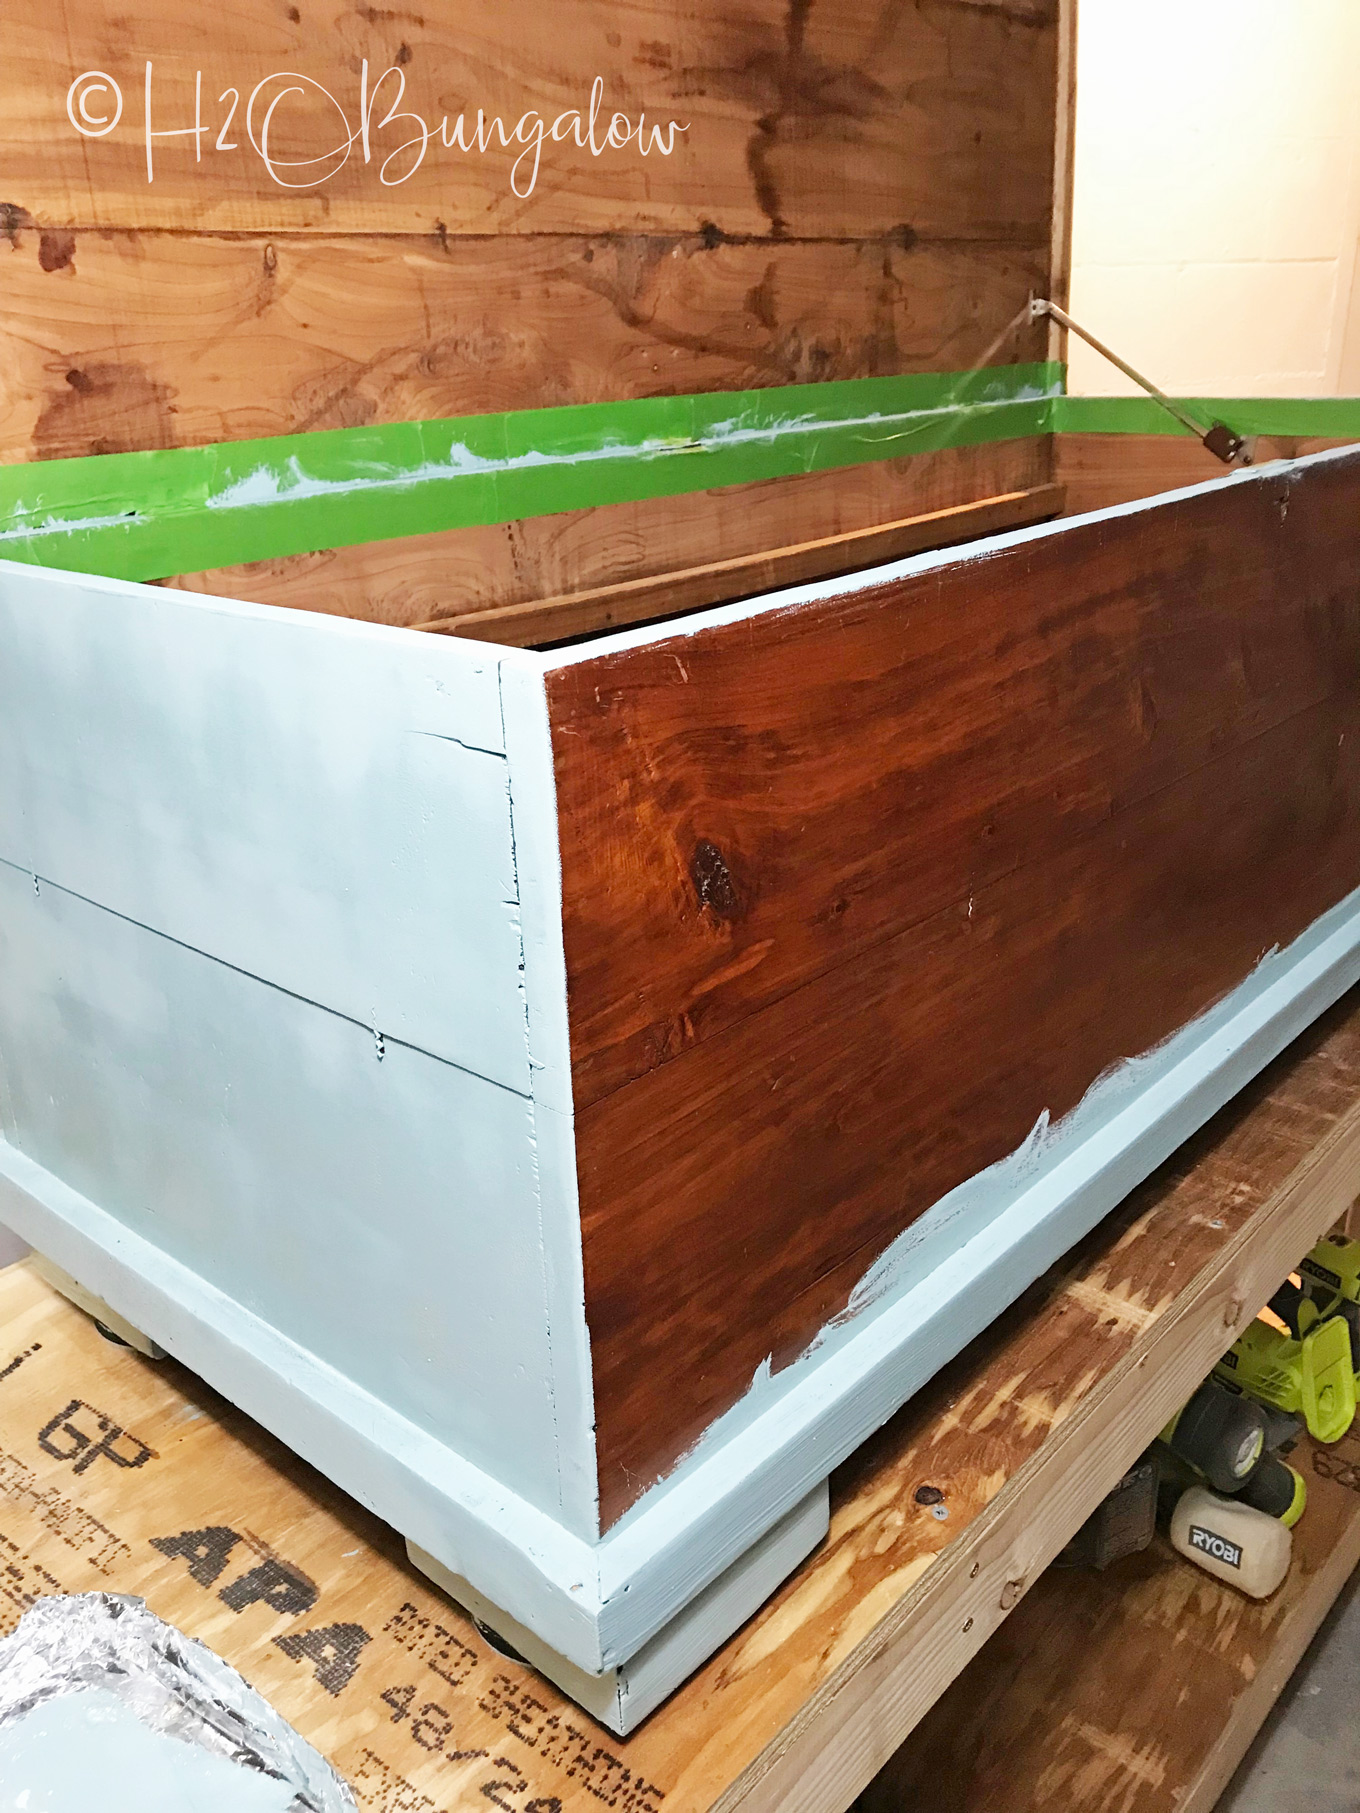
Tape off areas before painting. For a normal furniture painting job, I’d remove all of the hardware in the prepping steps above. The screws on this old chest were soft and I didn’t want to damage them or strip the holes by taking off the hardware so I taped around them carefully. Notice in the picture below I taped the inside top of the trunk too. That way I could get a clean crisp edge on just the top of the trunk lip.
Painting the cedar chest base. I painted the areas where the roller wouldn’t reach with a paint brush, then rolled on the first layer of paint. I smoothed the paint by going over it with long strokes from one side of the trunk to the other. I like to use a paper or foam disposable plate with the roller and just toss it when done 🙂 You can’t see that I’m painting the cedar chest on my workbench and there are wood blocks under the feet. The bench keeps the project eye level and saves my back. Plus, I can get an even coating of paint around the feet of the trunk easily because they are propped up with wood blocks.
This cedar chest makeover took three coasts of chalk paint.
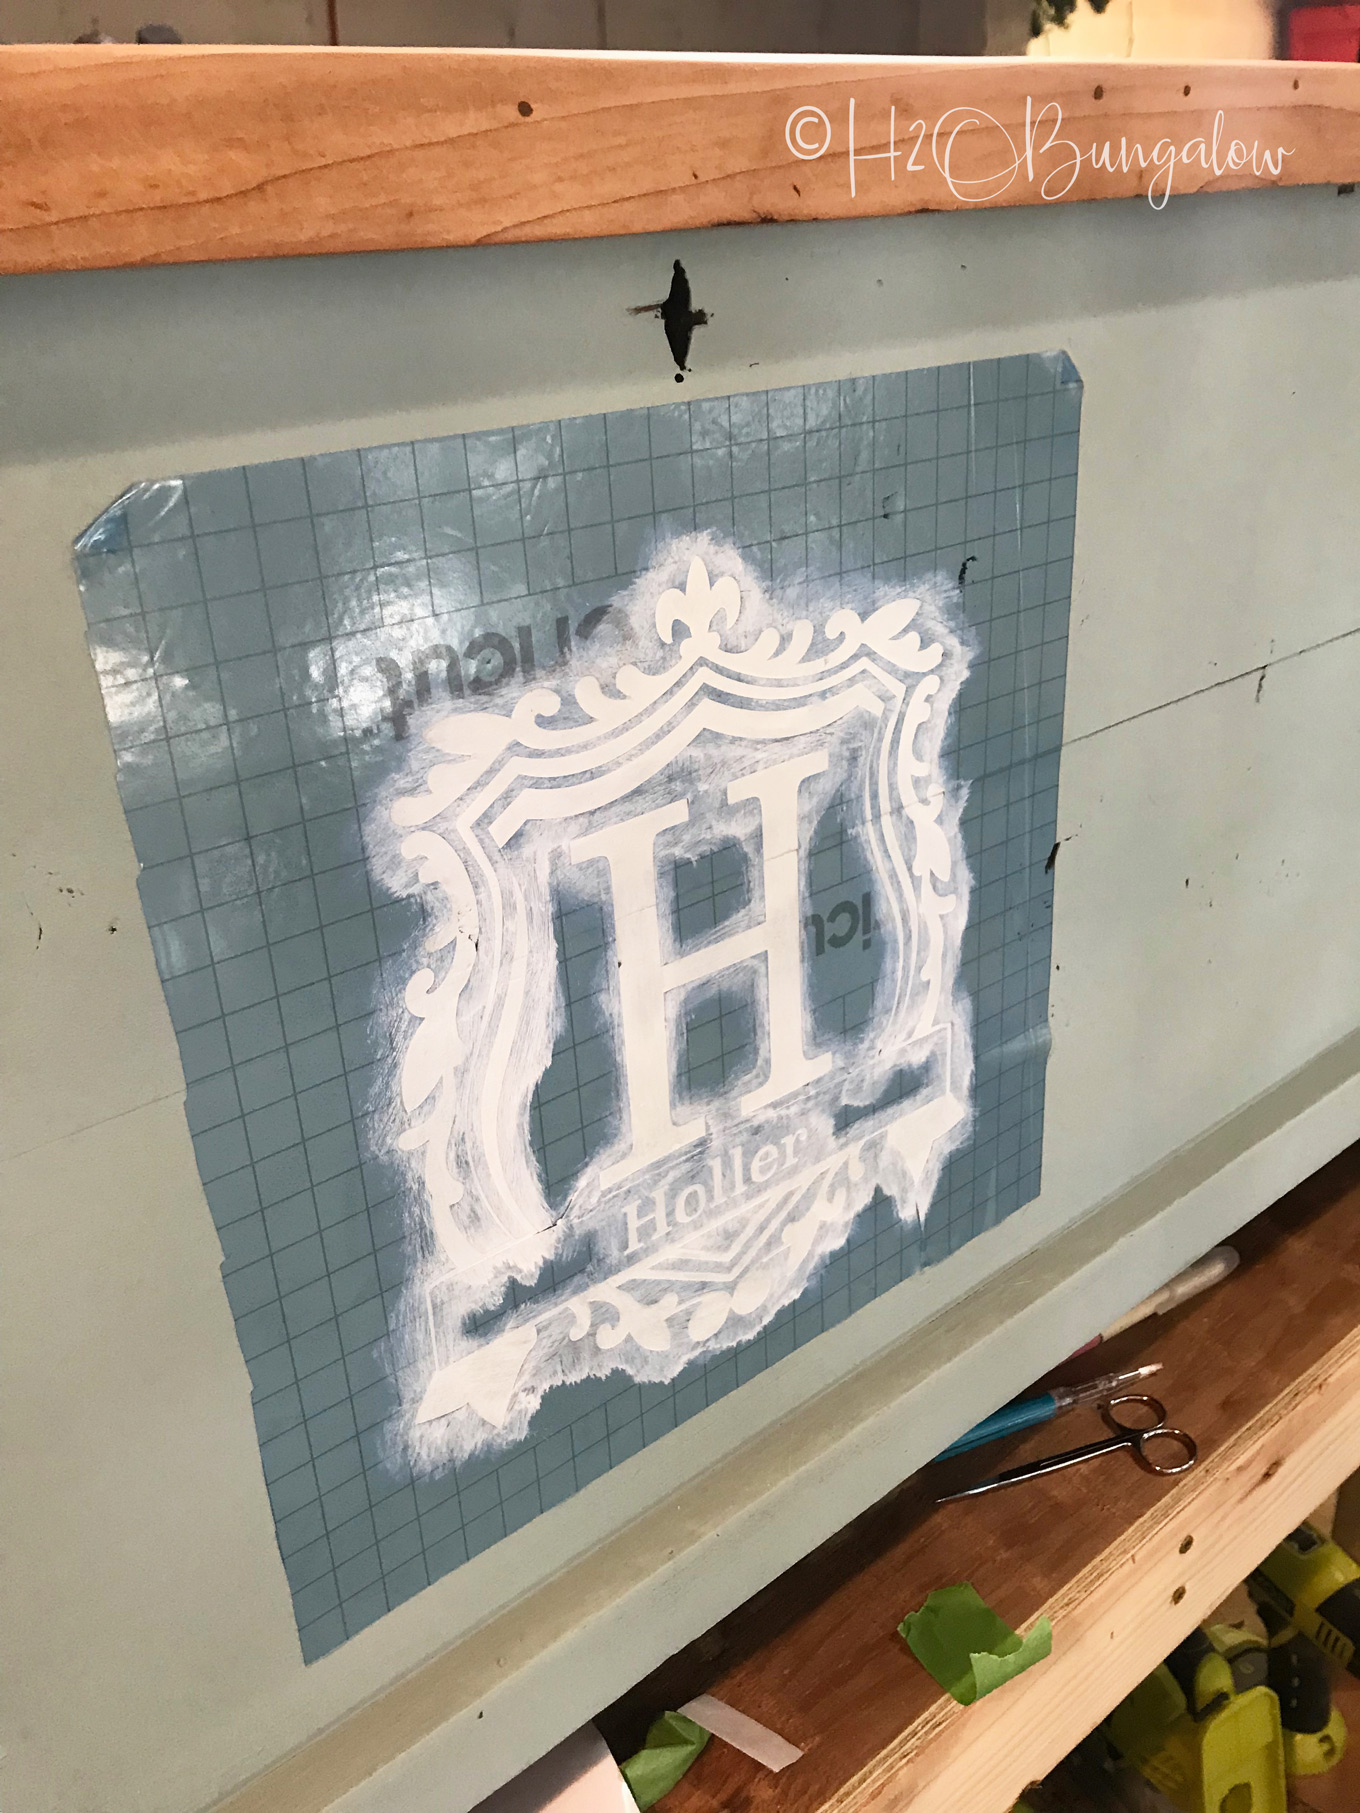
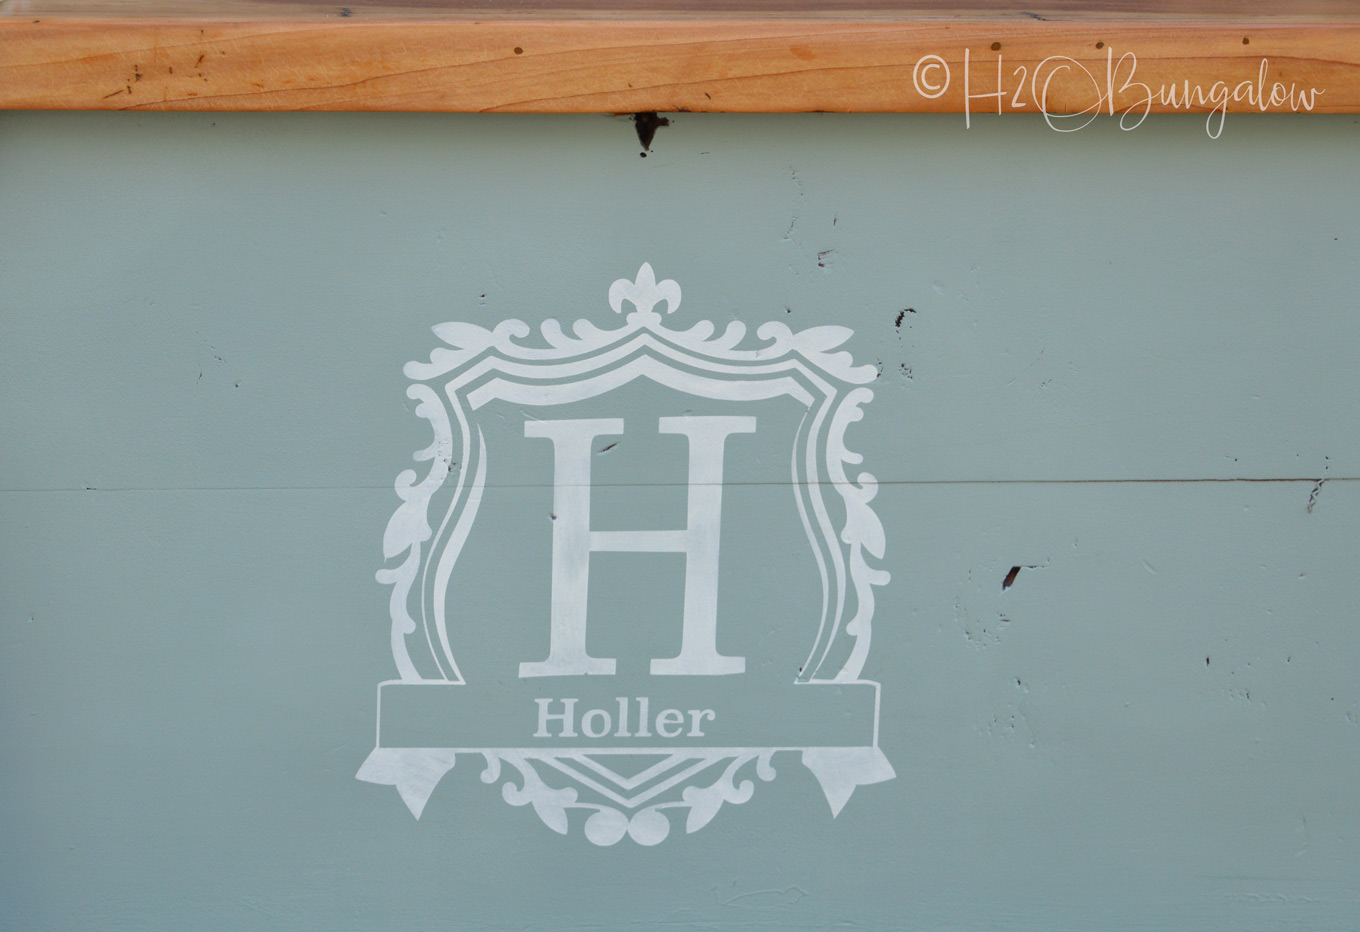
Add a monogram to the front of the painted chest. I had to make a custom stencil for the monogram which was a little un-nerving. I purchased a design that was close to what I needed and modified it. The trick was finding something the owner and I liked without it being too complicated or frilly. If you’ve ever weeded out thin stencil material on an intricate design you understand why! If you have no clue what I just said, that meant pulling out the negative parts (painted area) of the stencil. It can be tricky. If you rip the material, you have to start over again. Of course then it had to be placed onto the painted chest straight! I used a ruler to line it up and mostly just eyeballed the rest.
If you don’t have a Silhouette to make your own monogram, you can find some beautiful custom monograms here on Etsy.
Seal the raw wood. I used two coats of water based poly on the sanded wood top only. see my Live Edge Wood Coffee Table to see what that means. It’s really, really simple and fast and very thin!
Wax the painted chest to protect it and give it a fabulous finish. To get the soft to the touch finish on my painted cedar chest I gave it two coats of wax all over the outside. Yes, over the poly sealed top too. I waited a few hours and buffed it well.
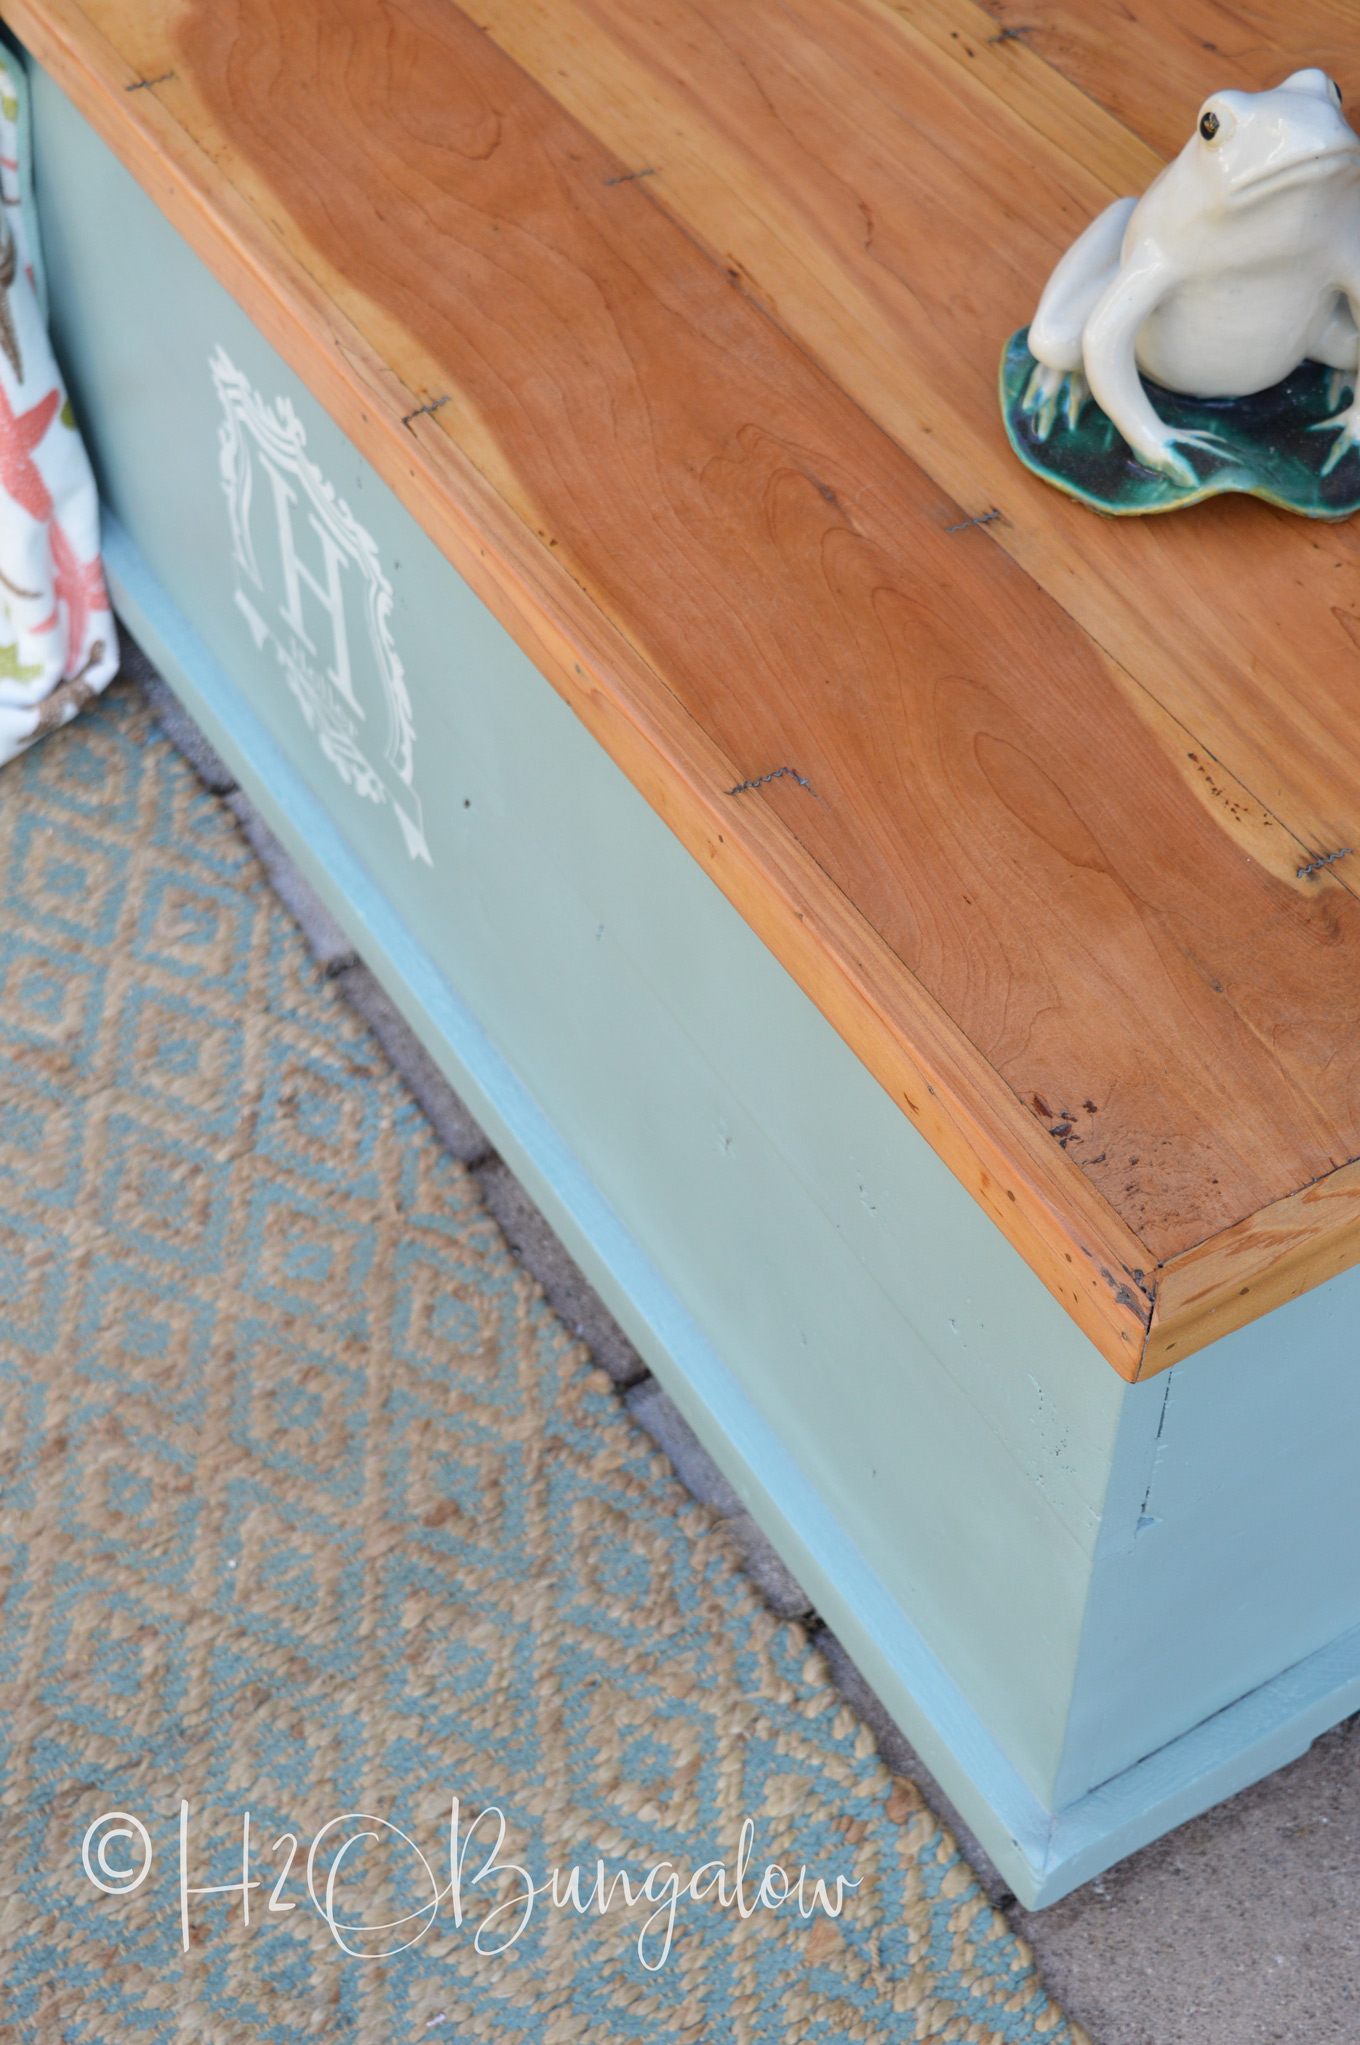
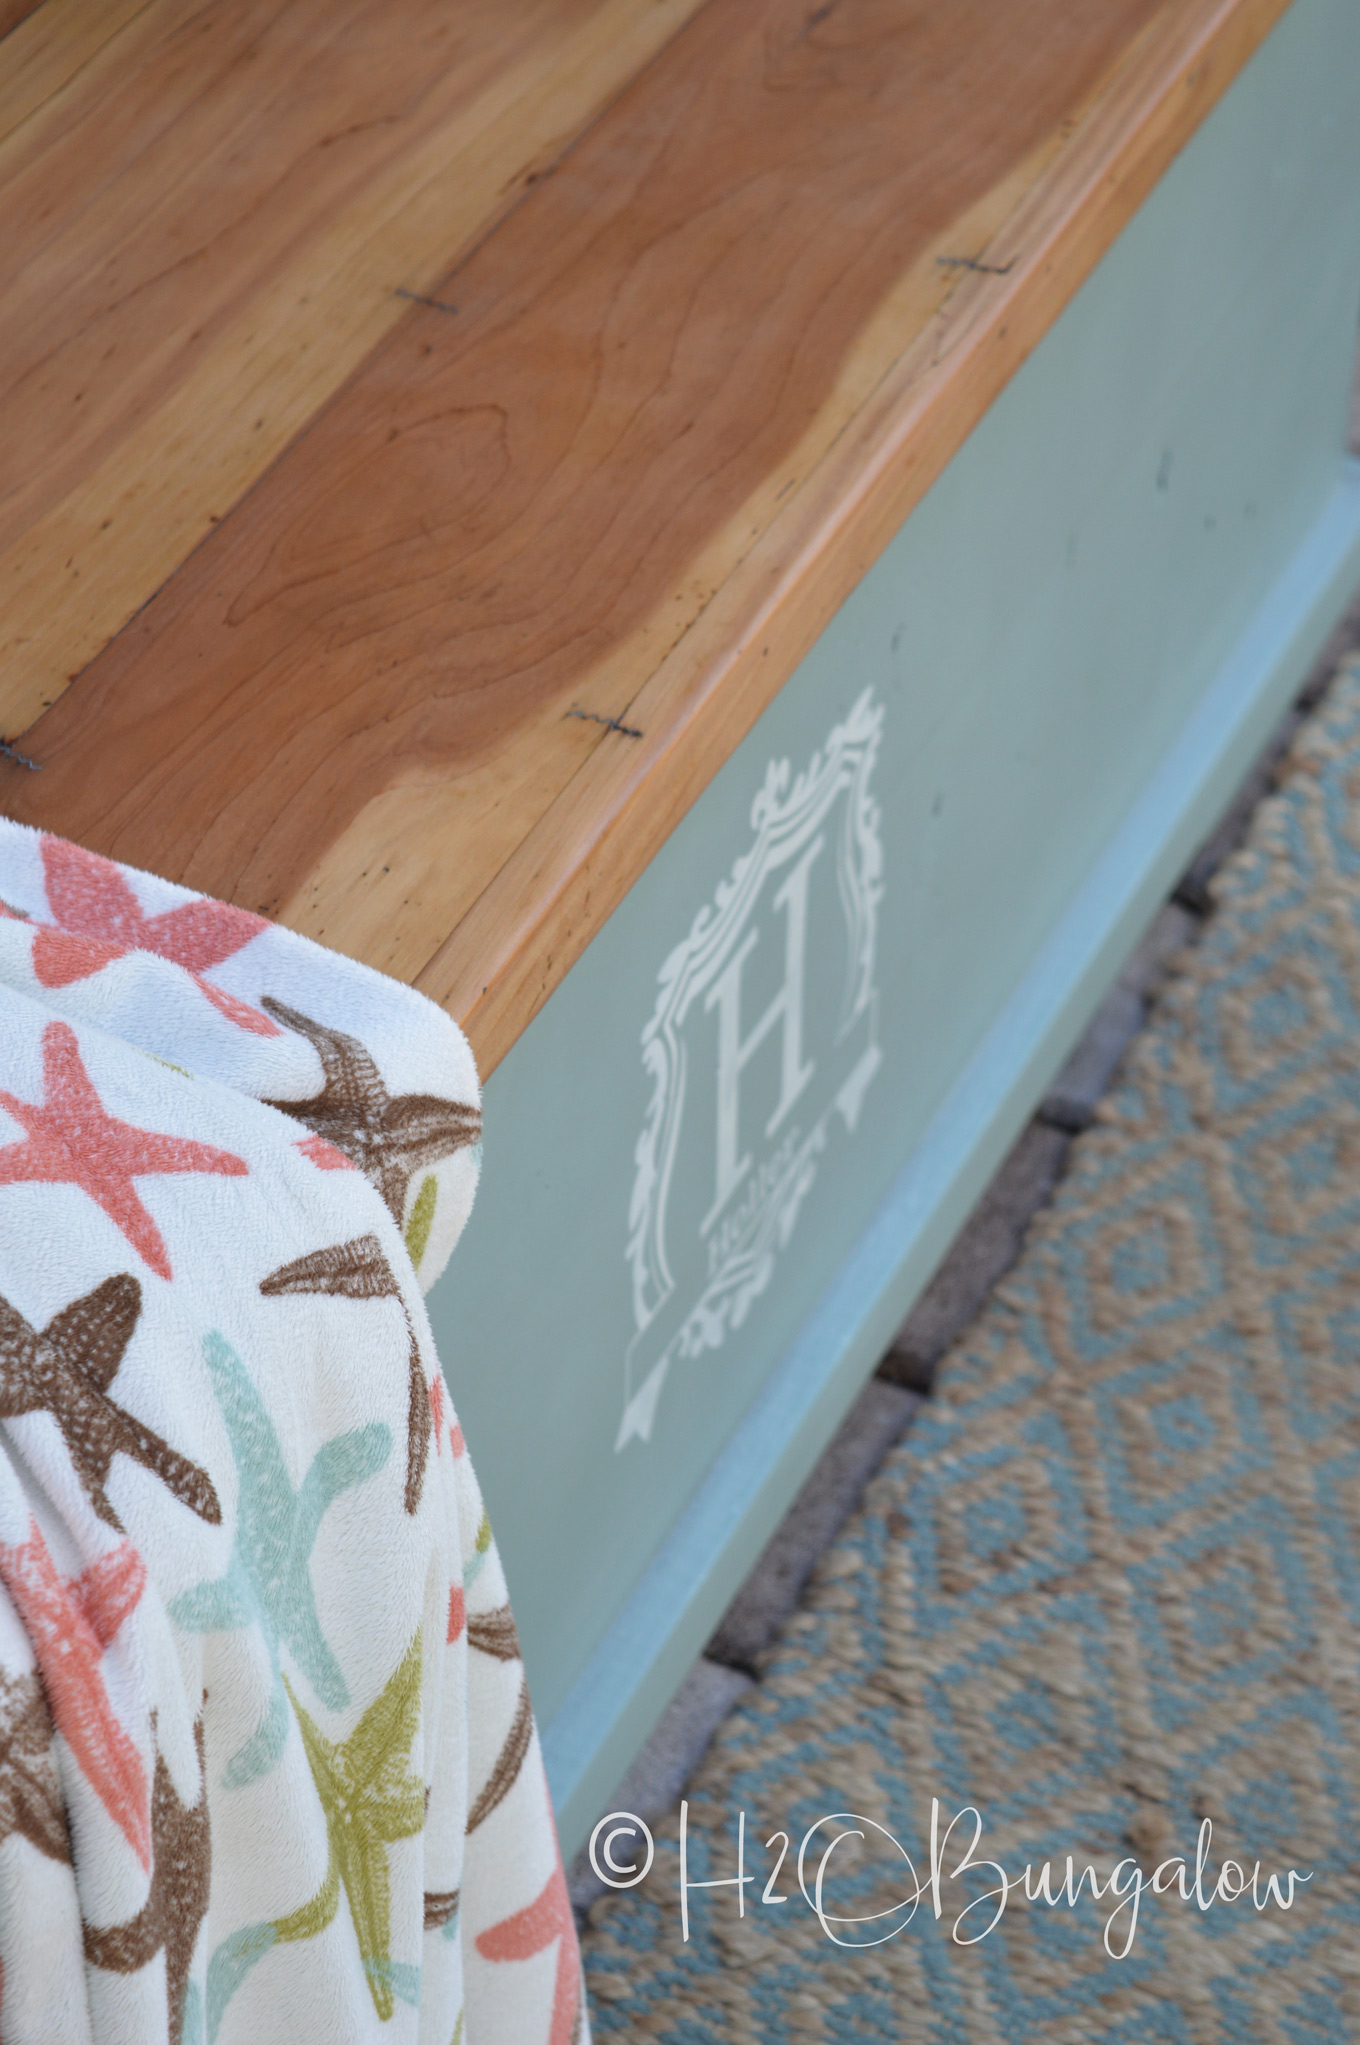
Look at how beautiful this wood is!
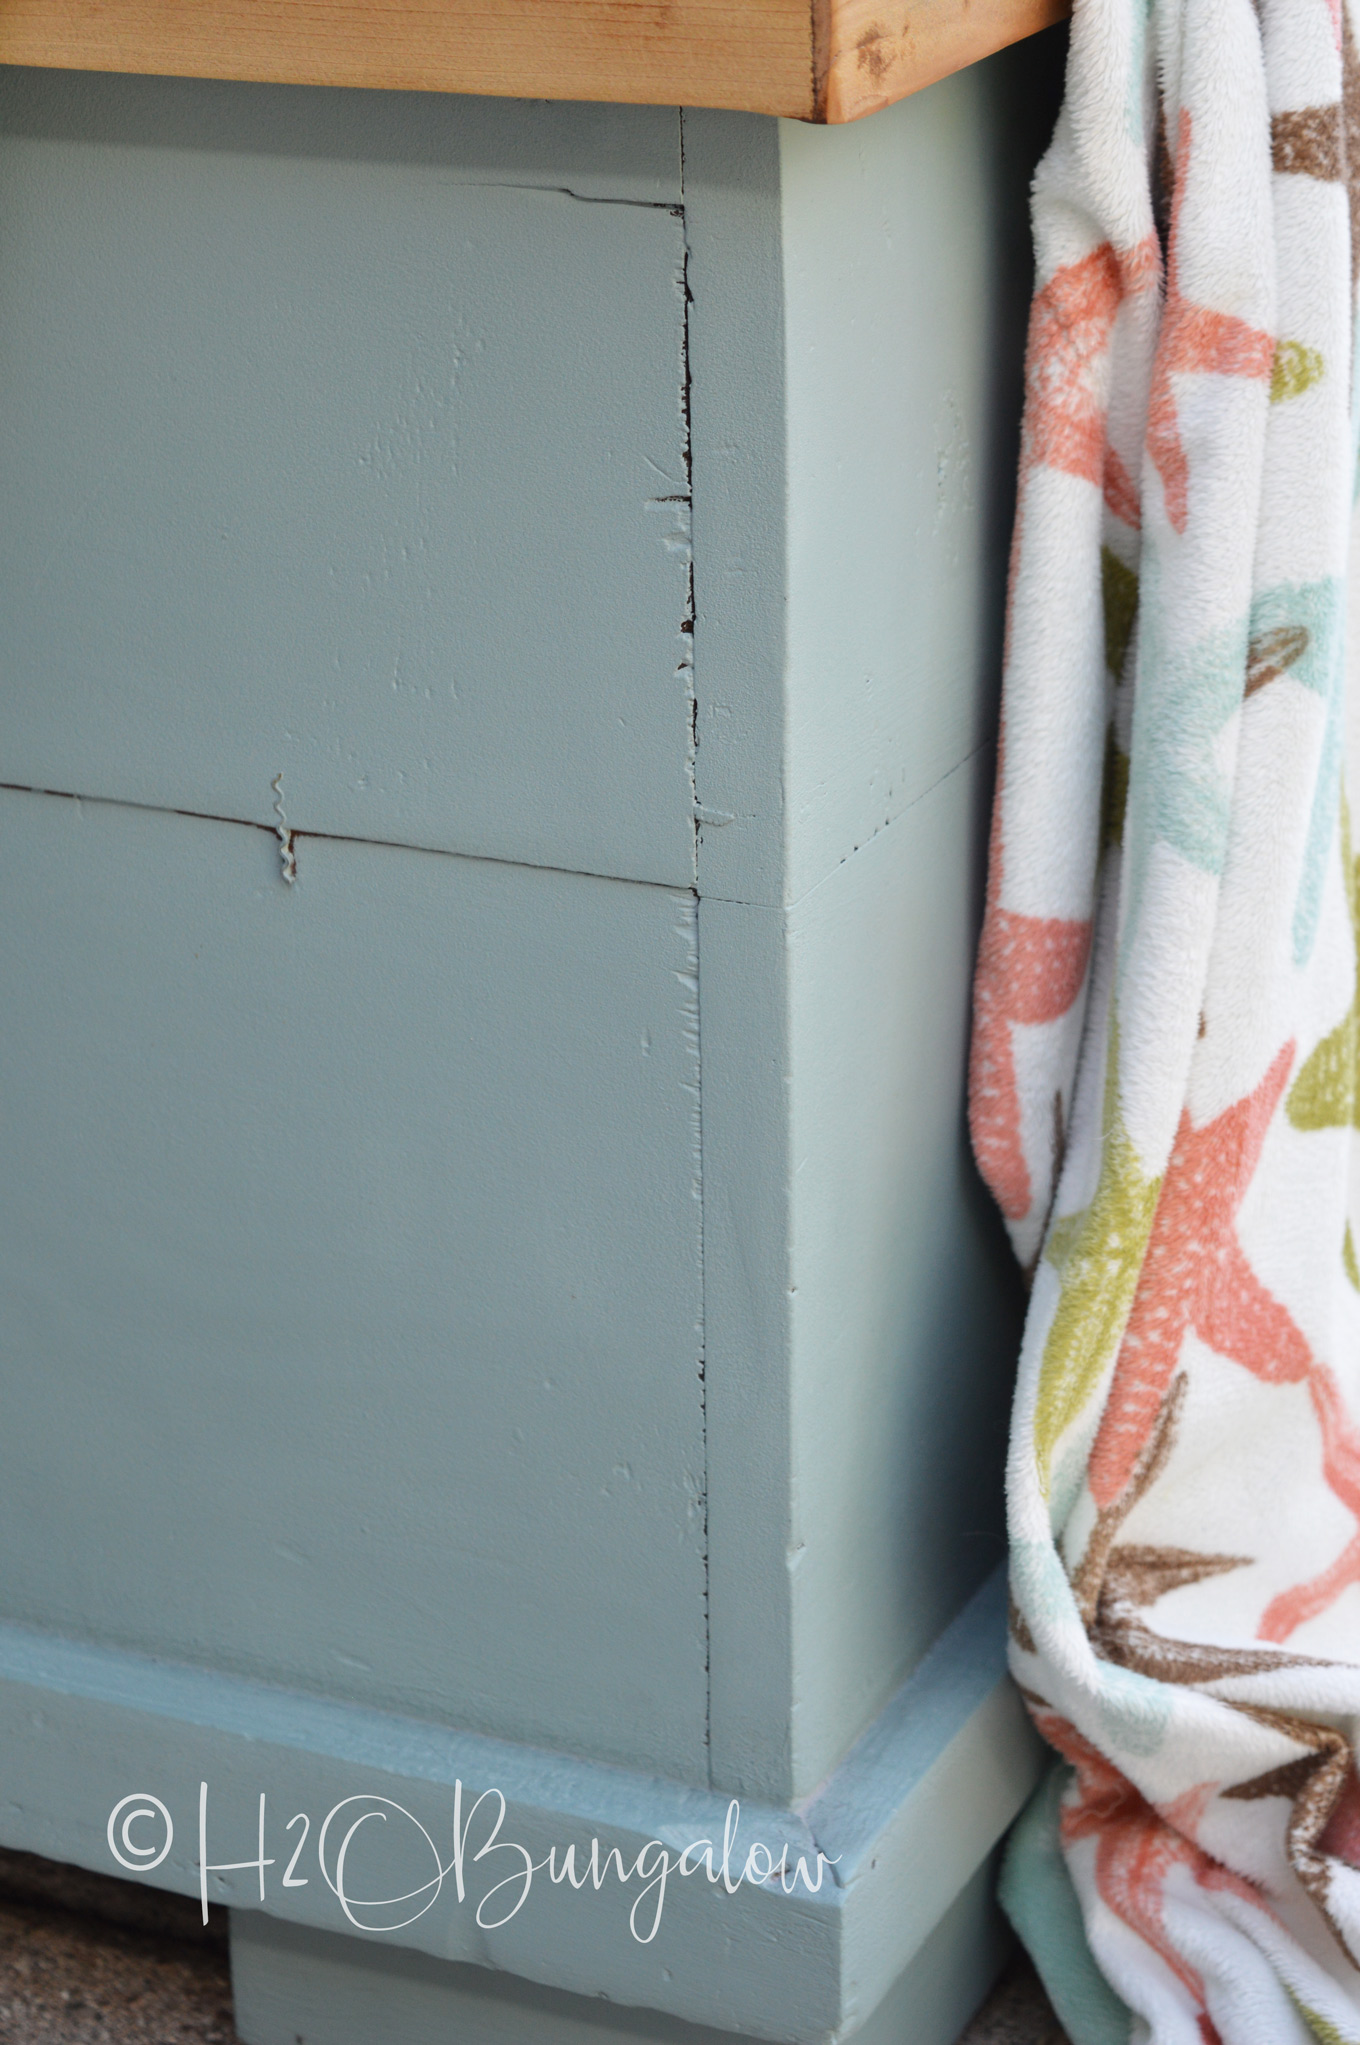
Notice that I didn’t do any repairs on the wood or fill in gaps. Because this cedar chest makeover was a family heirloom, I didn’t do anything that wasn’t undoable. If you’re wondering what the wavy metal pieces in the wood are, they’re called corrugated wood joiners and are used to hold the planks together.
The monogram turned out beautifully and compliments the vintage chest perfectly!
Do you love this look? I do.
The thing I love most about this tutorial is you can make over any piece of furniture in the same style, a cedar chest, a table or even a dresser just by following the same steps for a natural wood top and a painted base.
I’d love it if you pinned my painted chest tutorial for later and shared it with your friends on Facebook!
I love a natural wood finish on a piece of painted furniture. Especially when the wood is as beautiful as this wood was. Do you have a piece of furniture in your home that you think would look beautiful in this style? Share what it is in the comments below and what color you’d paint it!

Sue Watkins says
Love this idea! I was wondering about the part of the chest that you painted. You said you didn’t sand the rest of the chest chest. Did you just paint over the finish?
Wendi Wachtel says
Hi Sue!
That’s right, I didn’t sand the rest of the chest. it had a heavy coat of shellac on it that was very smooth. All I had todo was wipe it down with the deglosser and paint it. I hope that answered your question!
Barbara says
Wendi, do you have any tips when the top of the cedar Chest is veneer? My black walnut Lane cedar Chest is is fairly good condition but the veneer top has white water stains and a small crack, not chip.
Wendi Wachtel says
Hi Barbara!
That’s a tough one! I’m not sure if it would look good or not but could you fill the crack in the top and paint the top? If the base is in good condition, just refresh the wood with a good oil or wax? The base is likely veneer also. Another idea is to paint the entire chest. I hope this info wad helpful!
MaryJean says
Oh, that turned out lovely, Wendi! So much better than the knotty pine look. I especially liked the monogram. It just tops it off perfectly!
Wendi says
Hi MaryJean and thank you! I’m thrilled with how this chest turned out and even more that my take something that’s meaningful to client loved it. It’s a huge responsibility to take a meaningful piece of furniture and give it a new look. Yes, I think the monogram was the perfect finishing touch for this chest too! Thanks so much for your sweet note!
patty says
Wendi, I can’t believe it I have an old chest almost identical to this one it is in my basement just waiting for me to do something with it.
I love your makeover, I have pinned it and when I am ready to paint my chest I will have the pin. I just hope I can do half as good a job as you have done.
Julie says
Hi Wendi, absolutely love this makeover. The chest looks amazing. Love the colour too.
Wendi says
Hi Julie and thank you!I am partial to blue so was thrilled when my client choose this pretty blue. It works with so many decor styles, even with the monogram. Thank you so kindly for taking the time to leave me a note!
Debra Wise says
Lovely! Did you make your own stencil or where did you purchase it? thanks.
Wendi says
Hi Debra and thank you! That’s a very good question. I purchased the stencil file for my Silhouette machine, added the letter and her last name and then modified it a bit so I could make a stencil out of it. I used the Silhouette to cut the stencil. It sounds more complicated than it is! If you don’t have a Silhouette here’s a link to several Etsy stores that carry custom monograms that are reasonably priced (affil link) http://shrsl.com/ycgl. Thanks so much for your note and visit!