Today I’m sharing DIY rustic modern bench tutorial along with simple tips for building a bench or other woodworking project using plans. My DIY Rustic Garland looks great hanging over the bench. This bench looks great with the DIY Farmhouse Table I built for the kitchen.
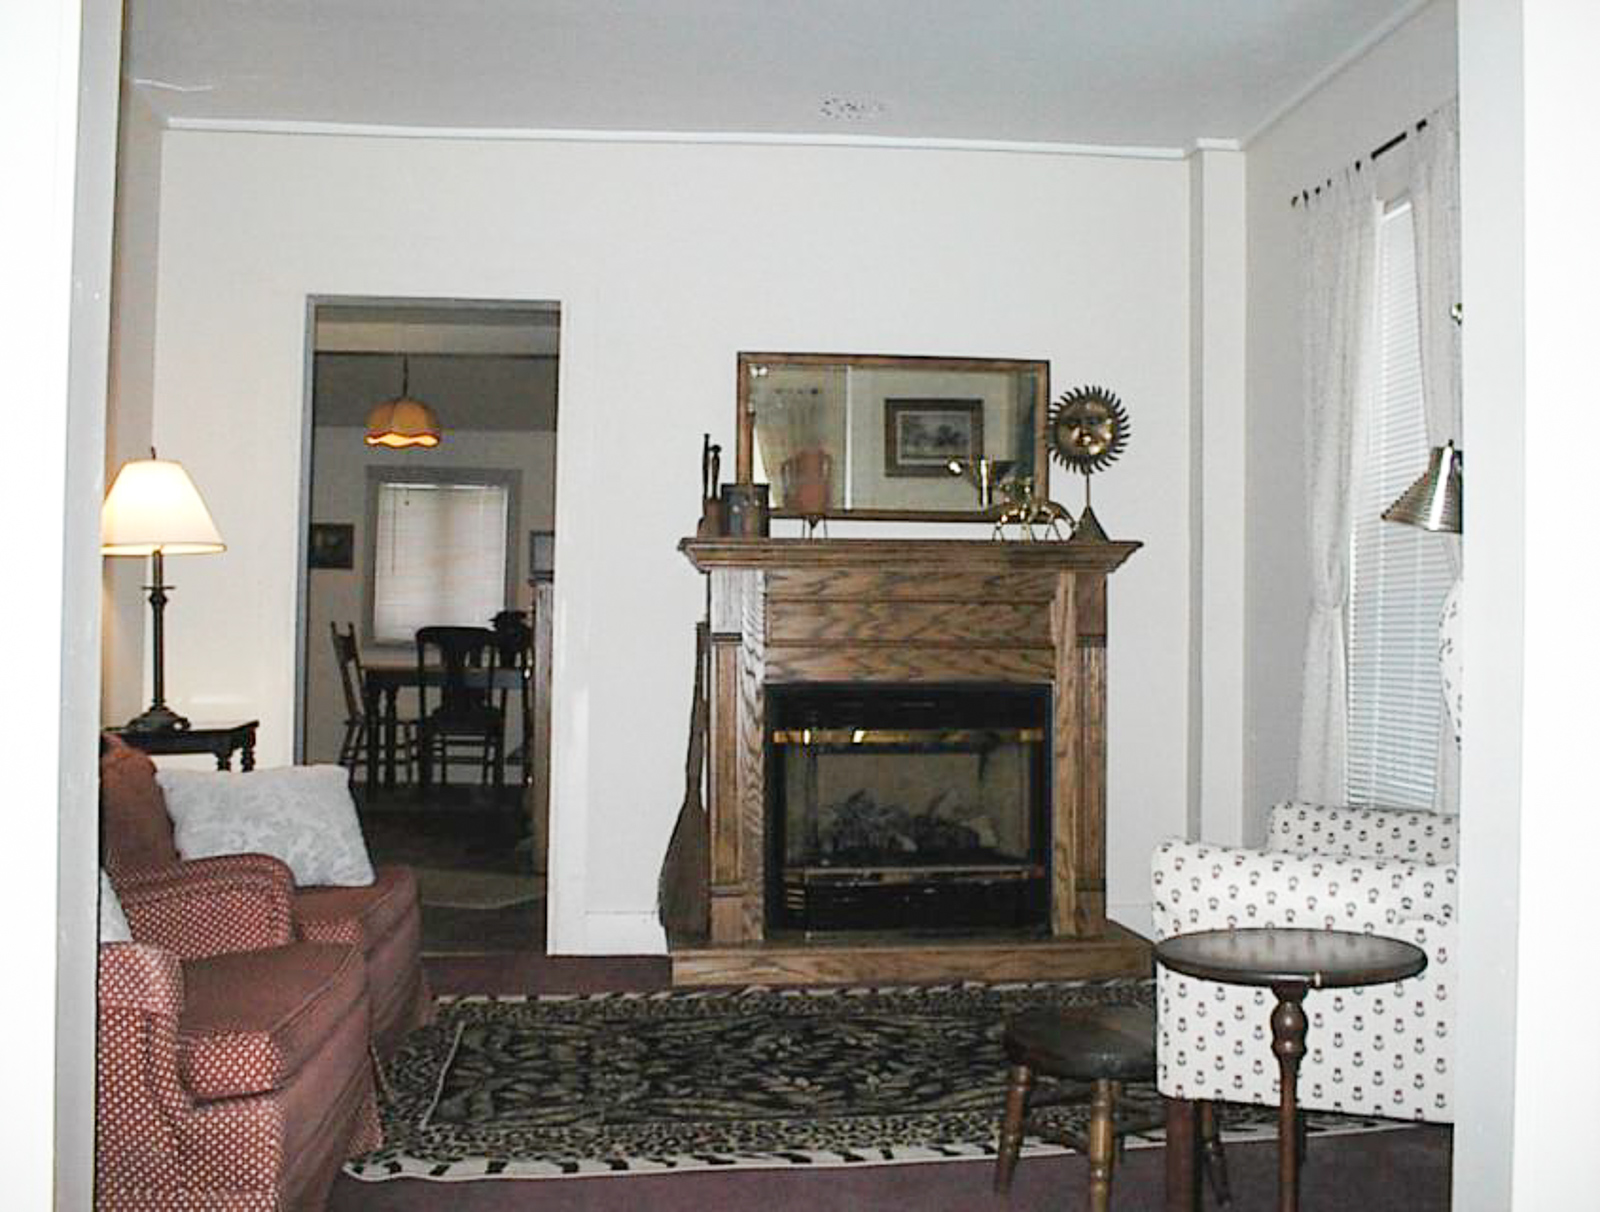
Updating and turning the North House Lodge into a comfortable home that welcomes guests has been a process. If you’ve been following our progress, you know we’ve come a long way in the last two years. Wait until you see the mudroom entry bench I made! This is what this room looked like when I started. Keep in mind this guest house came furnished.
It was kind of mishmash of items and odd furniture placed all over the house. See those two chairs to the left in the below picture? They are blocking a doorway.
This is a sponsored post by Carpet One Floor & Home®. Thank you for supporting the brands that keep H2oBungalow going.
Yep, it”s come a long way but, with that said, there’s still work to be done.
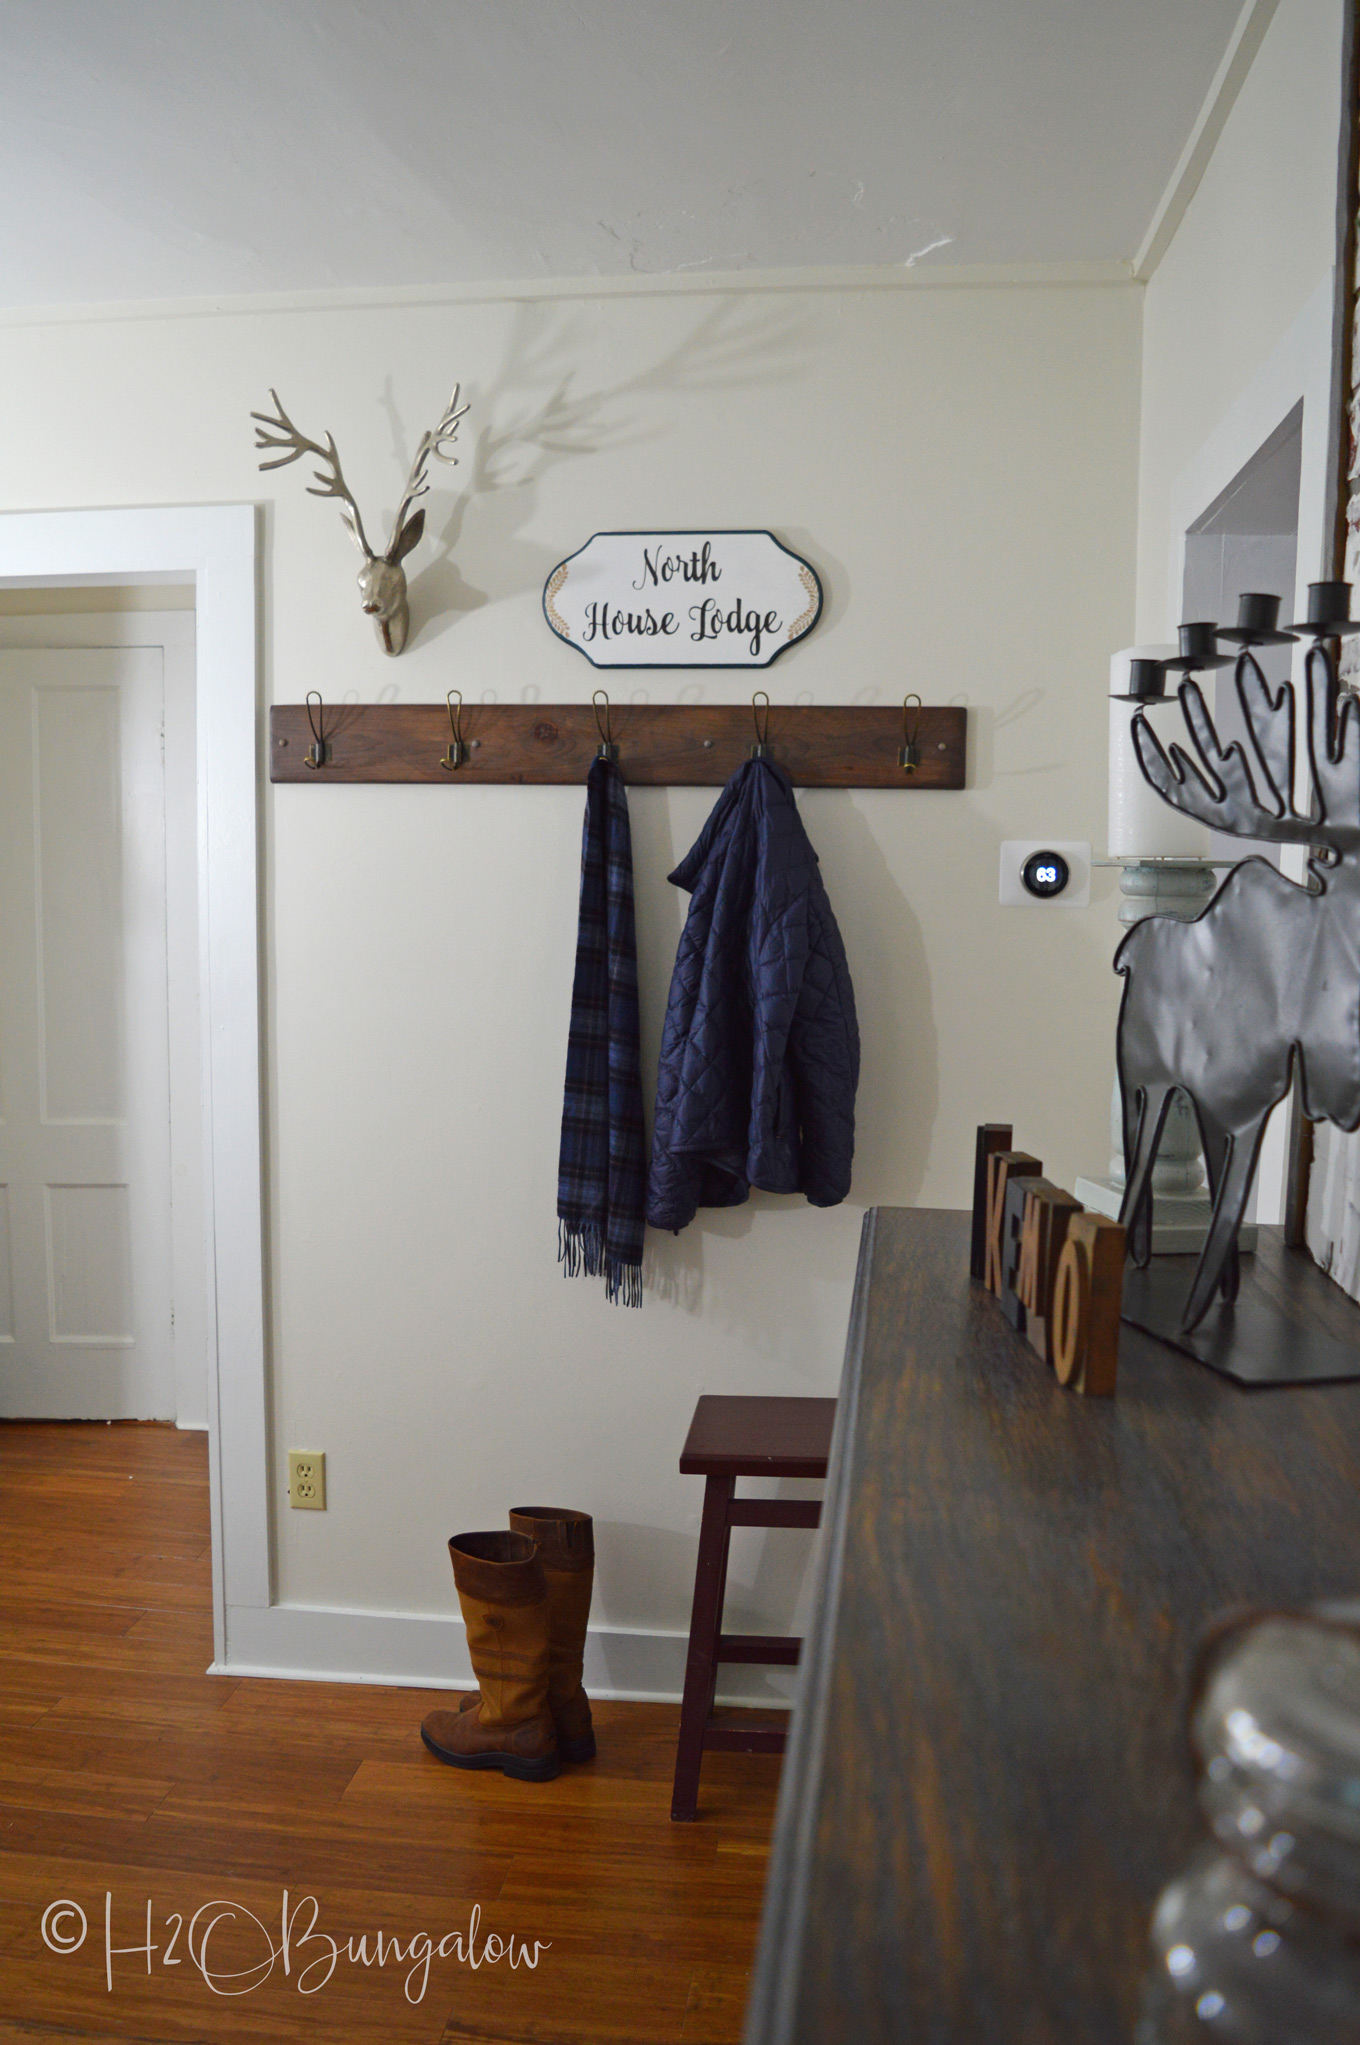
One of my goals this year was to create a warm and welcoming entry that was also functional on the #54 side. I wanted a spot that was useful in multiple ways year round. A place where friends and guests could hang their coats and sit to take off cold wet weather gear like snow covered boots and coats as well as functional year-round as a drop zone for items like purses and bags.
Besides being beautiful and functional I needed durability because this will be a high traffic spot and will need to stand up to lots of wear and tear.
I had the perfect spot near the kitchen side door that everyone uses to enter the house. I’d already made a beautiful coatrack for the space. All I needed was a few more items. A sturdy piece of furniture and a way to protect our wood floor that was durable as well as good looking.
The furniture part was fairly easy, I made a gorgeous wooden bench out of 2 x 4’s. Below, you’ll find my DIY rustic modern bench tutorial and wood working tips.
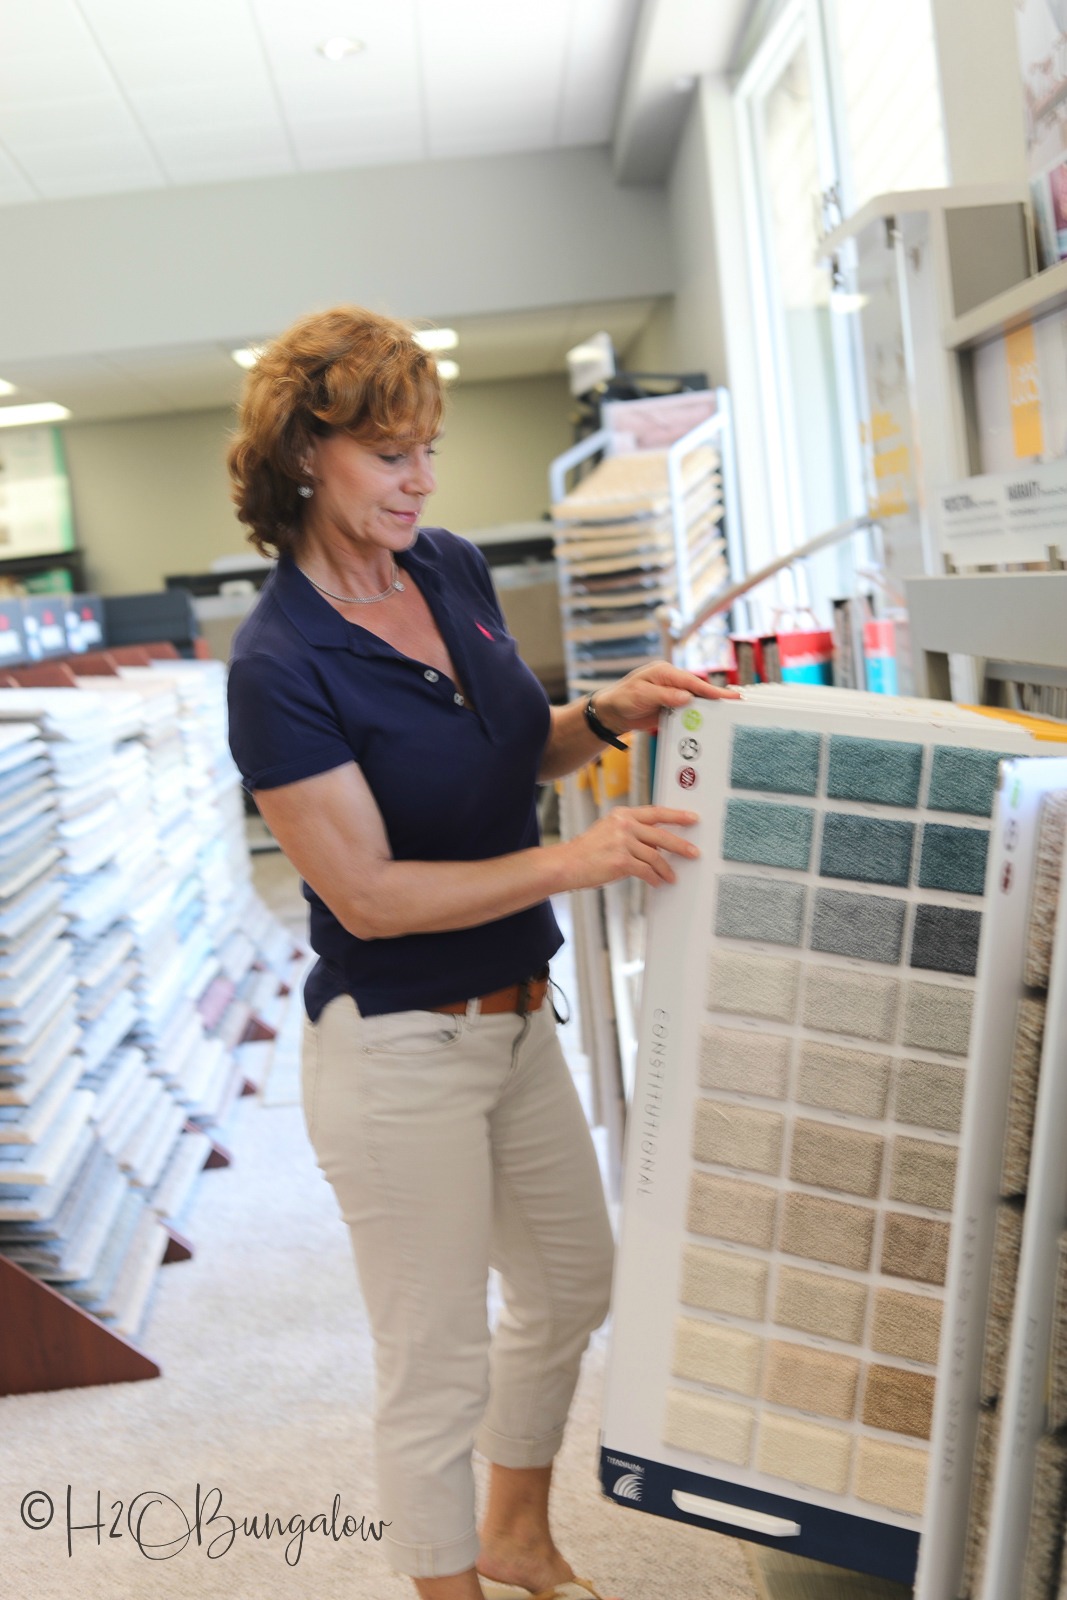
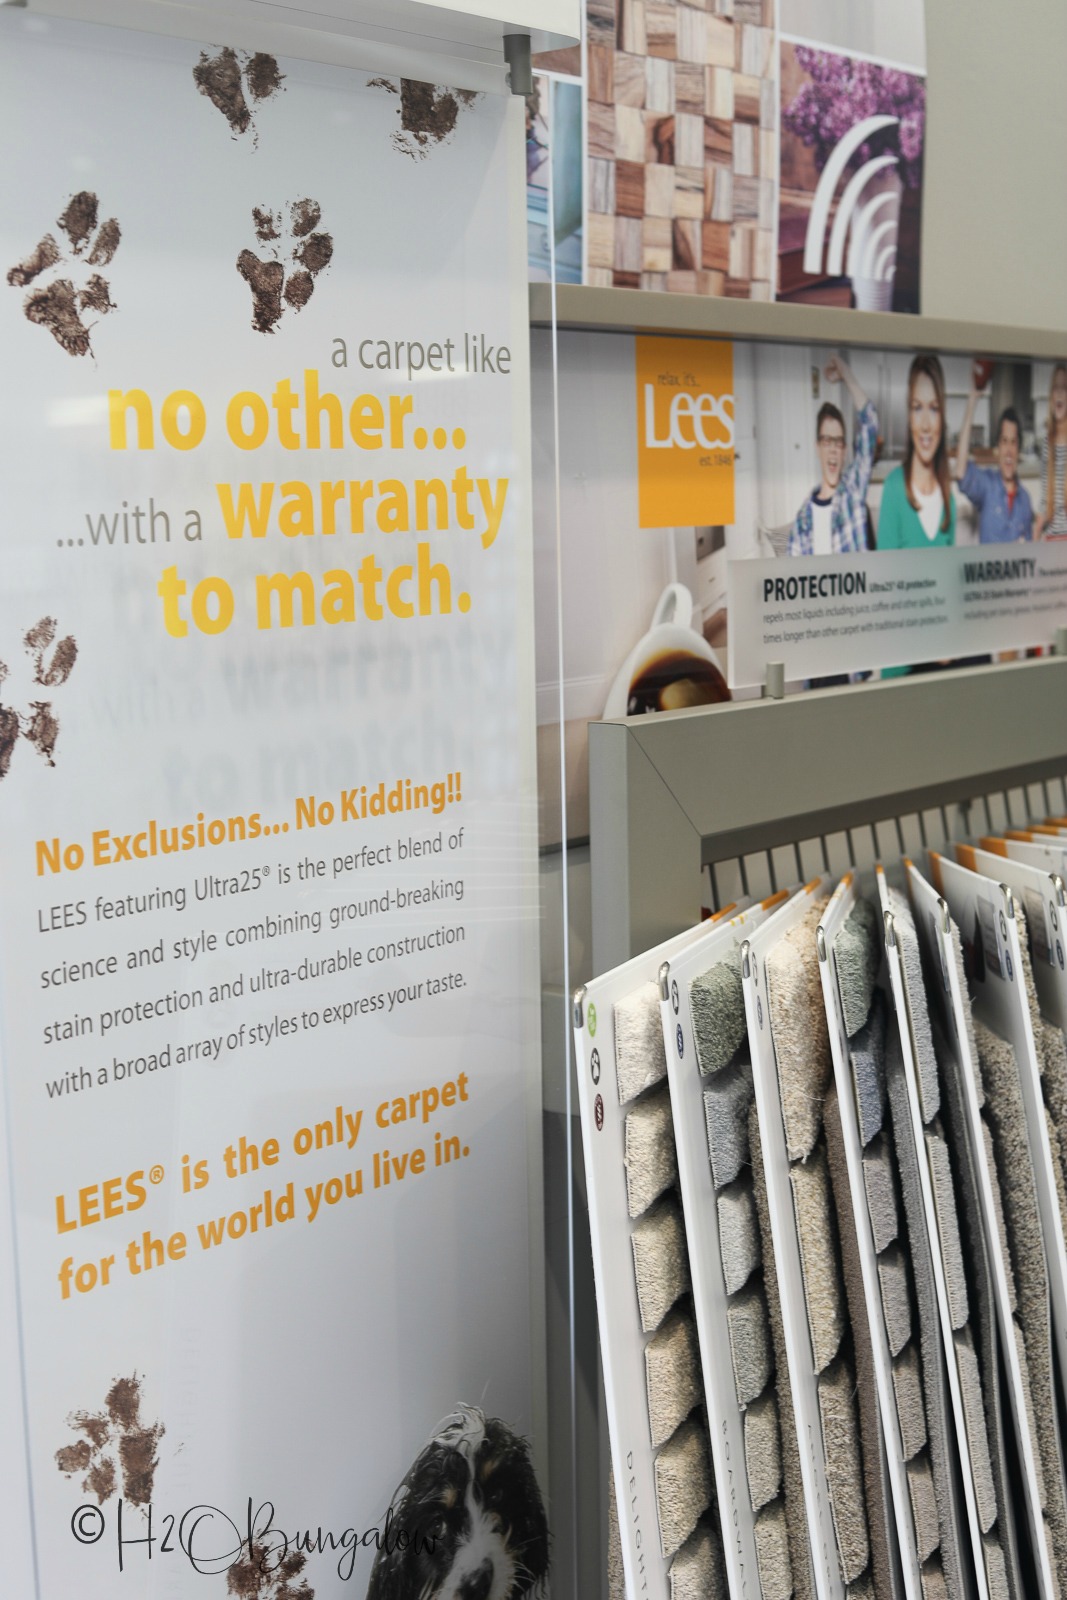
The flooring decision was a snap too. I knew I’d use the Relax, it’s…Lees® line of carpet from Carpet One Floor & Home®. It’s made to hold up to use and comes with a 25 year “no exclusions” warranty that covers stains. It was easy to bring home carpet samples so I could mull over color and pattern choices.
Once I had my carpet ordered, I started working on my DIY modern rustic bench for my new entryway.
DIY Modern Rustic Bench Tutorial
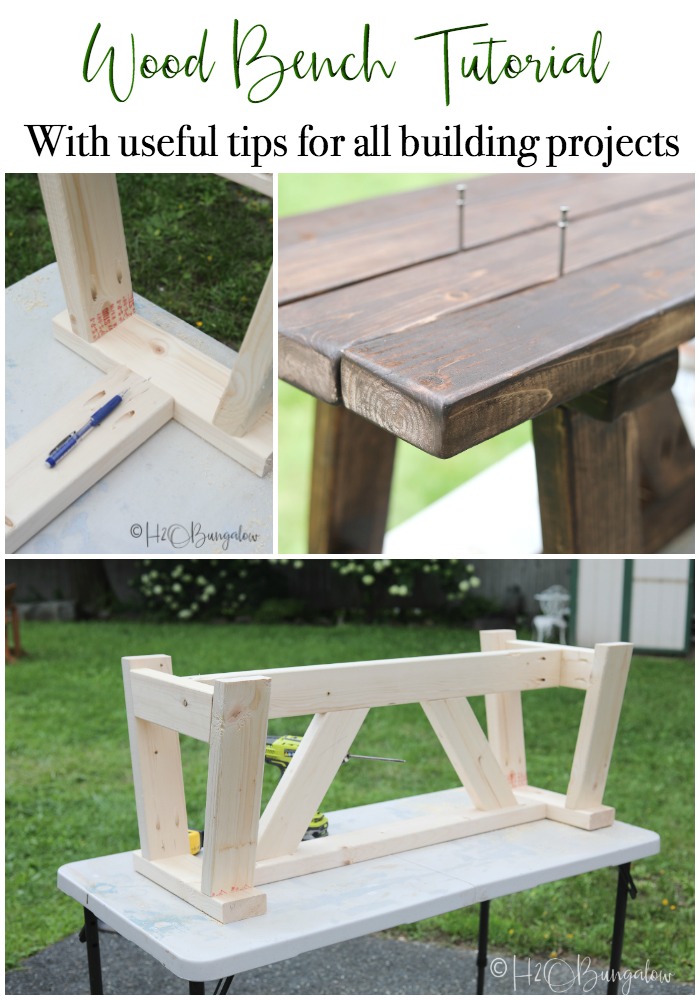
I used a premade plan to build my wood entryway bench. Following plans is pretty simple but not always as straightforward as one may think. Below you’ll find my tips and steps on how to build a wood bench from plans.
How to select the best wood to make a bench.
Select 2 x 4’s that are straight and dry for the best project outcome. Hold one end of a board at eye height, the other end will rest on the floor. Look down the length of it for flaws. A good piece of lumber will not bow out to the side or be warped and stick out anywhere. It will be straight to the end.
Cutting Tips
Read your plans first and make sure everything makes sense, including the dimensions. Cut each section and assemble it before cutting the next section. This is important for two reasons. The first is, plans can be wrong. Sometimes, there are typos and other times measurements may not add up properly. Last, sometimes your own cuts aren’t as perfect as they should be and most of the time your project will still work out if you make minor adjustments in other cuts later in your process.
So, let’s get started on this DIY modern rustic bench project. Ok?
Step One. Cut the bench legs and end sections.
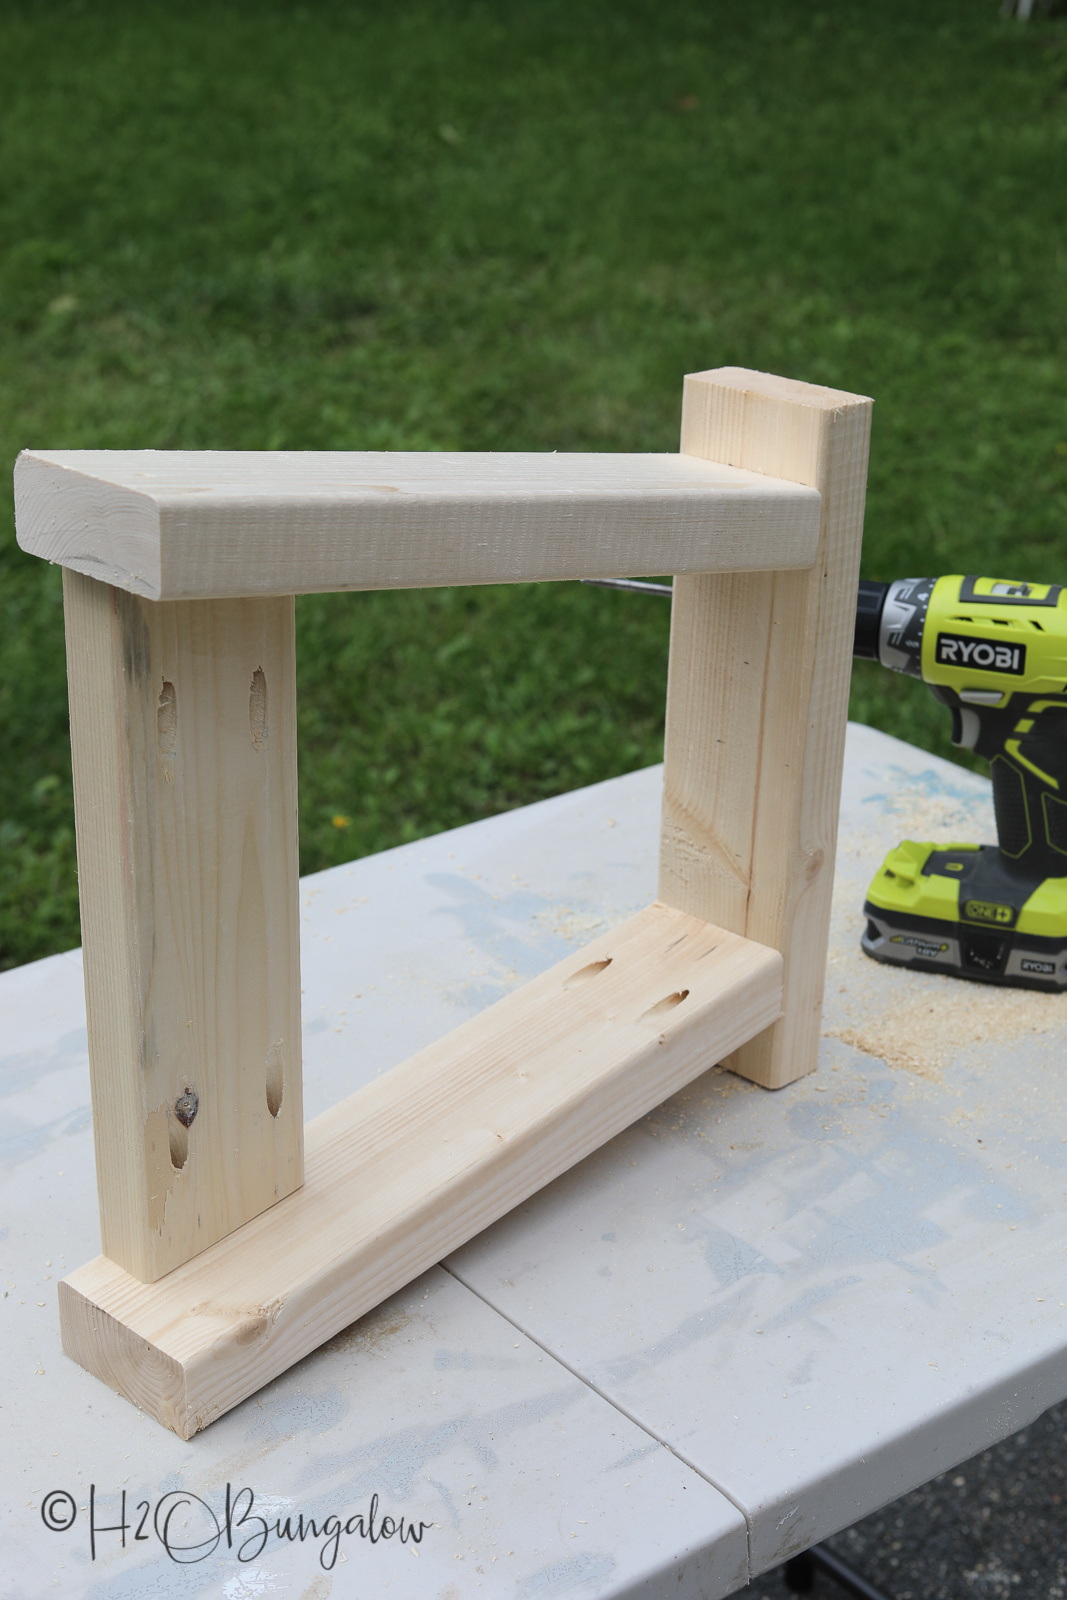
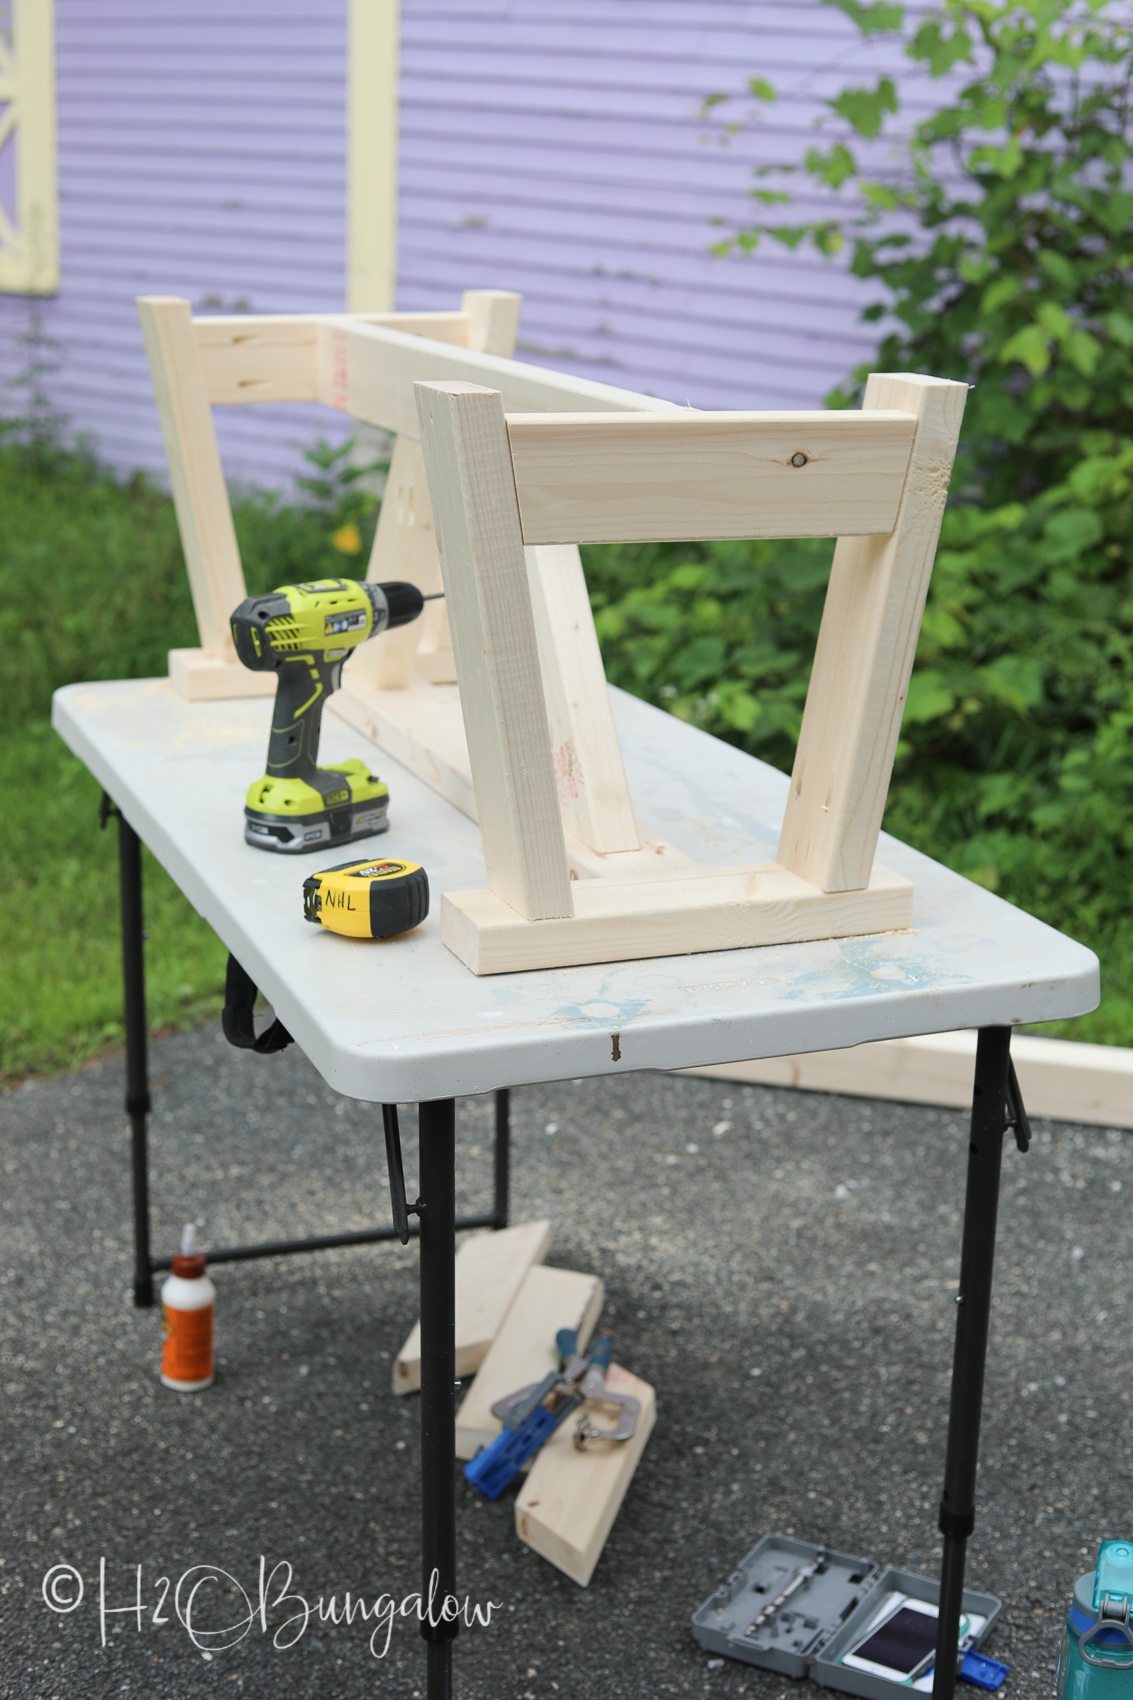
Assemble the two legs sections first.
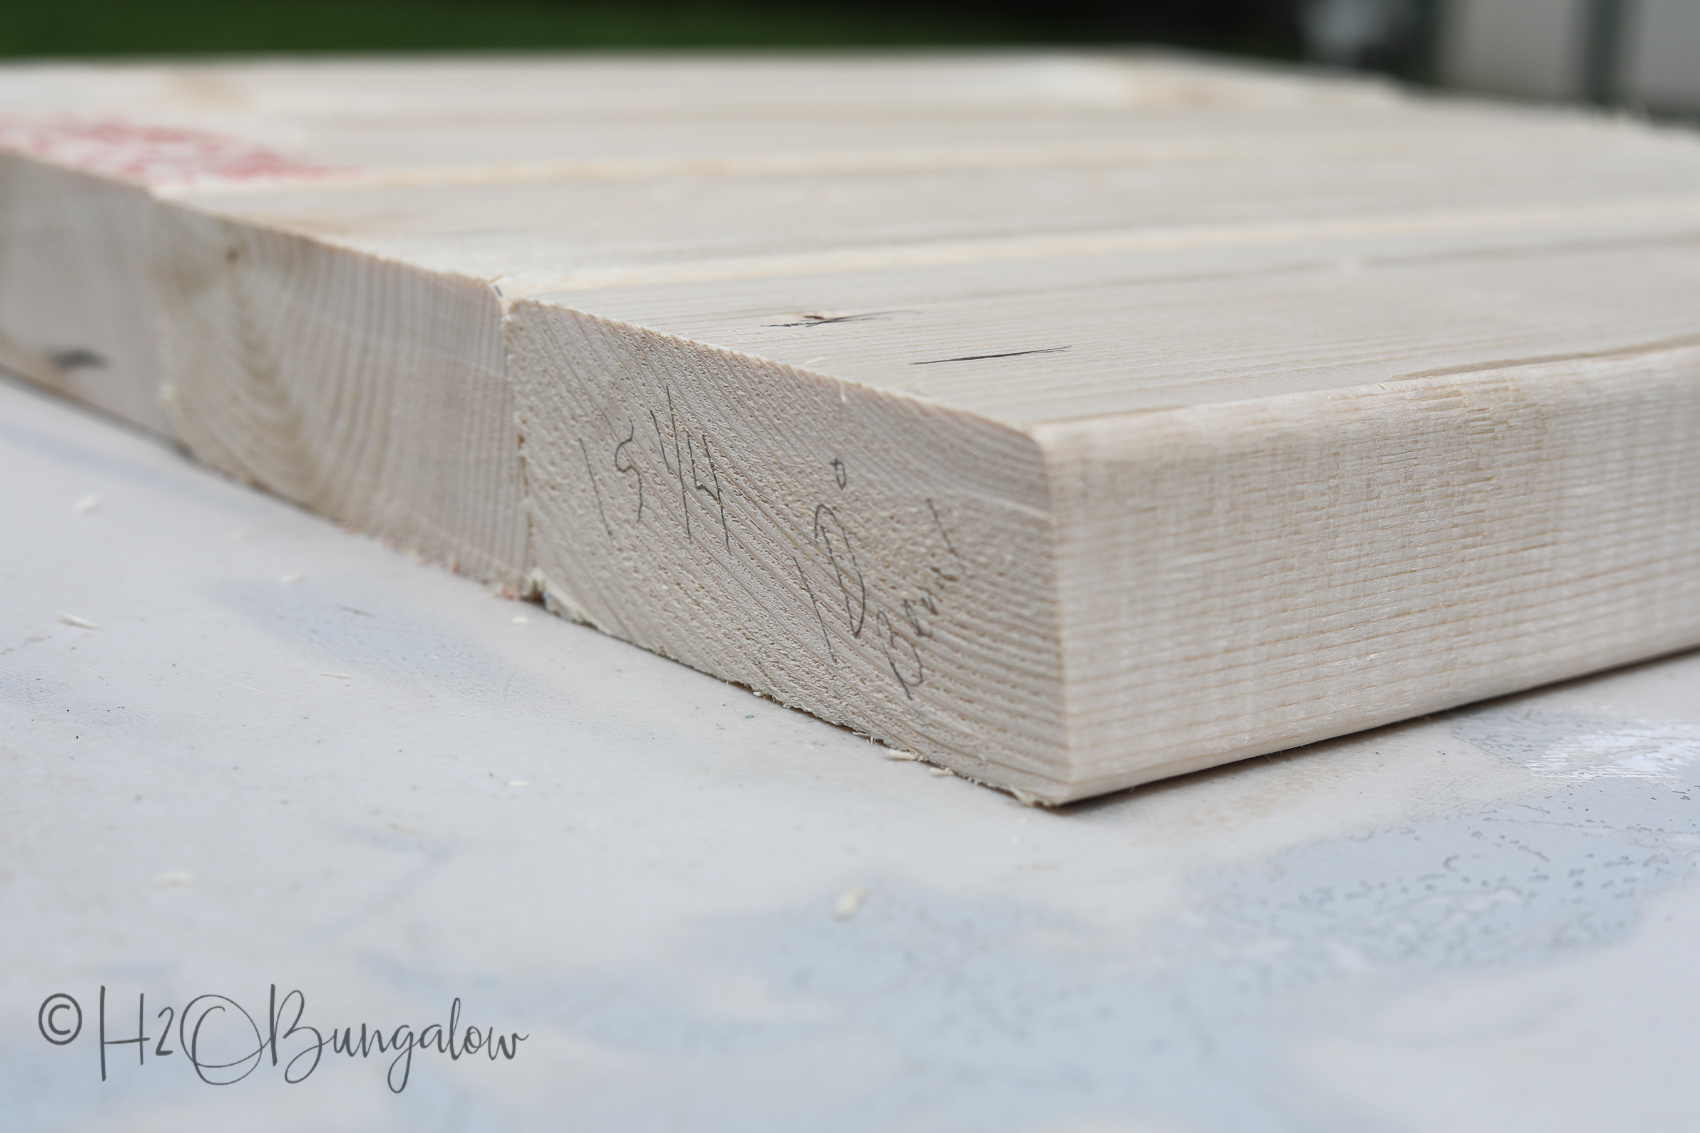
Tip ~ Always mark project pieces as they are cut. Especially when working with lots of similar size pieces! mark the size, angle cut and also label your wood as a front or back of piece.
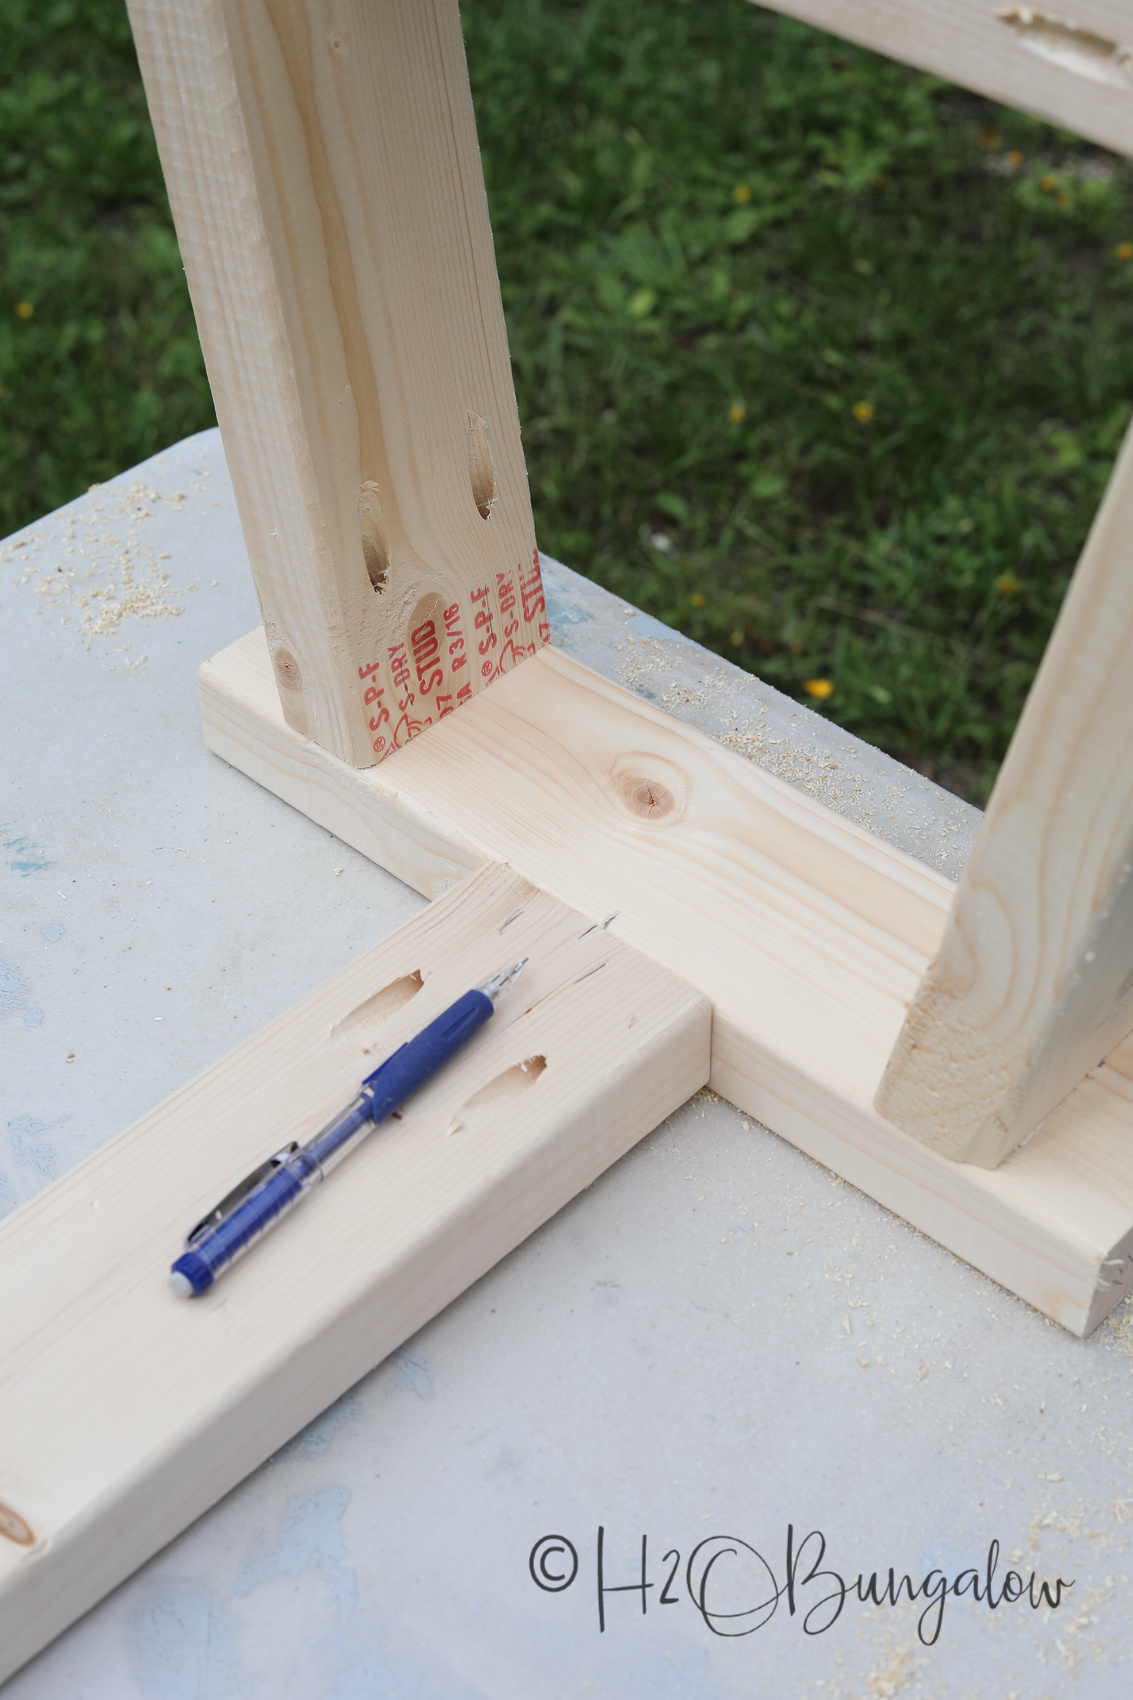
Tip ~ Mark where pieces will connect and where you’ll put your pocket holes. This also allows you to plan to keep pocket holes in the back of a piece where they won’t be seen.
Step Two. Attach the spreader between the two legs to create the base on the DIY rustic modern bench.
Tip~ Choose the best side of your wood and mark it to keep that side facing up or out. Especially when working with low quality wood like 2 x 4’s. and non-select lumber. Also, you can easily sand off the stamp that often comes on wood when needed.
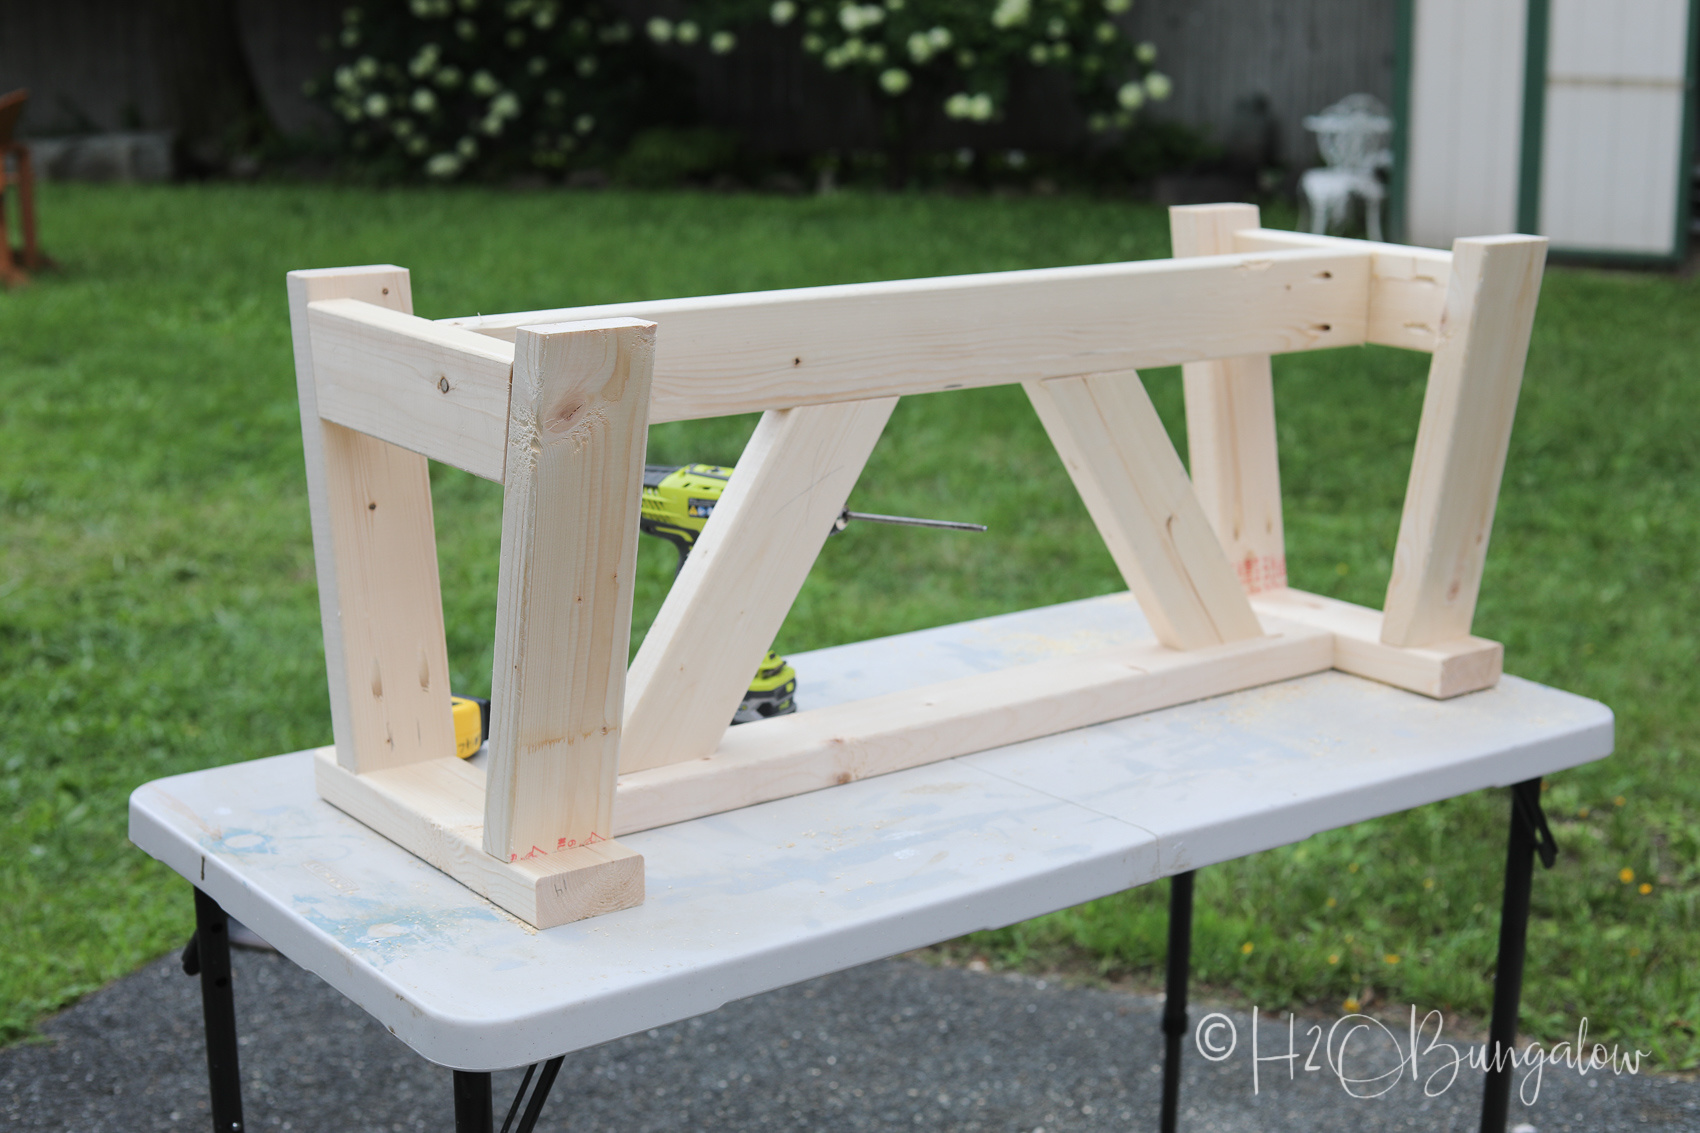
Step Three. Add the angled braces between the top and bottom stretchers.
Check that your angles and lengths are correct before cutting pieces!
Uh-oh! I either measured my angle cuts wrong or the plans for my DIY modern rustic bench had a typo. The angle of the legs I cut did not allow the brace bar between the two end legs to fit as high as the plans called for which changed the length and angle needed for the braces between the upper and lower stretcher between the end pieces.
Tip ~ To quickly modify the angle of the cuts on the wood bench supports, hold the support against one side of the spreaders where you’ll attach them and mark the cut line. Mark and cut one end at a time.
Step Five. Sand and stain the wood bench base and top slats.
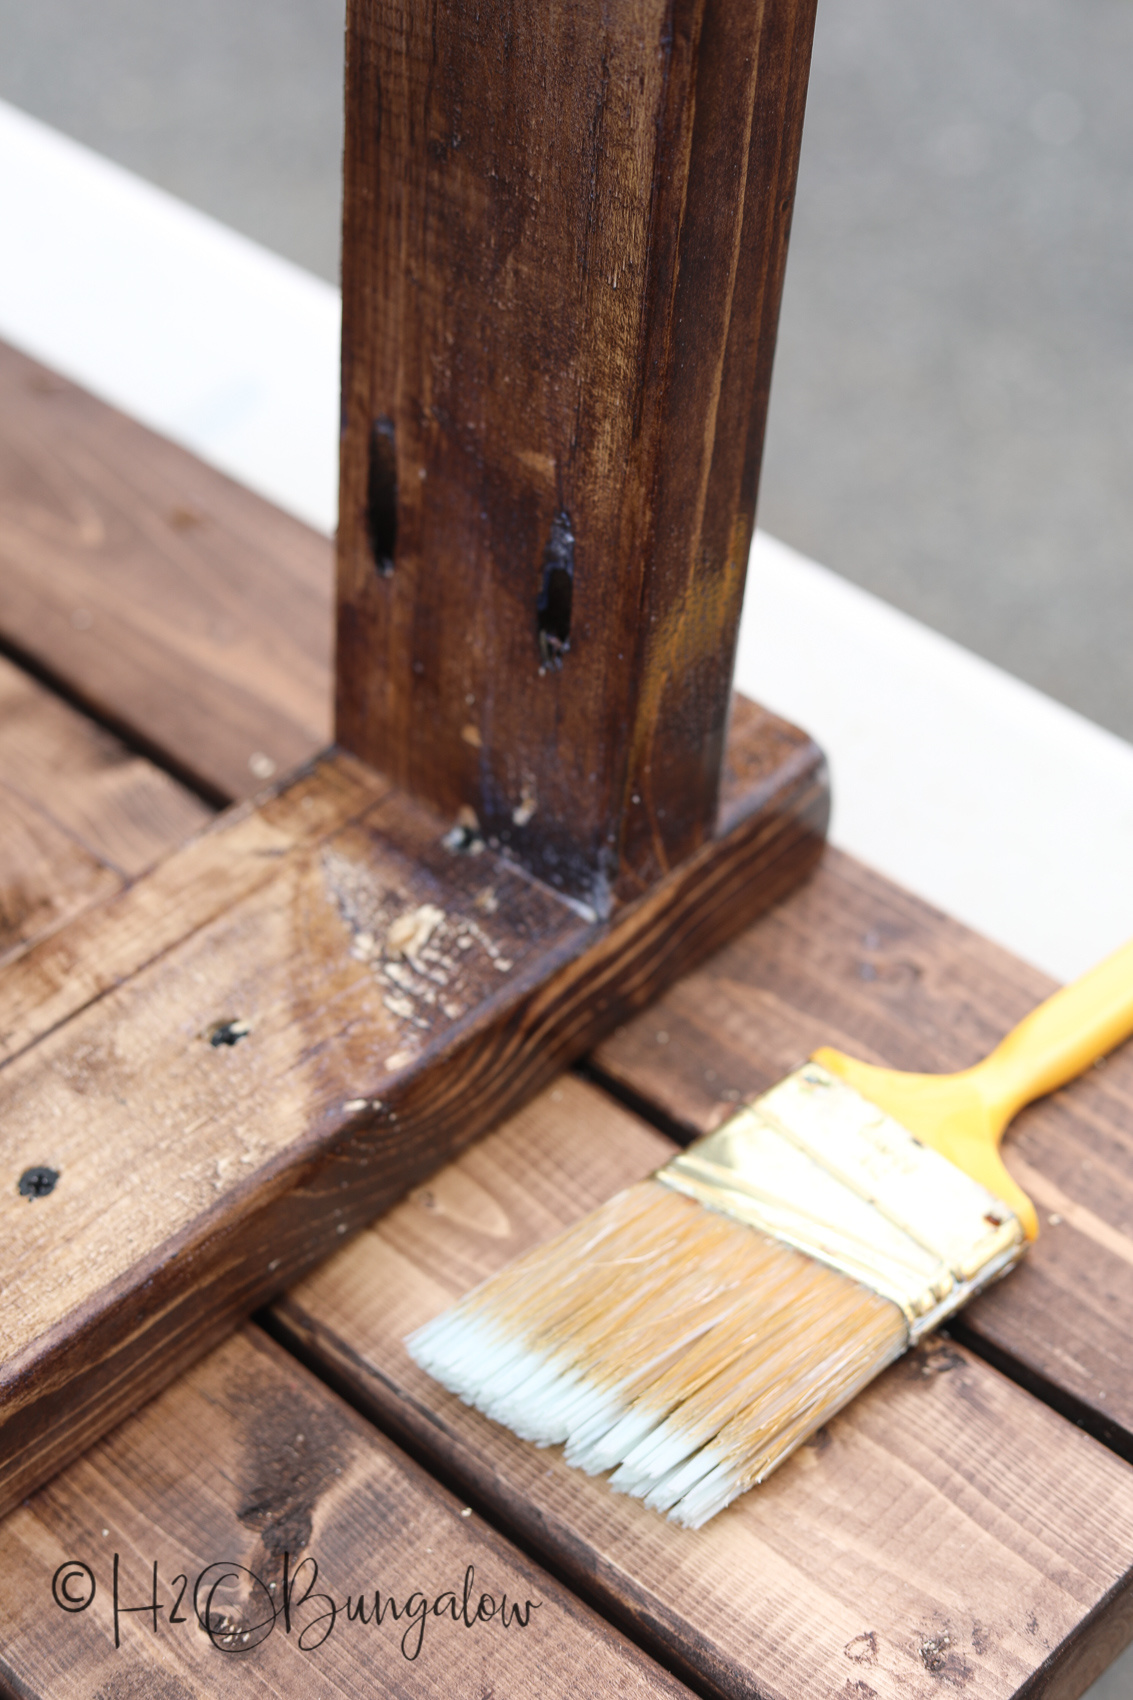
Either a dark or light stain will give this bench a rustic modern look. Sand and stain the base and the bench top 2 x 4’s first so the color is even between the slats. Round off corners. I’m always a little more thorough in sanding sharp edges when building seating, sharp edges can hurt and scratch!
Step Six. Attach the bench top.
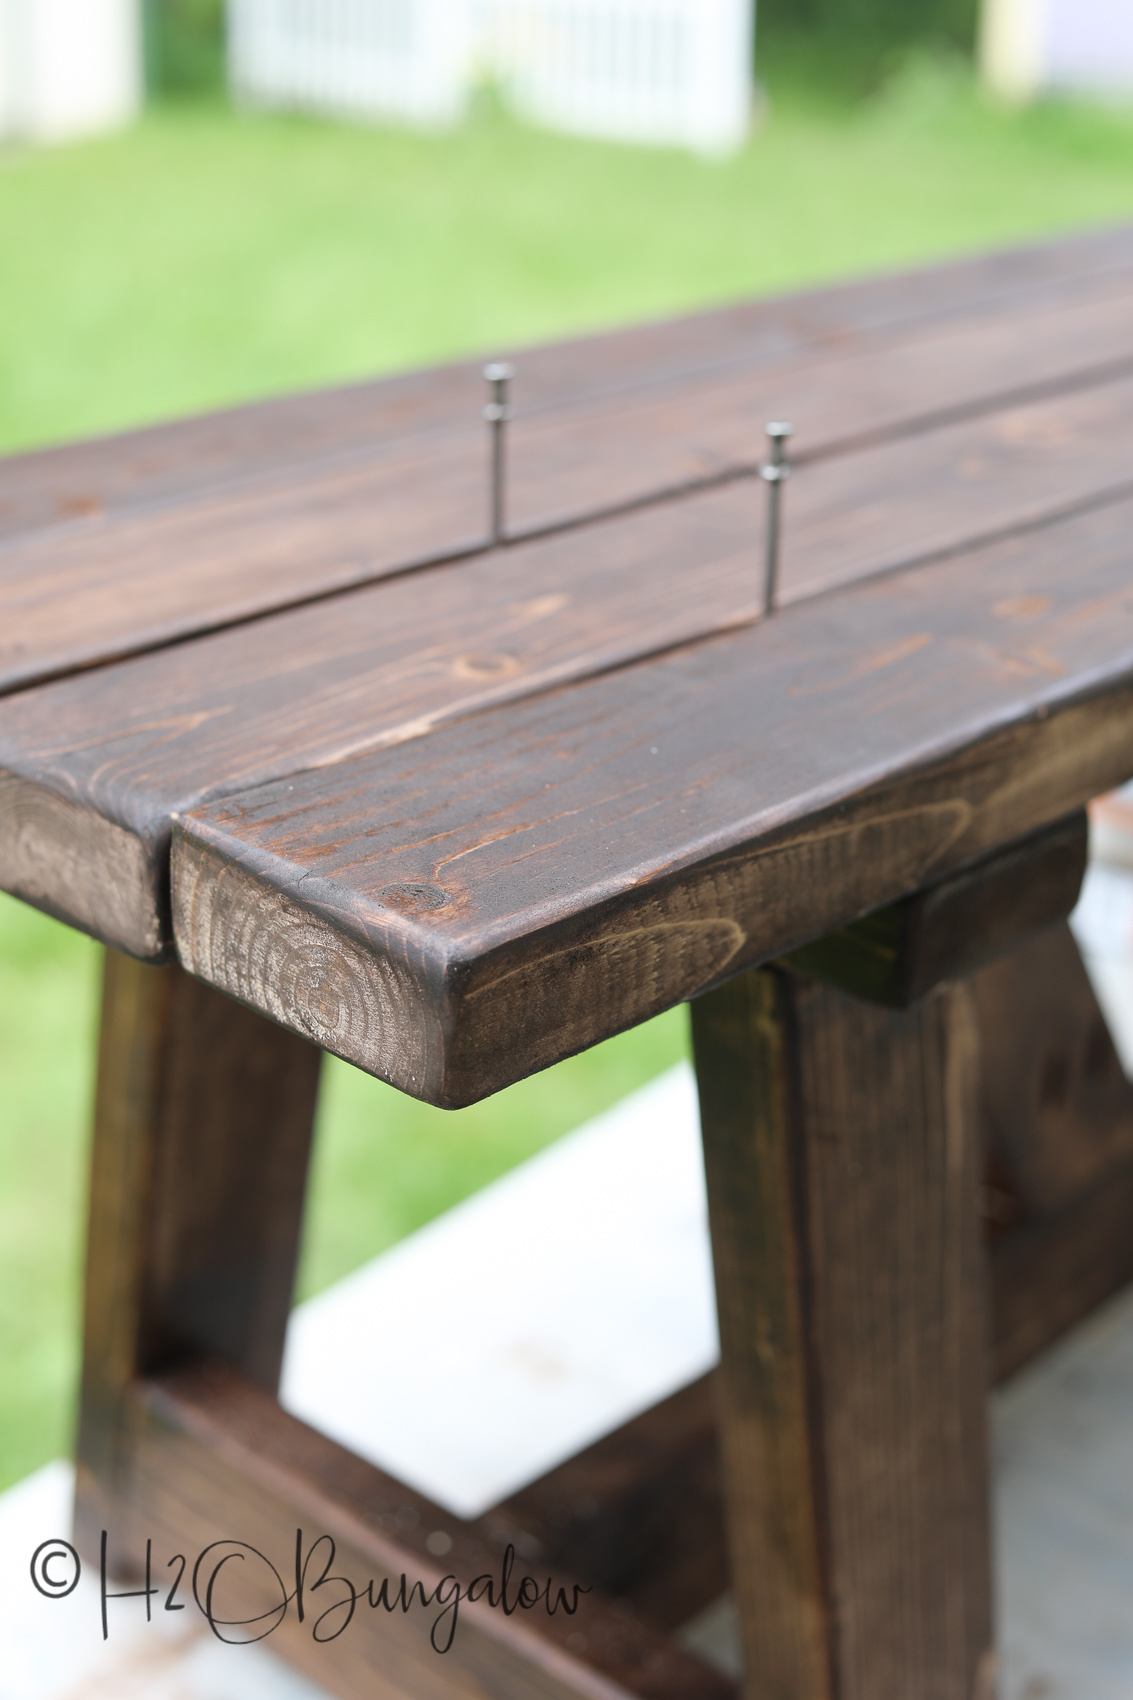
Tip ~ Use spacers, either 9 penny nails, shims or paint stirrers to space the top boards evenly before attaching them to the wood bench frame.
Step Seven. Apply a finish coat to seal the wood bench.
Use a clear sealer or clear furniture wax to seal and finish your DIY bench project.
Tip ~ It only takes few more minutes to finish the underside of a project. Projects look better and more professional when they are finished all-over.
Save my DIY wood bench building tips for later and share with your friends on Facebook!
How’d my bench turn out? Let’s just say AWESOME, it’s exactly what I envisioned!
I’m loving the idea of adding a functional entryway to this space. It will be useful year round. Once my carpet was ordered and my DIY rustic modern bench completed it was time to shop for a few goodies to complete this welcoming entryway makeover.
You’ll see the entire project in a few days.
In the meantime here are the reasons I chose Carpet One’s Relax,…it’s Lees Carpet® for this entryway makeover.
Style and color!
Relax,…it’s Lees carpet has a huge range of colors and even textured carpet choices.
- #1. Relax, …it’s Lees® has a 25 year no exclusions warranty. It’s tough and made to hold up to the weather, traffic, wet boots, pets and all.
- #2. Style. I didn’t have to sacrifice style or color choice with this carpet line.
- #3. Carpet One Floor and Home™ has The Beautiful Guarantee®, and if I don’t love my carpet they will replace it for free.
I love Carpet One Floor and Home products! You can see my other project I shared in How to Makeover a Bedroom in 3 Steps from last spring when I was working on our Modern Costal Bedroom Makeover. I choose an incredibly soft to the touch carpet for our bedroom. Do we still love our flooring? Absolutely!
Sending out a big thank you to Carpet One Floor & Home® for sponsoring this post!
Do you have a place in your home to create an inviting entry? Share where in the comments below! Be sure to check back in a few days to see my new space!
