- Modern Masters Silver paint
- Modern Masters Black Pearl – I used the small pint
- Clear Glaze
- Microfiber or velour paint roller
- Old paintbrush
- Fine grit or 220 grit sandpaper
- Drop cloth
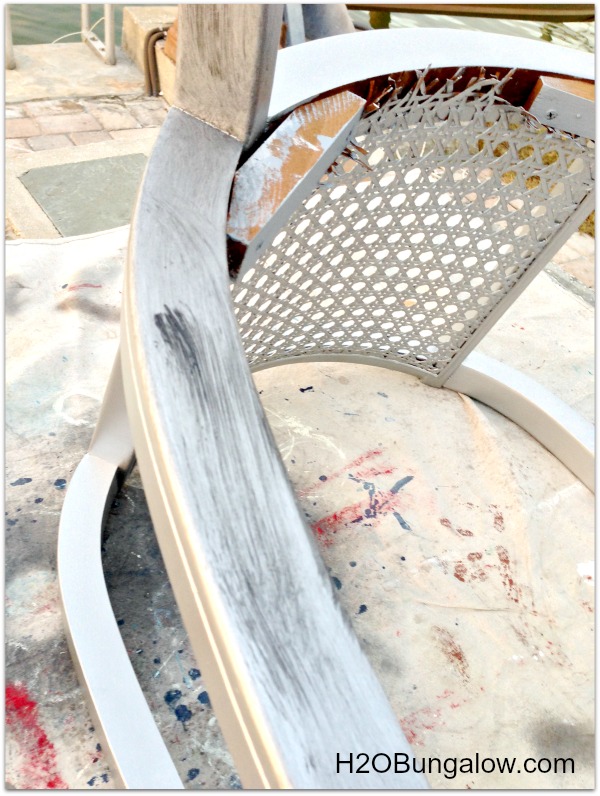
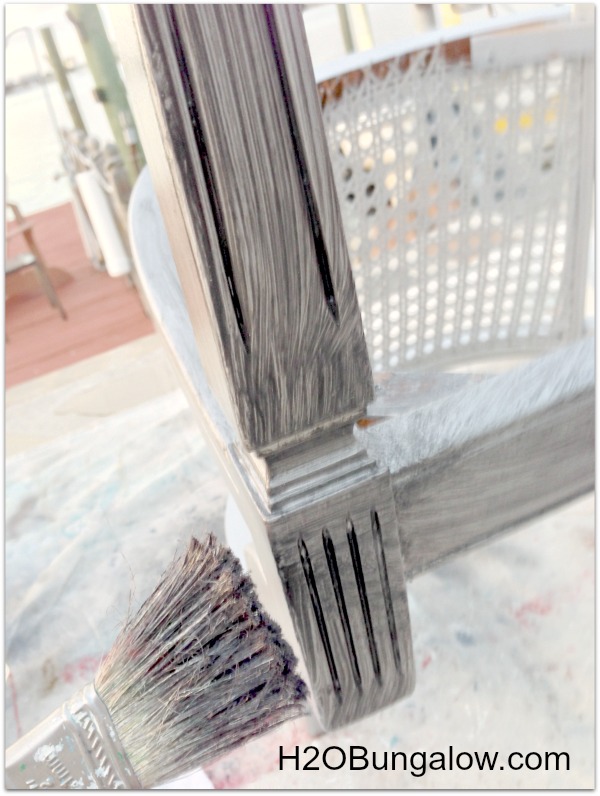
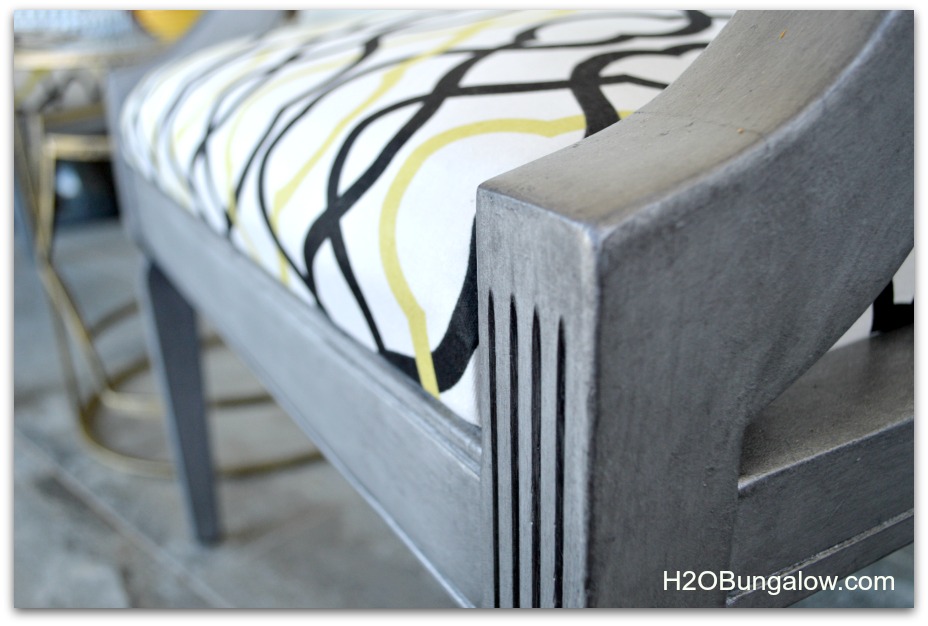
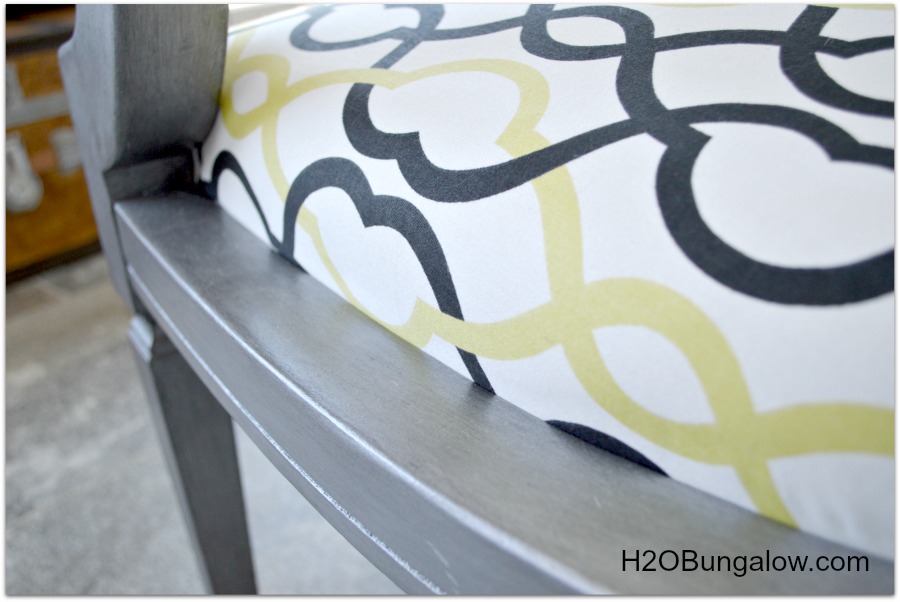
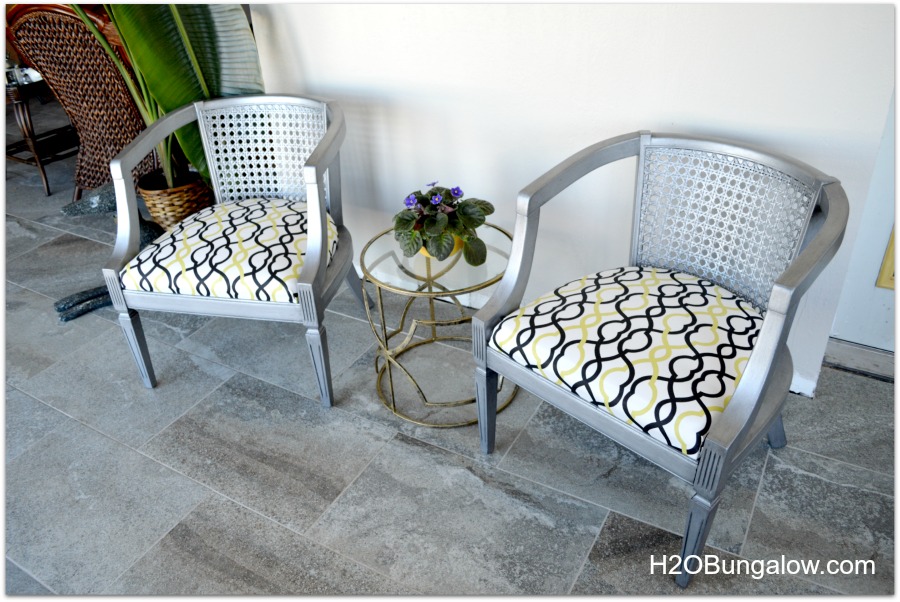
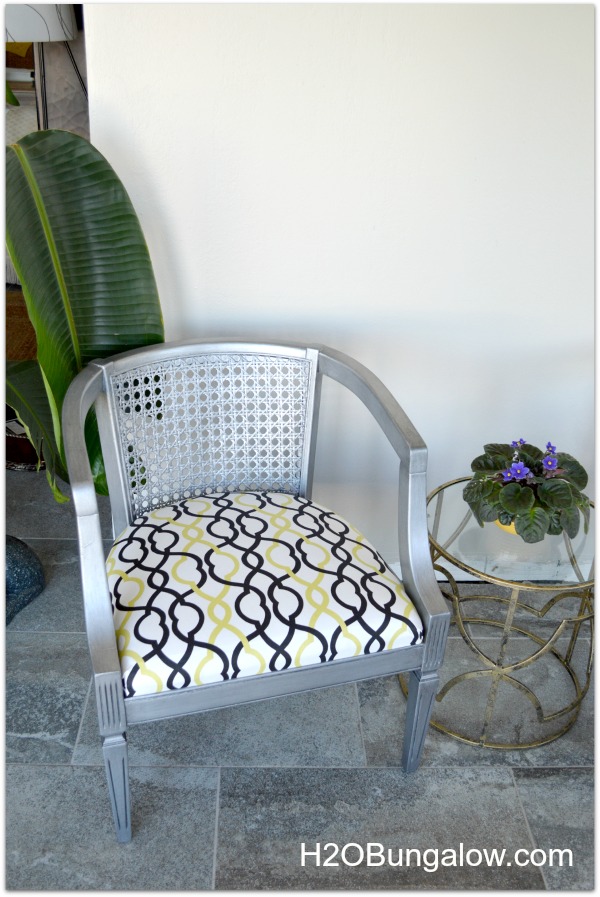
Let’s talk about preparation quickly. I feel if I put the time in to create a silver finish on furniture or another finish, I want it to last. It’s worth it to take the time to do it right. I wash with a deglosser (TSP), lightly sand high spots, and primed these before I painted them with my favorite Modern Masters paints. What I love about this paint is that it’s acrylic and washes up easily with soap and water. I also like that it cures to a hard finish and it’s not rubbery like latex paint. These were both painted with two coats of Modern Masters Silver paint. The one on the left hasn’t been aged yet. It’s amazing how much depth and detail the glaze brings out. 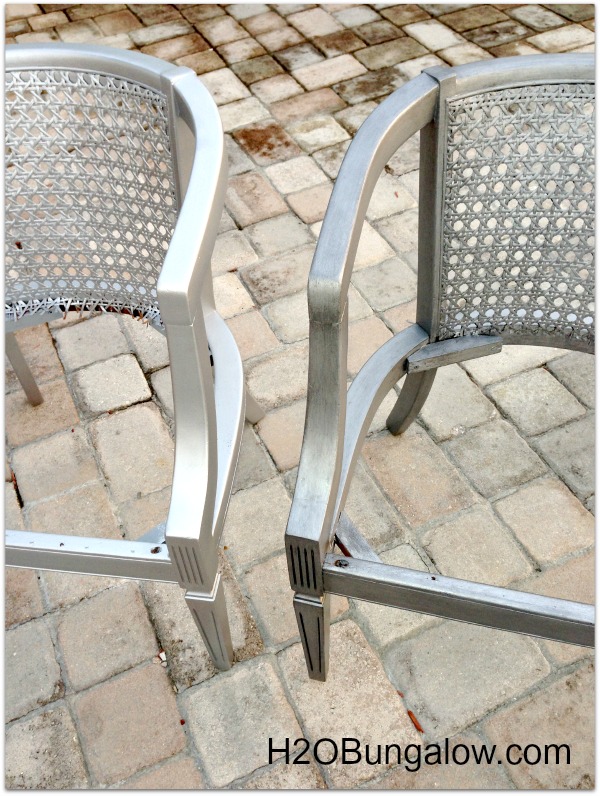

Vanessa says
Every single time I see these chairs, I’m dying over the fabric. There are a lot of things Canada does well, but we really do have less selection in our stores. A couple of years ago I was making cushions for a gorgeous MCM chair and had to ‘make-do’ on the fabric for what was available. The fabric you used would have been perfect!
Wendi says
Hi Vanessa! I kept walking by that fabric and finally I went for it. I found it at JoAnns Fabrics. I know how hard it is to find supplies up north. Our VT North House Lodge is like that. I have to drive almost 30 miles just for Walmart! I feel your pain on selection big time, I’ve started packing my suitcase with decor items from here when I go up! The TSA people must think I’m nuts..LOL
cynthia says
Wendi, I have two black chairs I am doing silver too. I bought the gliding silver wax from the store I b ought all my chalking paint from. They said the wax over the black would do fine. I am hoping so. then to seal lwith the clear wax. crosing my figers.
Wendi says
Hi Cynthia, I love guilding wax! For your project you may find the silver guilding wax over black chalk paint doesn’t give you much blending potentaial if you’re looking to create the finish that I did on these chairs. But, I think the combination you picked will look absolutely stunning together! I’ve always found it helpful to use a scrap of wood to play with my color mixes as a test/sample board when I’m trying new paints or techniques. Have fun & please share a picture of your project on my H2OBungalow Facebook page!
Debra says
I love your chairs. I have two that are the same cane back barrel chairs. On my chairs the wood and cane is beautiful and does not need any work so I want to keep the wood finish BUT !!! I need to reupholster the seats and really don’t know how to go about to do this. I have reupholstered regular dinning chairs but nothing like the size of these. Is it possible for you to email me with what I need to do. If possible can you give me the step by step process? I would be so grateful to you for any help you can offer.
Best regards
Debbie
Wendi says
Debra, You’re in luck! I posted a tutorial on this topic with a bench makeover. If you look in my DIY gallery, On the third row down you’ll see a tutorial on how to upholster a bench. The steps are the same as I used on the chairs. Good luck and let me know if I can answer any other questions.
katie says
oh i love this!!!
Wendi says
Thanks Katie. That is such a huge compliment coming from the DIY queen! Thank you for visiting today!!
Lauren @ The Thinking Closet says
Oooo! I love hearing about your painting techniques; and I won some MM paint in a giveaway, but have been waiting for the right opportunity to use them. Now, I’m inspired after reading your tips and tricks. Question: do you use a sealant of some kind? Like Polycrylic? Love the finished look! You knocked it out of the park.
Wendi says
Lauren…you know how to make a girls day! I’m so glad my tips are helpful! Oohh your question begs more questions..but a simplified answer …using a topcoat of sealant or wax depends on what type of paint your using and what type of piece your painting. This project was done with Modern Masters paint and glaze which are acrylic. I didn’t use a topcoat because it cured nice and hard. If your using Milk paint you’ll want a sealer of wax or other. The line of paint probably has their own sealer product. I personally feel is best to stick with products in the same line that made to work together. With all that said I would have added an extra layer of protection of some sort onto a table top or dresser top that will get a lot of wear. Hope my mini-novel answer helps more! LOL
Trish says
They look great.
Wendi says
Thanks Trish! So glad you liked my chair makeover. I love the way they turned out too. Thank you for visiting & your sweet comment.
Marie @ The Interior Frugalista says
Gorgeous finish Wendi and I’m so glad you shared the tutorial with us! Oh my do I have a thrifty find coffee table that would look amazing with those chairs…too bad you didn’t live nearby. I love the green and black fabric you choose too. I’m sure these will sell quickly.
Wendi says
Marie… Thank you.. I wish you lived out here too. We could pair your coffee table and my chairs…then get in trouble thrifting stores together!! Thanks for stopping in today 🙂
Marie @ The Interior Frugalista says
Wouldn’t that be fun!
Wendi says
Yes it would! Oh the damage we could do together!
Marie @ The Interior Frugalista says
LOL, for sure!
LuAnn Braley says
Wow…those are totally different chairs! Looks great Wendi
Wendi says
Thank you LuAnn! I knew they’d look better after the makeover…just didn’t realize how much better! Thanks for visiting today:)