I’m going to show you how to make a freestanding wood Christmas tree today. This tutorial also has a quick video to show the steps to make a tabletop Christmas tree and a free tree template.
Make several for tabletop or floor standing decor.
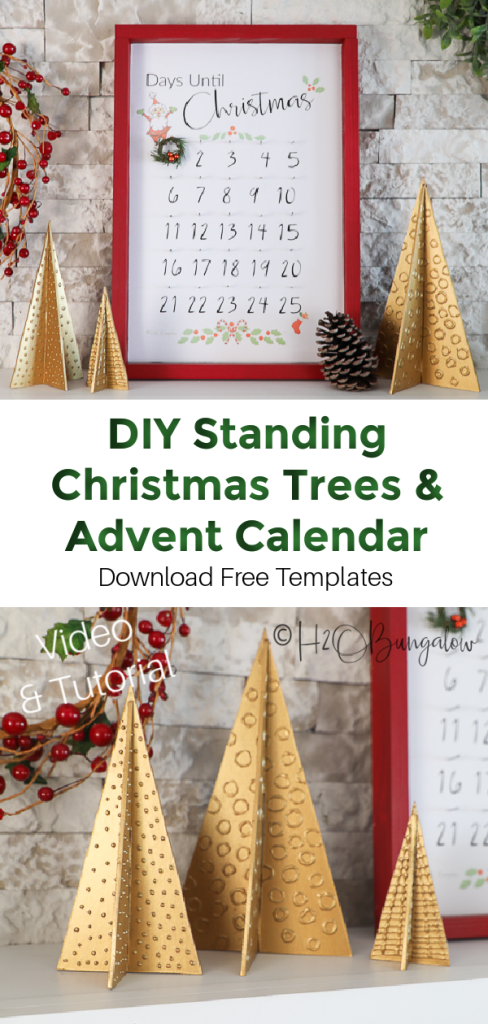
This is so easy friends! I made mine from chipboard but you can easily use cardboard or balsa wood or even plywood. Grab my free Christmas tree template below to make a set of tabletop trees like mine.
These handmade three dimensional trees look great with the DIY Advent Calendar I made last year, don’t you think so?
Sending out a big thank you to HomeRight for sponsoring this post! I also use affiliate links, as an Amazon affiliate I earn a fee from qualifying purchases at no additional cost to you. Thank you for supporting H2OBungalow!
How To Make Freestanding Wood Christmas Tree
What you need to make a tabletop Christmas tree
- 1/4″ chipboard
- HomeRight Quick Finish paint sprayer
- Wagner Paint Shelter, small size
- Christmas Tree Template
- Jigsaw with a fine tooth blade
- Sandpaper, 220 grit
- Gold metallic craft paint
- Craft glue with a applicator fine tip
- Printer
- Graphite paper
- Painter’s tape
I’ve made a quick Youtube video to show the steps I used to make my set of wood tabletop Christmas trees.
Step 1. Print tree templates.
Print my free Christmas tree template or make your own. My set of tabletop Christmas trees are 3 different sizes.
Step 2. Transfer the tree shape onto the board.
Cut the chipboard into smaller sections to work with, it will be easier. Next, trace the outline of the trees onto the chipboard using graphite paper.
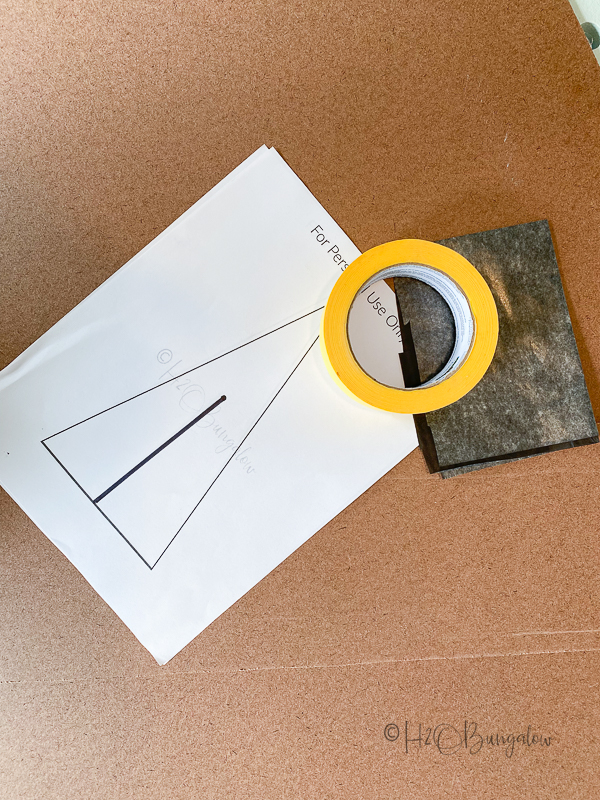
It helps to use Painter’s tape to hold the paper in place when tracing. Be sure to trace the center cut-out precisely. You’ll want it to be the width of the chipboard.
Step 3. Cut out the trees.
Cut out each set of trees with a jigsaw or scroll saw. Cut the center slices out first. Test the width of the cut (see my video) and then the outline of the tree next. Using clamps to hold the wood makes this part a lot easier to do.
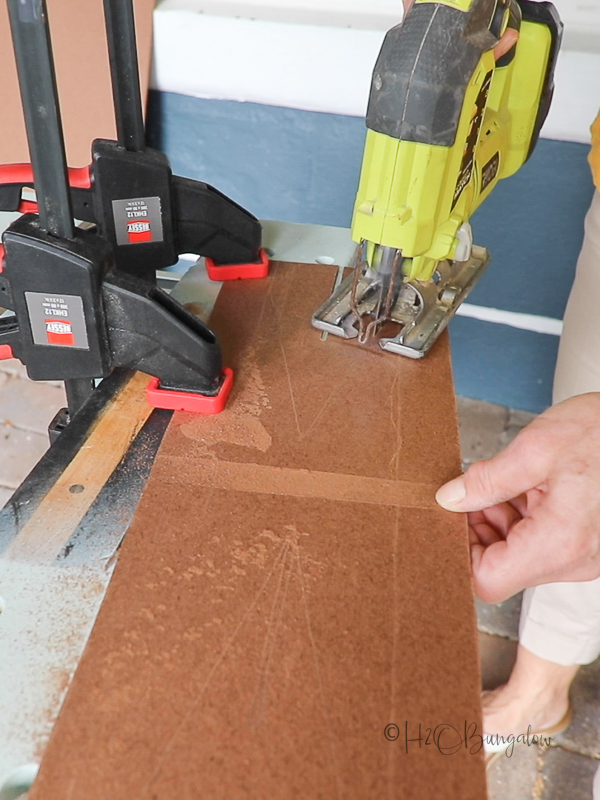
Sand the edges of the trees lightly with a sanding block or high grit sandpaper
Step 4. Add a design to each tree.
Add a pattern texture to one side of each tree using craft glue. I used small circles on one, dots on another and a plaid pattern on the smallest tree.
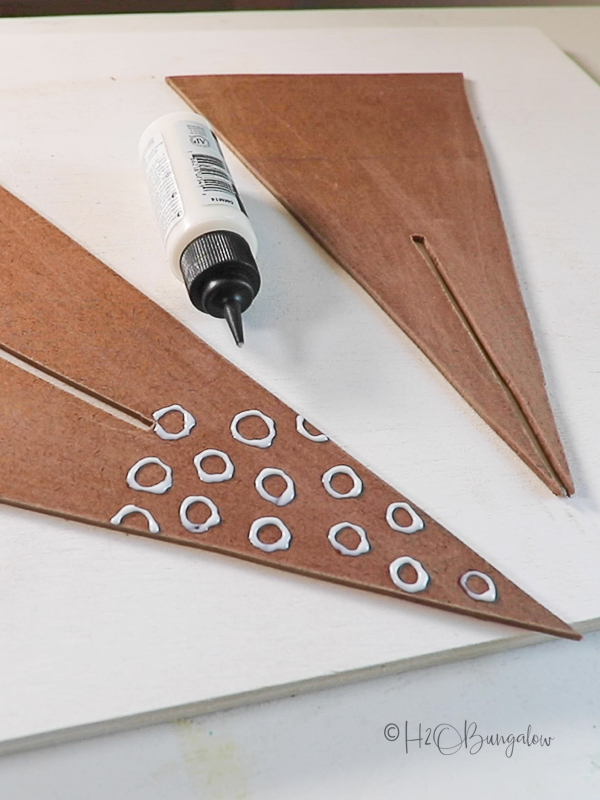
Do not add any texture to the center portion where the tree will slide over the other tree part. I traced the width of each board on the tree so I’d see where not to put glue.
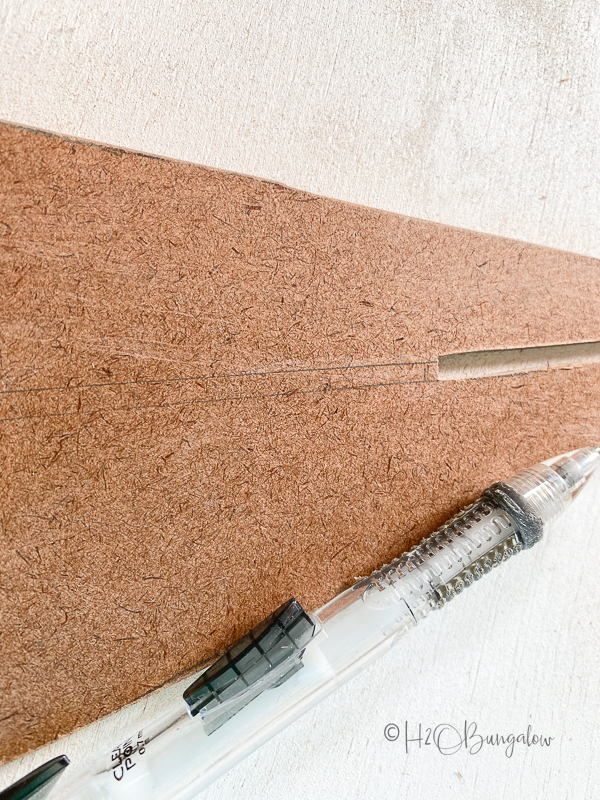
Allow to dry overnight. Turn over and add the same pattern on the other side. Allow that side to completely dry before moving on to the next step.
Step 5. Assemble the trees.
Assemble the trees by sliding one piece over the next before painting. They will stand up, the bottom of each portion will sit flat on the table. If they don’t, trim the center cut out slightly until they do.
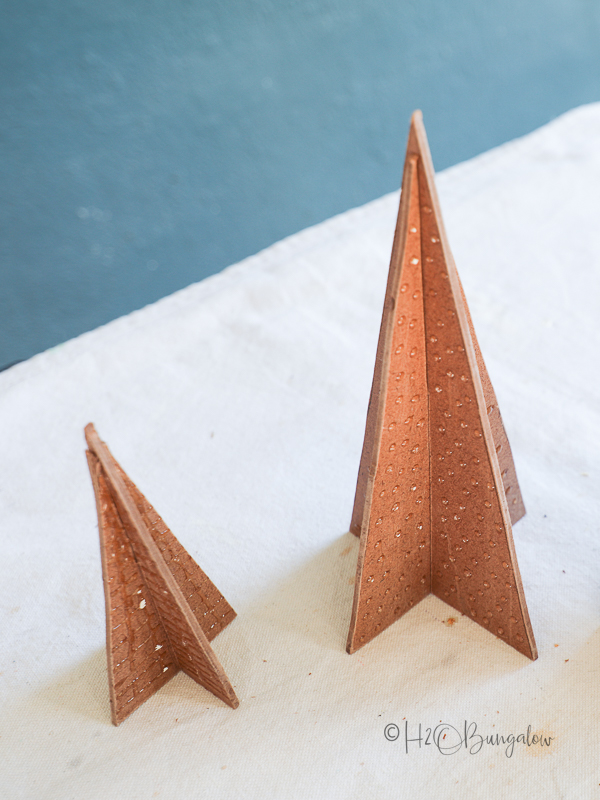
Step 6.
To get a perfect finish I painted the assembled, freestanding trees with gold acrylic craft paint using a HomeRight Quick Finish Paint Sprayer. I also set up my Wagner small paint shelter on a table to protect my painting area from overspray.
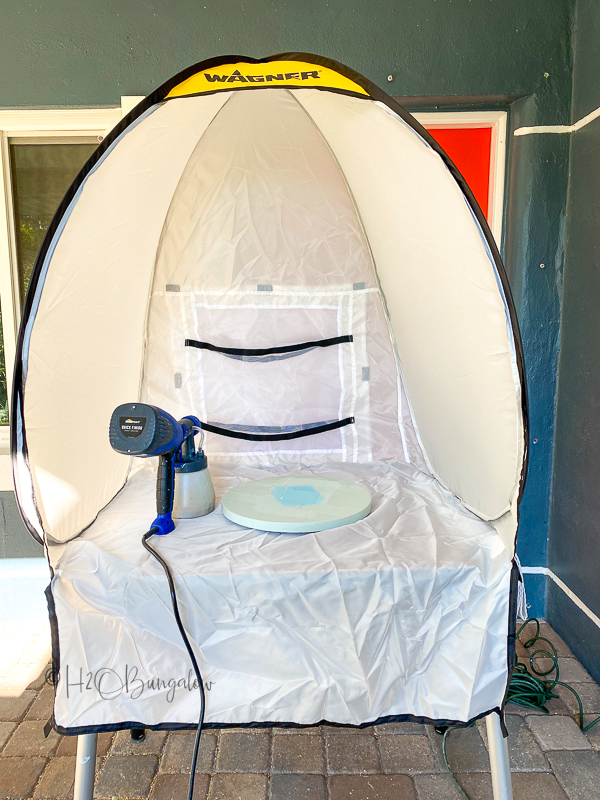
I diluted my paint slightly with water and applied two coats of paint to each tree allowing it to dry between coats.
Using a Quick Finish is really easy and there are only a few steps to using this model like a pro.
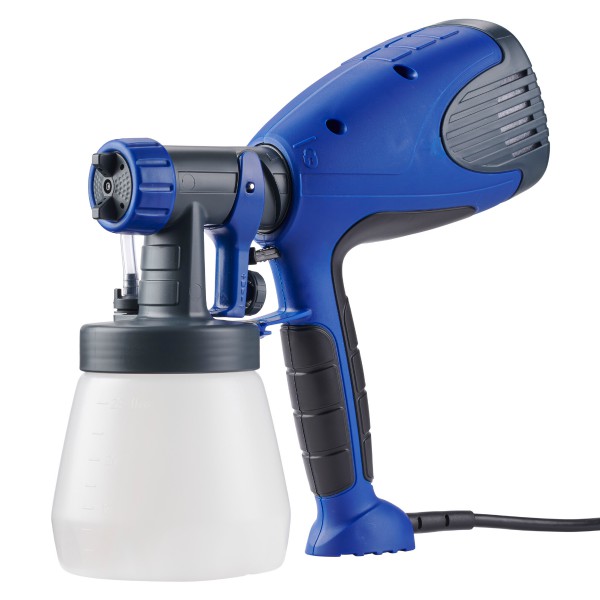
Pull the trigger to start the paint spray, Adjust the paint flow amount behind the trigger and turn the spray nozzle to select a horizontal or vertical spray pattern.
Always test spray and make adjustments before starting to paint a project.
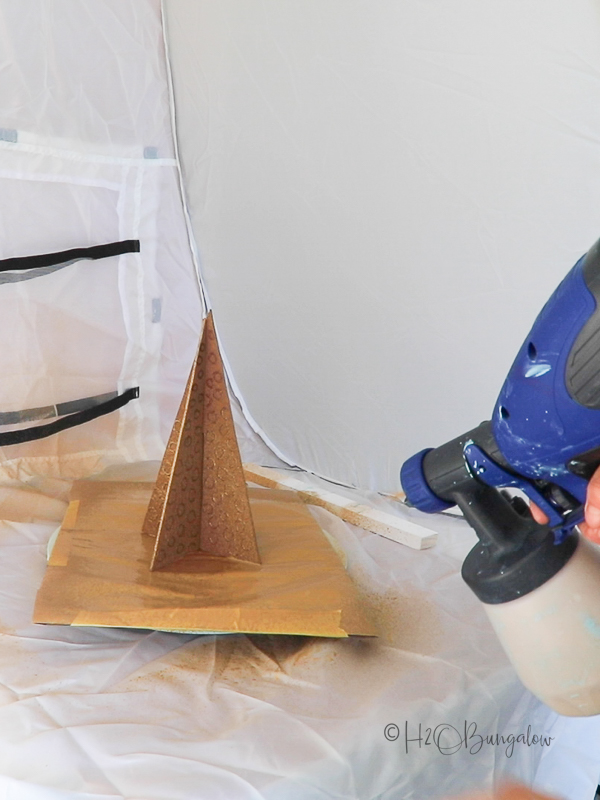
Painting is easiest when the trees are standing upright on a lazy susan while spinning it to apply an even layer of paint all over.
Move your entire arm holding the sprayer to apply an even coat of paint from top to bottom. Set the tree aside to dry.
Apply two coats of paint to each tree allowing them to dry between coats.
Aren’t they perfect on the mantle? Pin and save my freestanding wood Christmas tree tutorial for later and I’d loive it if you shared it with your friends on Facebook!

I’m loving my the gold trees with the red frame from my Advent Calendar! It adds a touch of glam to this year’s holiday decor!
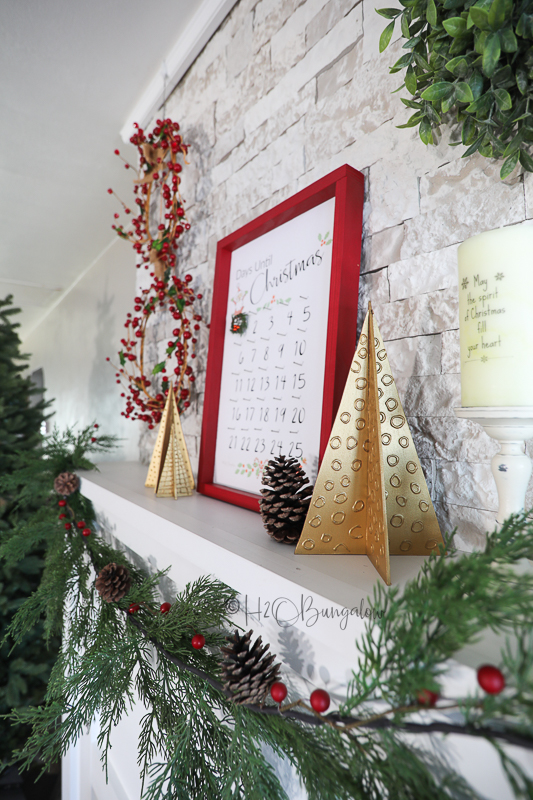
I made this Christmas DIY Stocking Holder a few years ago too.
You know, all three projects were made with HomeRight paint sprayers! You can’t beat the quality of the paint finish or the time saved when using a paint sprayer!
If you haven’t seen the line-up of HomeRight paint sprayers and paint shelters you can see them all on their website. There’s a project tab that has loads of DIY projects too.
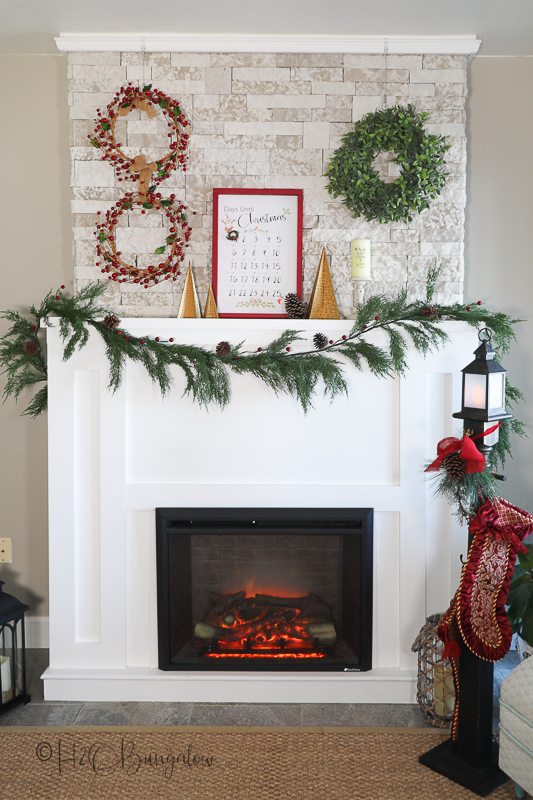
Which is good, because I still have my Christmas tree to decorate! I found the cutest wooden snowflake ornaments and wish I’d sprayed them all gold to match when I had the sprayer set up. Oh well, I’ll still; spray them, it wiLl save me a ton of time and cleaning the Quick Finish is a breeze. It only takes a few minutes and it’s easy.
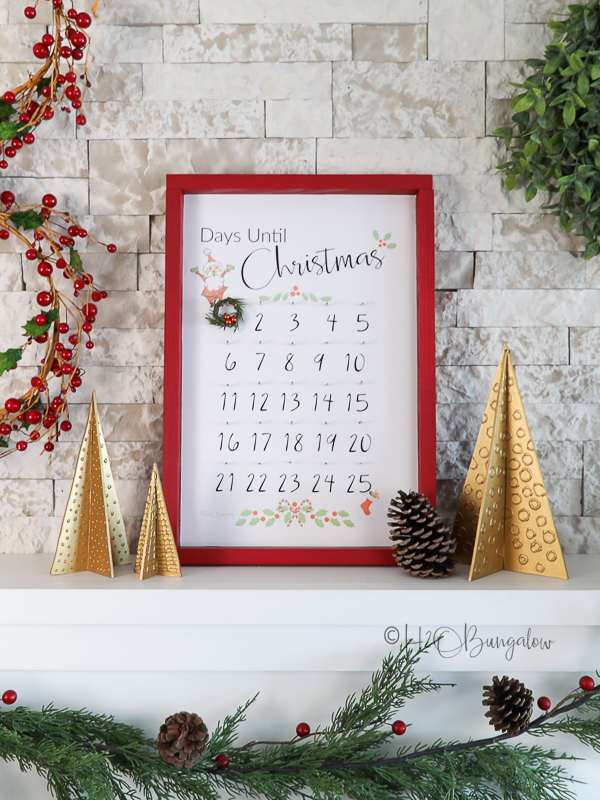
So, now that you know how to make a freestanding wood Christmas tree and you have my free tree templates, are you going to make a set too?
I think they’d make great gifts too!

Susan Bedard says
Happy Holidays Wendi! Love all your projects,
Susan B.
Linda Johnston says
Merry Christmas Wendi! The trees are so cute. Thanksfor hte how to!