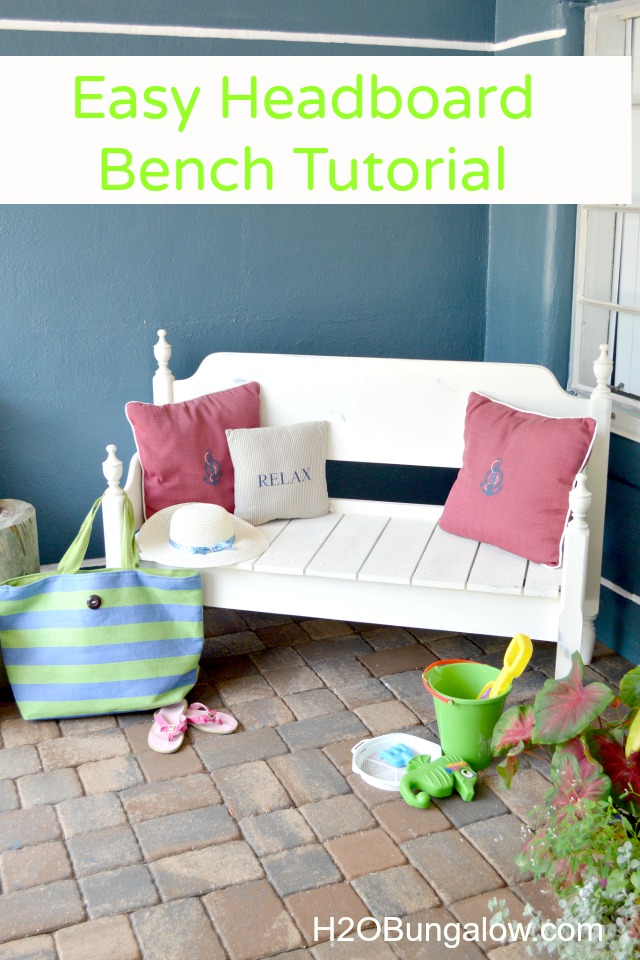
I’m proudly sharing how to make an easy headboard bench today. If you would have asked me if I could build something a year ago I would have said I’ve always wanted to…but was kind of scared to try. I was intimidated to use power tools. I’ve always LOVED the idea of the freedom that being able to use a power tool implied…
fix it, build it, on my schedule when I want it done!
Once I made my mind up to build something, it didn’t take me long to choose a bench for my first project. I found this great $20 headboard set at Goodwill. That night I mentioned my thrifty purchase to my husband at dinner and he said “great!” Let’s be sure the garage doesn’t get full of good ideas. Haha I laughed, no worries…’cause you’re helping me this weekend. I’m going to build a cool bench from a headboard and I need an extra set of hands.
We had a blast doing this together!
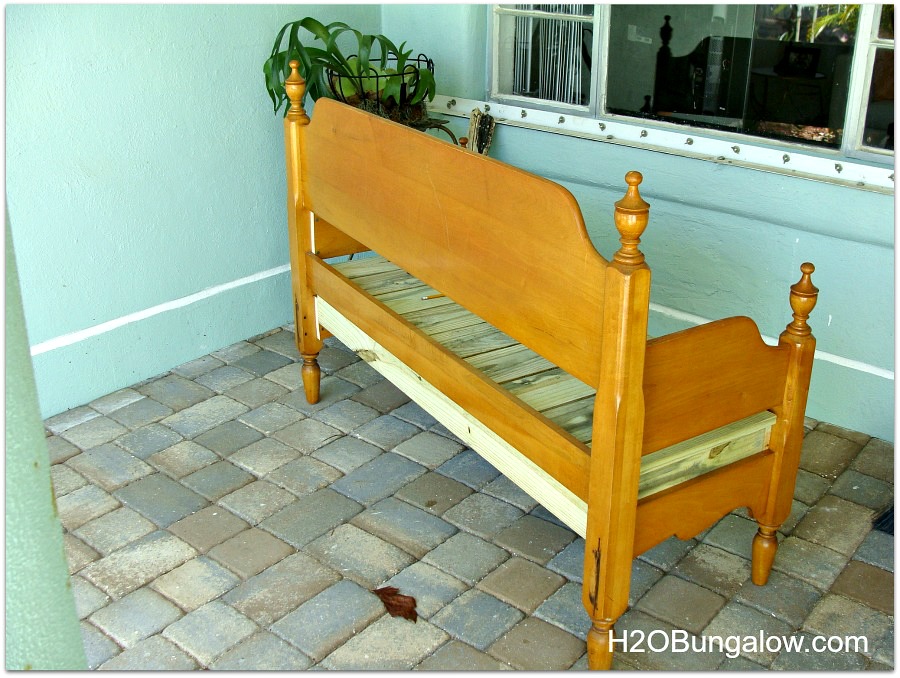
In my excitement to build my bench I forgot to get a good before picture. You can see what the headboard and foot-board looked like before with this angle. The headboard is now the seat back and I cut foot-board in half, and shortened it, for the two side pieces/bench arms.
Part of the challenge in this type of project is that headboards come in all sizes and shapes. I’d recommend reading how I built mine, and use the information I share to plan your bench and be aware you may need to modify the instructions. I think the basic structure will be the same for most headboard bench conversions.
Cutting the wood was the step that intimidated me the most and I didn’t want any mistakes. I avoided almost all of that by having Home Depot do the majority of the wood cuts. They’ll cut your wood for free! That’s what made this such a great first time project.
Here is a supply & cut list of what I used to build my easy headboard bench.
- Wooden headboard and foot-board, I used a full size set.
- 2 – 1 x 6″cut for the length of the front and back of the bench for the inside frame.
- 2 – 1 x 6″ cut for the side arm parts of the inside frame.
- 18″ seat boards from 1 x 6″, I cut mine 18″ long.
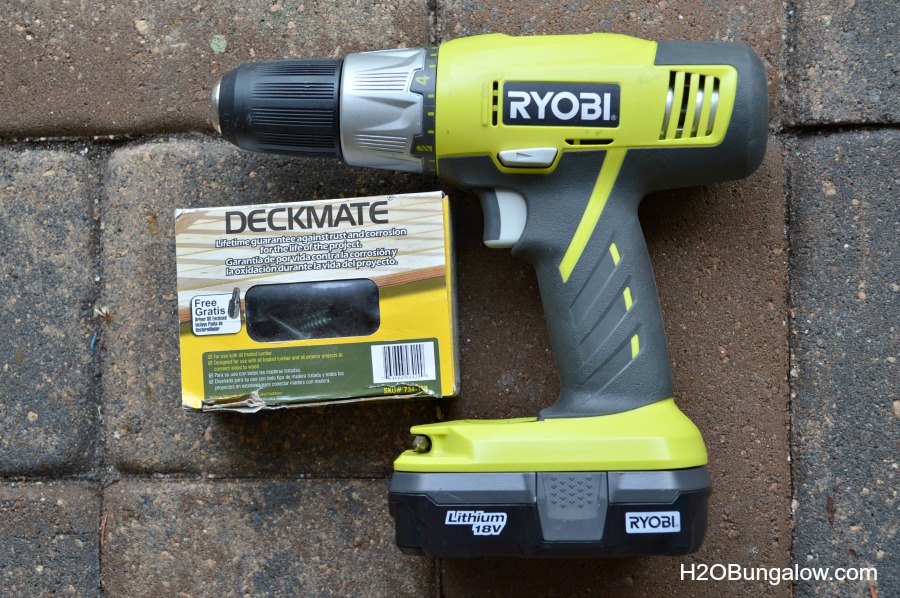
- Deckmate screws
- 4 metal corner brackets.
- Drill
- Jigsaw
- Caulk
- Paint
Ready for a good measuring tip? Measure everything, do the math and remeasure again.
That’s it.
Write it all down and bring it with you when you buy your wood. We measured the headboard width and figured out how deep we wanted the bench. Most chairs are 18″ deep which is why I choose that seat depth. I cut about 12″ out of the center of the footboard and made it shorter. The new short pieces made the side arms fit an 18″ depth seat.
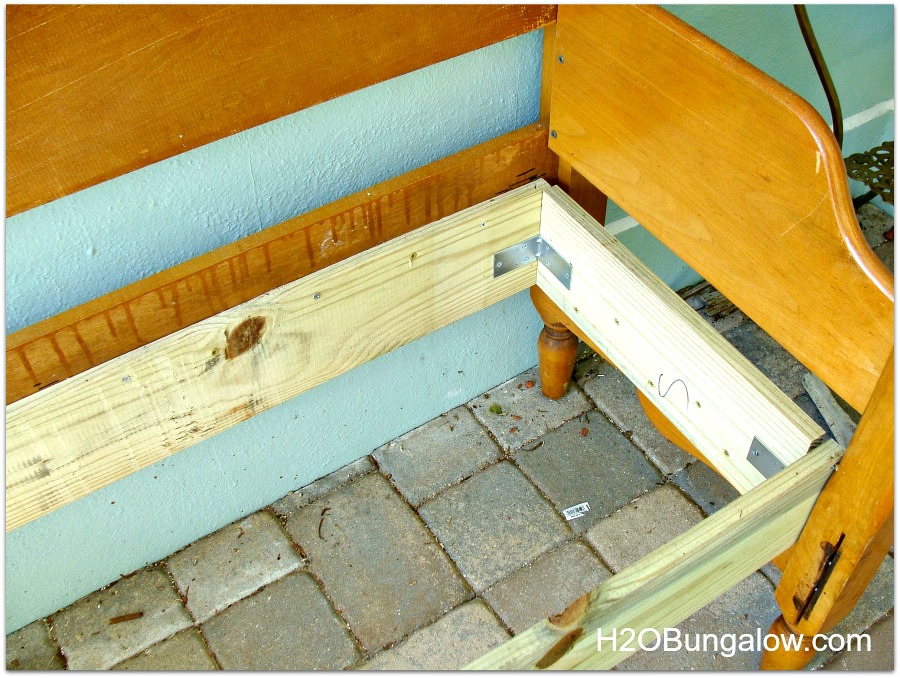
We attached the inside of the frame to the bench back first. Next, we attached the sides of the bench with the Deckmate screws to the bench back. choosing the right place to mount the frame is something you’ll have to figure out since headboards are all different. Next, we attached the arm-side inner frames and then attached the front frame board across the bench. The Deckmate coated screws are easy to screw in and we didn’t need pilot holes for this step.
We used metal “L” brackets on all the inside corners for added strength.
(Adding this note a year later) I didn’t now about using a Kreg Jig or how easy it made assembly at the time. We learn as we grow 🙂
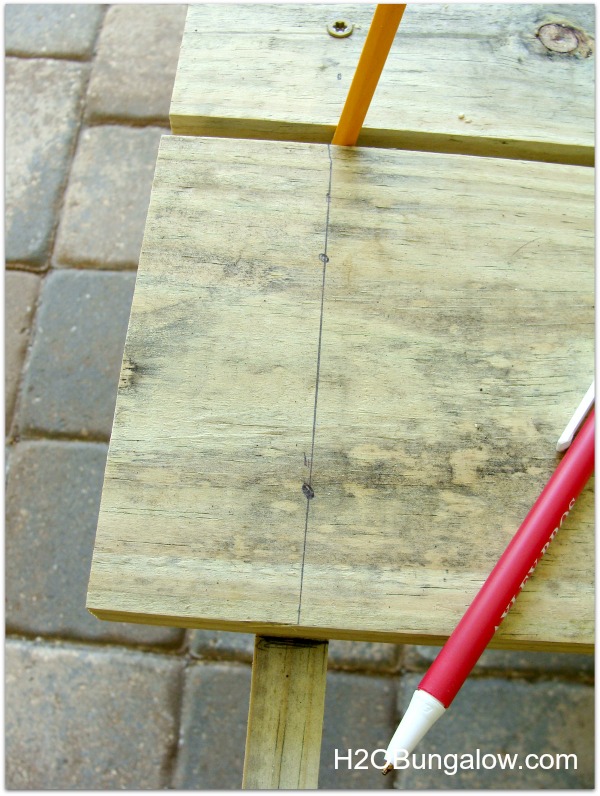
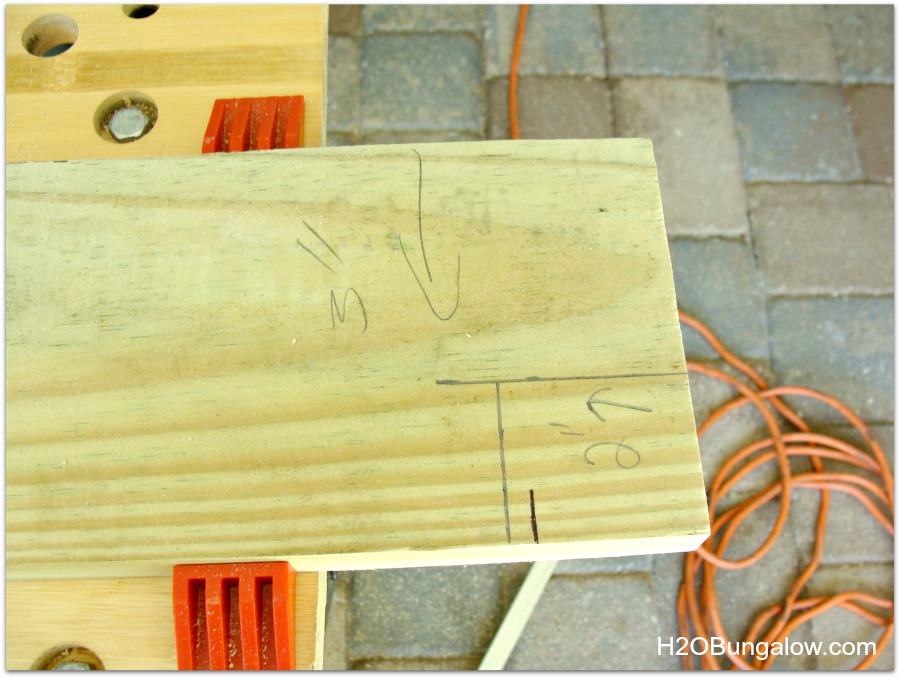
My seat boards were 18″ deep. We planned for them to overhang the front frame by about 1-2″. Layout your seat boards and mark how you’ll trim the two ends if needed. Leaving space between each board is especially important if your bench will be outside like ours. The spaces allow for water run off. I used a high-tech pencil to space my seat boards evenly.
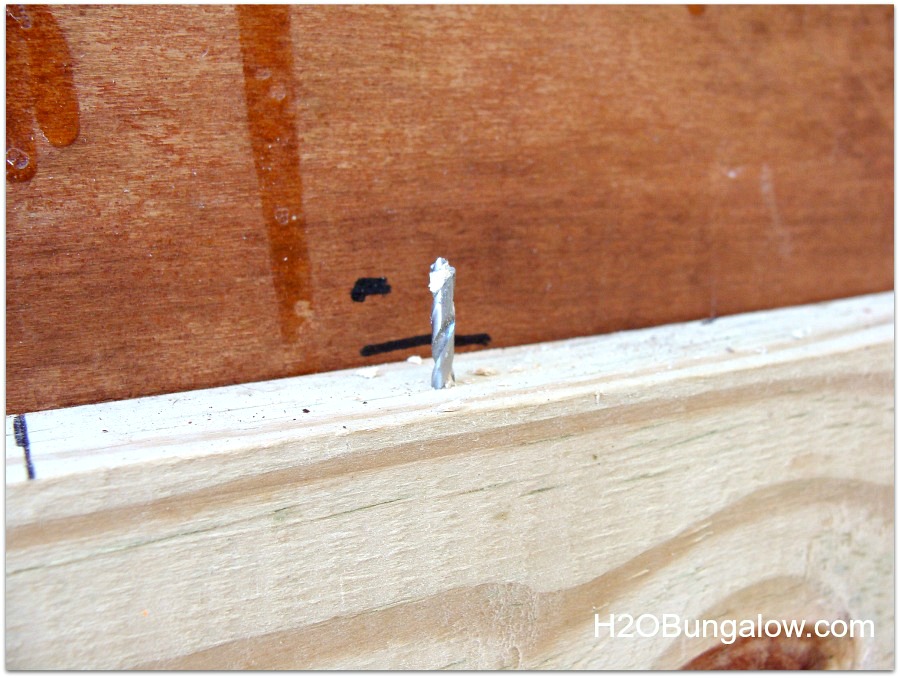
See below for how I marked these. I didn’t want my boards to warp over time, especially because this bench is for our front porch so I used two screws per seat board on each end.
I found it easier to drill pilot holes on this step. Make sure your drill is strong enough.
The wimpy cordless drill I owned didn’t have enough umph to do this job. I then borrowed my father-in-laws ancient drill which not only had a cord, it weighed a ton. I broke a drill bit in the wood. UGH.
Too wimpy..too strong…I was beginning to feel like Goldilocks in the Three Bears.
Ryobi to the rescue!
What better way to celebrate my new-found tool independence than to break down and buy my own Ryobi drill? I could easily justify it! The right drill along with these amazing wood screws made the job a whole lot easier!
I had to cut these notched boards for the last seat slats at each end of the bench.
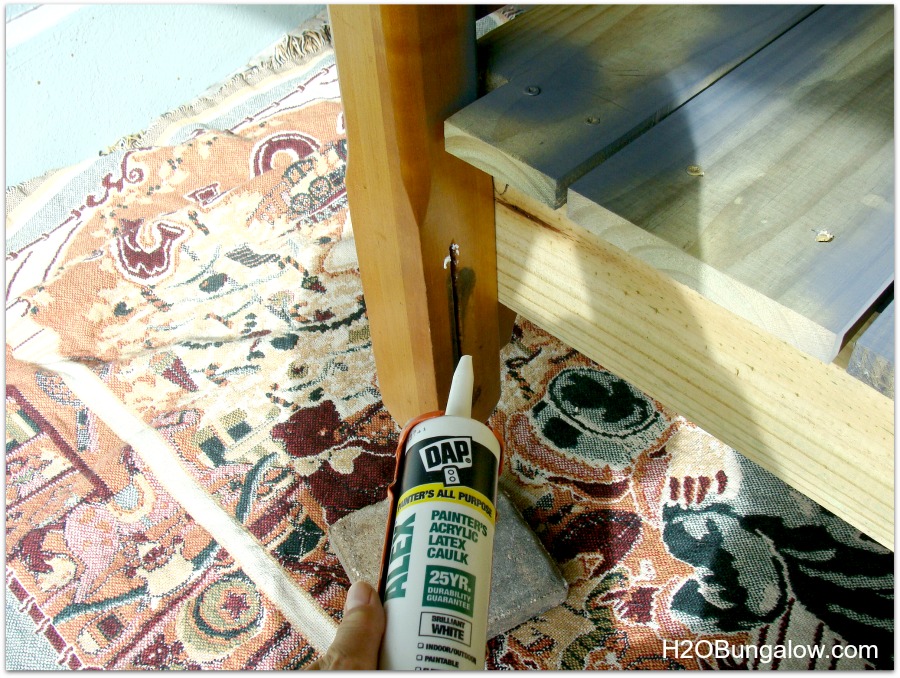
I filled in spots with painters caulk before painting it.
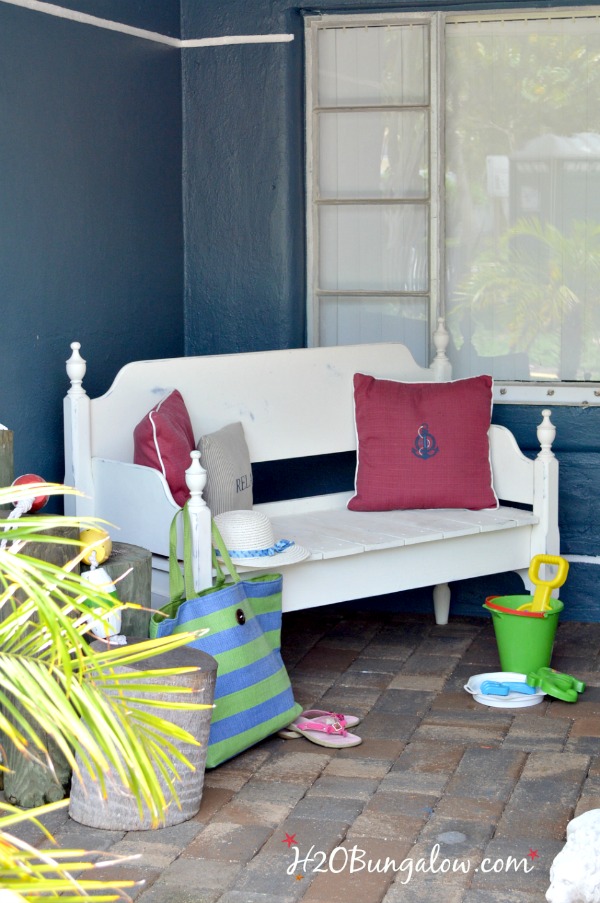
I’m so darn proud of myself for tackling this project! The entire project and all the supplies cost less than $75 and I finished it in a weekend. When I say this bench is sturdy…I mean it’s STURDY! It doesn’t rock, wiggle or move in any way… at all 🙂
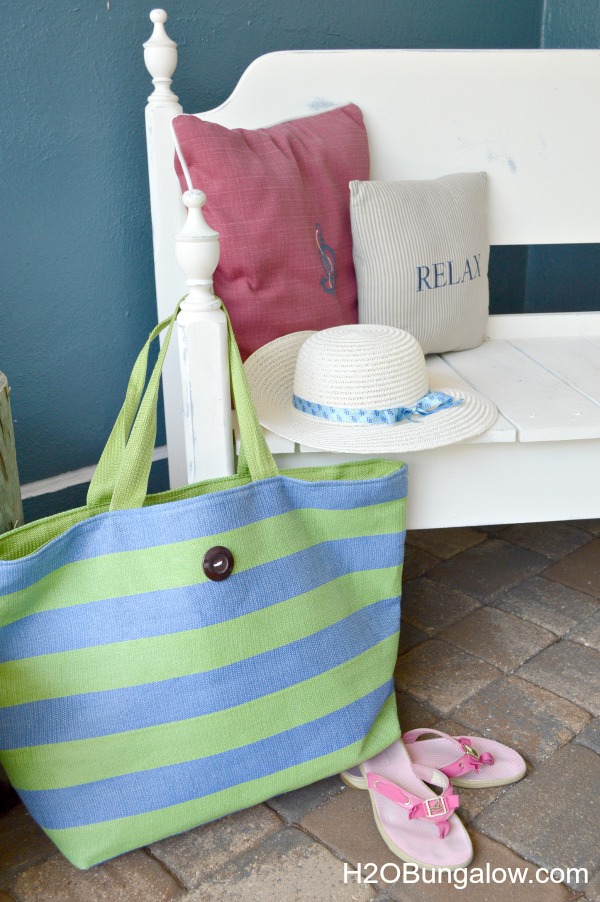
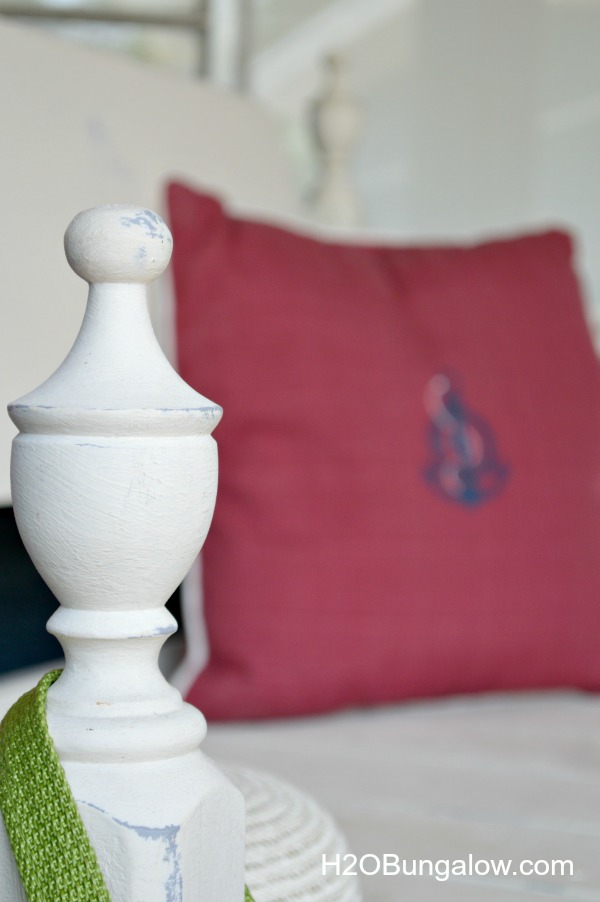
The post tops add character to my bench, don’t you think so?
I’ve always wanted a front porch area. A place that greeted us as we walked up to the front door. A spot to decorate that was welcoming for holidays and our different seasons and now I have one.
If I could make an easy headboard bench like this, so can you. My biggest tip? Do the math, figure out exactly where you’ll attach your parts before buying your supplies. I saved a lot of time and beginner angst since I only had to make 4 cuts on the entire bench. Remember…Home Depot cuts for free 🙂
OK so now what? I did it, I’m over my fear. Ya know what? It wasn’t so scary after all 🙂
Over the past year my blog has created some amazing opportunities for me, I’ve opened new doors and definitely stepped out of my comfort zone! I now own several awesome Ryobi tools. My newest addition is a portable table saw. What on earth can I do with a table saw?
A lot.
In the next few weeks you’re going to see how I’m adding a master bathroom and closet edition onto our house. I’ve planed a series full of great information on maximizing utility and space in a small home. Even if you’re not planning a renovation, you’ll still love and be able to use many of the ideas I’m sharing.
Do you have a project you’ve always wanted to try?

Allyson Maclay says
why are 18 seat boards from 1 x 6″ needed are they also put underneath? I plan on doing this project this weekend so excited
Wendi Wachtel says
That’s a good question Allyson! I went back to read the list and realized the inches symbol fell off the 18! It’s not 18 boards but 18″ boards from a 1 x 6″ board. I hope that clarifies it. Thanks for bringing this to my attention!
Sharon says
How high is the seed of the bench off the floor
Wendi says
Hi Sharon… I usually make my seats about 18″ which is a common chair height. Hope that helps!
Theresa Heino says
I love your headboard bench it inspired me to make one! ! Your work fabulous!! Tool Time Tess furniture@fb
Wendi says
Hi Theresa and thank you! I love when people share that they’ve been inspired by my work to create something of their own! We still love that bench, it has a special place on our front porch. Thanks so much for your visit and sweet comment!
Denee says
I just completed this project with a full size headboard and cut down to fit a twin sized bed frame, and I held the back of it together with brackets, then I am attaching the bench headboard to the foot of the bed and making a modular bench and day bed out of it.
Wendi says
Hi Denee, What a great idea, making a day bed out of headboard! I love how creative people can be with old bed frame projects. Thanks so much for sharing your project and your comment!
Darrell McDowell says
hi I just read your article on making bench out of a headboard. I got a full size bed frame from a house I was cleaning out and now my wife wants to make a bench out of it. I read your article on how you have done it and going to use it as a guideline to build it for her. thanks
Wendi says
Hi Darrell! That’s awesome. I love the headboard bench I made and it’s still on my front porch too. I also have another headboard bench project that is slightly different. Take a look at this one and see if there’s anything you like or can use in the stye or tutorial https://h2obungalow.com/2014/06/how-to-make-an-easy-headboard-bench.html Have fun with your project and thanks so much for your note!
Jenn says
Thank you for sharing this amazing idea! I inherited my great grandmother’s bed. I used it in my apartment, both of my children have used it. Now that my son needs a larger (longer!) bed I didn’t want to just lose the memories but neither did I want clutter. This is a project within my reach. Thank you!
Wendi says
Jenn… You are so welcome! What a good idea too, to transform a special piece into something you’ll use. It took me a long time to start upcycling and using family items. I’m sure your bench will look amazing! Thanks so much for your visit and comment!
Christy@Confessions of a Serial Do-it-Yourselfer says
Love love love this! I have a couple of headboards waiting for their bench debuts, but I always see it as so much work. Maybe I will have to give your method a try! XO
Wendi says
Girlfriend, I know you can make this, you can make ANYTHING! I still love this bench, it was my first real build project. Eventually I’ll stencil it!
CP says
I just inherited a bed similar to this one, no familial ties, but good memories none the less. I think I will have an easy time following your directions to build myself a garden beauty such as this. Can you share what products you used to finish her? Thanks!!
CP
Wendi says
Hi CP 🙂 I used a good primer first and then followed it up with 2 coats of Homeplate from American Paint Company. Mine is sitting on my front porch and for the most part is out of the elements. I haven’t sealed it yet, partly because I just got busy and partly because I’m thinking of stenciling or painting something onto the backrest. Good luck on your bench. I love the idea of reusing something that has meaning so it fits into our daily lives!
Debbie says
Wendi, this is awesome! Love it and it looks great on you porch. Very welcoming!
Debbie
Wendi says
Thank you Debbie! I had a lot of fun building the bench and as a first build project it was a big confidence booster! Now that I’m armed with powertools I’m ready to tackle even bigger build projects! LOL Thank you for visiting and your sweet comment:)