Learn how to plant your own butterfly garden with these tips on prepping the beds, picking out plants, planting, edging and mulching for your budget DIY landscaping project.
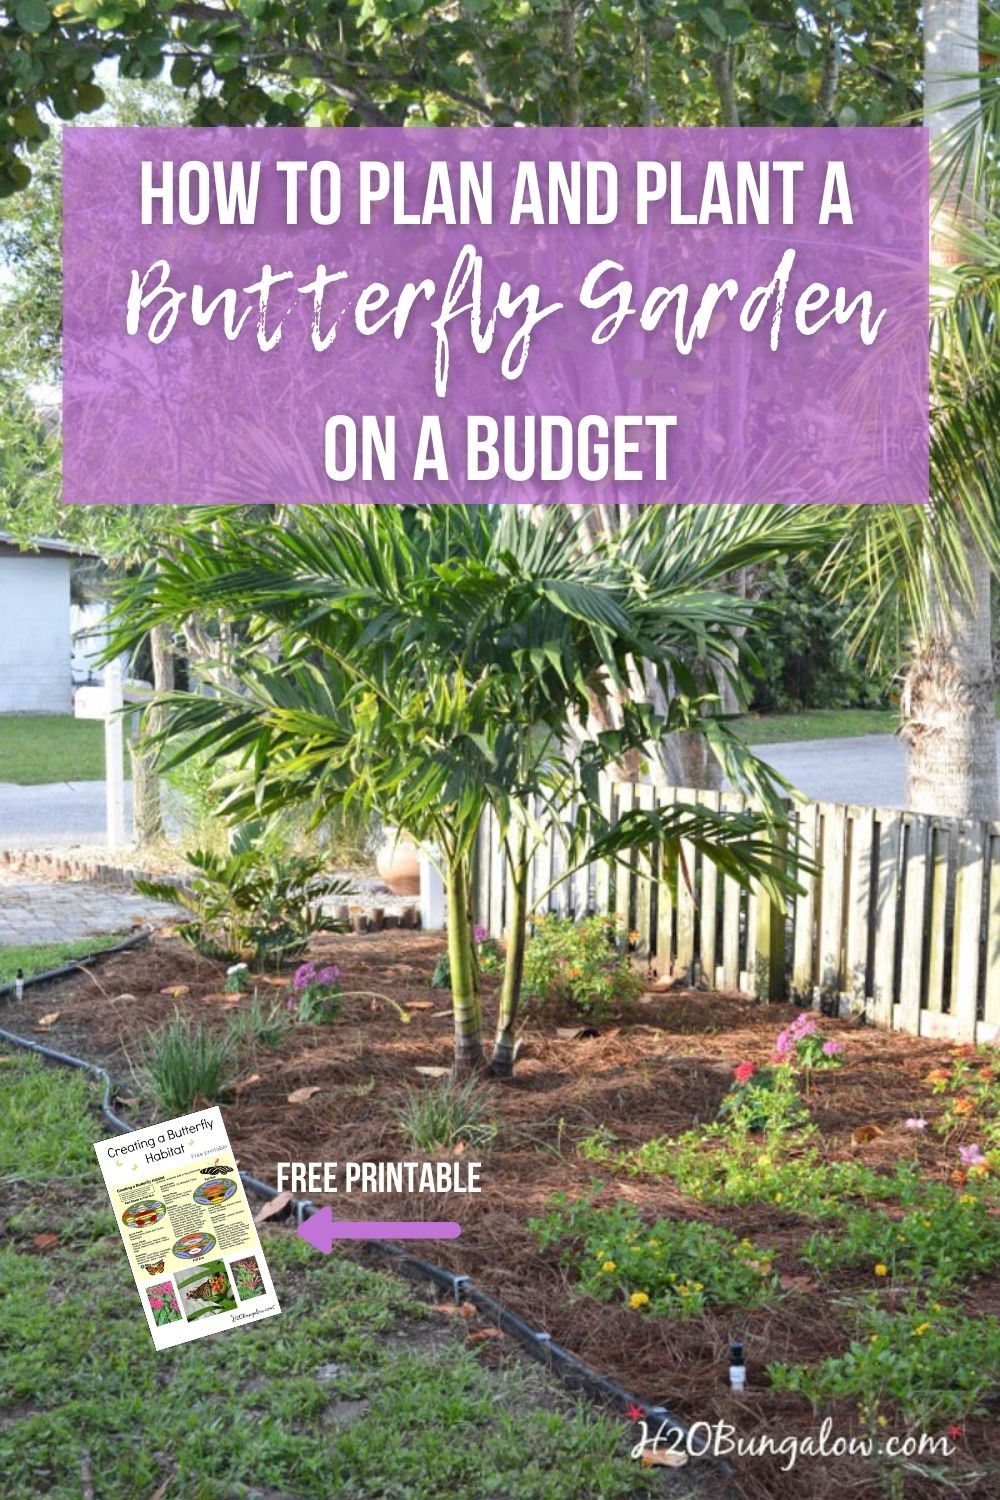
Today is the big reveal of my budget DIY landscaping and butterfly garden. This project started when I received a price quote of $2800 to lay river pebbles in my front yard. Ouch!
Of course I decided to DIY it, and saved a bundle. In my first post I shared how to research for a successful DIY budget landscaping plan and design a landscape bed. Today I’ll share tips on prepping the beds, picking out plants, planting, edging and mulching.
Our butterflies continue to visit every day!
You’ll want to go back and read DIY Butterfly Garden Landscaping Part 1 if you’re joining for the first time here. Jump ahead to my 2018 Spring Garden tour to see where this garden is at today. I love it.
Making a Budget DIY Landscaping Project Happen
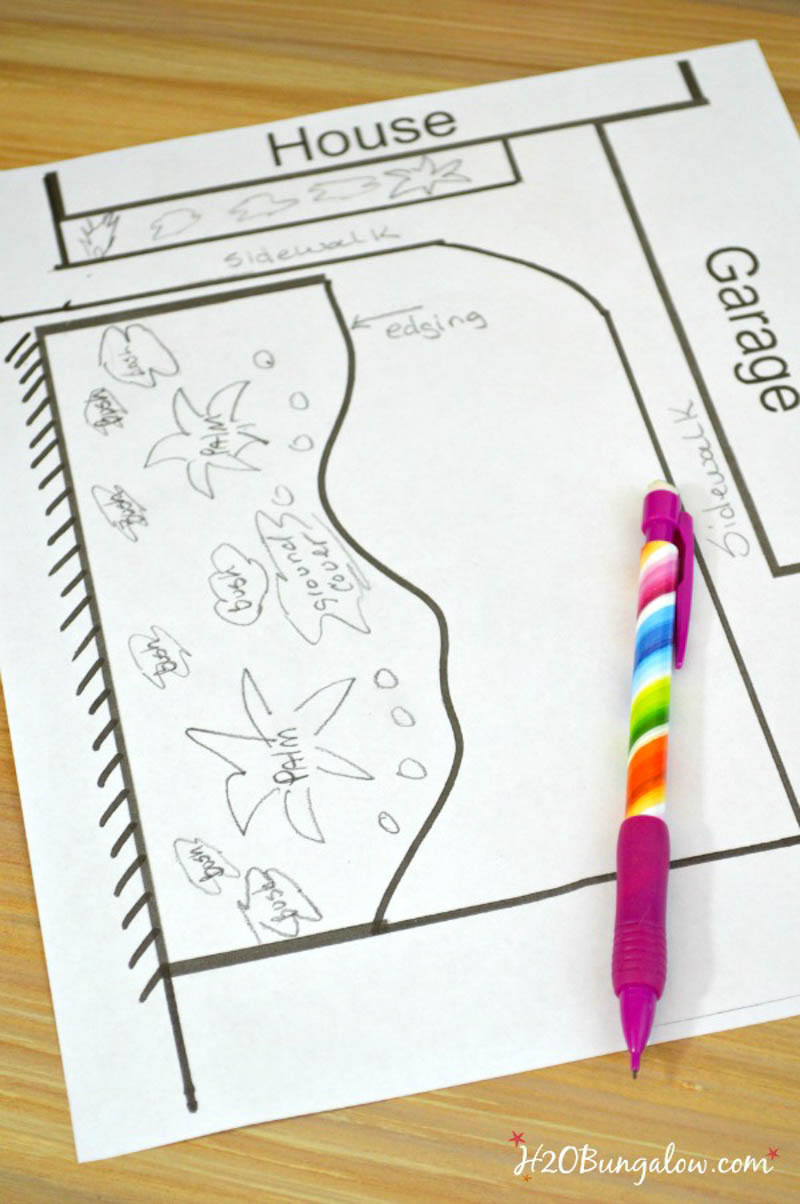
In my last post, I shared my project up to the point of design and layout. I approached my budget DIY landscaping just like I would decorate a room, by placing the largest items first, my palm trees.
Since plants grow and change in shape, I laid out my design based on the mature size of each plant, giving each one plenty of room to grow and be healthy.
Sprinkler System
I didn’t plan on putting in a sprinkler system, but I saved so much more than I anticipated on this project it fit into the budget. This girl doesn’t mind getting her fingers dirty one little bit, give me a power tool and I’m happy,…but I don’t dig ditches. So, yes…I broke down and paid to have my sprinkler system installed.
It’s a simple one zone sprinkler system that covers my whole small front yard. It will save me a lot of time during our dry season 🙂 I staked the location of my big plants and palms as well as the mass planted areas to help plan the correct sprinkler head for each spot. If you’re lucky enough to already have a sprinkler system in place, just work backward and locate your plants around the sprinklers 🙂
Prepping the Landscape Bed
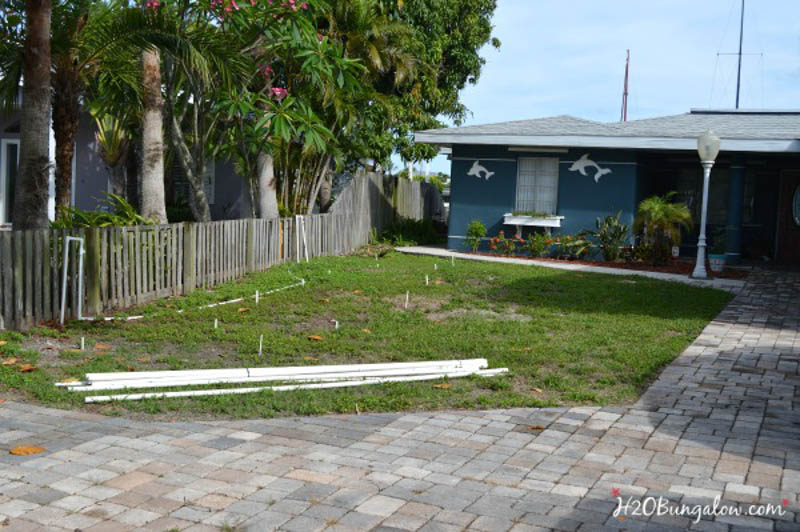
The proper way to build a new landscape bed is to complete this step and install edging before planting. You’ll notice I did these steps last, mostly because I was running behind and didn’t get it done before the landscape team came that day.
You’ll want to prep your landscape beds by clearing any out sod before planting. Many people told me to use round-up to kill the existing weeds in the landscape bed. Since we don’t use chemicals we weeded the area by hand.
Ours wasn’t bad because it was mostly beach daisies and weeds and our soil is a sandy mix so everything pulls out easily. It only took my son and I a few hours. A spade shovel works great on tough areas. I’d suggest consulting your local nursery if you have a lot of growth to clear out of your new landscaping area.
Purchasing Landscape Plants
I brought my plant list and my diagram with me to the plant nursery. There were a few plants that I knew I wanted, and some that were on the maybe list. The best part of physically picking out my own plants was being able to see them in person.
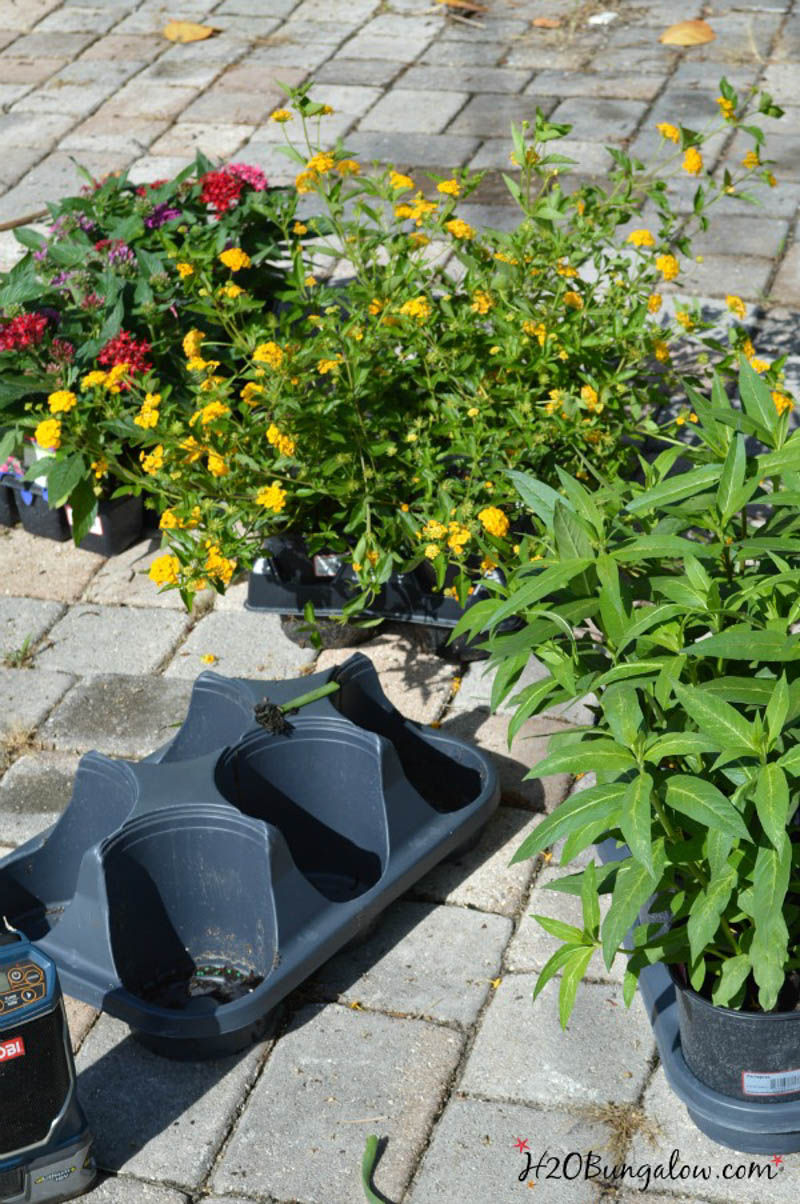
Since I was using Florida native plants and butterfly friendly plants I had several on my list. But many that I’d only seen on the internet. It was a big help to ask a lot of questions to be sure my selection was the right choice for me. Of course I picked up several more that I couldn’t resist!
Here’s a good tip from my Master Gardener friend – Buy the smallest reasonable size plant for your landscaping needs. They are better priced, and acclimate to your garden better.
Final Layout and Planting
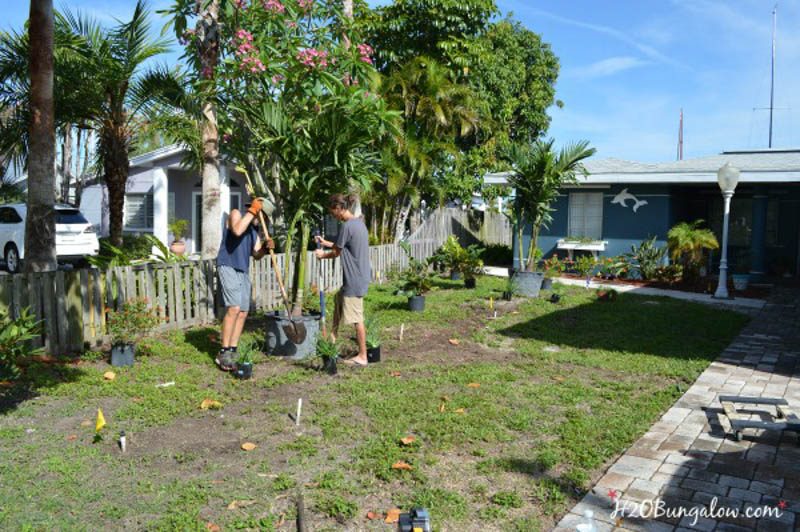
Sometimes, seeing the actual lay-out of what you designed brings something to light that may not have been apparent in a paper diagram. I placed all of my plants in my new landscape area before planting them. It gave me a chance to tweak my design just a bit. Which I did.
DIY is great and it saves lots of valuable budget funds, I just didn’t want it to look like a bad DIY. Here’s a few good rules to keep in mind for the layout.
- Don’t plant in a straight line unless you want a formal garden or hedges.
- Just like a vignette in your home, odd numbers work well.
- Per my gardening buddy, when you’re planting, do not submerge the entire rootball in the dirt. Leave a little exposed at the top.
Landscape Bed Edging
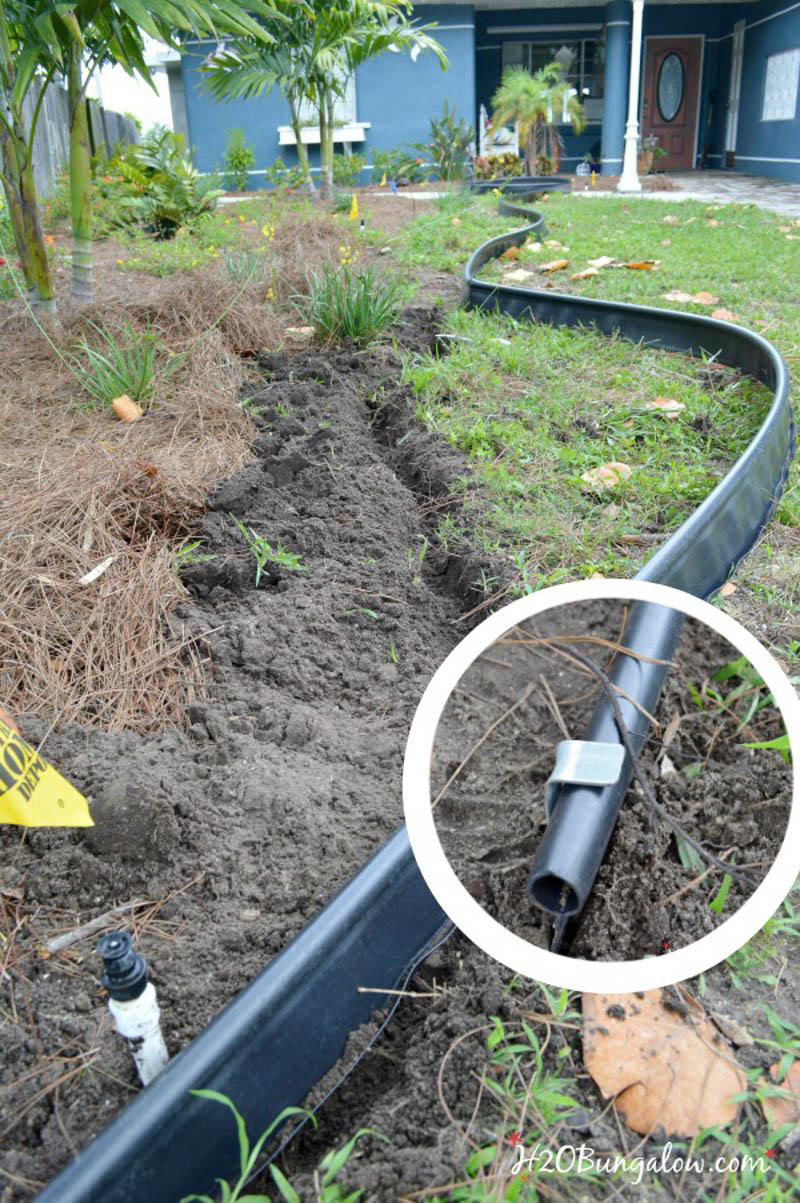
I used a hard rubber edging for my new landscape bed. It was super easy to install and cut to size with a hacksaw. Dig a 4″ trough and lay it in, push the dirt back up to the edge and hammer in the metal brackets. I placed them about 18″ apart on opposite sides down the entire length.
Mulch
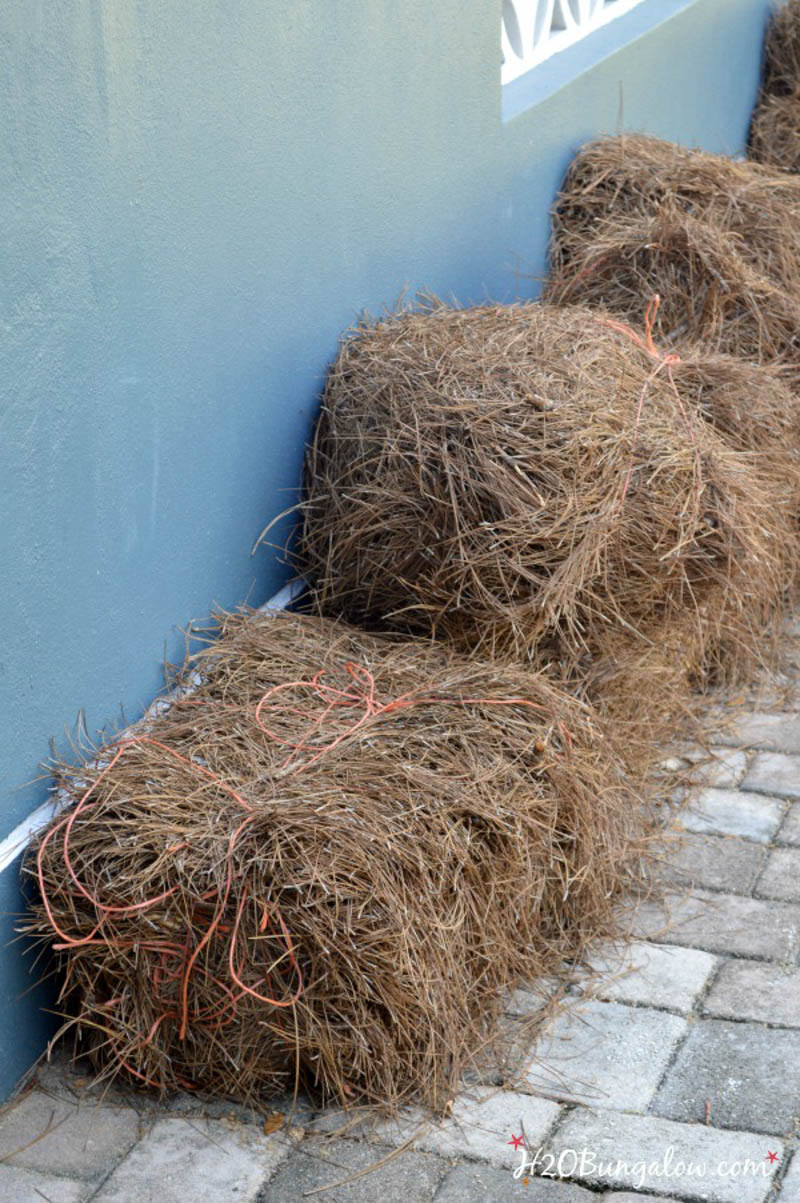
The last big step was the mulch choice. I used pine straw mulch, which I’d never heard of before. It’s easy to find at most local landscape supply stores and it comes in bales. It doesn’t contain any dyes, it disintegrates into the ground, has been surprisingly good for weed control.
Another wonderful feature is that it doesn’t blow away in our strong coastal wind because the needles interlock and form a good mat. I used 20 bales for my yard, 16 on the first day and waited about a month for it to mat down and added the last 6 bales in any thin spots.
Just spread it around like hay. There’s plenty of good information on the benefits of using pine straw on the internet. I’m sold on using this stuff!
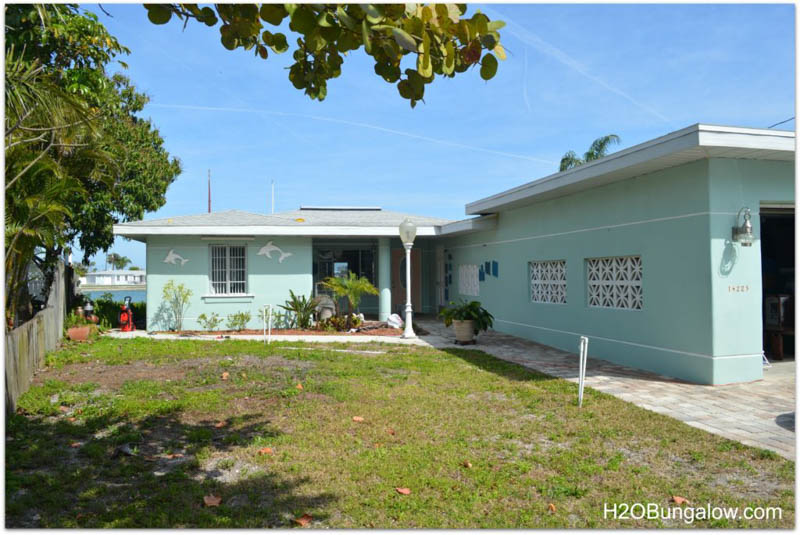
It’s been about 6 weeks since I completed my budget DIY landscaping and butterfly garden. I still have some work left, like the scruffy turf area in front of my new landscaping, but that will be next months project.
It’s a huge improvement from a year ago.
The plants are all growing and I have good base.
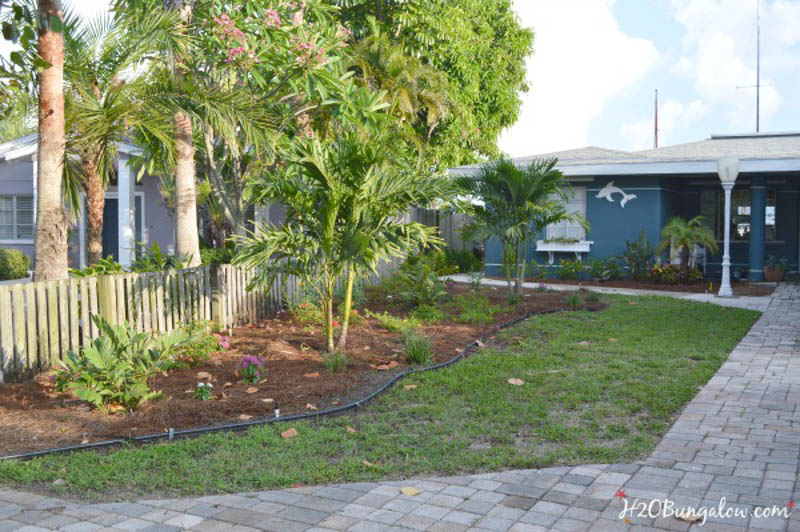
When my bushes and other plants mature they will cover a large portion of my landscaped area. In the mean time I may add some drought tolerant annuals and more butterfly attracting plants for fun.
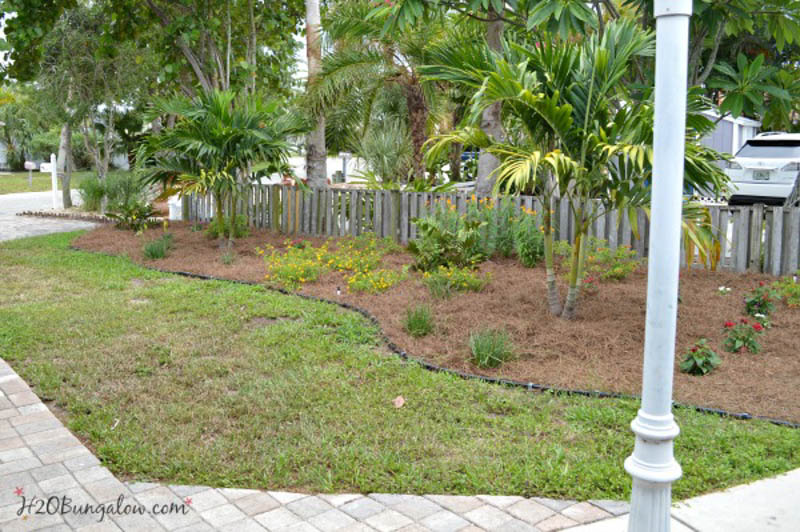
I can’t wait to share what I’ve planned for the scruffy area in front, but that’s next month!
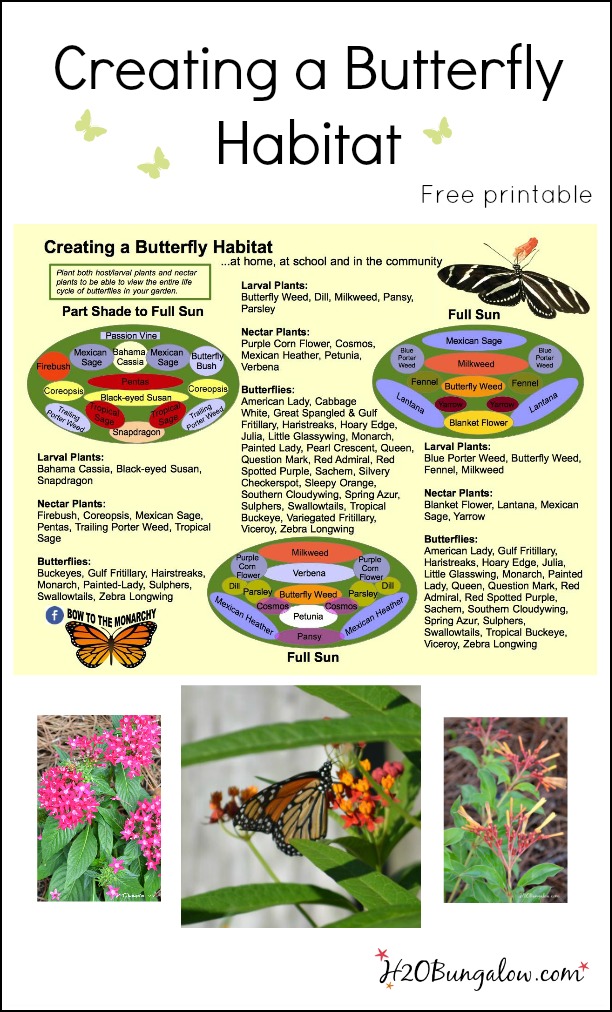
It’s easy to plant a butterfly garden, especially when your putting in budget DIY landscaping. In my part one of my DIY Butterfly Garden Landscaping post I promised to share with you a free printable for butterfly gardening.
The plants I used are all listed on this flyer. If you want more help knowing where to start with lawn care, check out my 10 Spring Lawn Care Tips for a Beautiful Summer Yard.
This is not a sponsored post, I’m simply sharing something I believe in and like supporting our environment by maintaining a new habitat area for butterflies, specifically the Monarch Butterfly which is declining in numbers.
If you have specific questions about any of the plants I’ve used, please leave me a comment below!
Click the mini flyer to download and print the Creating a Butterfly Garden printable.
This flyer was generously provided by Bow To The Monarchy Facebook page. A page dedicated to the preservation of and growth of the Monarch Butterfly.
Love my posts? Click here to get my posts sent to your mailbox or follow me here on Bloglovin.
Following H2OBungalow on Facebook? It’s one of my favorite places and I share lots of extra projects, inspiration for the home and content I don’t share anywhere else.
Love Instagram? Me Too! Follow H2OBungalow on Instagram and see my projects in process and lots more.

Petunia Evans says
I had started to give up on landscaping because I didn’t have a huge budget, so this was very helpful! I’ve never seen that kind of scruffy mulch look before, but I really like the way it turned out for you! I feel much more confident that I can better design my yard, so thank you for this inspiration!
Wendi says
Hi Petunia…Glad you found this post helpful. The pine needle mulch is extemely popuar in several areas of the US. I love how well it works and makes weeding a breeze. Thanks so much for your visit:)
Petunia Evans says
Yeah, I’ll definitely have to give that pine needle mulch a shot. Thanks again!
Wendi says
Petunia, The pine mulch works great. It decomposes into a thick layer of organic matter into the soil. It’s been almost a year and I’m still loving it. Especially since it doesn’t blow away in our high winds. I hope you enjoy it too and thanks for your visit!
Marie@The Interior Frugalista says
I’ve never heard of pine straw mulch – learned something new today! Your yard is coming along nicely. Our old house had a sprinkler system and I miss it so much. Looking forward to next month’s reveal Wendi!
Wendi says
Marie… I’d never heard of it before either. I found a lot of information on the Internet and read several articles before I bought it. I have to say I was skeptical that it would be durable at first, but its holding up great. The weed control is excellent too.