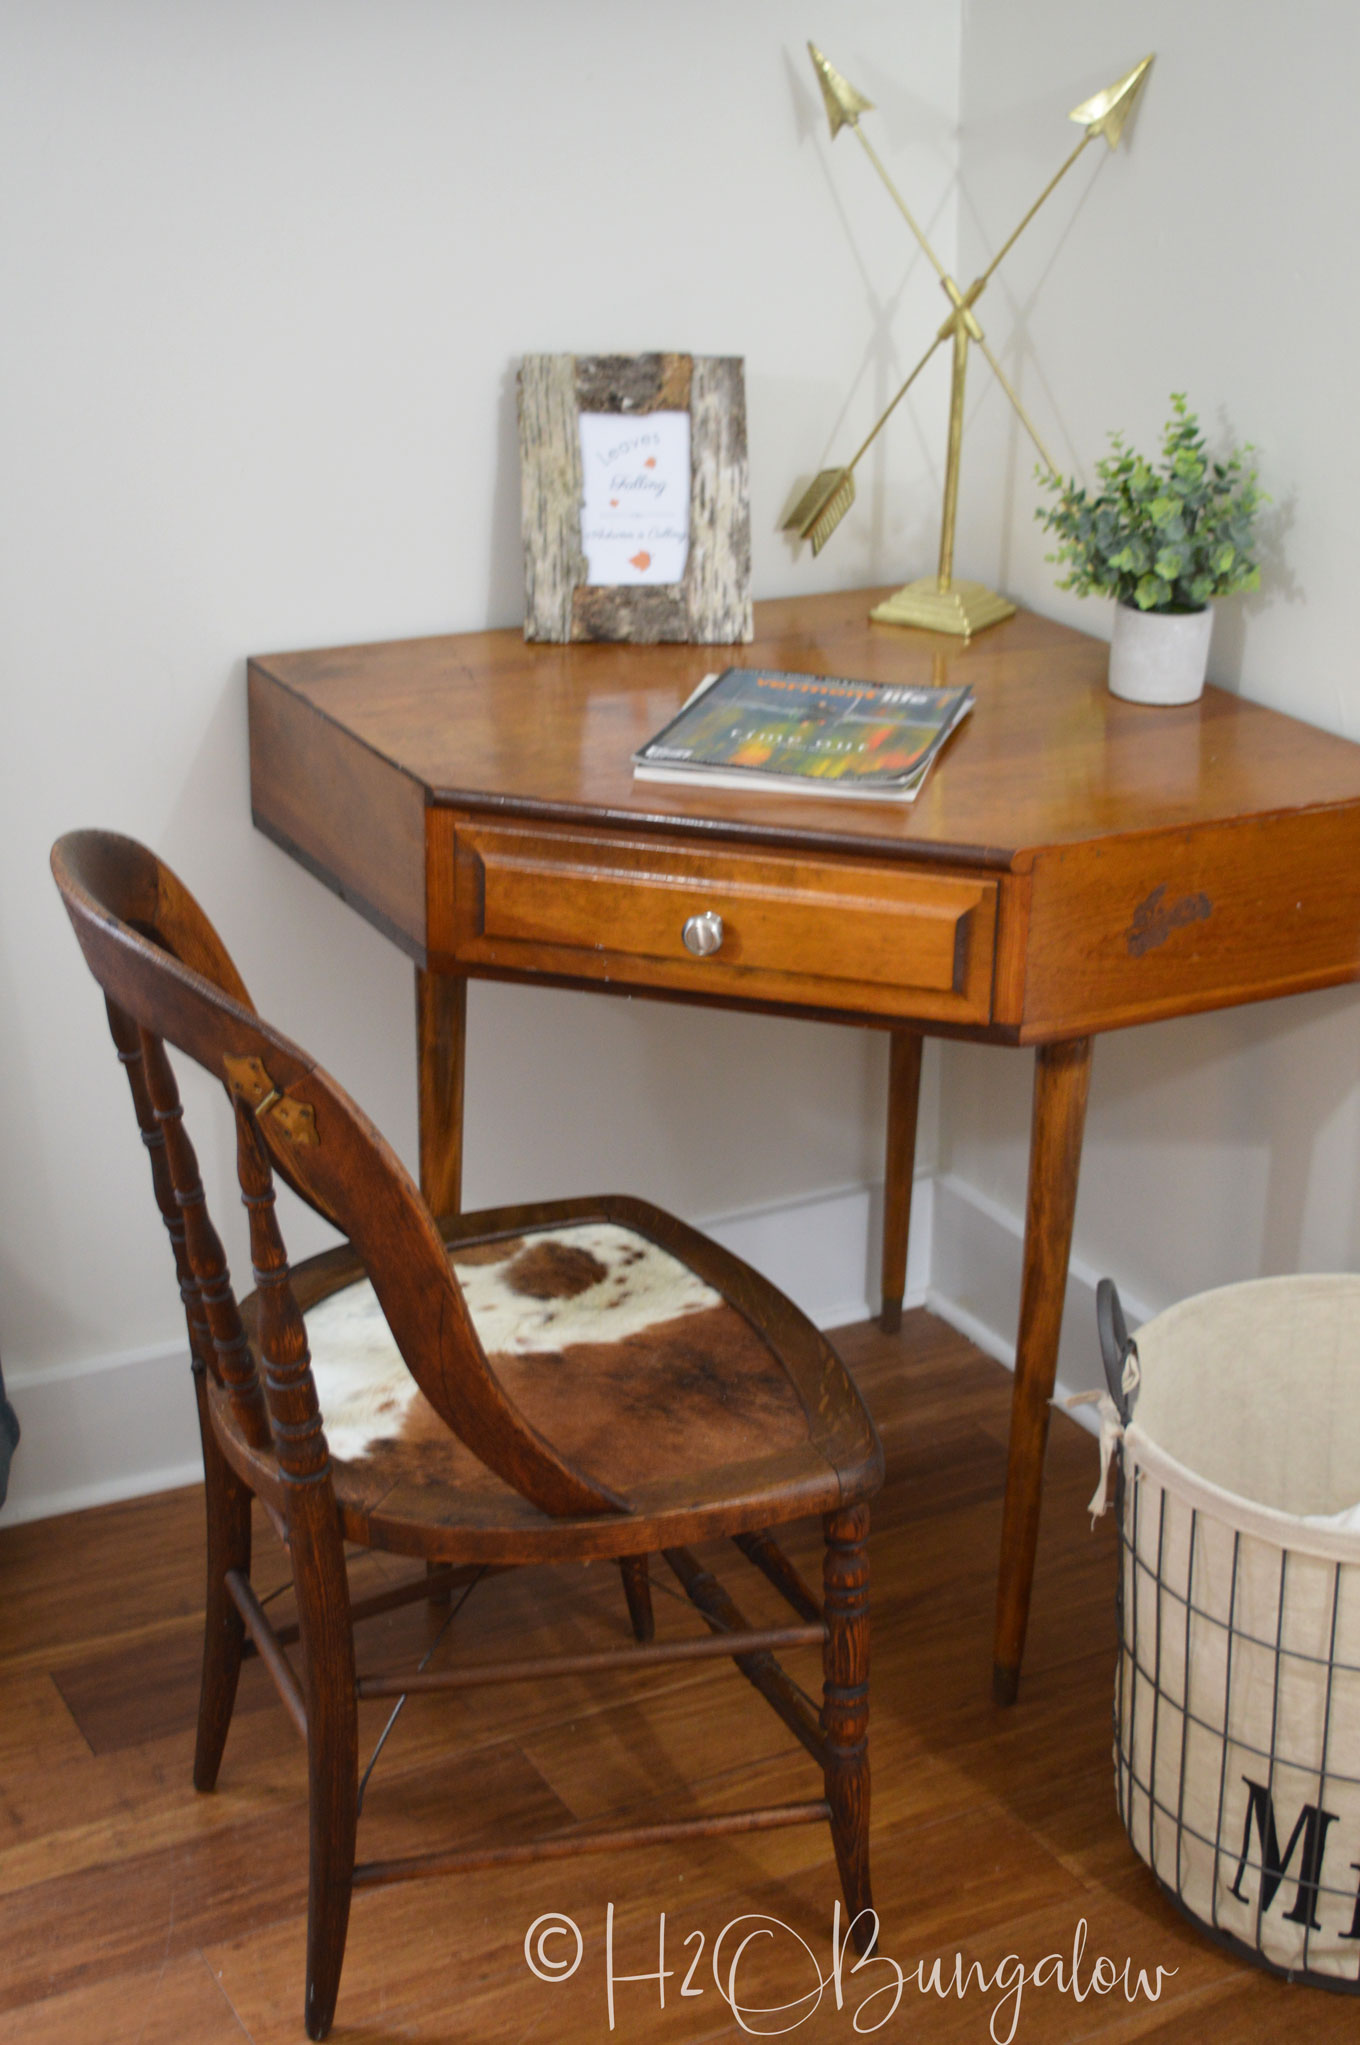
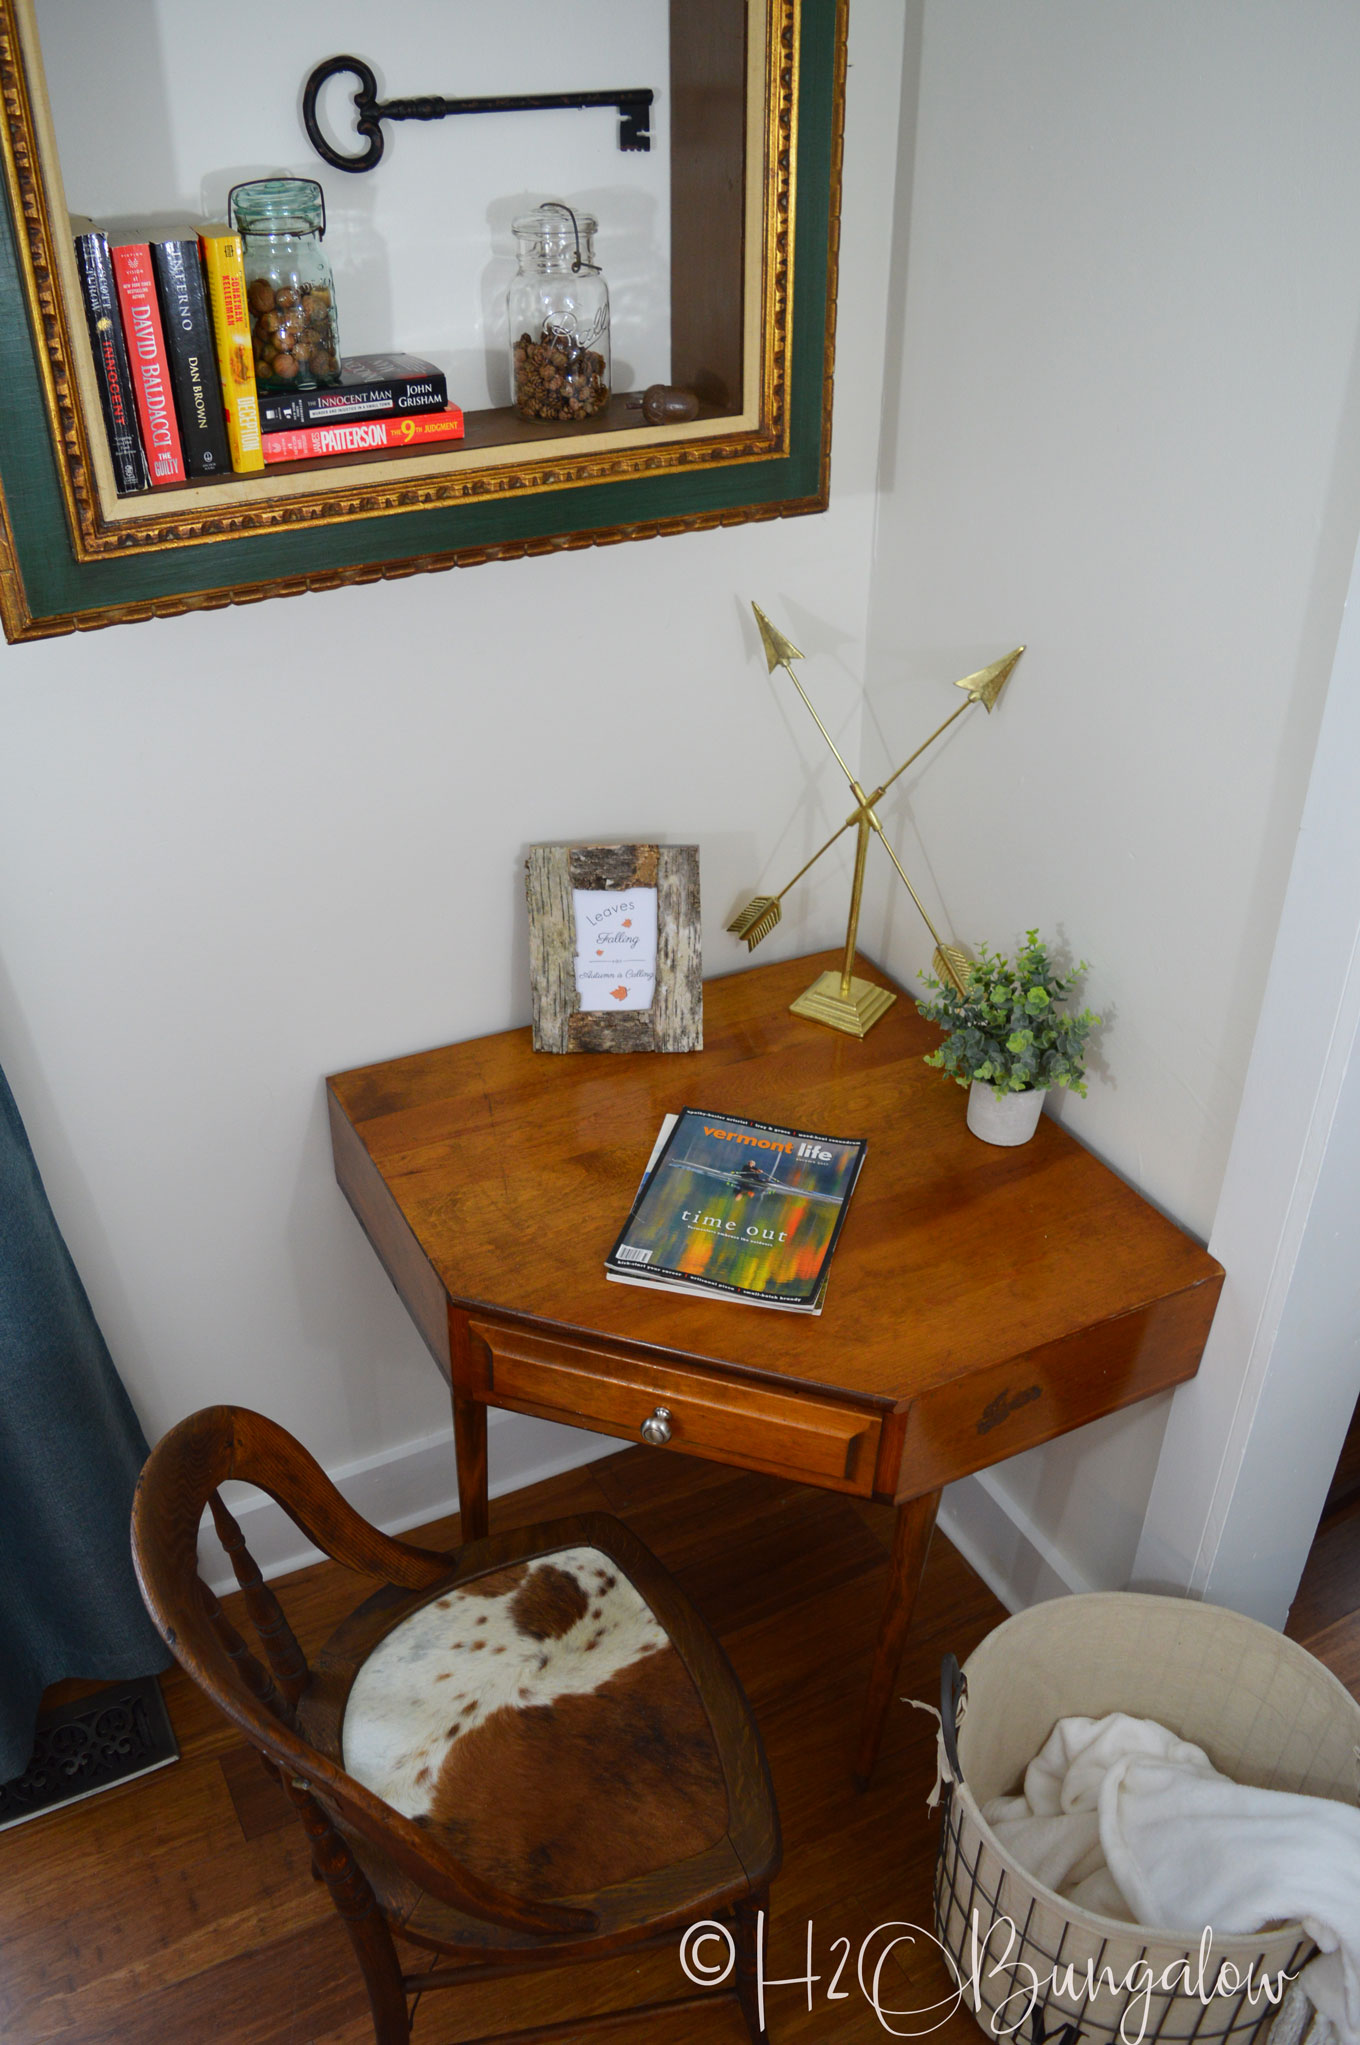
Today I have a cowhide chair makeover to share with you guys. I just finished this cowhide accent chair for the three legged table in the North House and I’m loving the combination of the vintage oak chair with a hide seat. Find it and other projects on the North House #54 Home Tour.
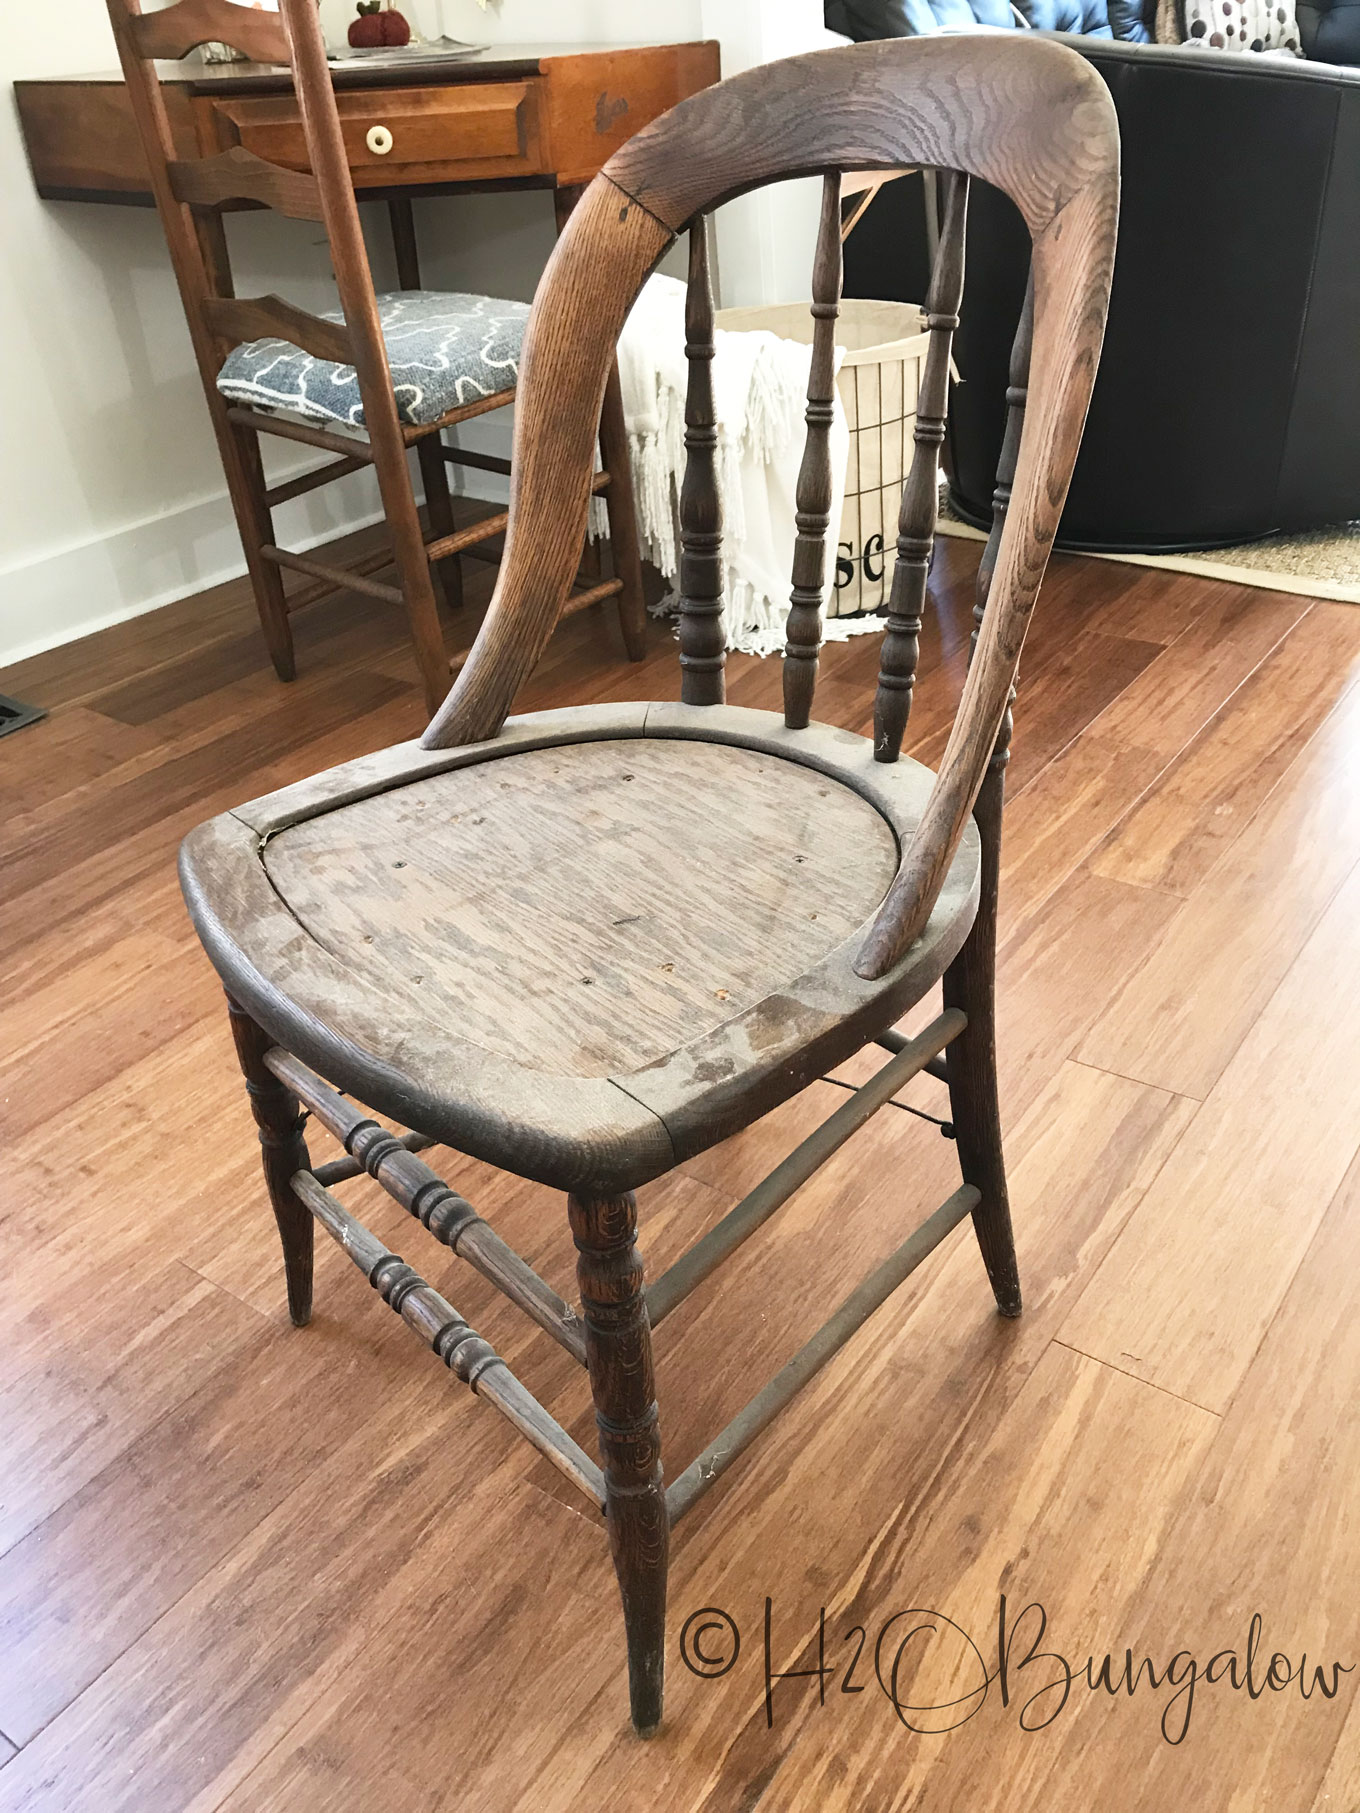
Remember a few weeks ago when I shared this old chair on Facebook? Are you following me on Facebook yet?
Anyhoo, friend gave this awesome chair to me. It had been sitting in his workshop.
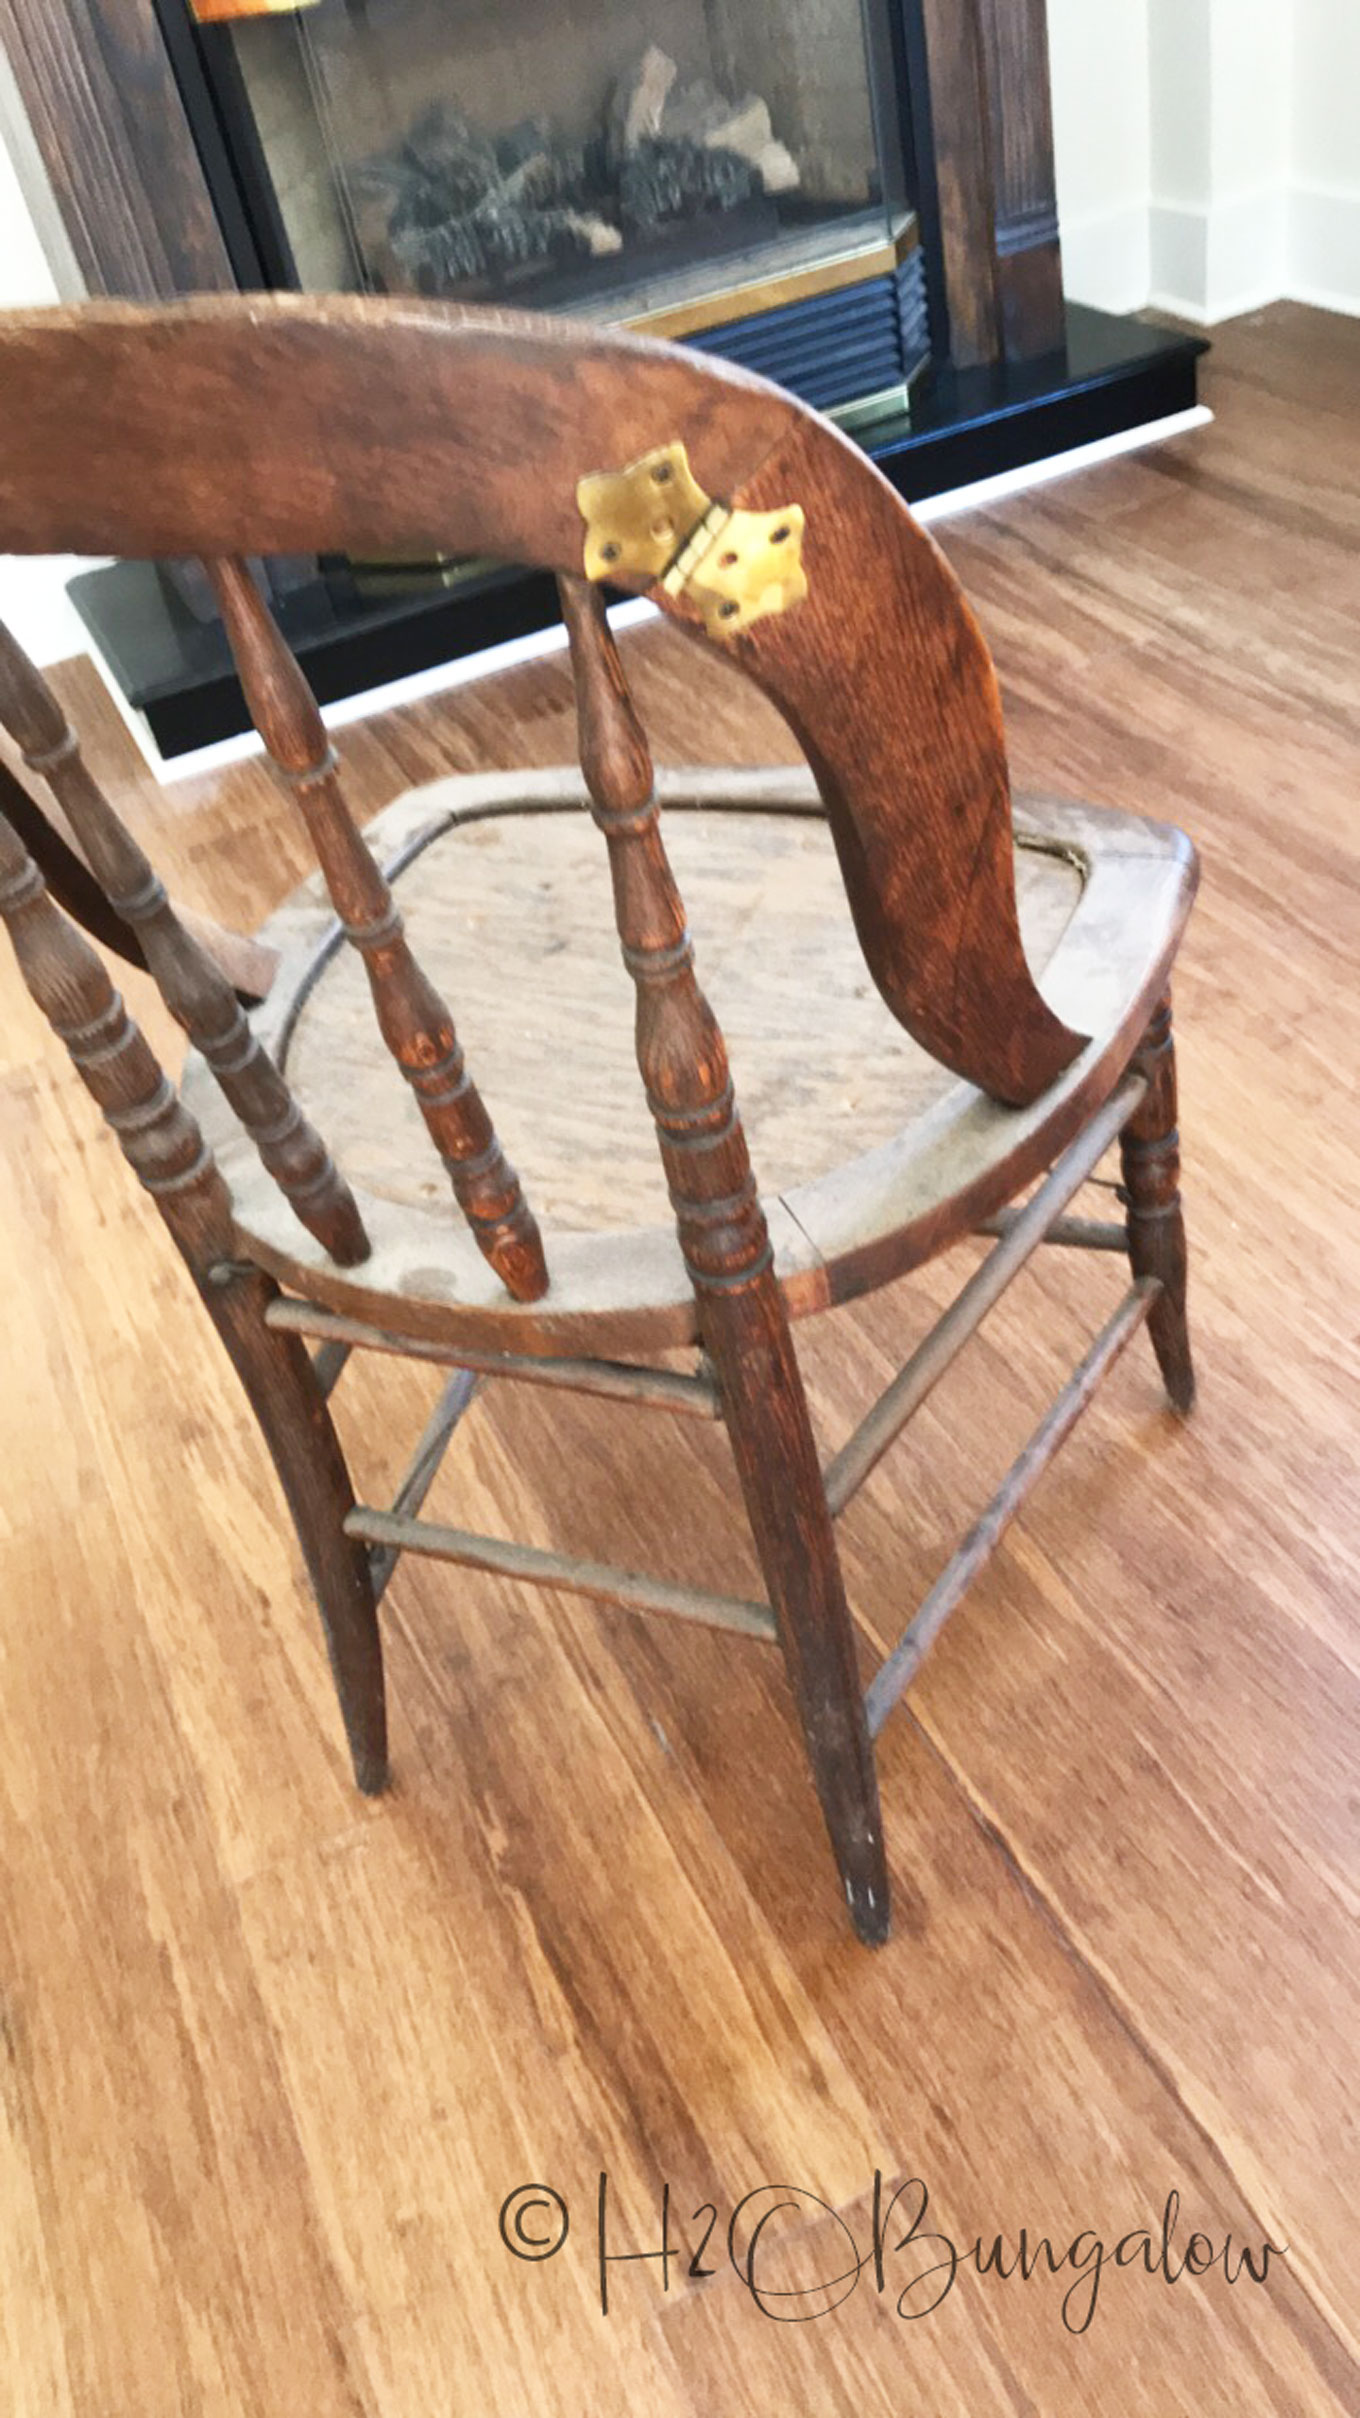
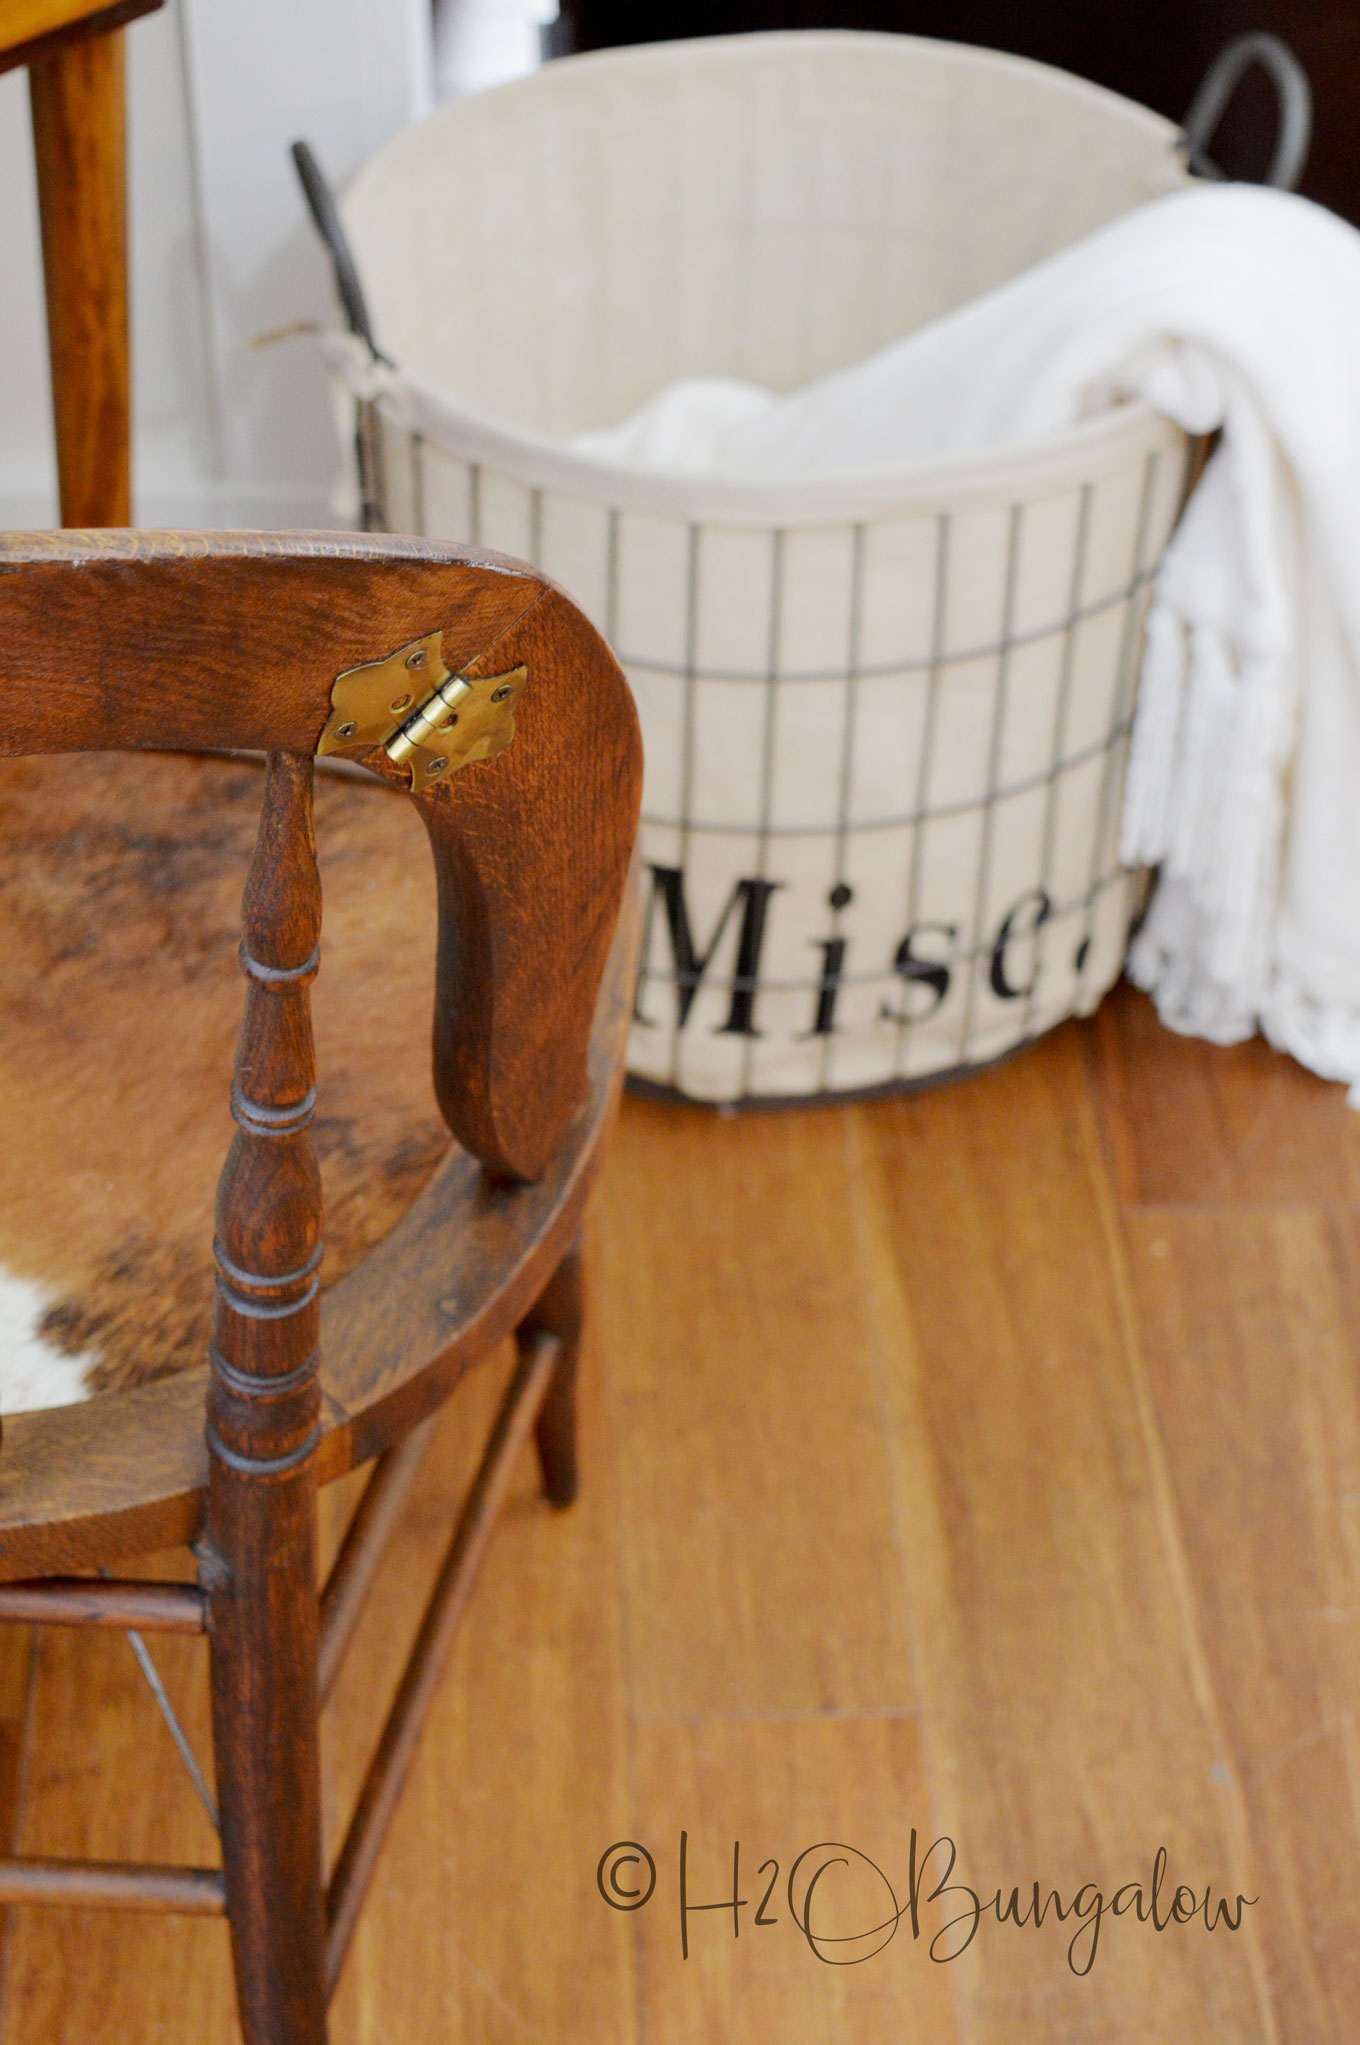
Did I want it he asked? Oh heck yeah! When I posted it on Facebook, a few readers chimed in and we figured out that these hinges don’t really have a purpose, it was someone’s idea of fixing a weak wood joint. But they do add personality, don’t they?
I wasn’t sure what I’d do with it, just that I had to find a place for it.
Then I remembered the cowhide rug I’d cut up last year to make the DIY Nailhead Trimmed Cowhide Seat (if you look at this old post, the room looks nothing like it did then!). Don’t have a cowhide? I found lots of reasonable resources on cowhides here.
There was still a huge piece of cowhide left.
I decided another cowhide chair makeover was in order. This was an easy peasy makeover my friends!
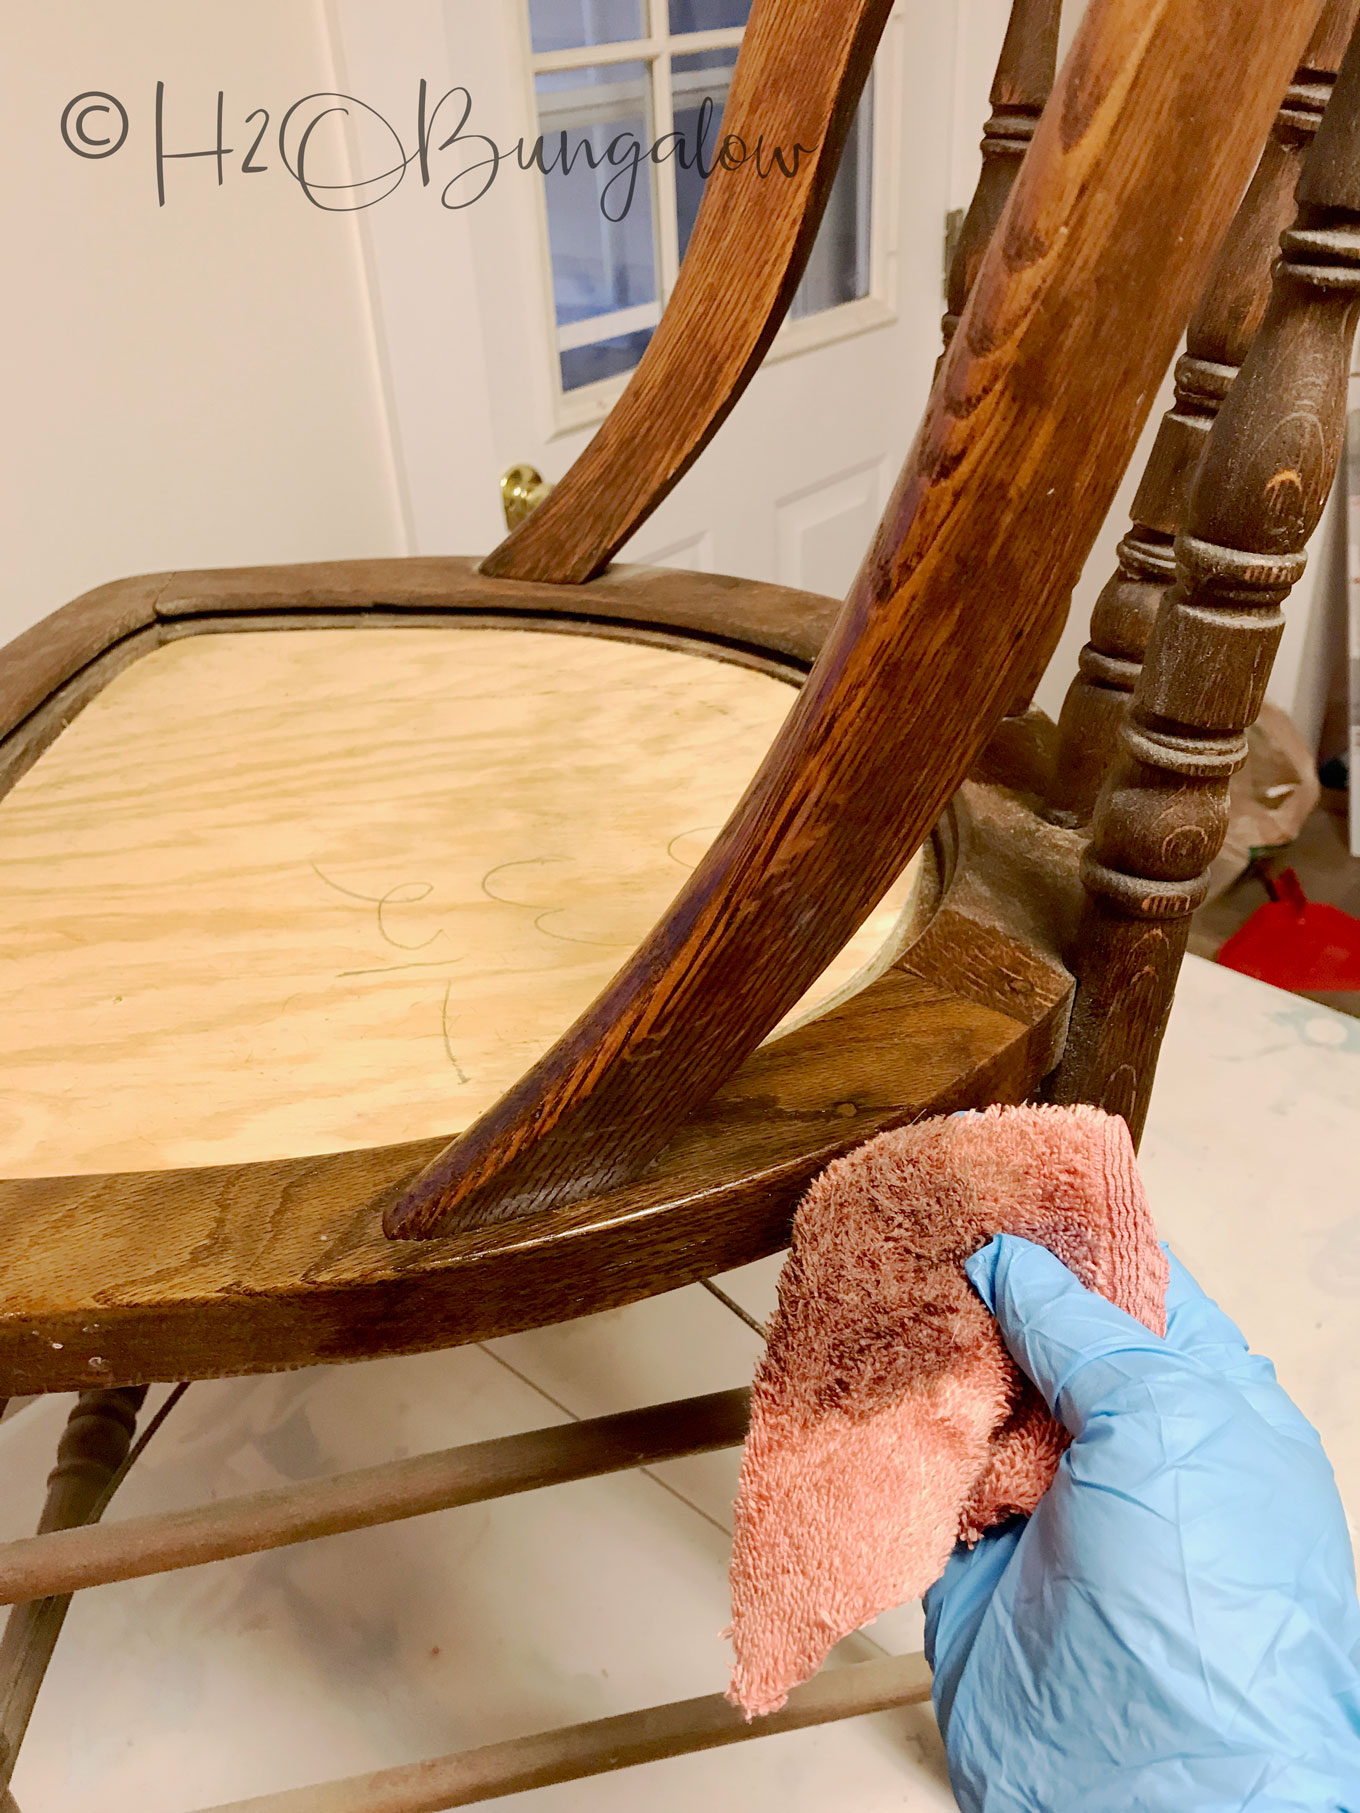
I took the old wood chair seat off. It wasn’t the original one anyway 🙂
I gave it a good rub down and cleaning with Howard Restor-A-Finish. I love this stuff for bringing out the beauty in wood pieces. I should have followed up with a coat of Howard Feed-N-Wax to protect and seal the wood, but I didn’t have any at the time. Note to self, pack more supplies when working in the mountains!
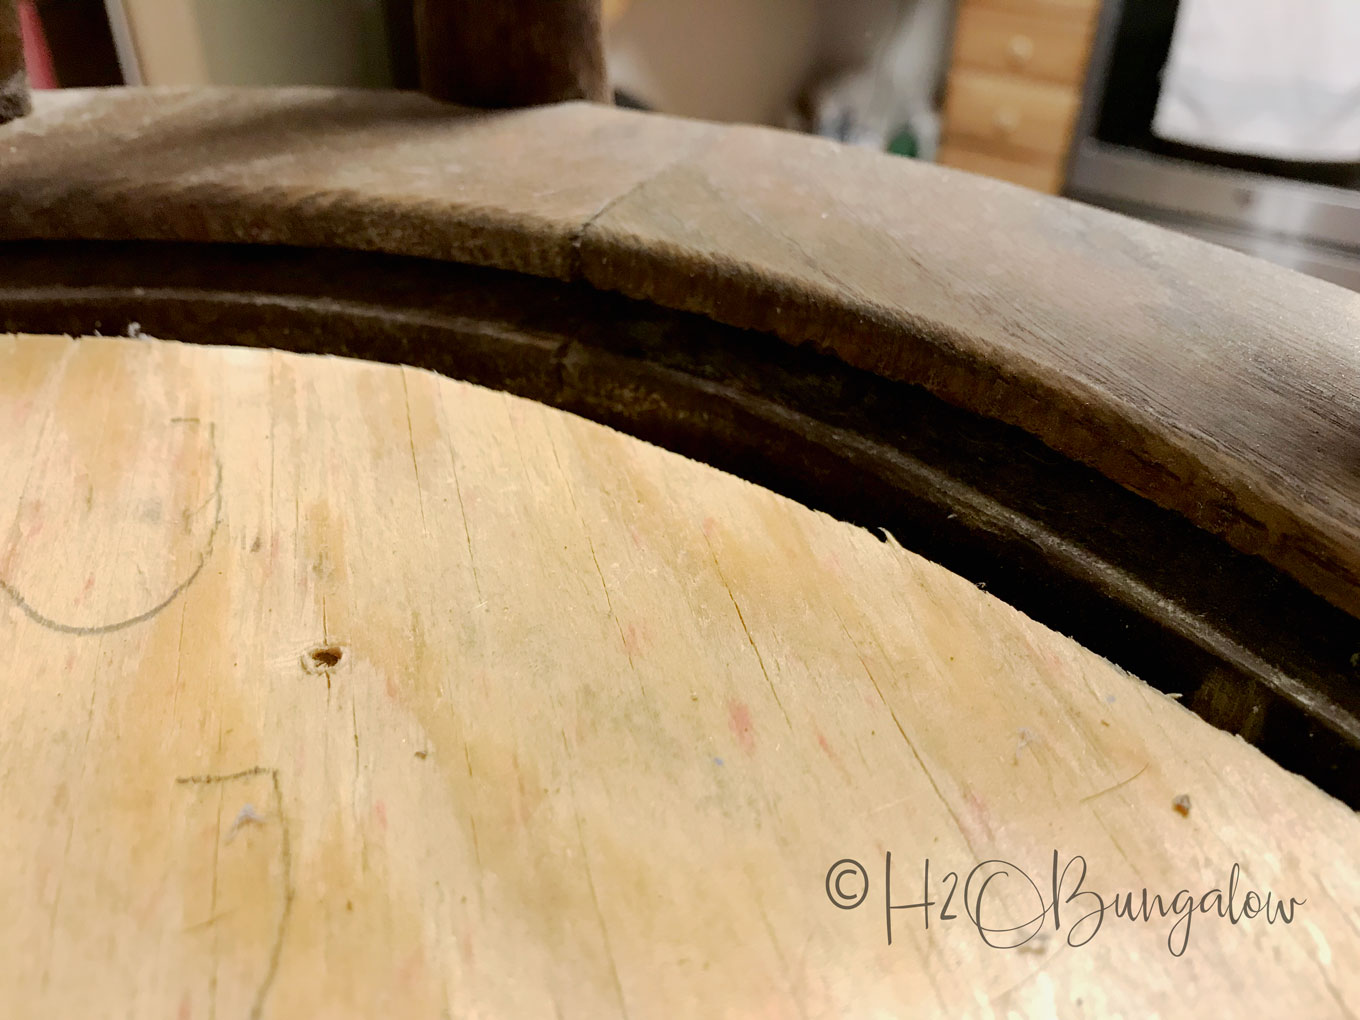
Let’s get back to the chair, …see that lip in the chair seat?
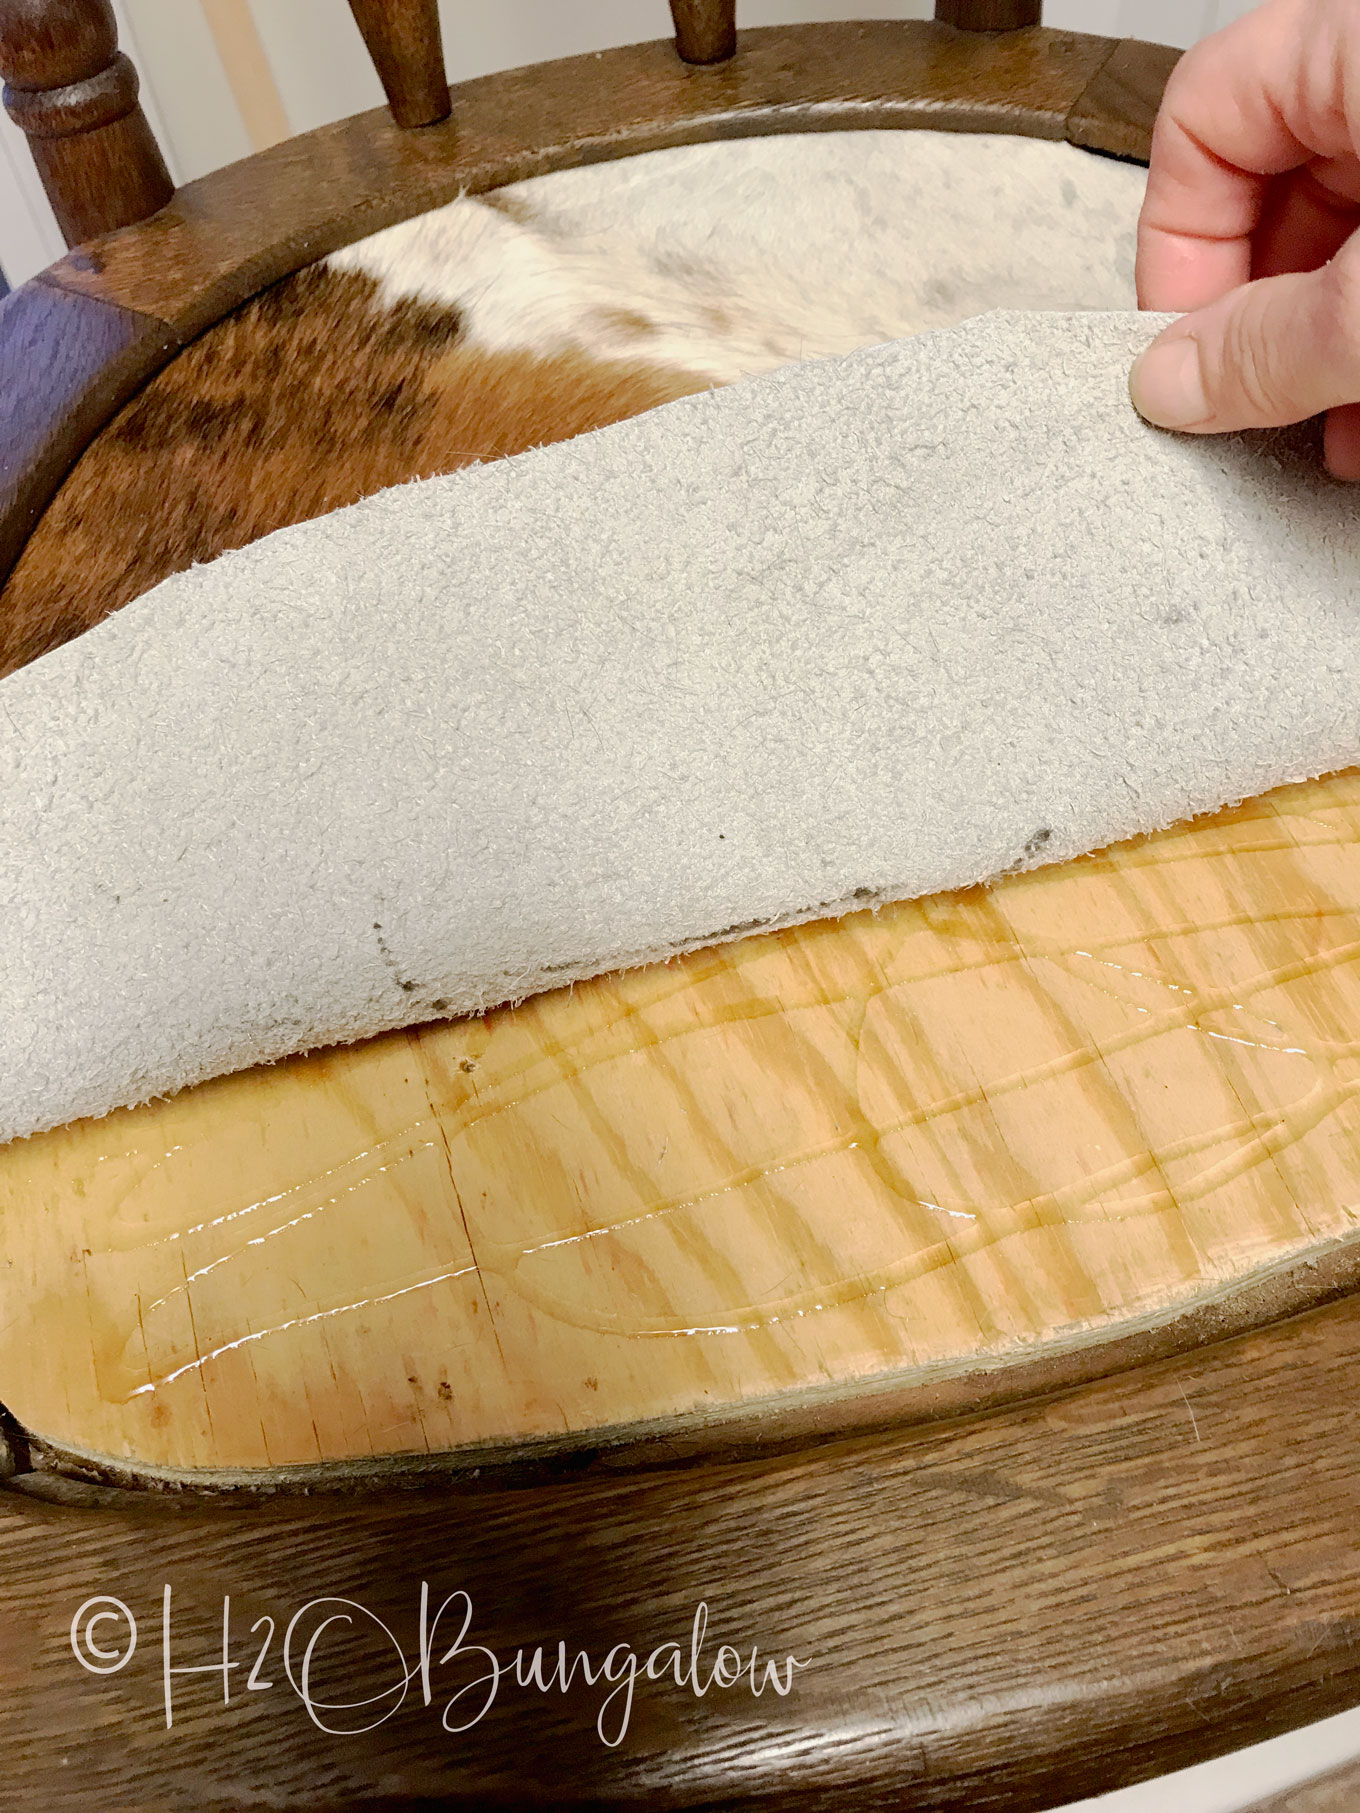
I cut the cowhide a tad larger than the seat and the excess fit inside the lip perfectly. My cowhide seat has no seams and no raw edges showing; which I love!
I used a little Clear Gorilla Glue to attach the cowhide to the seat bottom. I like this glue because it doesn’t foam up and it’s easy to use with a good strong bond.
That’s it. A super easy cowhide chair makeover that took maybe 30 minutes!
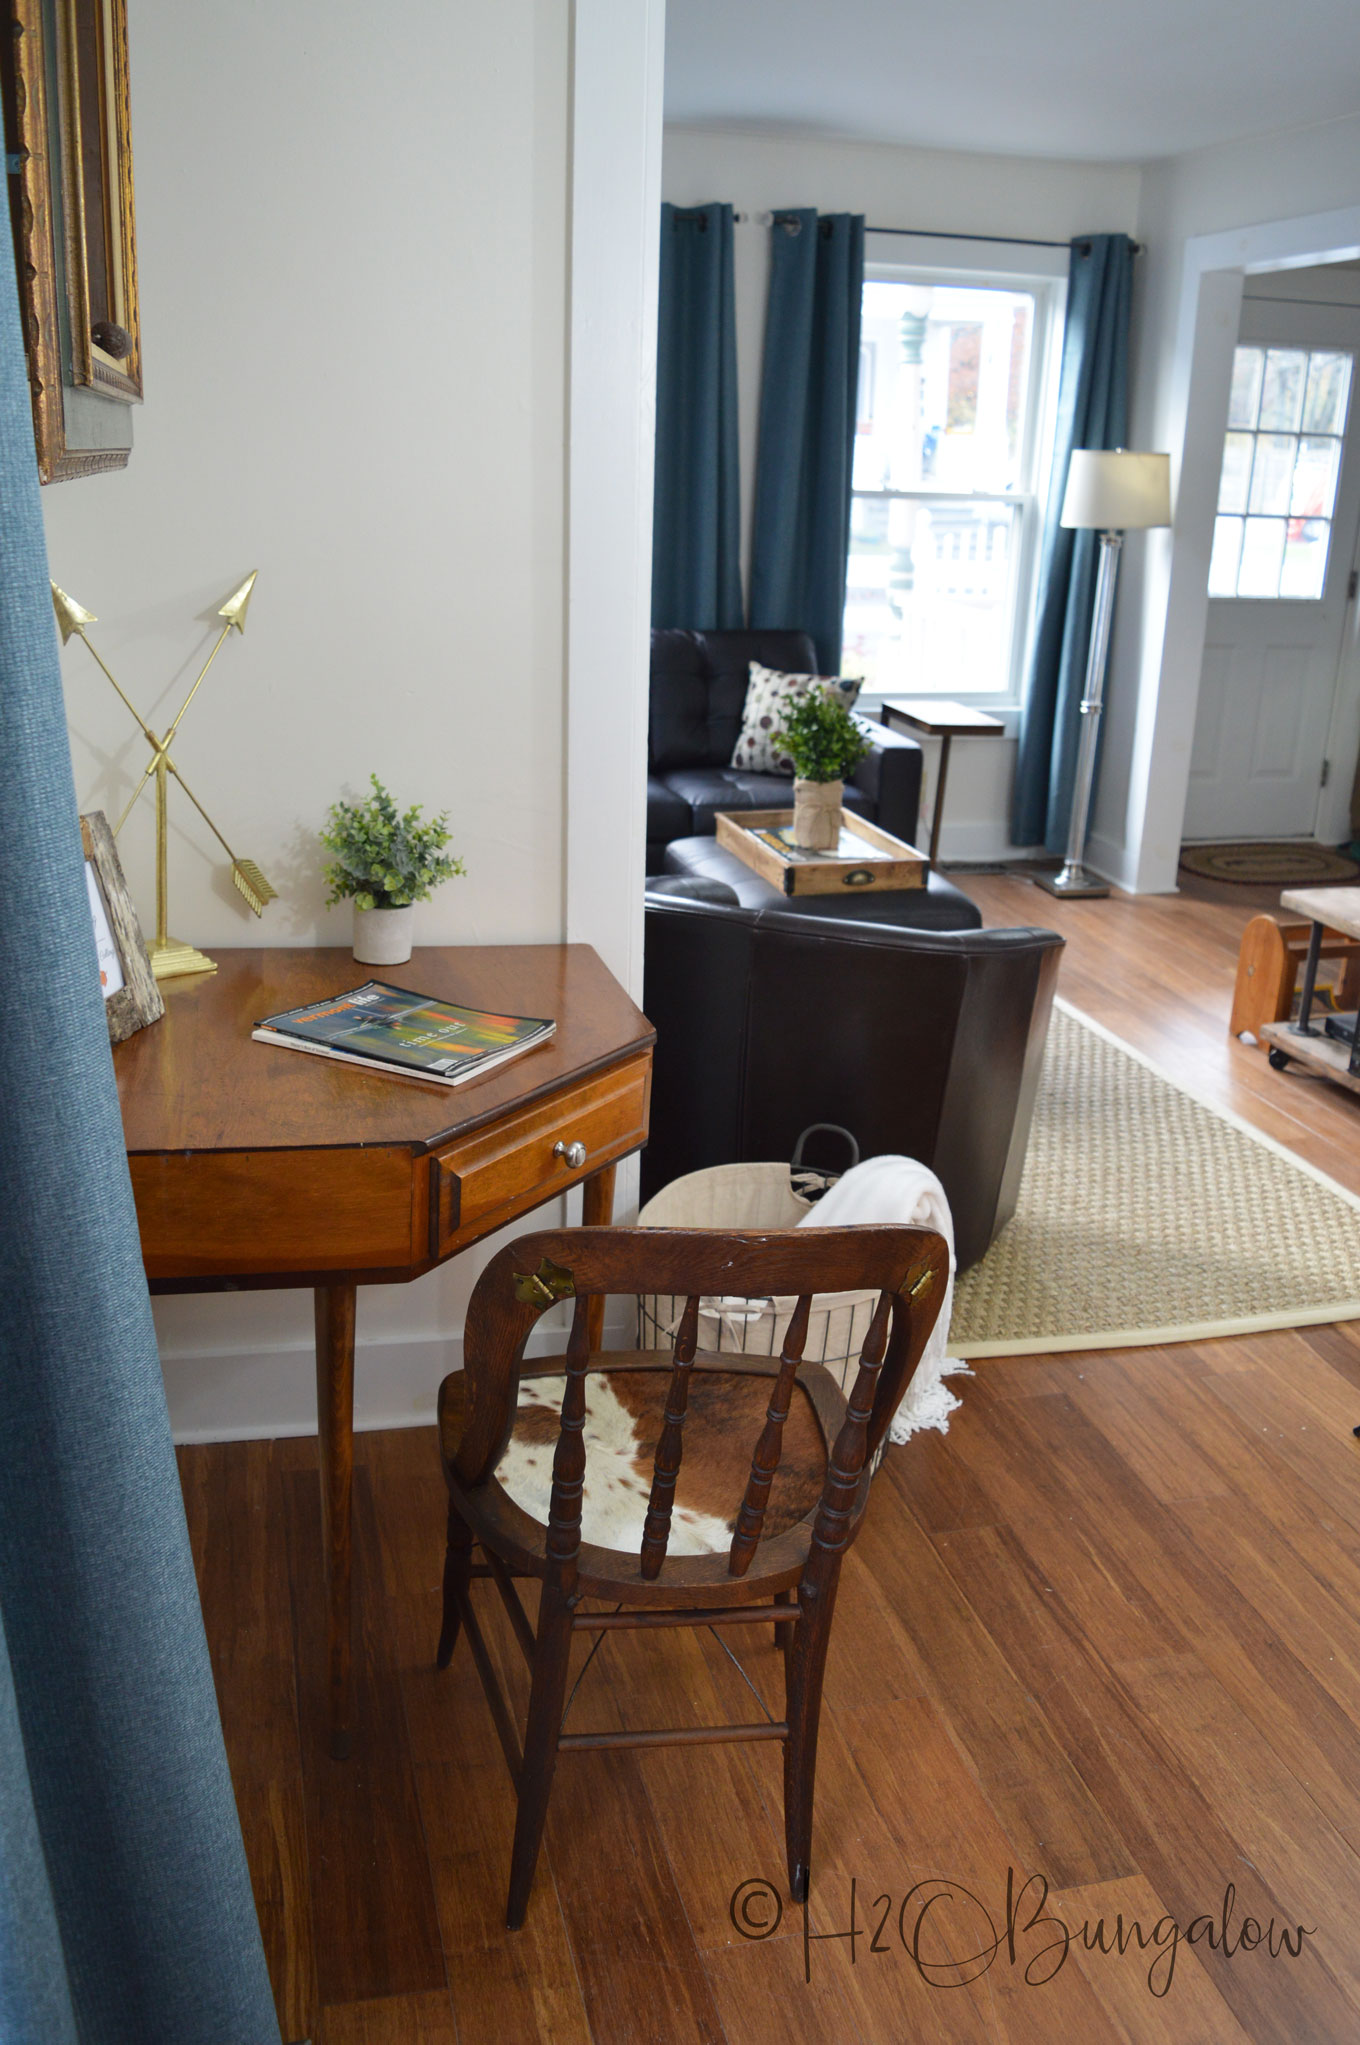
It fits perfectly with my three legged table..or maybe it’s a desk…I’m not sure. I just like the pieces together.
What do you think? I think it adds personality to the rest of the room too…which I’ll share more of soon!
This corner also looks great with my new DIY Repurposed Picture Frame Wall Shelves I just made. The DIY Birch Bark Picture Frame I made a few weeks ago fits well here too.
Do you have a spot where you could fit a cowhide chair makeover like mine? Or maybe even an old chair that’s in need of a refresh?
Love my projects? Want more? Sign up for my newsletter here!

Florence @ VintageSouthernPicks says
Awesome job! The cowhide looks great on that chair, and I love an easy fix.
Wendi says
Hi Florence and thank you! I’d cover 10 more of these chairs if I could find them! Seriously, I would!! Yes to an easy fix… I need more “easy” in my life..we all do! LOL
Marie says
The cowhide is perfect on this chair and compliments the wood nicely.
Wendi says
Hi Marie and thank you! I love this chair too. How lucky that it was also a gift and fits the table just right…kind of fun and funky! So good to hear from you! Thanks for your visit!
DIY Home Sweet Home says
Wow. It looks great. Would love for you to stop by and link your chair up to More The Merrier Monday.
Jamie
http://diyhsh.com/
Wendi says
Hi Jamie and thank you for the invite! I will certainly try to stop by.
Debrashoppeno5 says
I love your chair makeover. The cowhide gives the chair such personality. It looks great.
Wendi says
Hi Debra and thank you! The cowhide was the perfect compliment to this chair. I wish I had 10 more, it would be great at a dining table too 🙂
Paula says
The cowhide looks great on your chair and the chair looks perfect with your unique corner desk.
Wendi says
Hi Paula and thank you! These two pieces were made for each other. They were both give me’s too. My sister gave me the desk and the chair came from a friend out here. This entire corner came together beautifully out here. I was lucky!
Ellie LaJuett says
Great job, love that fabric on that chair.Looks nice with that desk. Nice proportion!
Wendi says
Hi Ellie and thank you! I love the pattern too. I actually cut up my cowhide rug last winter and had this left over so I decided to make the hide seat. I’m really happy with the way this area is coming together. It’s a good feeling to finally see it taking shape after 4 months of working on it! Thanks so much for your note!
Mary says
Wendi the house is really shaping up to have so many one of a kind pieces! Beautifully done, where did you find the cowhide?
Wendi says
Hi Mary! Thank you. I just finished mentioning to someone that it does feel good to see how everything is coming together after 4 months of working on this side! I absolutely love unique pieces and yes, I’m thrilled to be finding really good one for this place! I cut up my cowhide rug last year and had this left over but I did find a good source that even has small and faux cowhides besides the real ones. The link is in my post. Thanks so much for your note and visit!
Linda at Mixed Kreations says
I LOVE how your chair turned out! We have a cowhide rug, and a smaller cowhide over a ottoman in our living room. You did a great job on it! Just recently I discovered the clear gorilla glue. Before I was using the original, and it was some good strong glue, but I didn’t like the foaming. Pinning!
Wendi says
Hi Linda and thank you! I’m super happy with how this place is turning out. I’m ready to see it all done and take a break for a while..whew! Ohhhh, I’d LOVE a cowhide ottoman! Yes, I liked the clear Gorilla Glue so much better. Thanks so much for your super sweet note and visit!
Deb Morehead says
I have a question? Why didn’t you put a padding on the chair for softness? I have never did a chair before and was just wondering ?
Wendi says
Hi Deb! That’s a really good questions. I think I chose not to add padding for two reasons. First was that I couldn’t have attached it easily because of the way the lip was on the seat of the chair. Second, was a time issue. There are no stores out here where I can just run and pick up nail heads to tack it in place and foam for the seat. I’m in my last two weeks of working on this 4 month remodel and have a few huge projects I’ve yet to finish. So, for my the best choice was to make this a quick makeover. It looks pretty good in person and the last seat was flat as well. Perhaps I’ve inspired you to try one with a cushion seat? You’ll find a link to a tutorial for a cushioned cowhide seat in this post. I made one last winter for the other unit at the North House 🙂 Thanks for your question!
Patty says
I love that chair and the cowhide is just perfect. Great job.
Wendi says
Hi Patty! Thank you!! That cute little chair has so much personality I just had to keep it. I really am a sucker for old chairs with character and have them all over here and in FL. I think you’ll like the other rooms from this remodel, many of my project fit in the mountains:) I’m almost done after 4 months of work on this unit. I cannot wait to share it soon. Thanks so much for your note!