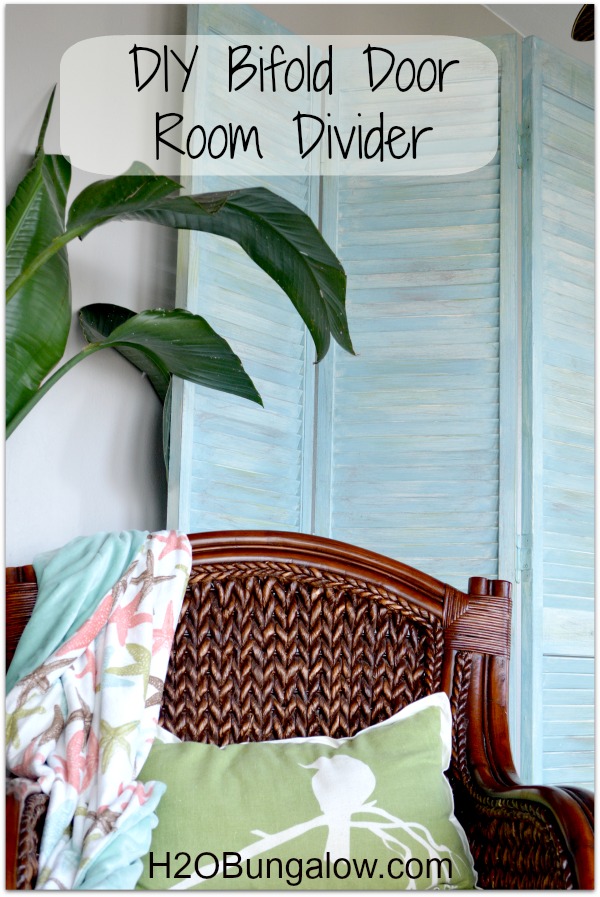
I am so pleased with my DIY bifold door room divider. I found this set of bifold doors at the thrift store a few days ago. When I was looking them over another customer came up to me and said, hey… I saw a set of those at another thrift store down on 9th St for $2. For about 30 seconds I thought about running over there.
Then I realized I could run over there, find out they weren’t “right” in some way, or they’d be gone and then I’d have to drive all the way back to this side of town to pick up the doors I originally found..oh and what if someone else bought my doors in the meantime and I came back to find they were gone? The absurd thoughts that run through your mind when you think you’ve found the “perfect..it’s just what I was looking for item”!
They barely fit in my car. The store helper and I worked it until we fit them in the middle of the drivers and passengers seat. I had to hold the doors up just to get to my gear shift thing.
What I love about these is they are tall. You know I’m a fan of tall in small spaces, but really love tall decorating items. Lets start shall we?
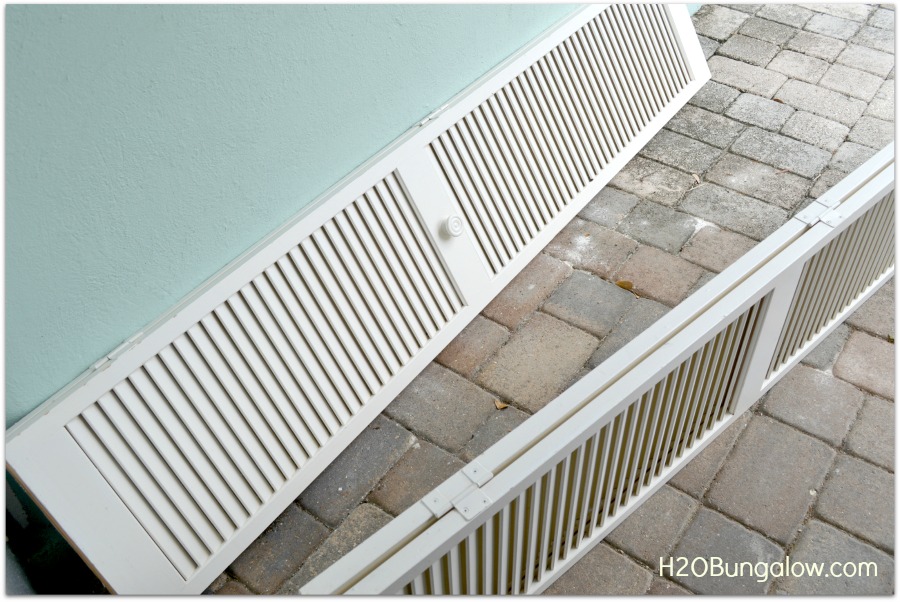
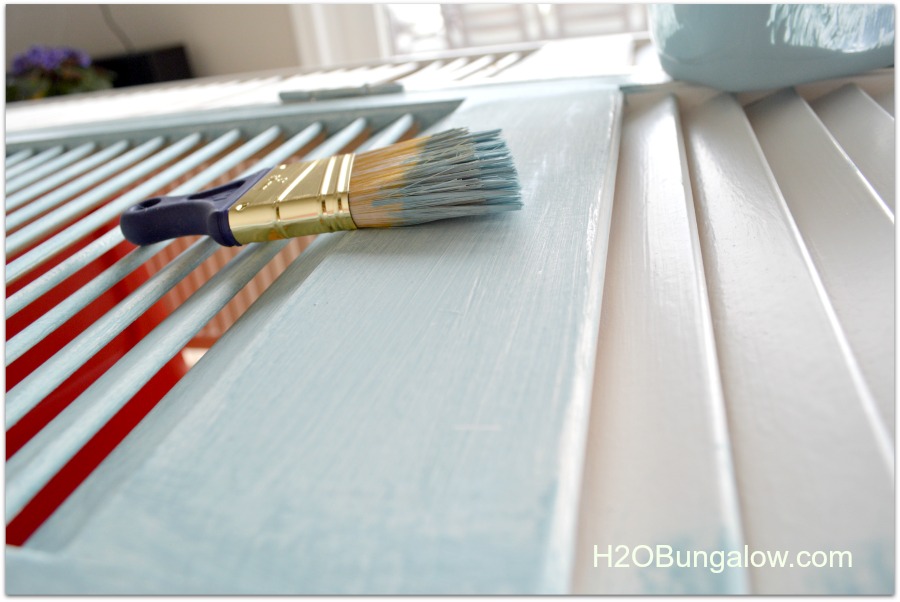
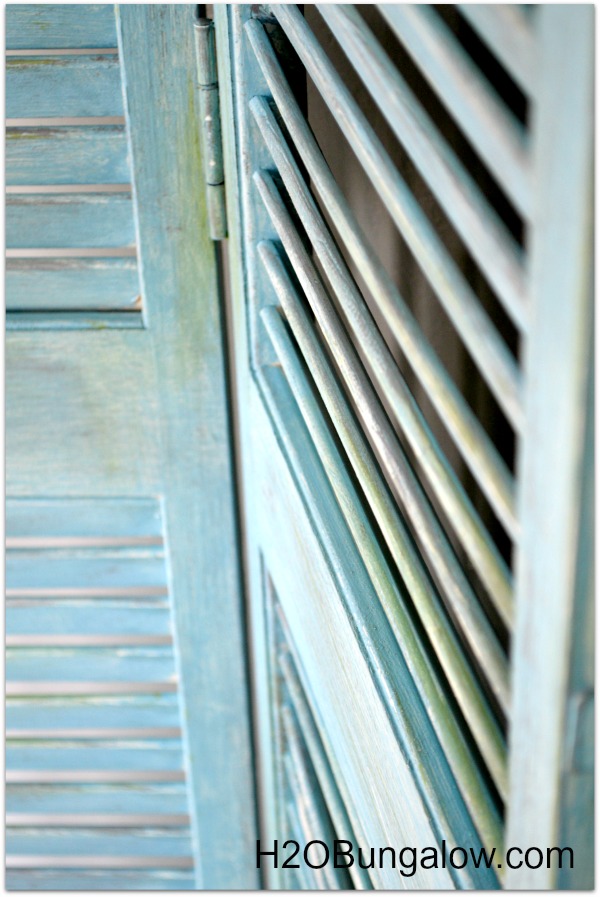
Painting these DIY bifold door room dividers wasn’t too hard. Instead of painting a perfect finish with no brush strokes which would have been a lot of work. I opted for a heavy dry brush look with layers of colors to give the piece depth. I used chalk paint for this project. The base coat was done with Maison Blanche Robins Egg blue. It’s the prettiest blue!
Don’t use your best brushes for this project. I started with a new brush and ruined it by dabbing it into the slats on the doors.
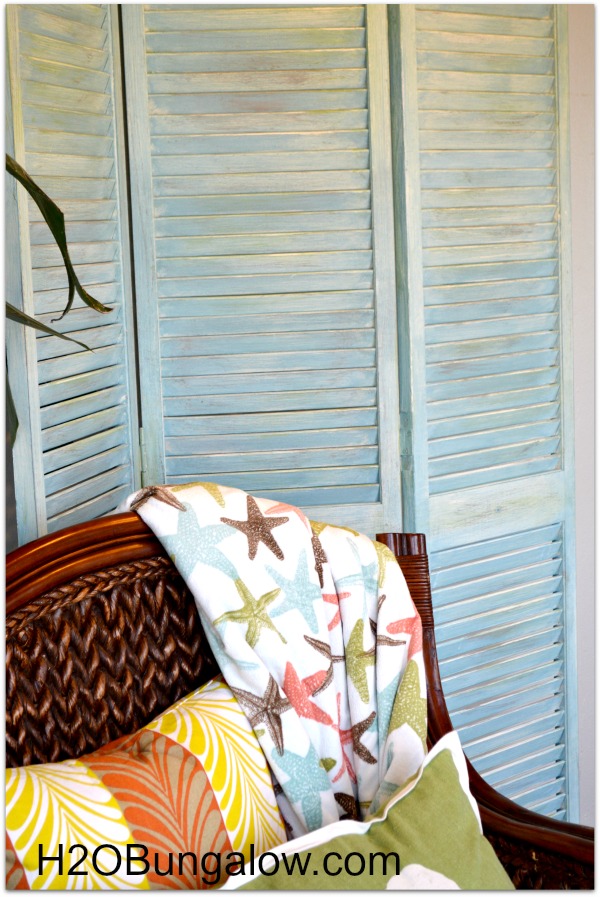
It’s perfect. The color combination gives my DIY bifold door room divider a nice weathered look.
Originally, I was making this DIY bifold door room divider for an airplant display down at the H2O Market. Missed that announcement? Read about it HERE. But it came out so pretty I’m just going to leave it as a room divider.
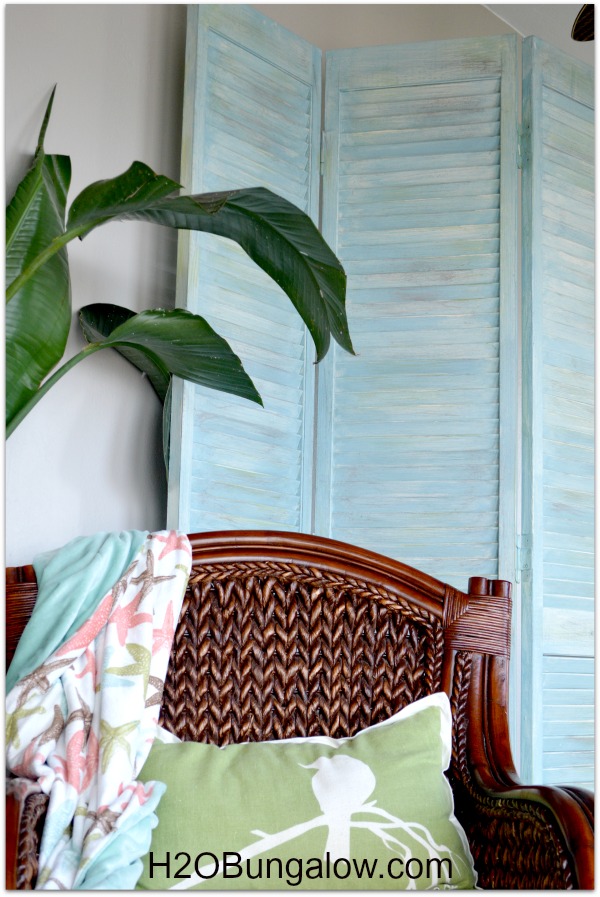
Where would you place this in your home?

Terri says
Hi, Loved your dividers. I’ve wanted to repurpose bifold doors as a divider for some time now and just googled it and find your project. I plan to use 4 panels for an outside screen to keep the sun out of my patio dining area or to block the neighbors RV peeping over the wall. They were a garage sale find for $10 for the four panels. They are a walnut natural wood that I’d like to paint to match my patio furniture. Any suggestions on how to keep them standing against our windy days? I’m thinking of adding some kind of L shape hardware to the bottom sides. Thanks for your blog, my first time here. Also, since the dry painting won’t be used, do you have some tips? I’ll hand paint with different roller sizes (one for the slats) to keep the smooth texture.
Wendi Wachtel says
Hi Terri!
An outdoor privacy screen sounds like a great idea! First, I’d use an outdoor paint to protect the wood from the weather. Since you’re not dry-brushing paint on, I’d probably spray it to coat and seal the slats well with paint. There are several good spray paints that would work. Or, if you do a lot of DIY projects, I’d consider getting a HomeRight Finish Max paint sprayer. They work great.
Also, an idea to keep them upright in the wind…maybe attach two long stakes at the bottom of each panel. Place the divider in place and push the stakes down into the ground.
Good luck with your project and have fun!
Lauren says
I love this — and I know I’ve seen tons of these at our local ReStore. This may be something I would use on my little front porch for privacy on one side. I’ve been thinking of hanging a sheer curtain but this would be pretty too. I’d just have to figure out a way to secure them so they wouldn’t blow over.
Wendi says
Hi Lauren! Thanks so much. There are always los of these doors at the ReStore shop! I think this project would look great on a front porch and it’s a pretty way to add some privacy too. Maybe you could add a bracket onto the wall and attach the privacy screen to stabilize it? Have fun creating it and thanks so much for your visit!
Ashley ~ 3 Little Greenwoods says
Oh my goodness! I love the color you painted the shutters. They make the perfect accent piece to your room.
Wendi says
Hi Ashley and thank you! Layering the colors instead of using just one gives the piece a lot more texture. The pictures didn’t do it justice 🙂 Thanks so much for your visit!
Rita says
Love, love, love your room divider! Can you please explain how to dry brush? Would love to try a similar project. Thanks so much
Wendi says
Hi Rita! Here’s another project that I used dry-brushing on and I explain what it is. Dry-brushing is pretty simple, basically putting paint on with an almost dry brush. https://h2obungalow.com/2014/08/americana-decoupage-chairs.html#more-4081 Have fun with your project and thanks so much for your visit!
Mary says
OH I had to laugh. That is my exact thought process ehen I’m out thrifting. Such struggles go on internally I have some bifold doors I scored an estate sale for $ 4 but I have not attempted them in a project yet. It’s on my to do list. Thanks for sharing.
Wendi says
Hi Mary, glad you liked the project. You scored on your bifold doors, that was a great price! Now you need to haul them out and get busy 🙂 Thanks so much for your visit.
Chris says
They’re wonderful–and exxactly what you wanted!
Wendi says
Hi Chris & thank you. This was a fun project and much easier to make than I initially thought. Thanks so much for your visit!
Sarena @ Teal Inspiration says
What a great idea! It looks so cute! And so much better that it was actually a thrift store find. Thanks for linking up with us at the #HomeMattersParty!
Wendi says
Thank you Sarena I enjoy linking up to your party. I love a good thrift store find, especially when it turns out as pretty as this project did. Have a fantastic week!
Audra @ Renewed Projects says
So pretty! I just love the different colors blended together, gives it such a soft look.
Wendi says
Thank you Audra:) I loved how the layered paint colors added a unique finish. It was also the best way to get the paint into the nooks and slats:) Thanks so much for your visit!
Mary-In the boondocks says
Hi Wendi, I just found this. I love the colors that you used. You really saturated the doors and gave it a beachy feel. Perfect! You are such an artist with the brushes!!
Wendi says
Thanks so much Mary! You know I love paint and any project that lets me just go with the flow and do whatever I want to with painting is a blast. Besides unless I sprayed bifold doors, they’d be a beast to paint well by hand:)
Keri says
I love room dividers and you did an awesome job repurposing the bi-fold door into one!! Love the paint job!!
Wendi says
Hi Keri, Thank you! I love shutter projects and especially room dividers. The paint job cme out really well with the layered dry brushing. Thanks so much for your visit!
Mary says
I love this article. I just got four bifold doors today. My BFF had them at the curb to get rid of. I said I wanted them. lol he said they’re heavy, I said good. (I wanted them for a craft booth display) he said they have mirrors.. I said, Now I really want them. lol I will probably make two sets of four doors. Thanks for the inspiration. I will leave one side white and paint the other side.
Wendi says
Lucky You!! With mirrors no less, sounds like a fantastic project. I love the idea of using the mirrors as part of the dividers. They’d be reversible! Thanks for sharing and please do post a picture on my blog Facebook page when your done!
Marie@The Interior Frugalista says
Love what you did with the bi-fold doors – such a pretty beachy feel to them. I chuckled when I read that you’ve decided to keep them. Maybe those $2.00 ones are still there across town for your h2o booth…you never know!
Wendi says
Funny Marie! Yes, I have thought about traveling over there to see if I could find them too! This was such an easy project and one that I have wanted to try for the longest time! Thanks for the thumbs up on my fun project!
Nancy @ Artsy Chicks Rule says
Love it Wendi! The paint technique looks so great! I found an old bi-fold door last year and had planned to use it in my space as a divider between my space and another’s!! lol But I ended up keeping them and putting them on either side of my french doors in my family room (that lead to the screened porch) as “shutters”. 🙂
Nancy
Wendi says
Nancy, I love your idea to use the doors as shutters! I’m starting to work on breaking out of the box to find multiple uses for different pieces. Yes, I’m glad I painted that style. It saved me a lot of time since perfect finish wasn’t required.. .it was well worth the sacrificial paintbrush I ruined in time savings alone 🙂
Rebecca @ Love at First Book says
Great idea! Waaaaay cheaper than purchasing one, too!
Wendi says
Rebecca, You are so right. I’ve always wanted one of these and it was so much more fun and affordable to make it! I love that it’s so much taller than what you find premade in stores too. Thanks for visiting and I hope your all settled at home from your big move back o sunny Fl!