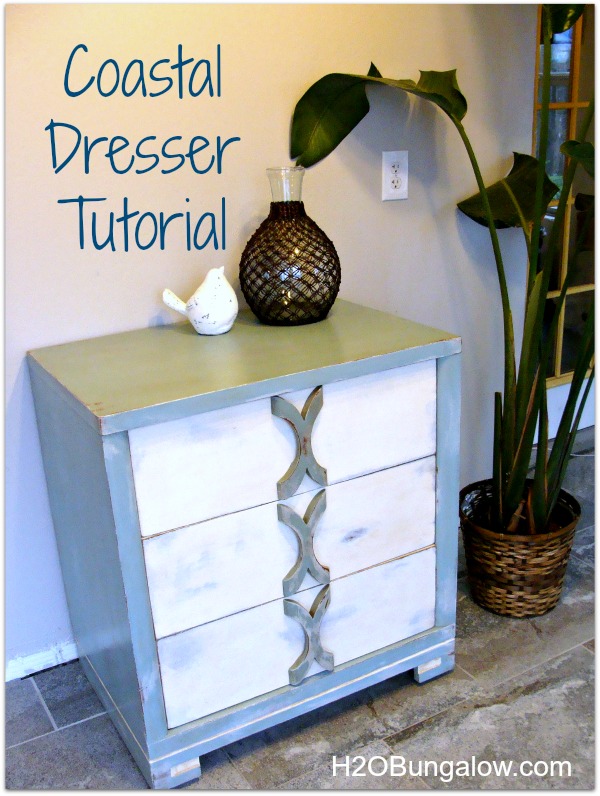
My DIY coastal cottage dresser started out as a thrift store find. It had all the qualities of a good find, sturdy, solid wood, great lines and it fit in my car 🙂 I love coastal style furniture and have waited for just the right piece to do a coastal makeover. This was it!
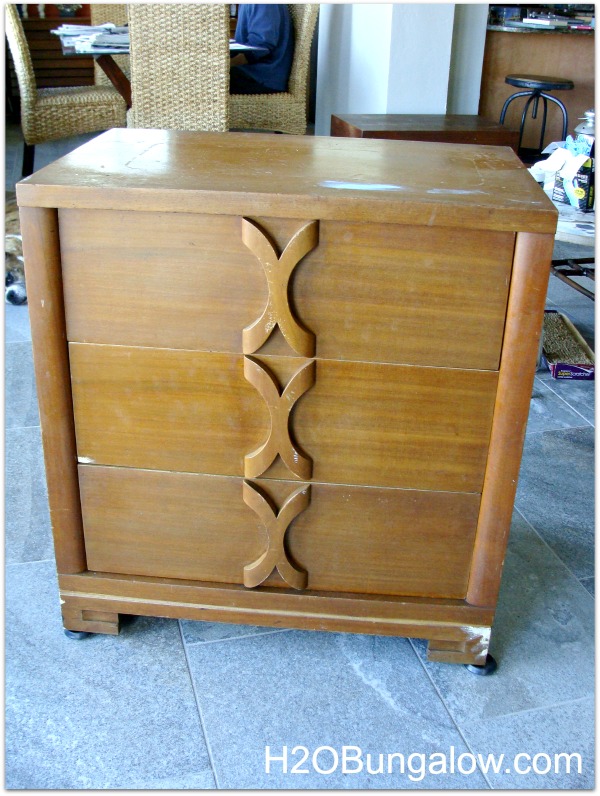
This is what it looked like the day I brought it home. I was too excited to start on this coastal dresser project and couldn’t wait for Monday, a clean house and no one home. It’s real life, right?
Let’s get this paint party started so you can make a DIY coastal cottage dresser too!
Make sure to read How to Paint a Dresser in 7 Steps if you’re new to furniture painting, it’s a great beginner’s guide 🙂
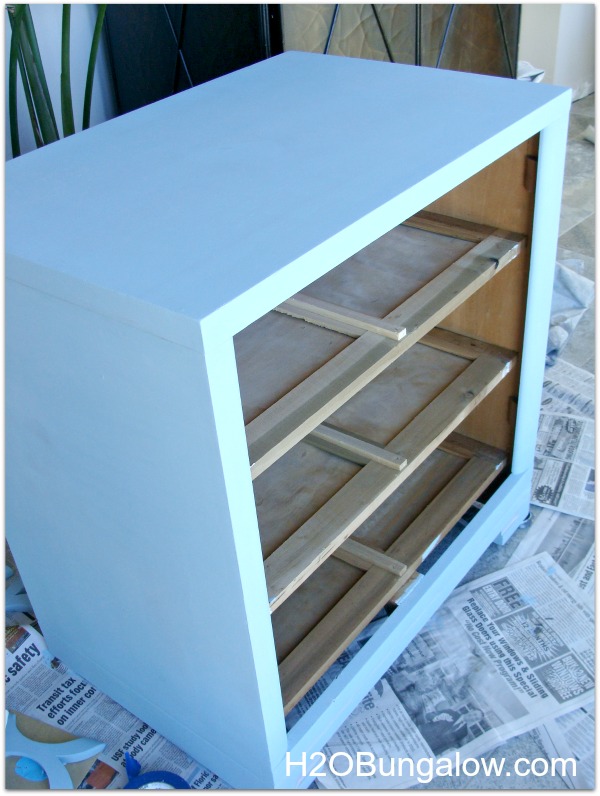
I started by prepping and priming the entire piece. I primed it first because I wanted to be sure there wouldn’t be any bleed through from the wood. My favorite primer is Stixx, I buy it at my local Benjamin Moore store. Quick tip… you can have your primer tinted which makes it much easier to get an even coat of paint. My primer was tinted grey. Which, by the way is terrific for painting light colors like white. I know it sound wrong but trust me on that one, it works.
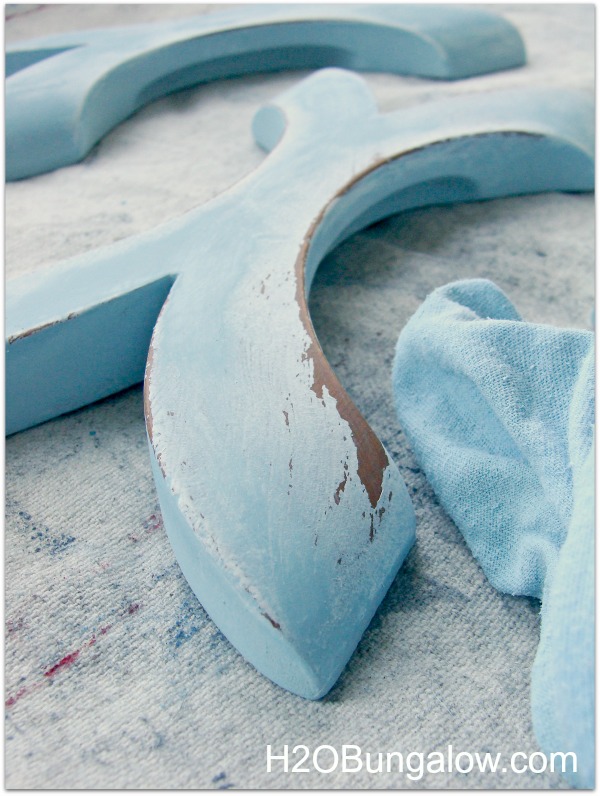
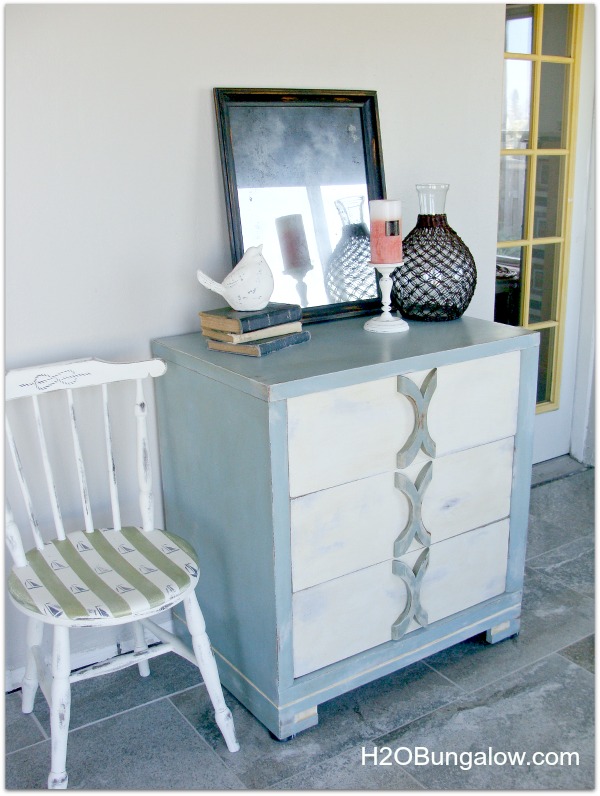
I painted the drawer fronts with American Paint Company Homeplate which is kind of off white and the body in Robins Egg Blue by Maison Blanche. Next came the distressing. For my coastal inspired dresser I wet sanded the edges and areas I wanted to look aged and worn. If you’re not familiar with wet sanding you just take a damp cloth and gently rub the areas where you want a distressed look. This technique works on chalk paint and clay or mineral based.
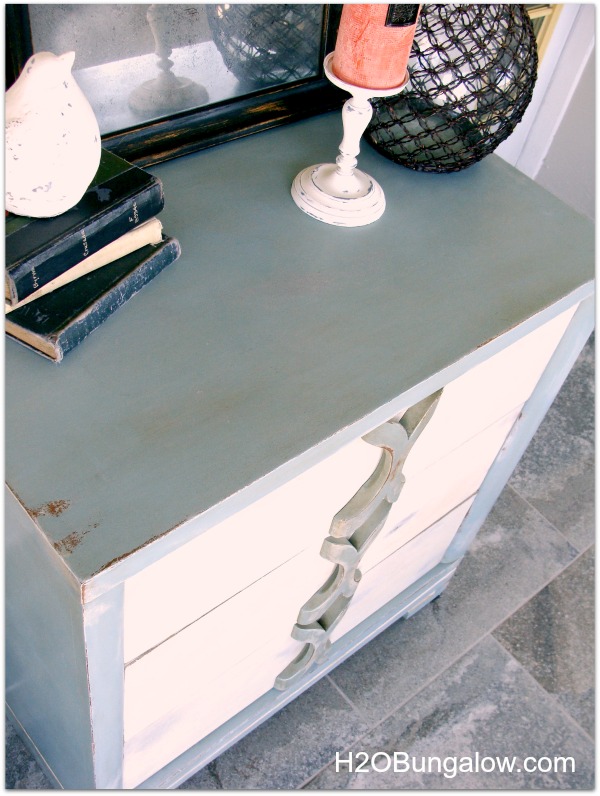
I distressed a little all over, even on the dresser top. There are a few areas where the grey primer peeks through and it adds personality and dimension to the finish.
I’m a big fan of layers, especially when painting furniture. My coastal dresser still needed more…something. So, I gave it a dose of aging wax which completely changed the color to a soft aged sea blue-green! Gorgeous…really!
When your working with dark wax, be sure to work in small sections at a time. Especially if you don’t have a clear wax as a base. If it grabs too much and the dark wax is too dark, just take some clear wax work it in and rub off.
I used clear wax to take off a lot of the dark wax on the drawers. In hindsight I could have put a layer of clear wax on first and then follow it up with a layer of the dark wax to add a little umph.
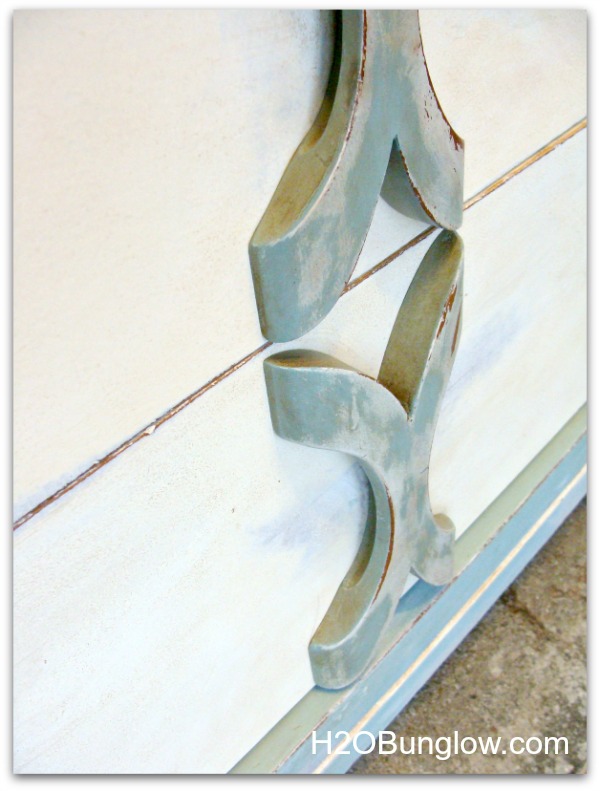
Aren’t the drawer handles fabulous? They added so much personality to my DIY coastal cottage dresser.
As much as I love this piece there really isn’t room for it here 🙁 It’s on its way out to the H2OBunaglow market to find a new home. The best part of having the market is I get to do a variety of projects and styles without trying to find a place for them in my home. What that means for my friends and readers is I get to work on a big range of projects, styles and finishes to share with all of you!
Love that chair? Me too, I kept that one and you can see the tutorial HERE.
Have I inspired you to pull out an old piece of furniture you’ve thought of redoing? I certainly hope so. You can’t beat the feeling of transforming an old piece of furniture into something special that you made:)
How many different uses can you come with for a small DIY coastal cottage dresser like this one?
You’ll find my project linked up to these fabulous parties!
Love a good dose of DIY home decor, home improvement, the challenge of woodworking and creative ways to make your home look fabulous?
Me too!
I’d love to share mine with you. Click here to sign up for my post emails and I’ll send a quick note when I have a new project to share.

Nan @ grannyfab.blogspot.com says
Wow! What a difference!
Wendi says
Thanks Nan! I love the drama of before and after pictures. This one looks amazingly different! Thank you for visiting today 🙂
Vanessa says
It turned out great and I love the colors you chose.
Lauren @ The Thinking Closet says
I agree with Vanessa! Those muted colors are just so soothing (like the ocean!). And I love your distressing. Also, my dear, you are quite the styler (or stylist?). Love the arrangement on top of the dresser for the lil photo shoot!
Wendi says
Thanks Lauren! I’m beginning to use these colors more and love them for the same reason… so soothing! Like my little vignette 🙂 It fun “shopping” in the house for props. You’ve got a few awesome ones in your house that I’d love to use too.. like in your amazing coastal bedroom makeover! LOL Thanks for the visit friend!
Wendi says
Vanessa, Thanks.. It was a complete gamble on what the color would look like after the antique wax went on. It has lots of variation and looks beautifully weathered. Thank you so much for visiting today!
Marie@The Interior Frugalista says
Nice find – gorgeous makeover! This won’t last long in the H20 Bungalow Market.
Wendi says
Thanks Marie! I Love this too. I’m having a hard time letting this one go! Thanks for stopping by!