This is a sponsored post written by me on behalf of AirStone. All opinions are 100% mine.
I finished my DIY stone faux stone fireplace chimney this weekend! Today’s tutorial shares how to build a faux chimney and how to add a faux stone fireplace surround. This is a weekend project that only requires a few tools and basic DIY skills. I did this completely by myself friends, all you do is apply adhesive and press to the wall, if I can do this, you can too!
Don’t let an outdated or even non-existing fireplace stop you from having the cozy place you’ve always wanted to have. My husband and everyone else thought I was nuts when I built and shared my DIY Fireplace with and Electric Insert last year. It’s been a showstopper ever since! This year I decided to add a faux chimney. I didn’t think the area could look any better.
I was wrong!
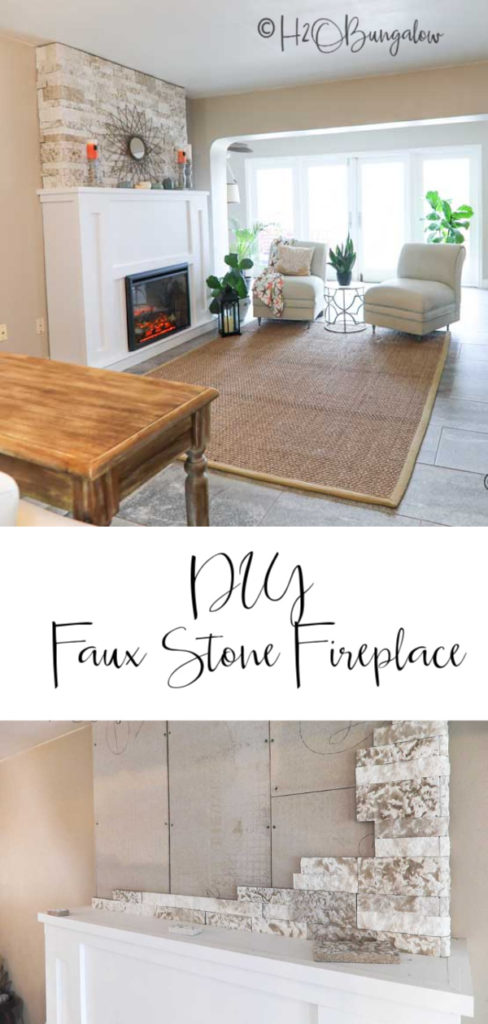
How to Build a DIY Faux Stone Fireplace Chimney
I made a video with step by step instructions. You can also download the detailed instructions below.
Supplies needed for this project.
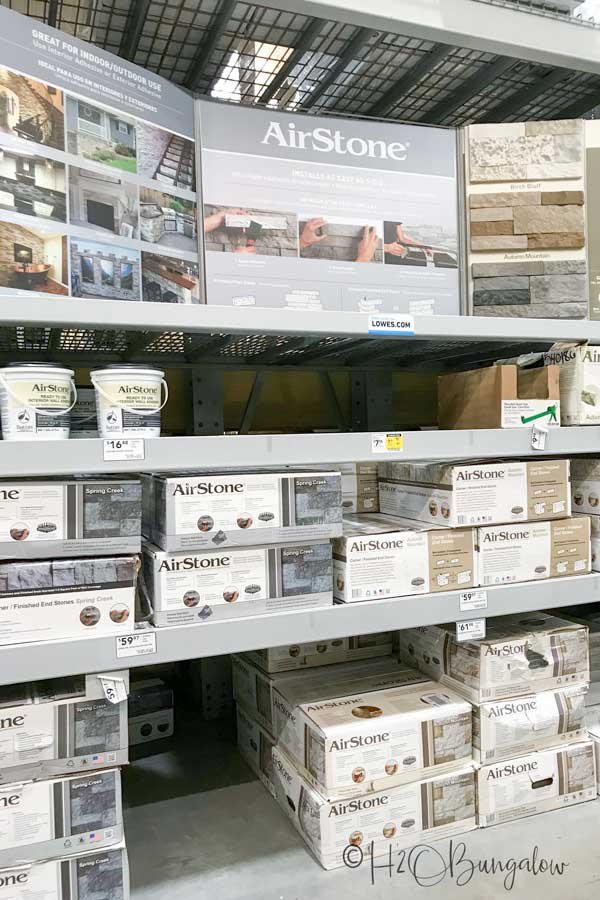
- AirStone, find it at Lowes
- AirStone adhesive
- 2 x 3’s for the frame
- Hardie Backer, 2 – sheets 3′ x 5′
- SPAX Lag Screws – 3″ x 1/4″
- Backer-on Screws – 1 1/4″ (for Hardie Backer)
- Pocket Hole screws – 2″
- Wood screws – 3″
- Kreg Pocket Hole Jig
- Drill
- Miter Saw
- Grinder with a diamond blade or a hacksaw (to cut AirStone)
- Utility knife
- Measuring tape
- Stud finder
- Drop cloth
- Putty knife
- Clean wet painters rags
Download the instructions here.
Step 1. Design the faux chimney or the faux stone fireplace size.
I’d already built a DIY faux fireplace with an electric insert, and only needed to add a faux chimney. If you haven’t built your fireplace yet, or don’t like what you have, you may want to use AirStone for the entire project. If so, take a look at my DIY Faux Fireplace tutorial to see how I built the base and frame. Use AirStone to make a the entire faux stone fireplace surround.
How to build a faux chimney.
Measure the distance to the ceiling. Measure both sides of your fireplace. Many homes, especially older homes have uneven ceilings and floors. Next, determine how deep and how wide you’d like the chimney to be. Keep in mind, the faux stone you’re adding to the facade is about 1″ thick and the Hardie Backer is 1/4″ thick.
Draw out your design and measurements.
Step 2 . Build the faux chimney frame.
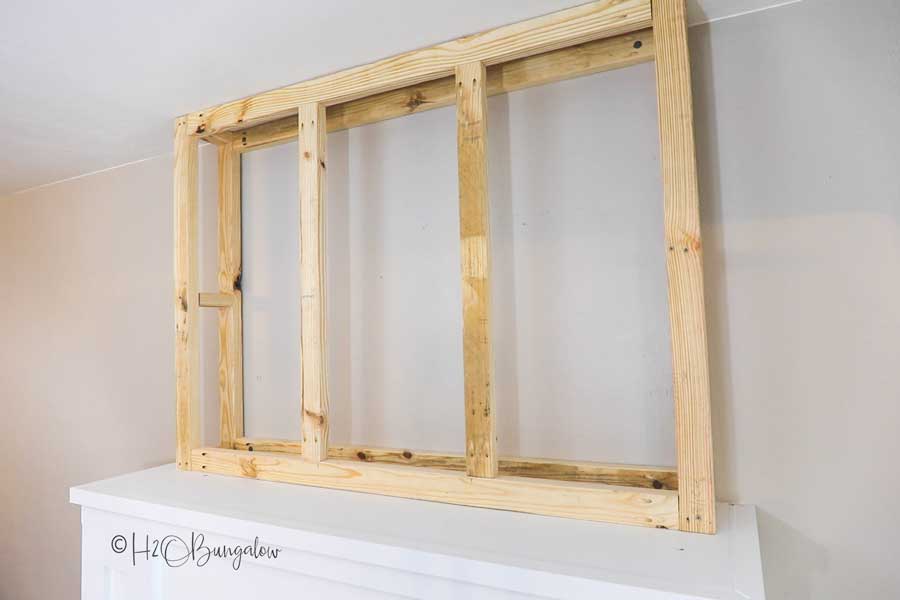
You’ll build a basic rectangular box out of 2 x 3’s to sit on top of the existing fireplace mantel and attach it to the studs in the wall.
I used a combination of pocket holes and 3″ screws to assemble my faux chimney frame.
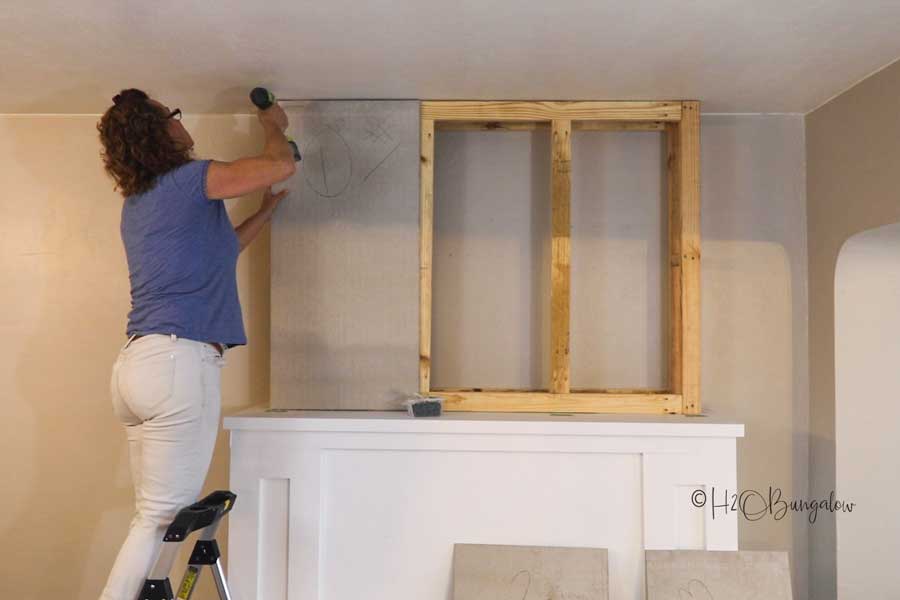
Step 3. Attach the Hardie Backer to the chimney frame.
Cut the Hardie Backer as needed and attach to the frame with 1 14/4″ Backer-on screws. Hardie Backer is easy to cut, just score it with a utility knife and snap it like you would plexiglass.
Step 3. Prep the area
Start by preparing your workspace for the faux stone facing.
- Use drop cloths to protect the surrounding surfaces. A folded old towel fit better on the mantle.
- Mix multiple boxes of the same type pieces of AirStone. Keep the corner sets wrapped until you are ready to use them so they don’t get mixed up with other corners or straight pieces.
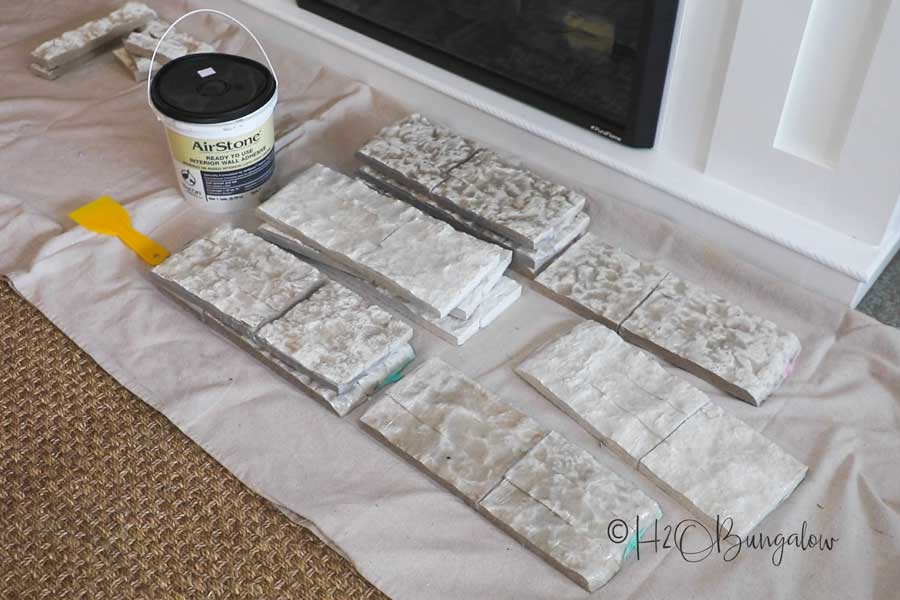
Step 5. Start glueing the faux stone to the fireplace surround
Start with the corner and alternate the seams so the seam faces the front on one row and the next seam faces the side.
Tips for gluing faux stone onto a fireplace surround.
- When adding the AirStone adhesive to the back of the faux stones, apply it with a putty knife about as this as you’d icing a cake.
- I used one tub of AirStone interior adhesive for my faux fireplace chimney.
- The adhesive seems to set in a short time once I’d glued a faux stone in place. But the open container was fine all day and did not begin to harden with the top off of it which made the job easier.
- Use a clean damp cloth to wipe off excess adhesive.
- AirStone interior adhesive cleans up easily with soap and water.
- Visit the AirStone website to watch the installation video and view other resources
Start adding stones at a corner. The corner pieces are packaged together with a curved side and a flat side that fit together to create a seam. Alternate the seams on the faux stone chimney so the seam of one row faces the front and the other faces the side.
What I loved about using AirStone is how well the pieces fit together no matter what size stones I was applying. There were no gaps that allowed the wall to show through.
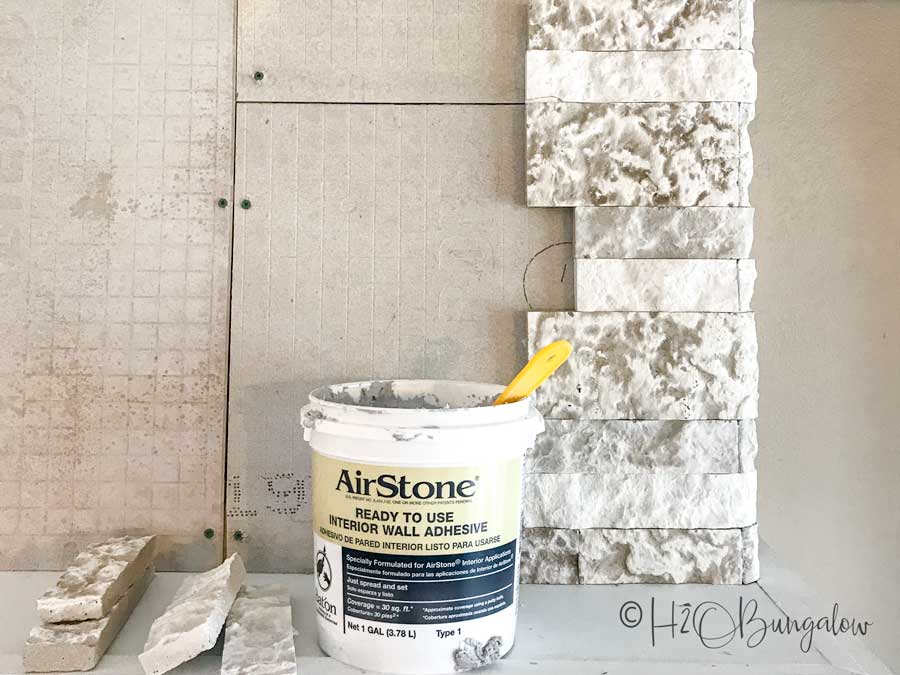
Choose different sizes and colors of corner sets as you work up the chimney. My chimney is about 7″ deep and many of the pieces fit perfectly (just luck!) but some needed to be cut down to fit. Others were shorter and left a gap between the end and the wall.
You’ll need to cut stones to fit into gaps.
How to cut AirStone faux stones.
AirStone can be cut with a hacksaw but since I had so many cuts to make on this fireplace chimney I opted for a faster method and used a grinder with a diamond cutting blade. Do not use a miter saw as the dust will be bad for the bearings, but you can use a tile saw which can easily be rented by the day.
- You must wear safety goggles and a dust mask when cutting AirStone!
- Cut stones outside.
- Use a bar clamp to hold the stone in place while cutting.
- Position the grinder so the dust blows away from you like my picture below.
- Cut from the front of the stone, not the back.
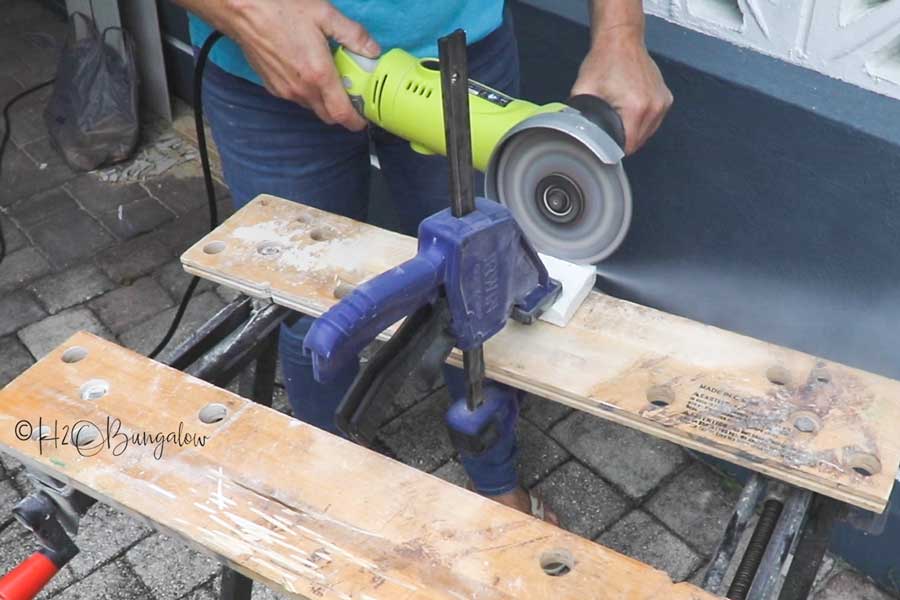
Tips for adding faux stones to the fireplace surround.
Start at the bottom row on a flat surface, or in my case the mantle. If you are doing a stone facing for a fireplace you may want to start at the top of the fireplace opening and work your way down and then up. Keep in mind, you may need to add a temporary level support to hold the first rows while the adhesive dries before adding more layers on top when starting like this.
- It’s easier to work in rows across the chimney and around the other corner.
- There are stones of all shapes, including double row height. Mix these in randomly.
- You may need to shave the top of a stone to fit it into a nook when there is a top and bottom stone in place in a row.
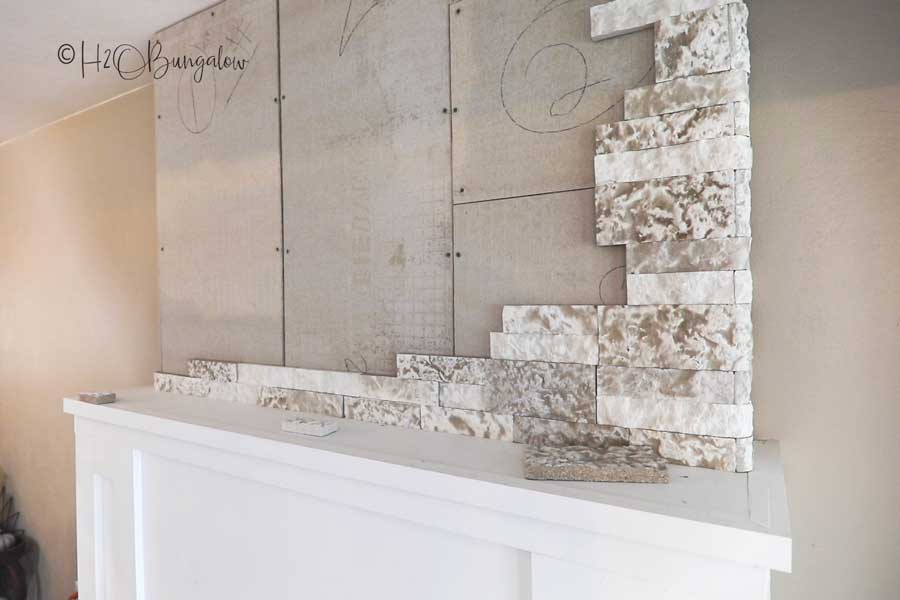
Depending on the height and levelness of your ceiling there may be a gap at the top of the last row. If you can cut a row of stones to fit, that would be ideal.
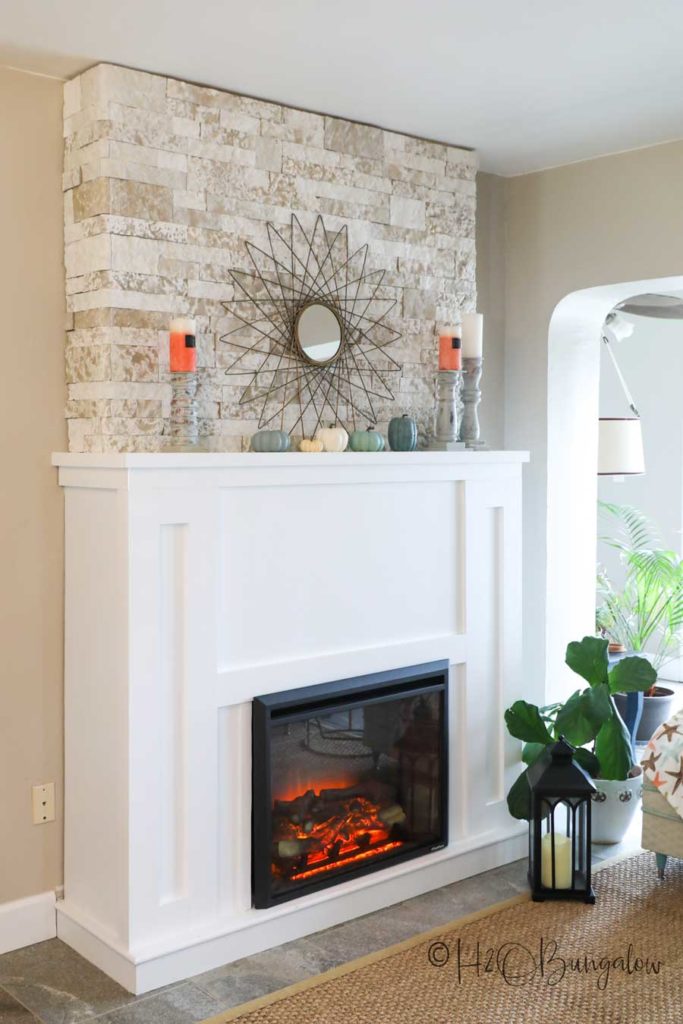
Our gap was small and our old ceiling is not close to level! It’s a toss up on whether I’ll grout the edges and ceiling gap or add quarter round to them instead.
I’m thrilled with how my DIY faux stone fireplace chimney turned out!
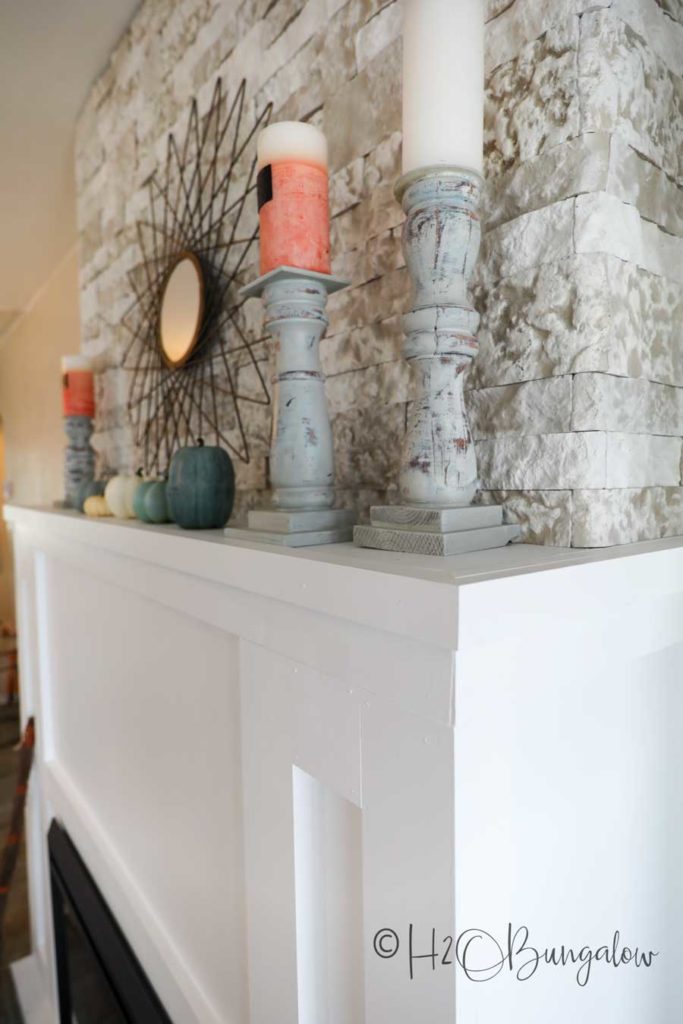
It’s the first thing you notice when walking in the front door.
Our living room is really long and narrow. My faux fireplace defines a cozy conversation area in front of my kitchen. When friends are here they usually sit at the island stools and visit.
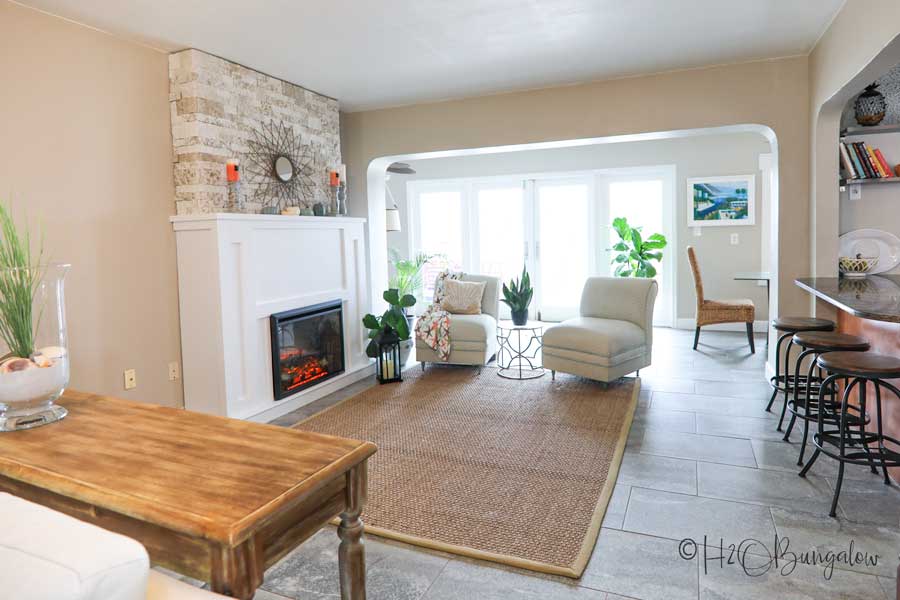
Others sit in the chairs by the fire and can easily join in the conversation. It’s a great use of space and the most used spot in our home!
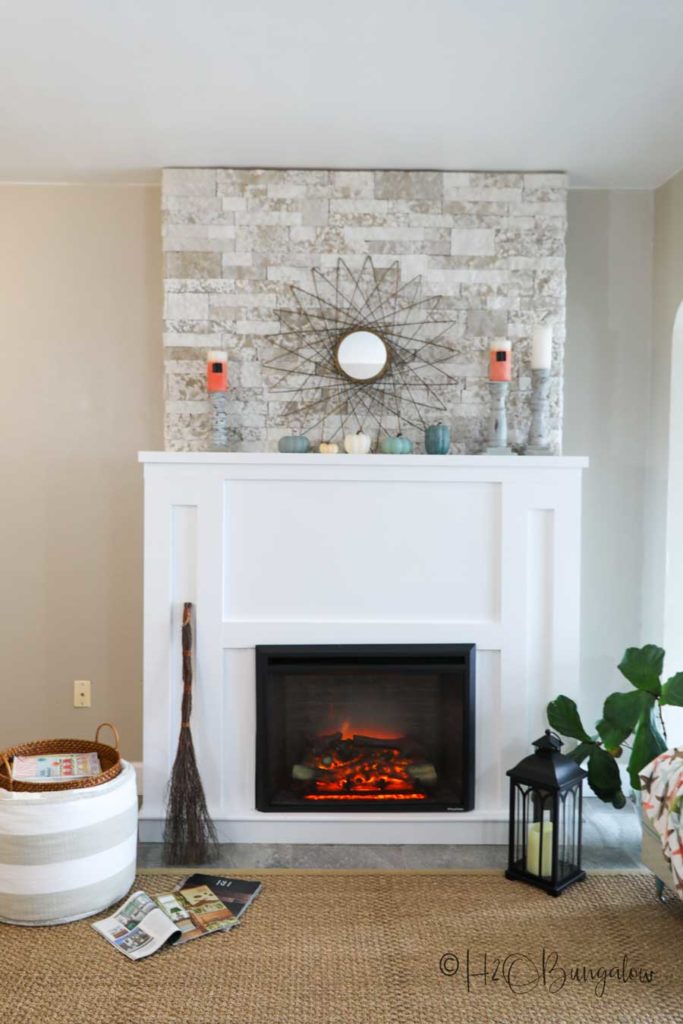
Don’t forget to in this project for later and share with your friends on Facebook!

The cool thing about AirsStone is that it can be used inside and outside! I have some leftover faux stones and am planning another project for next year.
A few outdoor AirStone ideas I’m thinking about are, add it to exposed foundations, create an outdoor kitchen, cover matching planters and an entry, redo our mailbox and more!
Of course I can find more places for projects inside as well. I’d love to see an accent wall done entirely of stone, especially in a bathroom. It would be gorgeous as a kitchen backsplash or in a foyer or up a set of stairs.
For more creative ways to use AirStone, follow them on Facebook, Twitter and Instagram. You’ll love the ideas they share!
Are you ready to add a gorgeous faux stone fireplace surround to your home?

Michelle James says
This fireplace turned out amazing! What a warm and cozy space!
Wendi Wachtel says
Thanks so much Michelle!
We are enjoying the “new’ look and I wish I’d known about these stones much earlier!
Barb says
The fireplace is stunning! Thank you for sharing. As I still cannot pin from your site I shall try unsubscribing and then I will re-subscribe and see if that will work.
Wendi Wachtel says
Hi Barb!
Thank you so much for your note! I don’t know why the pinning issue happens at times, it seems random. You subscribing/unsubscribing shouldn’t affect it though. Thanks for trying and especially your patience! We are loving the new look!