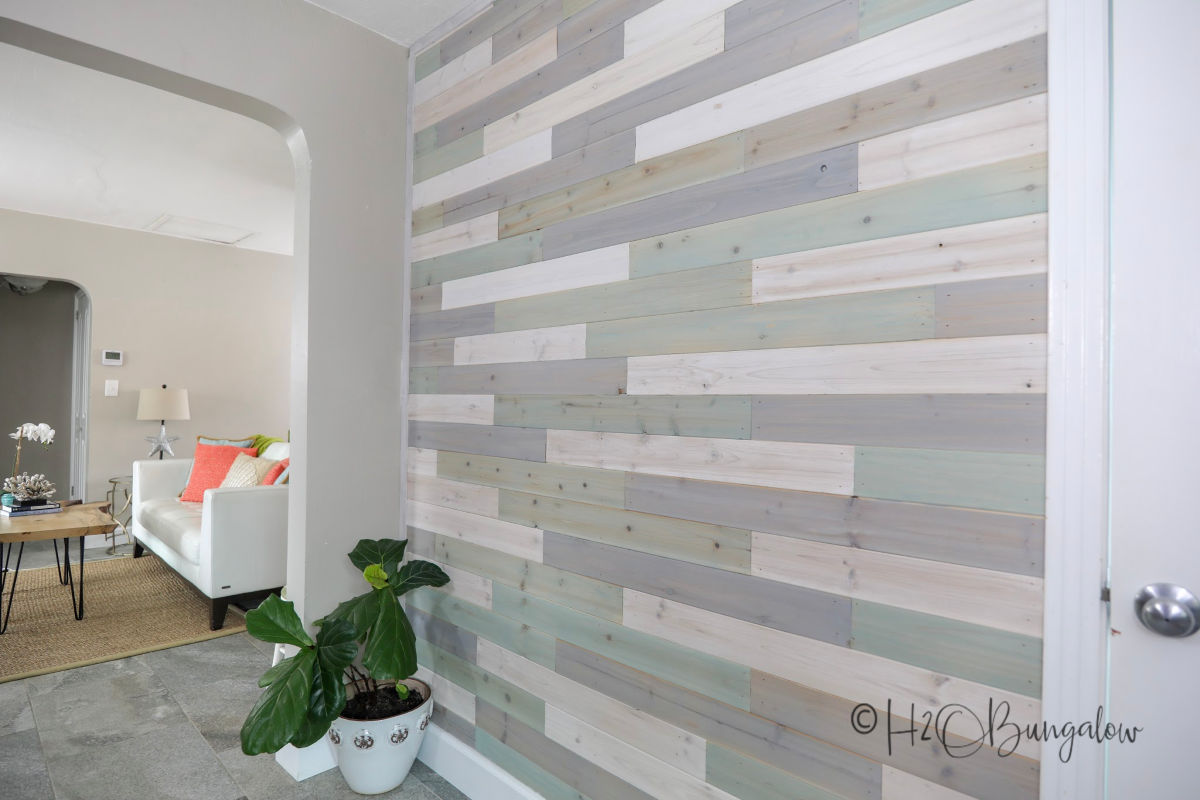
I am so excited about my DIY multi colored wood plank wall friends! Not only did I install this amazing wood feature wall in my office, but I finally finished the baseboards too! I’ve fallen in love with the skinny lap wood plank walls I’ve seen around the Internet lately. But, I know the reality of what ripped plywood really looks like on a wall. My DIY multi colored wood plank wall looks almost like skinny lap but without all the flaws and rough edges! Because seeing is easier than reading, I also created a video on how to install a skinny tongue and groove wood plank wall so you can see how easy this project really is to do.
I’ve DIY’d several different kinds of wood plank walls in my home and up at the North House Lodge and this may be my favorite to date!
If you’re thinking about adding a wood plank wall in your home, the best way to compare and figure out whether wood plank walls, shiplap or tongue and grove walls are for you is to read my post on DIY Shiplap vs Planked Wood Walls. Take a look at a few of my wood plank accent walls and see which fit for your style, maybe like this one up at The North House Lodge where I created a Pallet Wood Wall. Staining the wood 3 different colors.
Sending out a big thank you to HomeRight for sponsoring this post. Of course, all creativeness and opinions are my own. I also use affiliate links in this post. Thank you for supporting the brands that keep H2OBungalow going!
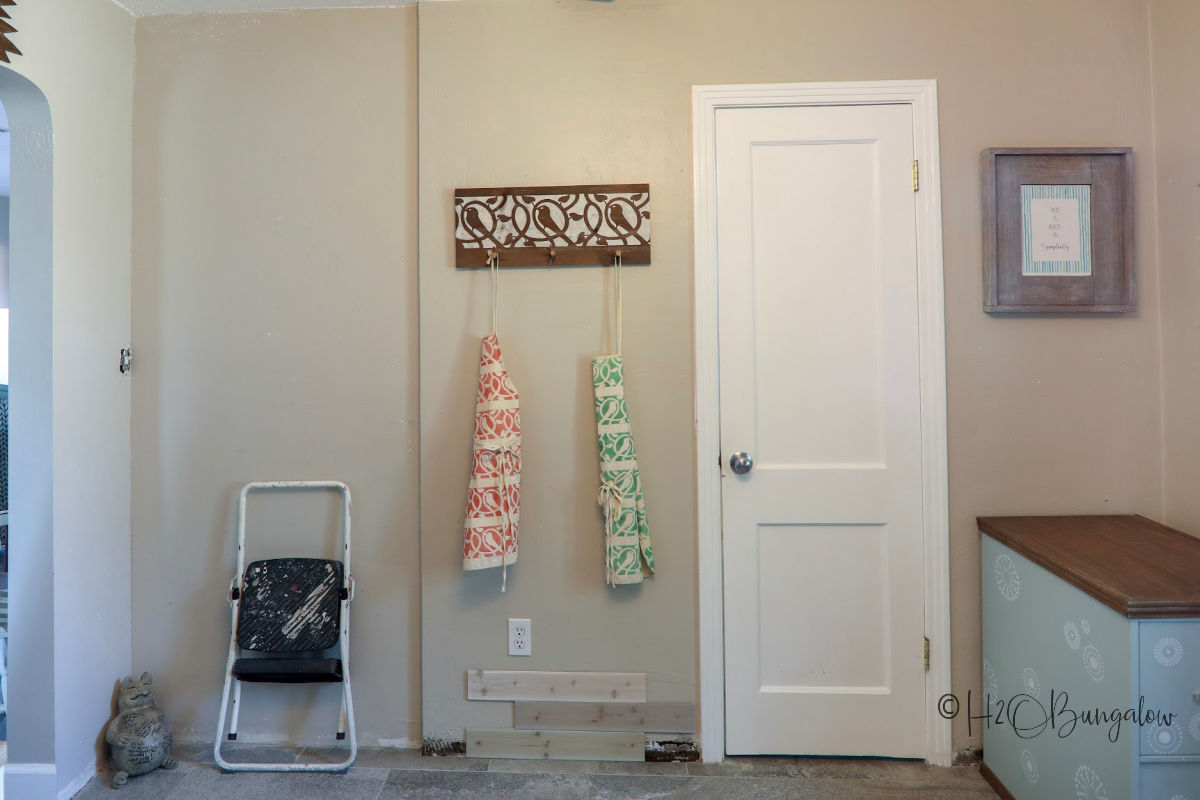
This is what the wall in my office looked like before I added my skinny wood plank wall. Note, the no baseboards… it’s been four years since we added DIY baseboards to the house. I skipped my office because I knew I’d add a wood plank accent wall someday.
Whew! I am So happy that that someday is finally here! So let me share how easy this is!
How so Install a DIY Multi Colored Wood Plank Wall
Supplies needed to install a skinny tongue and groove wood plank wall like mine.
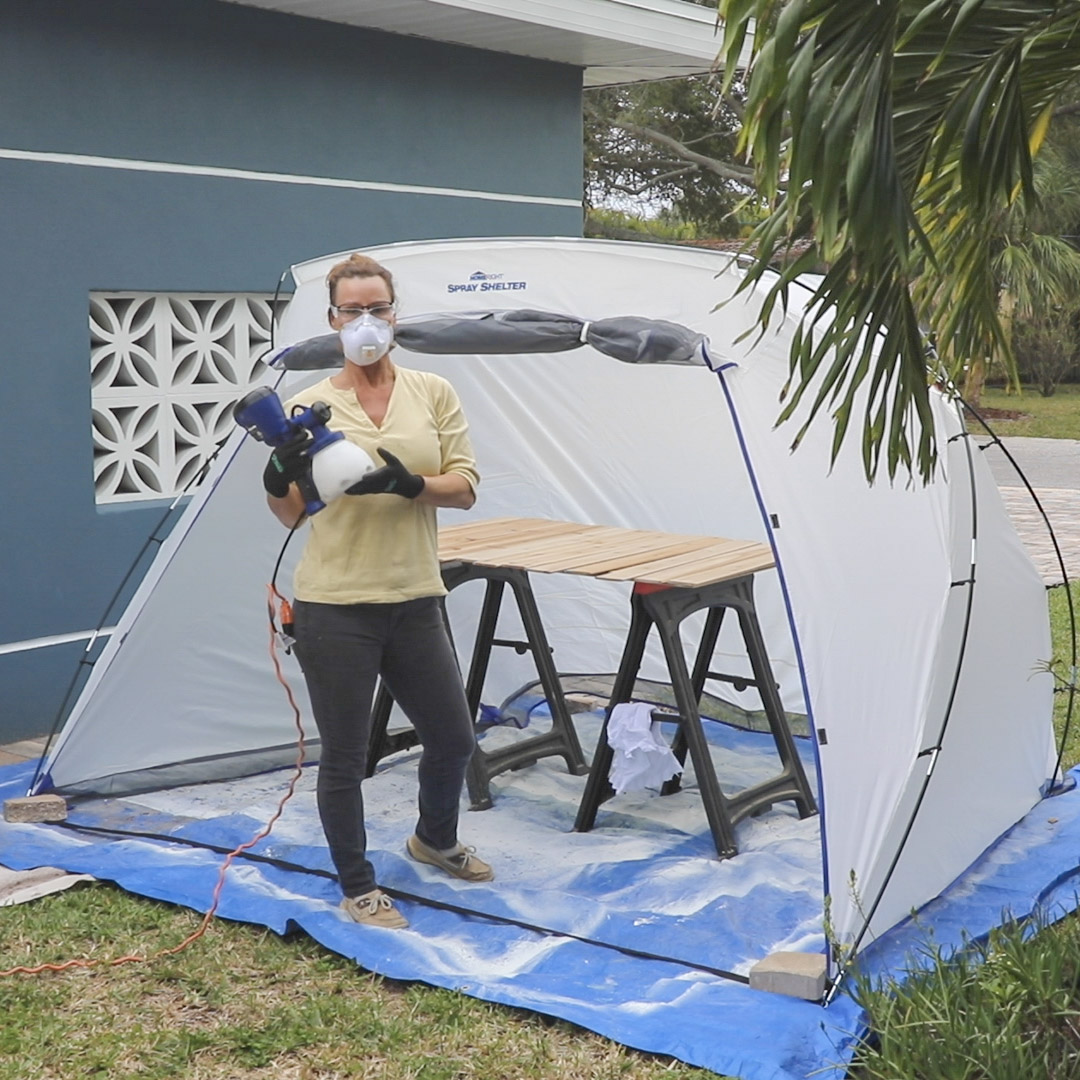
- Homeright Super Finish Max
- Homeright large paint shelter
- Large dropcloths
- Sawhorses or a table
- 3 paint colors of choice, watered down to a wash
- 3 ½” x ¼” x 96″ tongue and groove wood ($20 per 6 pack at Home Depot)
- Brad nailer
- 2” brad nails
- Compound Miter Saw
- Respirator/face mask
- Safety goggles
- Gloves
- Painters rags
- Chip brush
Installing a wood plank wall isn’t hard. In fact a beginner woodworker/DIY’er can do this. What makes the project successful is knowing the little details and tips that make the job go by faster or look a lot better. I made a video on how to make and install a multi colored wood plank wall like mine. It’s narrated and filled with tips and tricks I used to make my wood wall look awesome.
So what do you think? Are you ready to install your own DIY multicolored wood plank wall?
A few more tips on working with skinny tongue and groove wood planks.
- I used a 1/4″ thick wood tongue and groove because it fit nicely against the door trim. This meant I didn’t need to retrim our bathroom door that’s in the middle of the wall.
- Measure your wall and add 15% more for errors, wasted cuts, bad wood etc.
- Always go to your scrap wood plank pile first and use what will fit when needing small pieces.
- I chamfered the edges of my baseboards at the door because they stuck out just a hair. This looks much better.
- Do caulk your baseboards on the wood plank walls they look a lot better.
- I found lattice strips in 12 ft lengths at Home Depot in the trim department. Gave them a grey wash and used these to edge the top and sides of my walls.
- Little knots in the wood planks will show the wall color underneath. Repaint the wall if you don’t want the color to show through. I’ve had red rose wallpaper on a wall I added knotty pine to in another project. I painted the wall black first.
- This project goes by a lot quicker with two people, but one can do this.
Tips for using a HomeRight Super Finish Max Paint Sprayer on wood planks
- Store premixed paints in Mason jars, the paint won’t dry out as fast and pours easily into the paint sprayer container.
- Spray clean water through your Finish Max until it sprays clear between colors to quickly change paint colors. Do this before cleaning to speed up cleaning too.
- Tie the Super Finish Max and your extension cord together near the plugs and they won’t pull apart as you move while painting.
- Frequently swirl the paint in the Super Finish Max to keep the paint mixed when working with watered down paint.
- Always apply hand lotion to your exposed skin when painting, paint washes off easily, even when dry!
As a DIY Expert and Brand Ambassador for HomeRight, I’ve done lots of projects with my Super Finish Max and other HomeRight products over the past 4 years. You guys know I love their products and how useful they are on my projects!
See all my creative HomeRight DIY projects here.
So, let me share a few more photos of how my DIY multi colored wood plank wall has changed the way my home looks.
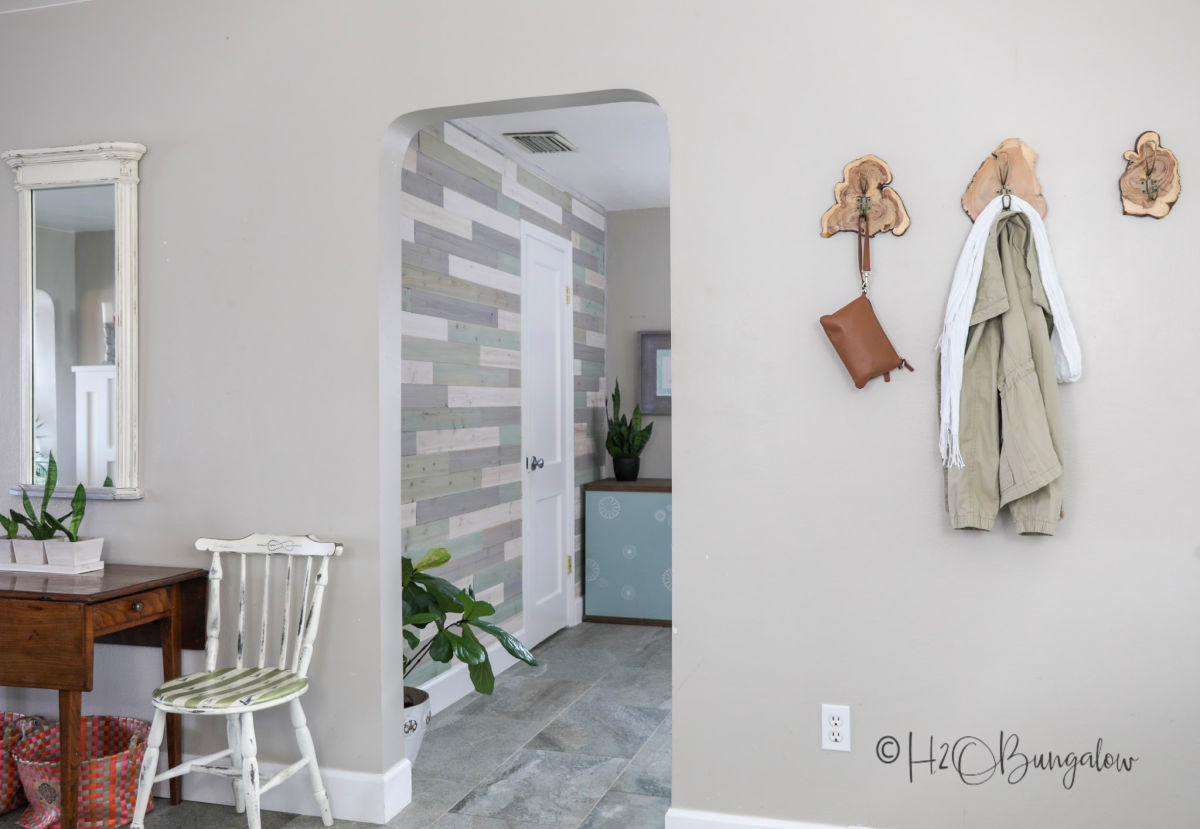
The wood colors are soft and eye catching from our front door. They look great next to my Live Edge Coat Rack Hooks!
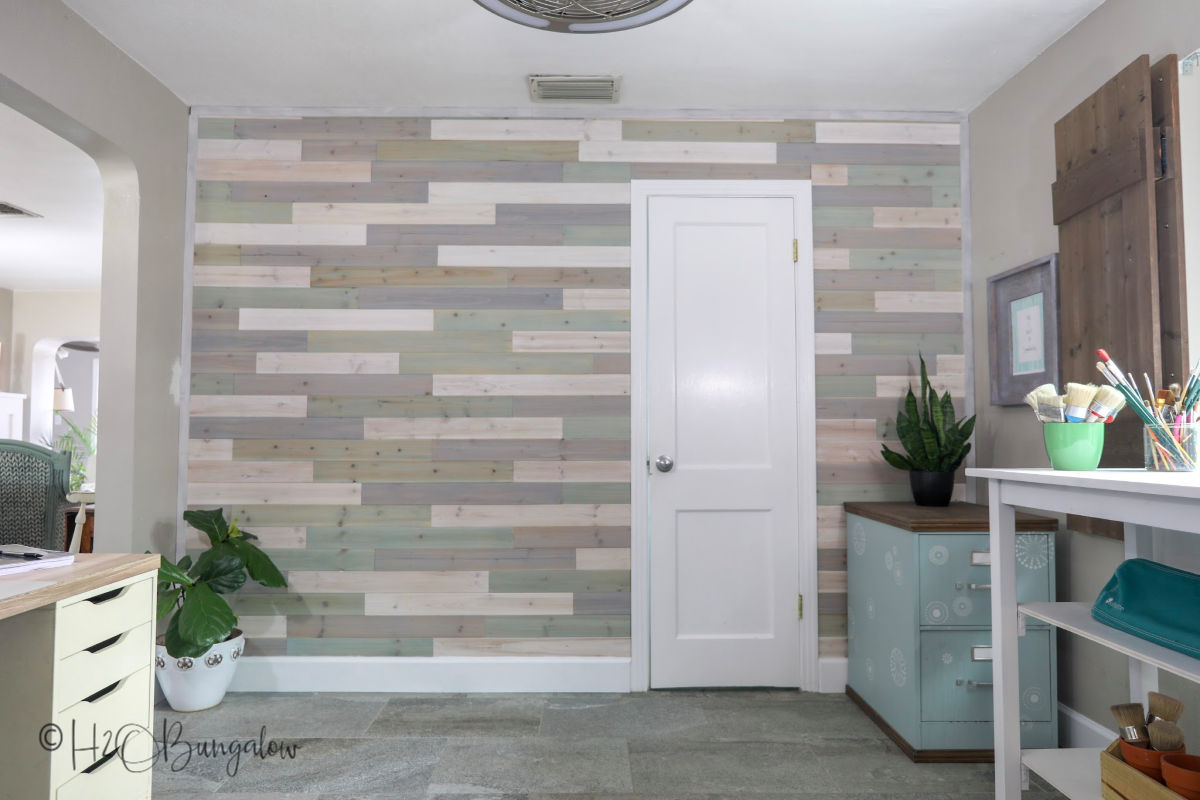
My office looks so much brighter. Of course this means I have to finish the window and get around to painting the built in cabinets I made last year. That will be another Super Finish Max project!
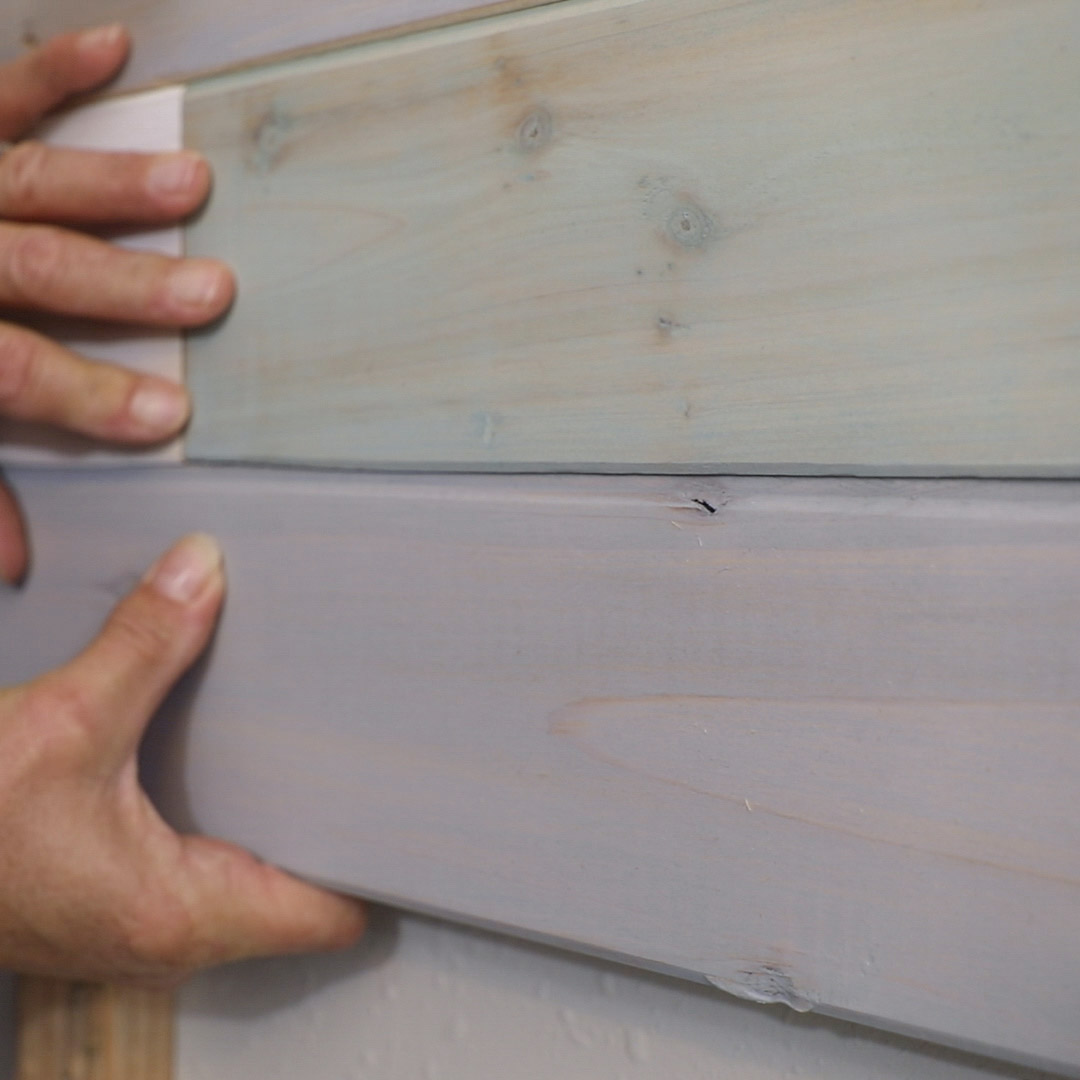
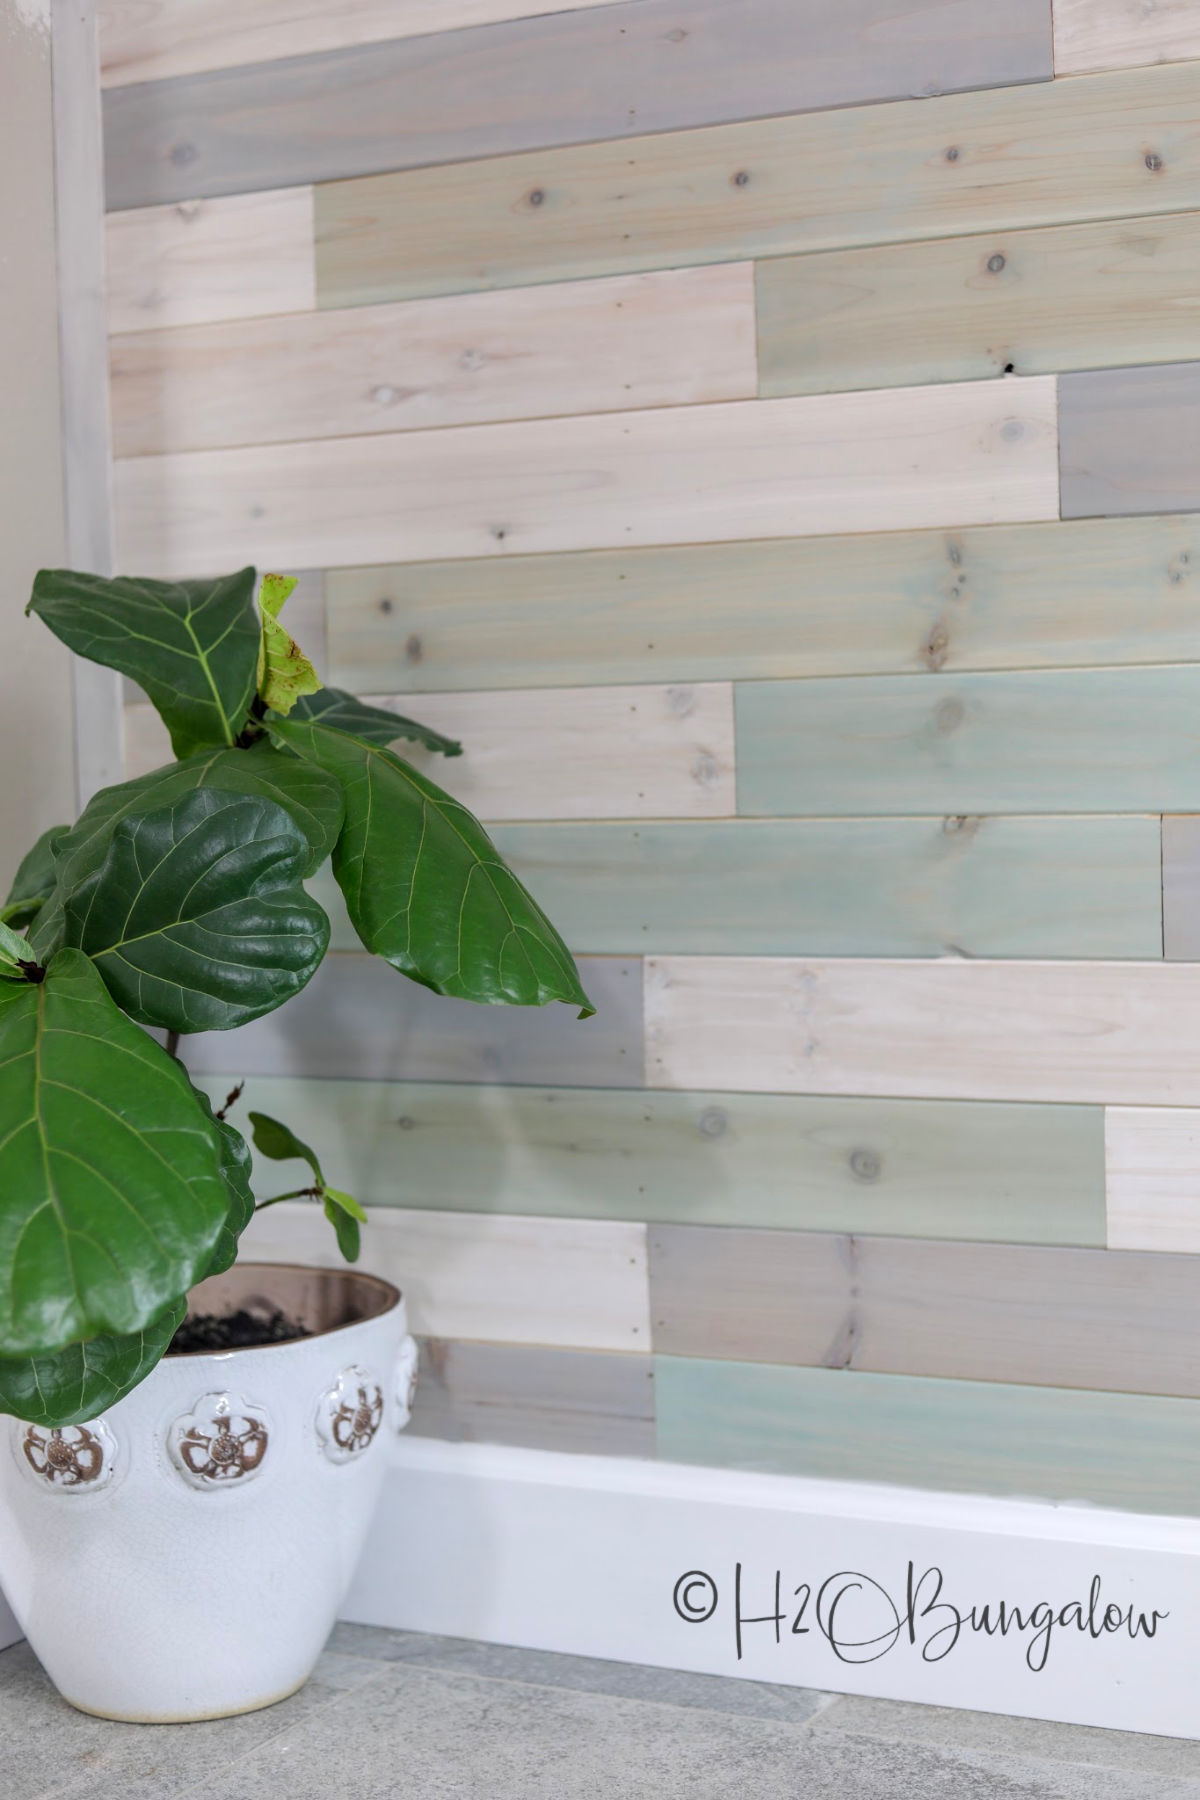
Here’s my wood plank wall up close, you can see the different paint shades better. I love that the beautiful grain and knots in the wood all show through the paint.
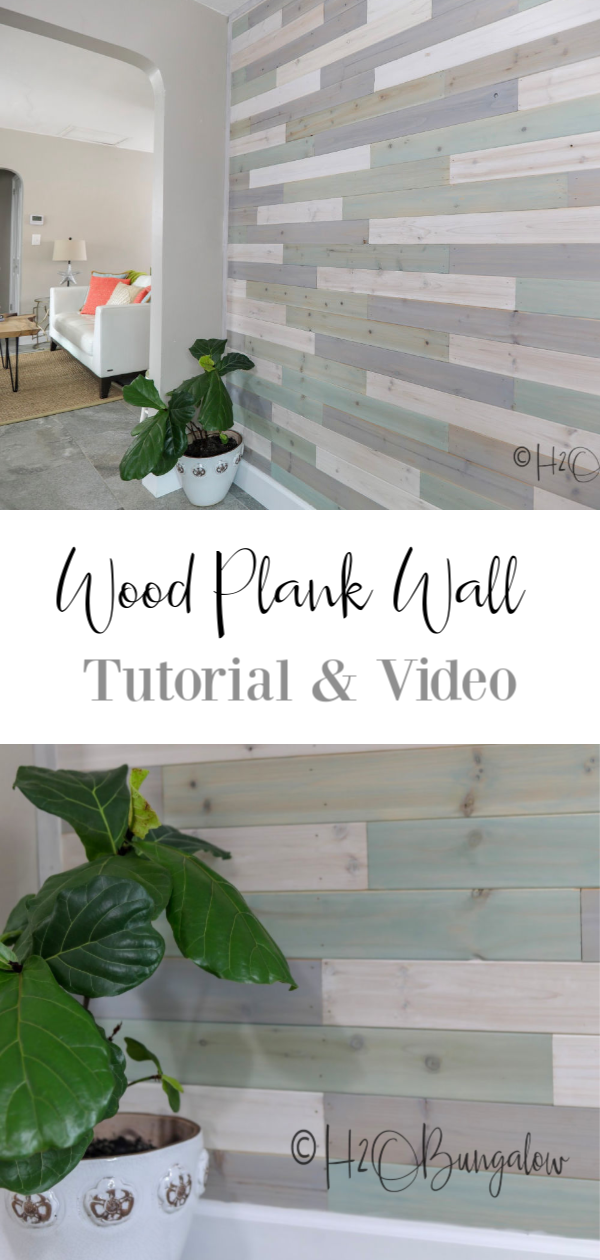
I’d appreciate it if you’d pin this for later and share with your friends on Facebook!
Does your home need a DIY multi colored wood plank wall too? What colors would you choose? Leave me a note in the comment section below!

mimzy says
Looks great! I guess your shoulder is all healed??!! hopefully!!
Wendi says
Hi Mimzy!
Thank you so much on the wall, I love it too. Yes, my shoulder has healed well, I’m back to light duty on projects. The wood planks were feather light so this project didn’t take much lifting. If you saw the video, I had several outfits on. I did a little each day over a few weeks. It was a good way to see how I did. I’m thrilled to be almost normal again! Thanks so much for your note and visit!
mimzy says
glad to hear your shoulder is doing better… I met you at Haven last year at a lunch table and you were talking about having surgery. You mentioned that you lived in the Tampa Bay area and for some reason I was thinking you were in St. Pete, but I think I read Tampa somewhere as I was perusing your blog. I live in Lutz so we’re practically neighbors. 😉 Anyway….I just read your post about the cafe lights you strung…what an absolutely amazing view and backyard you have! And what great content you create…very impressed.
Wendi says
Hi Mimzy! I remember you! Yes, it’s been a while and we meet so many people in the job (both online and off) that it’s hard to remember names. Thanks so much for your compliment on my work and yard! I think I’m getting ready to do another big facelift on the backyard this season. We live in Madeira Beach which is near St Pete Beach. I usually say Tampa because most people have a rough idea of where Tampa is:) Again, thank you for your note and visit! I hope to eventually plan a girls day out for us FL gals, it would be great to see you again!
Susan Homeroad Stevenson says
Wendy it came out looking fantastic! The colors you chose are perfect. I pinned this post because I really need to do this in my own home. Thanks for the inspiration and the great tutorial!
Wendi says
Hi Susan, and thank you so much! I love the colors for my home and especially in my office! Thanks again for your visit and pinning my project!
Debby says
Your wall looks amazing. Thank you for the video and now I think I may be able to finish a wall in my house.
Wendi says
Hi Debby! That’s great to hear, I love when I get to help other people do a project in their own home! This is a very doable project for all skill sets. Have fun and please send a picture when you do your project!
Jody says
Everything you do you do so lovely. I love the colors and you described well how to do it.
Wendi says
hi Jody and thank you so much my friend!
I think the colors are a perfect match to my home and style too. They make walking into my office a pleasure! Of course, now I keep looking at the built-ins on the other wall and now am trying to find time to paint them too! LOL Thanks so much for your note! Take care 🙂
Susan Bedard says
Hi Wendy
The wall looks great. Can’t wait to see it in person when we are back in Florida.
Love your ideas and blog.
Susan
Wendi says
Hi Susan!
Thank you! I love how the wall turned out and how it visually connects the office and living room. It feels good to finally work on my office a bit. It’s generally the last place that gets attention around here! LOL. I can’t wait to show it to you in person! Thanks so much for your note and visit my friend!
Stephanie Wesztergom says
Hey Wendi. I love love these colors. Care to share what product you used? The colors seem somewhat translucent, did you water down pain or are these stains? Thanks in advance for sharing
Wendi says
Hi Stephanie!
Thank you so much, I love how the colors worked out too. I used old paints I had and watered them down a lot into a wash. The white is just a few teaspoons of Behr Ultra White, The grey is a few teaspoons of Gripper primer I had left over (I always tint mine grey) and I’m not sure on the blue-green because I store my old paints in Mason jars. I’m pretty sure it’s an Annie Sloan color. I hope that helps!
stephanie wesztergom says
TY so much. Definitely helpful
Wendi says
That’s great! Let me now if you have any more questions 🙂 I hope you make the wall project!