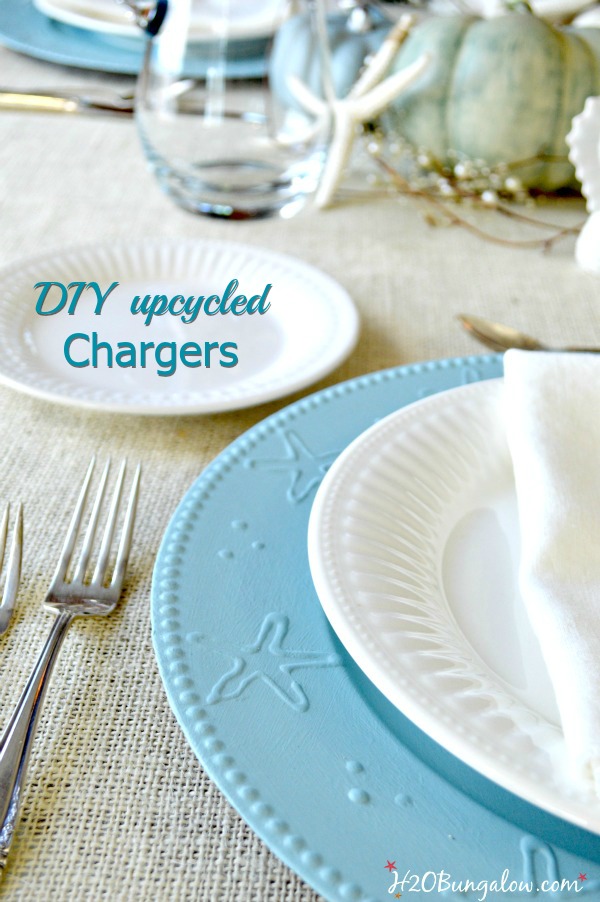
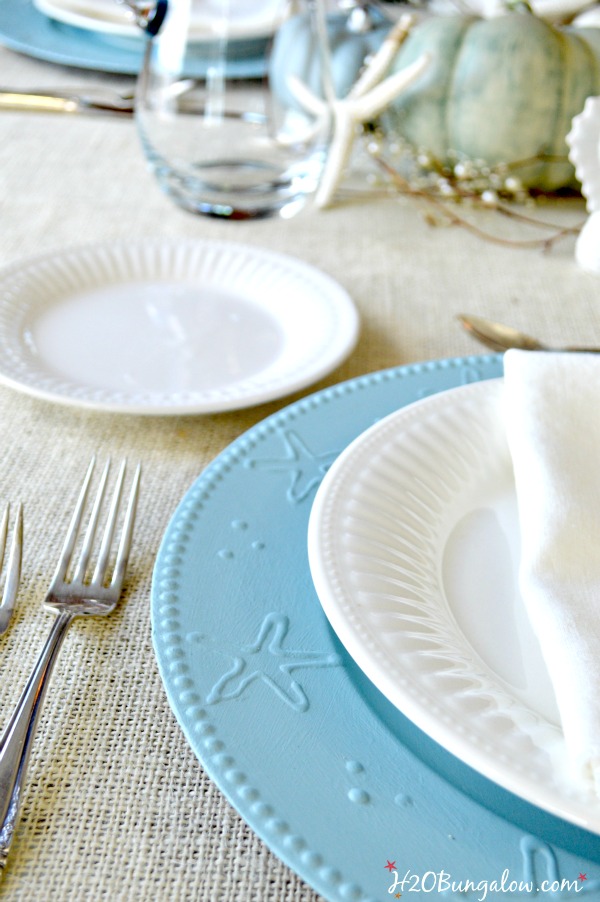
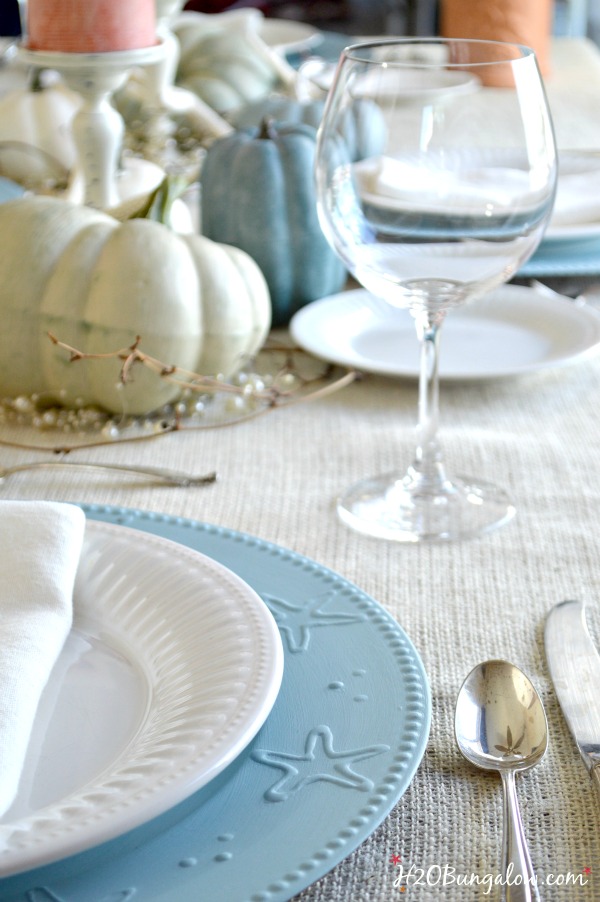
I promised to share with you how I made my DIY table chargers. Easy to make, durable and colorful, they added a punch of color and are an easy way to complete a themed tablescape. This project cost just over $1 a charger too!
Don’t limit yourself to a coastal theme…
These would look great in fall colors with outlined leaves around the edges, elegant with a random pattern and layers of paint and unique finishes, or contemporary with random shapes and a high gloss finish. I’d like to make a few sets for different times of the year.
I was compensated for this post. This post also contains affiliate links and I will be compensated if you make a purchase after clicking on my links.
Supplies needed for DIY table chargers. I use affiliate links to help you find the supplies I used:)
plastic chargers – I found mine at a thrift store for $1 each
DecoArt Liquid Glass or white glue
320 grit sand paper
deglosser like simple green or TSP
DecoArt Chalky Finish Paint – You’ll want to use a paint that does not come off easily. If a paint wipes off easily with water after it dries, do not use it for this project. You’ll also want a chalky finish and not an acrylic shiny one to get an upscale finish. I used Vintage.
DecoArt Ultra-Matt Varnish – excellent sealer
2 ” Paintbrush
Stencil or shape to trace. I used a starfish, but you could trace anything or freehand a design. There are also plenty of leaf shapes on PicMonkey that you could print, cutout and trace the shape for a fall theme.
Simple instructions for DIY table chargers
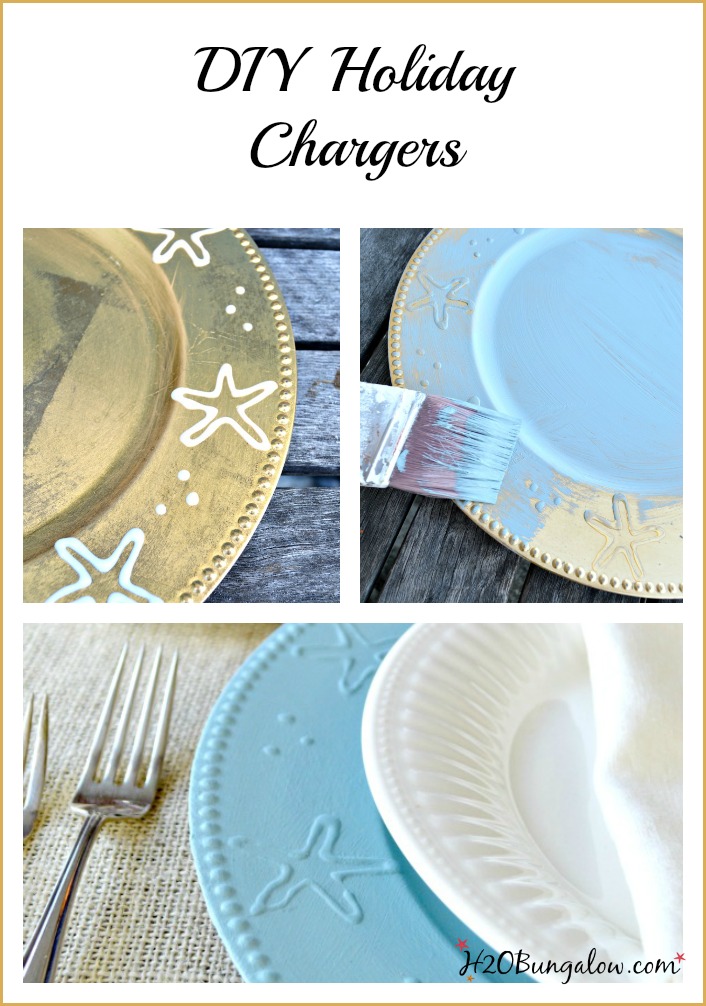
Wash and dry the plastic chargers, lightly sand the entire front where you’ll paint. Wash and dry them again with a deglosser.
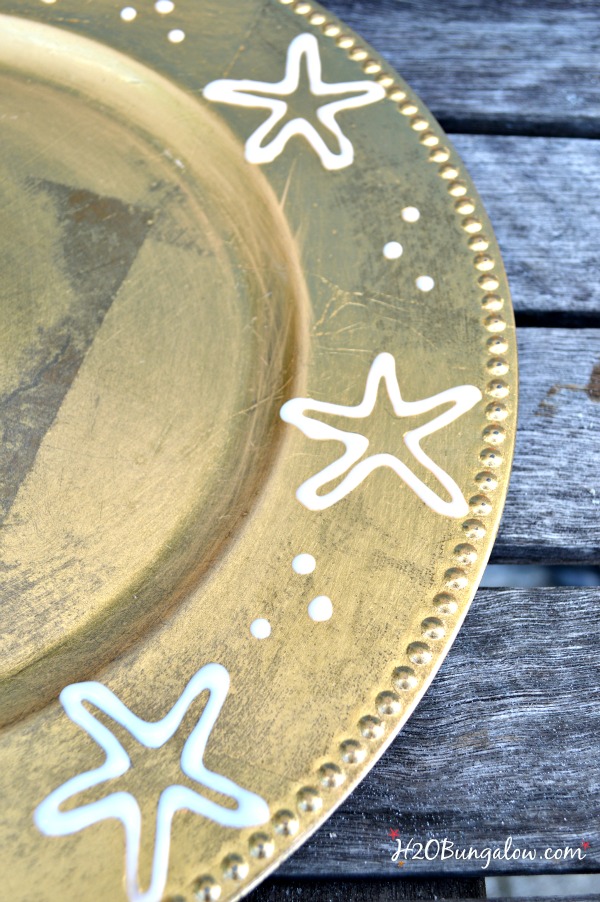
Use your stencil or cut out cardboard shape and trace it around the edges of the plastic charger with a pencil. The liquid glass has a pointy applicator and will allow you to draw with the liquid and outline the shapes.
I added starfish randomly around the outside and a few dots in between them to compliment the pattern already on the ouside edge of the charger. I’m sorry I don’t have a picture of this step, I worked on this project a with a bunch of others during the crazy two months where I was back and forth from Dallas. Some of my pictures were misplaced 🙁
Let dry overnight. The shapes will be hard and clear.
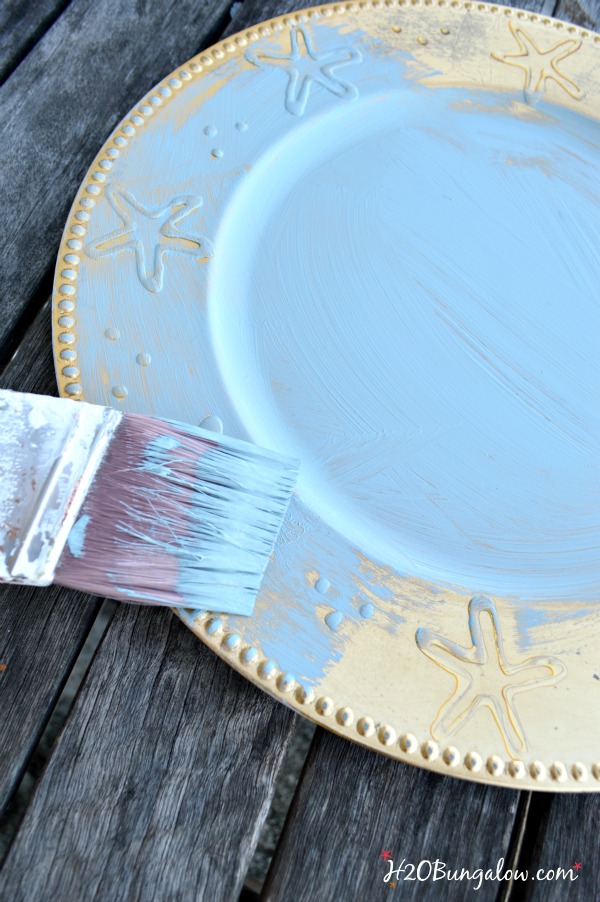
Paint with the Chalky Finish Paint. Let dry and seal with the Ultra-Matte Varnish.
That’s it.
After the DIY table chargers are sealed, all they will need is a wipe with a damp cloth after a meal.
Super easy and they add a big impact to the tablescape.
Even though I made these for our holiday table , I’ll use them year round and even for outdoor dining as well. Speaking of holiday tablescapes and table settings, did you see my earlier post linking 18 more fabulous holiday tablescapes and centerpieces?
Don’t forget to pin this idea too!
The holidays are such an awesome time of year to have fun and decorate. If you’ve put together a tablescape, be sure to share it on the H2OBungalow Facebook page!

Linda at Mixed Kreations says
What a great idea! I haven’t ever used chargers but I may have to see if I can me find some. These are super cute!
Wendi says
Hi Linda! Thank you so very much! I’m not sure how the idea struck me to paint them but it sure did open up a world of possibilities and color options. I think adding a pattern with the liquid glass made a subtle change too. How fun, right? Thanks so much for stopping by and you note! I hope you find some chargers and I’m sure you’ll do something awesome with them!
gail says
Wendi,
Your chargers are very pretty! I can see the variations are limitless!
great tutorial…. pinning!
gail
Wendi says
Thanks so much Gail! I wish I’d thought of this way before I tossed a big stack that I had when we moved in!
lynn says
What a fantastic idea! I’m so borrowing this idea of yours…immediately!
Thanks for sharing! Lynn
Wendi says
Hi Lynn…That’s great. If I’ve inspired you to revamp old chargers I’ve done a good job! Please share a picture of your project on my H2OBungalow FaceBook page. Thanks so much for your visit!
Emily @ The Benson Street says
What a fun idea! Thank you for linking up with the Monday Funday Party! — Emily at thebensonstreet.com
Wendi says
Hi Emily! Thanks so much for hosting such a fun party:)
Crystal@WhatTreasuresAwait says
Saw this post on Work it Wednesday…such a great idea! I’ll definitely be trying something like this!
Wendi says
Thanks so much Crystal! They turned our so well I want to make another set with a different color and design! Thanks so much for your visit & leaving a comment:)
Kerryanne @ Shabby Art Boutique says
Such a fabulous make-over Wendi. They look great and I appreciate you linking up at Shabbilicious Friday. I’m delighted to be featuring you at tomorrow’s party.
Hugs ~ Kerryanne
Wendi says
Thank you Kerryanne! I love your party and the unique entries you get. I’m thrilled to be featured this week!
Pamela Smith says
Great idea! I have some charger plates I thought about getting rid of, but not now!! Thanks for the idea!
Wendi says
Pamela, Isn’t this an easy way to get a new updated look? I can’t believe I’m saying this, but I’d buyy more in a heartbeat now. Thanks so much for your visit!
Ruth Anne says
Great idea! These would add a touch of class to our dining table on our beachy back porch! Thanks for sharing.
Wendi says
Hi Ruth and I completely agree! I’m planning on using these chargers year round. Thanks so much for stopping by & leaving a sweet comment:)
Yvonne @ StoneGable says
Love these chargers. UGH! I just threw out 3 dozen gold, silver and red. Gotta go see if I can rescue them! So fun to be with you in Memphis, Wendy! HUGS!
Wendi says
Yvonne… I hope you found them! I am so over the metallic chargers, but painting them a flat color lent a whole new look to mine. It was the best time ever getting to know you in Memphis! Sending big hugs right back to you!!